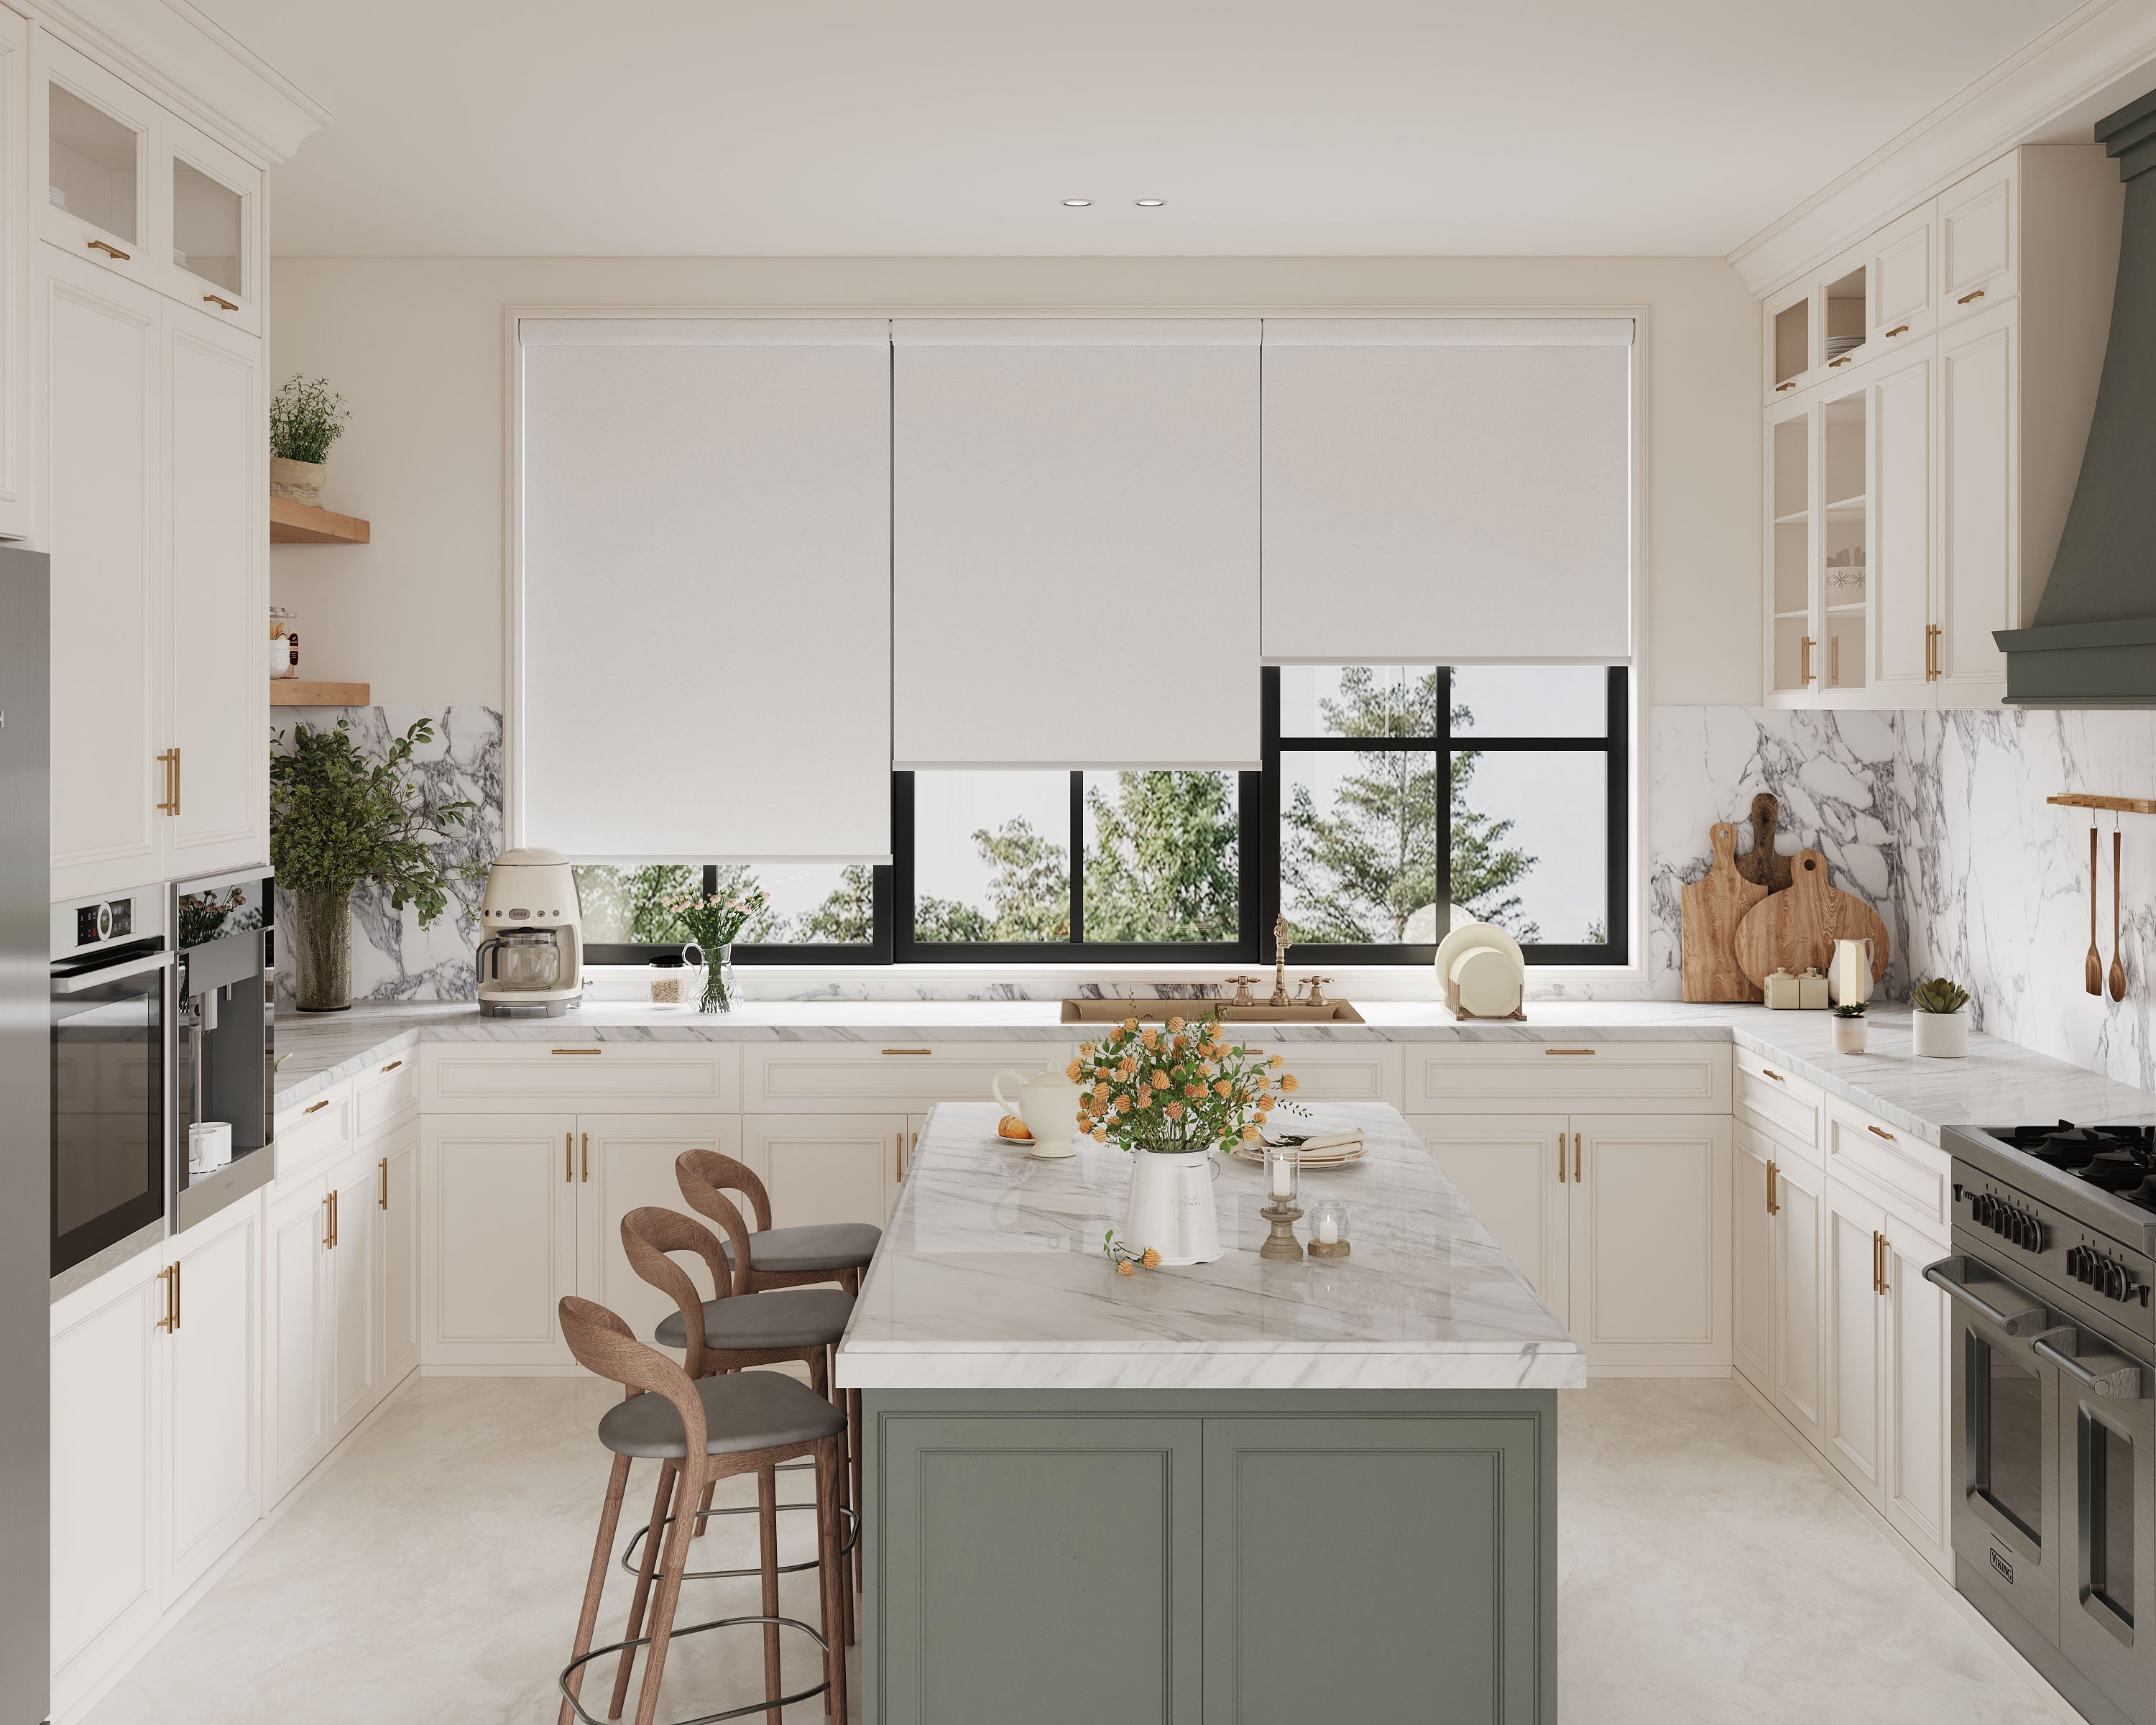
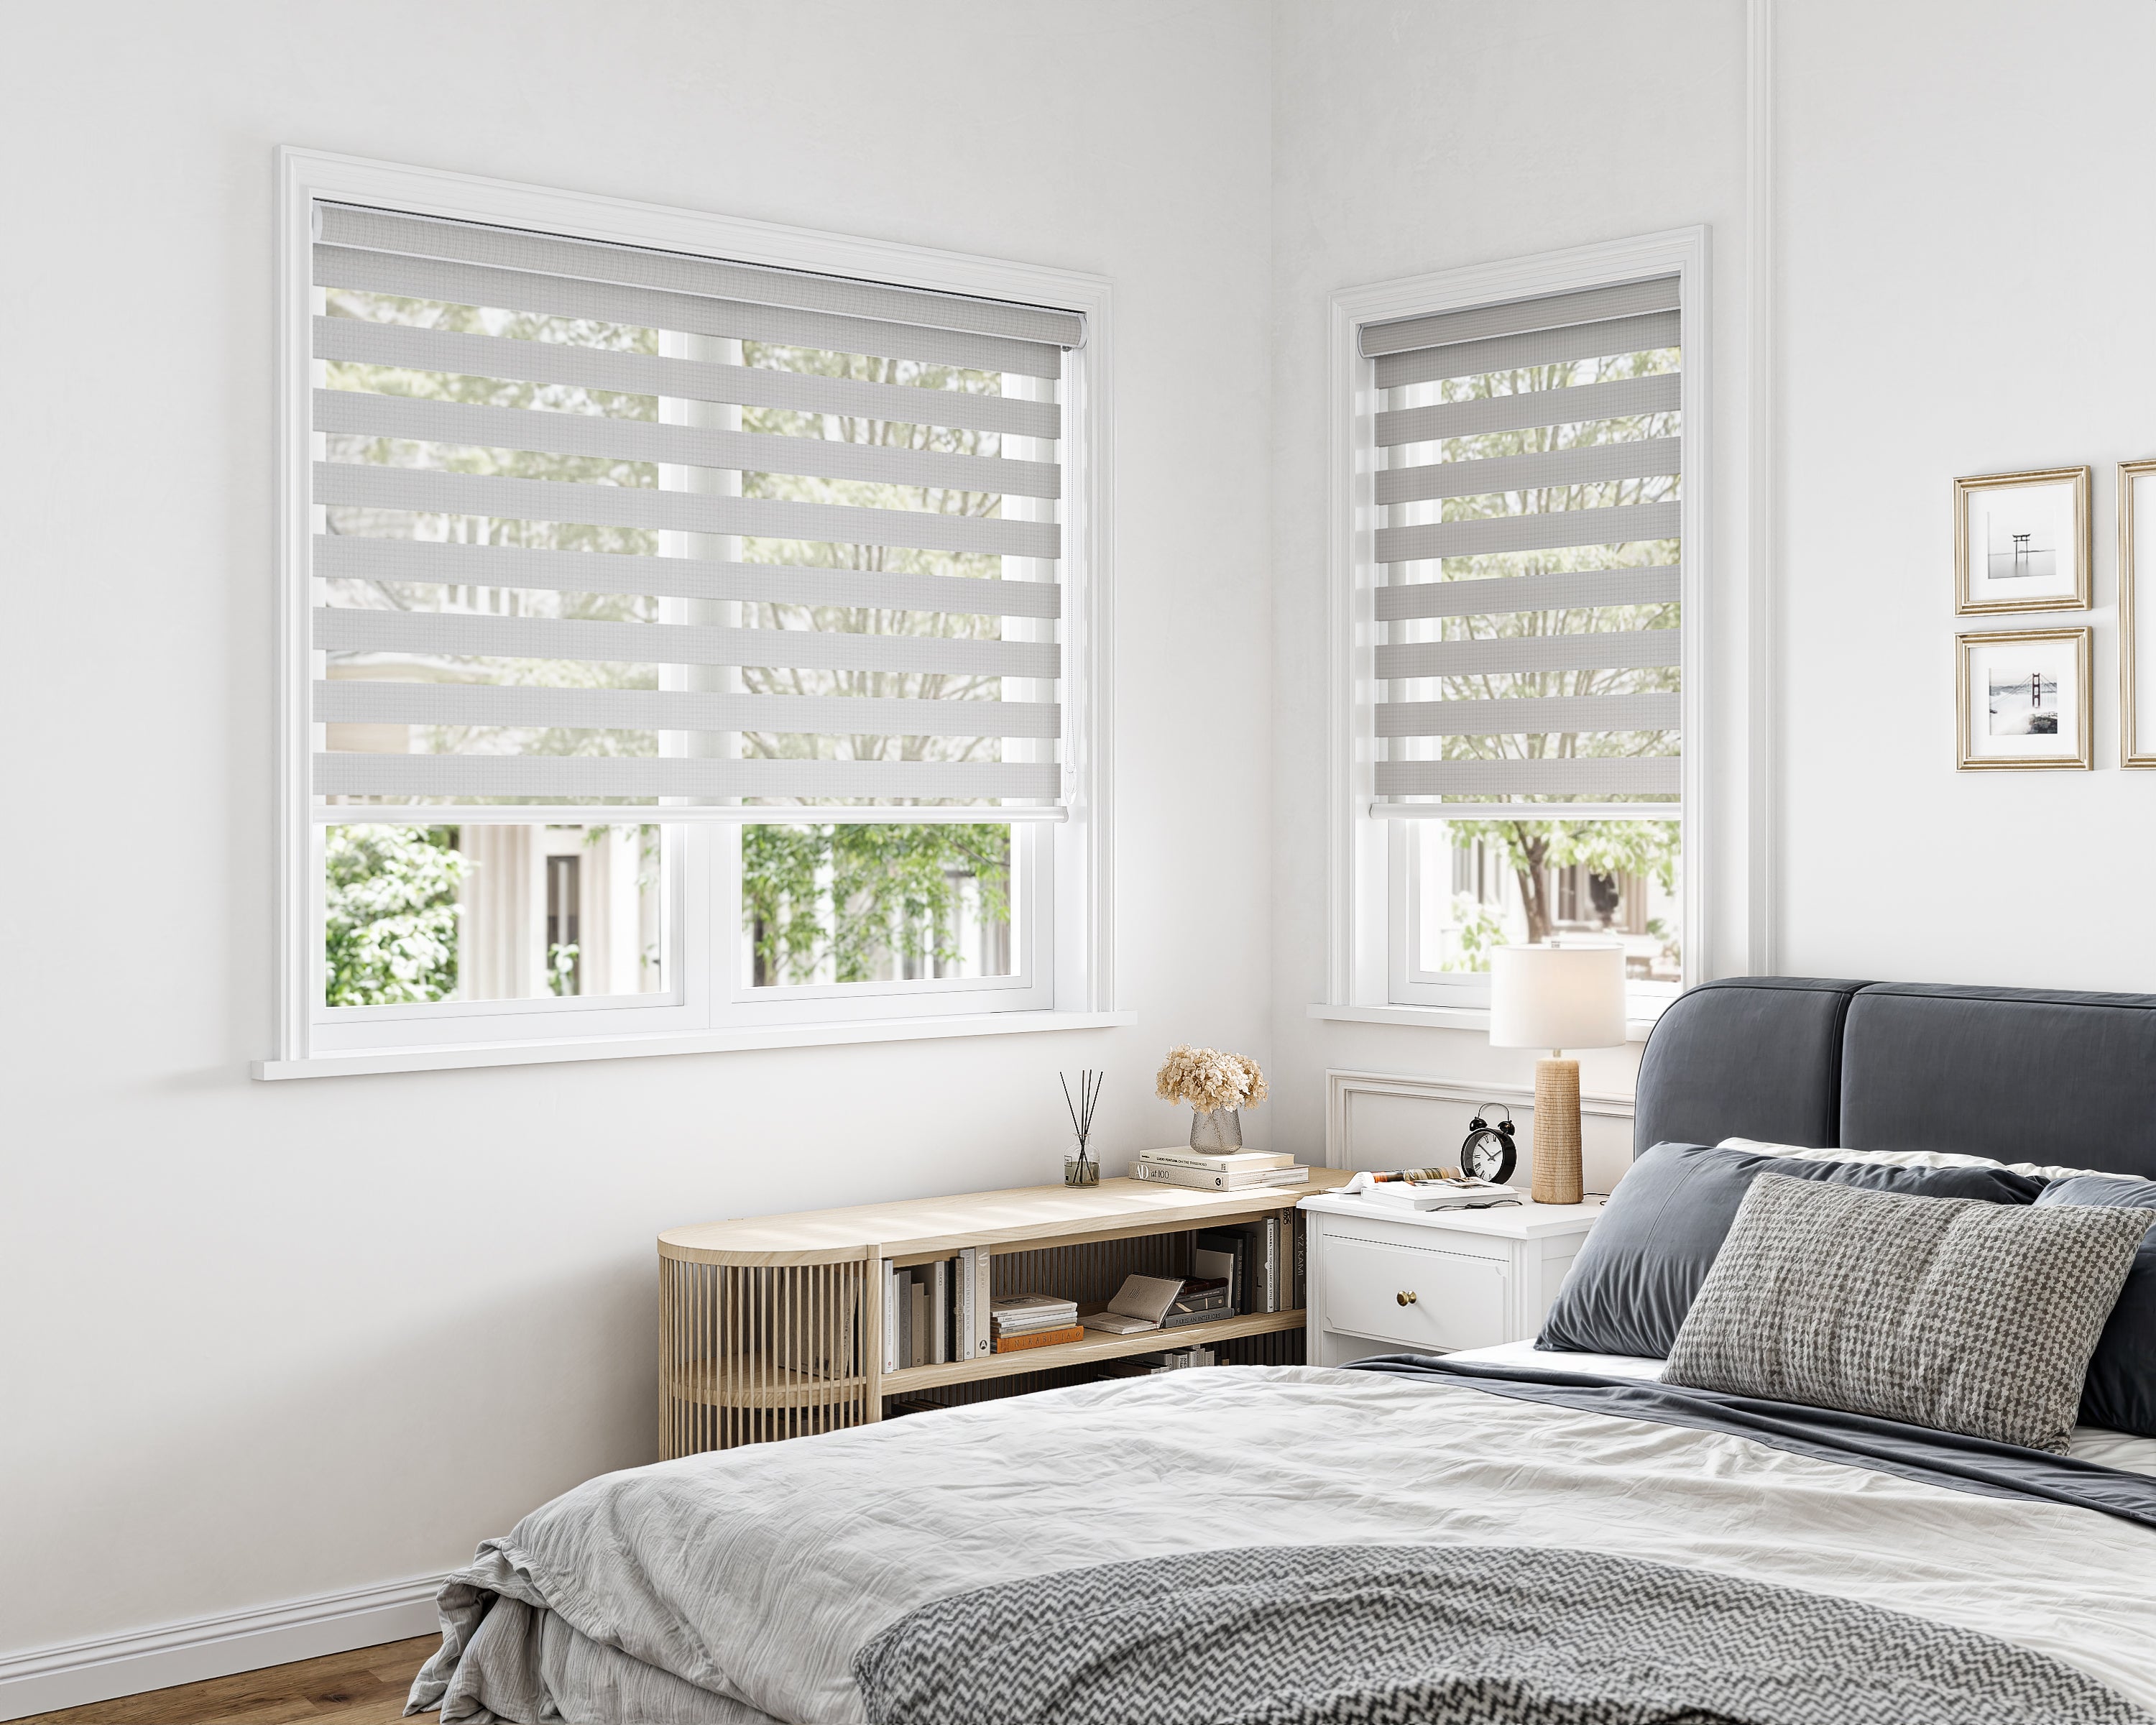
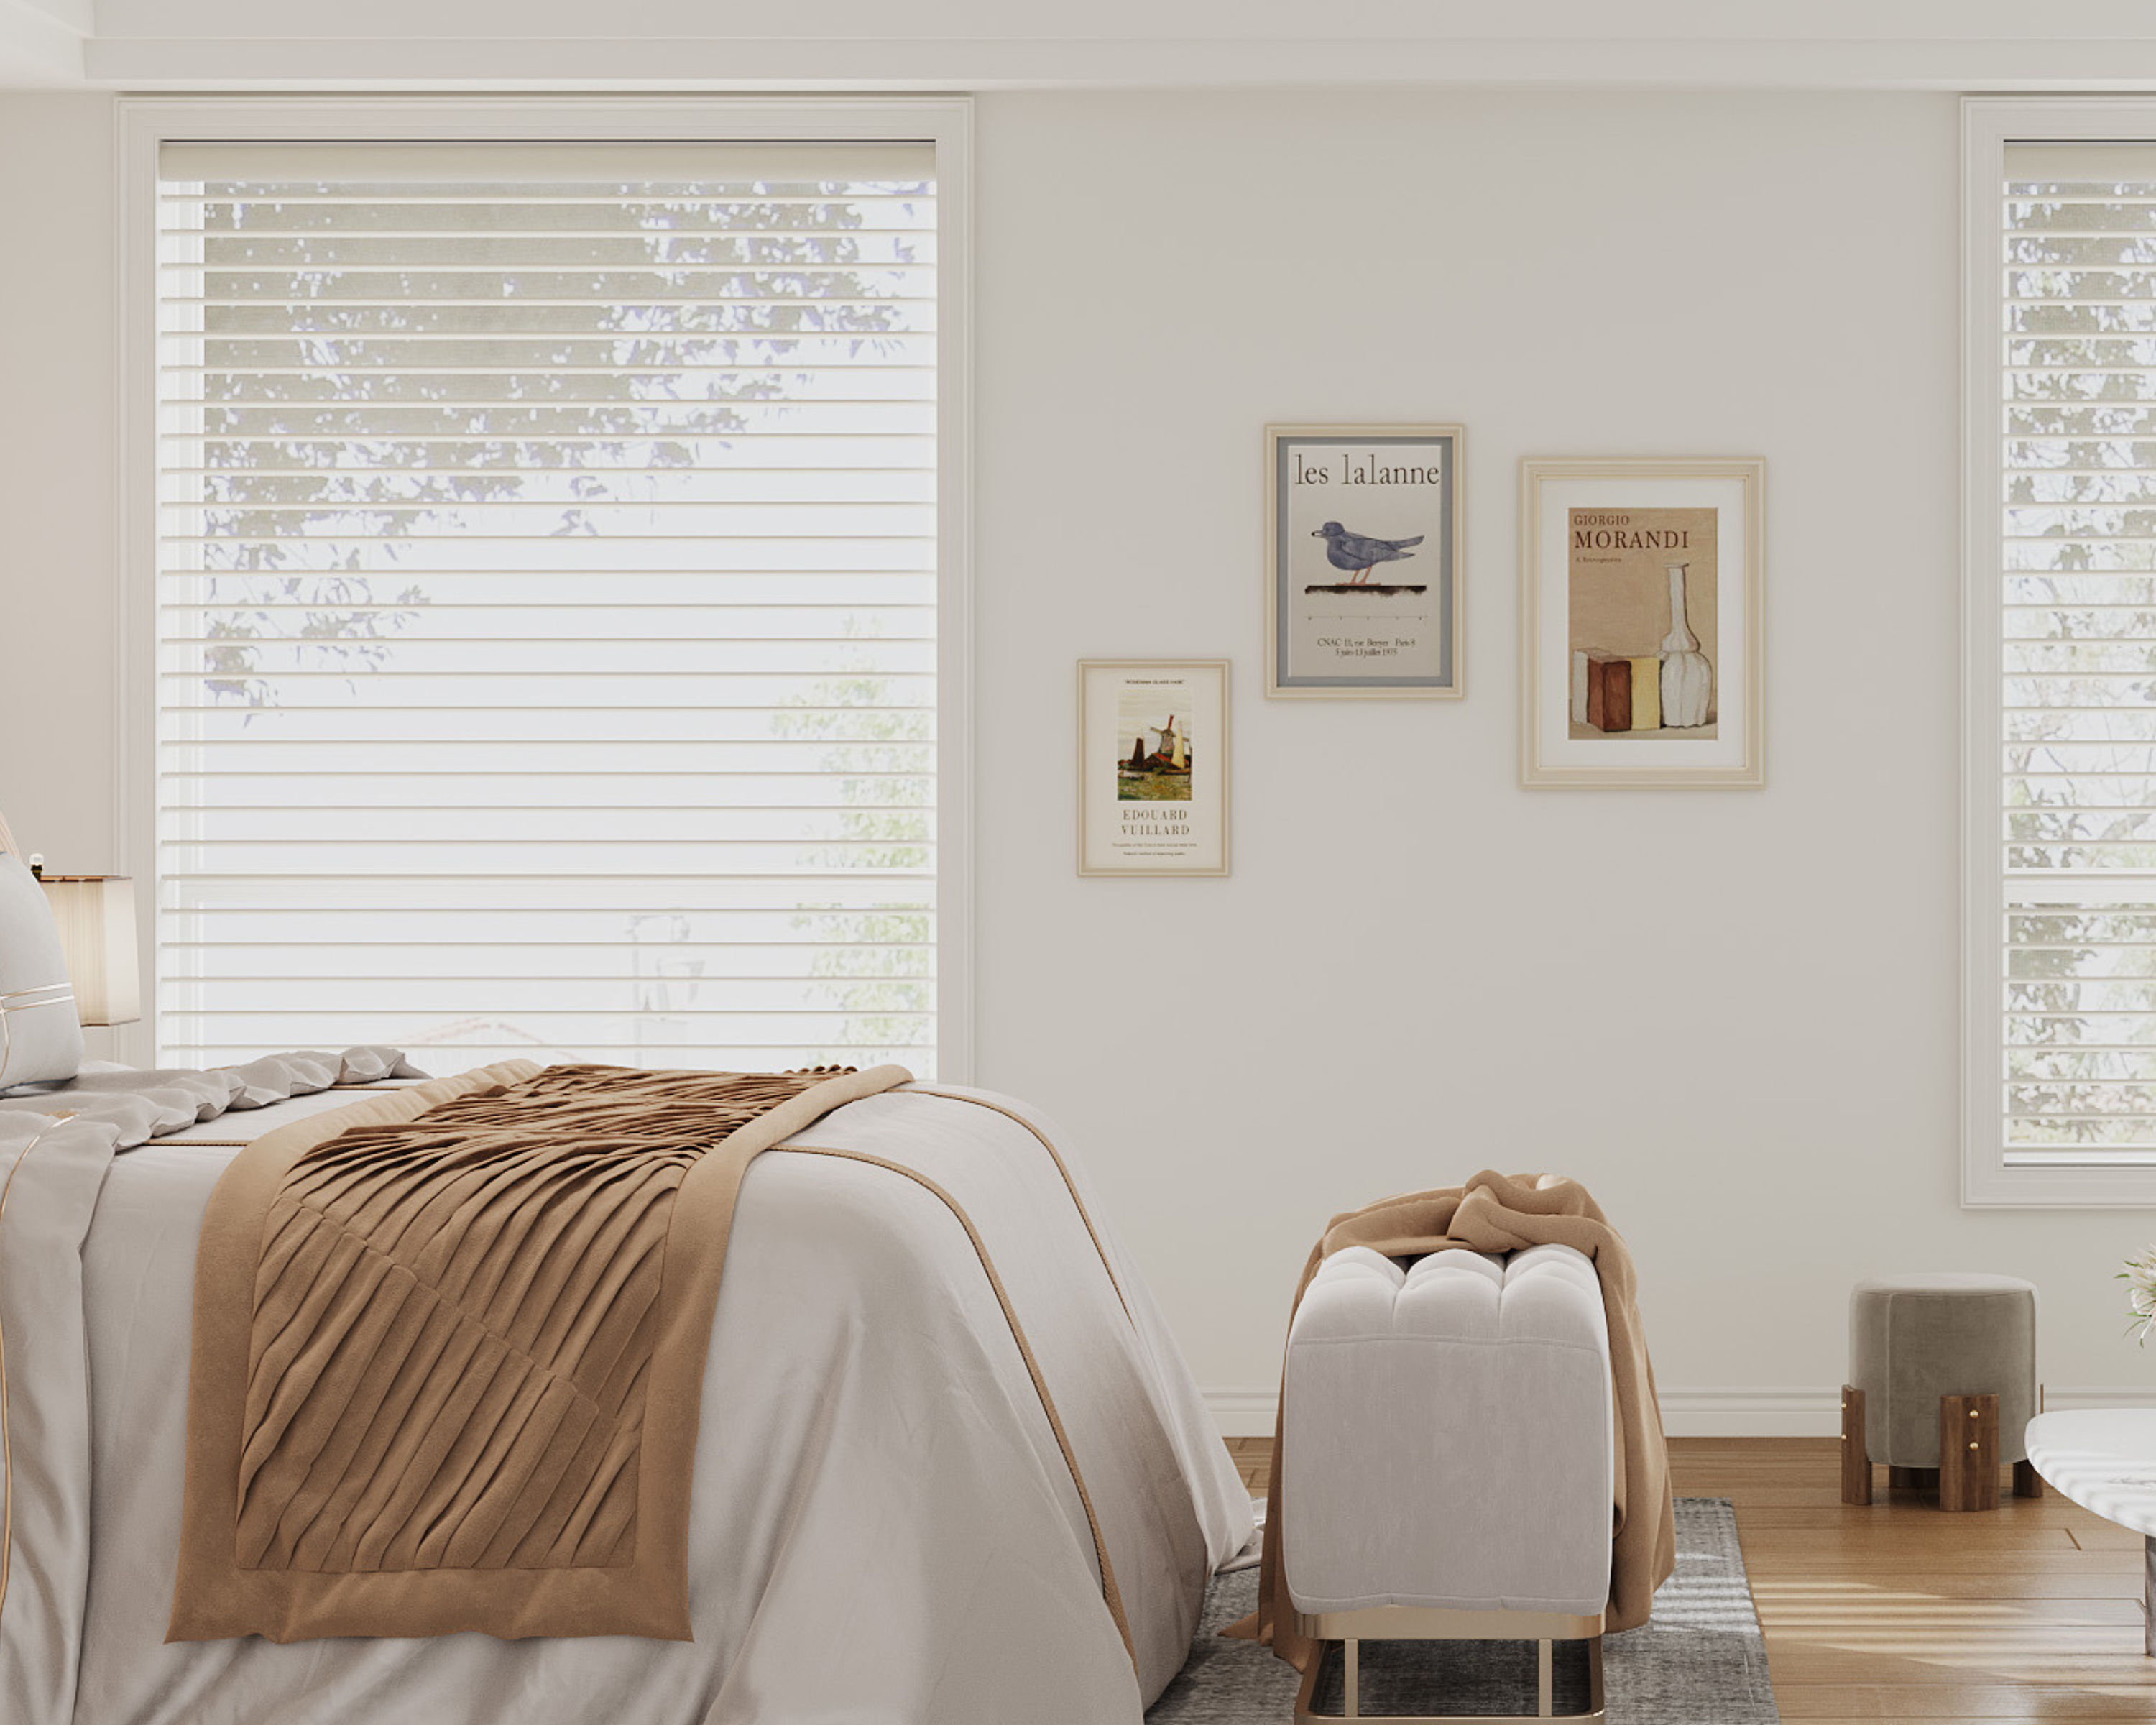
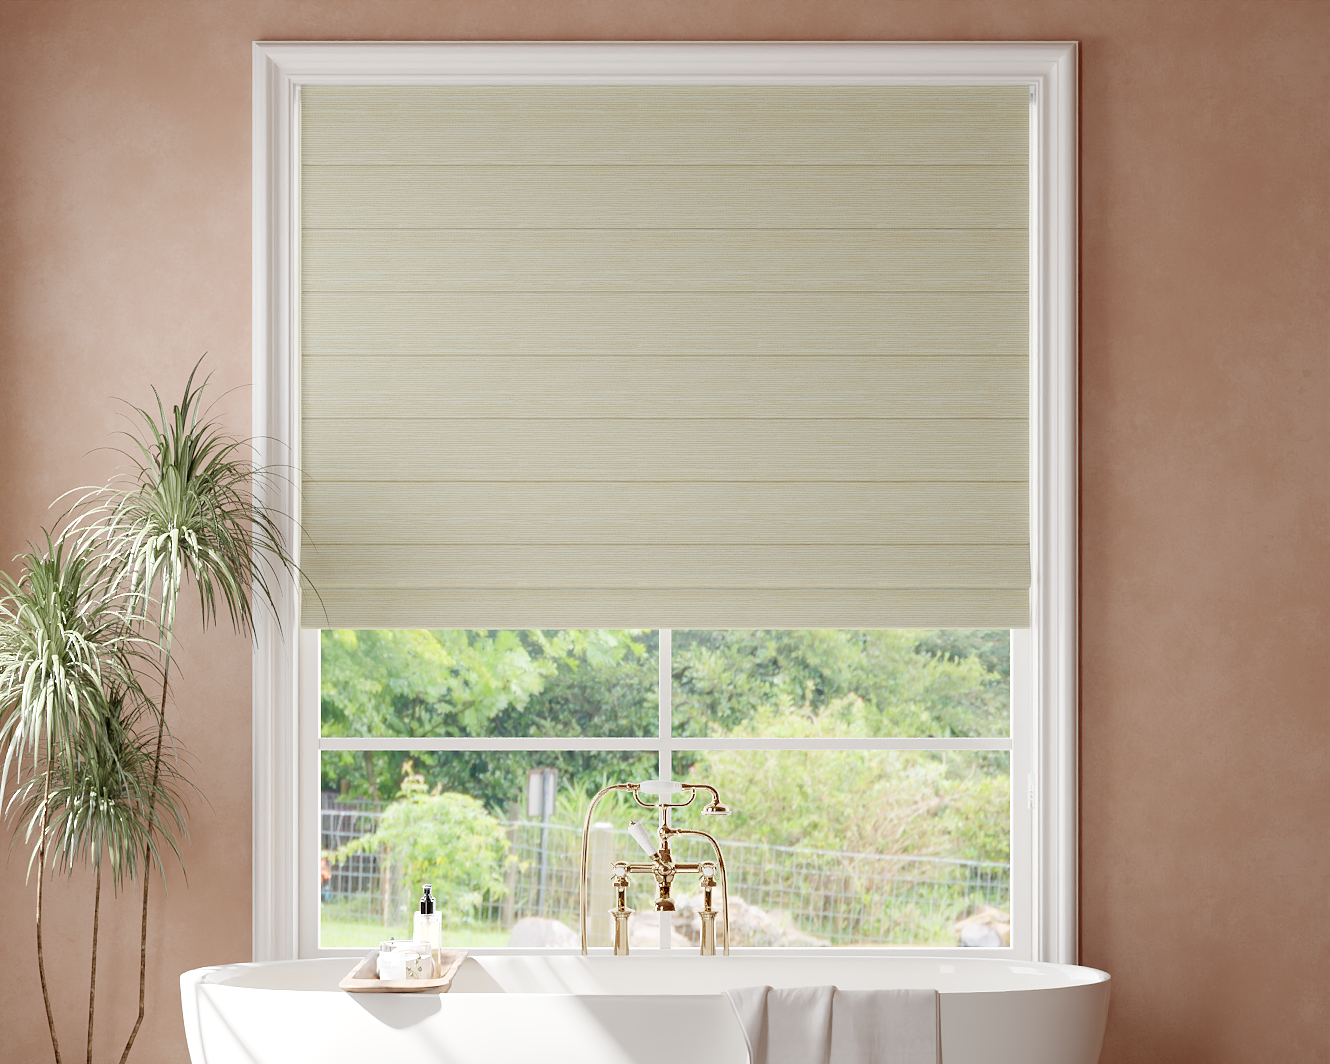
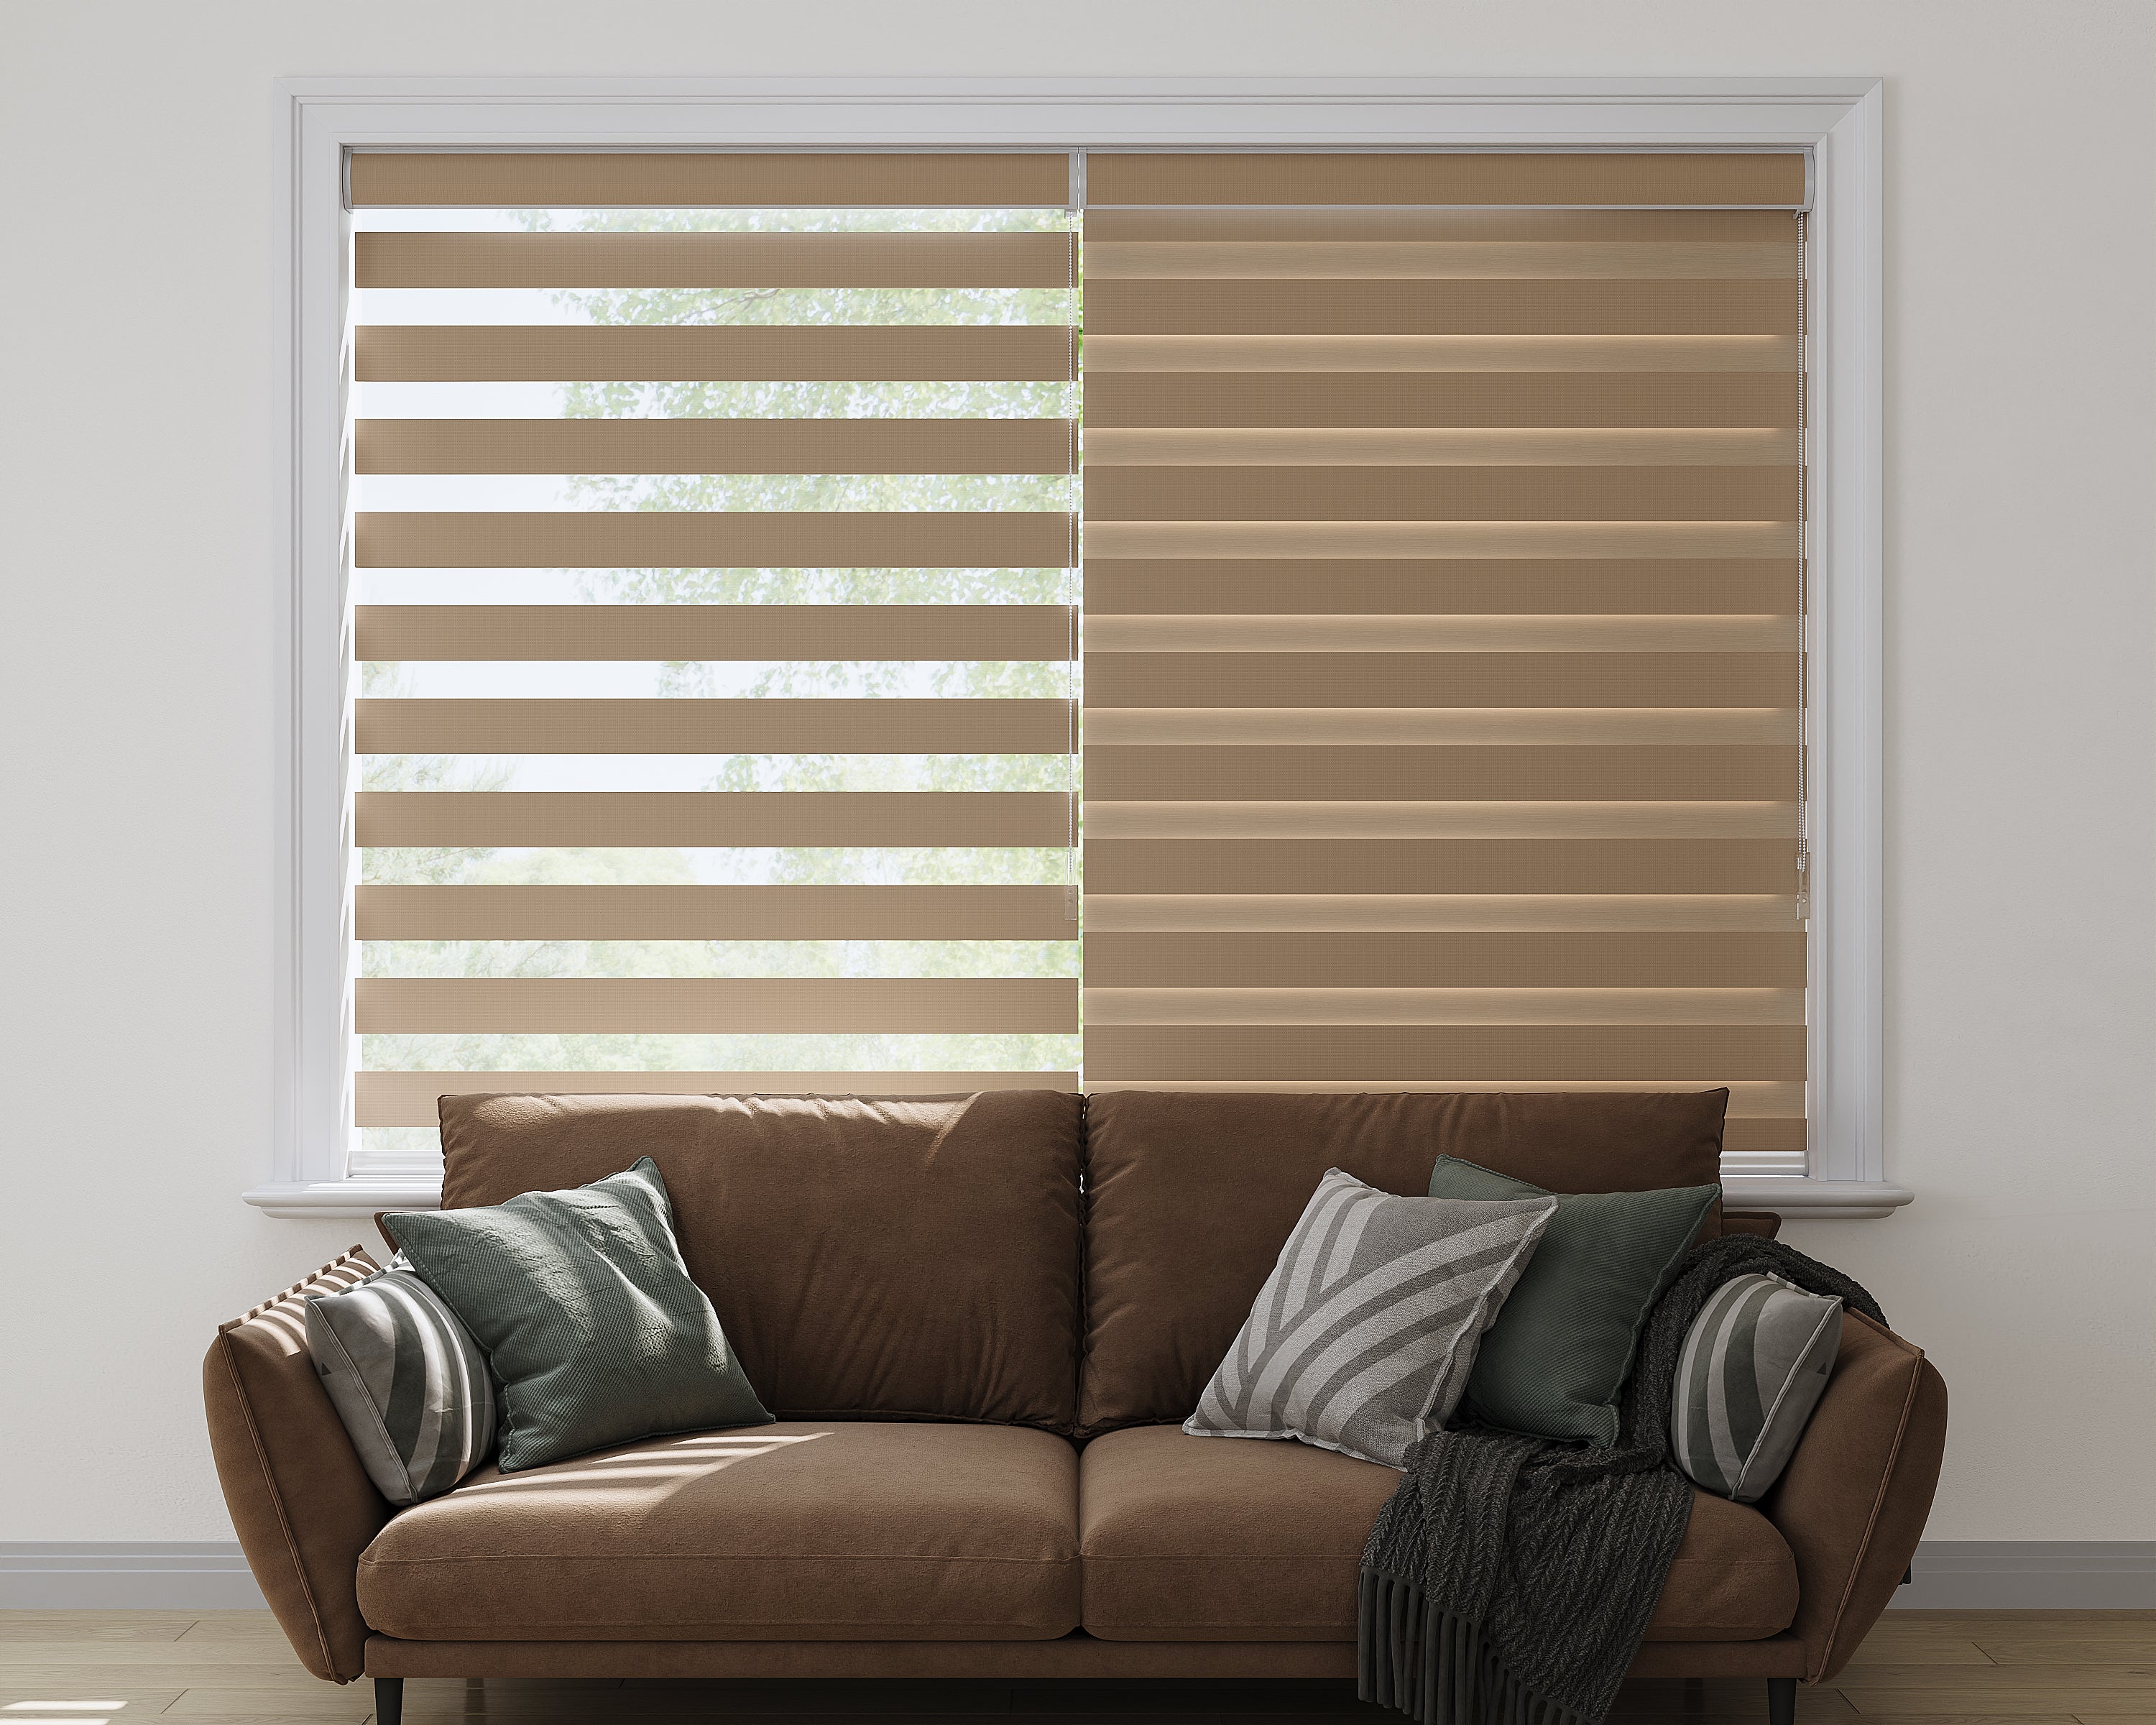
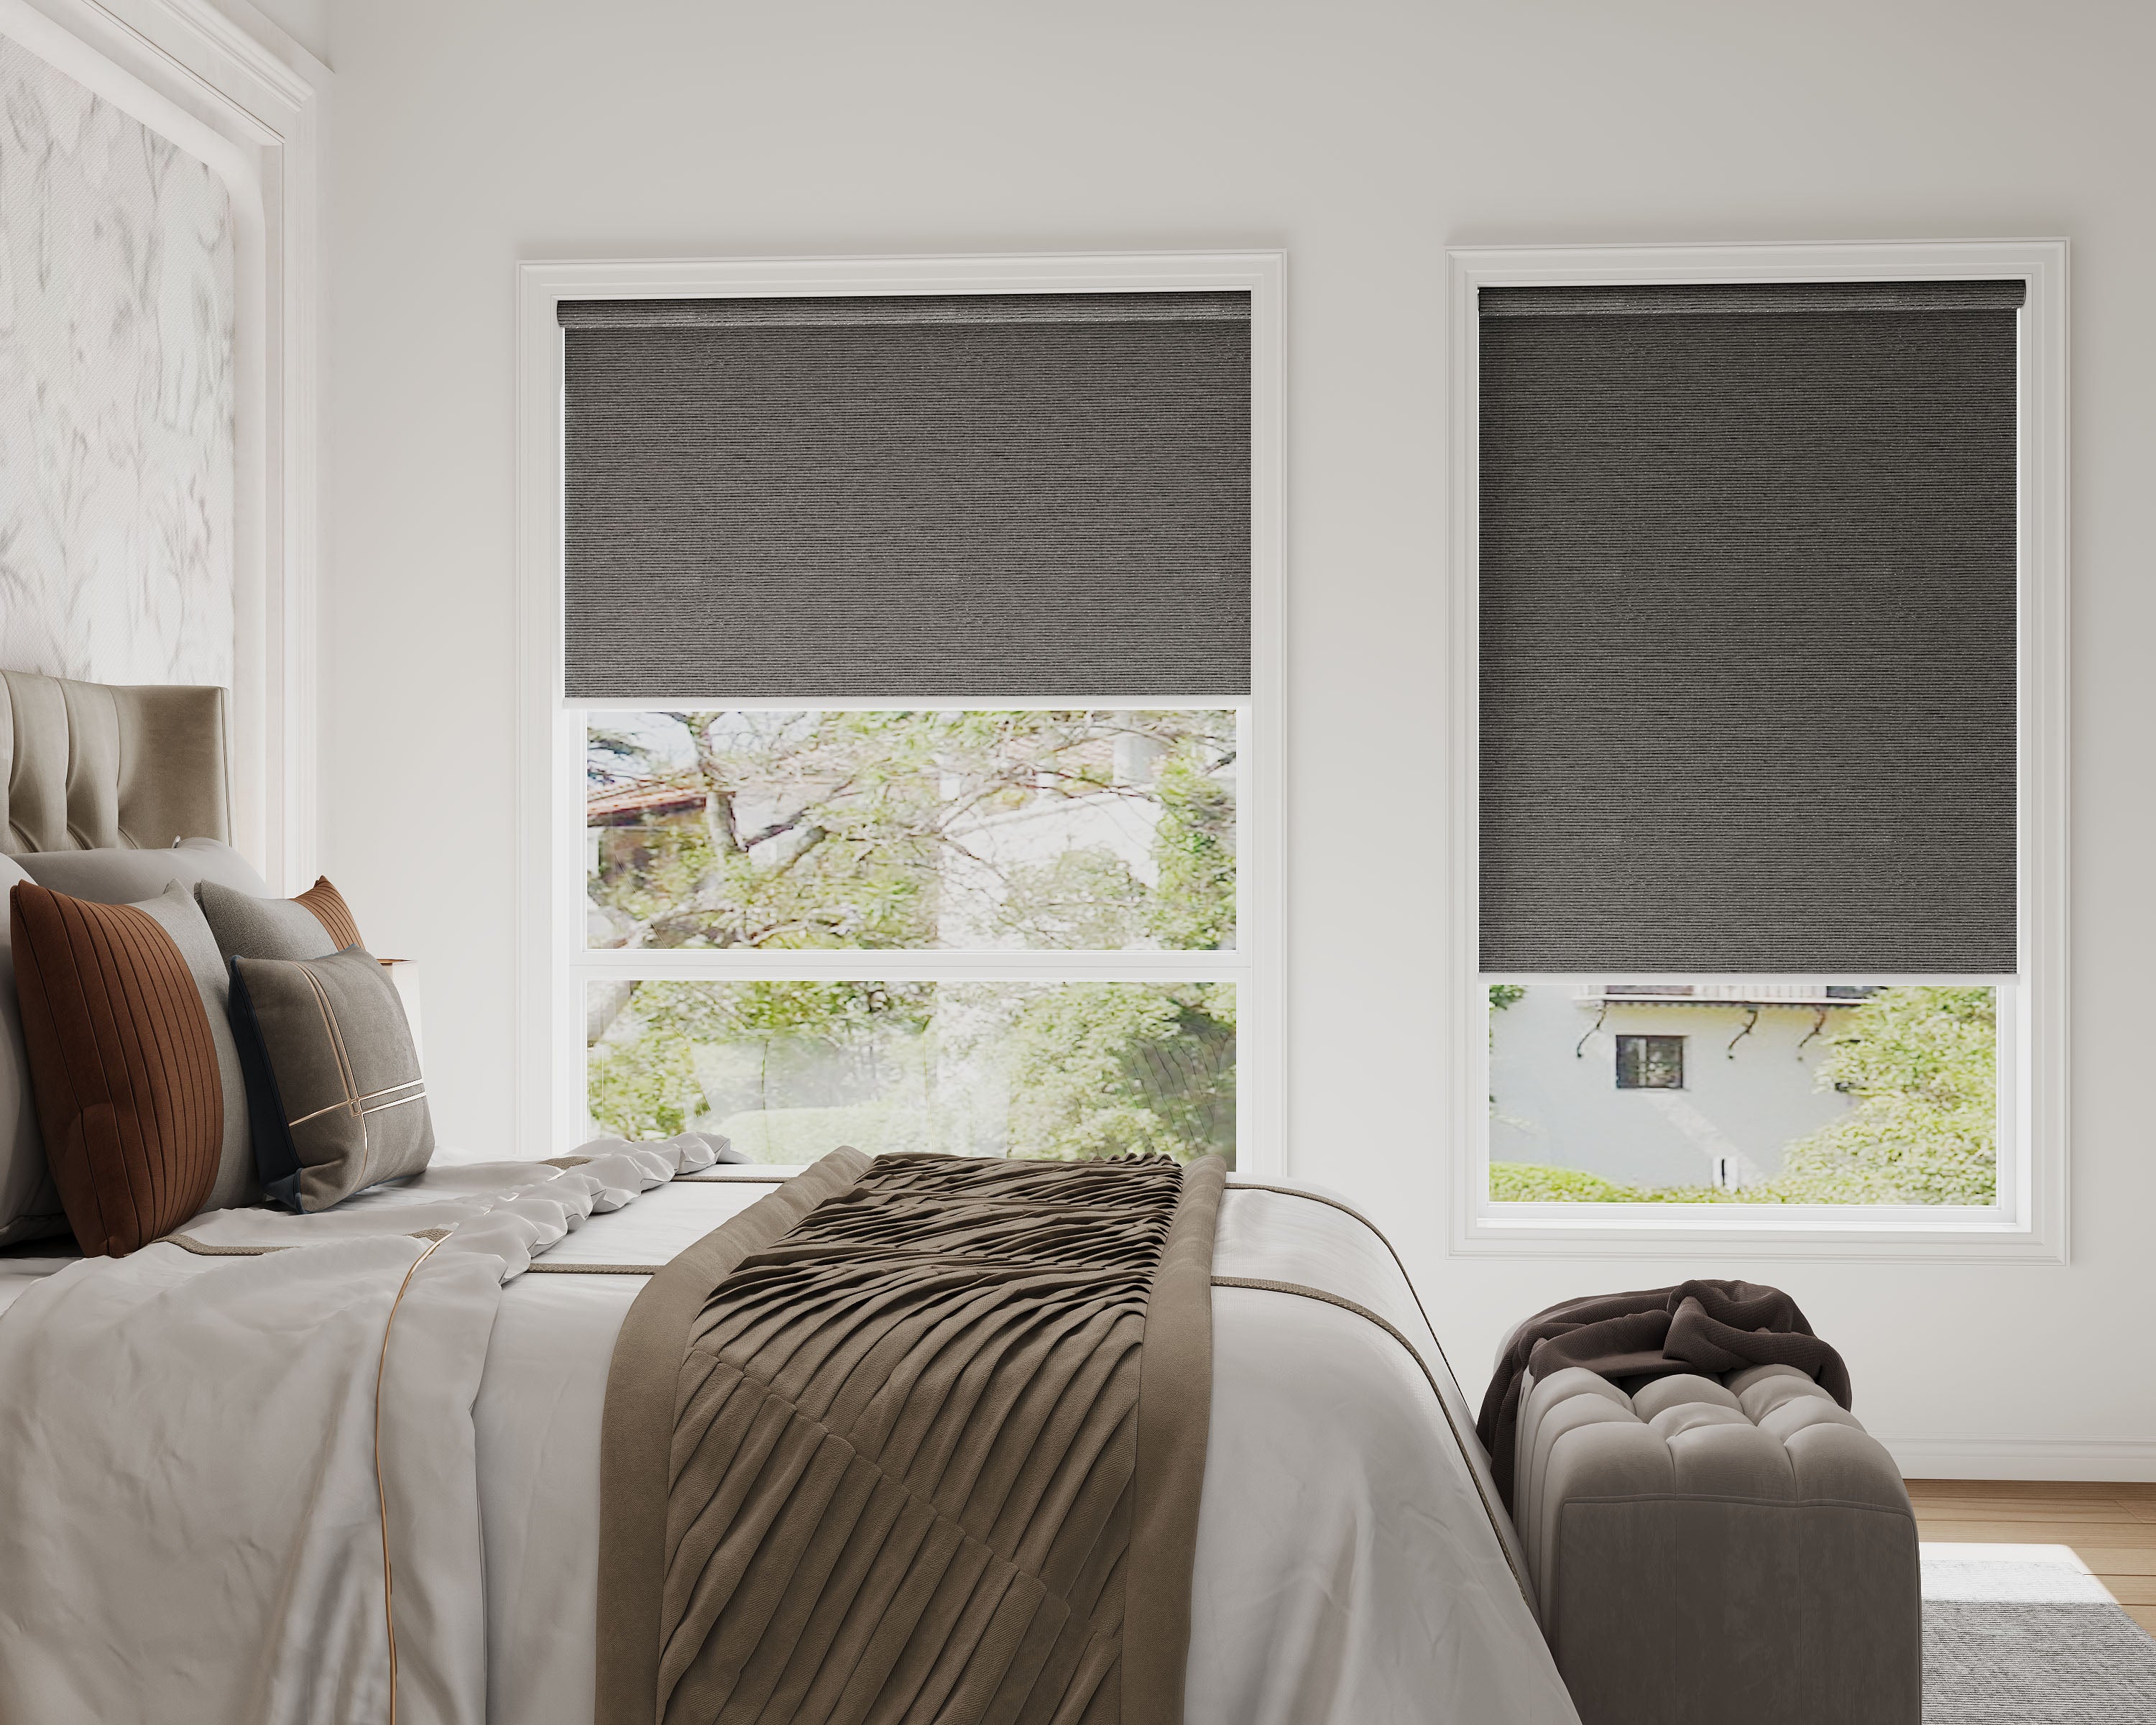
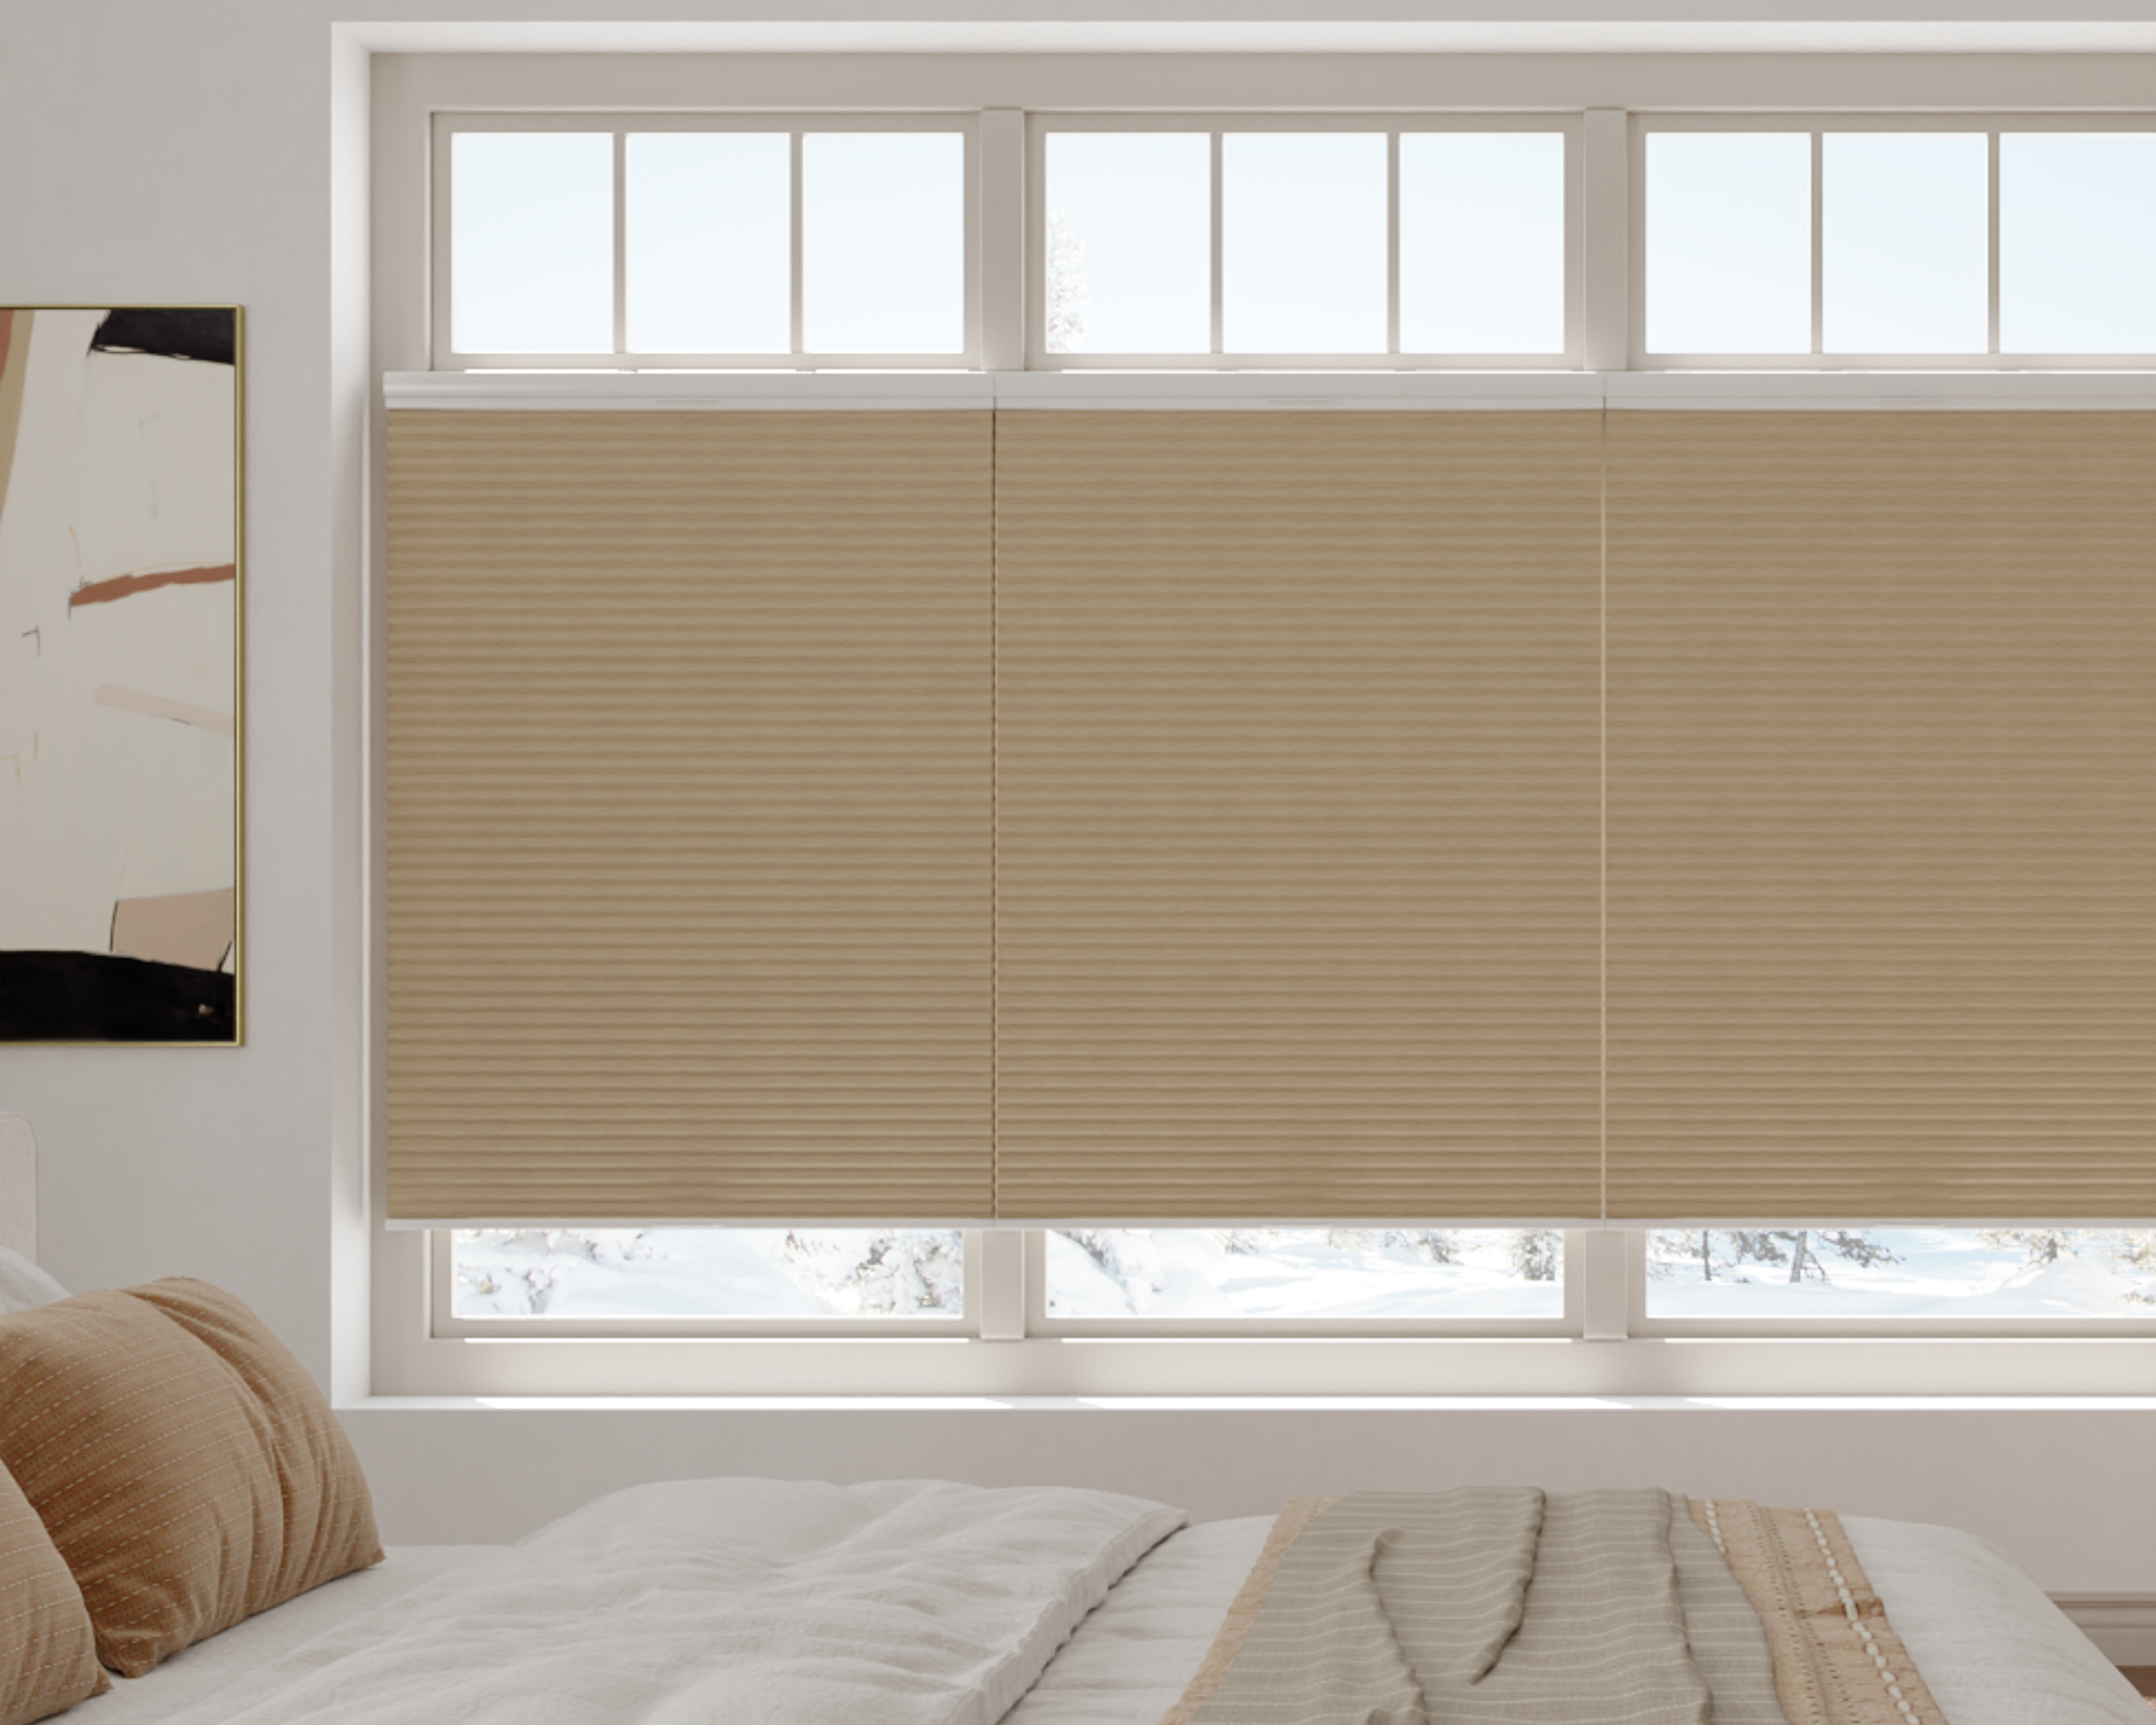
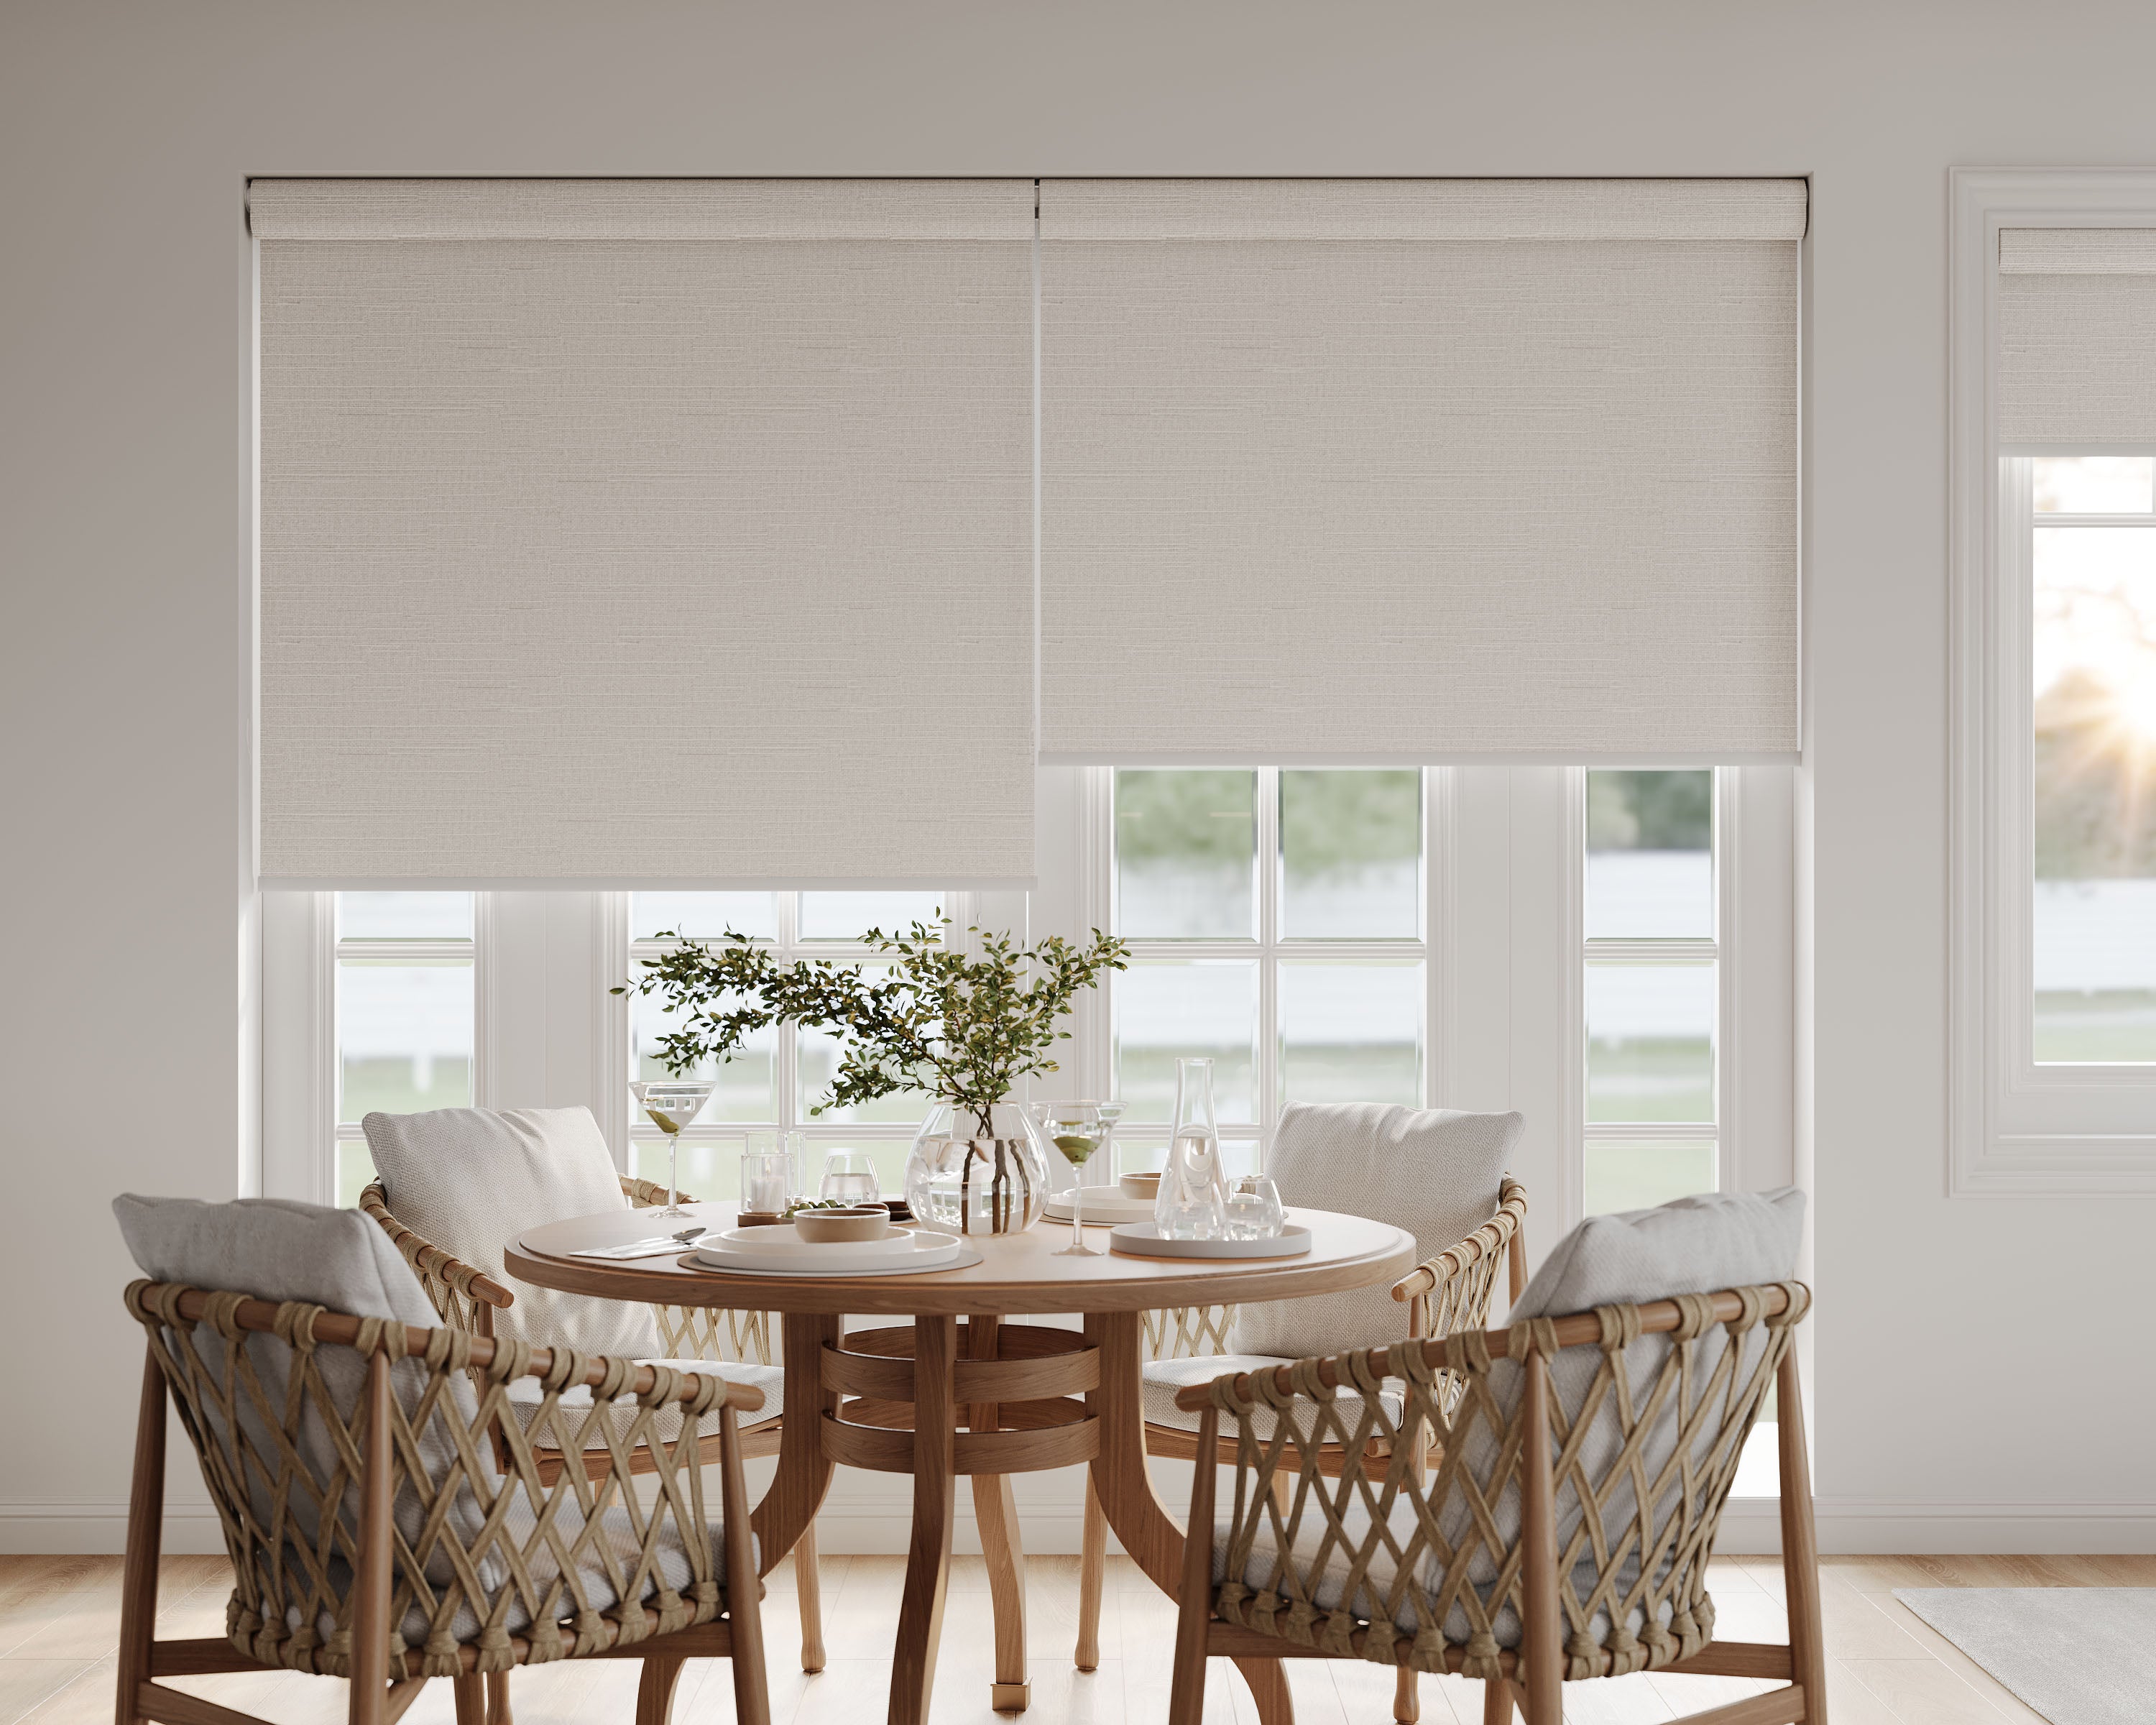
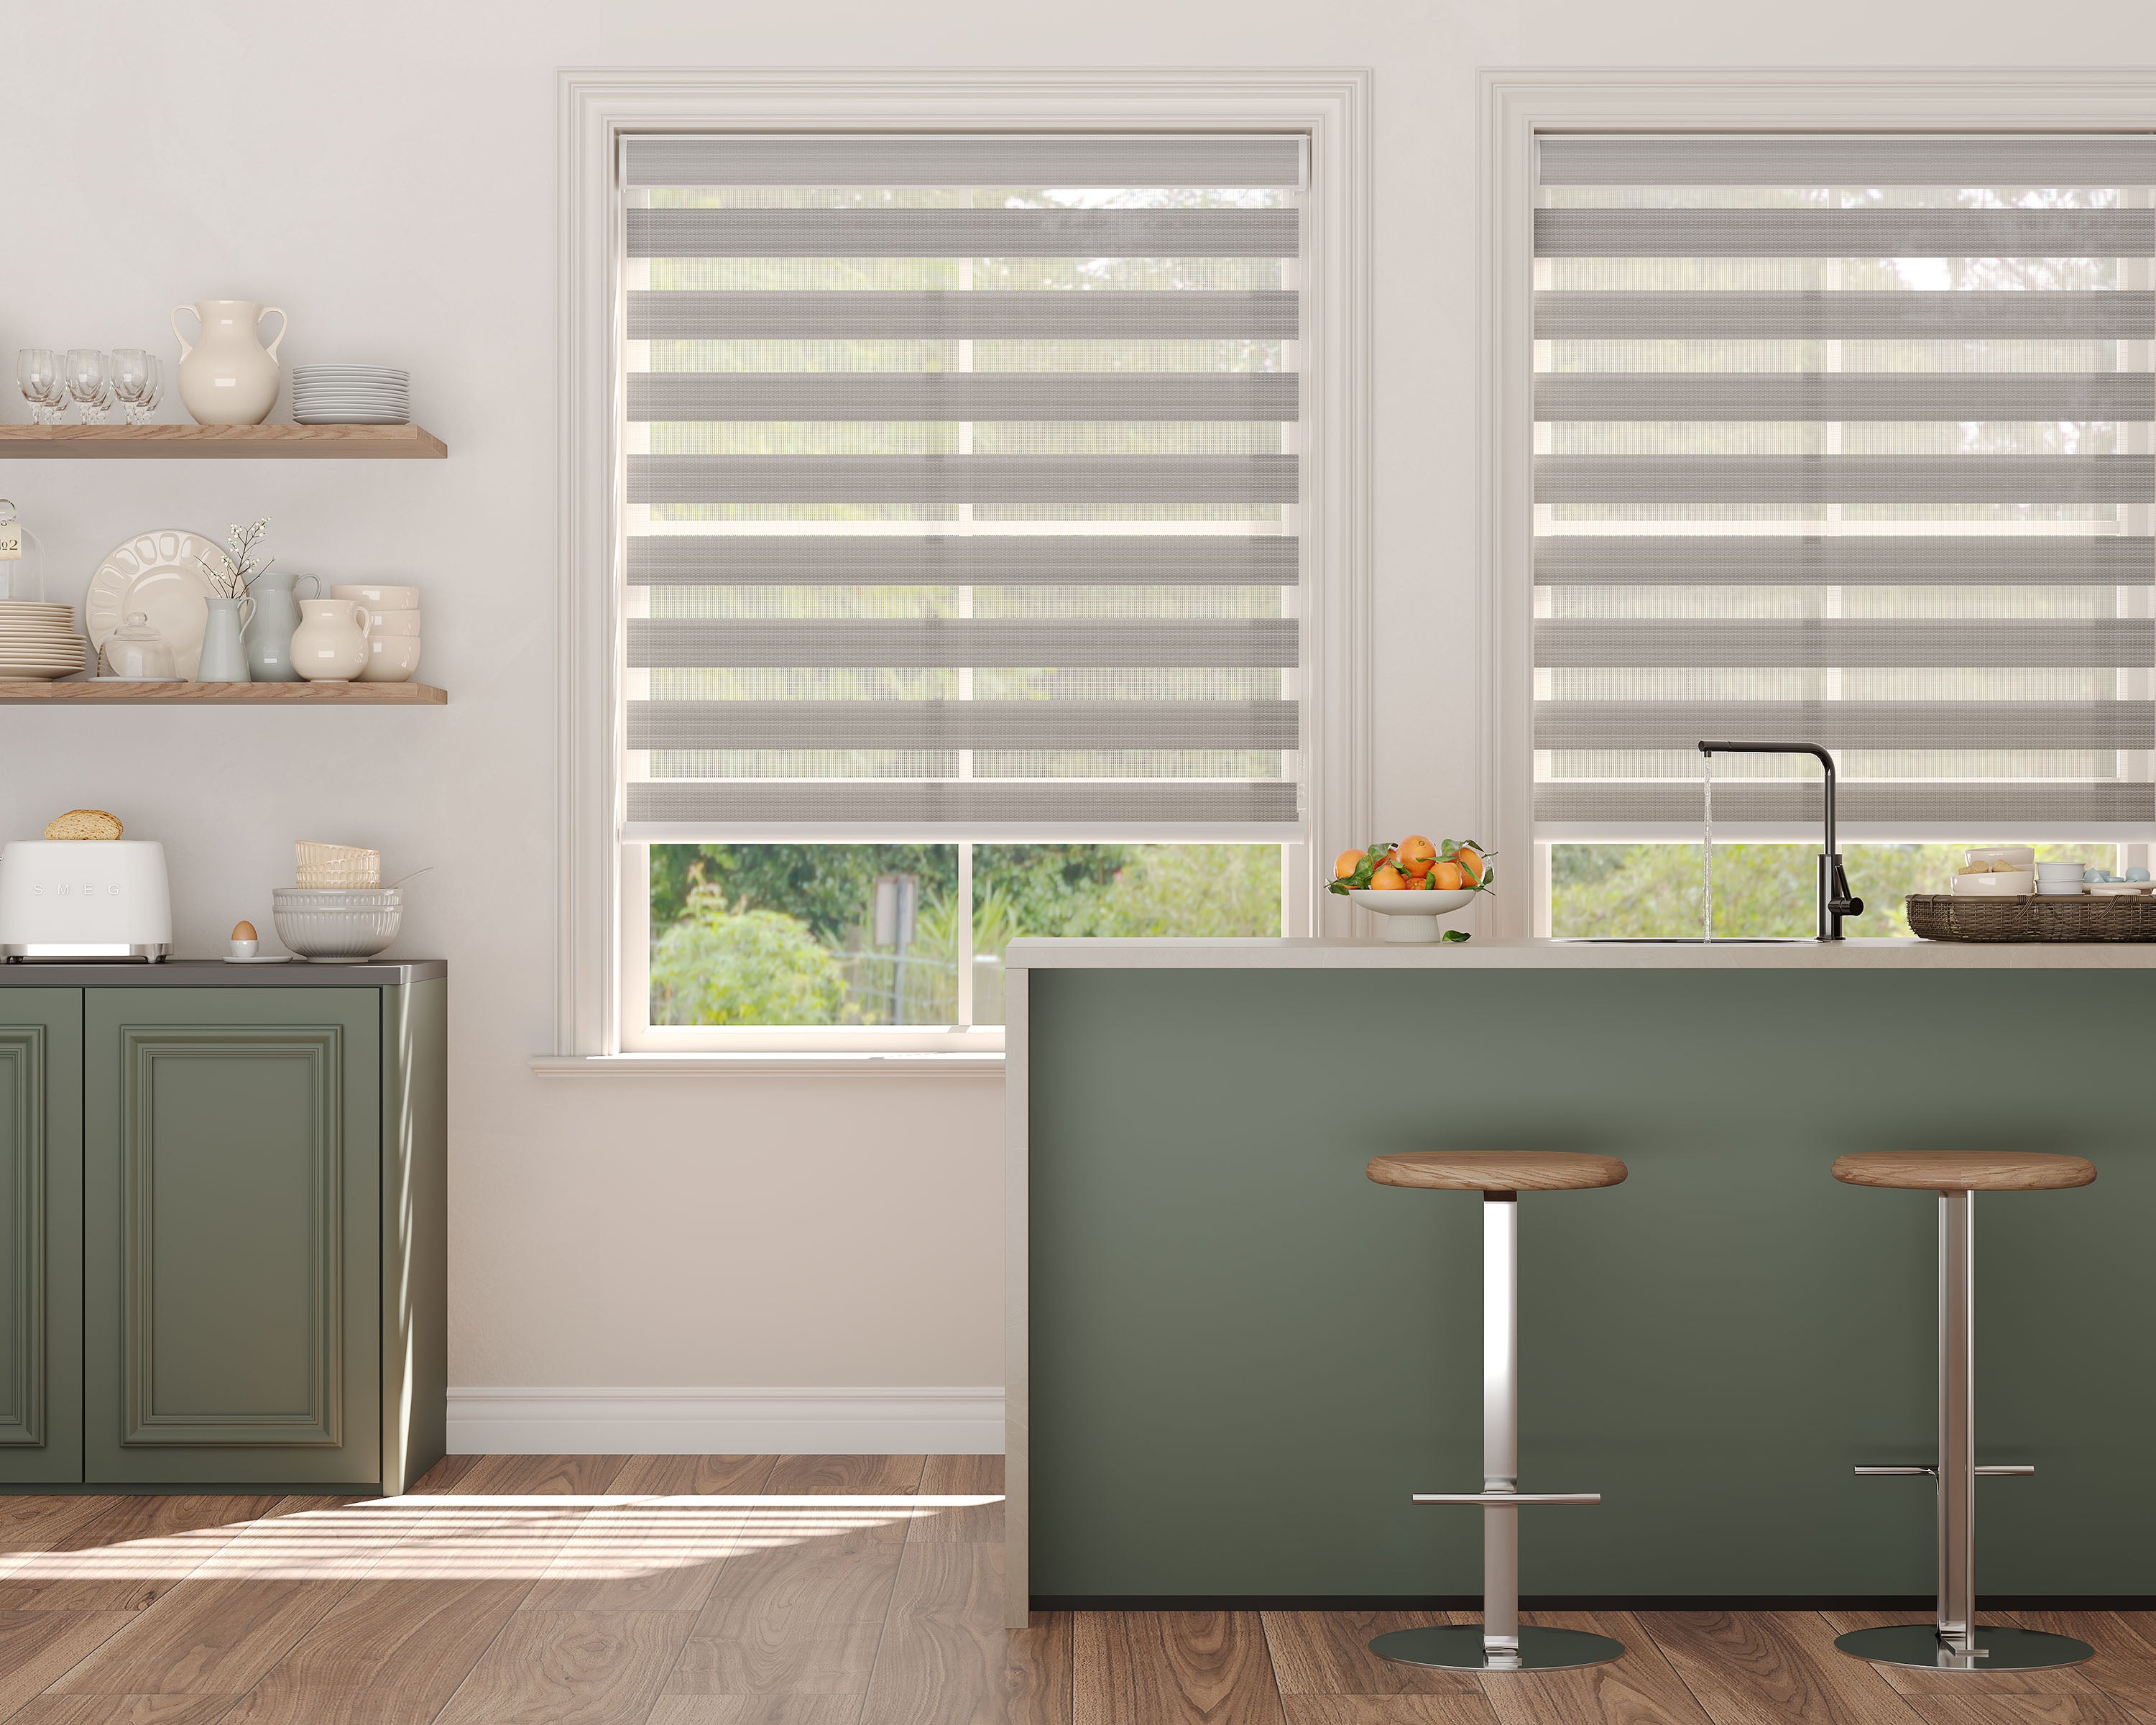
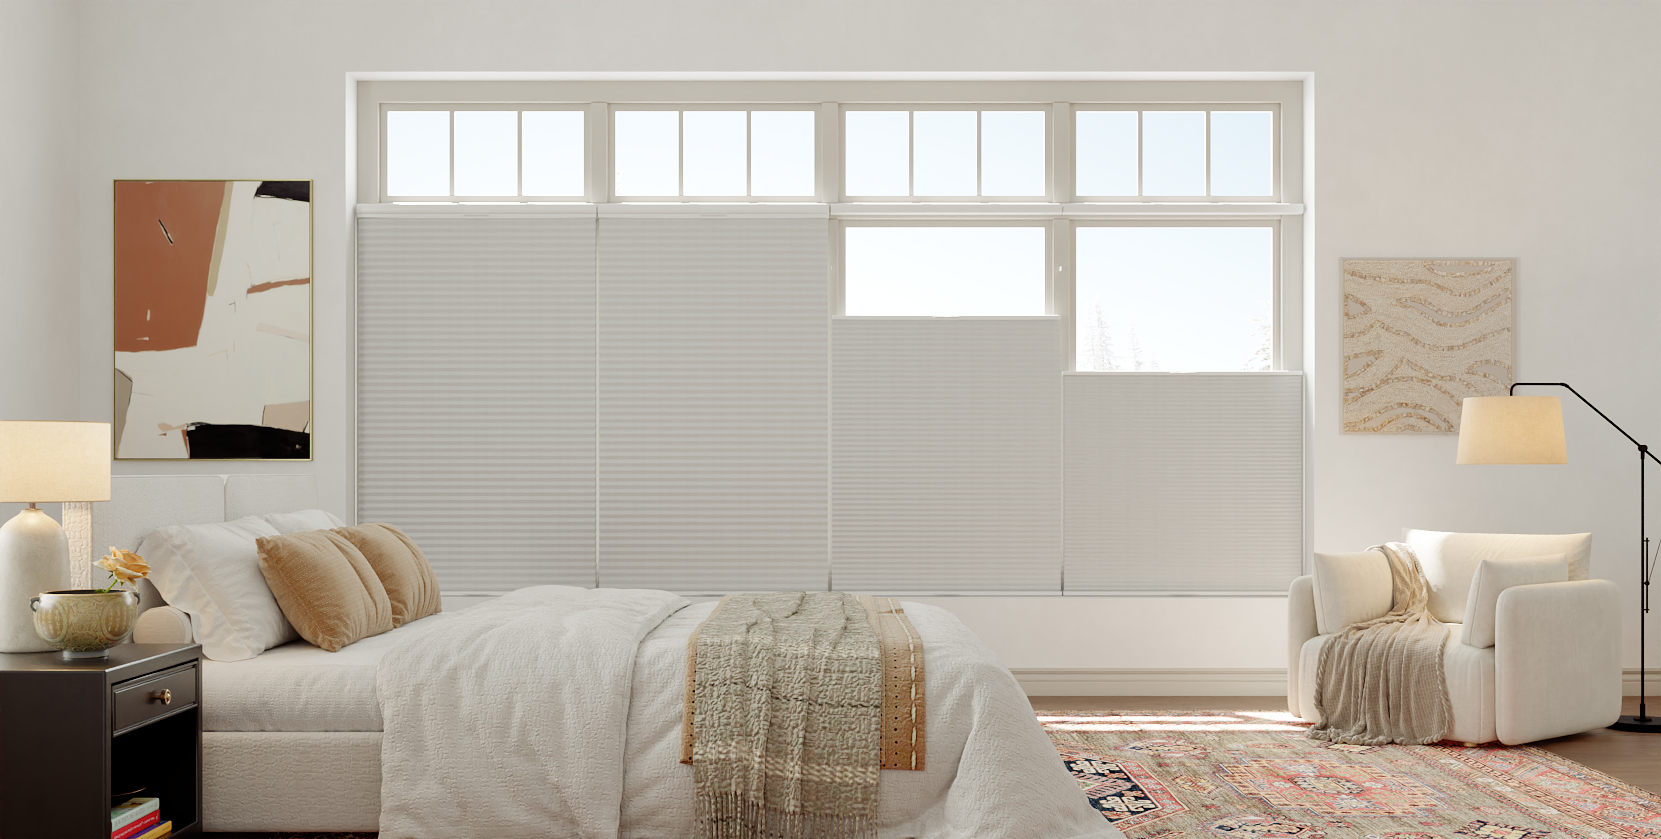
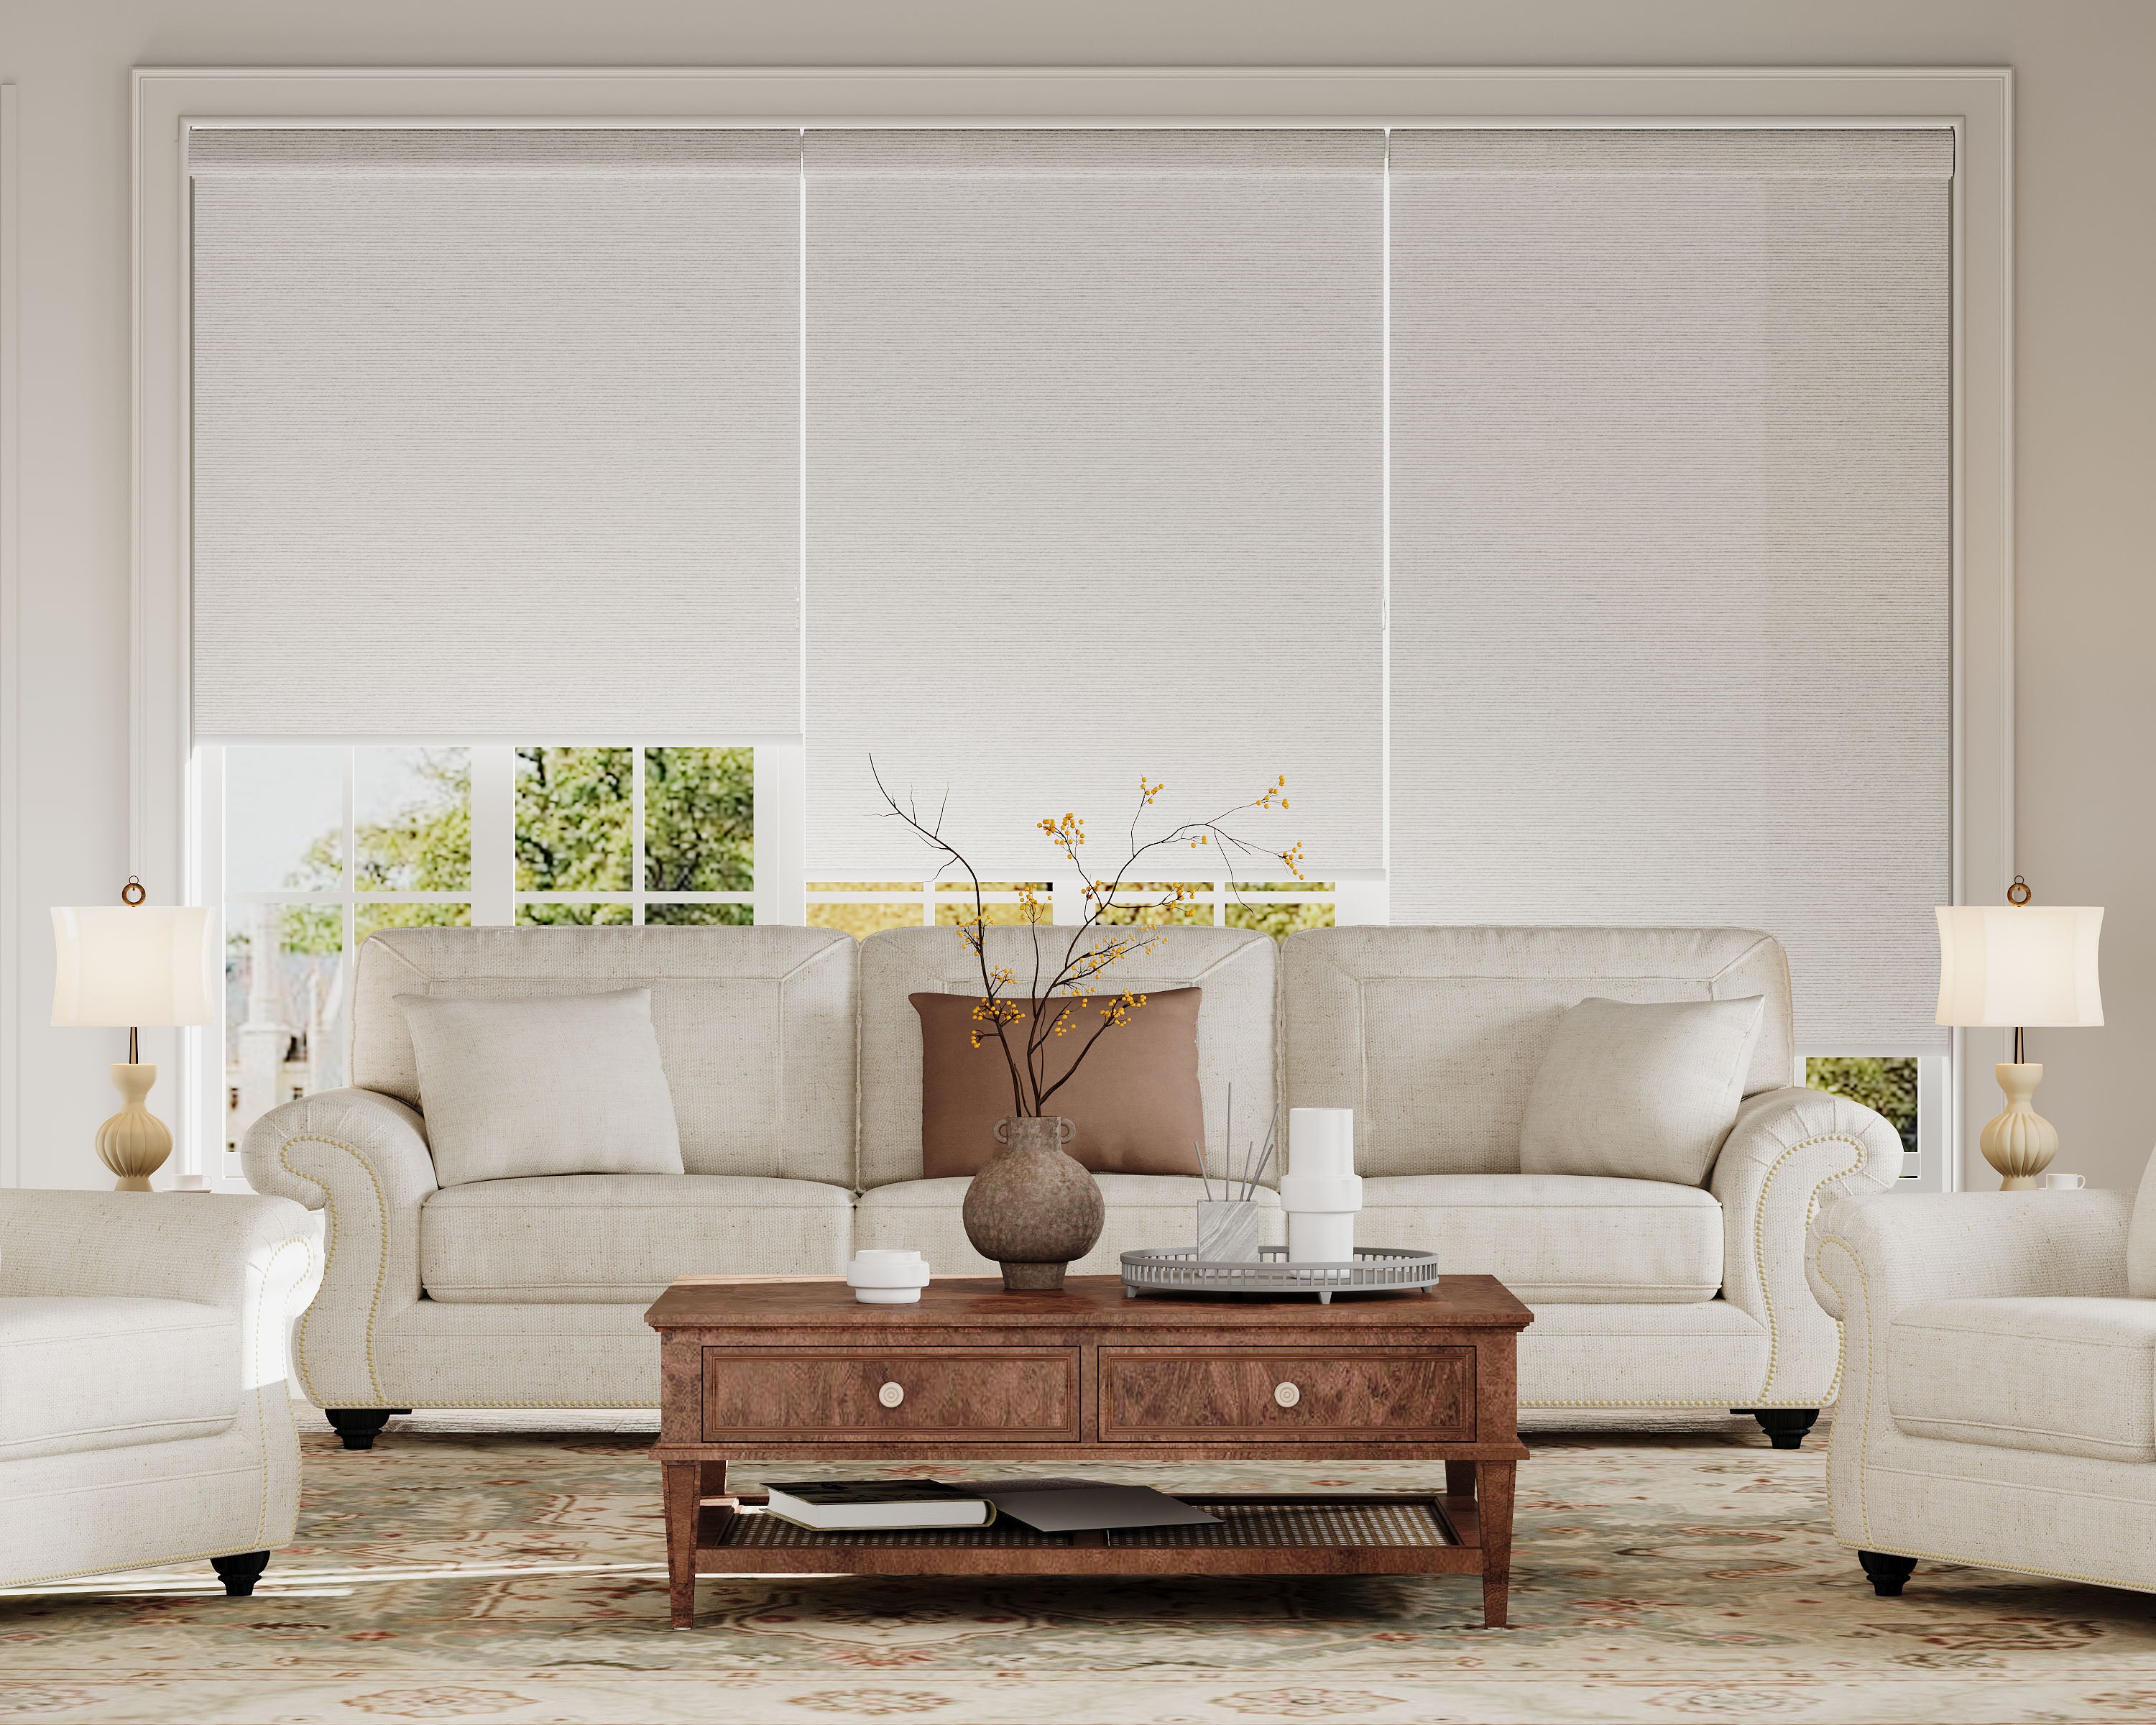
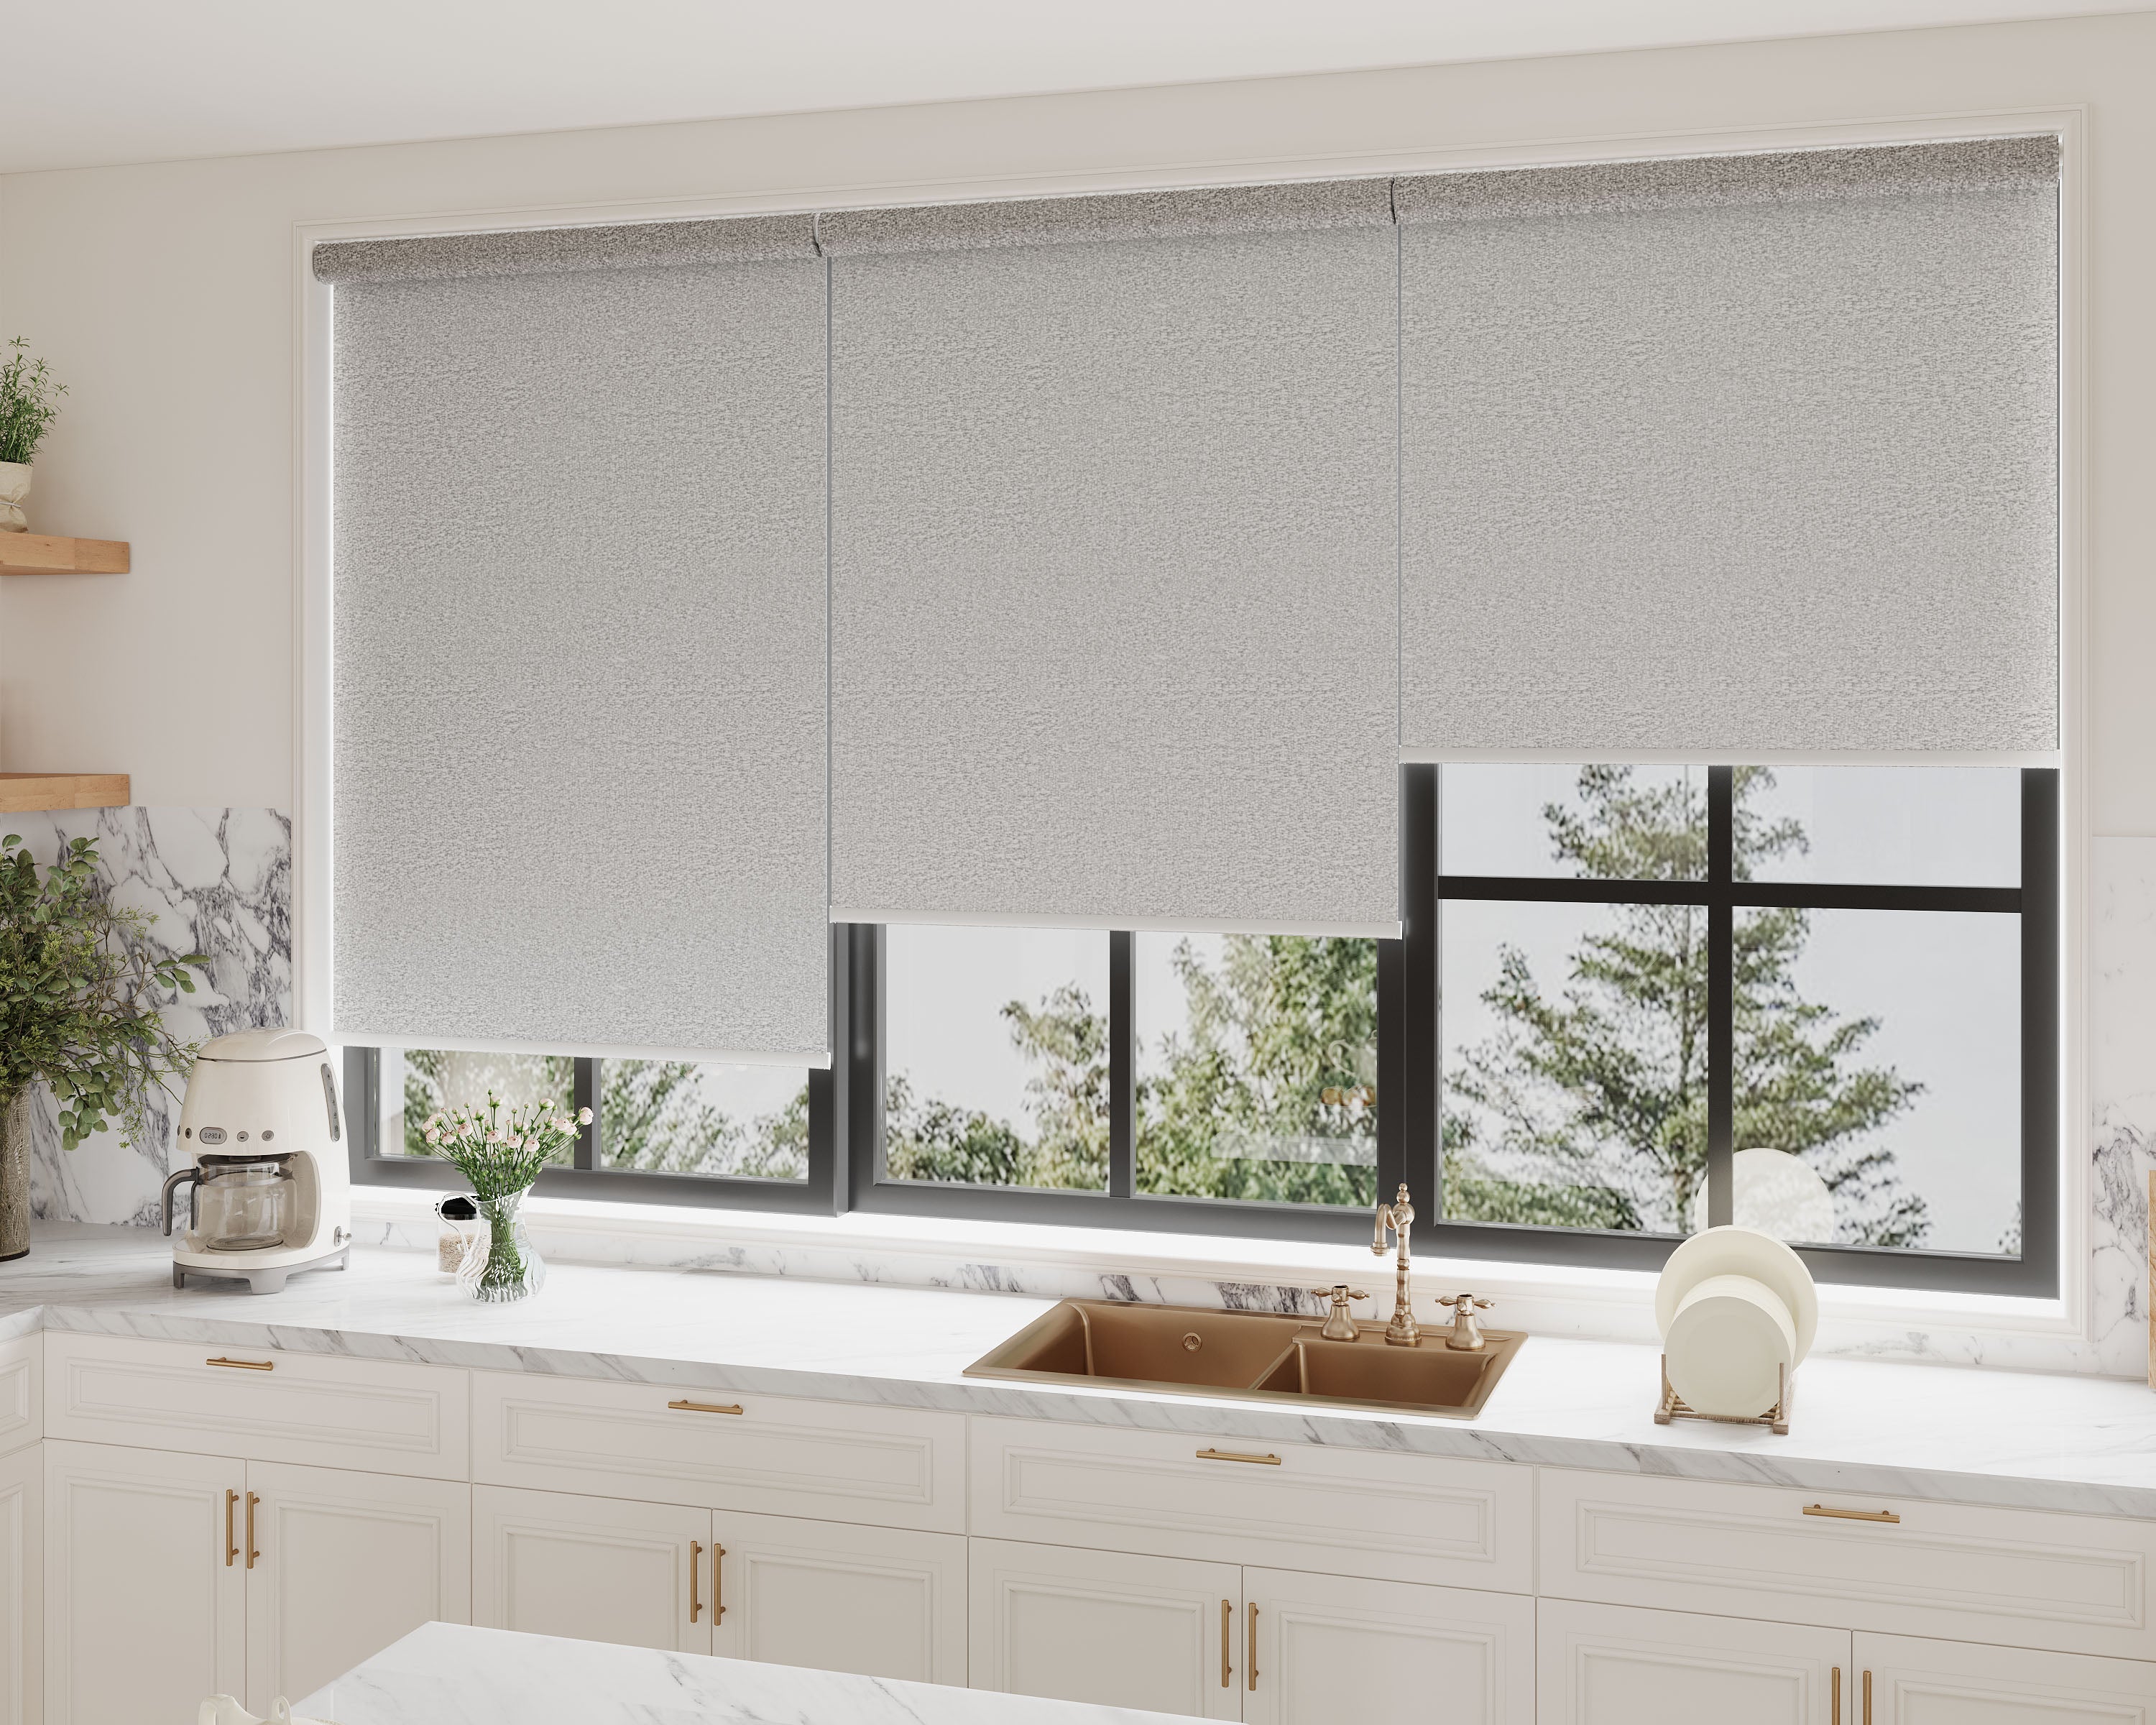
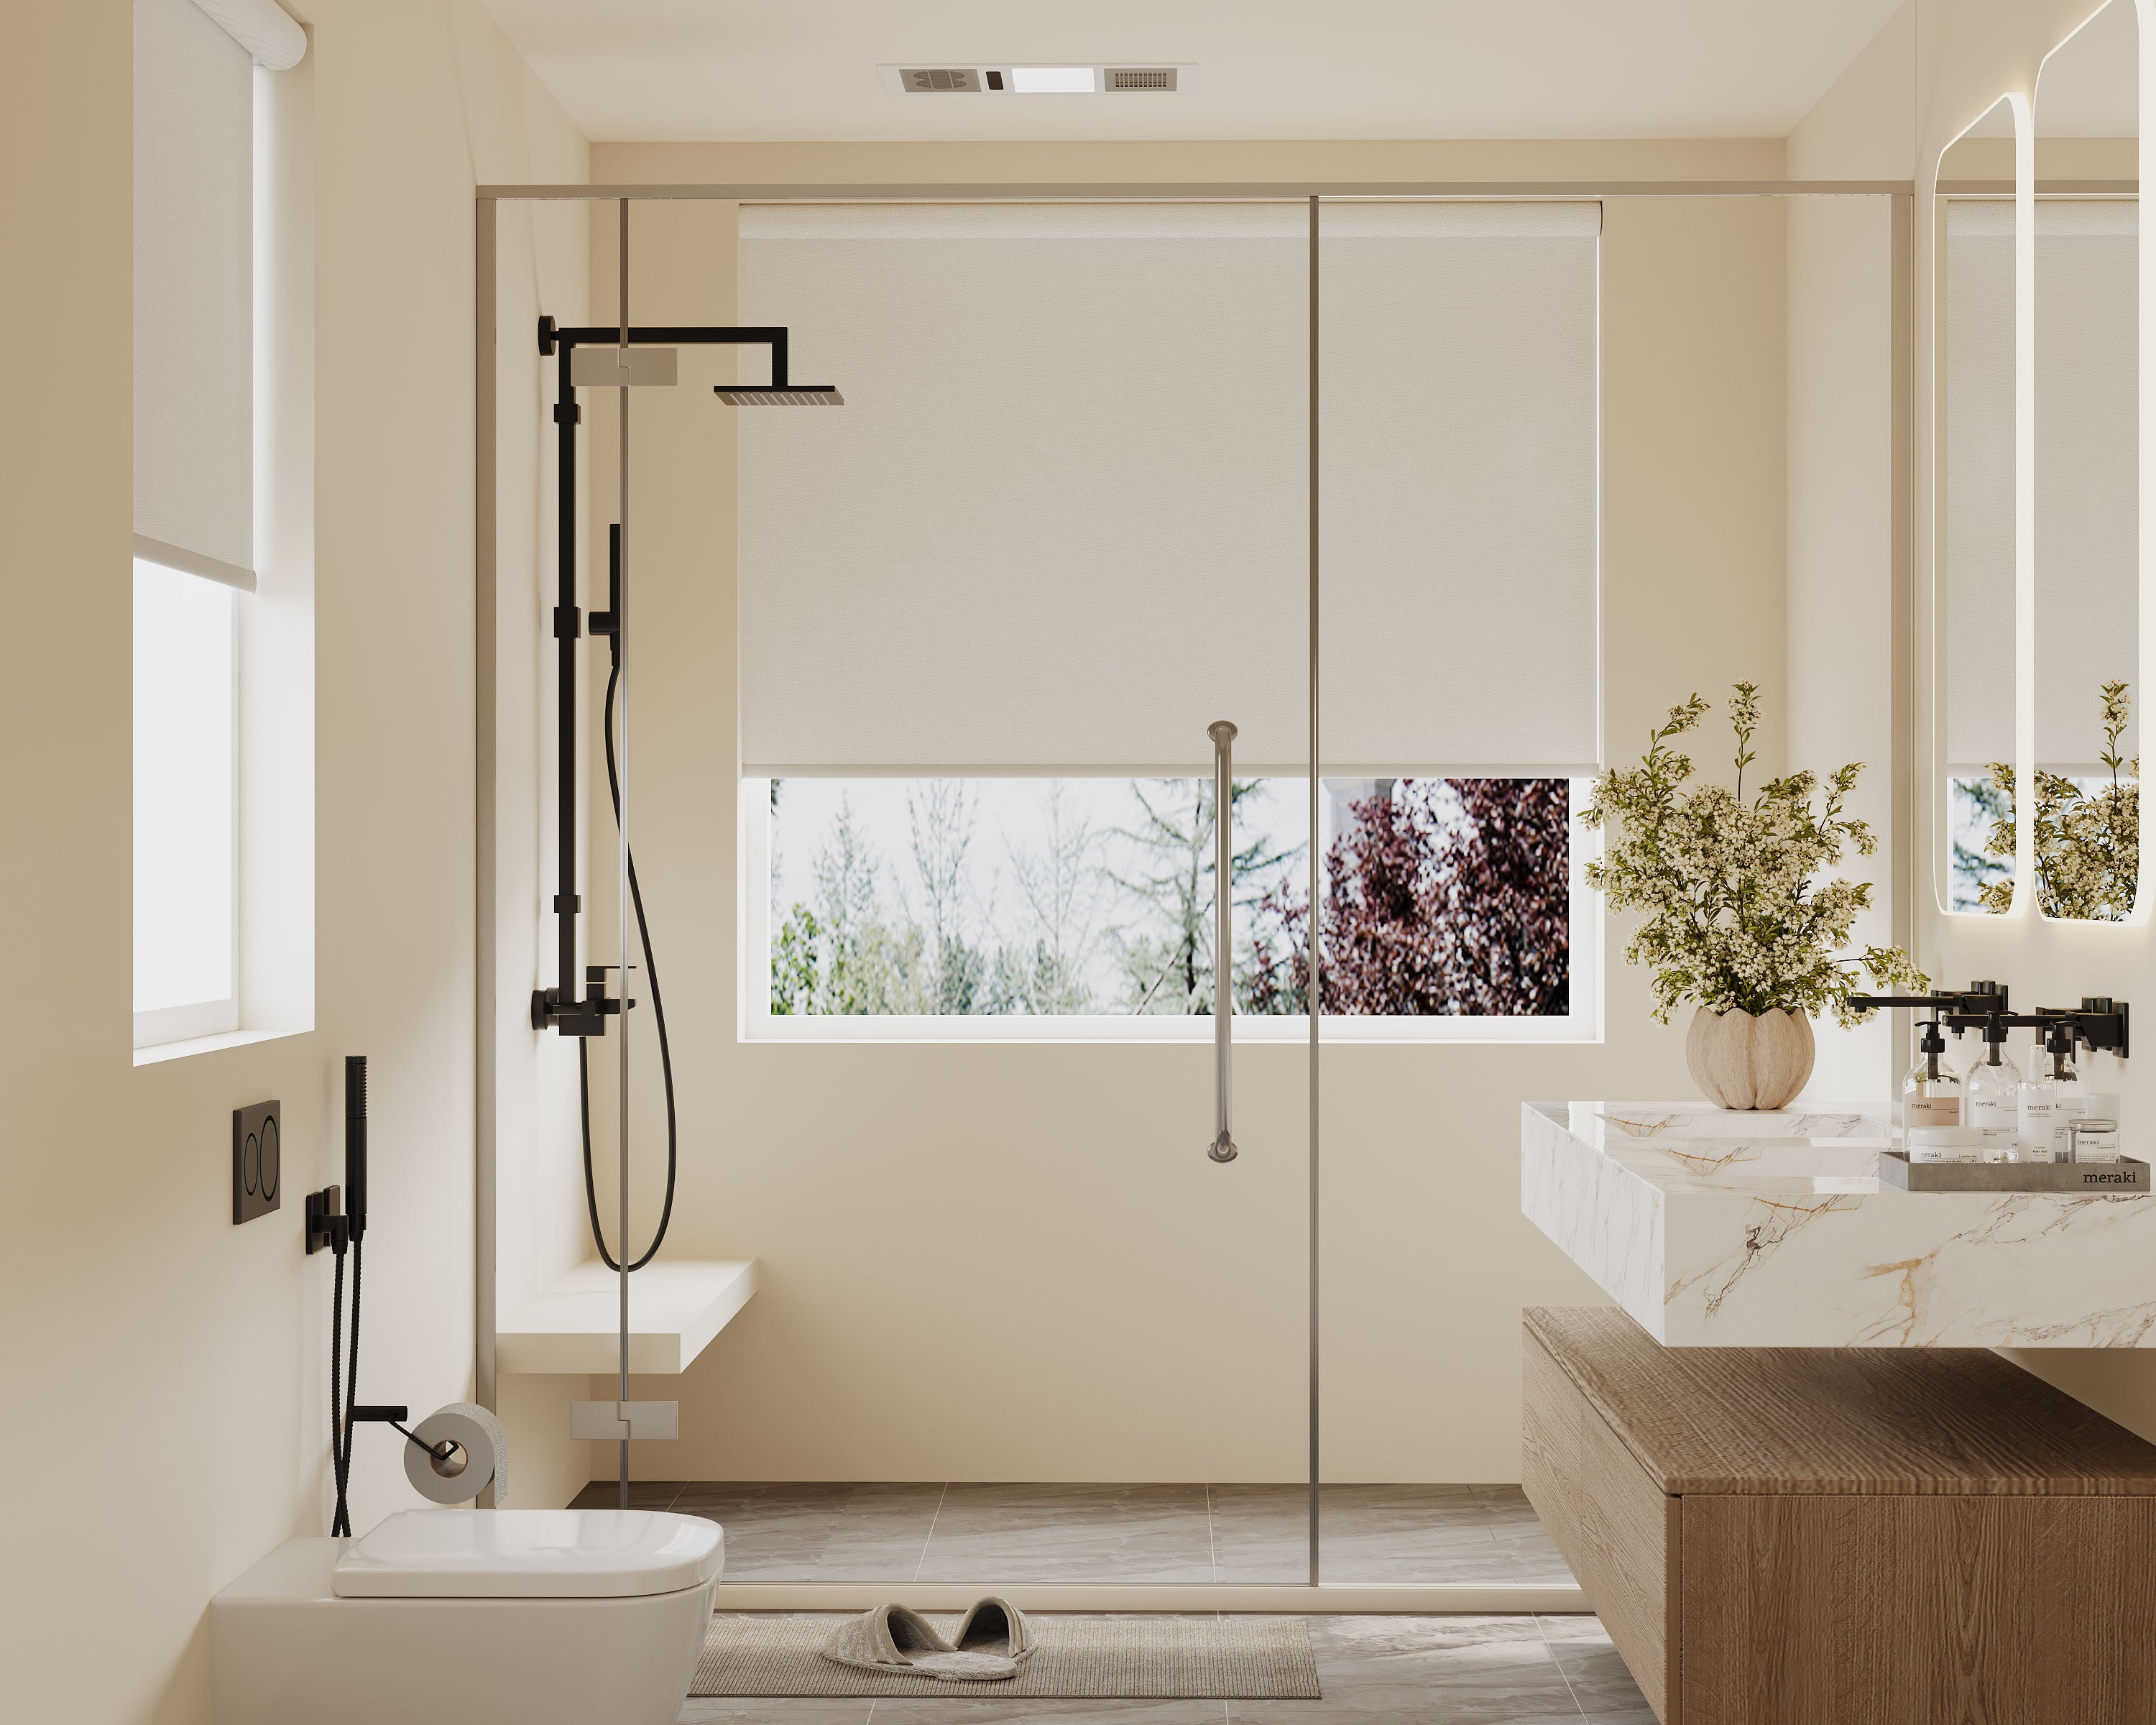
Explore our top collections, including Roller Shades, Zebra Shades, and Blackout Shades.
Combining sheer and blackout shades can feel tricky when our goal is to avoid bulky, heavy-looking windows. We can layer these two types of window treatments effectively by choosing slim, well-matched products and installing them with smart techniques that save space. This opens up possibilities for controlling light and privacy without sacrificing a clean, modern look.
We don’t have to settle for either stark sunlight or total darkness—it's possible to enjoy both options with a layered setup that fits seamlessly into any room style. Whether we're updating a living room, bedroom, or office, flexible layering lets us adjust our space exactly how we want it and keeps things looking tidy.
Key Takeaways
- Layer sheer and blackout shades by selecting slim and compatible designs.
- Use smart installation methods to maintain a streamlined appearance.
- Adapt layering to different rooms and styles for versatile light control.
Understanding Sheer and Blackout Shades
Layering window treatments like sheer and blackout shades gives us real control over light, privacy, and style. If we understand how these shades work together, we can sidestep common mistakes and get the most out of each type.
How Sheer and Blackout Shades Work
Sheer shades filter sunlight, softening the room’s glow and keeping prying eyes out. They’re usually made from lightweight fabrics like voile or polyester.
Blackout shades, on the other hand, block light almost completely. We use them in bedrooms or media rooms to create a dark environment. These shades often use thick polyester or multi-layered fabric with special coatings.
When we combine both, we can switch from bright to dim with a quick pull. Privacy, glare control, and style—all in one.
Benefits of Using Both Types Together
Pairing sheer and blackout shades means we don’t have to choose between natural light and total darkness. In the day, sheers let us illuminate our space softly while maintaining privacy. When we want to block everything out, such as at bedtime, blackout shades come to the rescue.
Here’s a quick breakdown of the benefits:
| Sheer Shades | Blackout Shades |
|---|---|
| Softly filter light | Block out light |
| Maintain privacy | Improve sleep |
| Add airy style | Reduce outside noise |
This combo gives us flexibility for any mood or activity. It’s also easier to match our decor by layering complementary shades instead of just one type.
Common Misconceptions About Layering Shades
A lot of us think layering shades means extra bulk or a complicated install. But with modern hardware and slimmer shade profiles, that’s rarely true. Careful measuring and compact designs help us achieve a neat, streamlined look.
Some worry it’ll look too busy or clash with their decor. Neutral colors or similar textures can blend the layers seamlessly. There’s also a myth that it’s expensive; smart shopping and DIY hacks can keep costs reasonable.
Usability shouldn’t be a concern, either. Many shade systems now work from a single chain or even motorized remotes, so raising or lowering both is simple.
Core Principles of Effective Layering
Pairing sheer and blackout shades brings privacy, light control, and a polished look to our windows. The trick is to get all the benefits, not a clunky wall of fabric.
Balancing Functionality and Style
When we’re layering shades, we shouldn’t have to choose between performance and personality. Blackout shades block light and provide privacy, but they can look heavy on their own. Sheers soften the look and let in natural light without totally sacrificing privacy.
By combining them, we can block out early morning sun one moment and create a gentle glow the next. This dual system frees us from settling for one feature over another. To get the most out of each layer, we should select fabrics that not only serve their purpose but also complement each other in color and texture. For example, pairing a textured sheer with a smooth blackout panel can add visual interest without being distracting.
If we choose cordless or motorized mechanisms, daily use is even easier. We want design flexibility without spending ages raising and lowering cords—instead, just a quick pull or button press and we’re set.
Avoiding Excessive Bulk
No one wants their window to look like it’s wearing a heavy winter coat indoors. Layering can easily get bulky if we use thick materials, deep mounting hardware, or ornate tracks. To avoid this, we stick with slim-profile rods, discreet brackets, and light-filtering fabrics that don’t need much material.
Here are some practical choices:
| Layer | Ideal Material | Mounting Option |
|---|---|---|
| Sheer Shade | Linen blend, voile | Inside mount, slim |
| Blackout Shade | Thin polyester, cotton | Outside mount, flat |
We keep hardware streamlined to avoid clutter. For side-by-side installation, compact brackets keep shades from jutting out. We also skip layers with dense embroidery or thick grommets, which pile up quickly.
Achieving Seamless Integration
For layered shades to feel cohesive, their installation should be precise and their operation smooth. We achieve this by aligning colors, finishes, and hardware components across both layers. If the sheer and blackout shades clash or look out of place, the whole scheme can lose its appeal.
Subtlety is key. We stick to shared color palettes or complementary neutrals for a clean look. Installing both shades within the same window frame can create a unified effect, but if frame depth is limited, a double curtain rod is a safe bet.
It helps to plan how shades will be operated together or separately. Motorized systems can synchronize both layers, while simple chain lifts allow manual adjustment without tangling. By sticking to a consistent look and easy-to-use mechanisms, the shades feel like one well-designed unit instead of a hasty stack of fabrics.
Choosing the Right Sheer and Blackout Combinations
Pairing sheer and blackout shades involves more than just picking favorites. We want a look that’s stylish but also practical, letting light in when we need it and blocking it perfectly when it counts.
Selecting Fabrics That Complement Each Other
We should aim for materials that play nicely together. For sheers, lightweight polyesters and linen blends are popular because they hang well and diffuse light evenly.
Blackout shades usually come in heavier weaves like polyester or cotton with a dense backing. Matching the drape and thickness keeps the layered look smooth and tailored instead of bulky or awkward.
A useful trick is to handle fabric swatches side by side. If the sheer gets crushed under the blackout layer, or the blackout fabric shows through the sheer, it’s better to reconsider. We want both layers to keep their shape and purpose.
Coordinating Colors and Patterns
Colors and patterns really pull everything together, or they clash and confuse the eye. The most seamless look often comes from sticking with a single color family, such as soft greys or warm beiges, so nothing fights for attention.
If we love patterns, it’s easier to put them on the sheer layer, then use a solid blackout behind it. Patterns on both can get busy, unless we’re really confident in our matching skills.
Here’s a quick sample palette:
| Sheer Color/Pattern | Blackout Color |
|---|---|
| White Stripe | Charcoal |
| Oatmeal Solid | Chocolate Brown |
| Light Blue Print | Navy |
| Pale Pink | Stone Grey |
This table gives us a few ideas, but our own color preferences always win out in the end.
Considering Shade Mechanisms for Smooth Operation
Let’s be honest: struggling with tangled cords or jammed rollers kills the vibe. The right mechanisms make it easy to use both layers together or separately.
Pairing a roller blackout shade with a sliding sheer panel works for most windows and keeps bulk minimal. Dual-shade systems, where both layers operate on parallel tracks, are worth considering if we want extra polish.
Look for hardware that mounts as close to the window as possible. Some brackets allow sheers to hang in front with blackouts tight behind, so nothing sticks out too far or looks clunky. We should also choose cordless or motorized options if we’re after a sleek, child-safe result.
Installation Techniques for a Slim Profile
A streamlined look starts with careful planning, especially when we want the beauty of sheer and blackout layers without adding bulk. The right mounting method, hardware, and integration of technology can make or break that clean finish.
Mounting Options: Inside vs. Outside
Inside mount puts shades within the window frame, giving us a flush, tailored appearance. This works best if our window depth is at least 2.5 inches, allowing both sheer and blackout shades to fit neatly together. For shallow or irregular window frames, outside mounting can be a lifesaver, covering the window completely and hiding less-than-perfect molding.
Here’s a quick comparison:
| Mount Type | Look | Ideal For | Cons |
|---|---|---|---|
| Inside Mount | Minimalist | Deep, regular frames | Space limitations |
| Outside Mount | Full coverage | Shallow or uneven frames | Bulkier profile |
Precise measuring matters either way. Inside mounts require exact fits to avoid gaps. When outside mounting, we suggest extending shades at least 2-3 inches past the frame for complete coverage and a more polished effect.
Layering With Double Tracks or Rods
For a sleek layered effect, double tracks or rods keep both sheer and blackout fabrics close to the wall or frame. Double tracks are popular for modern installations, with each shade in its own groove for smooth, independent movement. They reduce visual clutter, as the hardware is often slim and sometimes hidden.
With rods, especially in classic or transitional spaces, we can pick low-profile, thin double rods designed for layering. Mounting brackets with a short projection minimize how far the setup juts out. Lightweight hardware and fabric selections are key — the goal is grace, not the gym.
It helps to look for tracks or rods that offer snap-in brackets and clear labeling for hassle-free DIY installs. Prioritizing hardware made out of aluminum or quality composites cuts down overall weight and keeps our window area sharp and tidy.
Integrating Motorized and Manual Systems
We don’t have to pick between convenience and aesthetics. For a slim profile, motorized systems can be surprisingly unobtrusive, hiding motors in the roller tubes. Many brands offer combo kits where both sheer and blackout shades are powered by the same remote or wall panel, and the wiring can be run discreetly along the window frame or tucked behind trim.
Manual systems can also be streamlined by choosing cordless mechanisms or continuous loop chains. If we need to mix systems (say, a manual sheer with a motorized blackout), look for brackets designed for mixed use, so both layers mount closely without crowding.
Integration also means tucking remotes into wall pockets or using smart home hubs to operate everything by voice. The right setup lets us enjoy layered light control and keep our windows looking tidy and current, not cluttered.
Smart Layering for Different Room Types
Pairing sheer and blackout shades works differently depending on how we use each space. By tailoring our approach, we can manage light, privacy, and style while still keeping things sleek and unfussy.
Living Rooms and Open Spaces
For living rooms and open spaces, we want to maximize daylight and maintain some privacy without blocking our view. Using sheer shades during the day diffuses sunlight, softening the room’s look. At night, we can roll down the blackout shade for extra privacy or to watch a movie without the sun’s glare.
Since these rooms usually have larger windows, it's smart to look for dual-shade systems that keep both layers close to the window for a minimal profile. Slim cassette valances or side channels help avoid bulky stacking. Here’s a quick tip: use the sheer as a default, then pull the blackout down only as needed. That keeps the space feeling open most of the time.
If we want a tailored look, picking shades in neutral or matching tones can blend our window treatments seamlessly into the room’s decor. For bold statements, we might try textures or subtle patterns in the sheer layer.
Bedrooms Needing Optimal Light Control
Bedrooms need flexible light for sleeping and daytime use. Smart layering usually means pairing sheers for daylight and a true blackout for restful nights. Blackout fabric should block light and help muffle noise—sleep quality really does improve when it’s darker and quieter.
Cordless or motorized systems make life easier and safer, especially in kids’ or guest rooms. For a cleaner look, I like mounting both shades inside the window frame to reduce bulk and visual clutter. Some folks coordinate fabric colors with bedding or wall paint for a more pulled-together vibe, but honestly, even a subtle mismatch can look charming.
Privacy can be a big deal, especially in street-facing bedrooms. Pairing a privacy liner with sheers gives softness and seclusion during the day. On weekends, I just roll down the blackout, sleep in, and pretend the sun doesn’t exist.
Home Offices and Studios
Home offices and studios really need dynamic lighting. We want enough daylight to stay energized, but sometimes we need darkness for video calls or focused work. Sheer shades filter natural light, cut screen glare, and keep the room feeling bright.
Blackout shades are clutch for presentations or when I need to block distractions. A side-by-side control system lets me switch between sheer and blackout in seconds—such a timesaver.
Key features worth considering:
- Narrow headrails to keep hardware from crowding the window
- Separate controls for each layer
- Fabrics that cut UV exposure, which helps protect electronics and furniture
Swapping layers changes the whole mood: bright and fresh for productivity, or dark and focused when it’s crunch time.
Maintenance and Longevity Tips
If you want your layered sheer and blackout shades to look good and work smoothly, regular care matters. A little bit of upkeep keeps the fabrics looking crisp and the moving parts reliable.
Cleaning Layered Shade Systems
First up is dust. I usually grab a microfiber cloth or the brush attachment on my vacuum to gently sweep away everyday dust from both sheer and blackout fabrics. It helps to close the shades fully before cleaning, so you don’t miss any folds.
For deeper cleaning, I dampen a cloth with water and a drop of mild dish soap. Wipe gently—no scrubbing—or you’ll risk damaging the weave or leaving water spots. Don’t soak the fabric. Too much moisture can cause mildew or weird discoloration, and nobody wants that.
Quick tip: always spot test any cleaner on a hidden corner first. Some blackout linings are pretty sensitive and can react to cleaners or even water if you’re not careful.
Preserving Fabric and Mechanisms
Operating shades gently matters as much as cleaning. Never yank cords or mechanisms; smooth, steady motions do the trick. For motorized systems, I follow the manufacturer’s advice—most recommend recalibrating or lubricating once or twice a year for best results.
To help shades last longer, keep windows closed on windy days. Strong gusts can whip the fabric and stress the hardware. If a room gets a ton of sun, consider light window films to slow fading.
Here’s a simple maintenance list:
| Task | How Often |
|---|---|
| Dust light clean | Weekly |
| Spot clean stains | As needed |
| Check mechanisms | 2x a year |
Small habits like these keep layered shades looking sharp and working well for years—without adding stress to your routine.
Creative Styling Ideas
Layering sheer and blackout shades can look fantastic if you balance texture and color. Mixing materials and playing with combinations lets you go subtle or make a statement.
Blending Textures for Added Interest
Texture is the secret weapon when pairing sheer and blackout shades. Try crisp linen sheers with smooth blackout panels for a bit of contrast. That way, the window doesn’t end up looking flat or dull.
Patterns work too—maybe a sheer with a faint woven grid over a matte blackout for extra depth. Keep other room textiles simple so the shades stand out.
Layering in complementary tones, like soft white sheers with charcoal blackout curtains, gives a clean, tailored look. Want a little more flair? Small hardware accents, like brushed brass rods, can help the layers pop.
Minimalist Versus Bold Layered Looks
Minimalist layering is all about restraint. Pair neutral-hued sheers with slim blackout panels and skip heavy embellishments. Stick to two layers max. This fits modern spaces and lets the natural light shine.
If you’re feeling bold, go for high-contrast combos—think sheer gold with jet black blackout shades. Color blocking and bold patterns can work, but I’d limit bright shades to just one layer to avoid overwhelming the space.
Quick comparison:
| Approach | Layer Colors | Hardware | Room Style |
|---|---|---|---|
| Minimalist | Neutral, muted | Simple, slim | Modern, Scandi |
| Bold | Contrasting, rich | Decorative, thick | Eclectic, Glam |
Whatever your style, plan layers intentionally so things feel curated, not chaotic.
Frequently Asked Questions
Combining sheer and blackout shades gives you a nice mix of light control, privacy, and style. The trick is in color matching, layering, and practical installation.
What's the secret to achieving both privacy and light control with layered window treatments?
We use blackout shades for full privacy and darkness, plus sheer shades for soft, natural light. Adjusting each layer lets us control things depending on the time of day, weather, or even our mood.
Are there creative ways to combine sheer and blackout shades for a stylish look?
Mixing textured sheers with smooth blackout panels adds depth. Sometimes I’ll pair crisp white sheers with dark gray blackout shades for a modern, high-contrast vibe. Layering patterned sheers over solid blackout rollers can create subtle dimension without getting too busy.
How can you prevent sheer and blackout shades from looking too bulky when combined?
Go for slim-profile hardware and low-profile shades. Mount blackout shades inside the window frame and sheers outside to save space and keep things streamlined. Lighter fabrics for sheers help minimize bulk too.
What are the pros and cons of layering different types of window coverings?
Layered treatments give us better control over privacy, light, and temperature. On the downside, they do need more maintenance, and measuring for hardware can get tricky. Extra layers might make windows harder to open if you’re not careful with planning.
How do I maintain easy functionality when layering sheer and blackout window treatments?
Cordless or motorized systems keep things simple and avoid tangling. I prefer separate controls for each layer—it makes adjusting them straightforward, almost effortless.
What's the best strategy for choosing complementary colors for sheer and blackout shades?
Honestly, we usually lean toward similar tones to keep things looking pulled together. Sometimes, though, it’s fun to throw in a neutral and let one accent color do the talking—just enough contrast without being loud. We always end up shuffling samples around in different light because, well, colors can be sneaky. If we’re unsure, we just go with whites, grays, or earthy shades. They pretty much play nice with everything.

