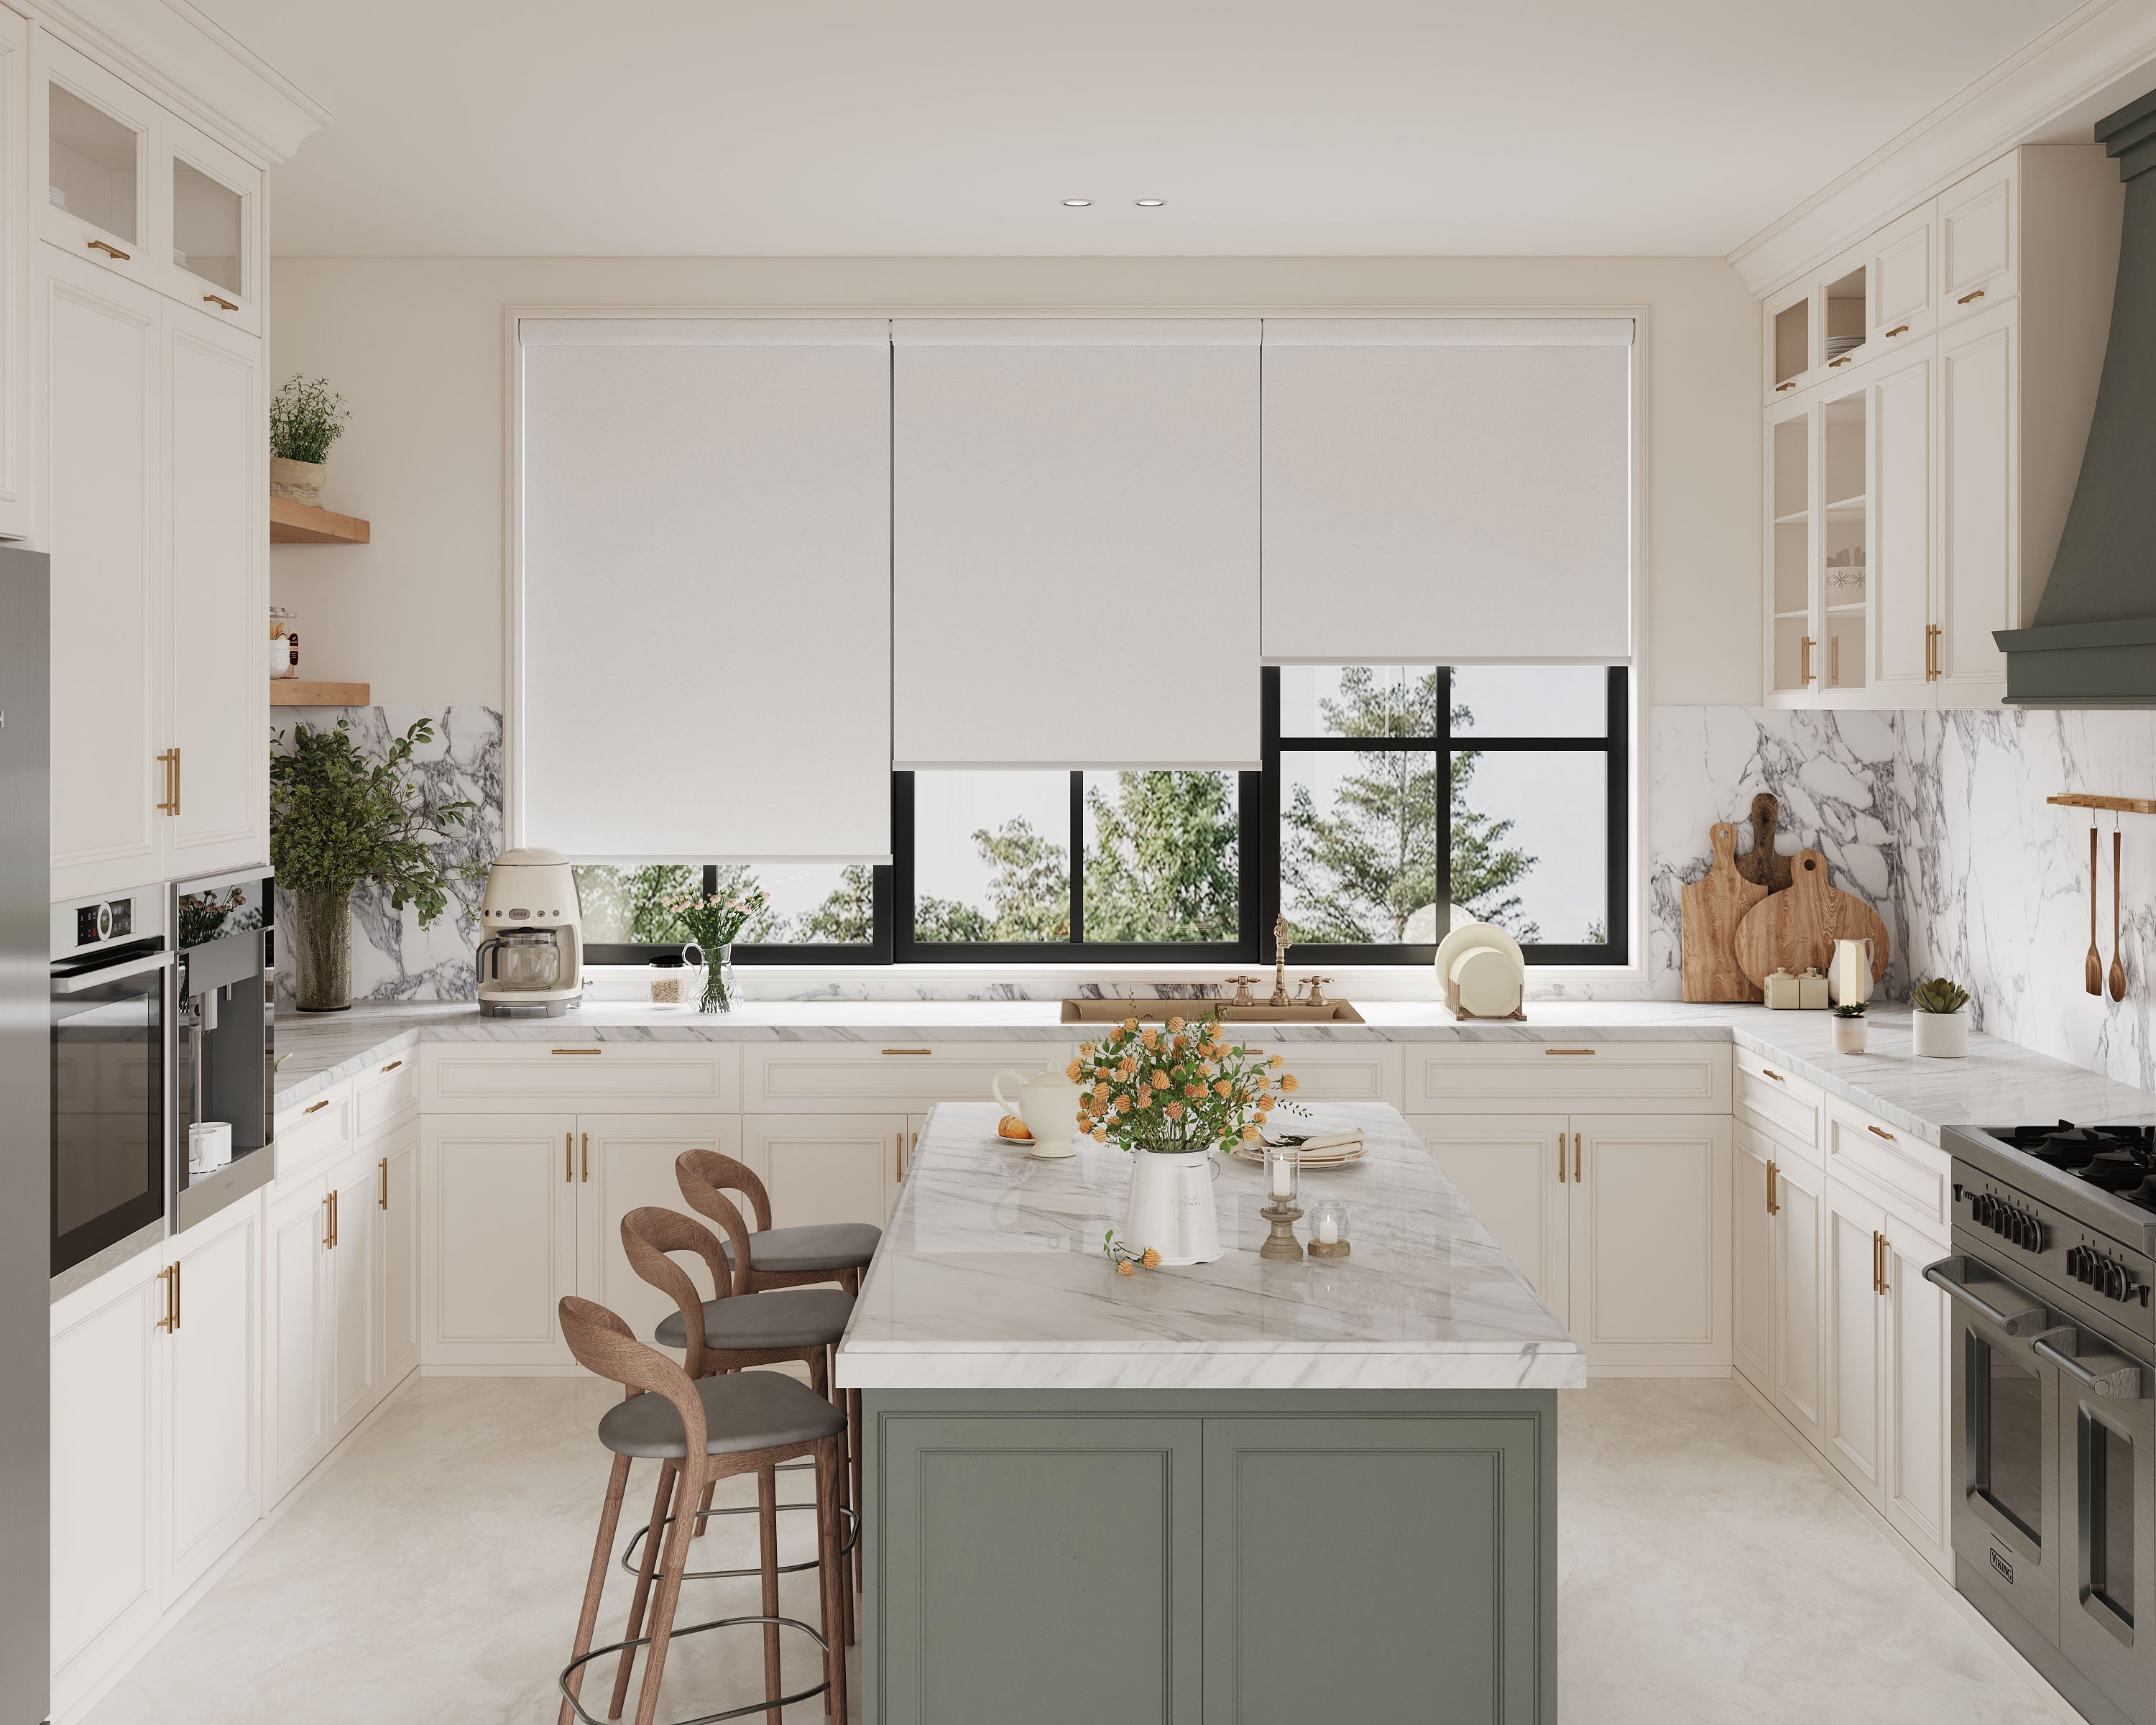
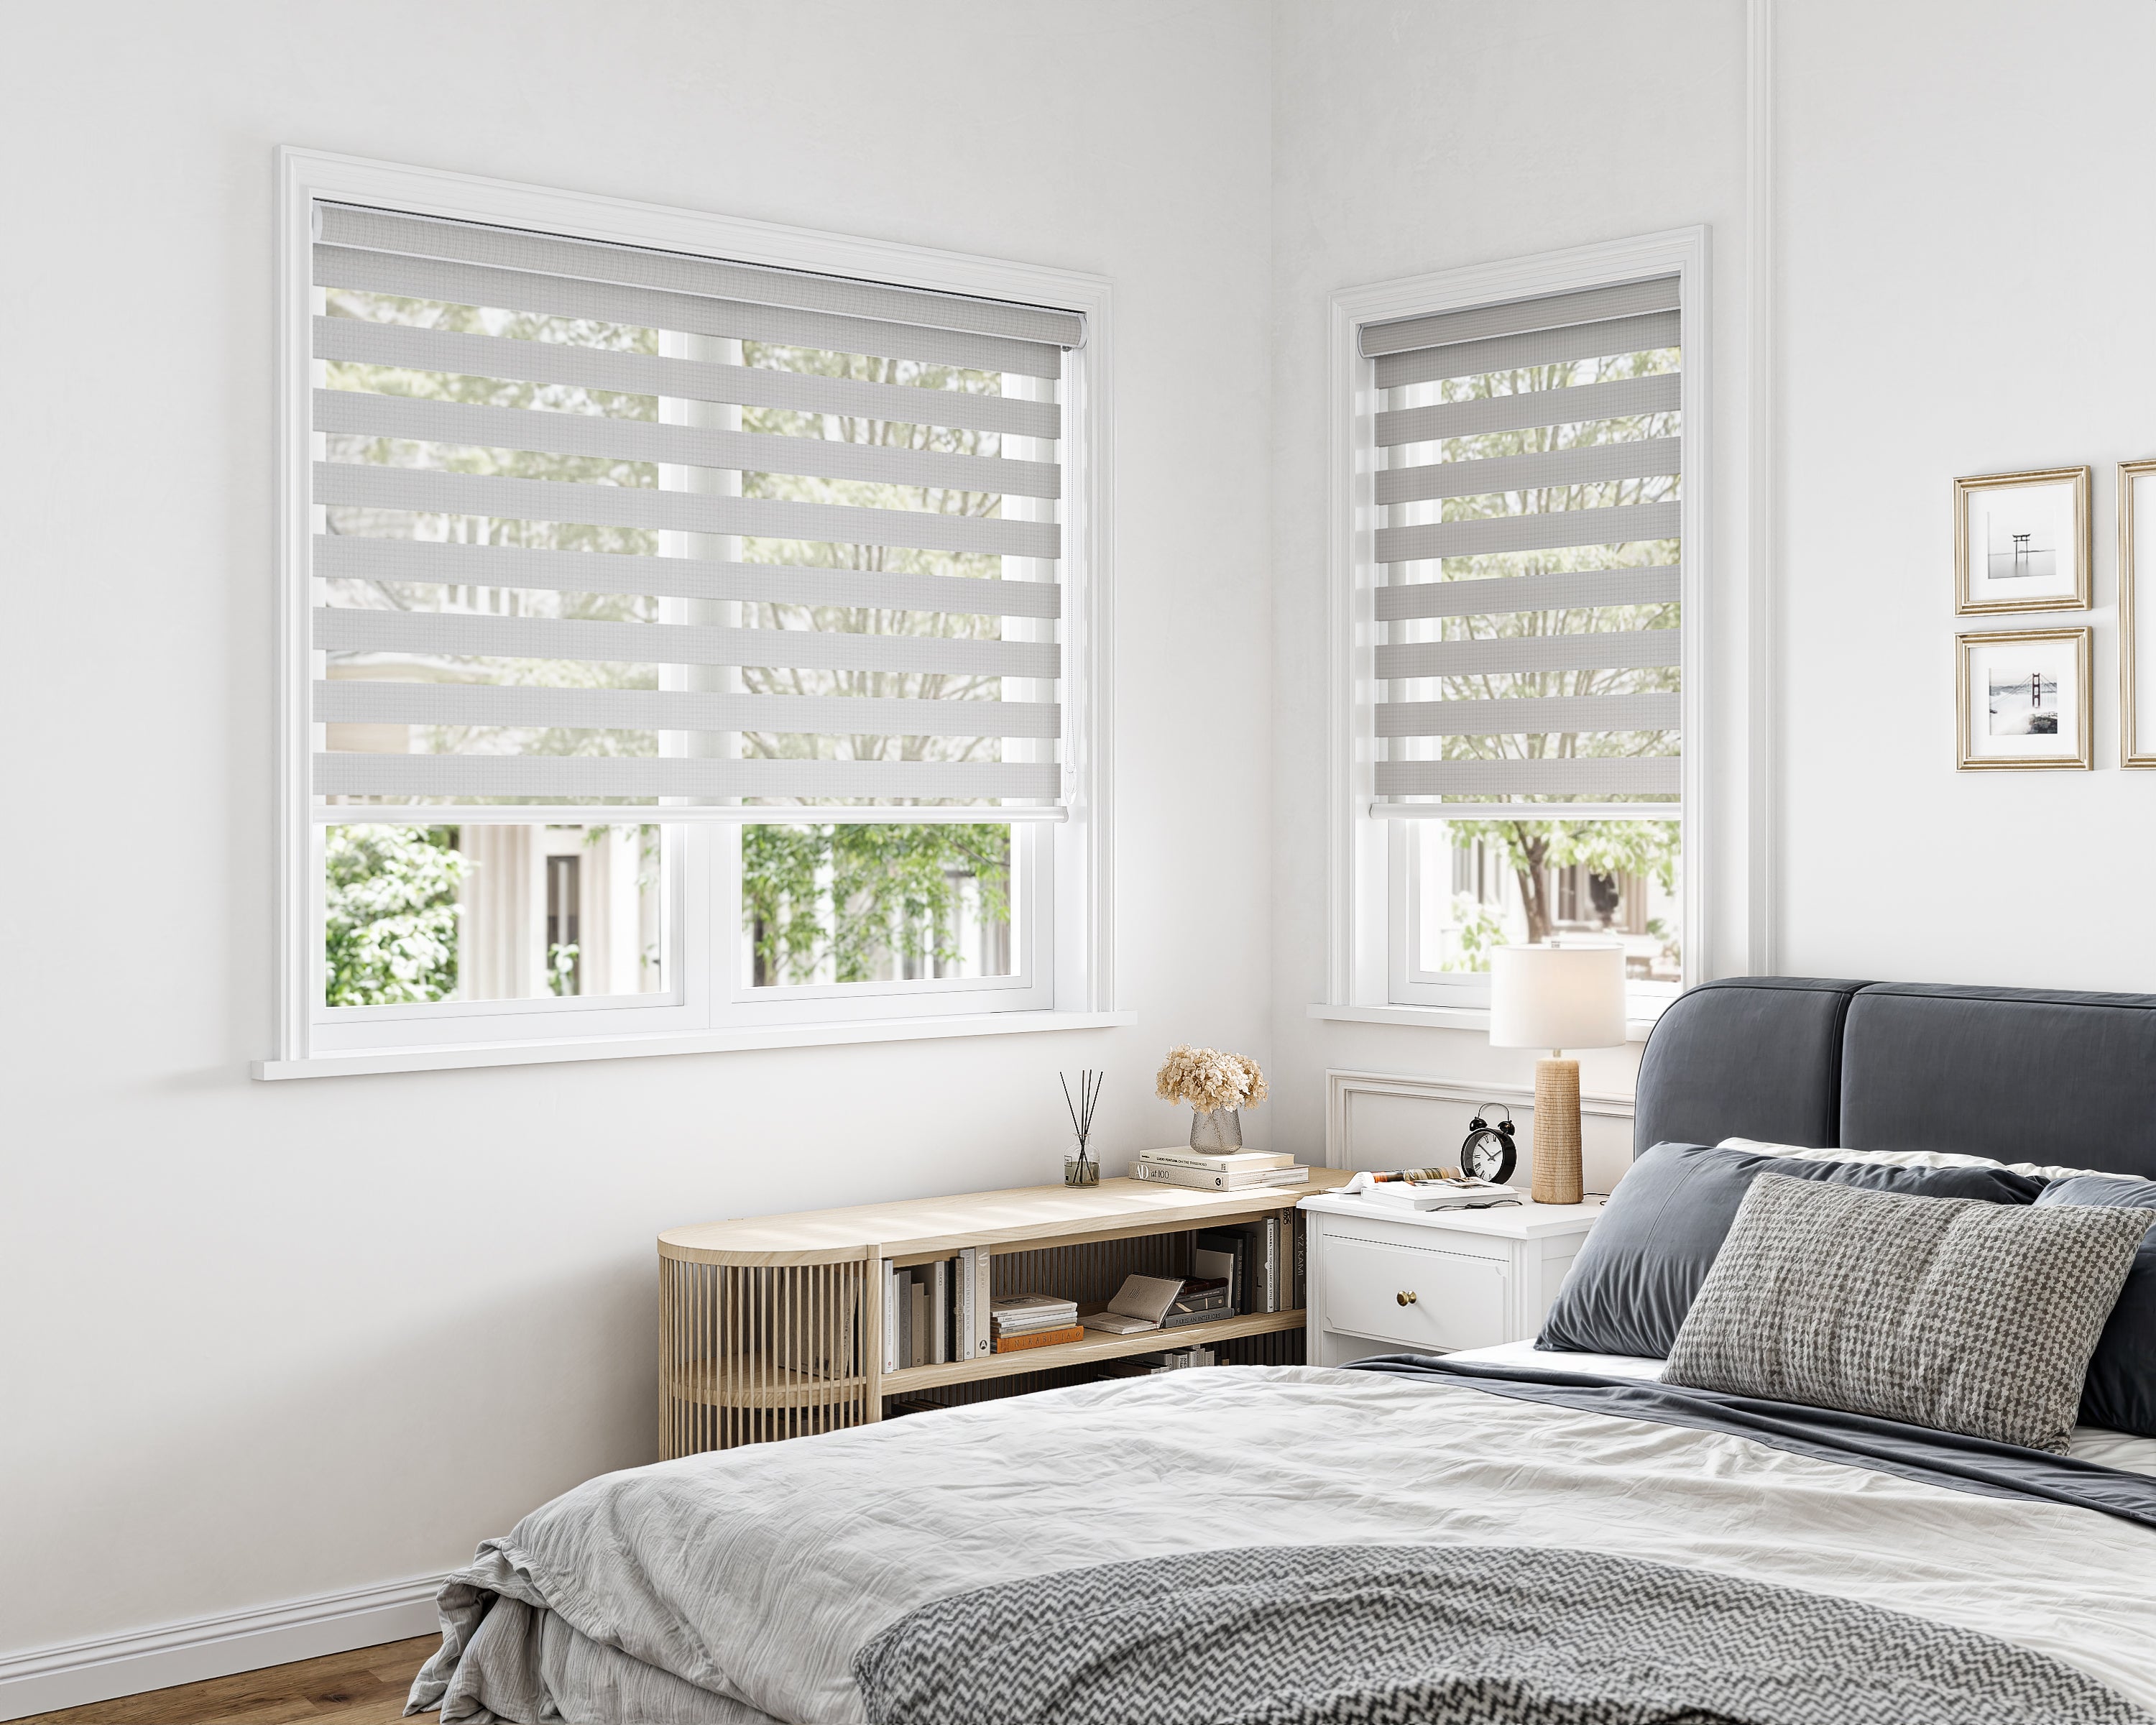
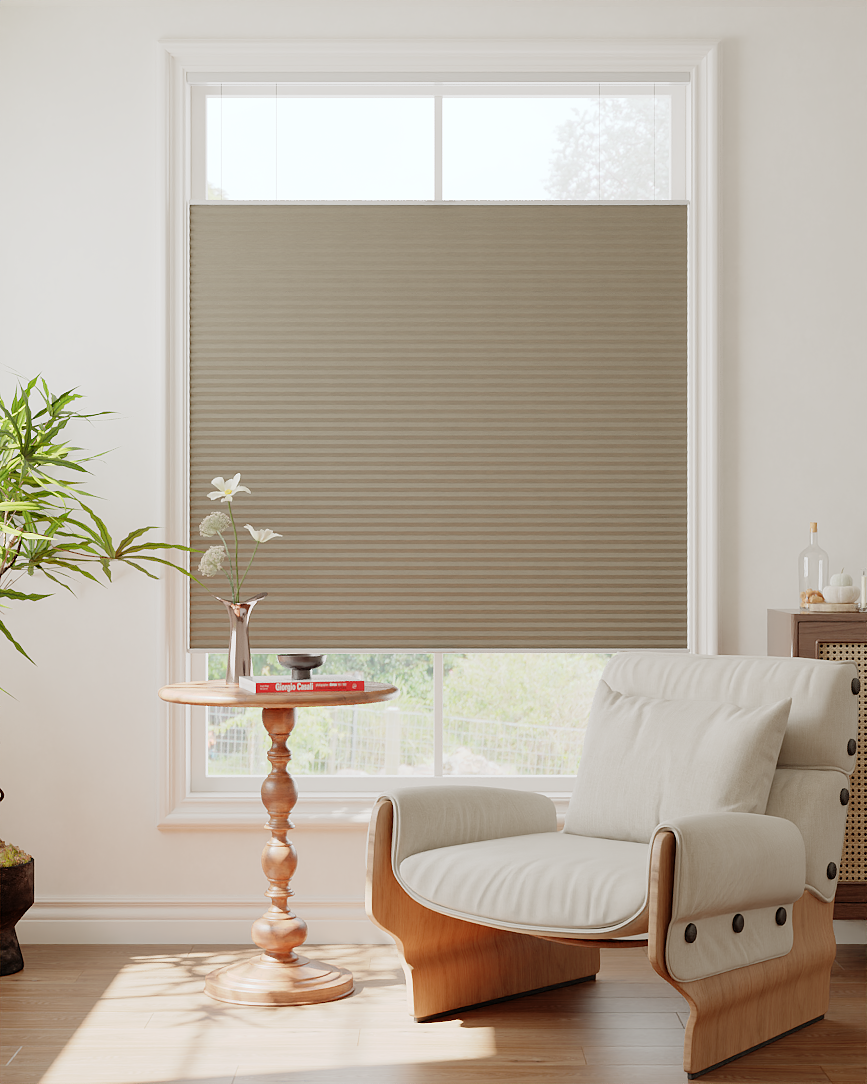
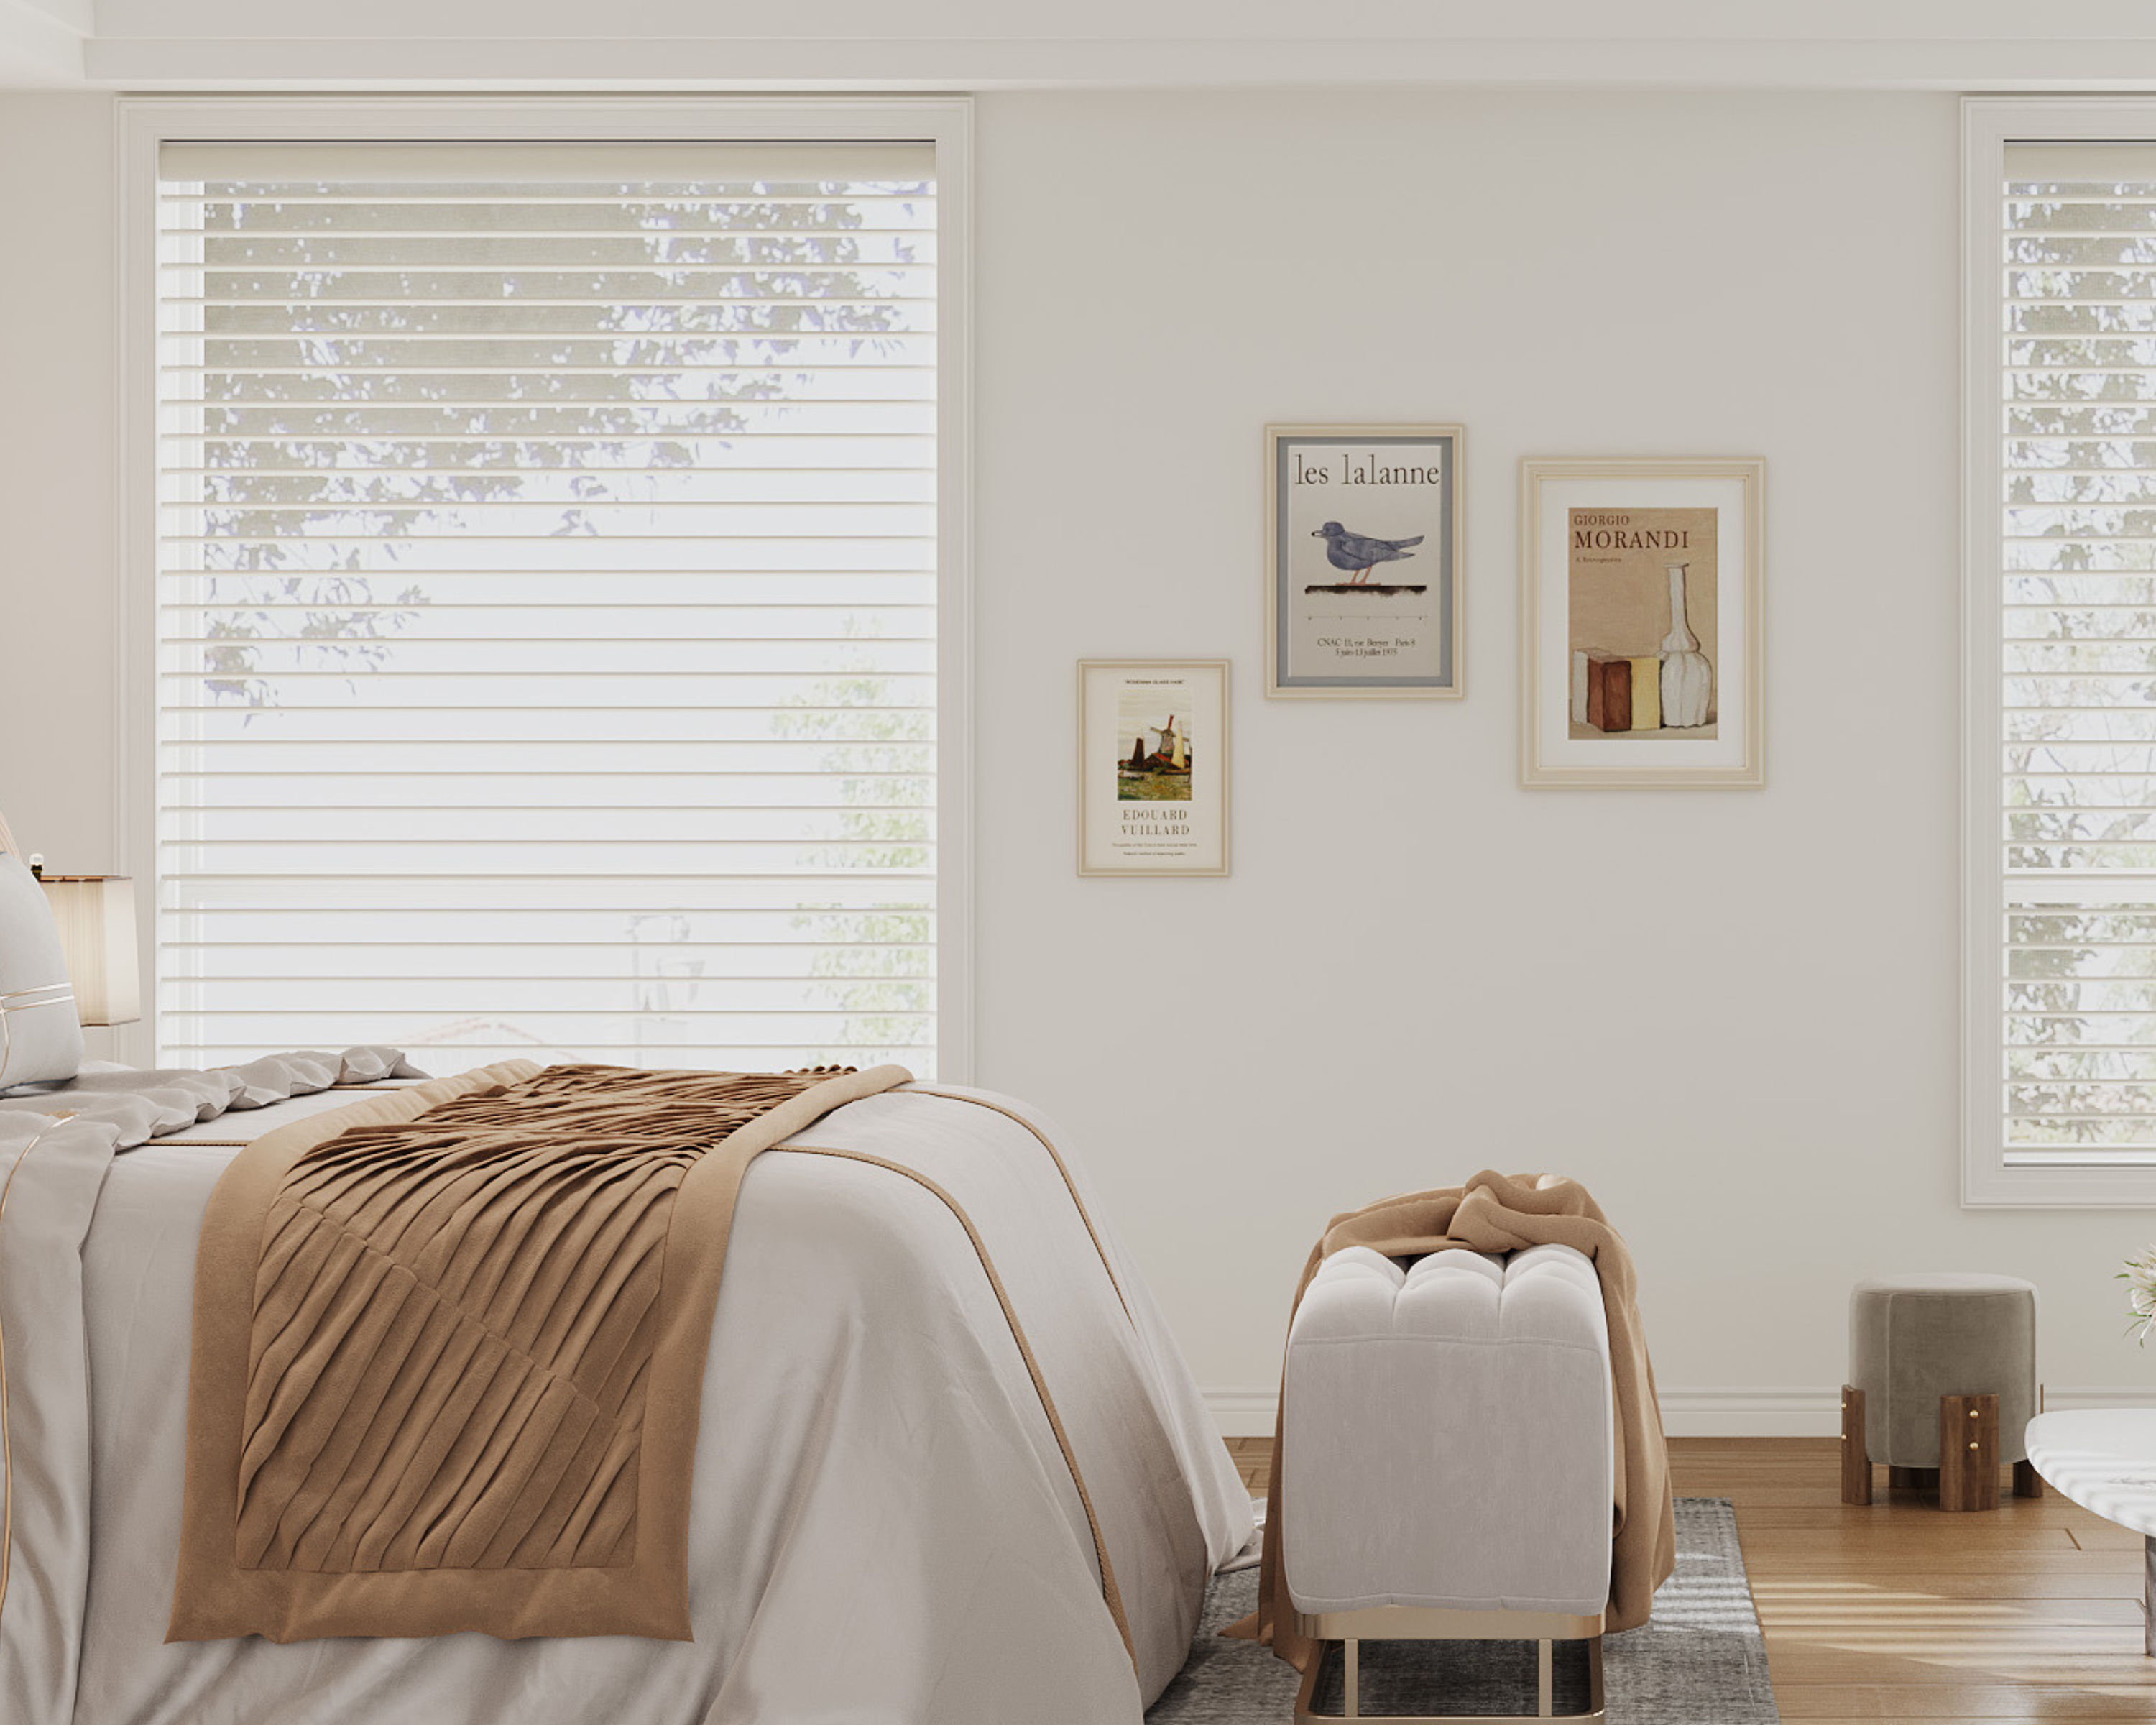
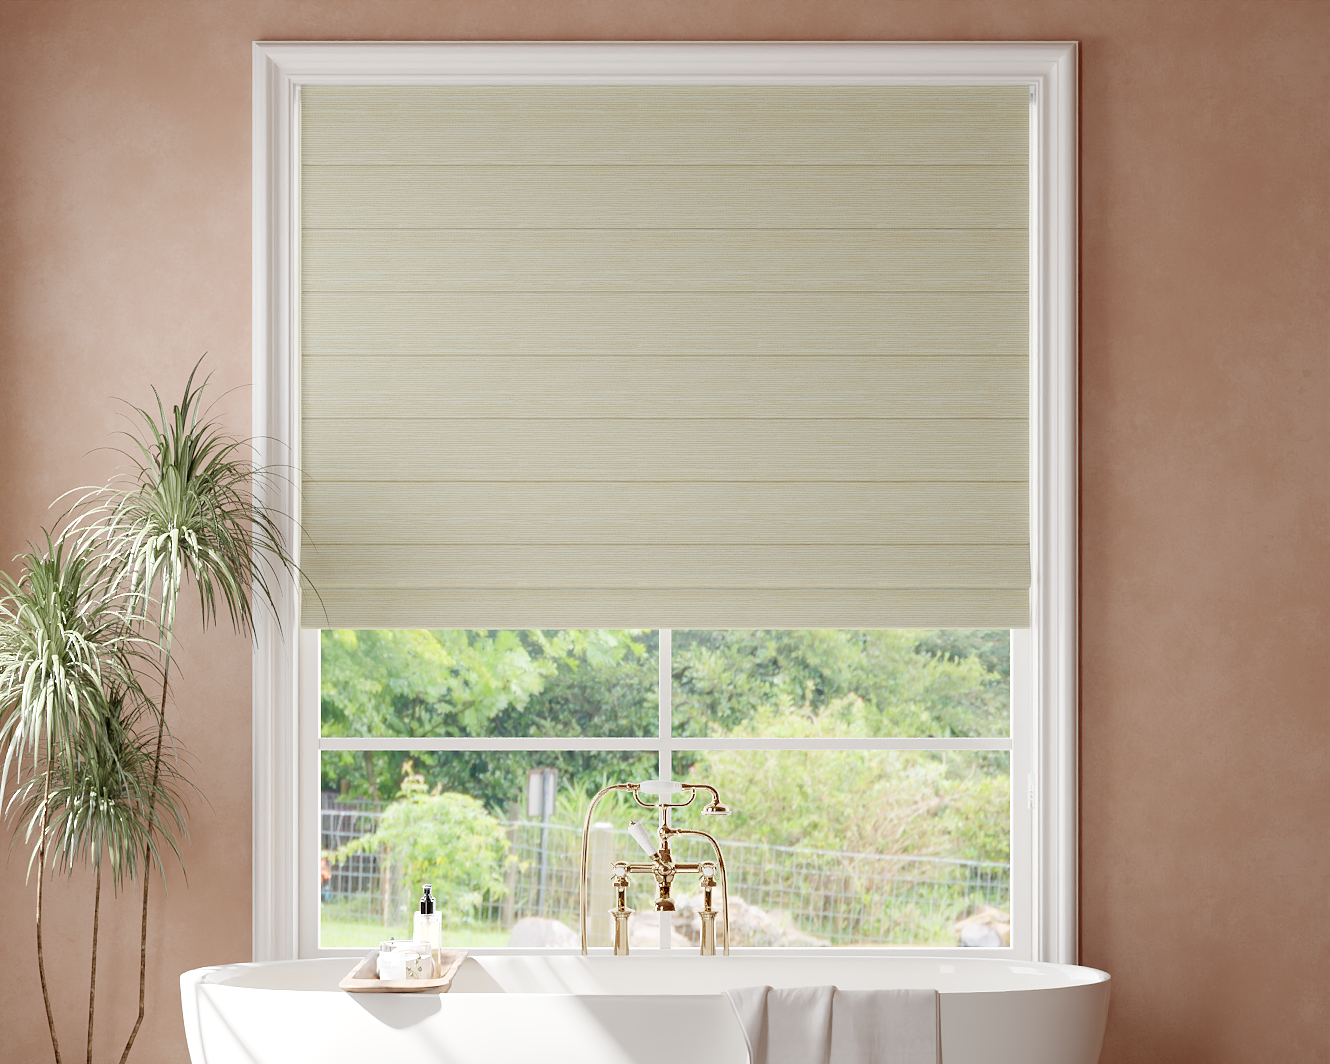
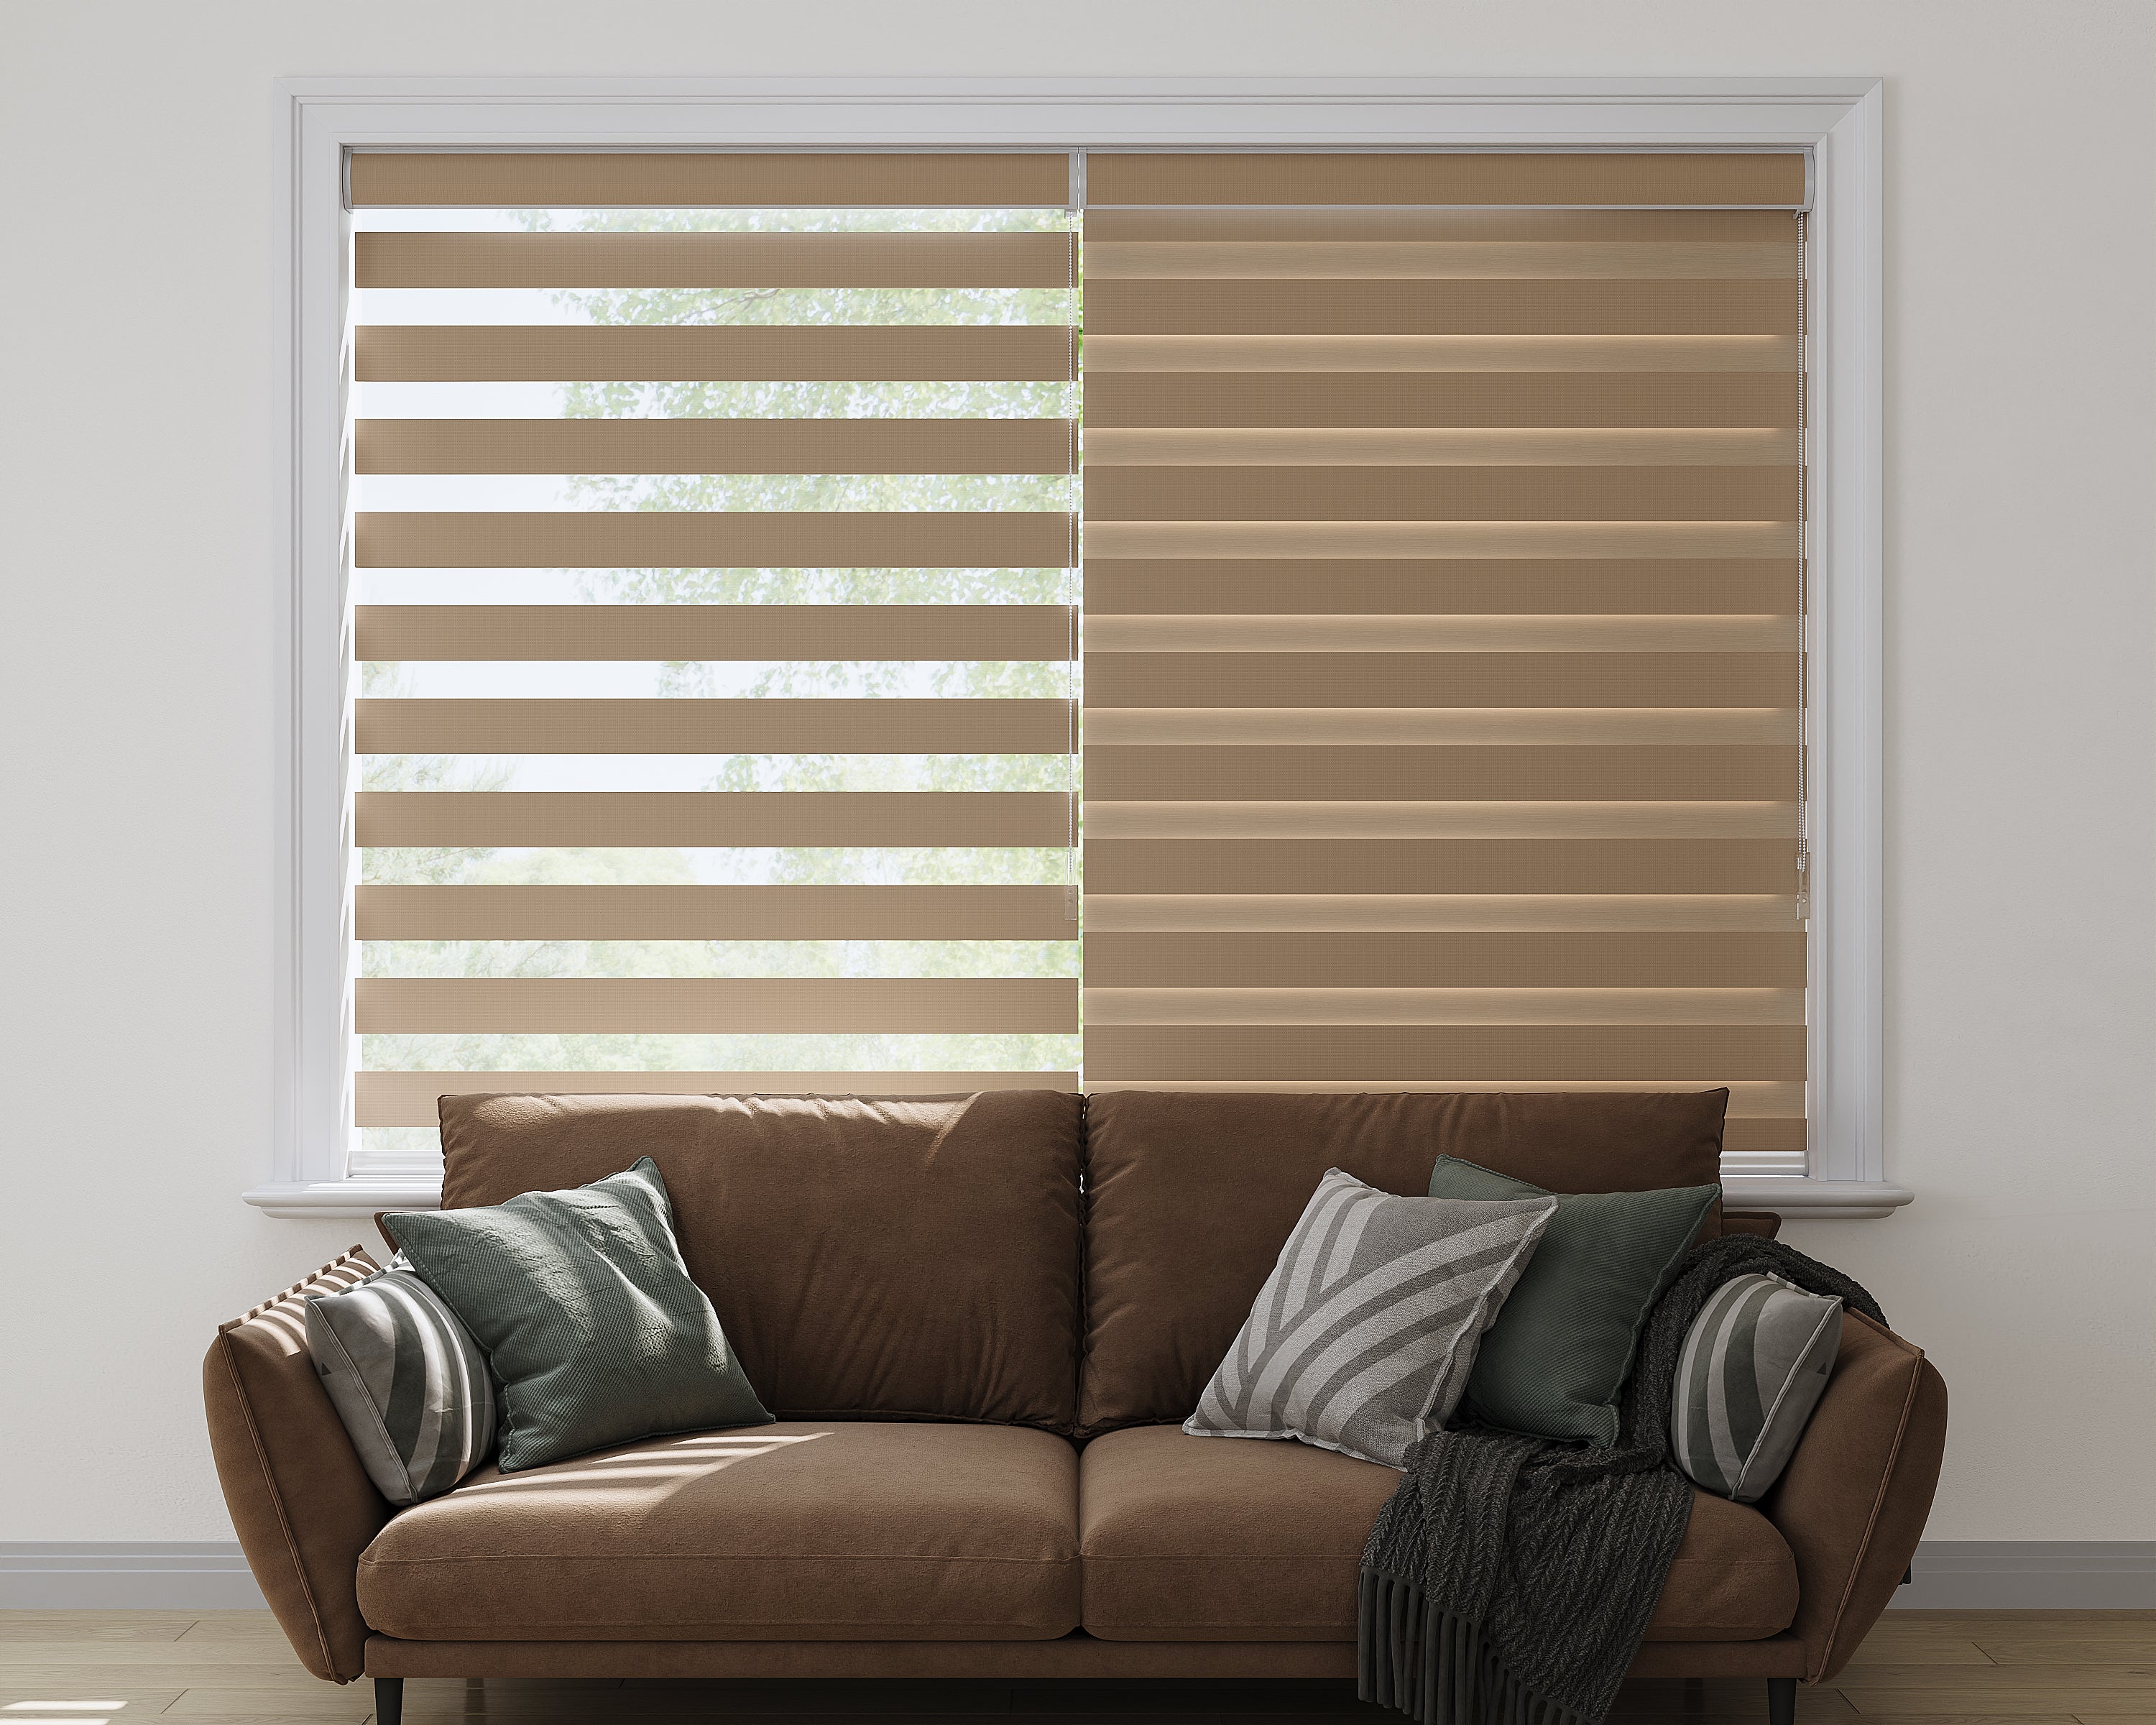
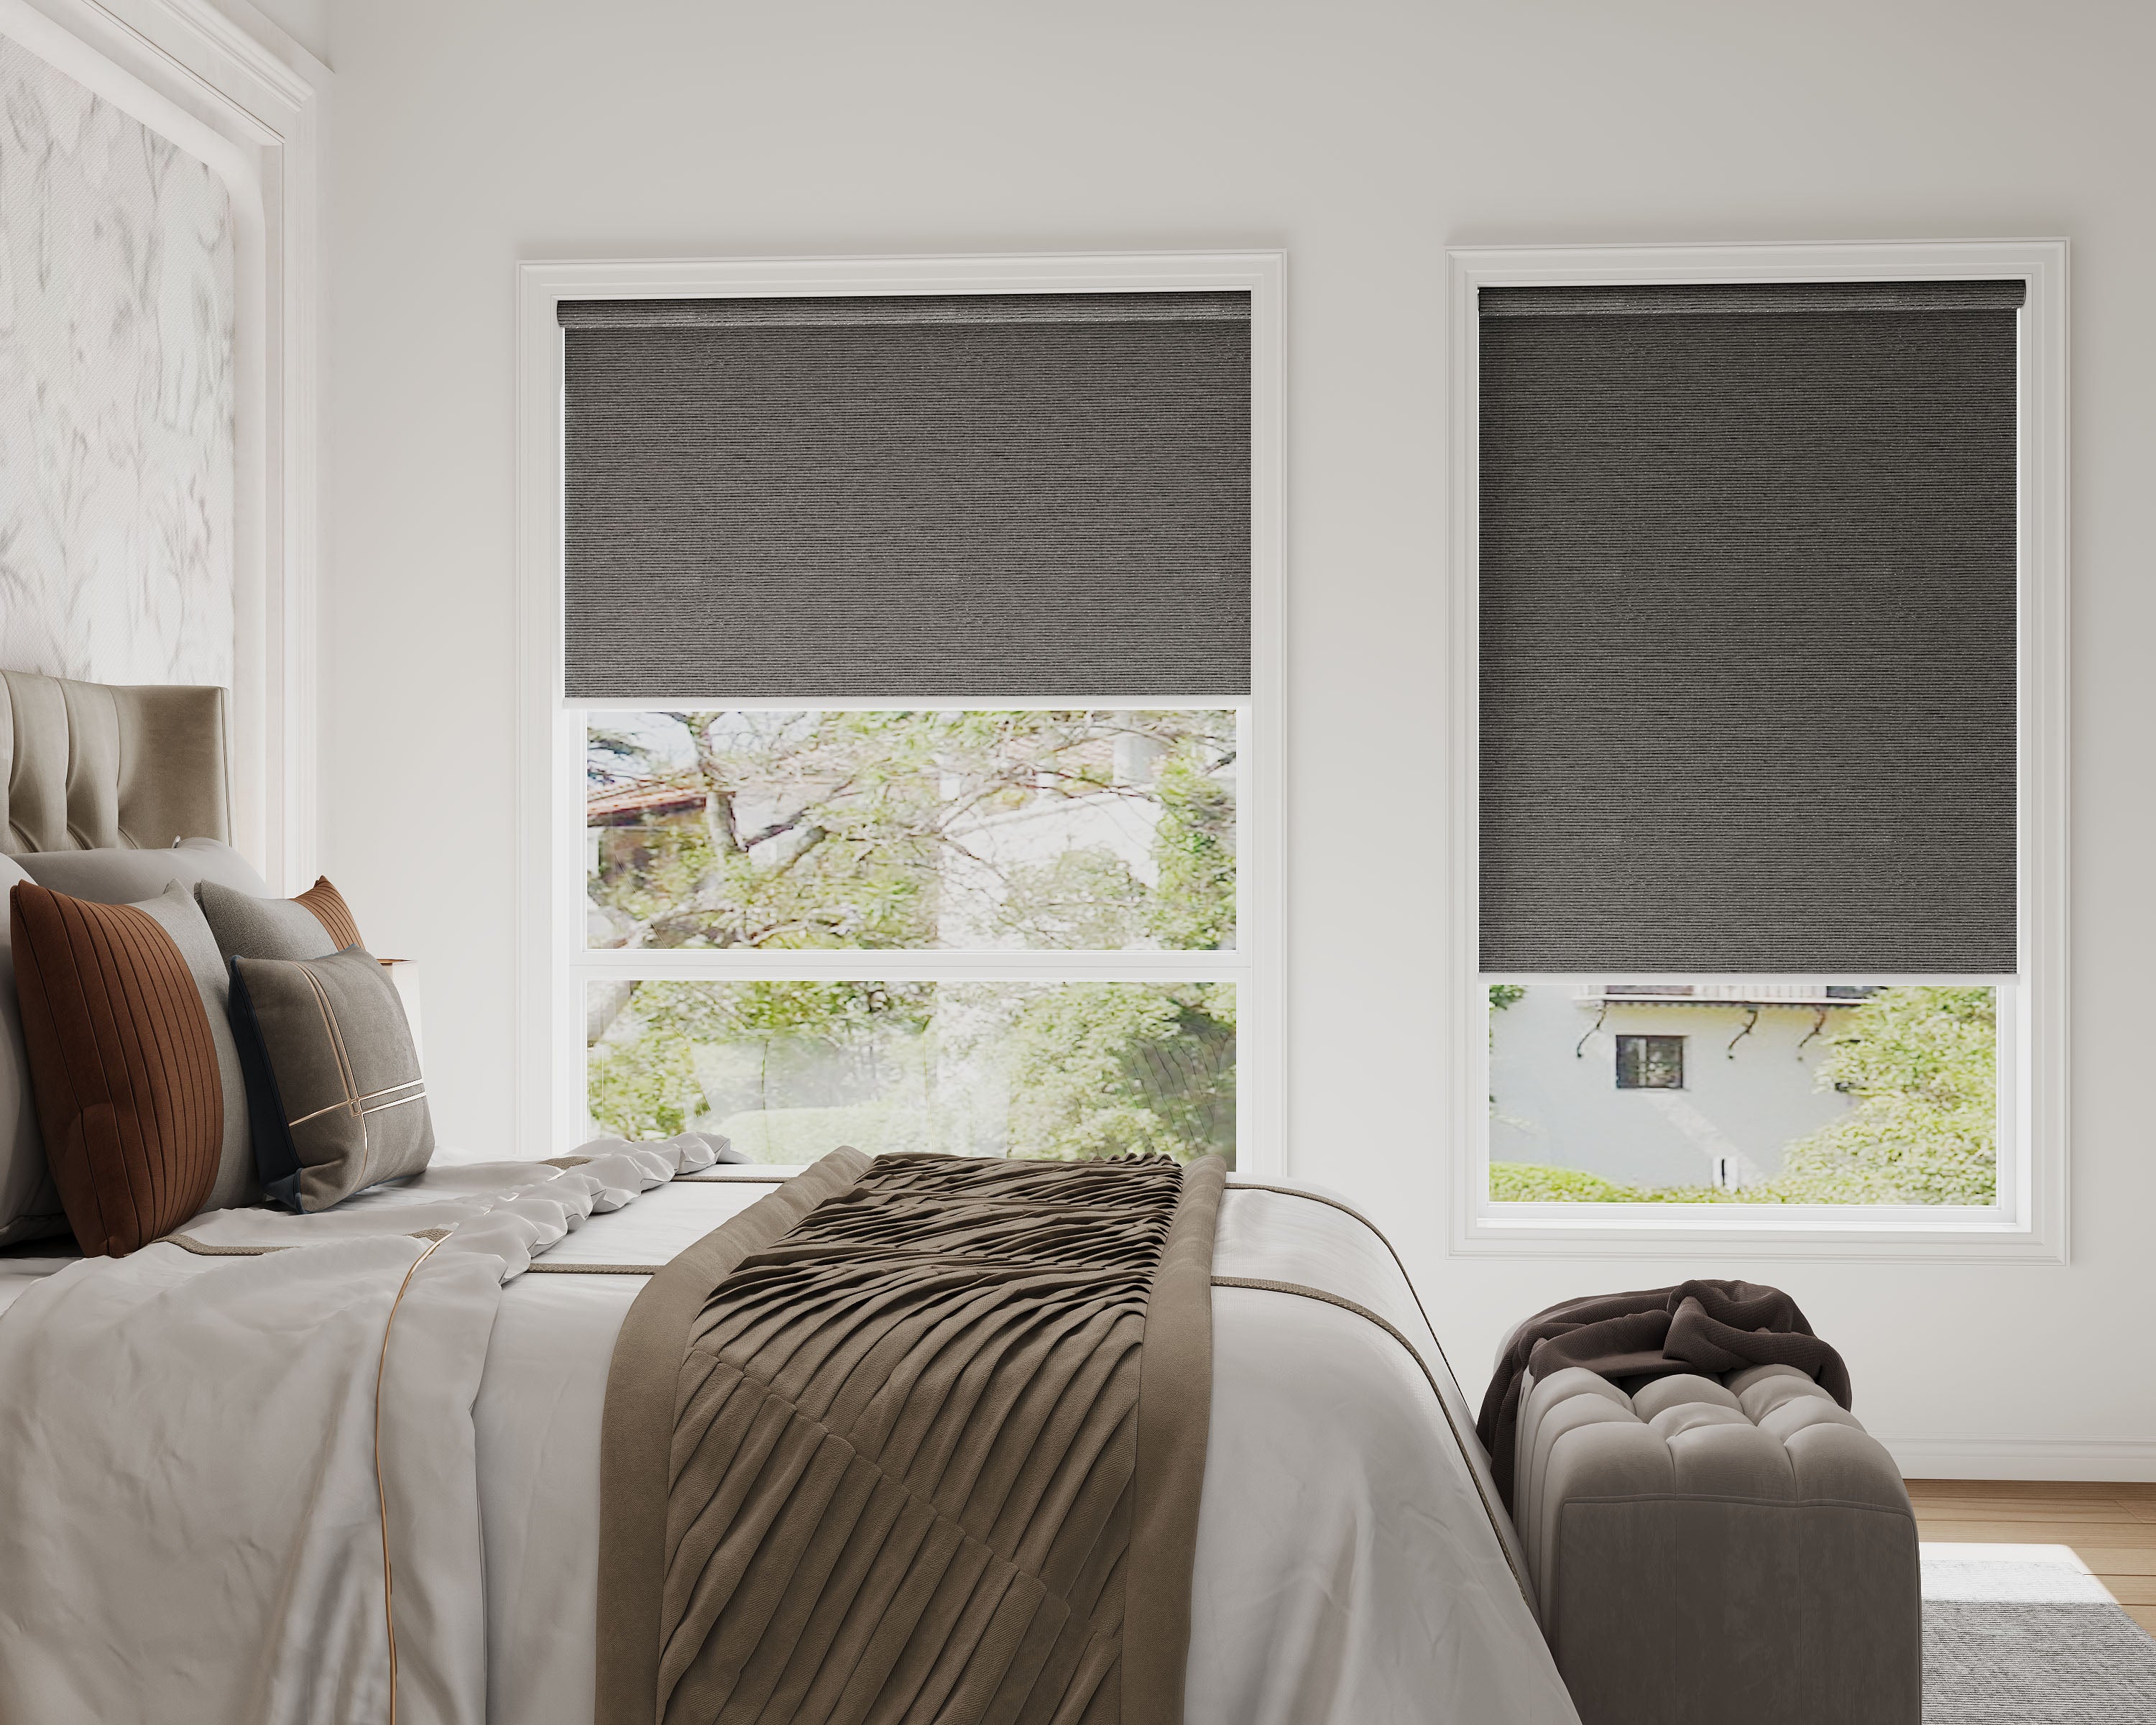
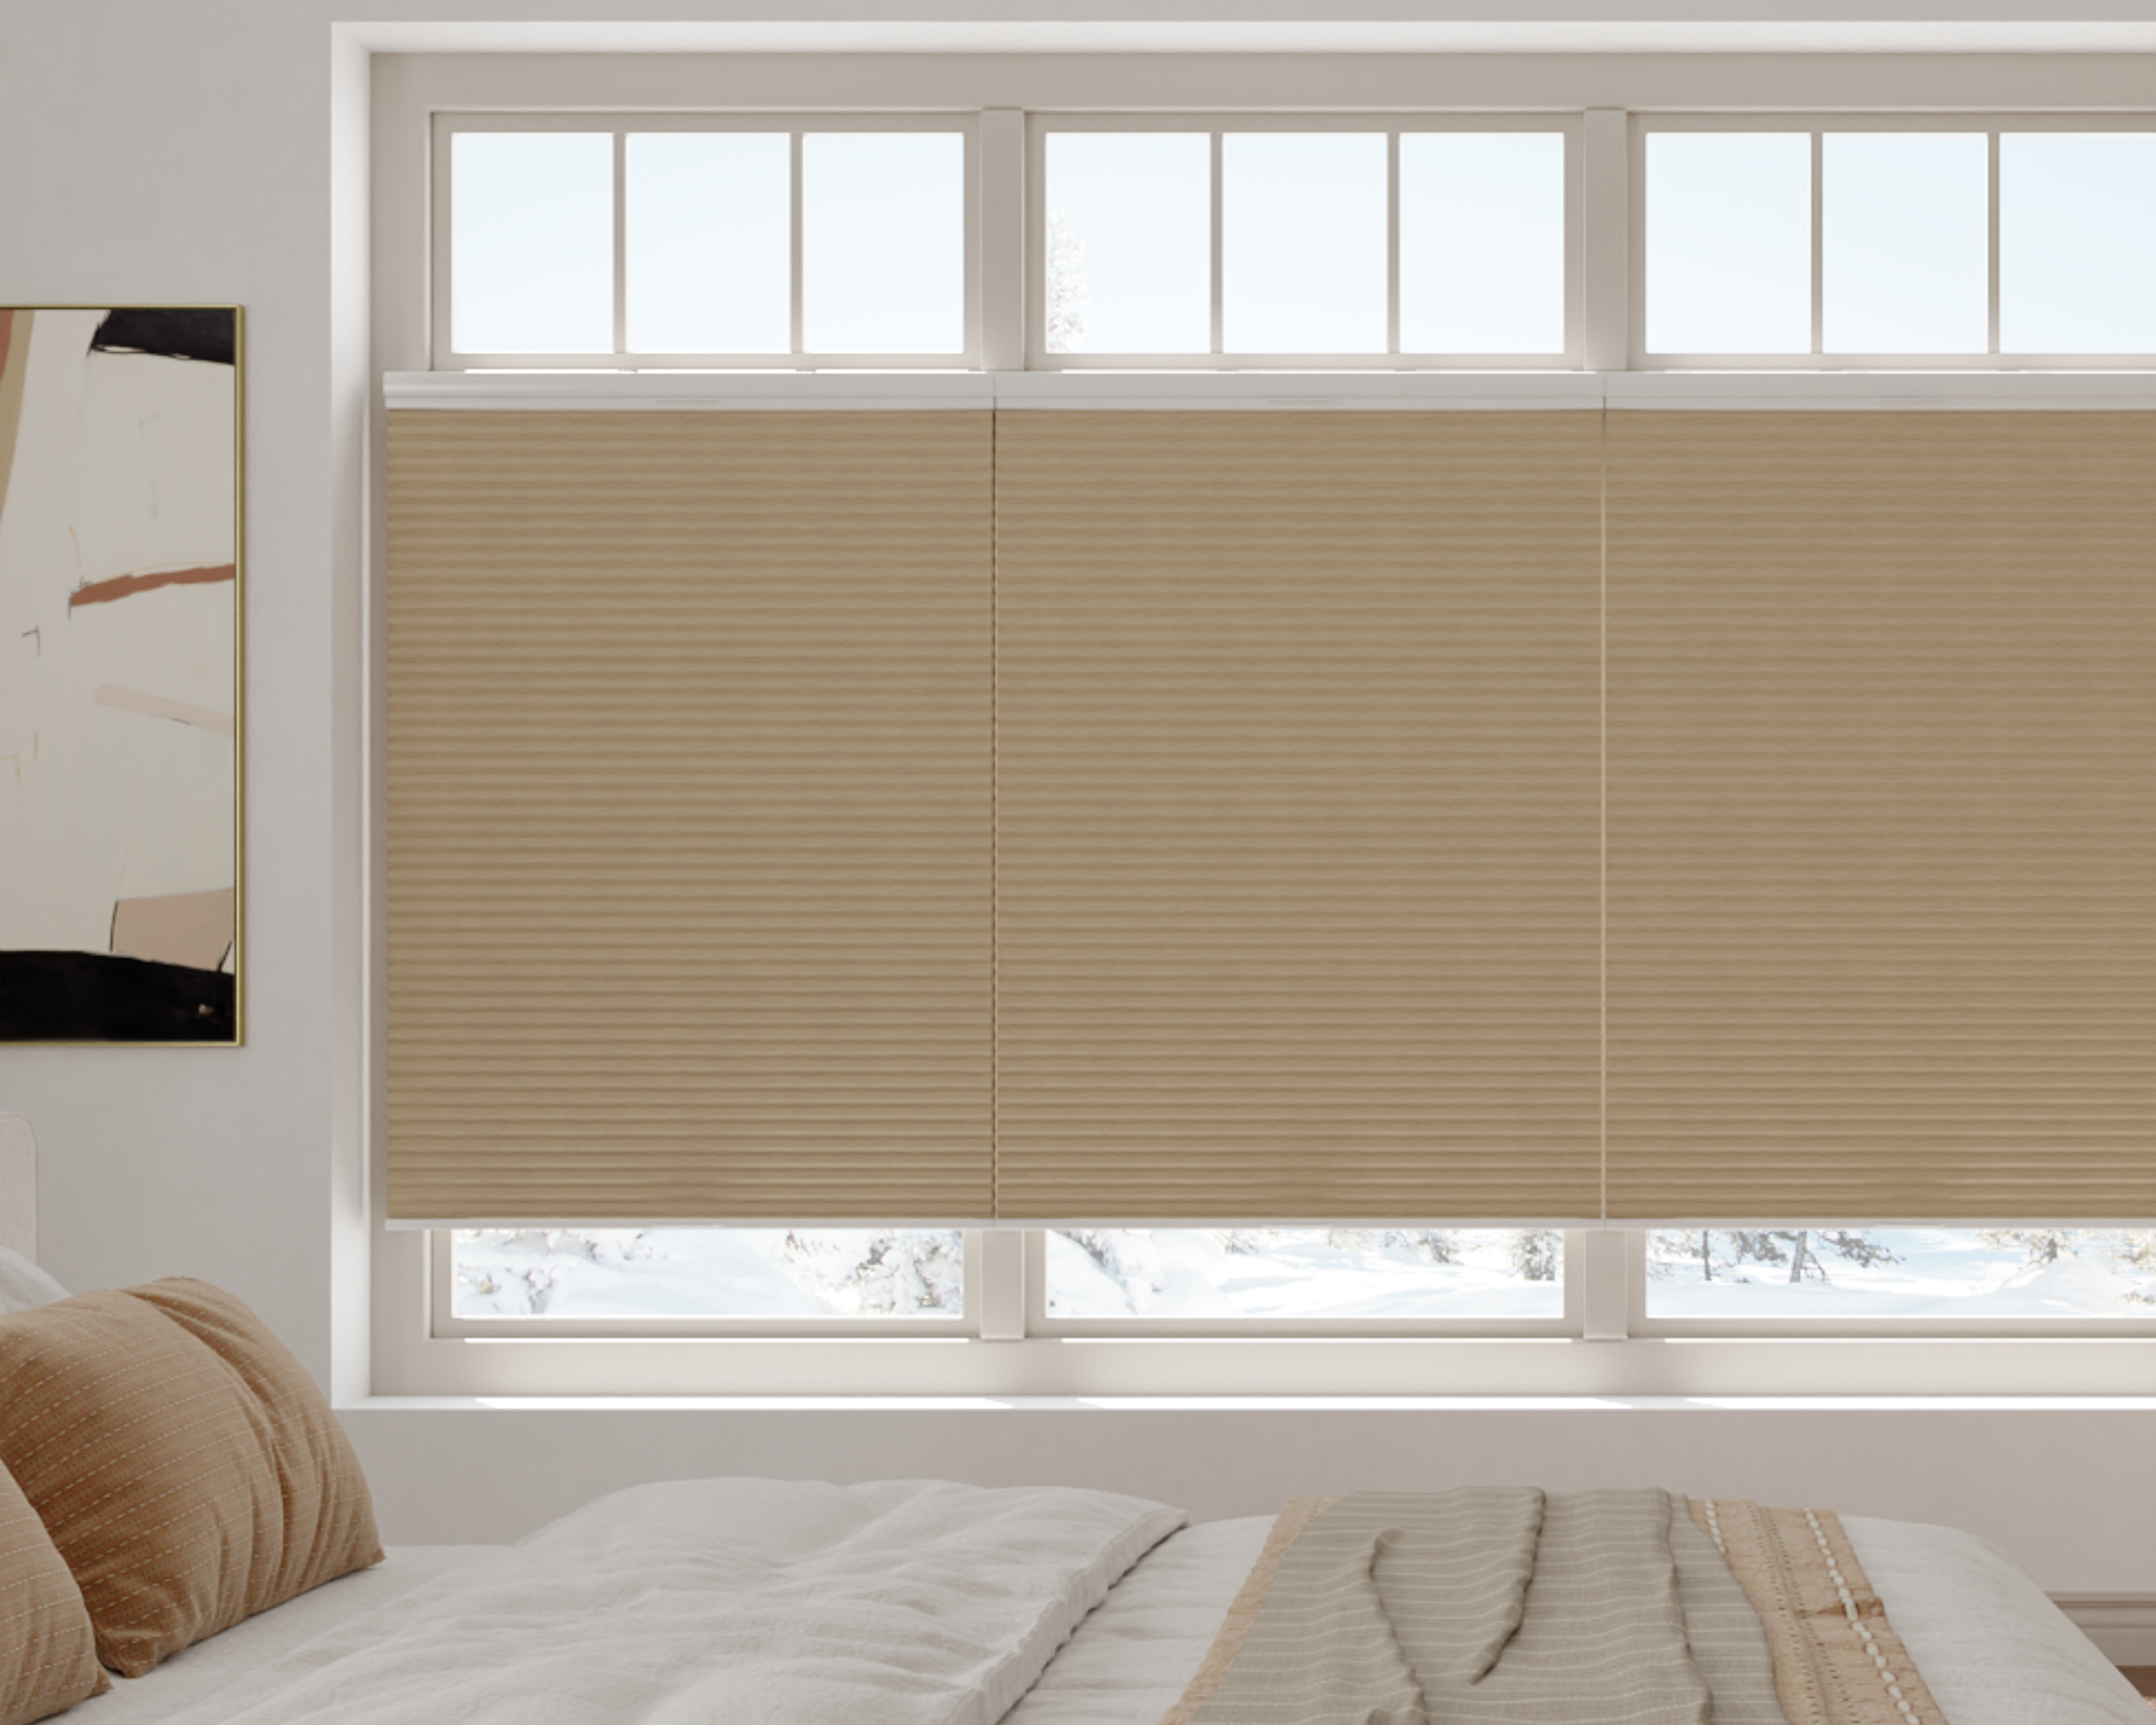
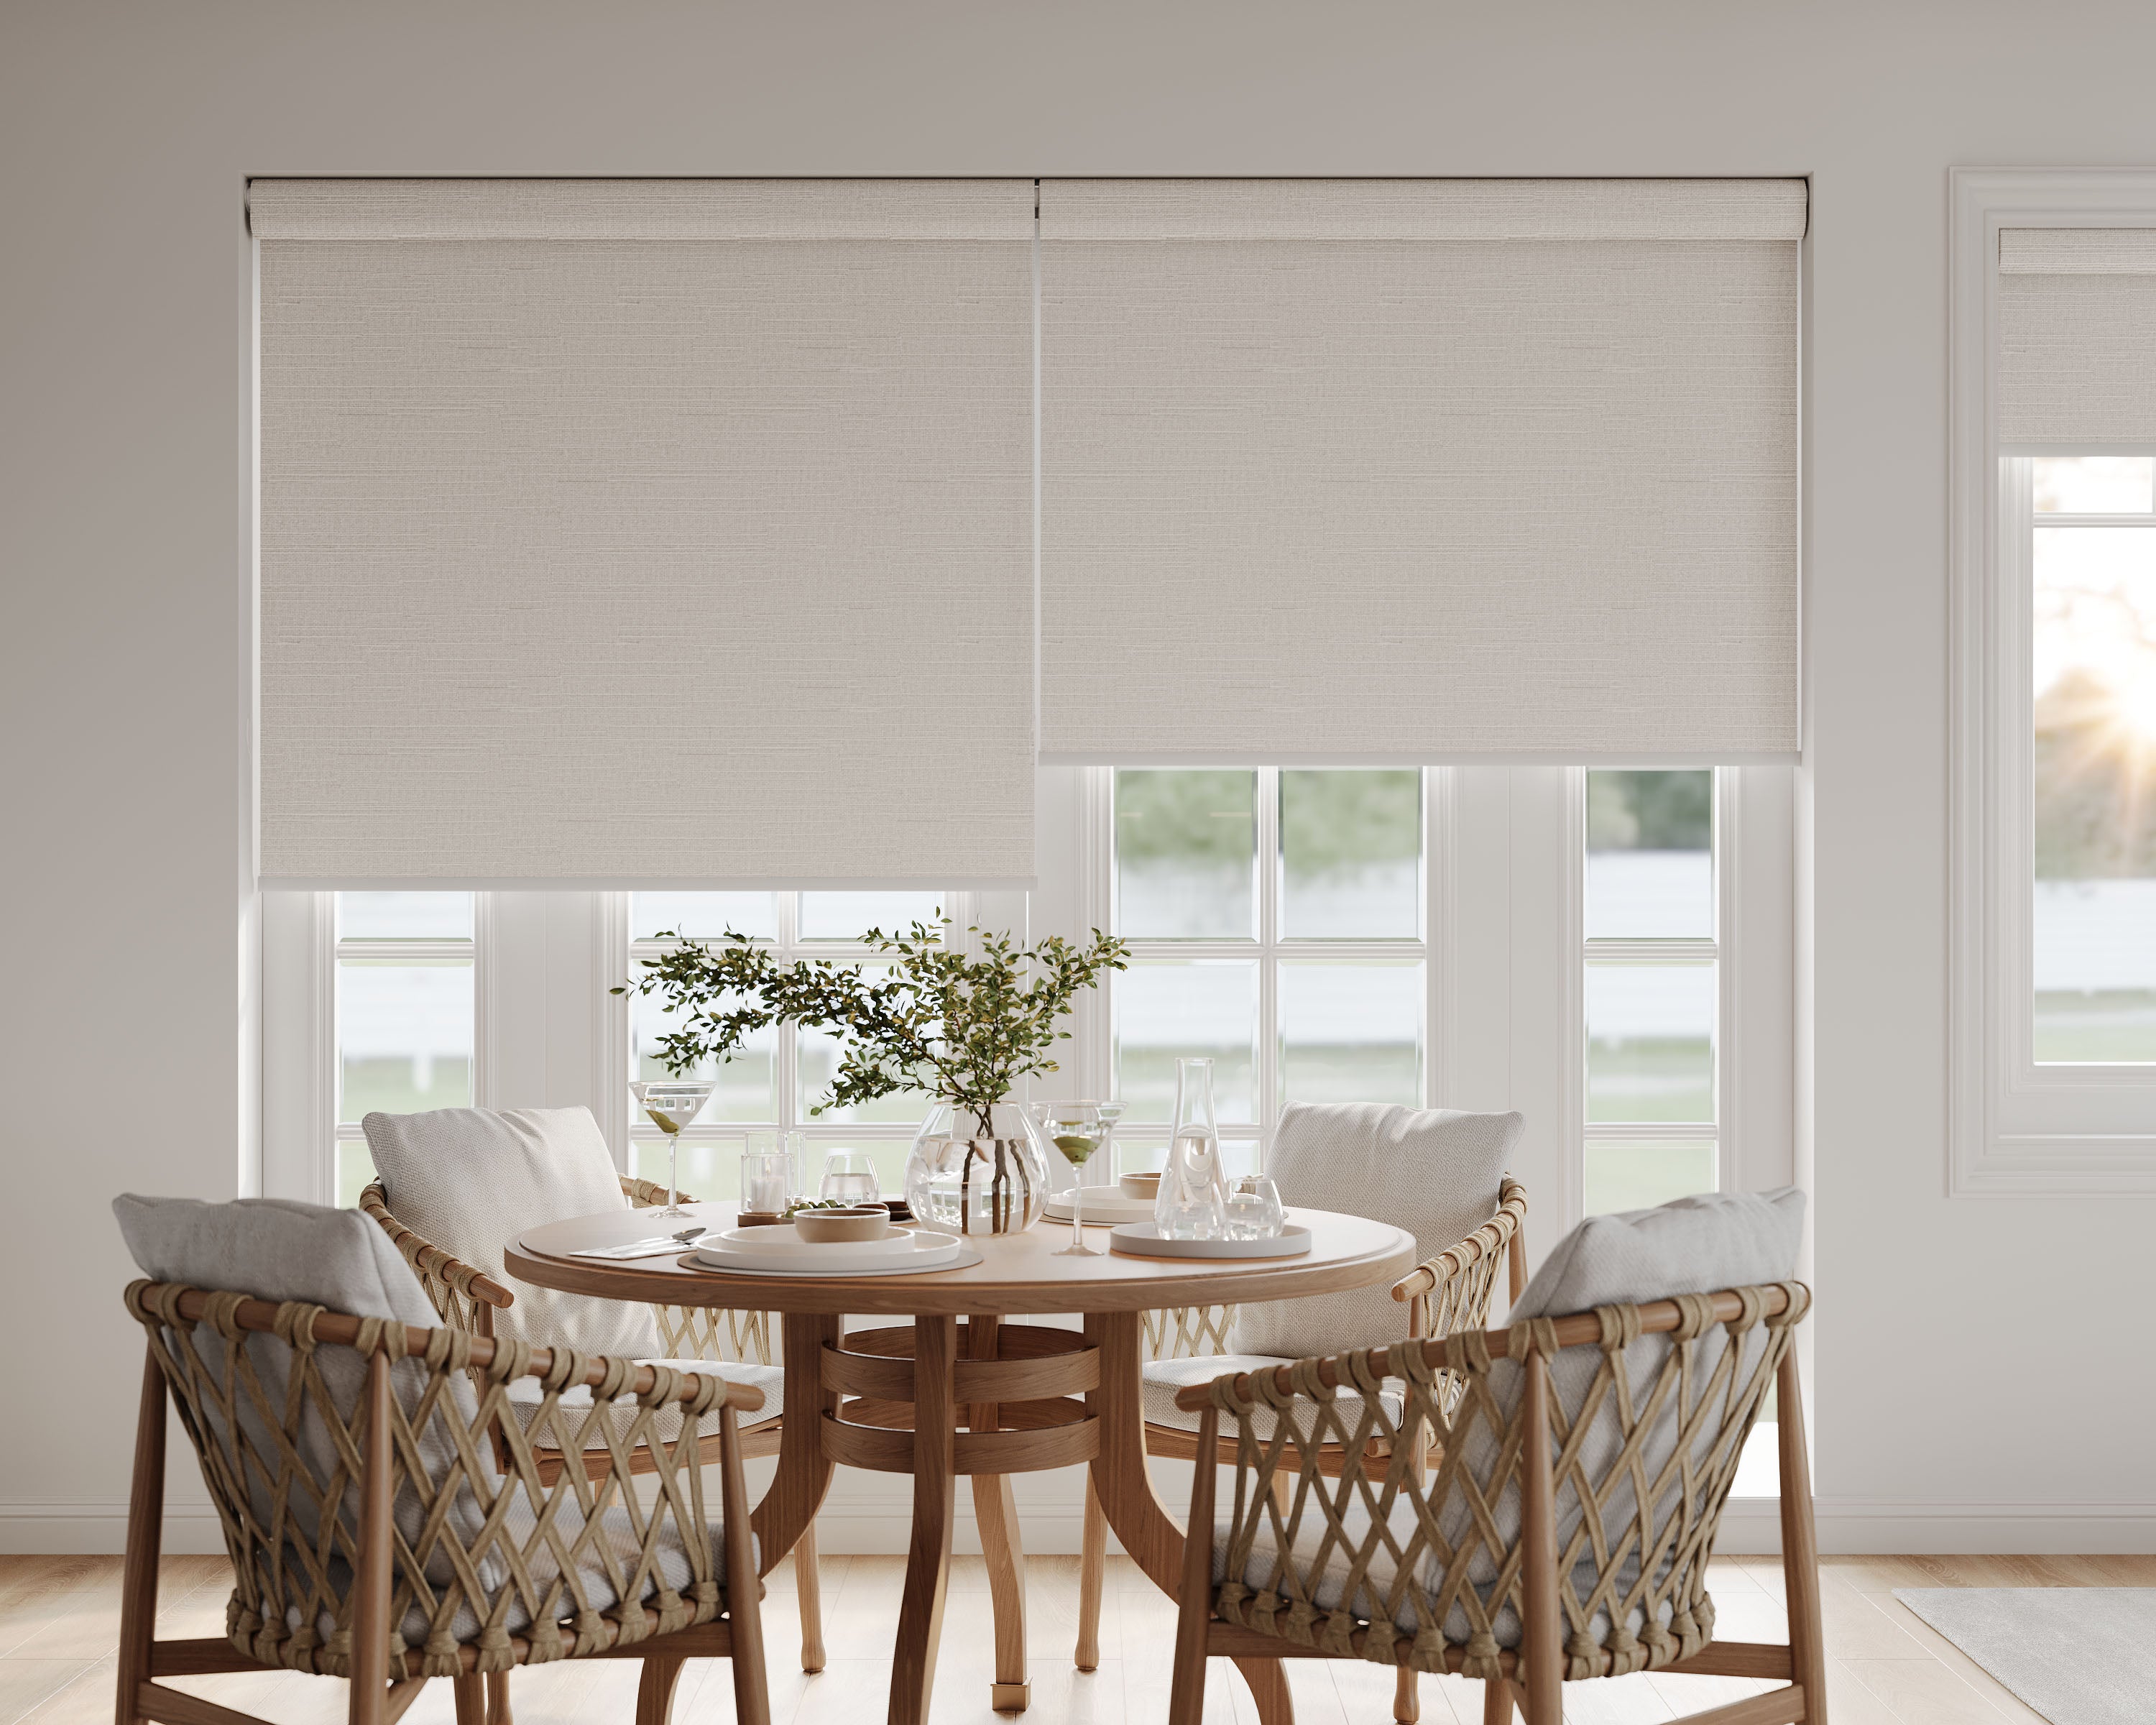
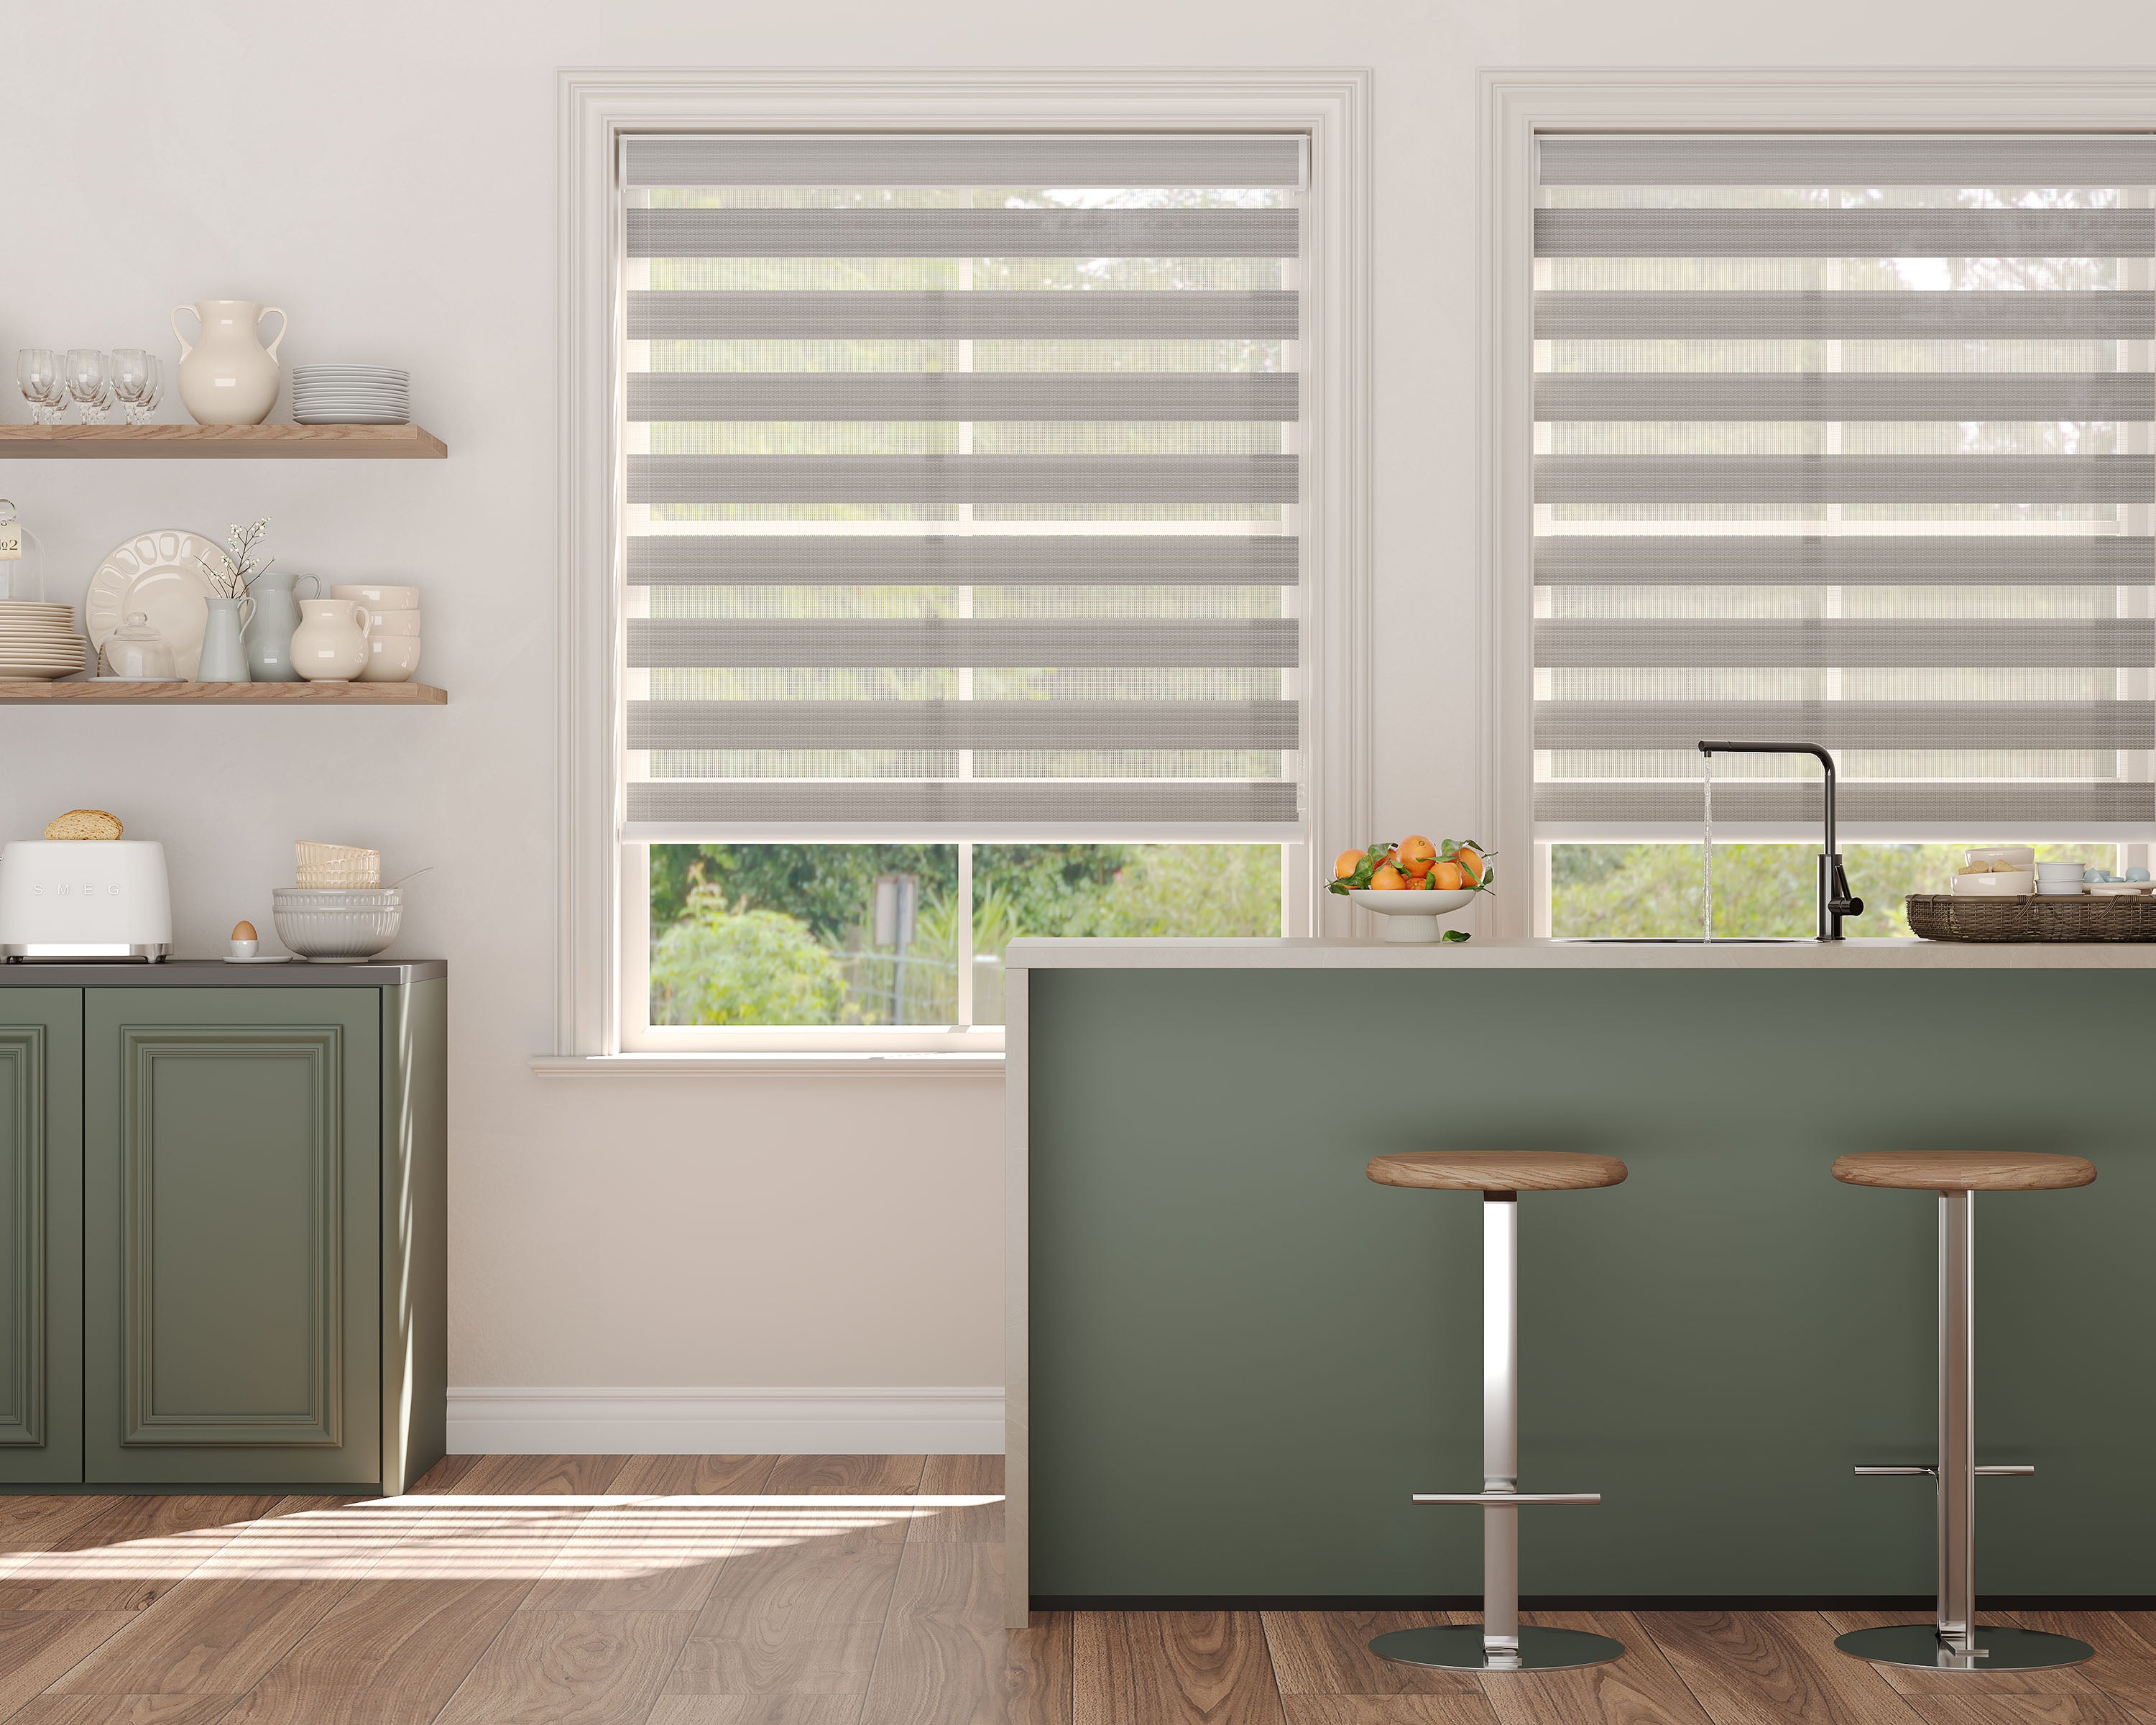
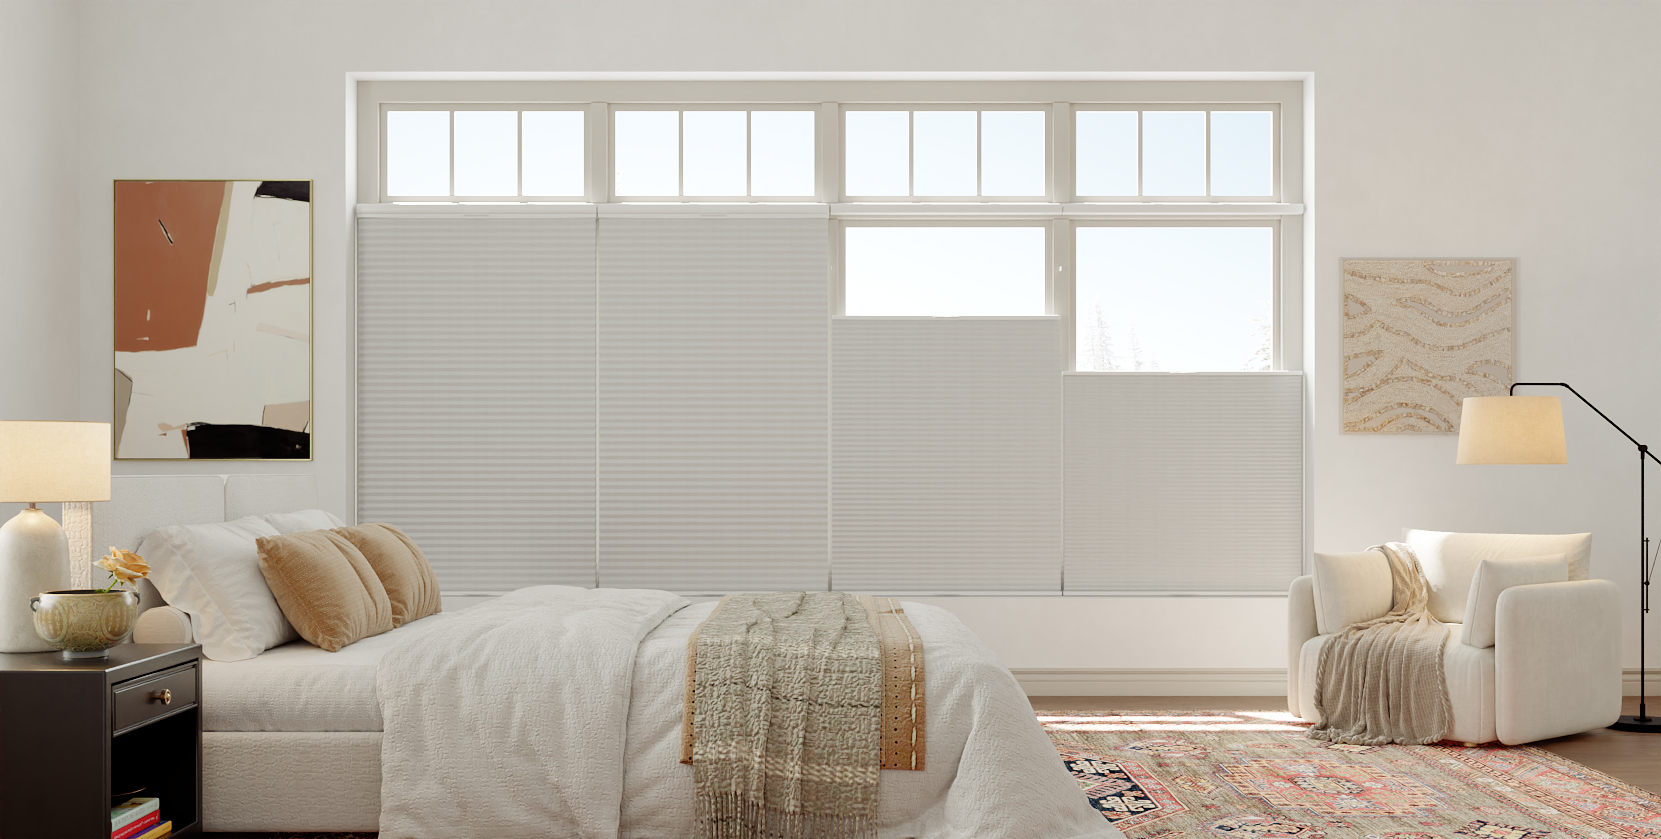
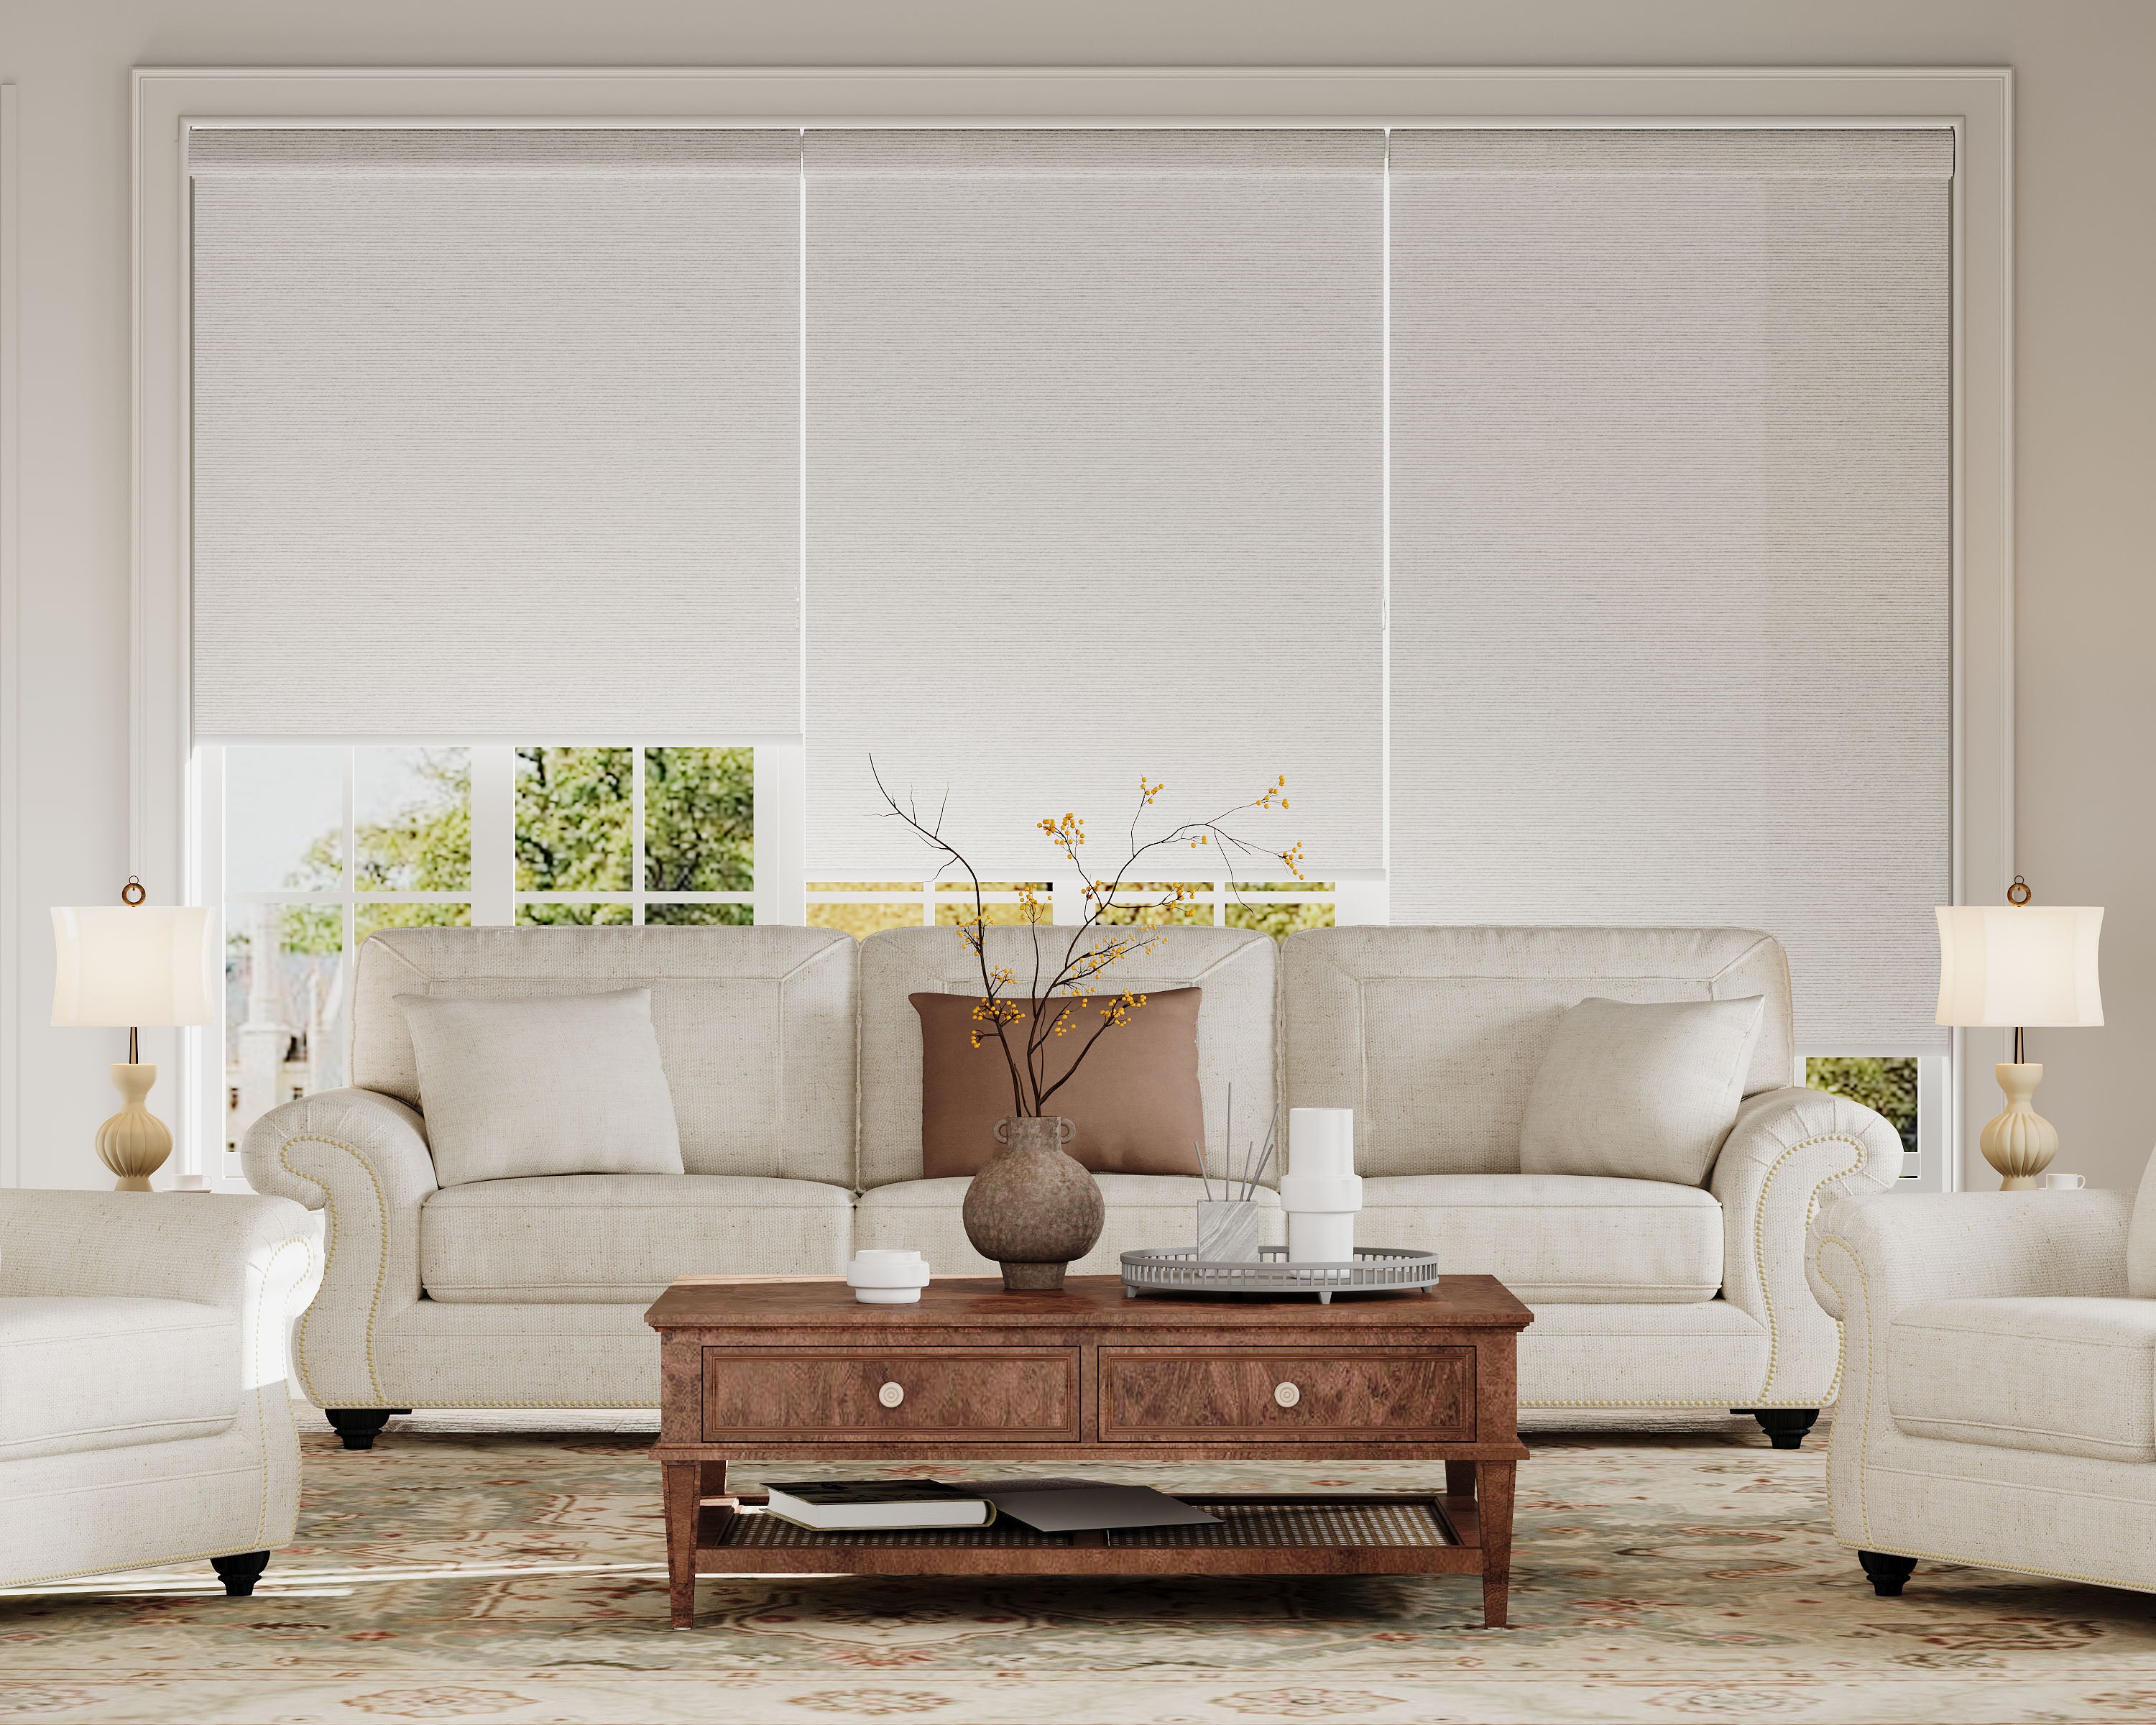
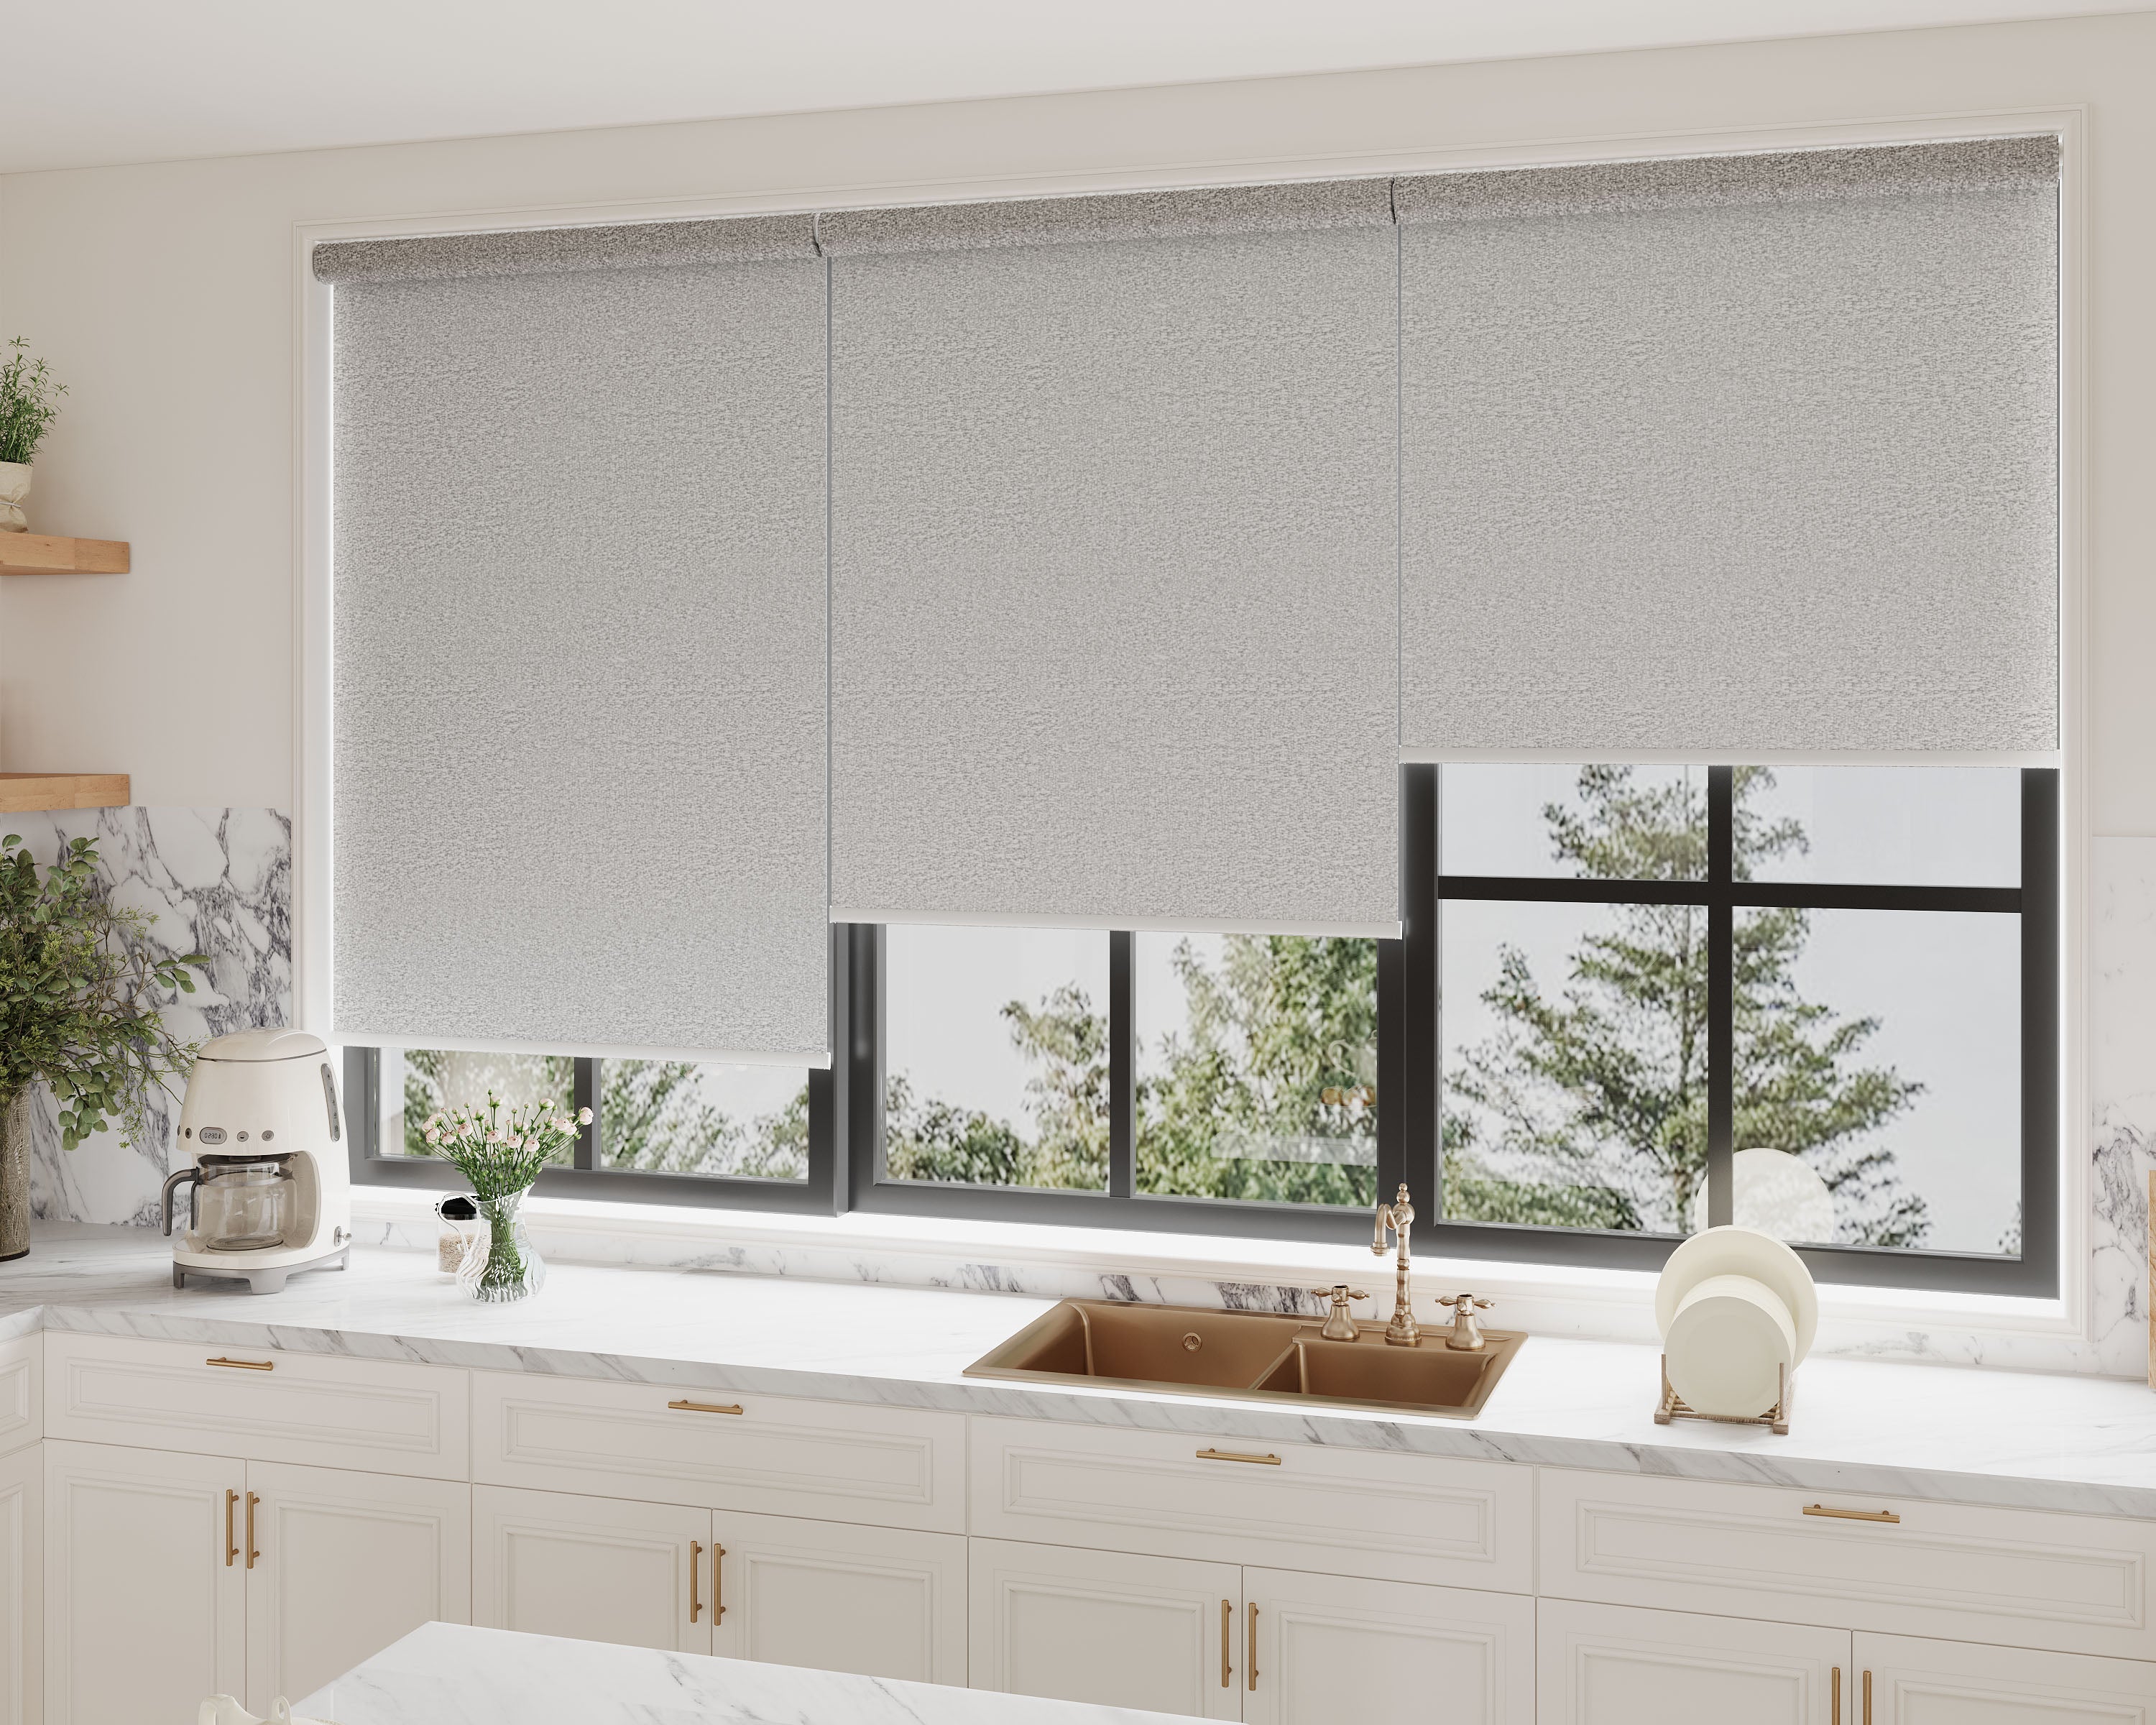
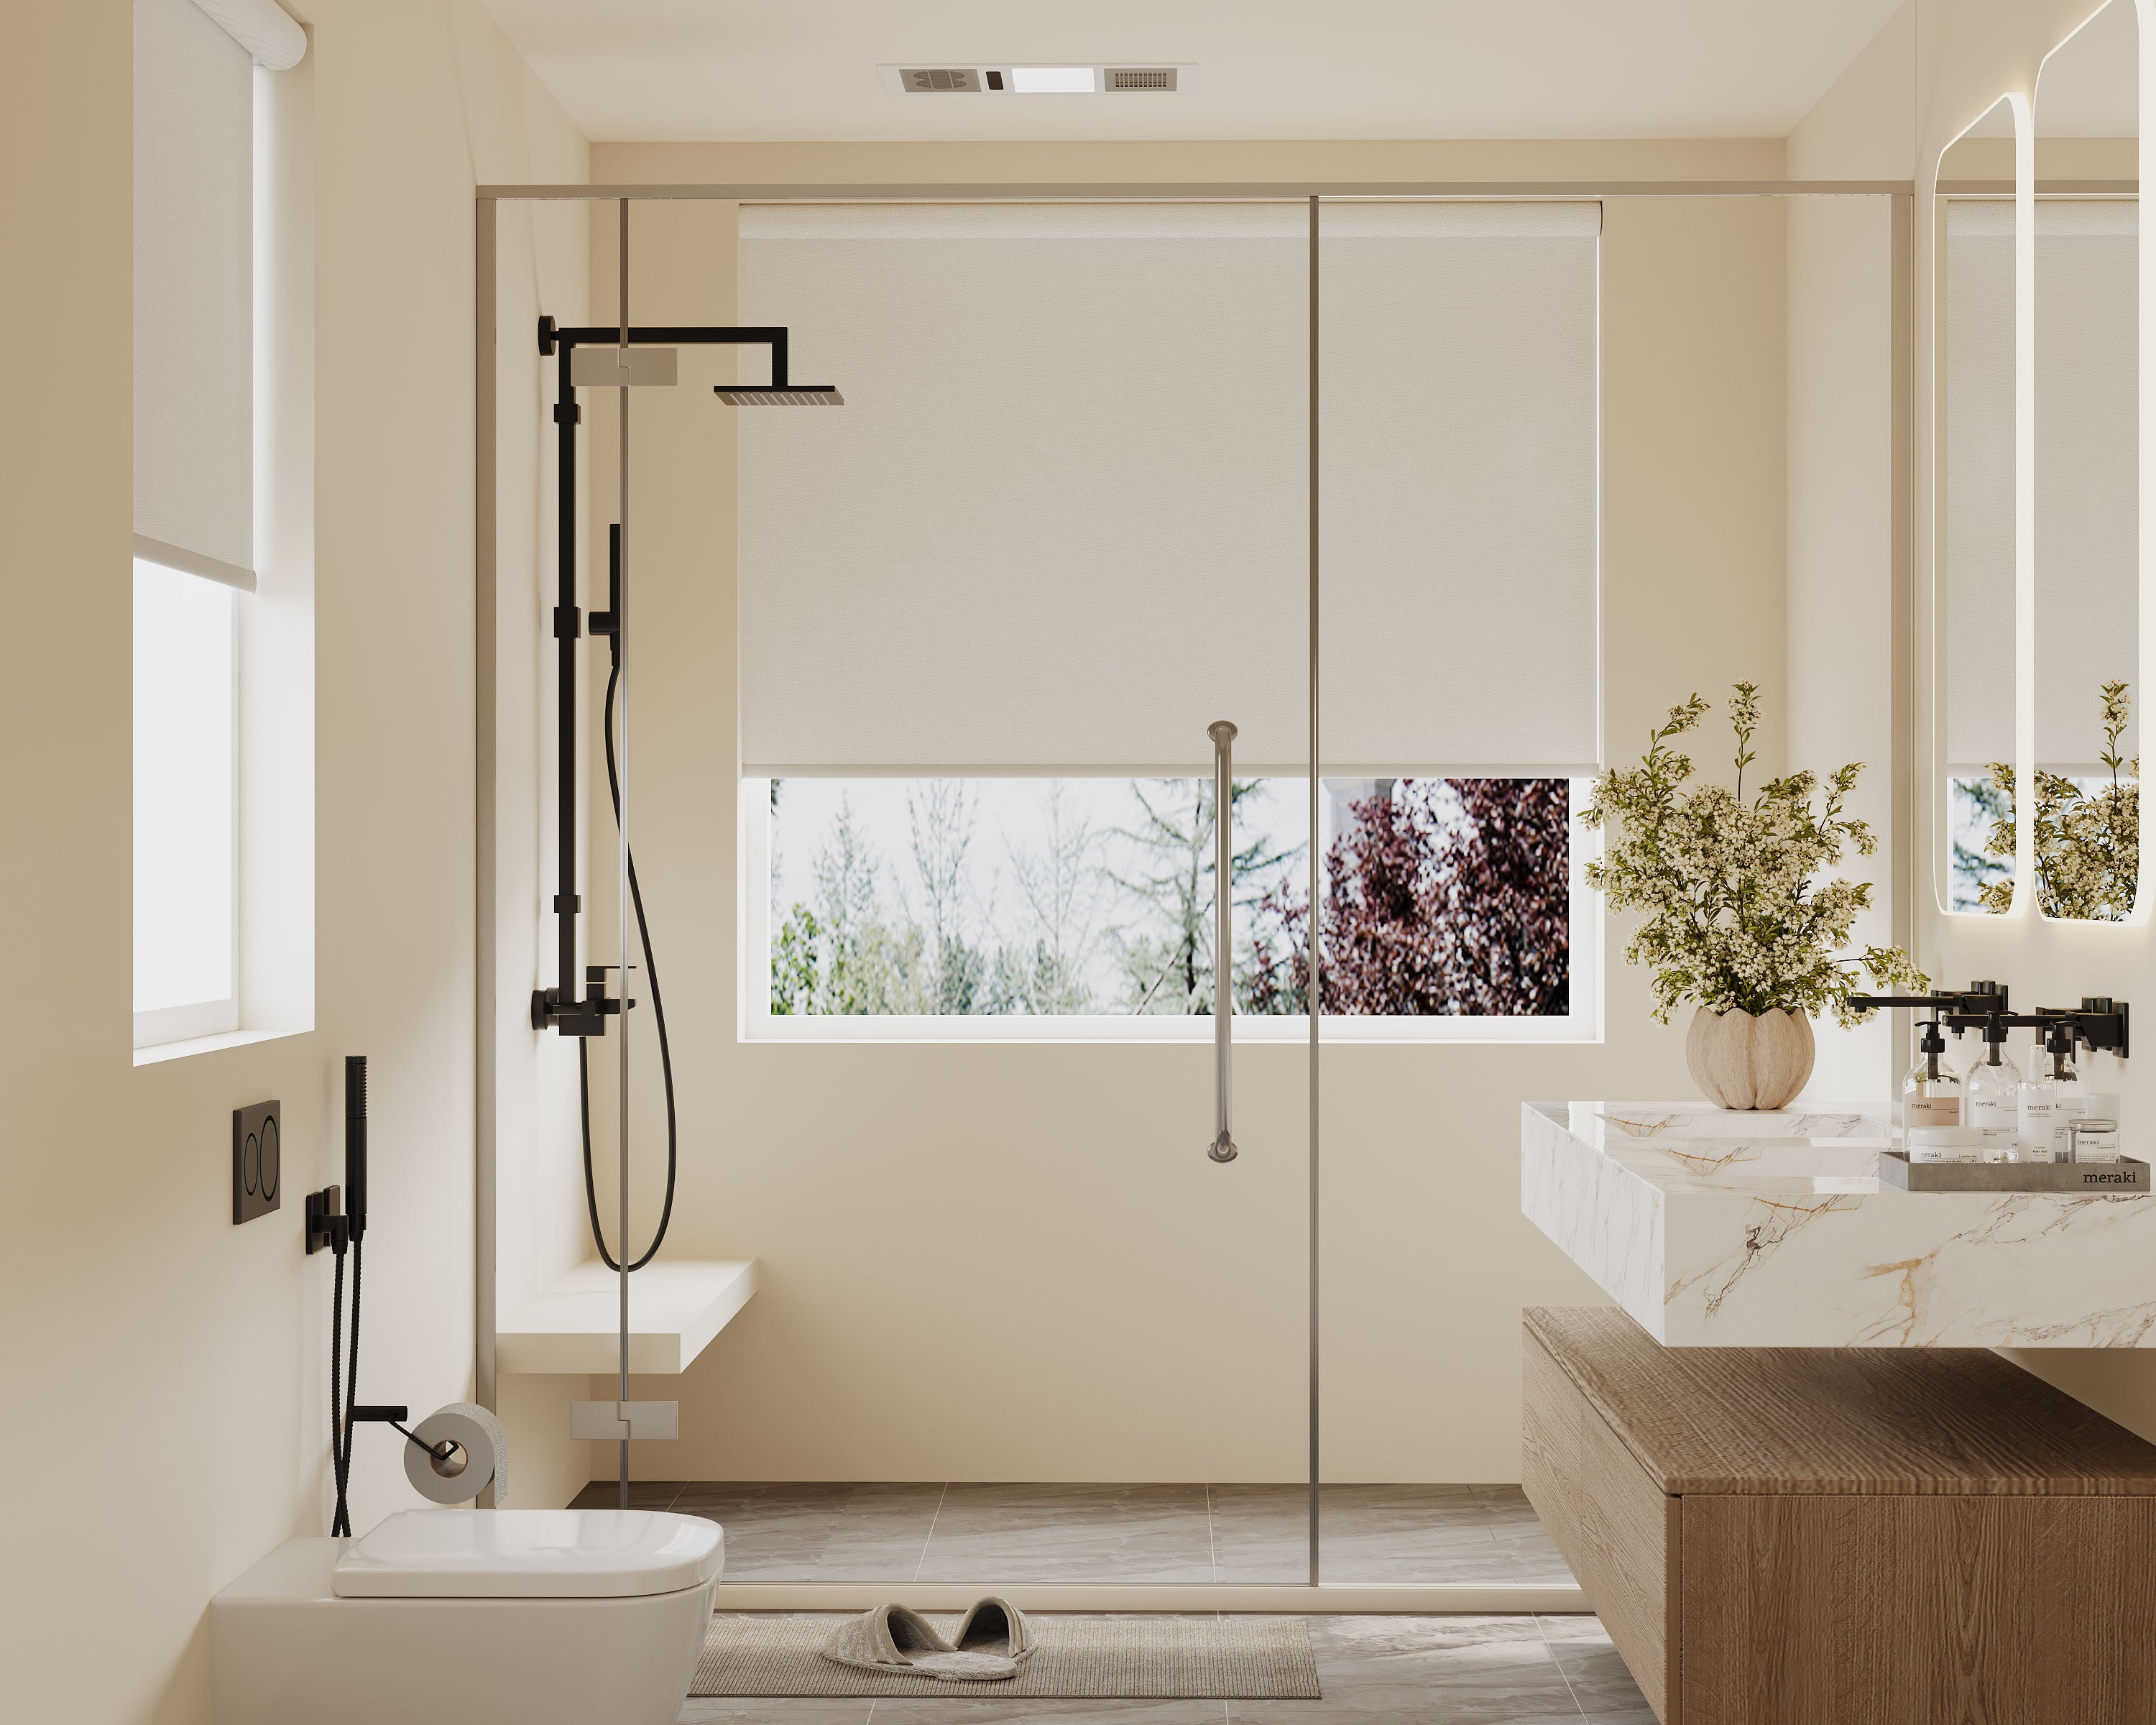
Explore our top collections, including Roller Shades, Zebra Shades, and Blackout Shades.
If you’re always searching for ways to make your windows stand out, inside-mount shades might just be that overlooked trick you’ve been missing. When you install shades inside the window frame, you get to show off all those moldings, trims, and quirky architectural bits that give your place its own vibe. Instead of hiding what makes your rooms special, you’re actually putting it front and center.
You get to enjoy the details—arched windows, deep sills, or that old-school casing—that set your space apart from the next. The right inside-mount shade frames the view, offering function and style without stealing the show.
Key Takeaways
- Inside-mount shades highlight your home’s unique features.
- Good installation and thoughtful design really make a difference.
- Keeping shades clean helps them blend with your style and keeps them working well.
Understanding Inside-Mount Shades
Inside-mount shades tuck neatly inside a window frame, giving you a crisp, streamlined look that draws attention to the window’s lines. They’re great for saving space and showing off trim and structure.
What Are Inside-Mount Shades
Inside-mount shades sit right inside the window opening, not on the wall or over the trim. This keeps them flush with the frame and gives everything a polished, tailored finish.
People usually go for inside-mounts when they want to highlight cool molding or windows with unusual shapes. You do need enough depth in your window frame—usually 1 to 2 inches—to fit the hardware, though.
These shades help cut down on gaps at the edges, so you get better privacy and light control than you might with outside-mount options.
Types of Inside-Mount Shades
Here are a few shade types that work well for inside-mounts:
| Shade Type | Best For | Notable Styles |
|---|---|---|
| Roller Shades | Simple, minimal look | Blackout, Solar, Light Filtering |
| Roman Shades | Soft, elegant folds | Flat, Relaxed, Hobbled |
| Cellular/Honeycomb | Insulation, energy savings | Single, Double, Triple Cell |
| Pleated Shades | Versatility, lower cost | Standard, Top-Down-Bottom-Up |
| Woven Wood | Natural textures, warmth | Bamboo, Grass, Reed |
Pick a style that fits your space and what you need it to do. Solar roller shades are great for fighting glare but still letting you see the yard, while Roman shades add a cozy, inviting feel.
Key Features and Functions
Inside-mount shades often come with extras to make life easier. Cordless controls are safer and look cleaner. Motorized shades are a lifesaver for tall or hard-to-reach windows.
Top-down/bottom-up options let you fine-tune privacy and light. Blackout or thermal linings help keep rooms dark and comfortable.
You can customize widths, fabrics, colors, and lift styles. Measuring carefully is a must—a snug fit means no weird light leaks and a sharp look inside the frame.
Architectural Details That Shine With Inside-Mount Shades
Inside-mount shades don’t just block light or nosy neighbors. They actually work with the window’s bones, making sure the good stuff gets noticed.
Highlighting Trimwork and Moldings
When shades sit inside the frame, the outer trim and molding stay in view. Those chunky crown moldings or that sharp, painted casing? They become part of the room’s personality, not something to cover up. If you’ve spent time or money on restoring woodwork or getting the trim just right, this is your chance to show it off.
What really pops:
- Visual definition: Trim outlines the window, grounding it in the space.
- Contrast: The line between shade and woodwork stands out, especially if you’ve picked a bold color or stain.
- Room harmony: Matching trim styles across windows is easier to appreciate when nothing’s in the way.
With inside-mounts, moldings finally get their moment.
Showcasing Unique Window Shapes
Not every window comes in a rectangle—and that’s a good thing. Inside-mount shades fit neatly into arches, circles, triangles, or whatever your house throws at you. By mounting inside the recess, you keep the window’s shape in the spotlight.
This works for:
- Arched tops
- Angled frames
- Circles or portholes
A good shade sits right under the curve or edge, so the shape stays visible. No need to force everything into a boring square—let the cool geometry shine. Custom-cut shades can fit even the weirdest corners without hiding the details.
Celebrating Deep Window Casings
Deep sills and casings make natural ledges—great for plants, books, or, let’s be honest, a napping cat. Inside-mount shades let you actually use this space. Instead of shoving decor forward or blocking it, shades tuck in and leave the ledge free.
The perks:
- Extra dimension: The depth adds interest.
- Layered look: You can pair shades with drapes or sheers without crowding.
- Practicality: Shades don’t get in the way of the window or your stuff.
Deep casings are worth enjoying, and inside-mounts make it easy.
Design Principles for Framing the View
Inside-mount shades don’t just cover windows—they frame the view and play nice with your home’s quirks. With the right choices, you can boost both looks and function.
Balancing Light and Privacy
Getting the right mix of light and privacy can be tricky. You want sunlight, but not so much you’re squinting or feeling on display.
Light-filtering fabrics are perfect for living rooms or kitchens if you want daylight but still need a bit of privacy. For bedrooms or bathrooms, blackout or room-darkening shades are the way to go.
Here’s a quick comparison:
| Shade Type | Light Control | Privacy Level |
|---|---|---|
| Sheer/Linen | Soft, diffused | Low |
| Light-Filtering | Moderate | Medium |
| Blackout | High | High |
Layering shades with curtains gives you more options—block the light or let it in, depending on your mood or the time of day. It’s less about rules and more about how you actually use the room.
Choosing the Right Shade Materials
Material matters for both looks and daily living. If you want a crisp, tailored vibe, woven wood or bamboo shades add warmth and texture. For something more modern, synthetic blends or smooth fabrics are easy to keep clean and look sharp.
Think about fabric weight, too—heavier stuff blocks more light and gives you more privacy. If your place gets a lot of sun or humidity, go for fade-resistant or moisture-friendly materials. That way, you’re not replacing shades every year.
Always check how a material looks in your actual space. Hold up swatches and see what the light does—sometimes colors shift way more than you’d expect.
Color and Texture Coordination
Color and texture help shades blend in or stand out, depending on your style. If you want a seamless look, match the shades to your trim—whites, creams, or soft grays usually work.
For more interest, try textured weaves, subtle patterns, or even a gentle stripe. Bold colors or dramatic textures can be fun, but make sure they won’t clash with your fixtures or finishes.
Pro tip: Always test swatches by the window before you order. Light changes everything, and you don’t want any surprises.
Installation Secrets for Maximum Impact
Nailing the installation makes all the difference. The right fit and clean mounting really make those architectural details pop.
Precise Measuring Tips
Guesswork isn’t your friend here—inside-mount shades need spot-on measurements. Grab a steel tape measure (not the floppy kind). Measure the width at the top, middle, and bottom, and use the narrowest number.
For height, check both sides and go with the longer one. Don’t forget to measure window depth—most shades need a certain amount to fit right. Quick checklist:
- Measure width in three spots; use the smallest.
- Measure height in two places; use the largest.
- Confirm window depth is enough for the shade.
Skip this, and your shades might not fit or could end up covering your nice trim—not ideal.
Mounting for a Clean Finish
When it’s time to install, details matter. Make sure brackets are straight and level so shades move smoothly and hardware stays out of sight. A cordless drill and a level are your best friends here—no one wants crooked shades.
Mark bracket holes with the template before you drill. Set brackets as deep as possible in the frame so the shade sits flush.
After snapping the shade in, check that nothing sticks or rubs. Adjust if you need to. Tighten screws and keep cords or chains tidy—now your shades look custom and work like a dream.
Stylistic Inspirations Using Inside-Mount Shades
Inside-mount shades help you show off sleek frames, vintage moldings, or any little nook you want to highlight. They set the tone, whether you’re going bold or keeping it chill.
Creating Visual Drama
Sometimes, the right window treatment is all it takes to turn a plain wall into a real feature. Inside-mount shades let you show off the full depth of the window, so any color or texture you pick really stands out.
Patterns or contrasting colors add a burst of personality. A navy Roman shade inside bright white trim? That’s eye-catching and feels intentional. Sheer shades layer in a dreamy quality, letting light and shadow shift as the day goes on.
For more drama, go with bold shades and dark trim for a high-contrast look. If you love texture, woven woods fitted snugly in the frame add warmth and depth.
Modern vs Classic Approaches
Your choice of shade can push the room in a modern or classic direction. Modern spaces tend to favor flat, simple panels or solar shades with clean lines.
Classic rooms feel right with softer fabric shades—think relaxed Romans or honeycomb styles with gentle folds. Subtle patterns or traditional colors can echo the room’s history. Here’s a side-by-side:
| Style | Materials | Typical Colors | Detailing |
|---|---|---|---|
| Modern | Linen, polyester, vinyl | Neutral, bold solids | Minimal hardware, no trim |
| Classic | Cotton, silk, woven | Cream, navy, pastels | Corded edges, subtle borders |
Inside-mount shades make it easy to mix in both styles without things feeling mismatched.
Complementing Minimalist Interiors
Inside-mount shades shine in minimalist spaces, where simplicity rules and clutter’s not welcome. Tucking the shade inside the frame keeps things neat and lets the architecture do the talking.
Stick to neutral shades—white, gray, oatmeal—so they blend right in. Roller or cellular shades are perfect if you want privacy without any fuss.
When shades are out of the way, lines stay crisp. Cordless or motorized options keep things even cleaner—no dangling cords to mess up the vibe. It’s simple, functional, and still has that little spark of interest.
Practical Considerations and Maintenance
Inside-mount shades bring style and practicality, but keeping them looking sharp takes a little ongoing effort. Cleaning habits and the right material choices make all the difference for longevity.
Care and Cleaning Methods
Dust builds up fast, so we usually reach for a soft microfiber cloth or the vacuum’s brush attachment—works for roller, Roman, or cellular shades. Fabrics with anti-static finishes? Those buy us a little extra time between cleanings.
For stains, a dab of mild soap and water on a damp sponge often does the trick. We steer clear of harsh chemicals or soaking; most shade fabrics don’t love that. With wood or bamboo, we stick to a dry or barely damp cloth to keep the finish happy.
Sun can be brutal, so if our shades face a lot of it, we try to check them once a month for fading or odd spots. Here’s a quick checklist:
- Dust weekly
- Spot-clean when needed
- Skip abrasives and sharp tools
- Watch for color changes
With a little routine, shades stay fresh and good-looking.
Longevity and Material Quality
How long our shades last? That depends on both materials and where they live. Kitchens and baths? We go for moisture-resistant vinyl or treated fabrics. Rooms with lots of sun need UV-resistant stuff—otherwise, fading’s almost guaranteed.
Here’s a material cheat sheet:
| Material | Good For | Caution |
|---|---|---|
| Polyester | Easy care | Pills if scrubbed hard |
| Wood/Bamboo | Natural vibe | Doesn’t love humidity |
| Vinyl/PVC | Wet areas | Can look a bit rigid |
| Linen/Cotton | Soft feel | Needs gentle touch |
Solid mounting hardware matters more than you’d think. Tight installs mean fewer problems with sagging or catching. Once a year, we’ll tighten brackets or check for frays—just takes a few minutes, and it’s worth it.
Cost Factors and Budgeting
Let’s talk real numbers—inside-mount shades come with up-front and long-term costs, and the details can really swing the budget. Installation style and custom touches both play a role.
Comparing Inside-Mount and Outside-Mount
Inside-mount shades usually look sleeker and sometimes use less material, but the price isn’t always lower. Complexity—like tricky window trim or handles—can nudge costs up.
Quick breakdown:
| Factor | Inside-Mount | Outside-Mount |
|---|---|---|
| Material Needed | Often less | Usually more |
| Installation Effort | Fussier, more precise | Easier, less picky |
| Measurement Tolerance | Has to be exact | More forgiving |
| Cost Range | Mid to high if windows are odd | Low to mid for standard |
Unexpected stuff happens—maybe the frame’s not square, or there’s extra labor. Professional install fees can tick up if the fit is tight, but for a lot of us, that precision is worth it.
Investing in Custom Options
Custom inside-mount shades cost more than off-the-shelf, but you get what you pay for: tailored fits, specialty hardware, and solutions for weird windows.
Upgrades that nudge the budget:
- Motorization
- Blackout or light-filtering linings
- Designer fabrics or collabs
- Cordless lifts for safety
Average custom shades run $250 to $800 per window, depending on fabric, brand, and controls. Ordering for a whole house? Sometimes you can swing a bundle deal—worth asking.
And don’t forget to add a little cushion for install or last-minute tweaks. The final bill reflects both our taste and the features we want to show off.
Frequently Asked Questions
Getting the most from inside-mount shades is all about fit, blending with your space, and knowing how much room to leave around trims and frames. From tricky molding to smooth operation, here’s some real-world advice.
How do you measure for inside-mount shades to best accentuate my home's architectural features?
We start with three width and three height measurements—top, middle, bottom. Use the narrowest width for that snug, custom look. If the window or molding has unique details, measure right to where you want the shade to stop. That’s how you really show off the trim.
What's the deal with inside mount shades clearance – is more always better for that chic, tailored look?
Tight fit looks sharp, but you need a little breathing room—about 1/8 to 1/4 inch on each side—for smooth movement. Too much gap? Suddenly you’re getting light leaks.
Minimal side gaps hit that sweet spot between function and style.
Can you give me tips for making inside-mount blinds look like they're naturally part of the wall?
We try to match blind color to the trim for a seamless feel. Low-profile hardware helps, and setting the shade flush with the window keeps things tidy.
Subtle textures and slimmer headrails can make shades look built-in—almost like they’ve always been there.
Are there any creative hacks for using inside-mount blinds when dealing with tricky window molding?
If molding’s deep or oddly shaped, we sometimes use spacer brackets to nudge the blind forward. Shallow windows? Slimmer shades or custom brackets work best.
We’ve even painted trim strips to bridge gaps between hardware and molding, faking a custom finish.
When choosing between inside and outside mount shades, what should savvy decorators consider for a flawless finish?
For inside mounts, we want deep, clean frames that hold hardware without feeling crowded. Outside mounts? Better if trim is skinny or the window’s out of square.
We weigh light control, privacy, and how the shades frame the view—inside mounts feel sleeker, but outside can make windows look bigger. Honestly, it’s a bit of a judgment call.
What are some insider tricks for ensuring that my inside-mount blinds function smoothly without cramping my style?
I make a habit of checking and tightening the mounting brackets every so often—loose hardware can mess things up fast. Every now and then, I’ll add a little lubricant to the cord mechanism, just to keep things gliding without any weird noises. I try not to overload the headrail with super heavy fabrics, since that’s a recipe for trouble.
When it comes to style, I lean toward streamlined pulls that don’t fight with the rest of the room. And before I call it done, I always check that the slats or shades won’t snag on any window handles or locks. Nothing kills the vibe faster than blinds that get stuck every time you open the window, right?

