How to Install Window Blinds & Shades
Installing custom blinds, shades may feel challenging, but it becomes simple with a few basic tools and our straightforward guidelines. For detailed step-by-step instructions, please refer to the specific product information below.
Installation Guides
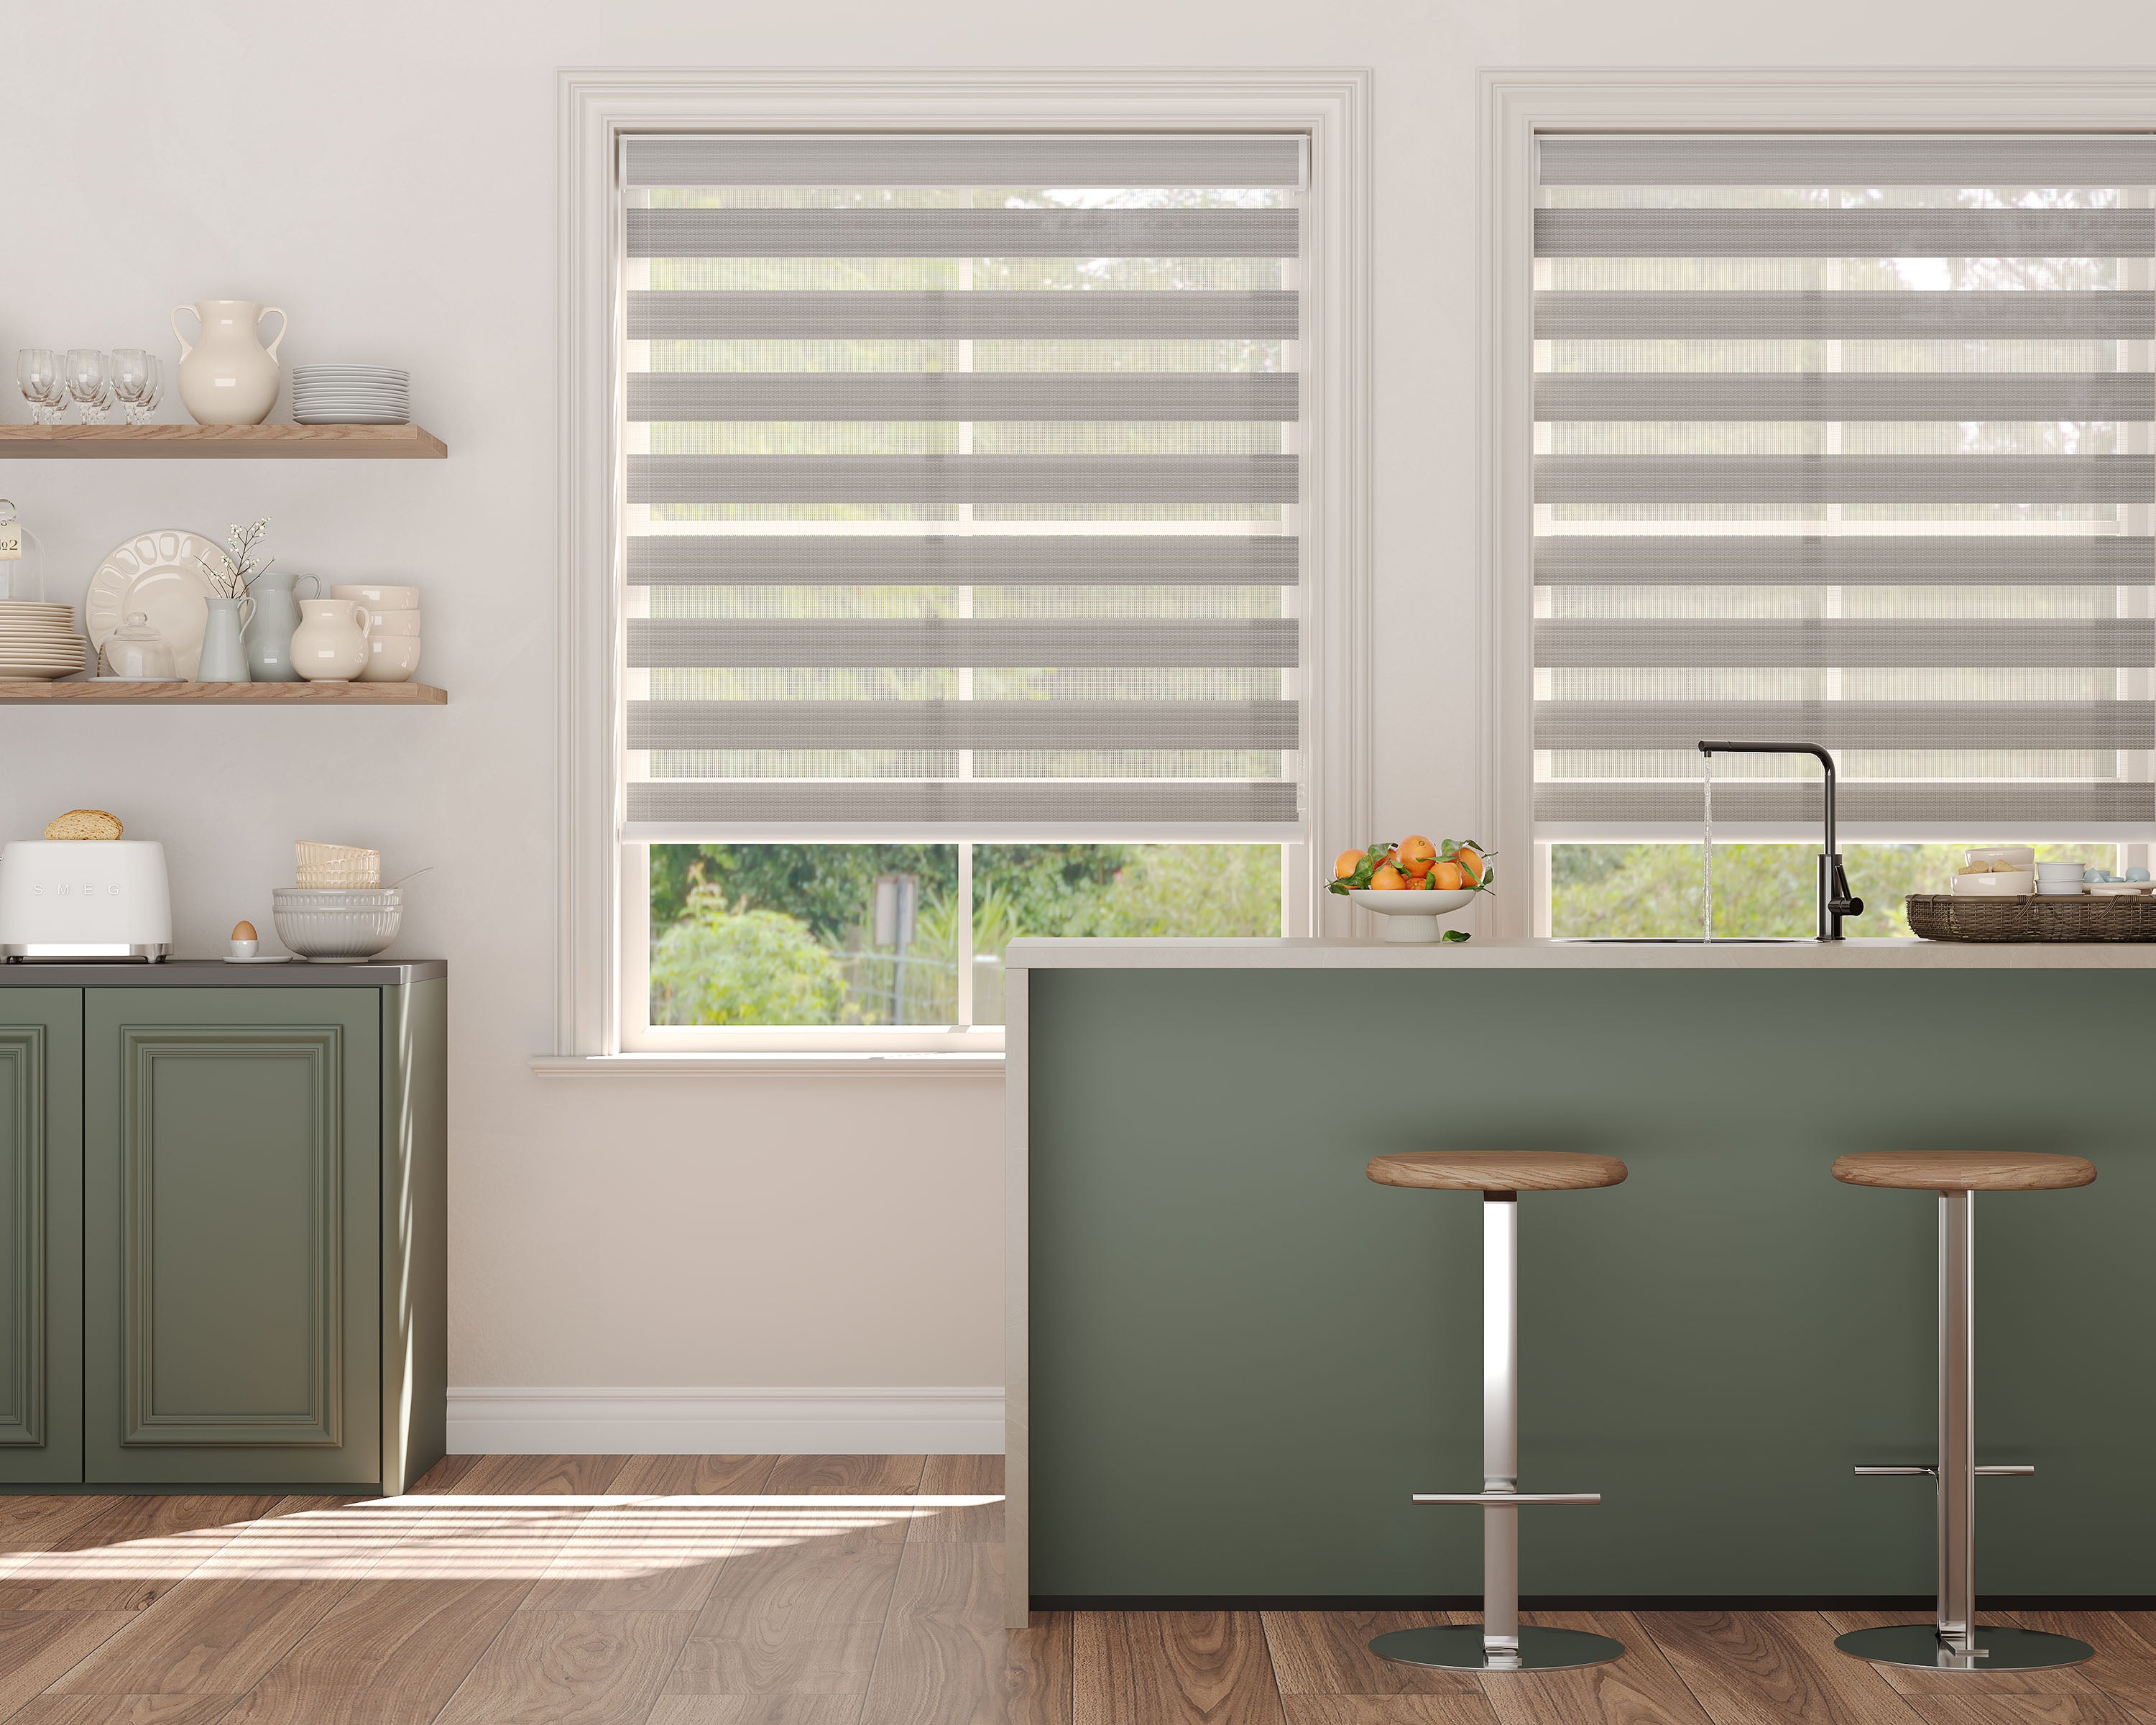
Roller, Zebra,Solar & Sheer Shades
General Installation Preparation
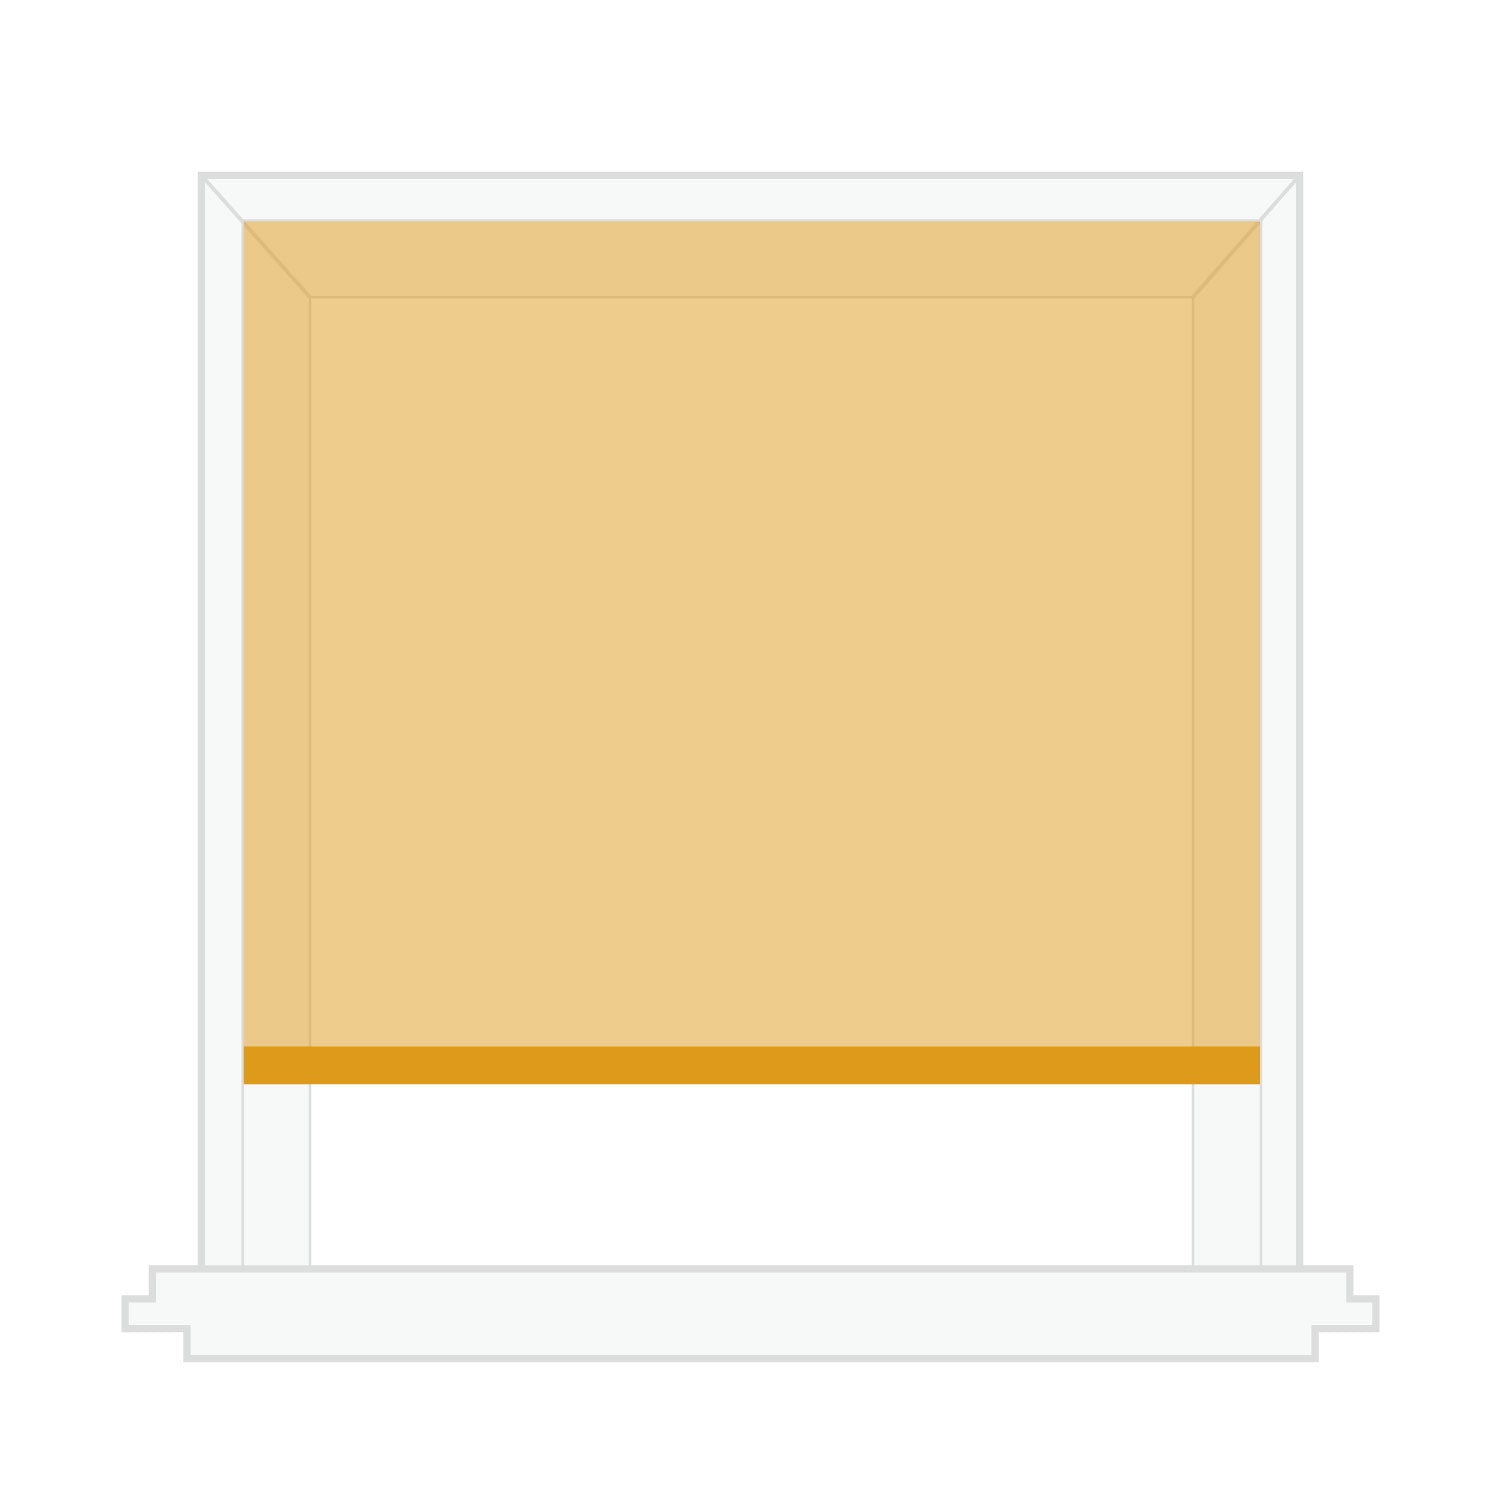
- Determine Mounting Type: Identify whether you’ll be installing an inside or outside mount.
- Prepare Your Tools: Gather all the necessary tools and equipment before starting the installation.
- Check Your Package: Ensure all the required hardware and components are included in the packaging.
Tools You’ll Need to Install Blinds & Shades
- Metal tape measure
- Screwdrivers (flathead and Phillips)
- 1/4" nut driver
- Safety glasses
- Pencil
- Drill with appropriate bits
- Level
- Ladder (if needed)


