
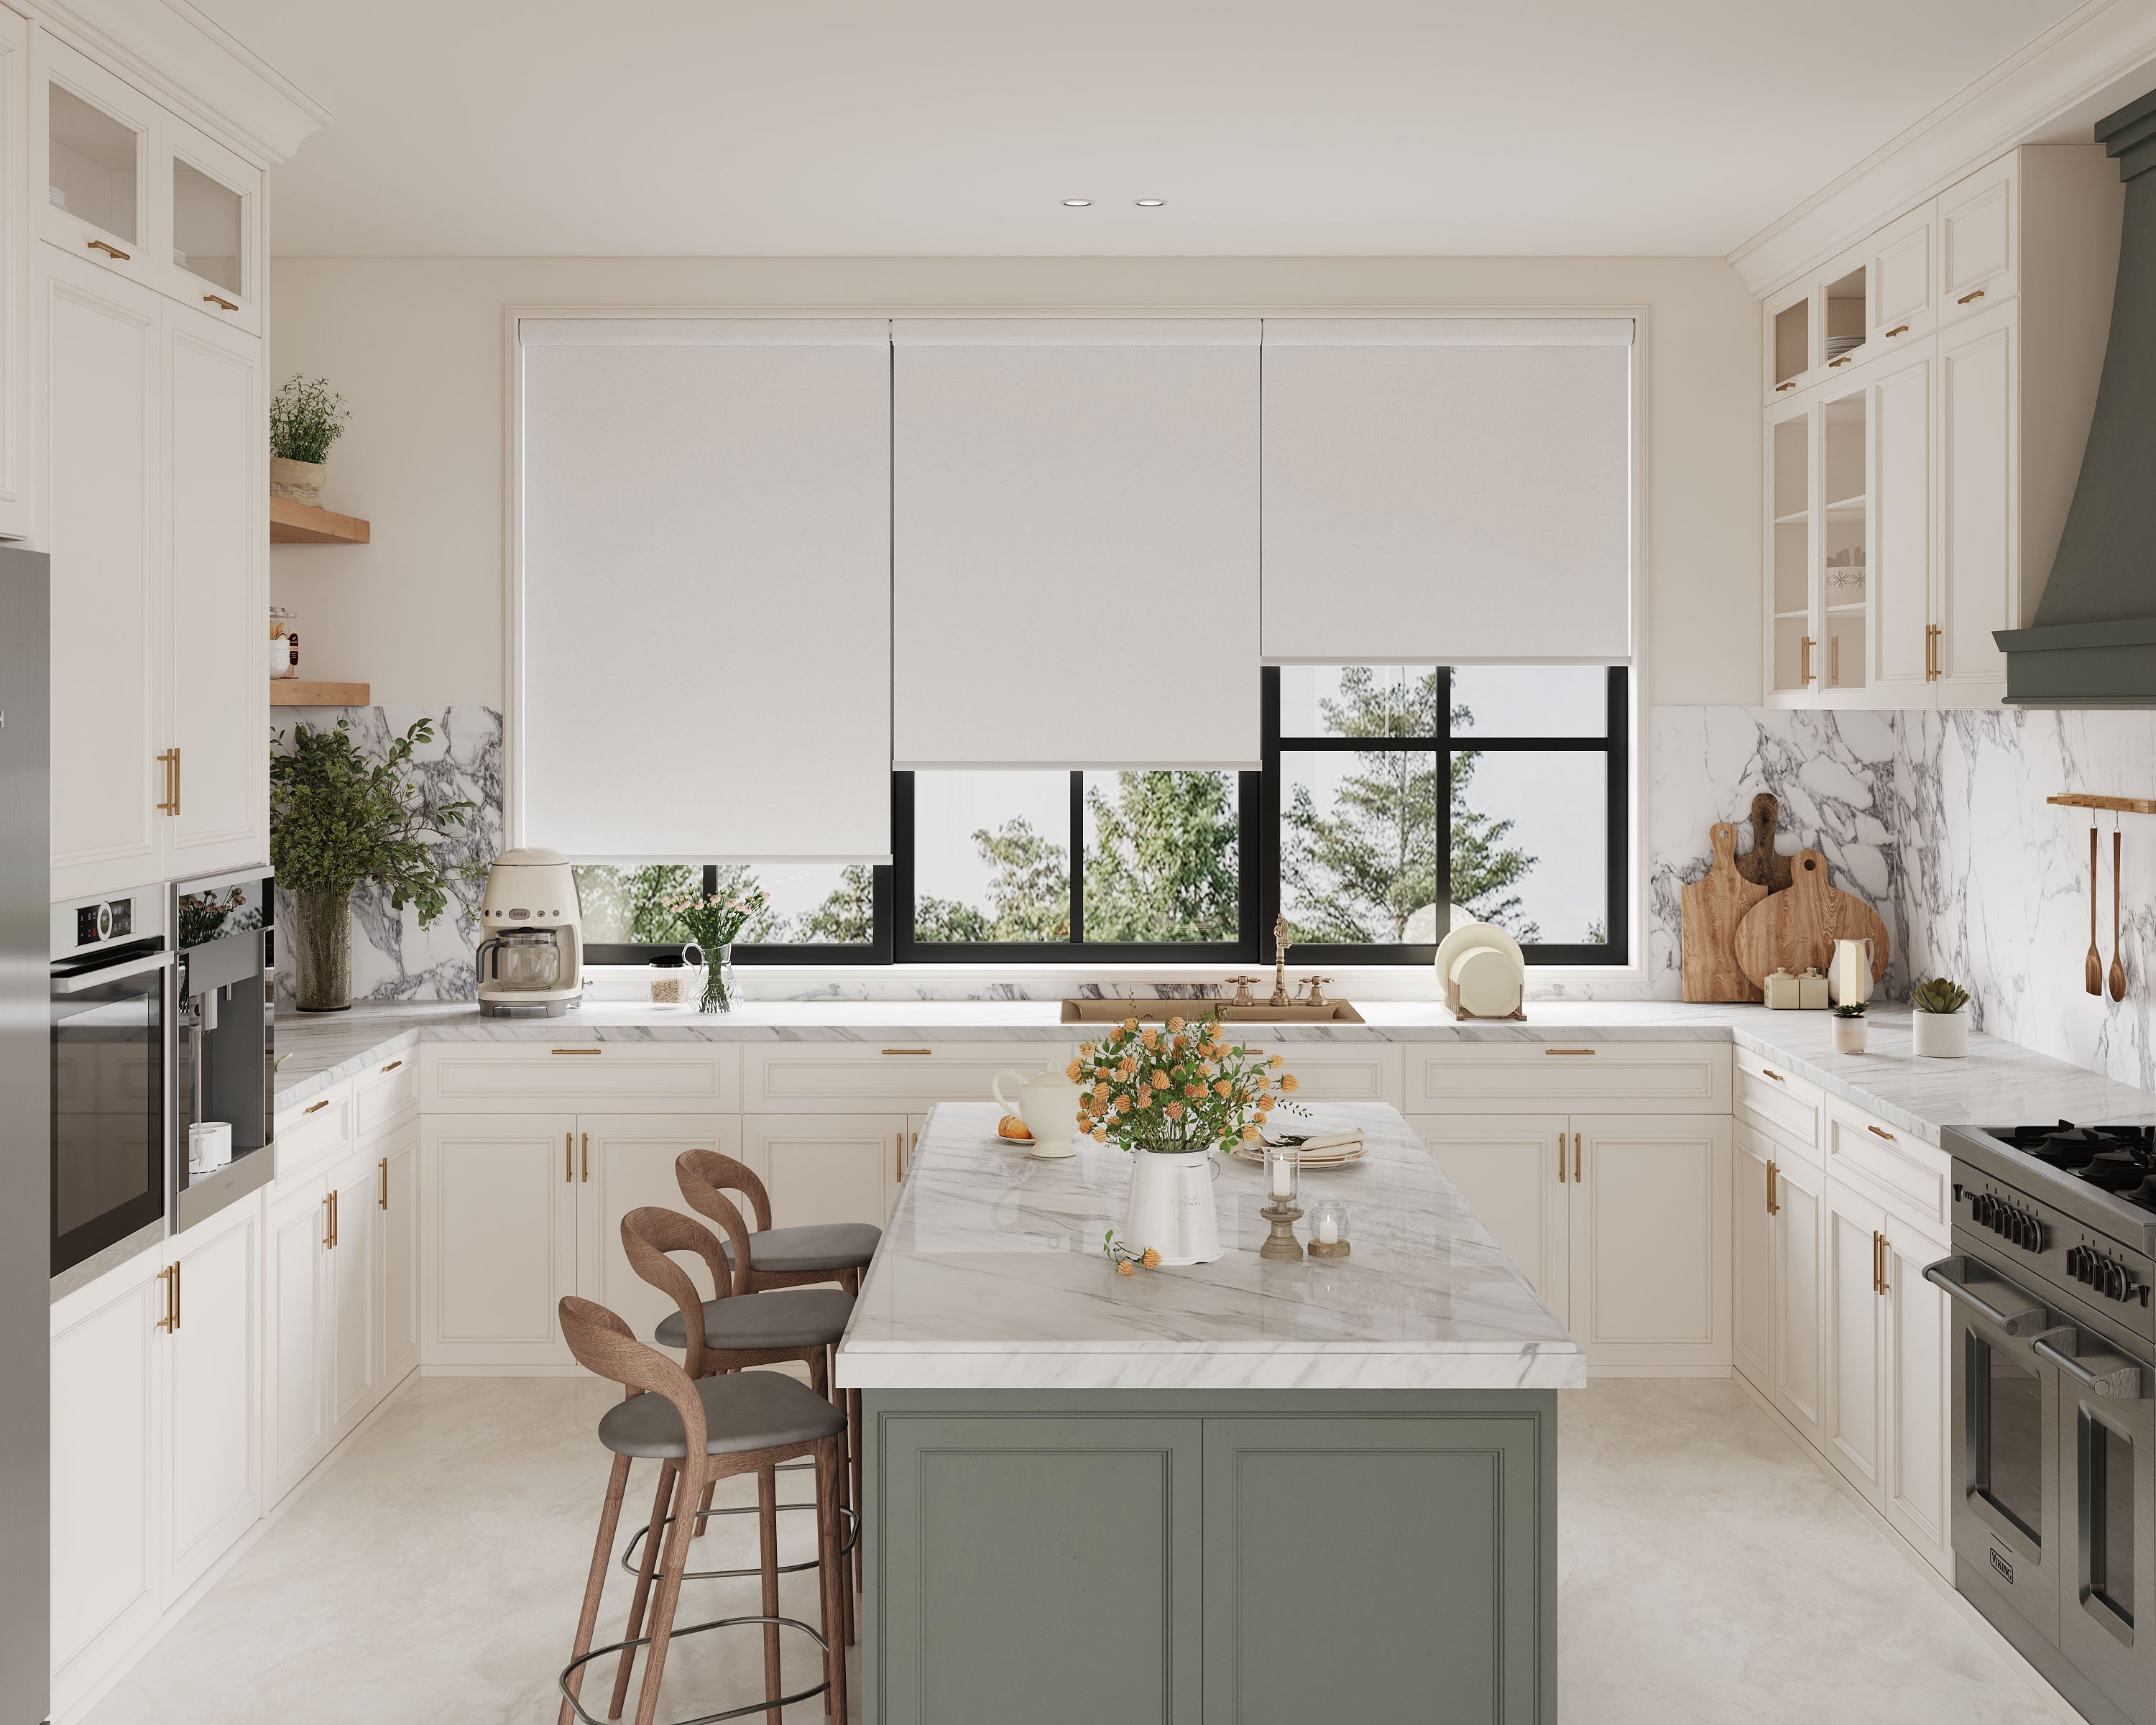
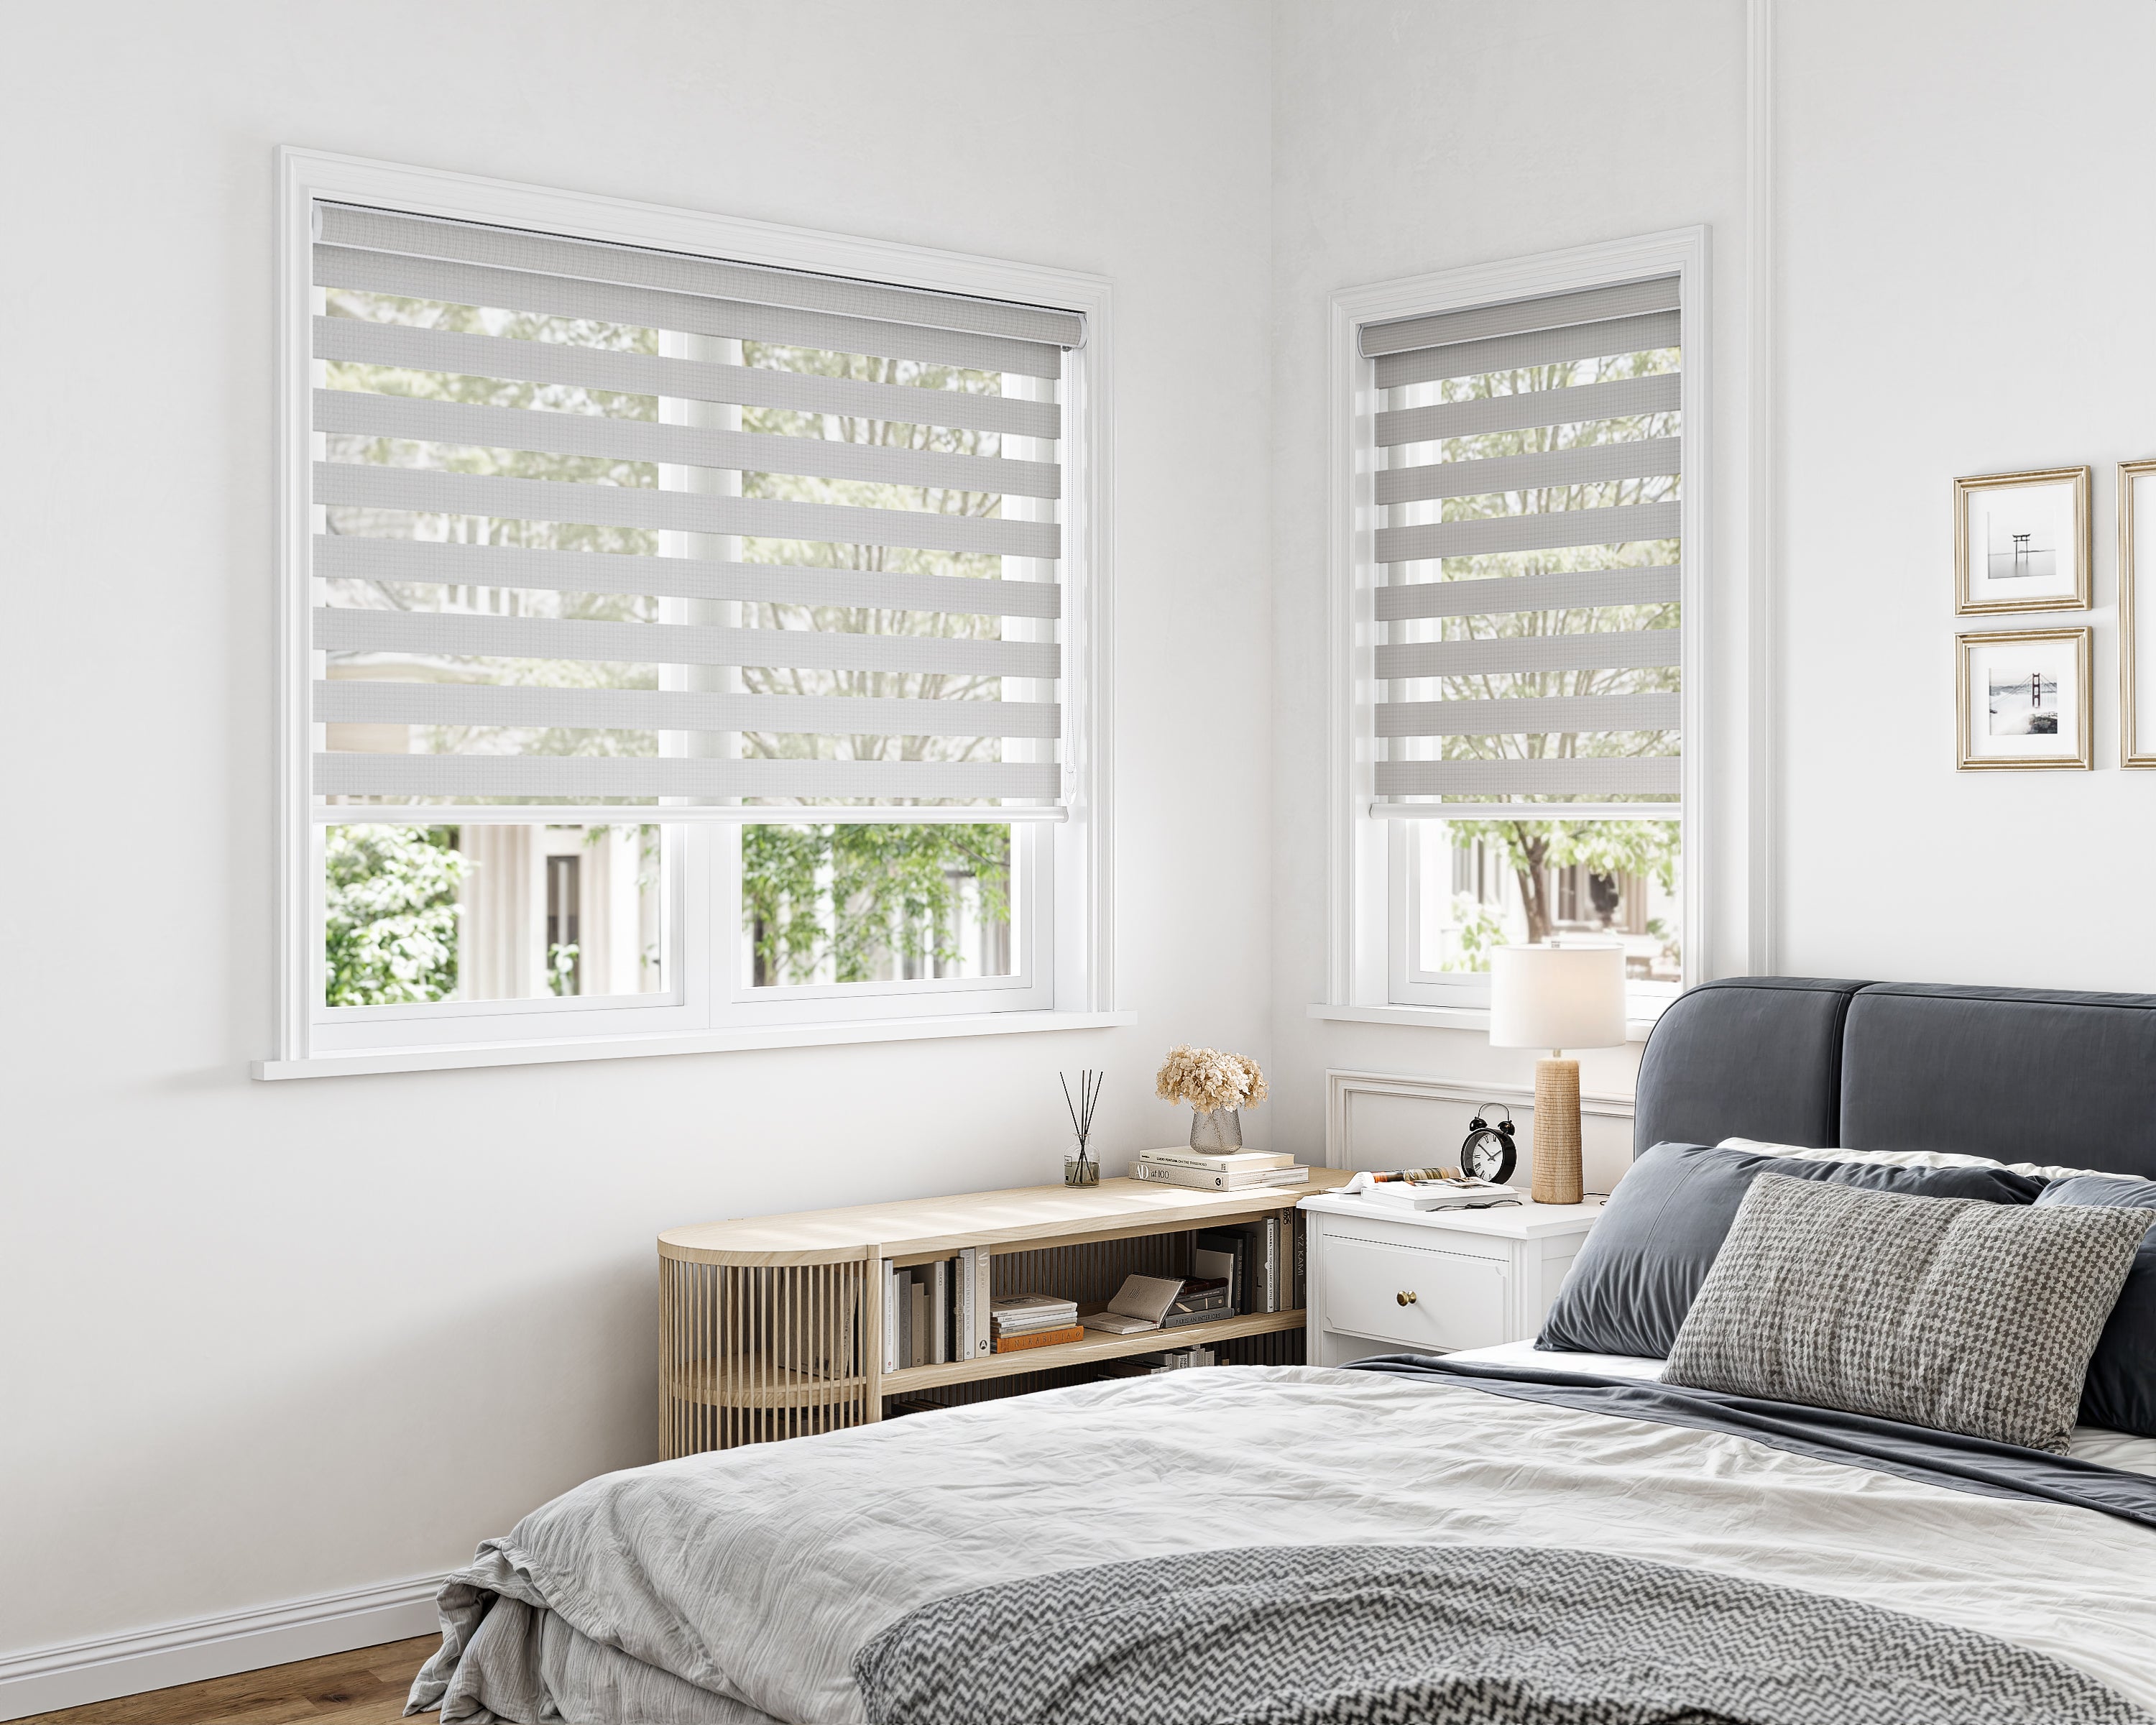
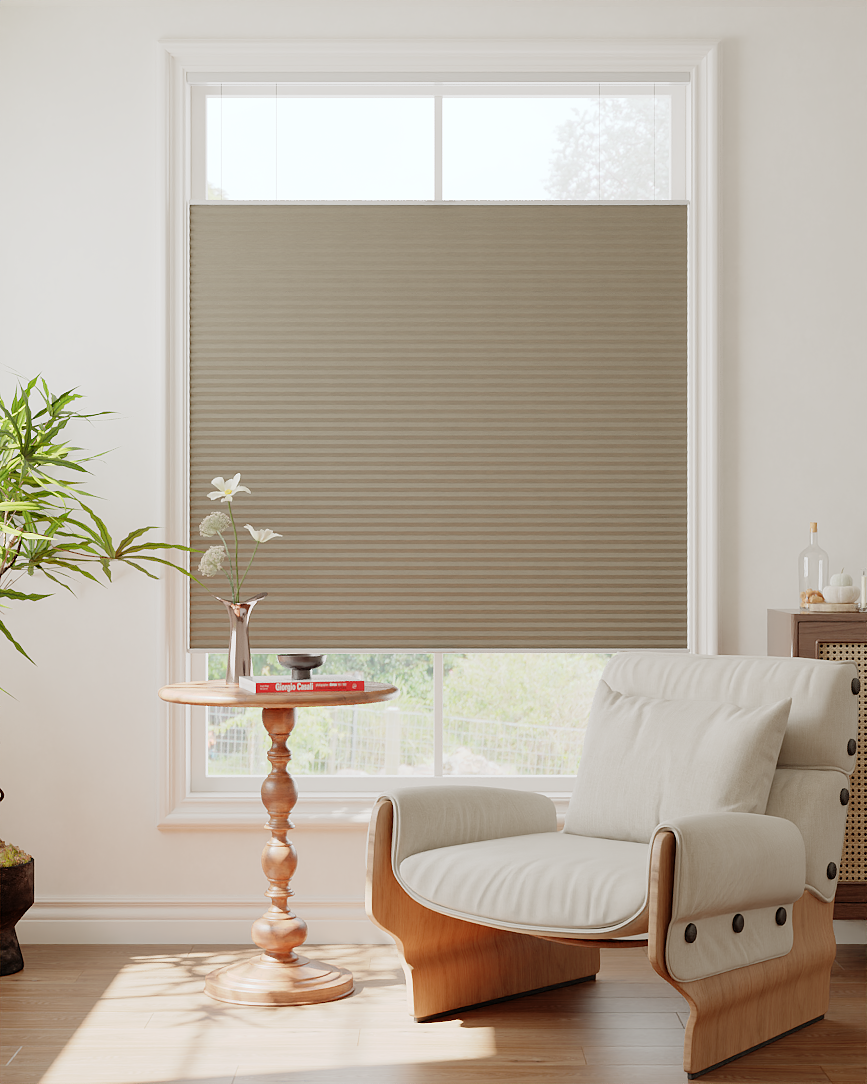
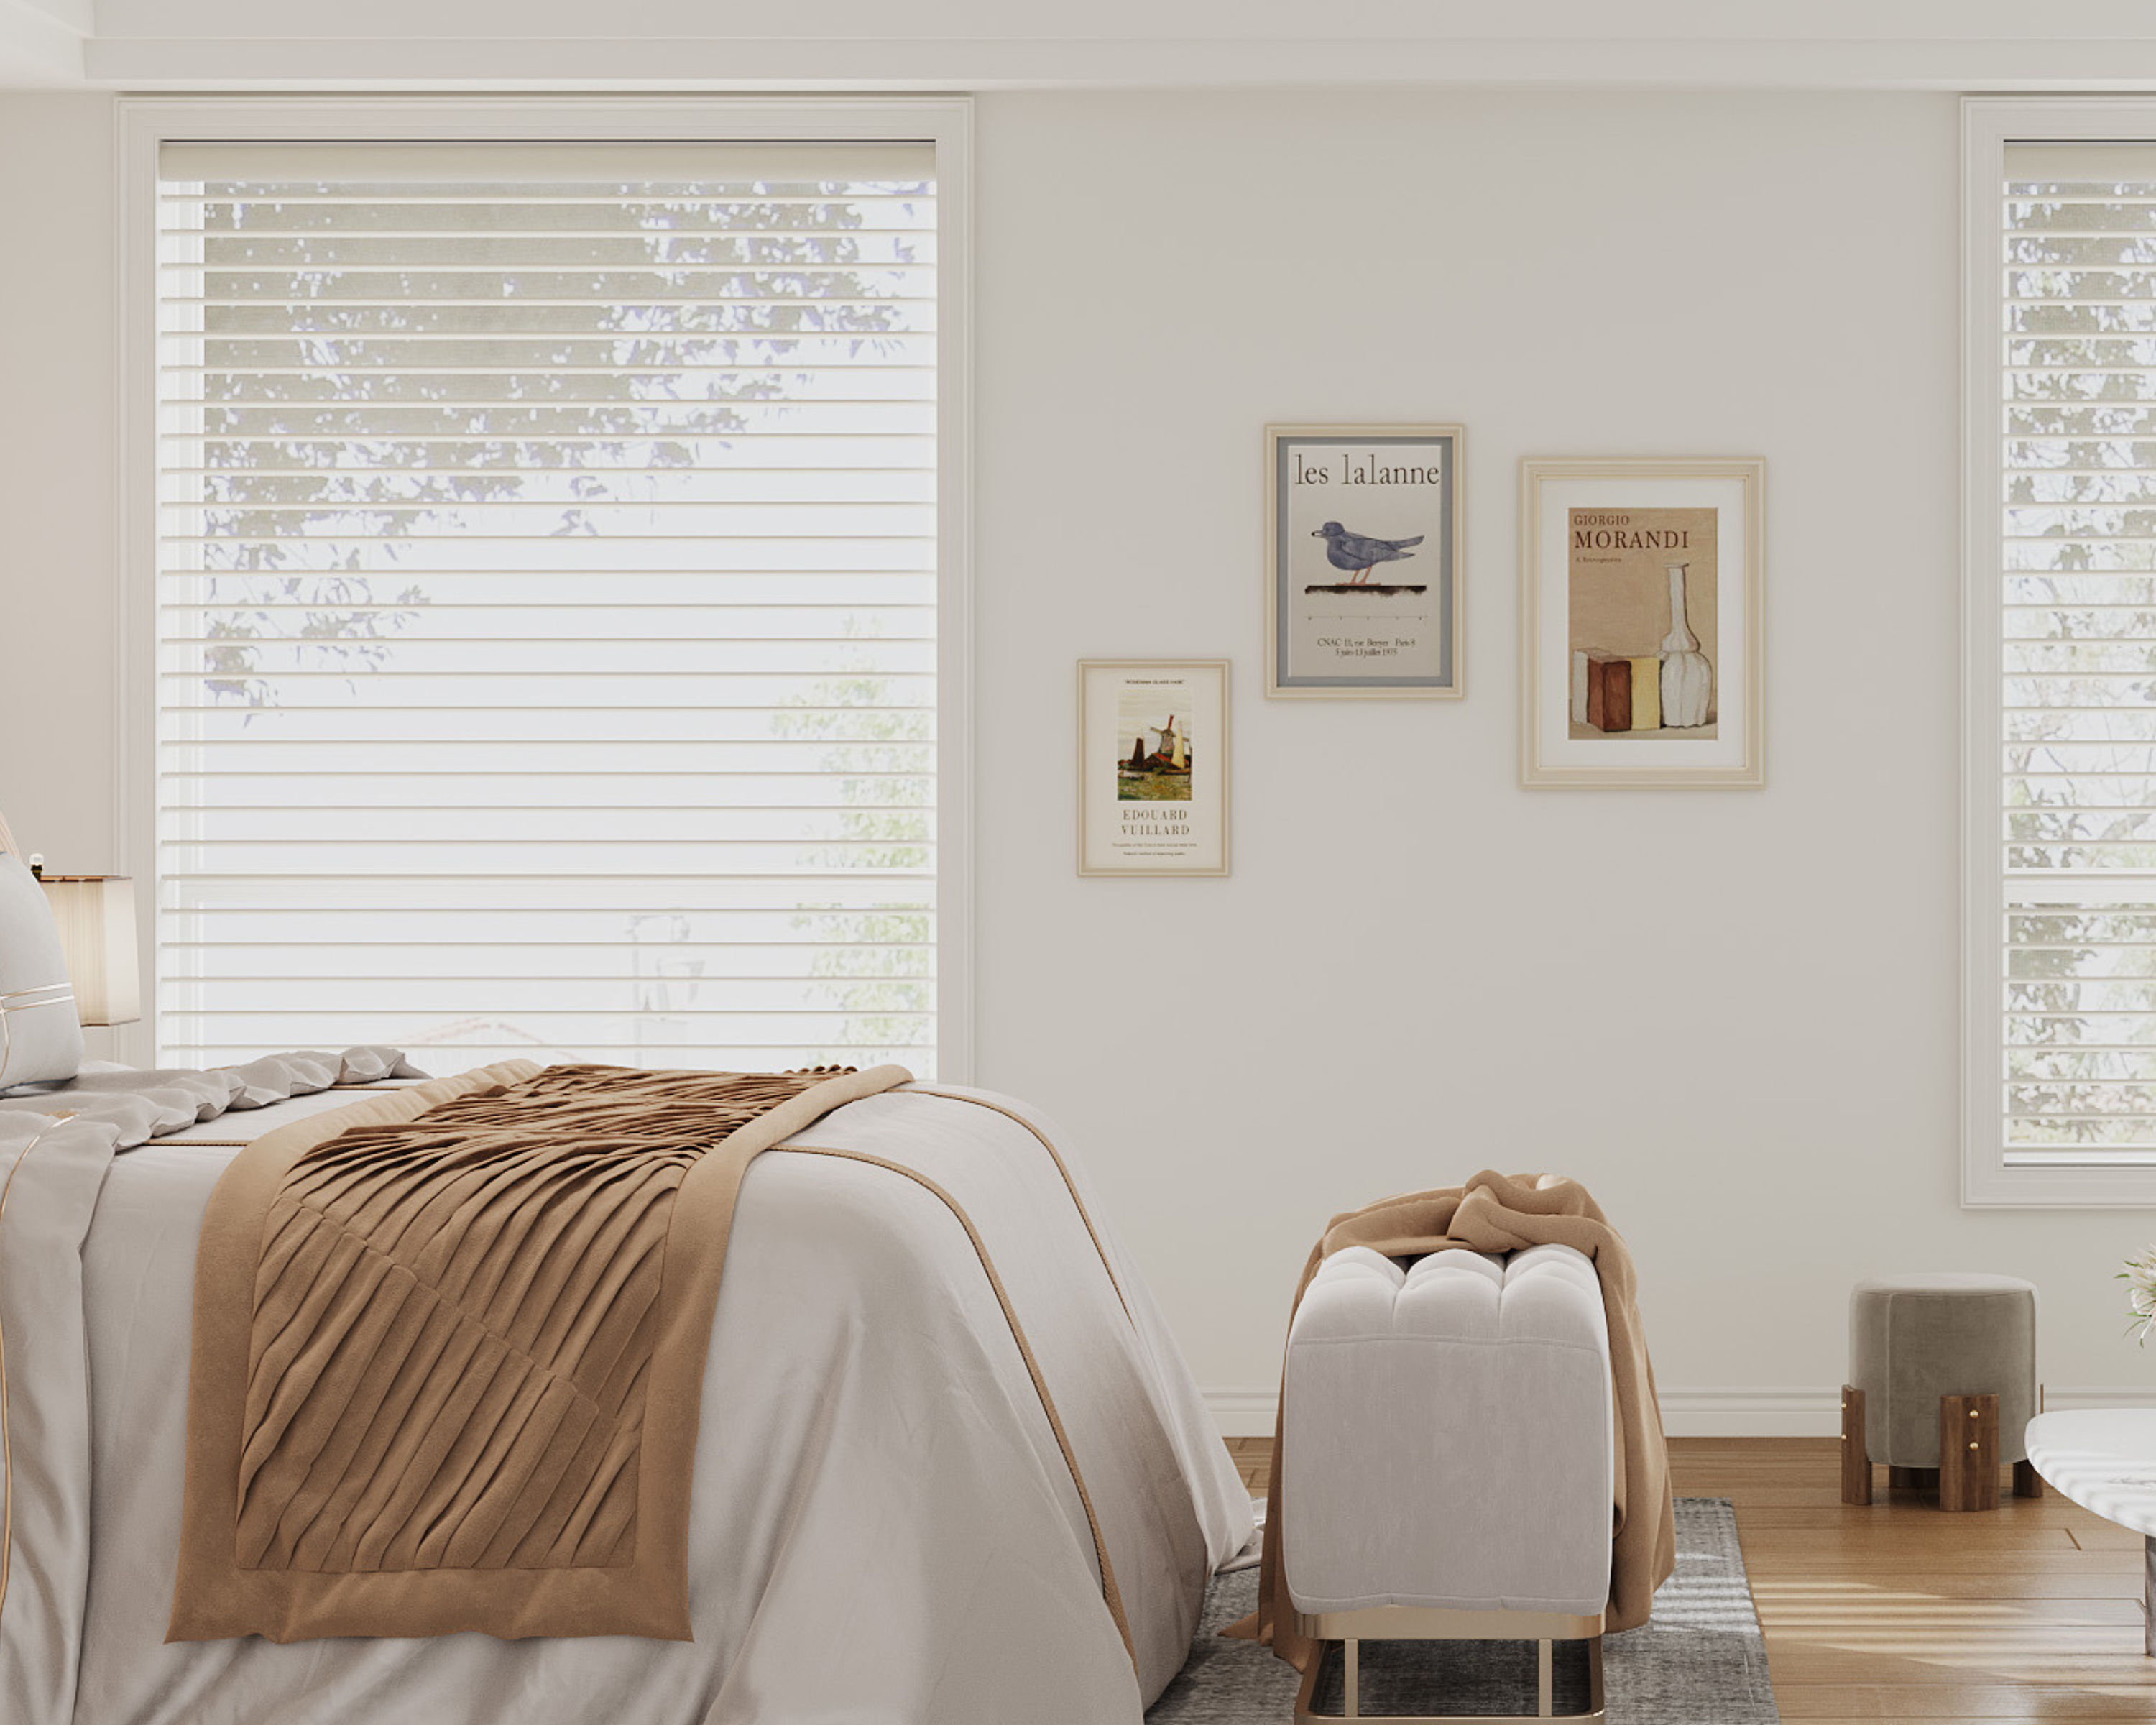
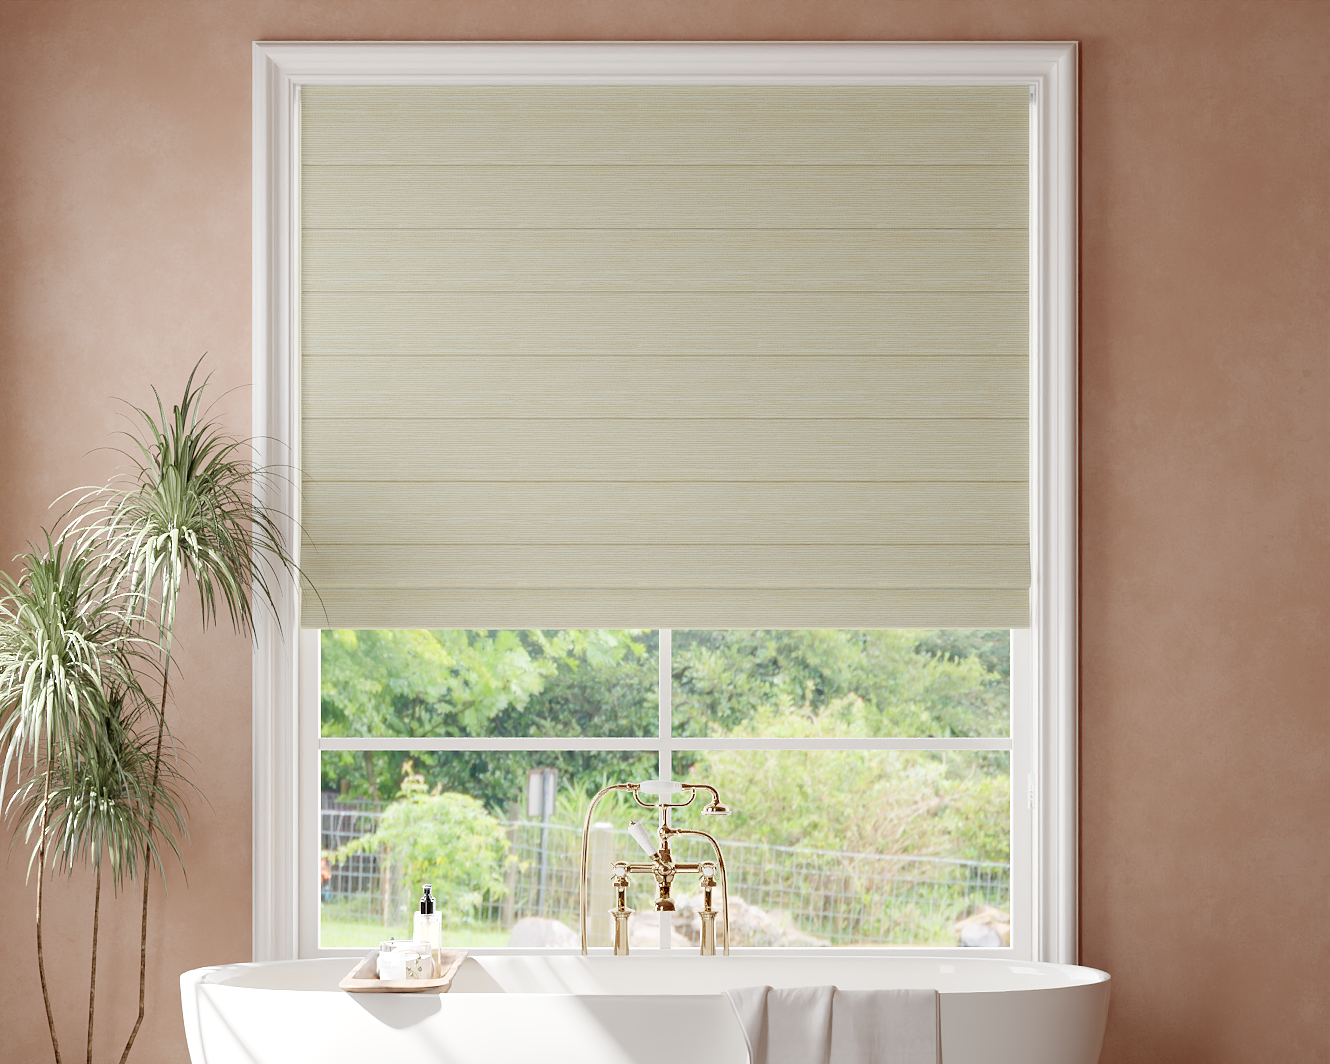
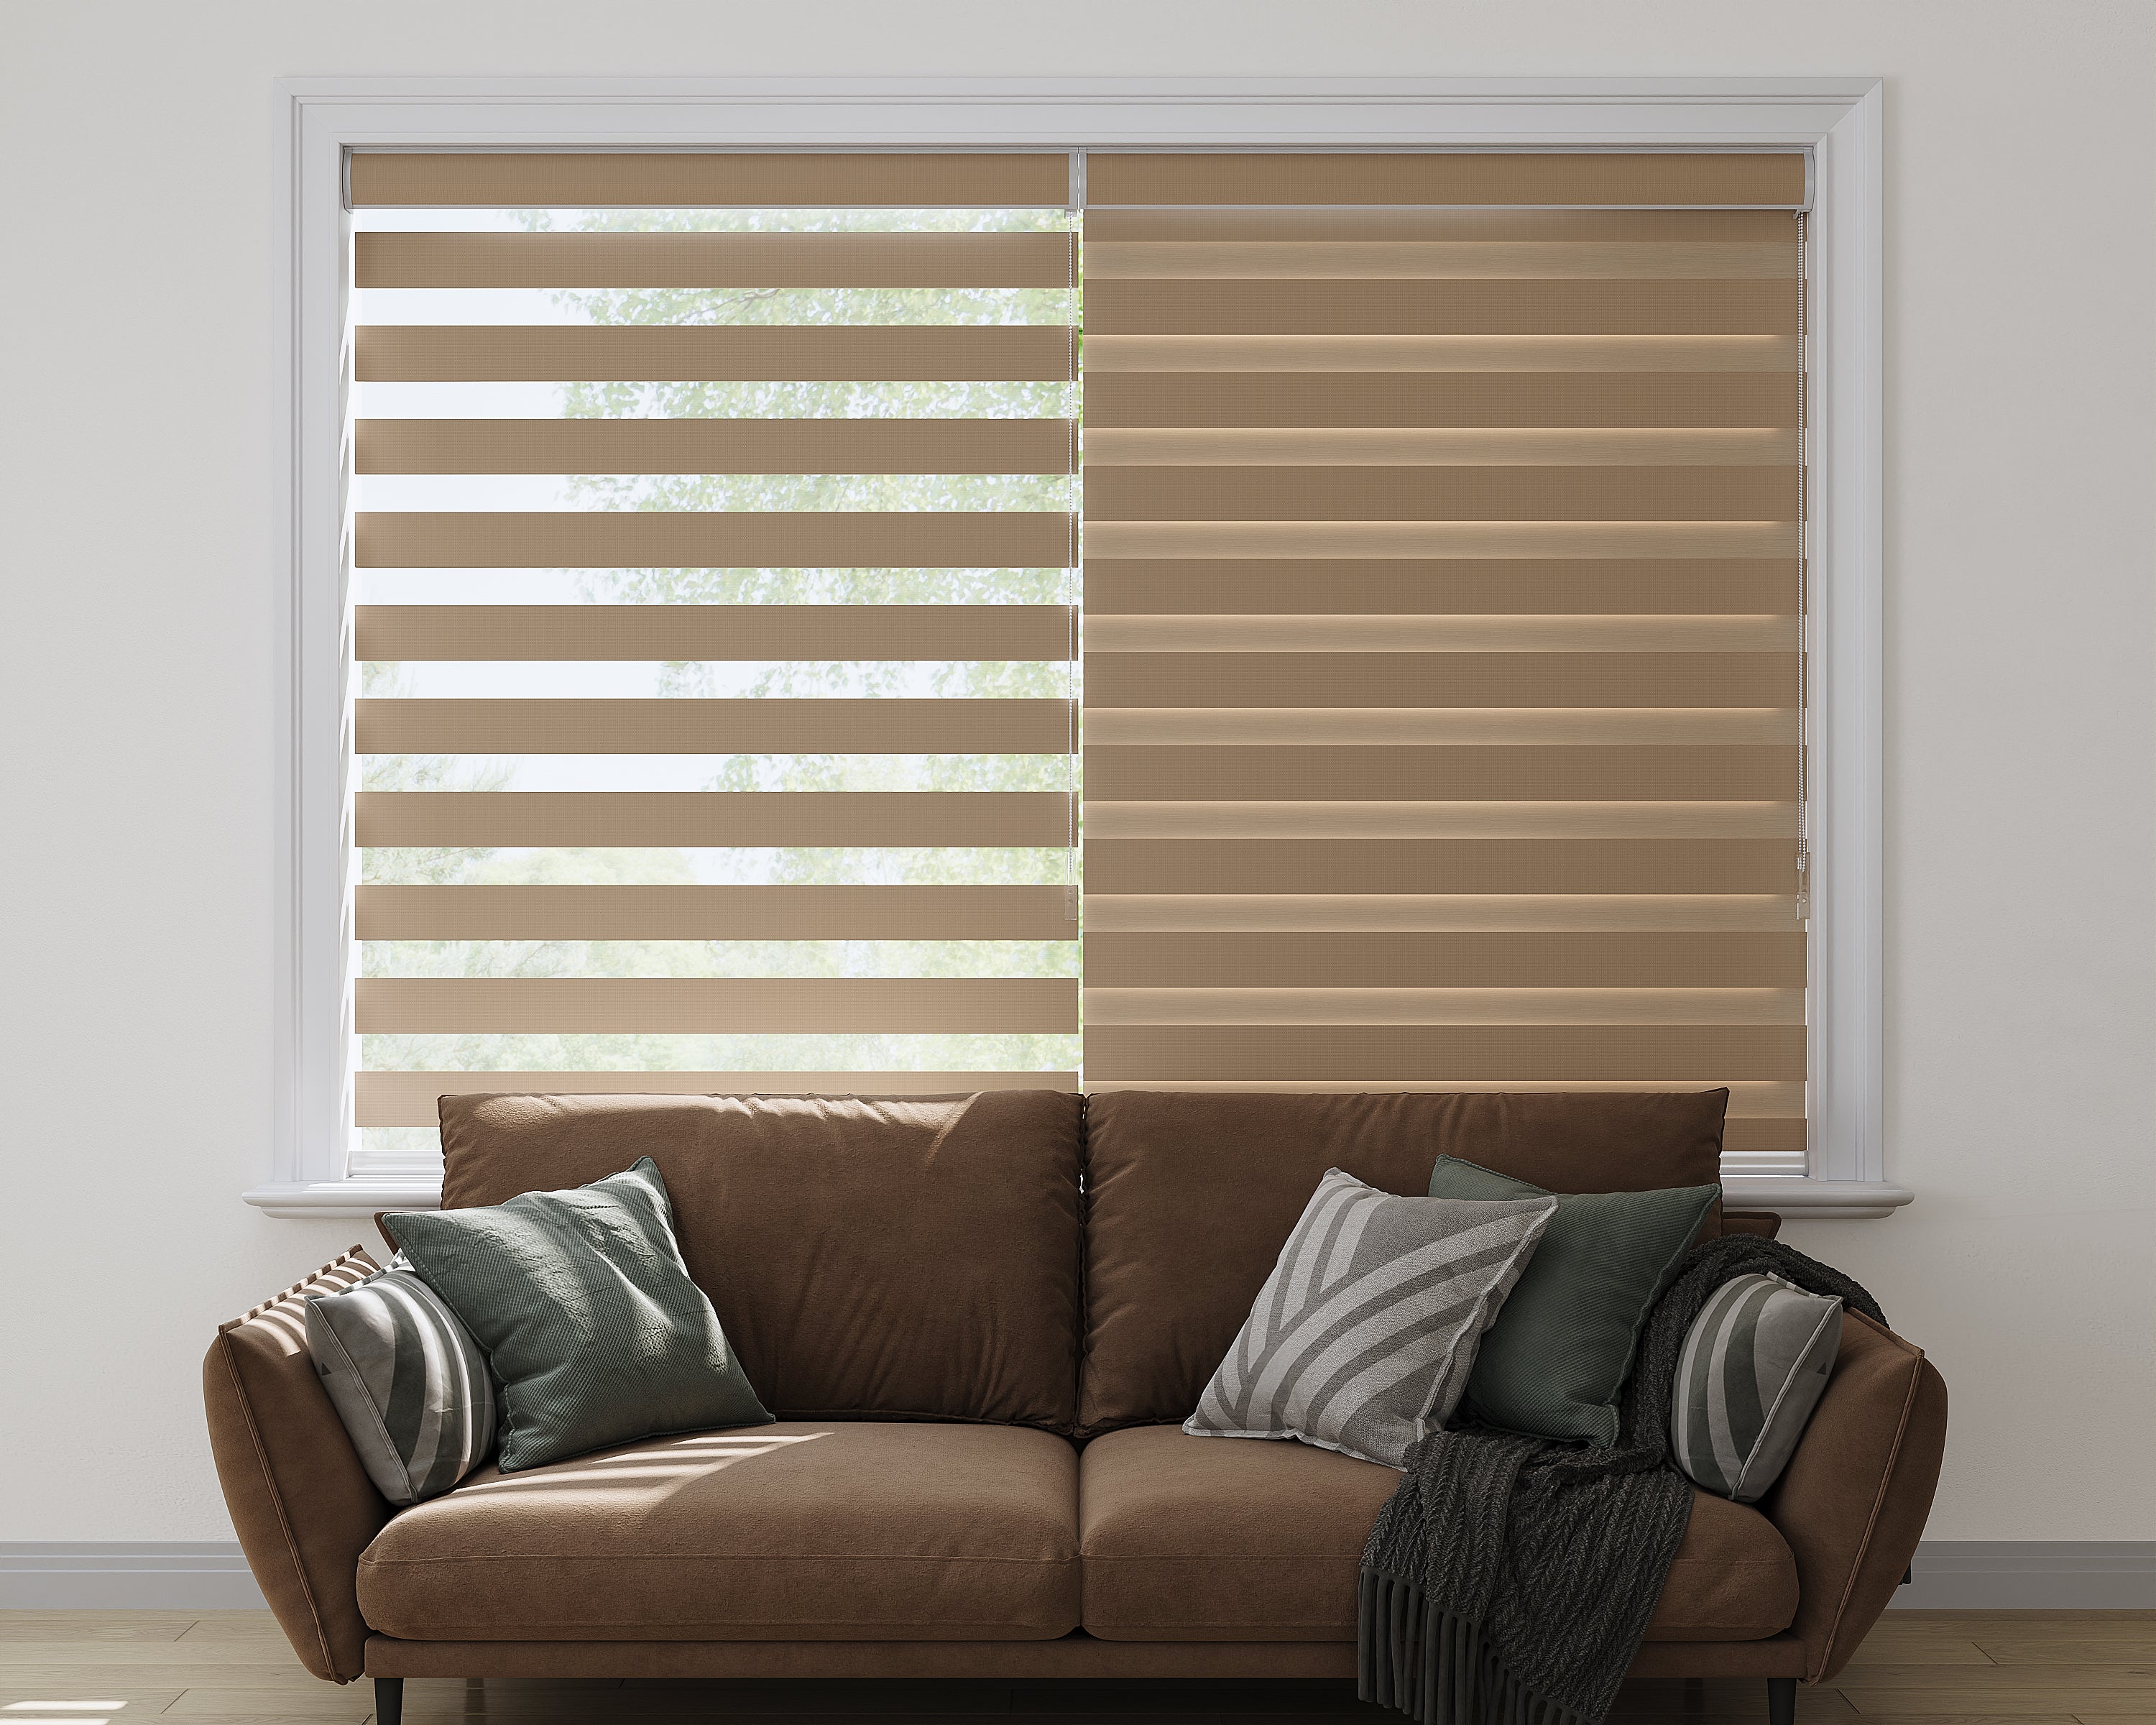
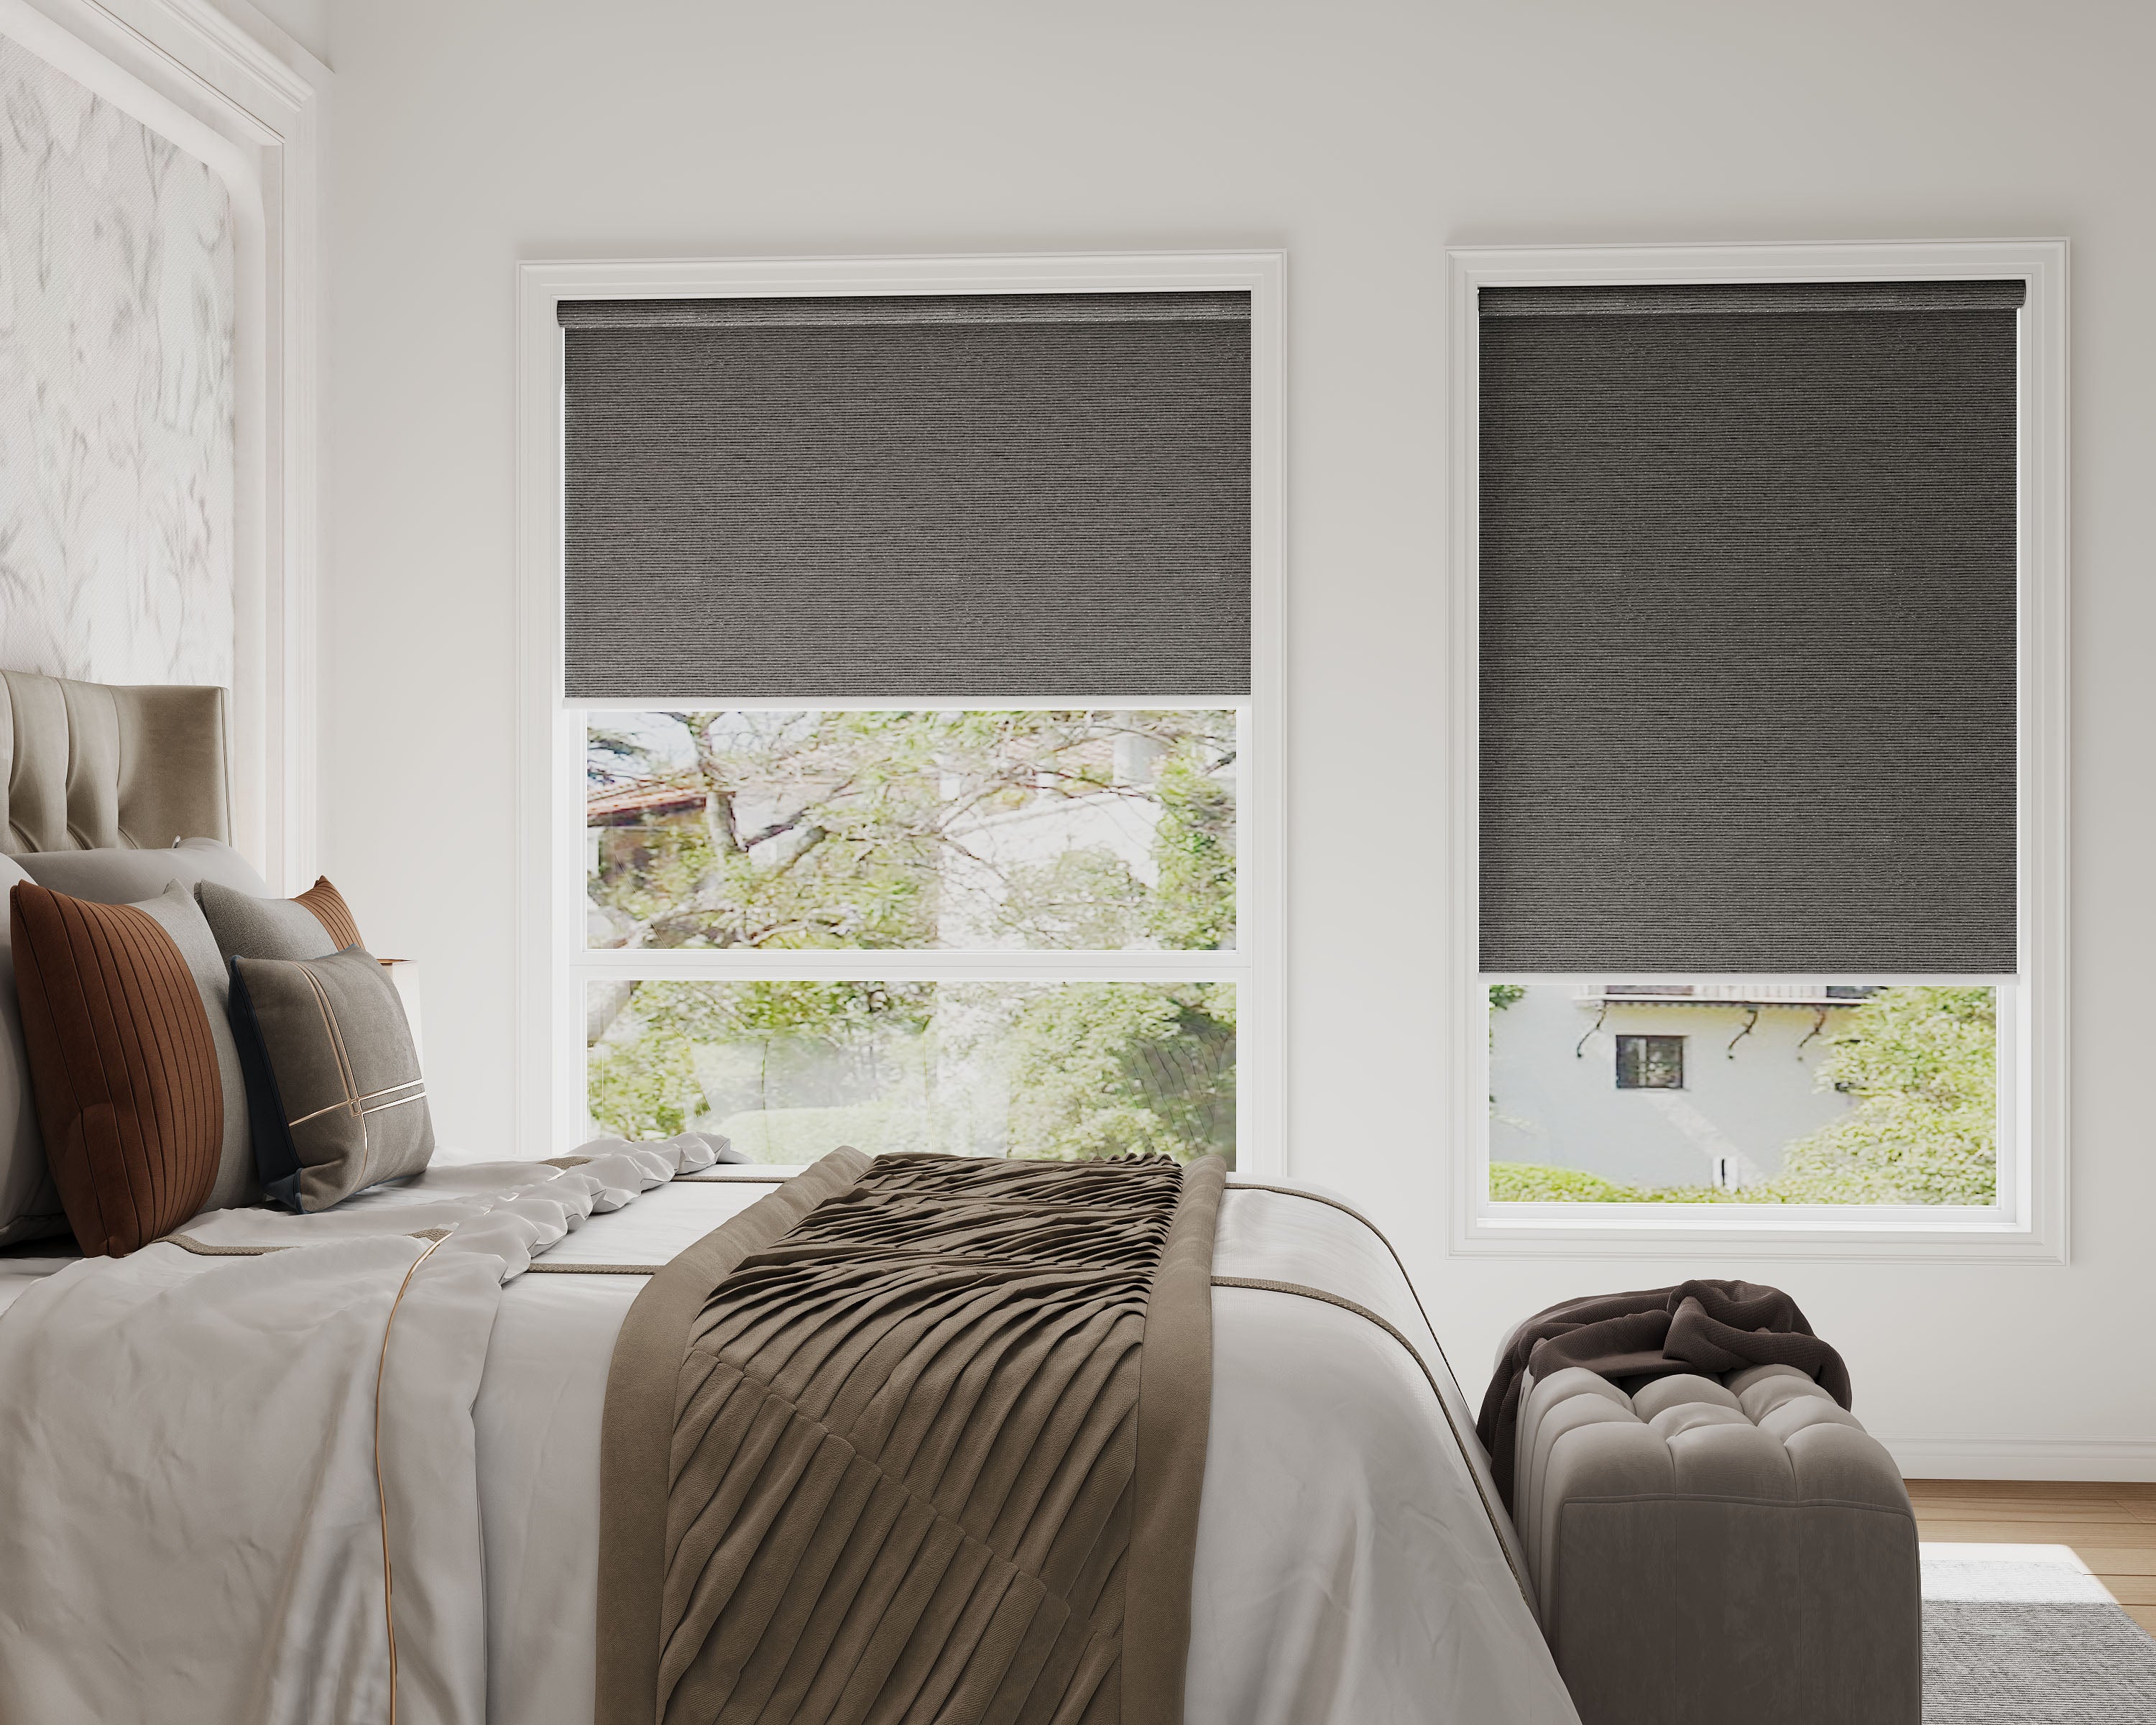
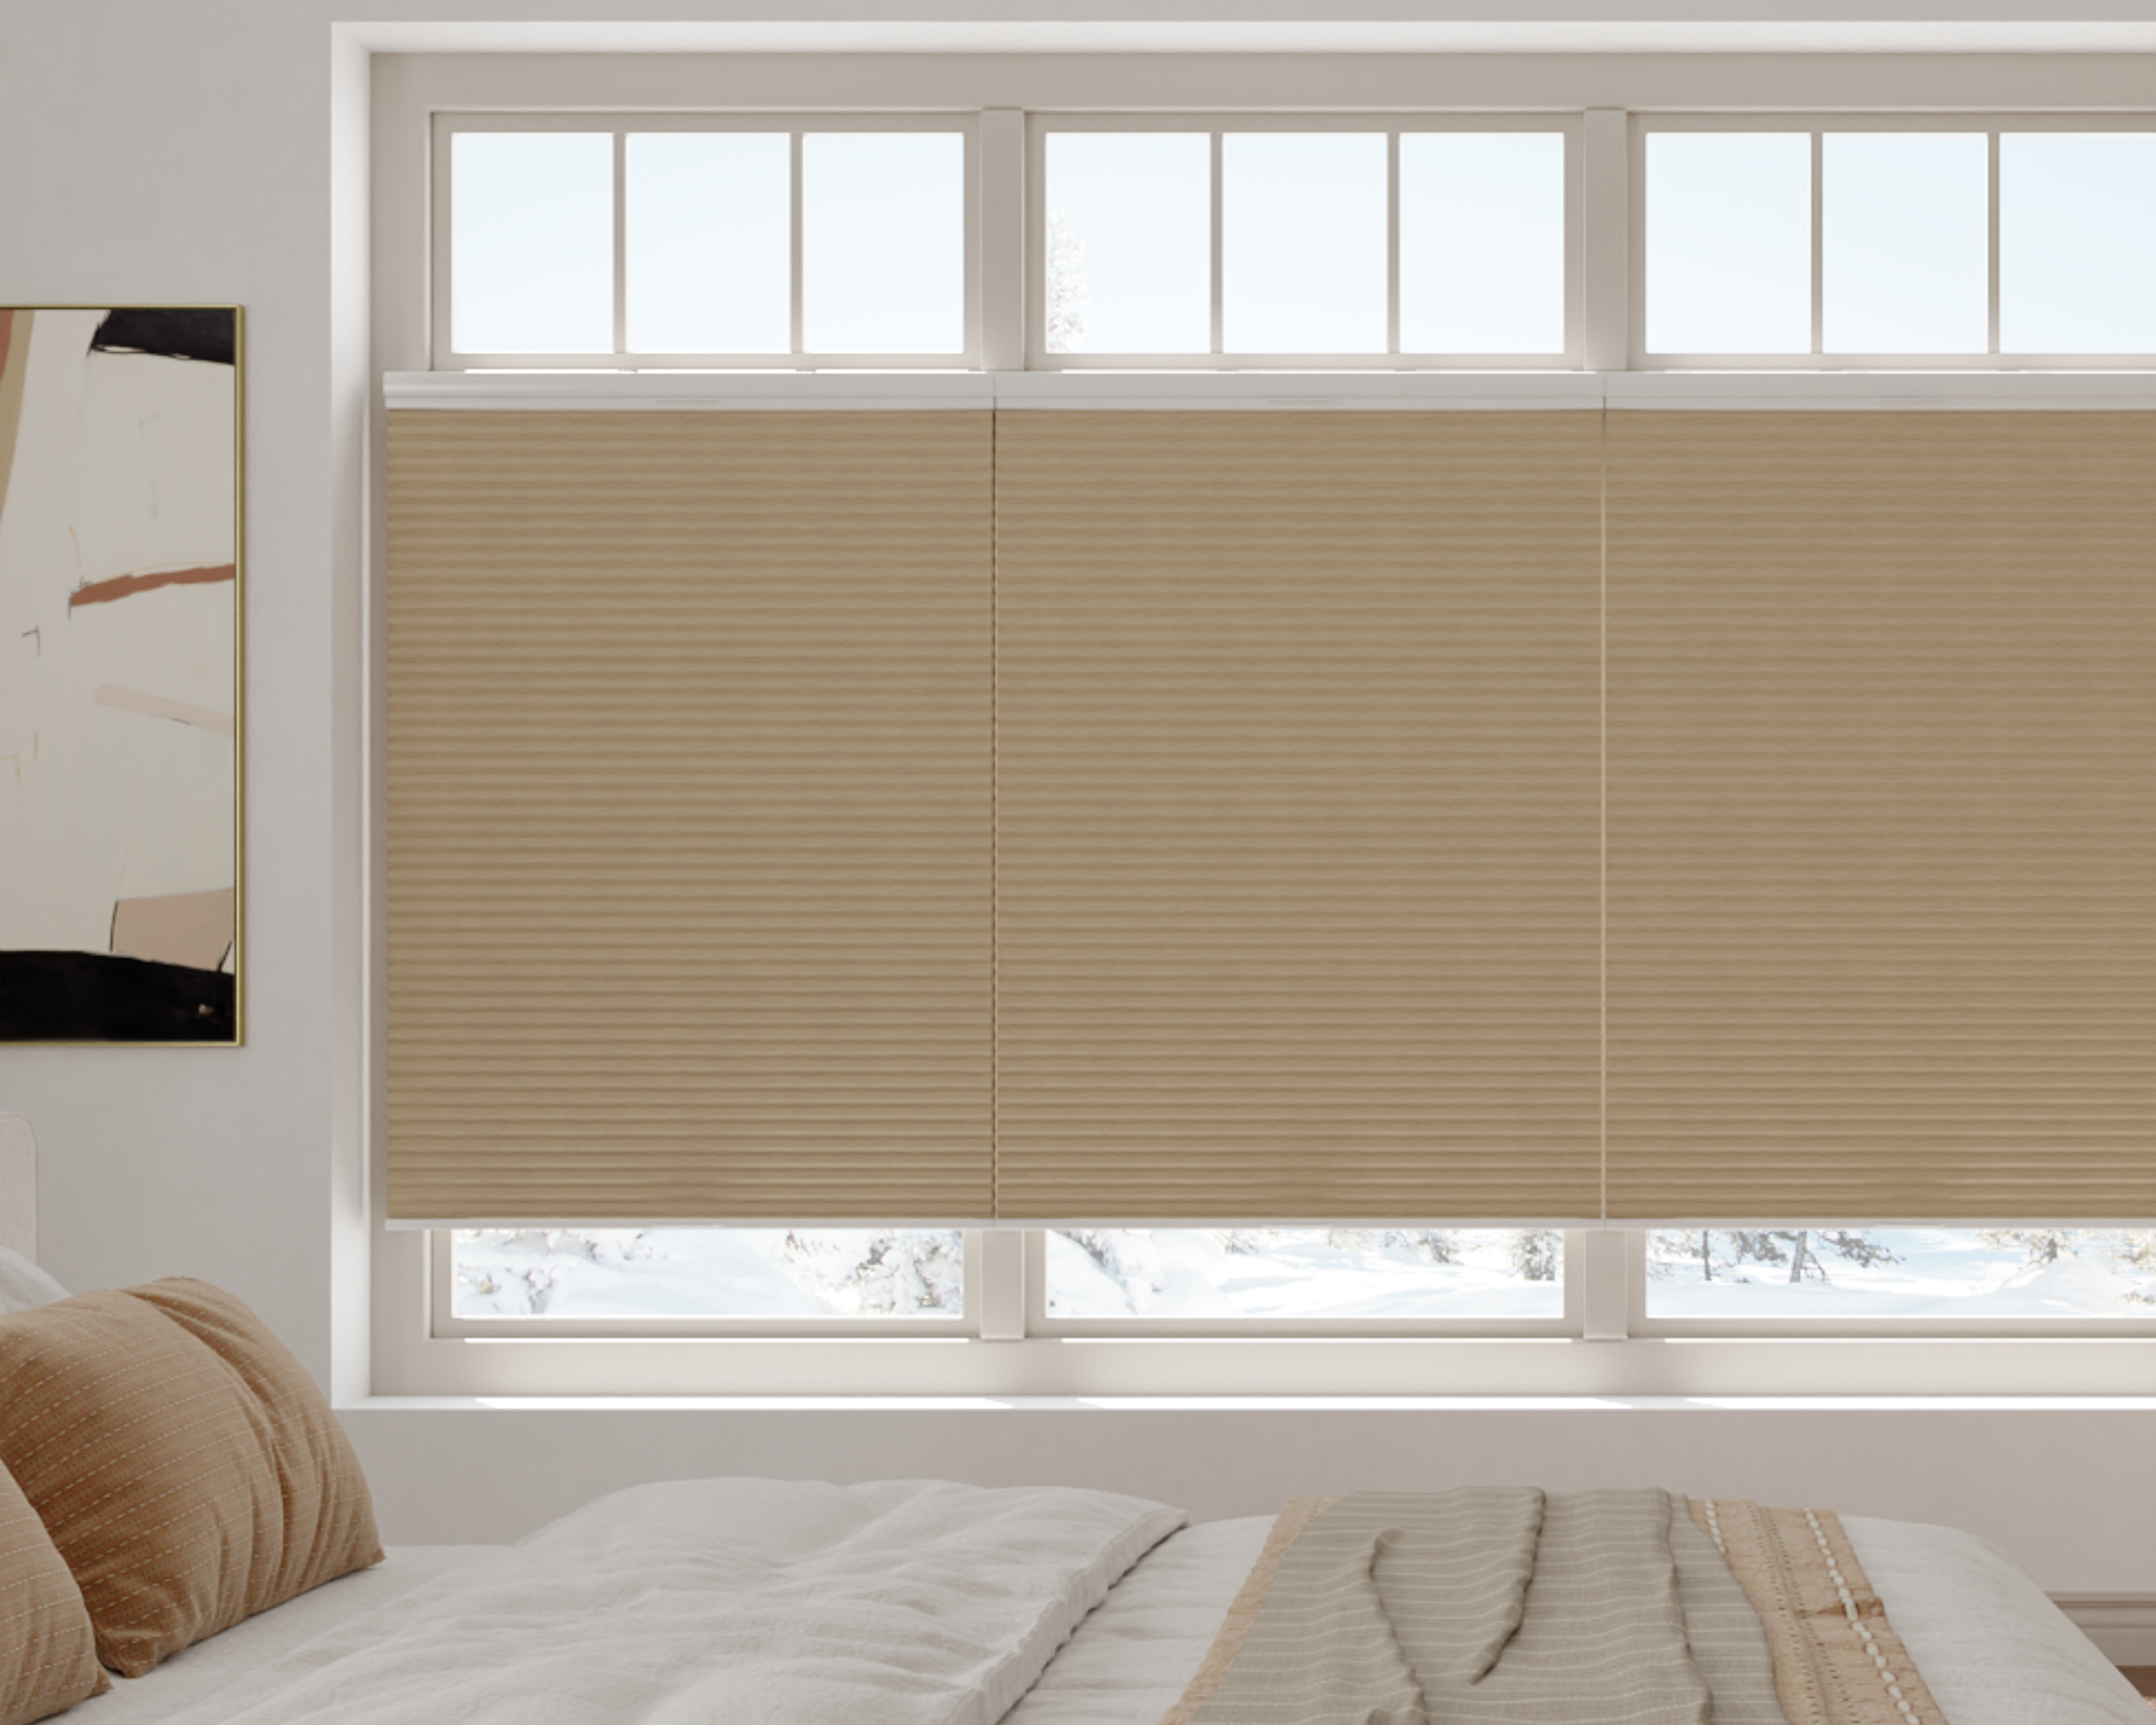
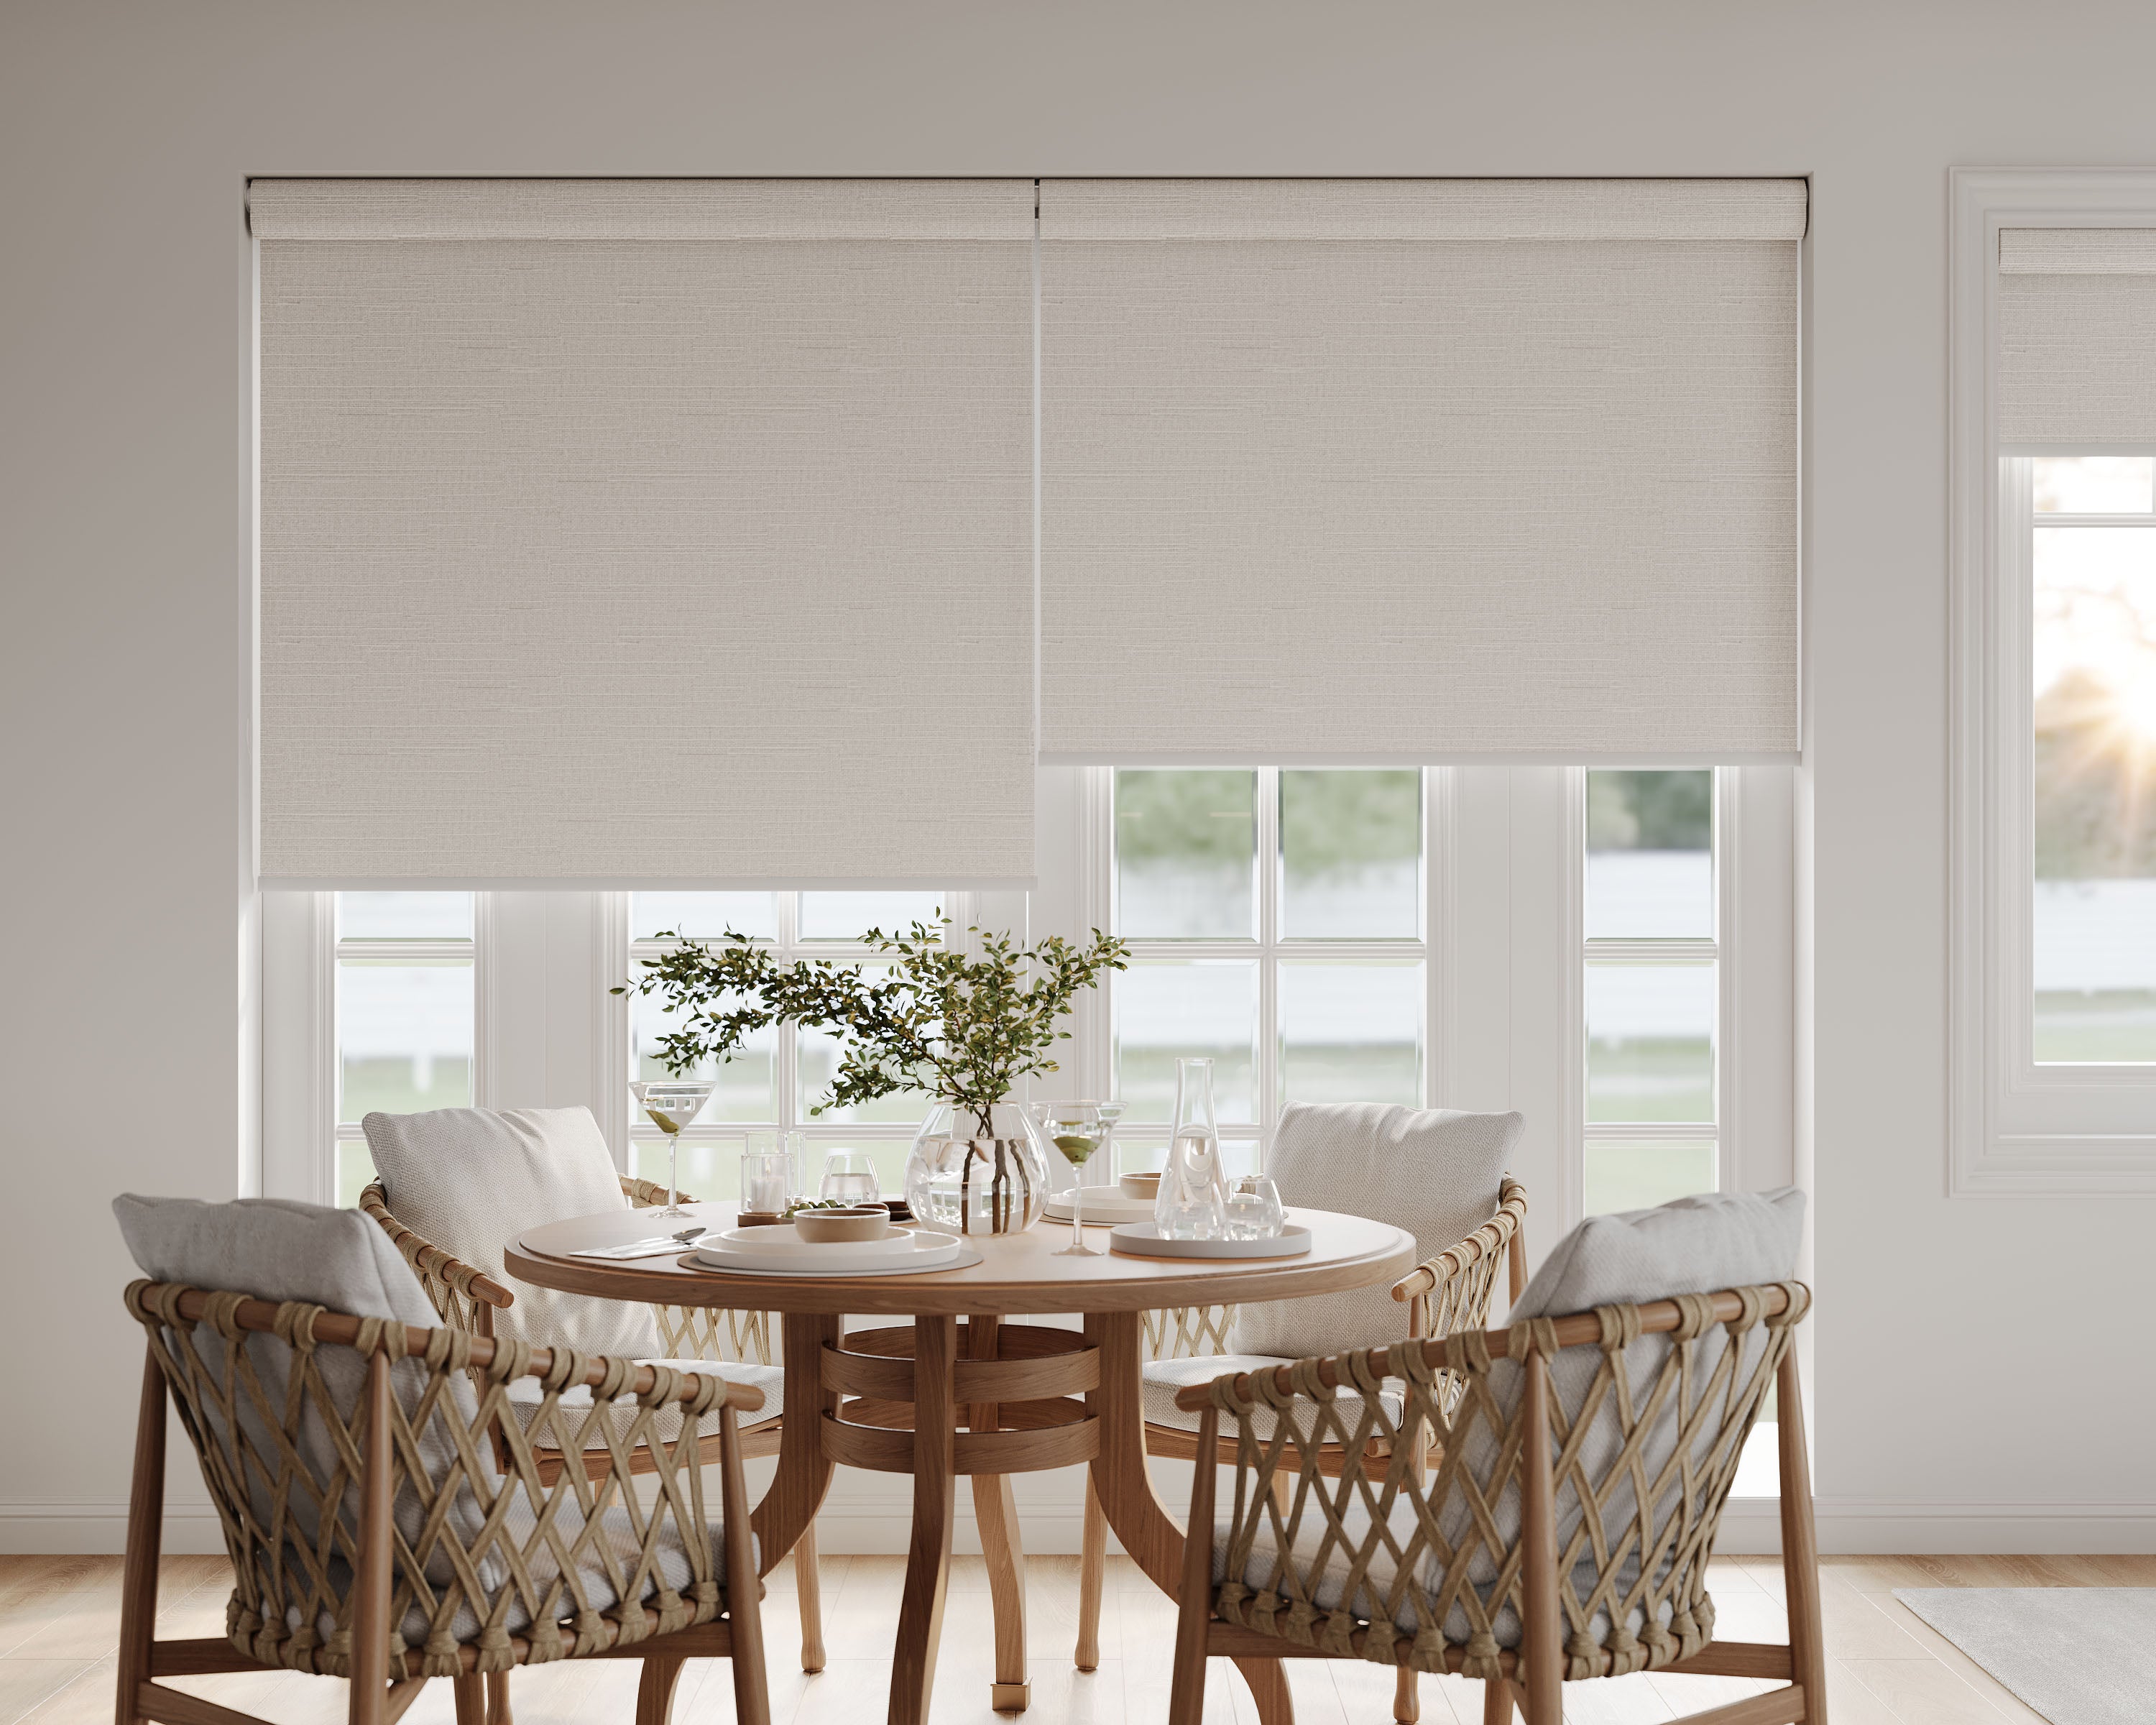


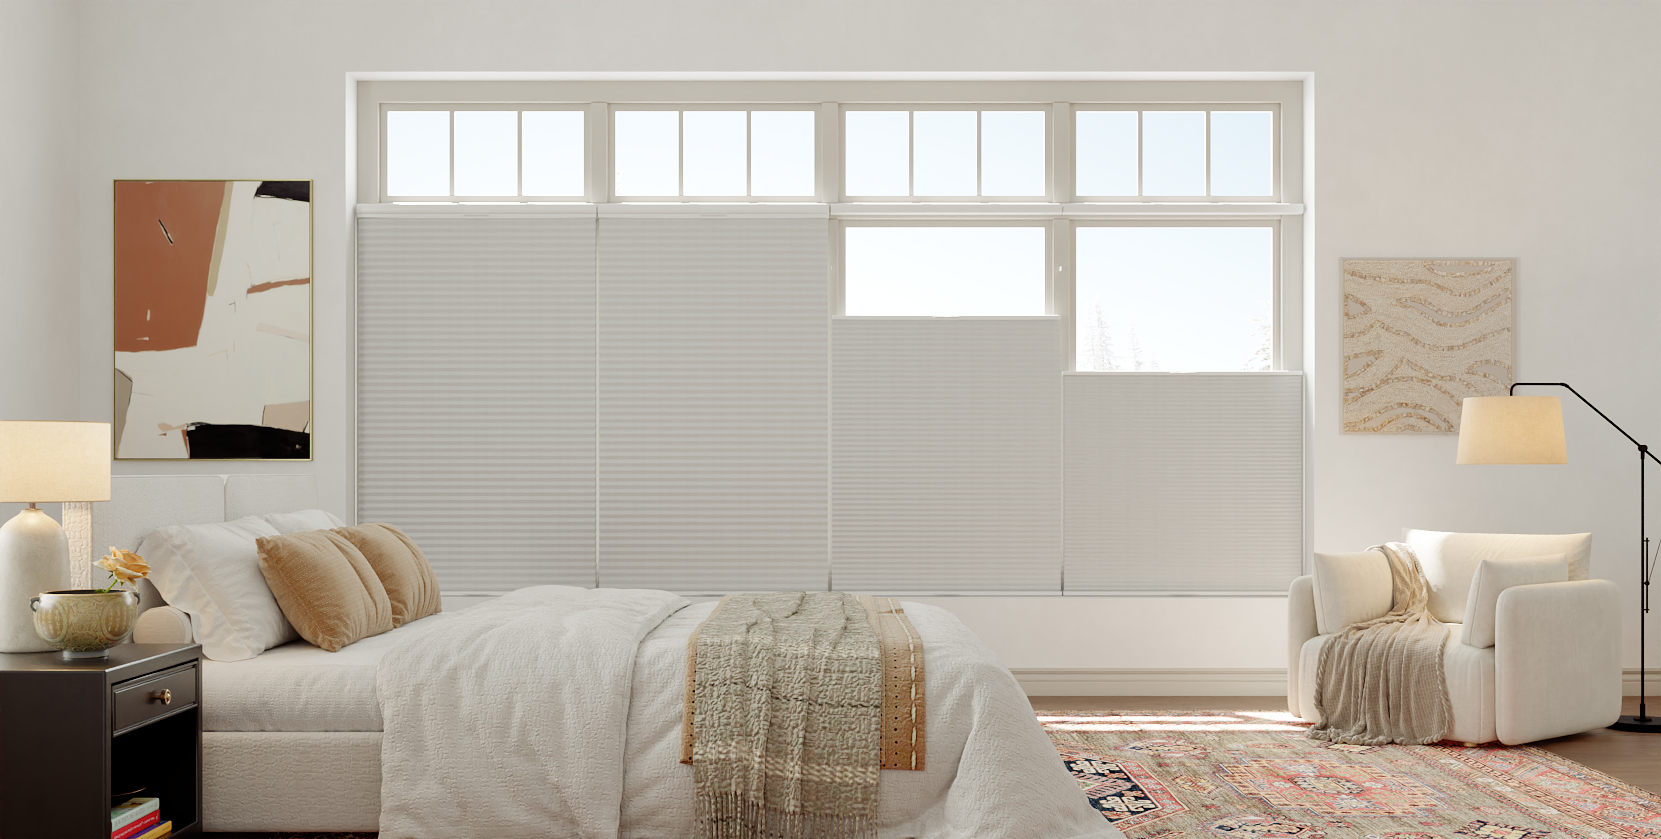


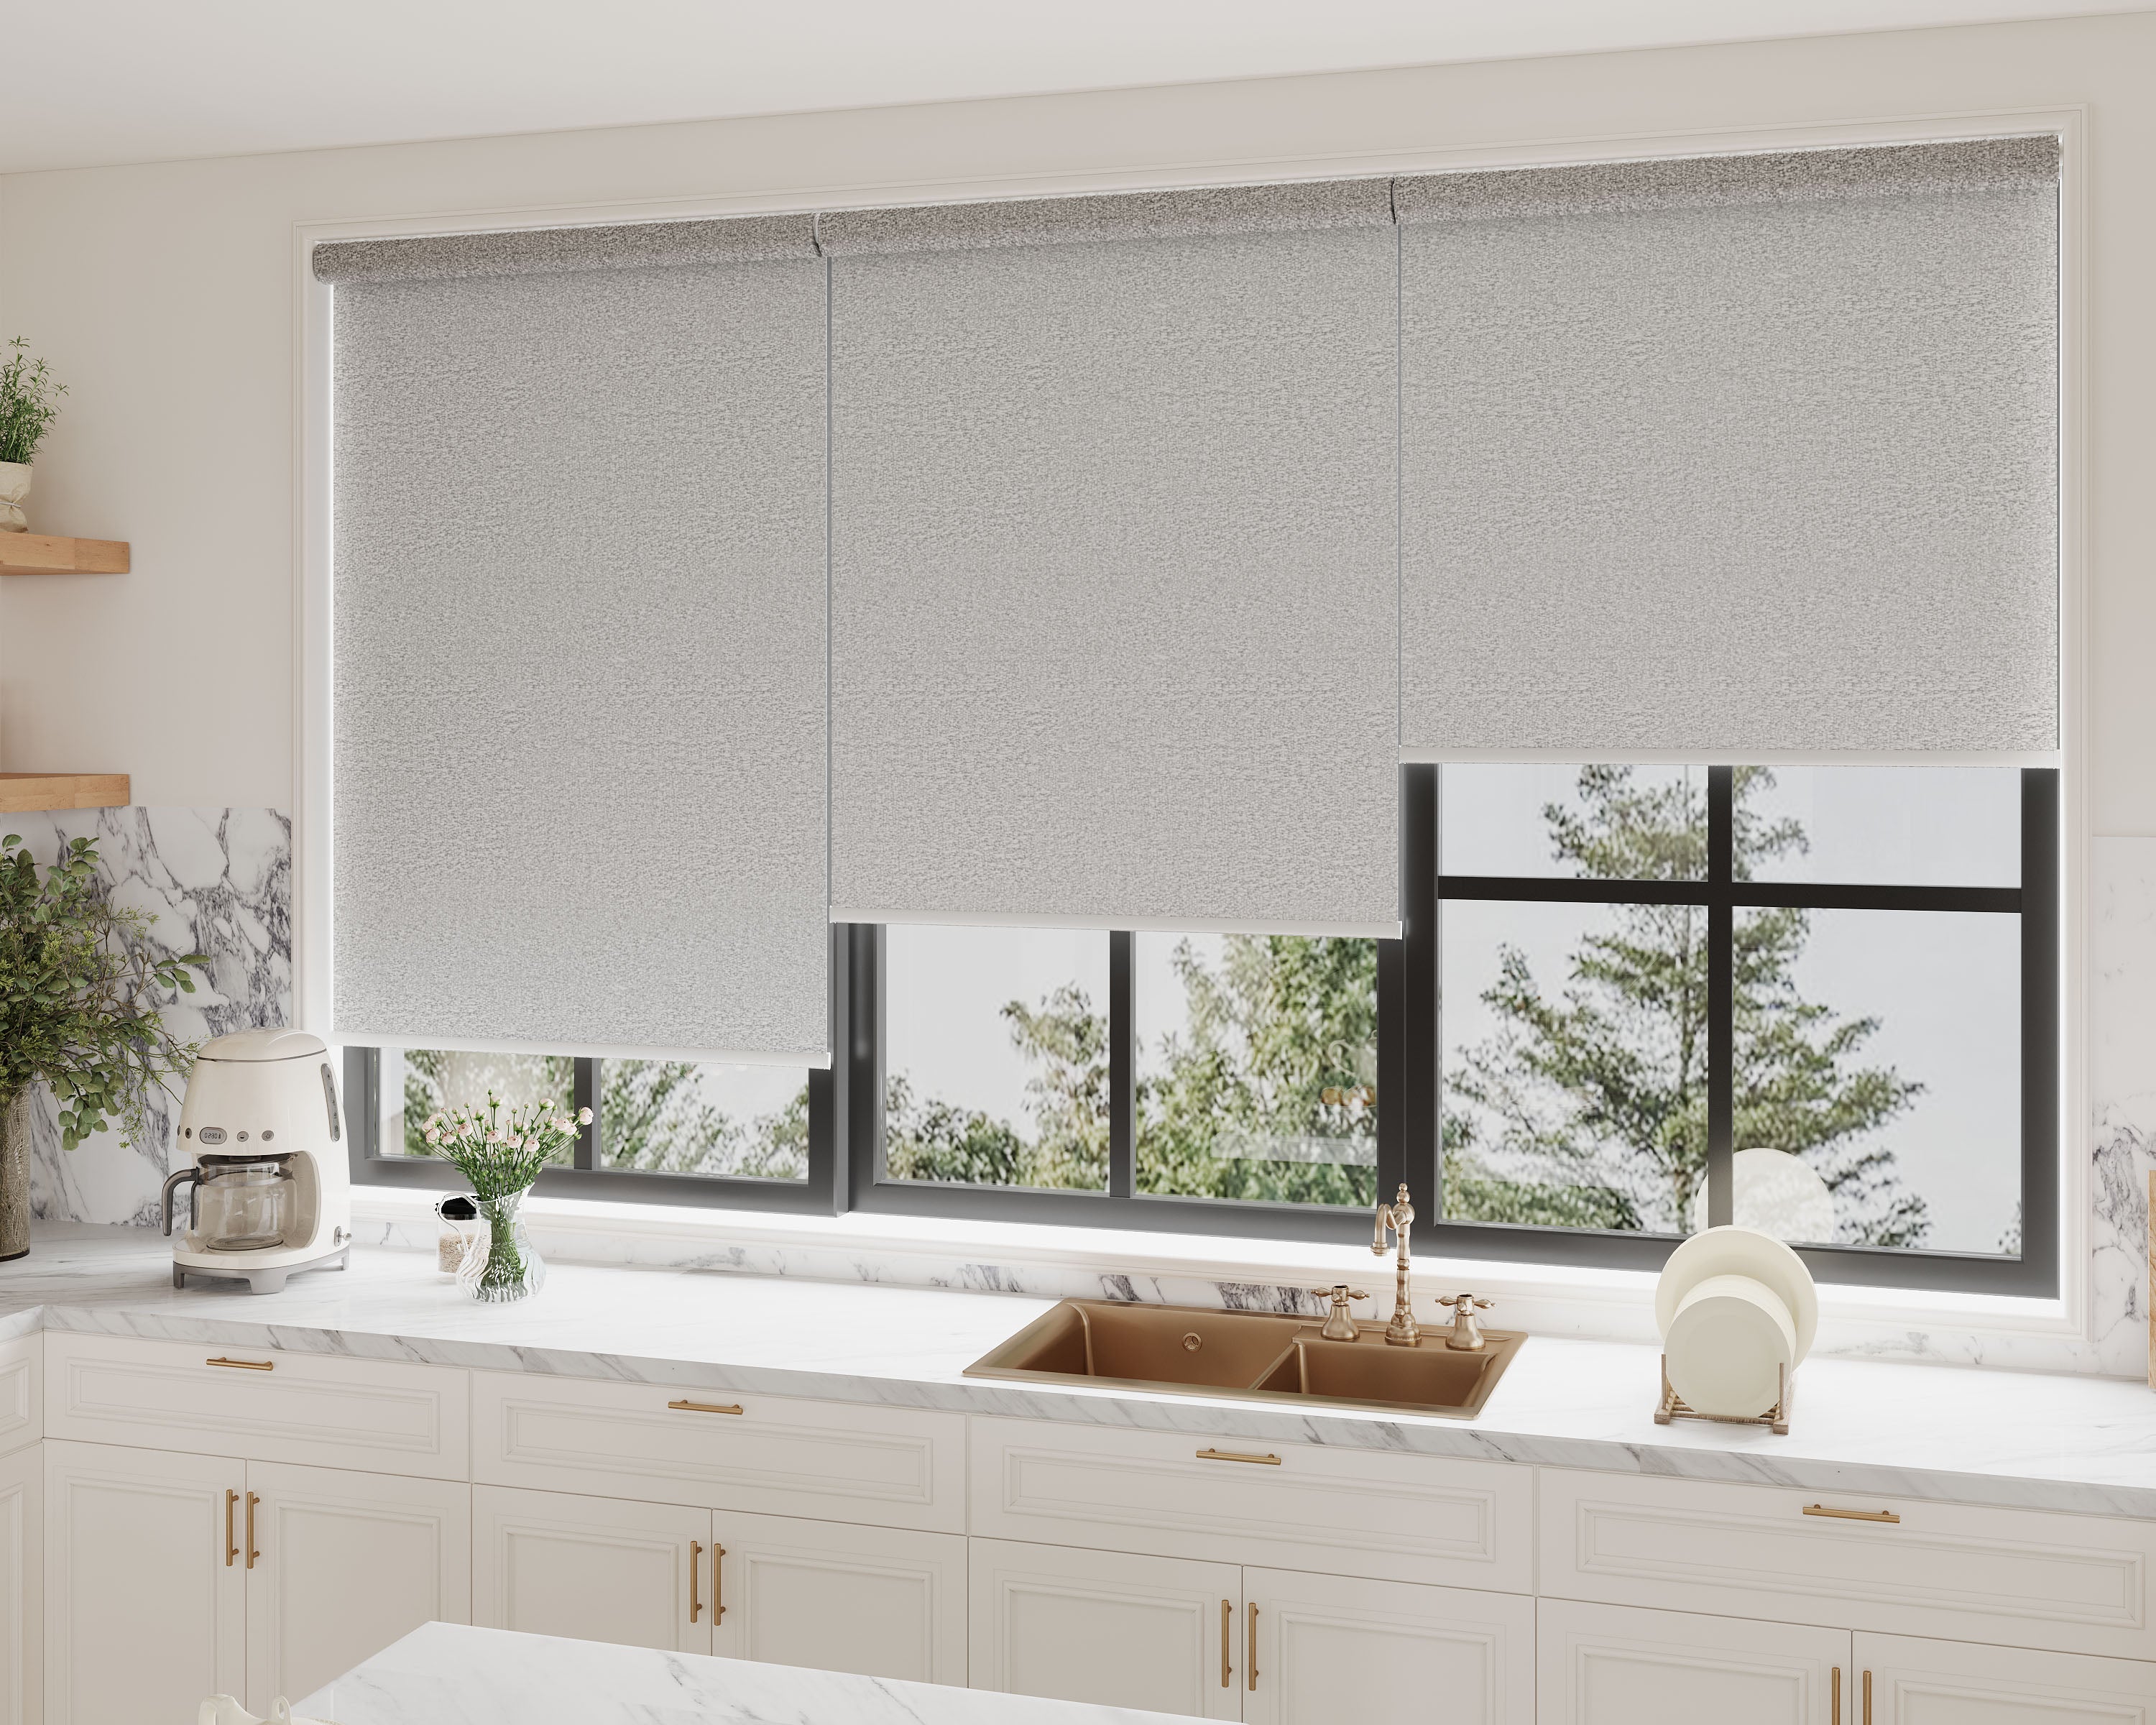

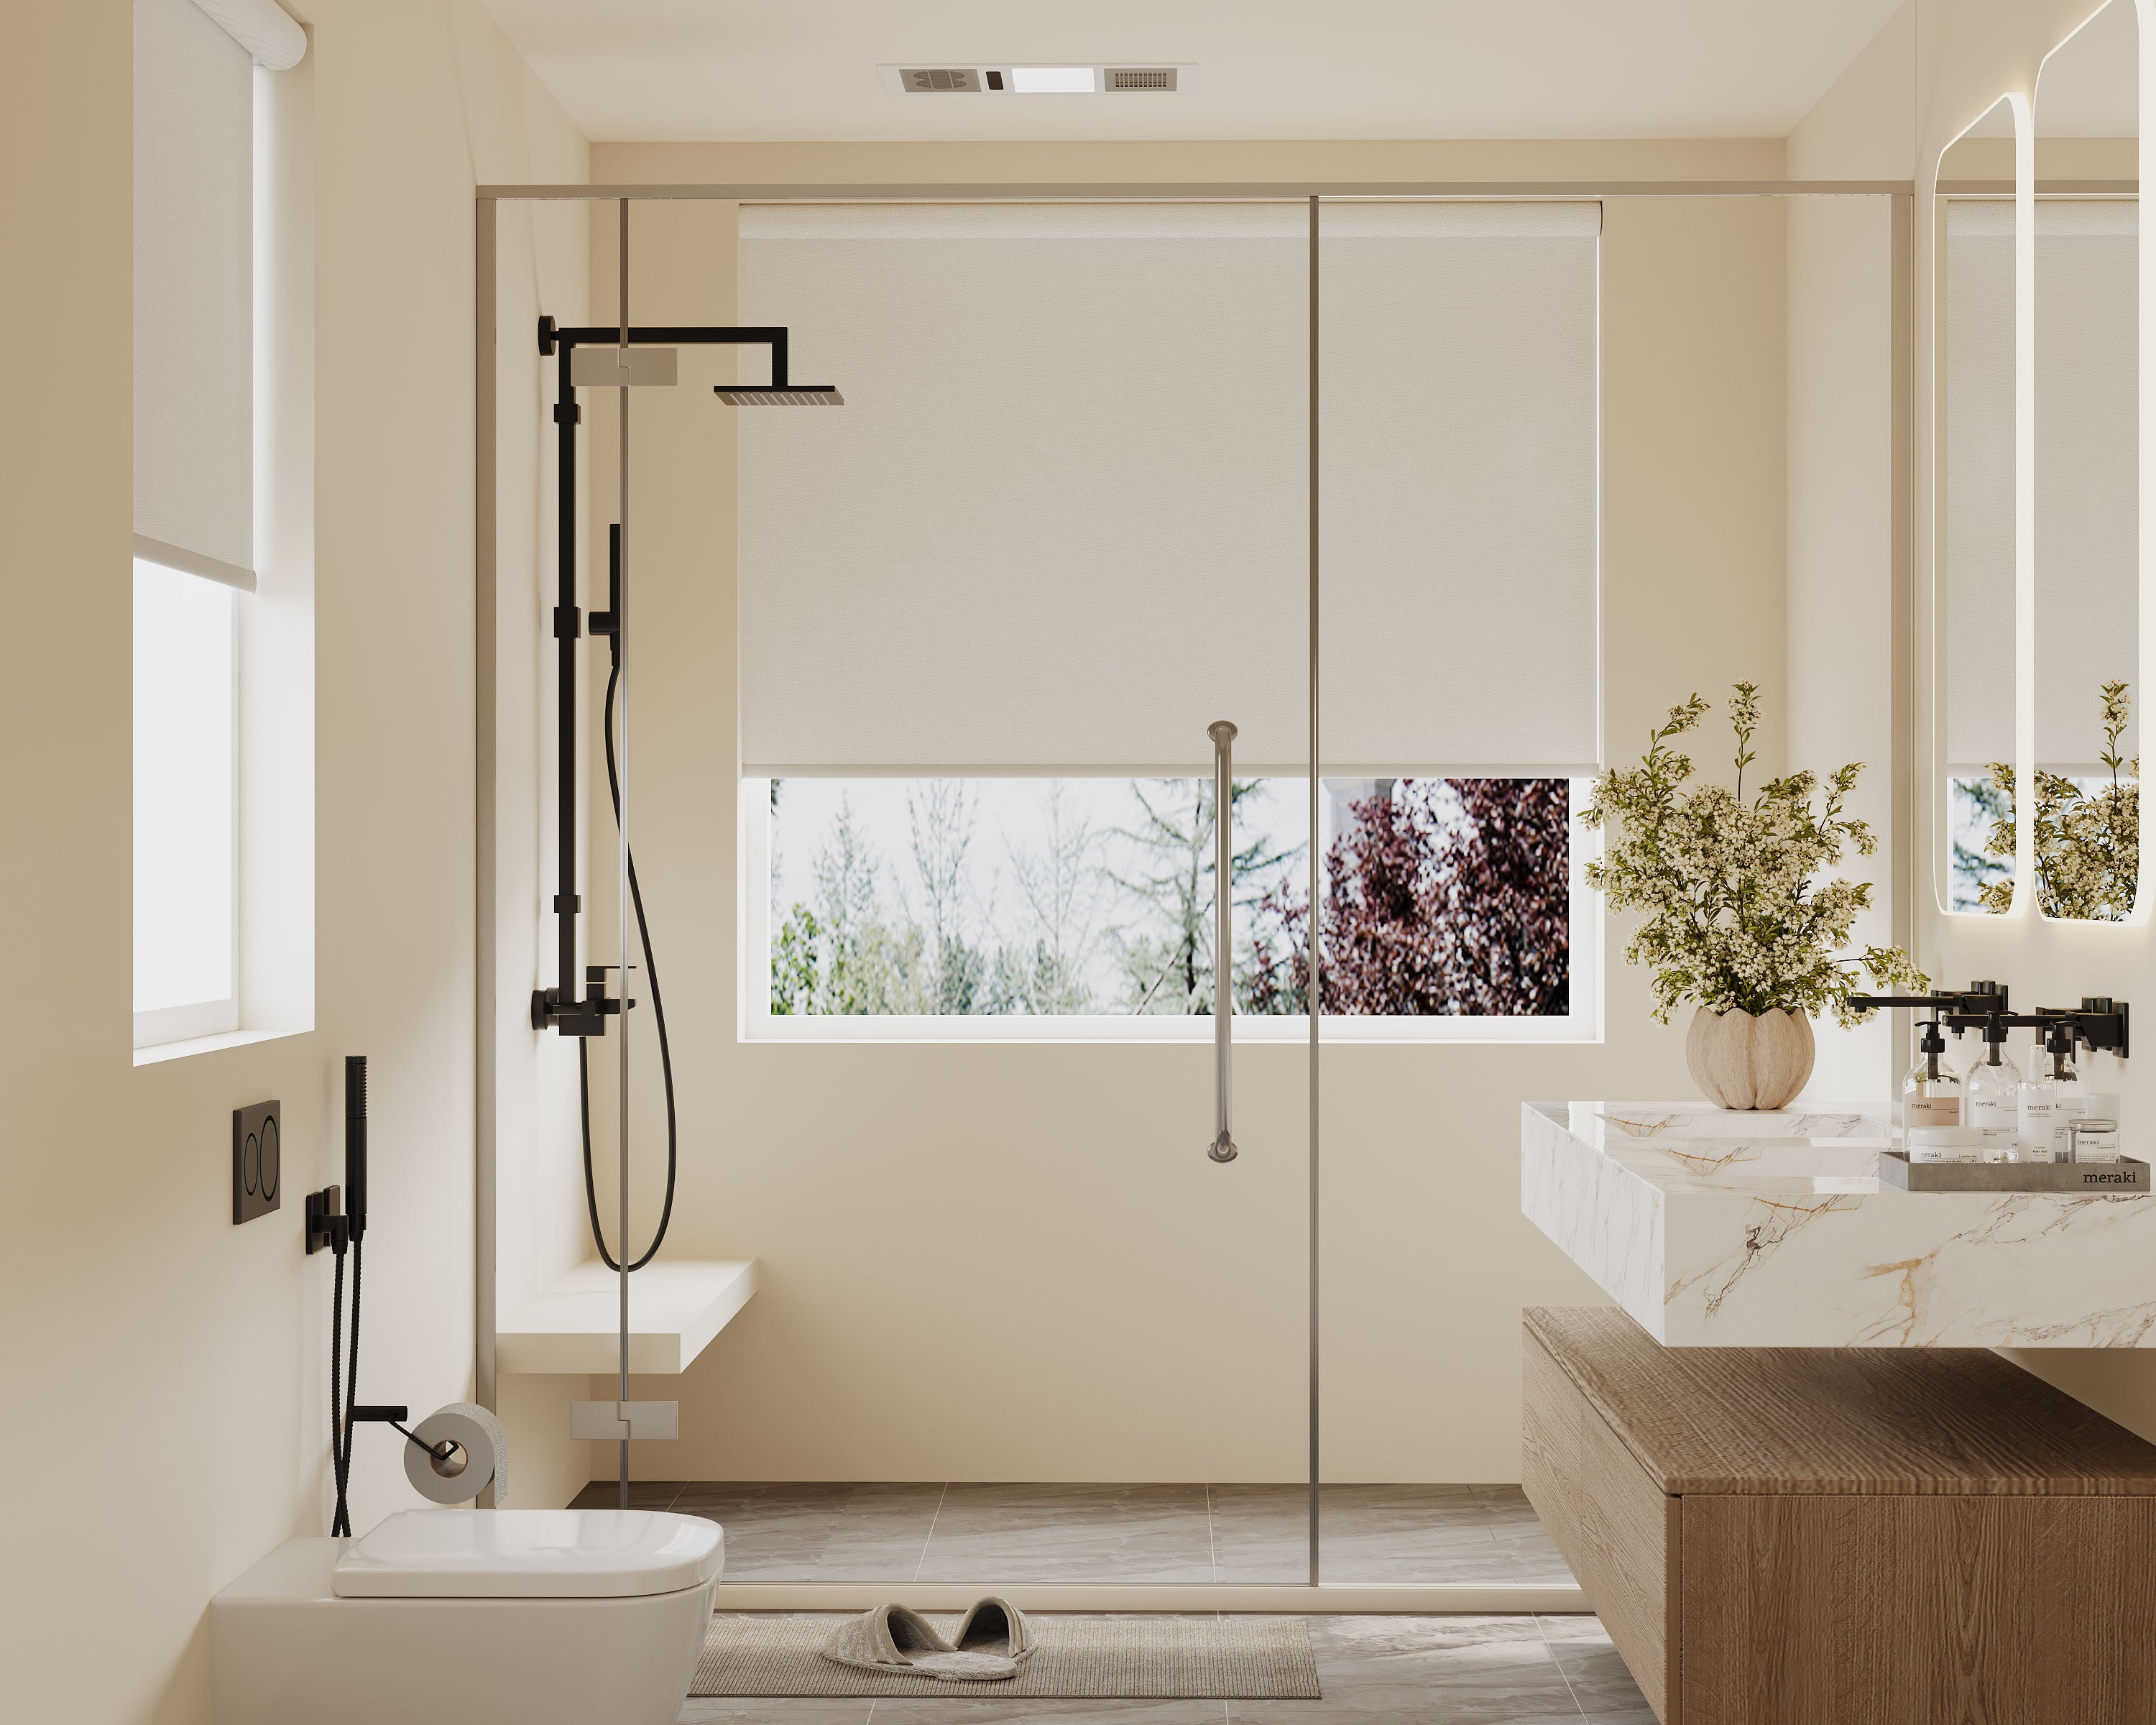


Layering sheer shades with drapes is a definitive designer technique that adds depth, texture, and unparalleled functional control to your windows. The high-end look is achieved through intentional proportion, complementary textures, and hardware installed with precision. Mastering this combination allows you to enjoy soft, diffused light while having the option for total privacy or darkness, making it a perfect application for versatile sheer shade fabrics as your foundational layer.
Here’s what you’ll learn in this master guide:
-
The design logic and functional benefits behind a perfectly layered window.
-
A clear hardware and measurement strategy to ensure both layers work together seamlessly.
-
Fabric and style selection guidelines to match the layered look to your room’s aesthetic.
-
Step-by-step installation priorities for a result that looks and functions professionally.
The Why: Design and Function of a Layered Window
Layering is more than just adding fabric; it’s about creating a dynamic, multifunctional system. Each layer serves a distinct purpose that contributes to the whole.
-
The Sheer Shade (The Filter Layer): Mounted closest to the glass, its role is light control and mild privacy. It diffuses harsh sunlight, protects interiors from UV rays, and provides a soft daytime screen while preserving outward views. It acts as your permanent, polished base layer.
-
The Drapery (The Drama & Insulation Layer): Mounted on a rod in front, its role is style, acoustics, and major light/thermal control. Drapery frames the view, adds color and softness to the room, provides significant privacy when closed, and offers an extra barrier against heat loss or gain.
This approach delivers the ultimate flexibility, allowing you to fine-tune a room’s ambiance for any time of day or activity, a principle central to balancing privacy and natural light in modern living spaces.
Hardware Strategy: The Foundation of a Flawless Installation
The hardware must be planned as a single system. The choices you make here determine the functionality and clean look of the final result.
Rod Placement & Bracket Projection
This is the most critical decision. The drapery rod must be mounted high and wide to accommodate the shade underneath without crowding.
-
Mounting Height: Install the drapery rod brackets 4 to 6 inches above the top of the window casing or the sheer shade’s headrail, whichever is higher. This elevates the window visually.
-
Rod Width: The rod should extend 8 to 12 inches beyond the window casing on each side. This ensures drapes, when open, stack completely off the glass, revealing the entire sheer shade and window.
-
Bracket Projection (Reach): Choose brackets with enough projection (the distance they hold the rod away from the wall) to clear the depth of the mounted sheer shade and its operating mechanism. A standard 3.5-inch projection is often sufficient, but always measure your shade’s profile first.
Rod & Drapery Style Guide
The hardware style should complement your room’s decor and the shade’s aesthetic.
| Style | Recommended Rod & Hardware | Best Paired With | Visual Effect |
|---|---|---|---|
| Modern / Minimalist | Sleek, thin metal rods (brushed nickel, black) with minimal finials; single curtain panels. | Roller or Roman sheer shades with clean lines. | Tailored, architectural, and uncluttered. |
| Traditional / Classic | Substantial wooden or wrought iron rods with decorative finials; double curtain panels. | Soft-fold Roman shades or textured sheer rollers. | Luxurious, warm, and opulent. |
| Transitional | Simple metal rods with slight decorative detail; double panels in relaxed fabrics. | Any well-tailored sheer shade style. | Balanced, soft, and inviting. |
Measurement & Fabric Selection: The Blueprint for Luxury
Precise measurements and thoughtful fabric pairing separate a custom look from an amateur one.
Step-by-Step Measurement Protocol
-
Install the Sheer Shade First: Always mount your sheer shades as you normally would, either inside or outside the frame.
-
Measure for the Rod: Using the principles above, mark the final placement for your drapery rod brackets: High (4-6" above) and Wide (8-12" beyond).
-
Calculate Drapery Dimensions:
-
Width: The total width of your drapery fabric (for two panels) should be 2 to 2.5 times the width of the rod. This ensures full, luxurious folds when closed, not stretched-flat fabric.
-
Length: Drapery length is a style choice. For a high-end look, prefer "Breaking" or "Pooling" lengths where the fabric just touches the floor or gathers slightly upon it. Avoid dangling above the floor.
-
Fabric & Color Coordination
The fabrics should converse, not compete.
-
Texture Play: Pair a smooth, linen-textured sheer with heavyweight wool or velvet drapes. Or, match a woven sheer with linen drapes for a monotextural look.
-
Color Strategy: For a serene, expansive feel, use tonal layering (sheer and drapery in varying shades of the same color). For defined contrast, let the sheer be neutral (white, ivory, gray) and add color or pattern with the drapery. Guidance on selecting complementary shade fabrics for your wall colors is invaluable here.
-
Function First: In bedrooms or media rooms, use the sheer shade for daytime and choose blackout-lined drapes for nighttime. This combination is the ultimate in functional layering, as explored in our guide to effective layered solutions with blackout features.
Installation Sequence & Final Design Adjustments
The order of operations is crucial for a seamless result.
-
Phase 1: Install the Sheer Shade. Mount it perfectly level and ensure it operates smoothly. This is your permanent architectural layer.
-
Phase 2: Install the Drapery Hardware. Using your marks, install the rod brackets securely, double-checking they are level with each other and have sufficient projection.
-
Phase 3: Hang & Steam the Drapery. Hang the drapes on the rod before mounting the rod on the brackets. Steam or iron the drapes to remove all packaging folds and creases—this step is non-negotiable for a high-end appearance.
-
Phase 4: Mount the Rod & Arrange. Place the rod on the brackets and arrange the drapes evenly. Adjust the folds by hand for a natural, full look.
Pro Adjustments: Consider whether a valance or cornice is needed to conceal the top hardware for an even more finished appearance. For minimalist spaces, the goal is often to achieve clean lines and hide mechanics, which may mean opting for a very discreet roller shade and a simple, ceiling-mounted track for the drapery.
Conclusion and Key Highlights
Layering sheer shades with drapes is the pinnacle of custom window design, offering unmatched versatility and sophistication. By treating it as an integrated system—where hardware, measurements, and fabric choices are all carefully coordinated—you achieve a look that feels intentionally designed, not accidentally assembled.
Key Highlights:
-
Function defines the layers: Sheer shades filter light; drapes provide style, insulation, and full privacy.
-
Hardware is the skeleton: Mount the drapery rod high and wide with sufficient projection to clear the shade underneath gracefully.
-
Proportion is paramount: Drapery fabric width should be 2 to 2.5 times the rod width for luxurious fullness, and length should gracefully meet the floor.
-
Texture and tone create harmony: Use complementary fabrics and a cohesive color strategy to unify the look.
-
Install in sequence and finish meticulously: Install the shade first, then the hardware, and always steam your drapes for a crisp, professional finish.
By embracing these principles, you transform a basic window into a layered, dynamic focal point that elevates the entire room.
Shop Sheer Shades by Light Control


Frequently Asked Questions (FAQ)
Should the sheer shade or the drapery be installed first?
Always install the sheer shade first. It is mounted directly to the window or frame and acts as your base layer. Once it's perfectly level and operational, you can then take precise measurements for the drapery rod placement above and around it, ensuring perfect clearance and alignment.
Can I layer drapes over inside-mount shades?
Yes, but it requires careful planning. The inside-mount shade will be recessed within the window frame. To ensure the drapes can close fully over them, you will likely need a double-bracket rod or two separate rods installed at different projections: one for the sheer shade and a second, more projecting one for the drapes. The drapery rod must project far enough from the wall to clear the frame's depth.
What type of drapes work best for layering?
Custom or ready-made drapes with substantial fabric weight and proper lining work best. Lightweight, unlined curtains will look flimsy and lack the body needed to complement the structured look of a shade. Look for terms like "heavyweight," "lined," or "thermal insulated" for drapes that will hang well and provide the intended functional benefits.
How do I choose between grommet, back-tab, and pinch-pleat drapes?
This is primarily a style and function choice. Grommet tops offer a modern look and glide easily. Back-tab tops provide a clean, hidden tab for a streamlined appearance. Pinch-pleat tops (like 2-finger or 4-finger pleats) are the most traditional and formal, offering excellent control over fold definition. For a high-end look, pinch-pleat or back-tab styles often appear more tailored and custom.
Is it acceptable to use only one drapery panel on a window?
For a layered, high-end look, two symmetric panels (one on each side of the window) are standard and recommended. A single panel can work in very specific, asymmetric modern designs, but for most applications, double panels provide the balance, fullness, and functional coverage (the ability to fully close across the window) that define the classic layered aesthetic.
