


Continuous Cord Loop
Manual chain operation for everyday shade adjustment. Install the supplied chain safety device as directed.
Lift mechanism demonstration







 Your custom-made shades are estimated to ship in 4 ~ 5 business days
| Spend | Save |
|---|---|
| $450+ | $35 off |
| $750+ | $100 off |
| $1,100+ | $130 off |
| $1,500+ | $210 off |
Using a metal tape measure, first check if you have sufficient depth:
Let's start with the Width:
Now, let's do the Height:
Note: Always provide us with the actual measurement of the window opening. We will make the necessary deduction of approximately 3/16" to your shade's width to allow room for installation and proper movement of the shade within the window opening. No deductions will be made to your height.
Before you start measuring, decide where above your window opening you want to mount your shade. You will need at least 3" of flat vertical space above the window to mount the brackets. Follow the directions below for where you'd like to install your shade.
If you do not have sufficient vertical space for mounting the brackets, please see our inside mount instructions or consider a different product.
Your ordered width will be the width of the cassette at the top of the shade. The fabric portion of the shade will be approximately 1/2" – 3/4" narrower than the ordered width. Please check the Light Gaps section in Specifications for exact details. If you wish to have the fabric cover a specific width, we recommend ordering slightly wider – just ensure that you have enough horizontal space to mount the shade.
Looking at your window and surrounding wall, decide what area you would like to cover. We recommend the shade extends about 2-4" on each side of the window opening for the best light control and appearance.
Using a metal tape measure, measure from left to right including your desired extra space on each side of the window. That is your ordering width.
Consider how far above the window you would like to install your shade, starting with at least the minimum vertical space referenced above. Since the shade spools onto the roll, it does not need to be installed high above the window to have the shade fabric fully clear the window.
Measure from the top of where you will mount the shade on the wall down to where you want the bottom of the shade to be, using the same extra space below your window opening as you used above. If you have a protruding windowsill, measure down to the top of the sill. That is your ordering height.
Looking at your window and surrounding wall, decide what area you would like to cover. We recommend the shade extends about 2-3" on either side of the window opening for the best light control and appearance.
Using a metal tape measure, measure from left to right including any desired extra space on each side of the window. That is your ordering width.
Consider how far above the window you would like to install your shade, starting with at least the minimum vertical space referenced above. Since the shade spools onto the roll, it does not need to be installed high above the window to have the shade fabric fully clear the window.
Measure from the top of where you will mount the shade on the wall down to where you want the bottom of the shade to be, using the same extra space below your window opening as you used above, or to the bottom edge of the trim if you prefer. If you have a protruding windowsill, measure down to the top of the sill. That is your ordering height.
Note: The shade fabric may rub against the trim when operating. If your trim is more than 1/2" thick, consider adding shims (not included) under the brackets for additional clearance.
We don't normally recommend mounting sheer shades directly on the trim unless your window configuration doesn't allow for other placements. Your ordered width will be the bracket-to-bracket measurement, which cannot exceed the width of your trim. However, the fabric portion of the shade is narrower than the ordered width and will not extend to the edges of the trim.
Confirm that the height of your trim is at least the minimum height required for installing the mounting brackets. At the top of your window, use a metal tape measure and measure from outer edge to outer edge of the trim. That is your ordering width.
Note that the fabric portion of the shade will be narrower than your ordered width.
Measure from the top of your trim to the bottom of your trim or to the top of the windowsill if you have a protruding sill. That is your ordering height.
Using a metal tape measure, measure left to right from the outside edge of the trim piece around the glass to the opposite outside edge. That is your ordering width. However, if you have enough space, we recommend ordering the shade about 2-4" wider for better light control.
Consider how far above the window trim piece you would like to install your shade, starting with at least the minimum vertical space referenced above. Measure down to where you want the bottom of the shade to be, using the same extra space below the window trim piece as you used above. That is your ordering height.
Before you begin, make sure you have everything you need for a smooth and secure installation.
Important: Do not remove the protective paper wrapping from the fabric until the shade is fully installed. Removing it too early may cause the fabric to shift or affect alignment.
Once everything is prepared, follow the step-by-step installation instructions in the guides below.
Before you begin, make sure you have everything you need for a smooth and secure installation.
Important: Do not remove the protective paper wrapping from the fabric until the shade is fully installed. Removing it too early may cause the fabric to shift or affect alignment.
Once everything is prepared, follow the step-by-step installation instructions in the guides below.
Please review the following information carefully before placing your order.
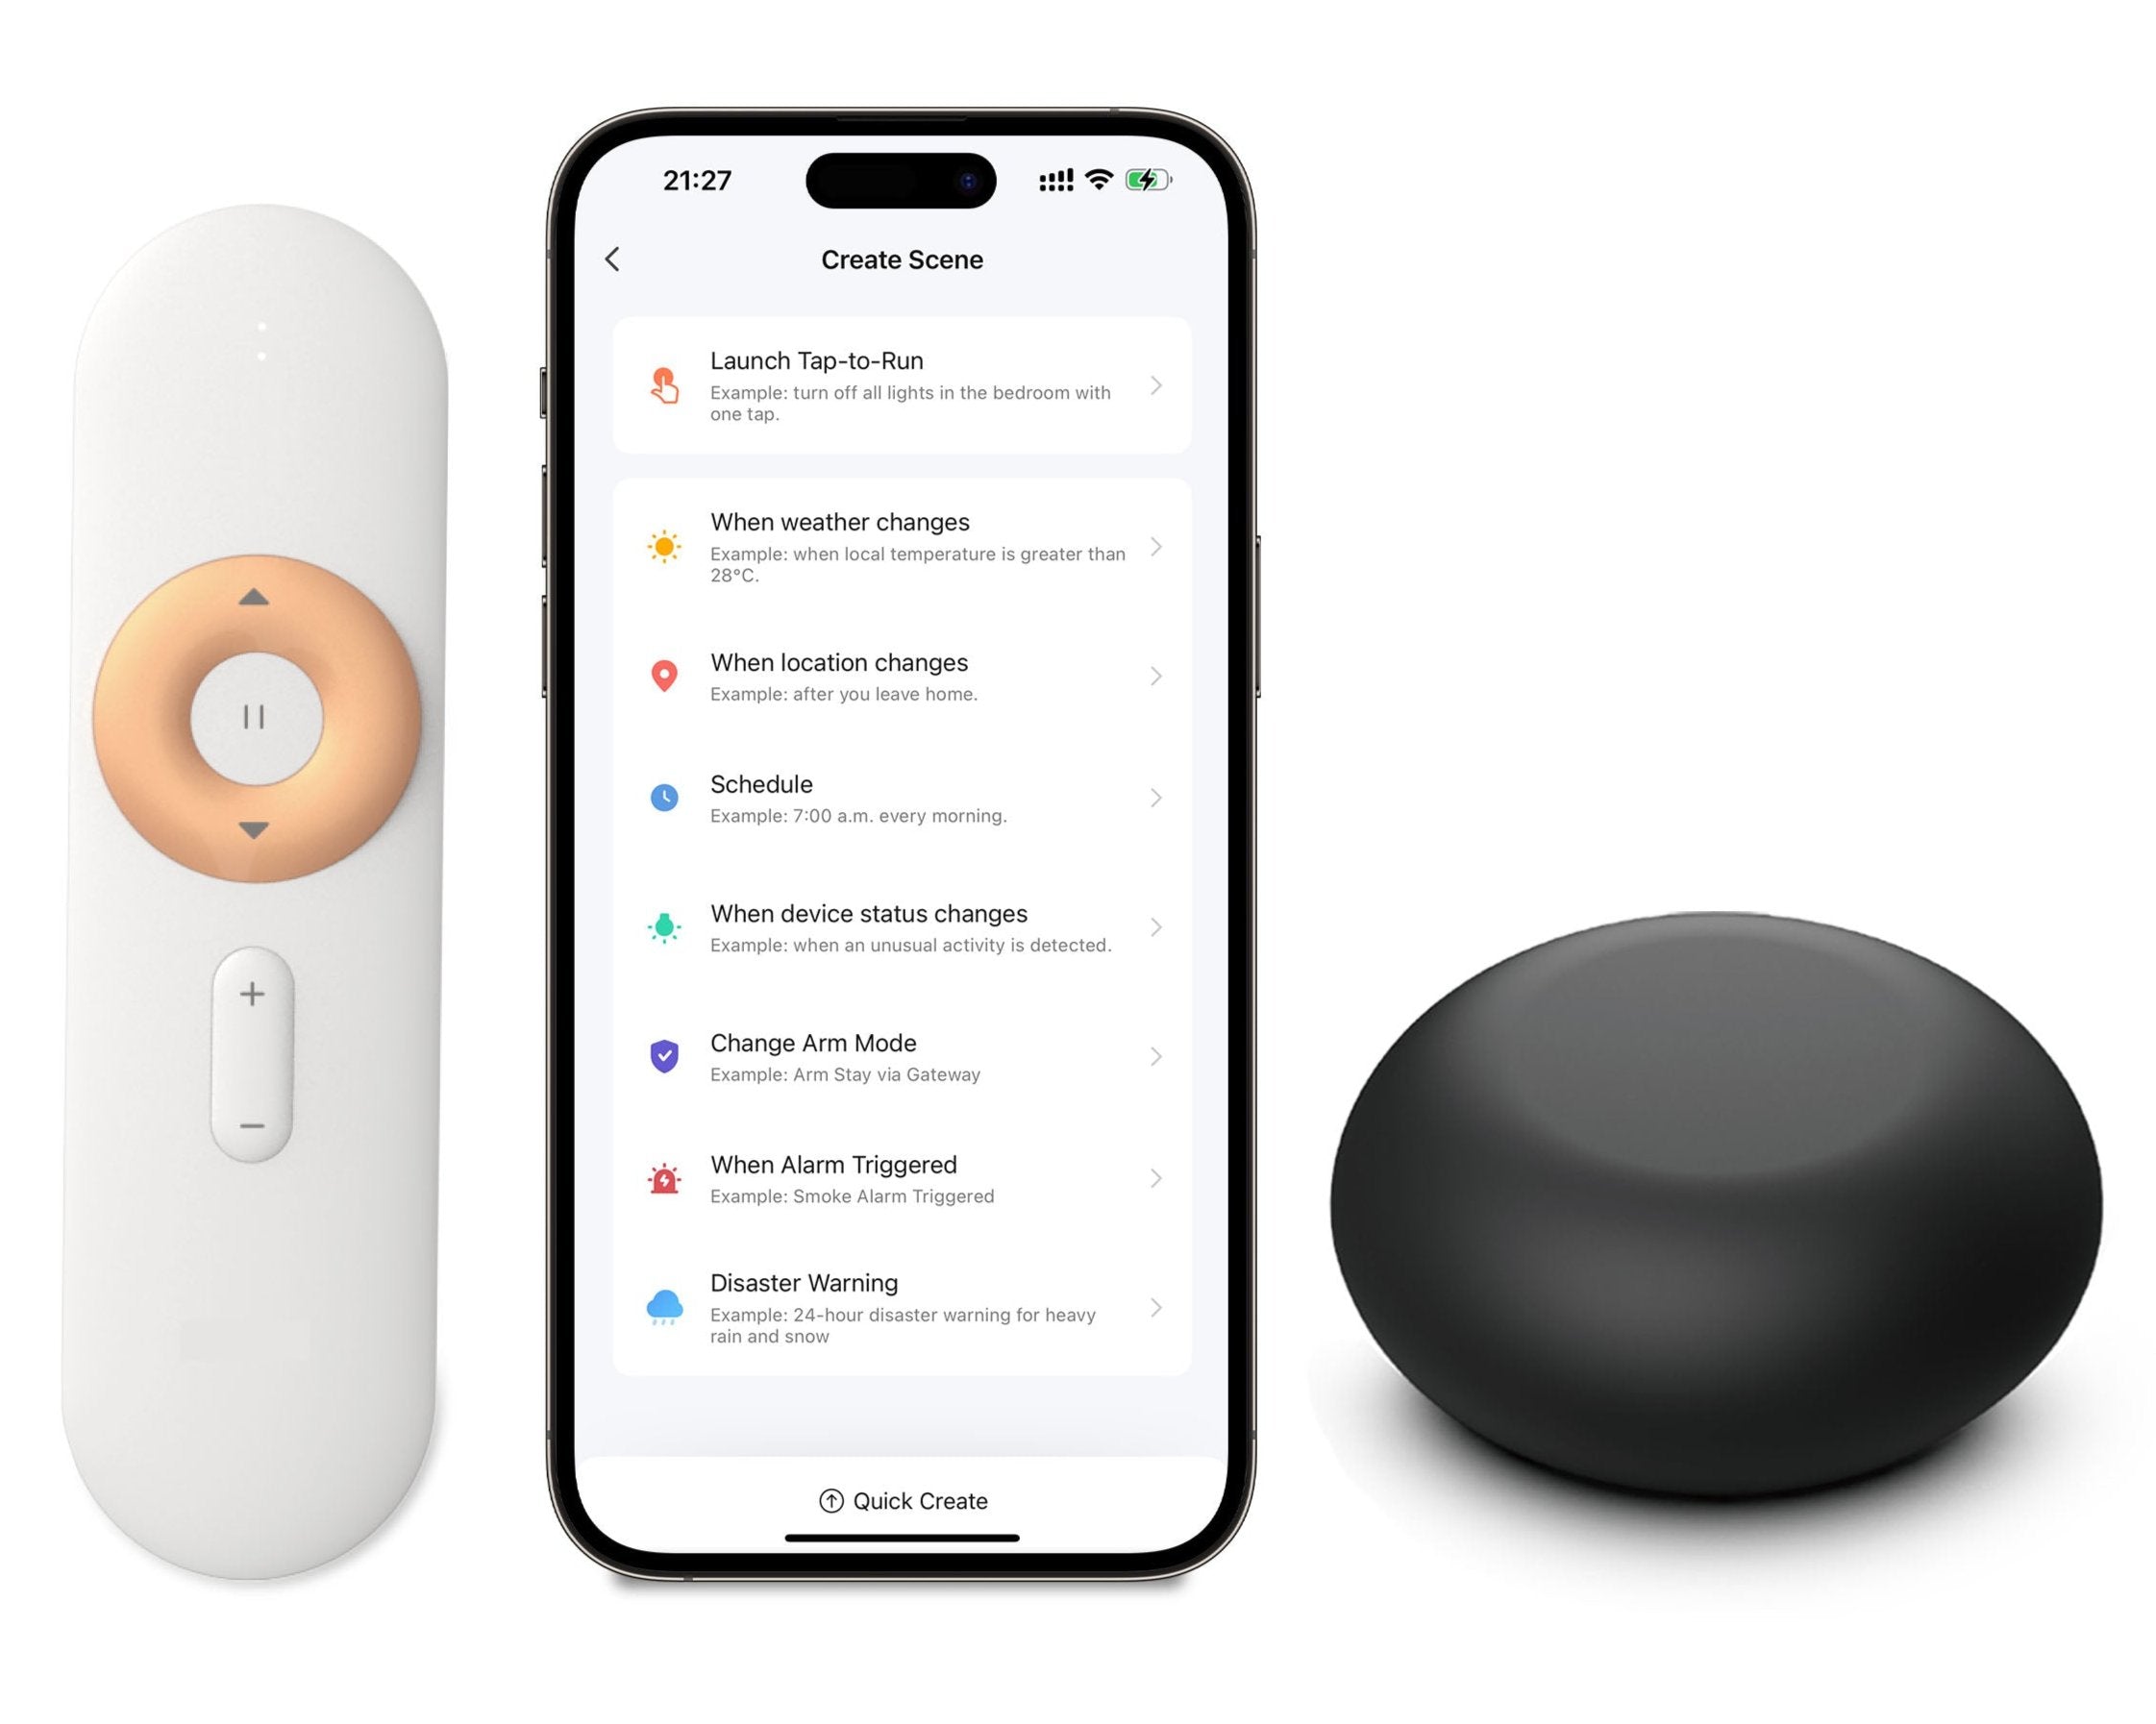
We offer three motor options depending on how you would like to control your shades.
Basic Remote Motor
Zigbee Motor
Matter Motor
| Outside Mount Flat Space Required | 3 1/2" |
|---|---|
| Minimum Depth for Inside Mount | 2" |
| Depth Required for Flush Mount | 3 9/16" |
| Specification | Continuous Cord Loop | Motorized |
|---|---|---|
| Minimum Width | 14" | 20" |
| Maximum Width | 103" | 96" |
| Minimum Height | 12" | 18" |
| Maximum Height | 120" | 120" |
| Continuous Cord Loop Side | 5/8" |
|---|---|
| Opposite Side | 3/16" |
Cassette dimensions are shown for reference. Please confirm the required mounting depth and flat installation space before placing your order.
| Outside Mount Flat Space Required | 3" |
|---|---|
| Minimum Depth for Inside Mount | 2" |
| Depth Required for Flush Mount | 3" |
| Specification | Continuous Cord Loop | Motorized |
|---|---|---|
| Minimum Width | 14" | 20" |
| Maximum Width | 103" | 96" |
| Minimum Height | 12" | 18" |
| Maximum Height | 120" | 120" |
| Continuous Cord Loop Side | 1/2" |
|---|---|
| Opposite Side | 3/16" |
Cassette dimensions are shown for reference. Please confirm the required mounting depth and flat installation space before placing your order.
Built for Long-Term Reliability
At Sense Blinds, we stand behind the quality of our products with a 5-Year Warranty. If there are any issues with parts or components during this period, we’ll send you a brand-new replacement. For more information about our warranty,click here.


Custom Light Filtering Sheer Shades
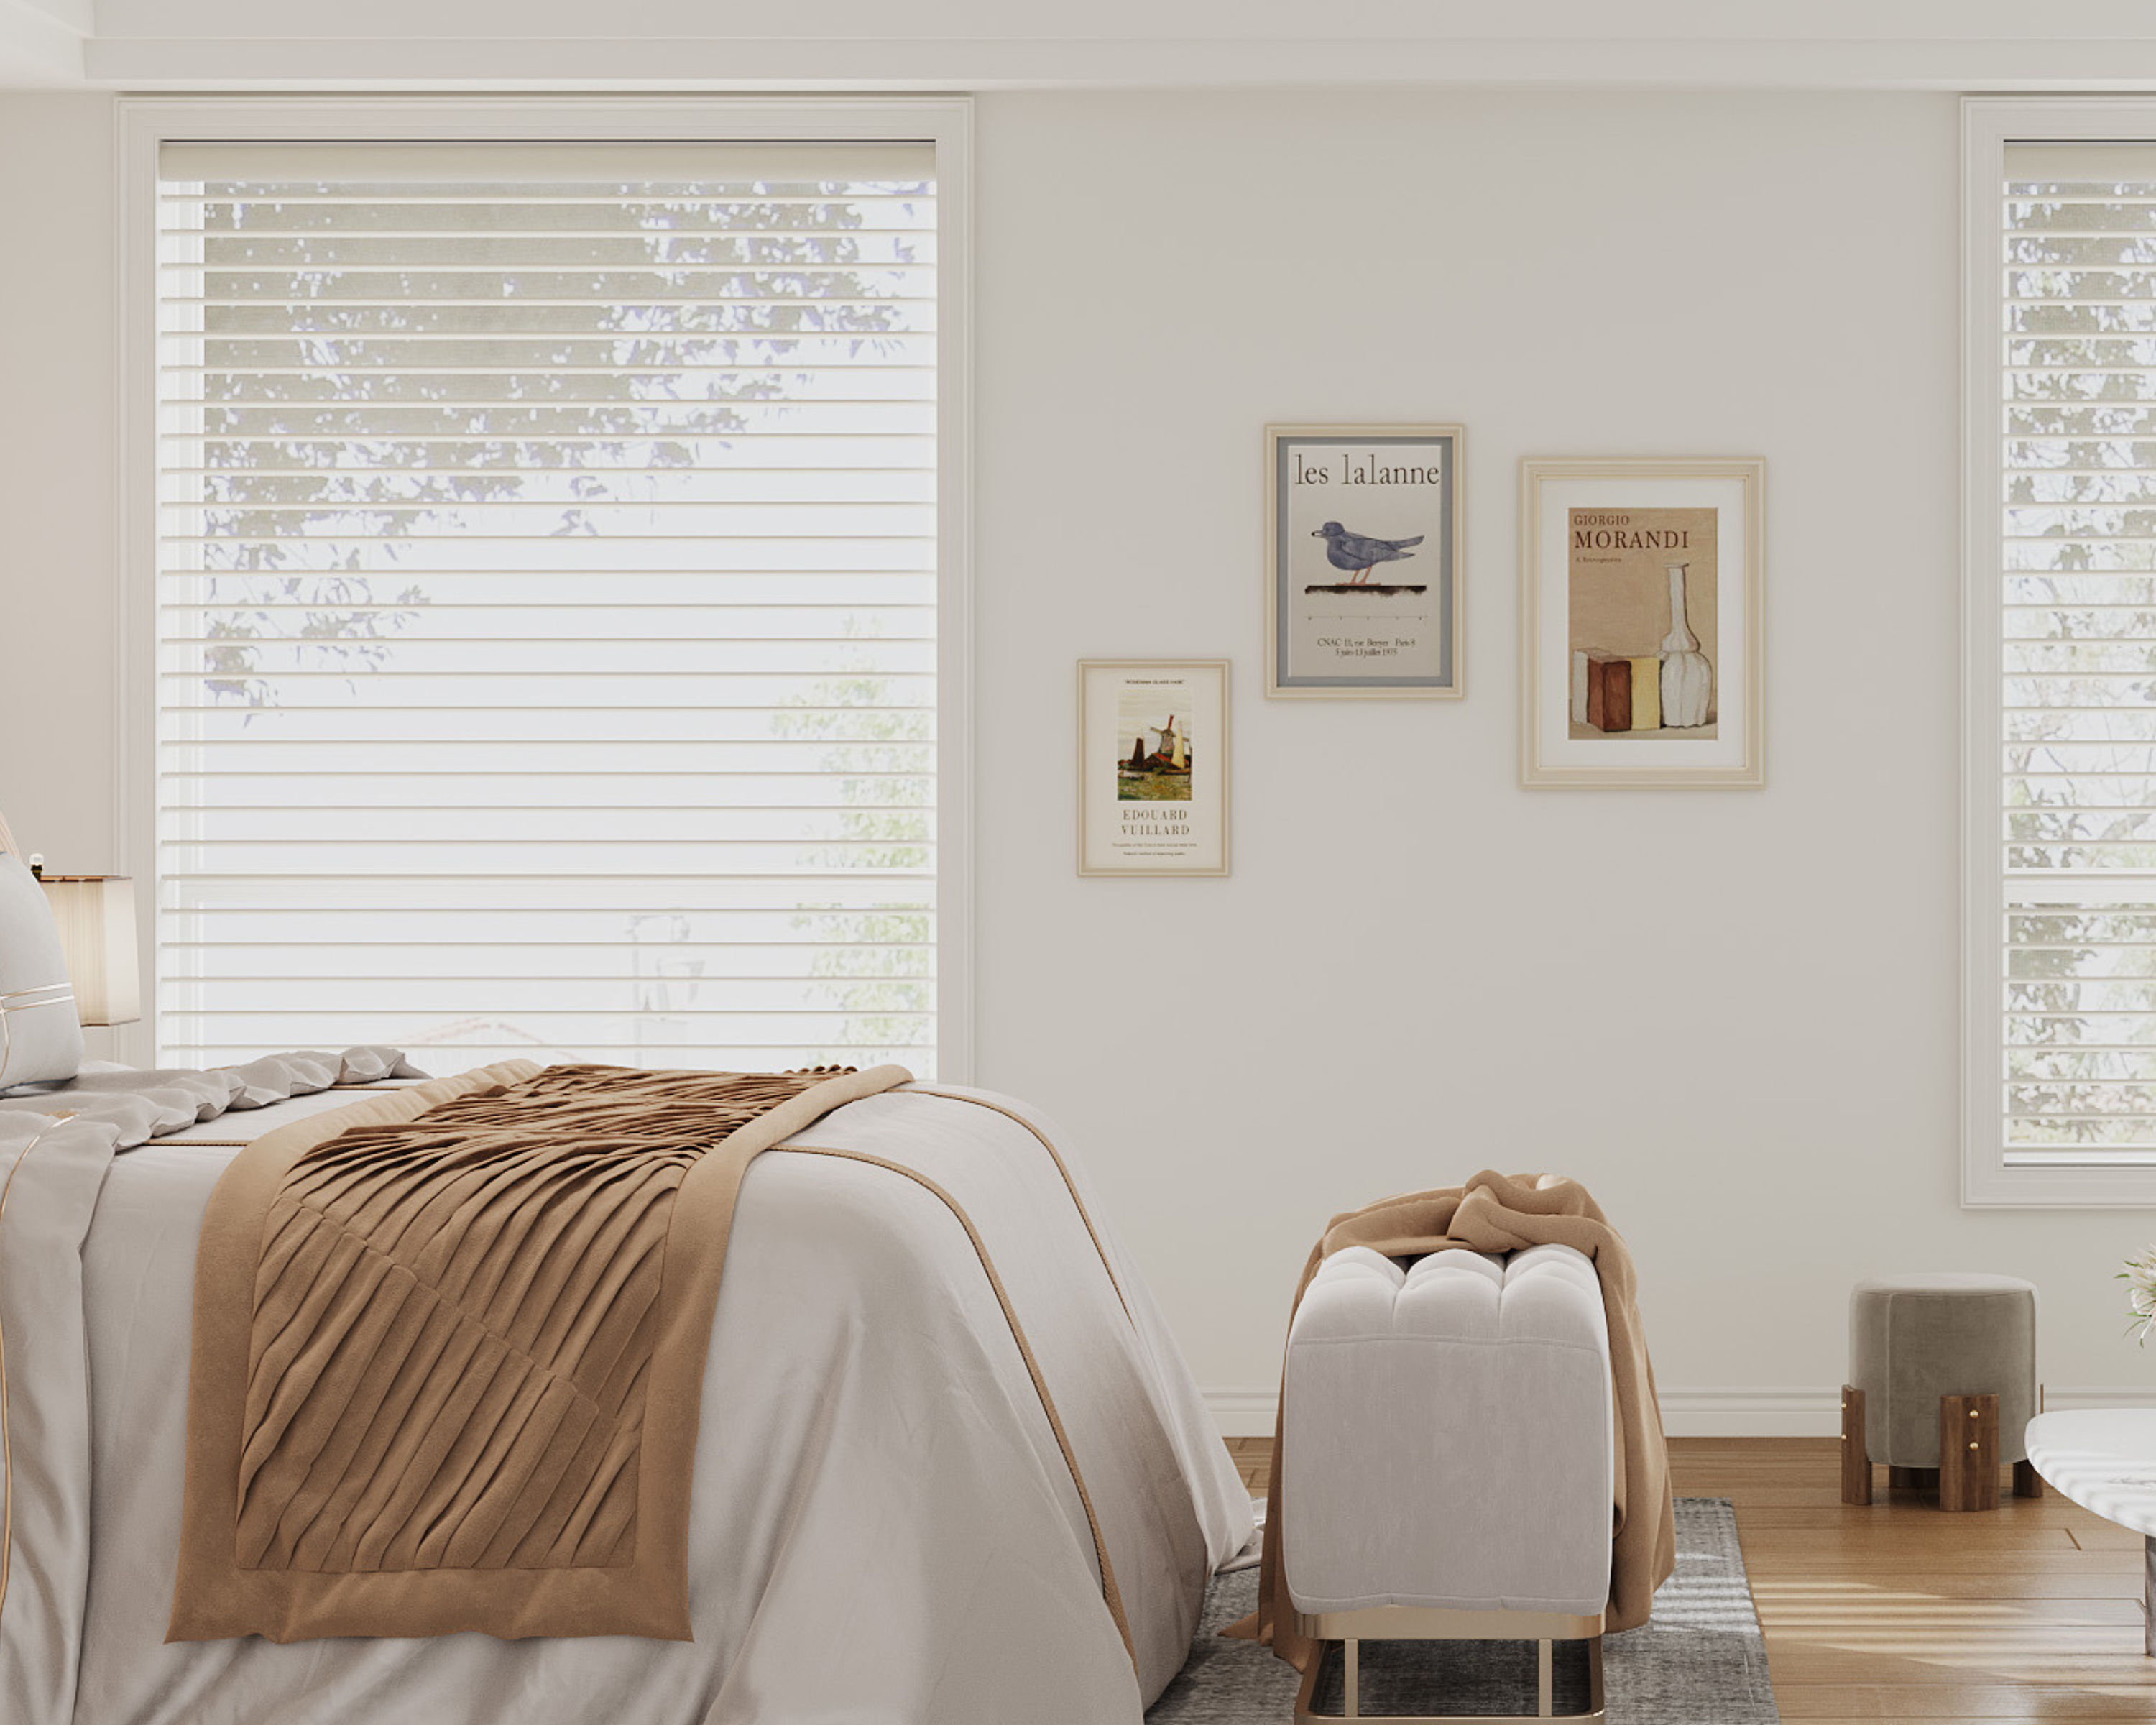
Bring a light, inviting feel to your home with SenseBlinds Light Filtering Sheer Shades. Featuring 2" or 2½" fabric vanes suspended between two sheer layers, these custom shades soften incoming sunlight and add a refined, dimensional look to your windows.
Open the vanes to enjoy gently filtered daylight and an outdoor view through the sheer fabric. Close them to soften the view into your room while continuing to let natural light through—ideal for living rooms, dining areas, and everyday gathering spaces.

UV Protection

Fade Resistant

Hassle Free Assembly

Smooth & Quiet Lift

Easy Maintenance

5-Year Warranty
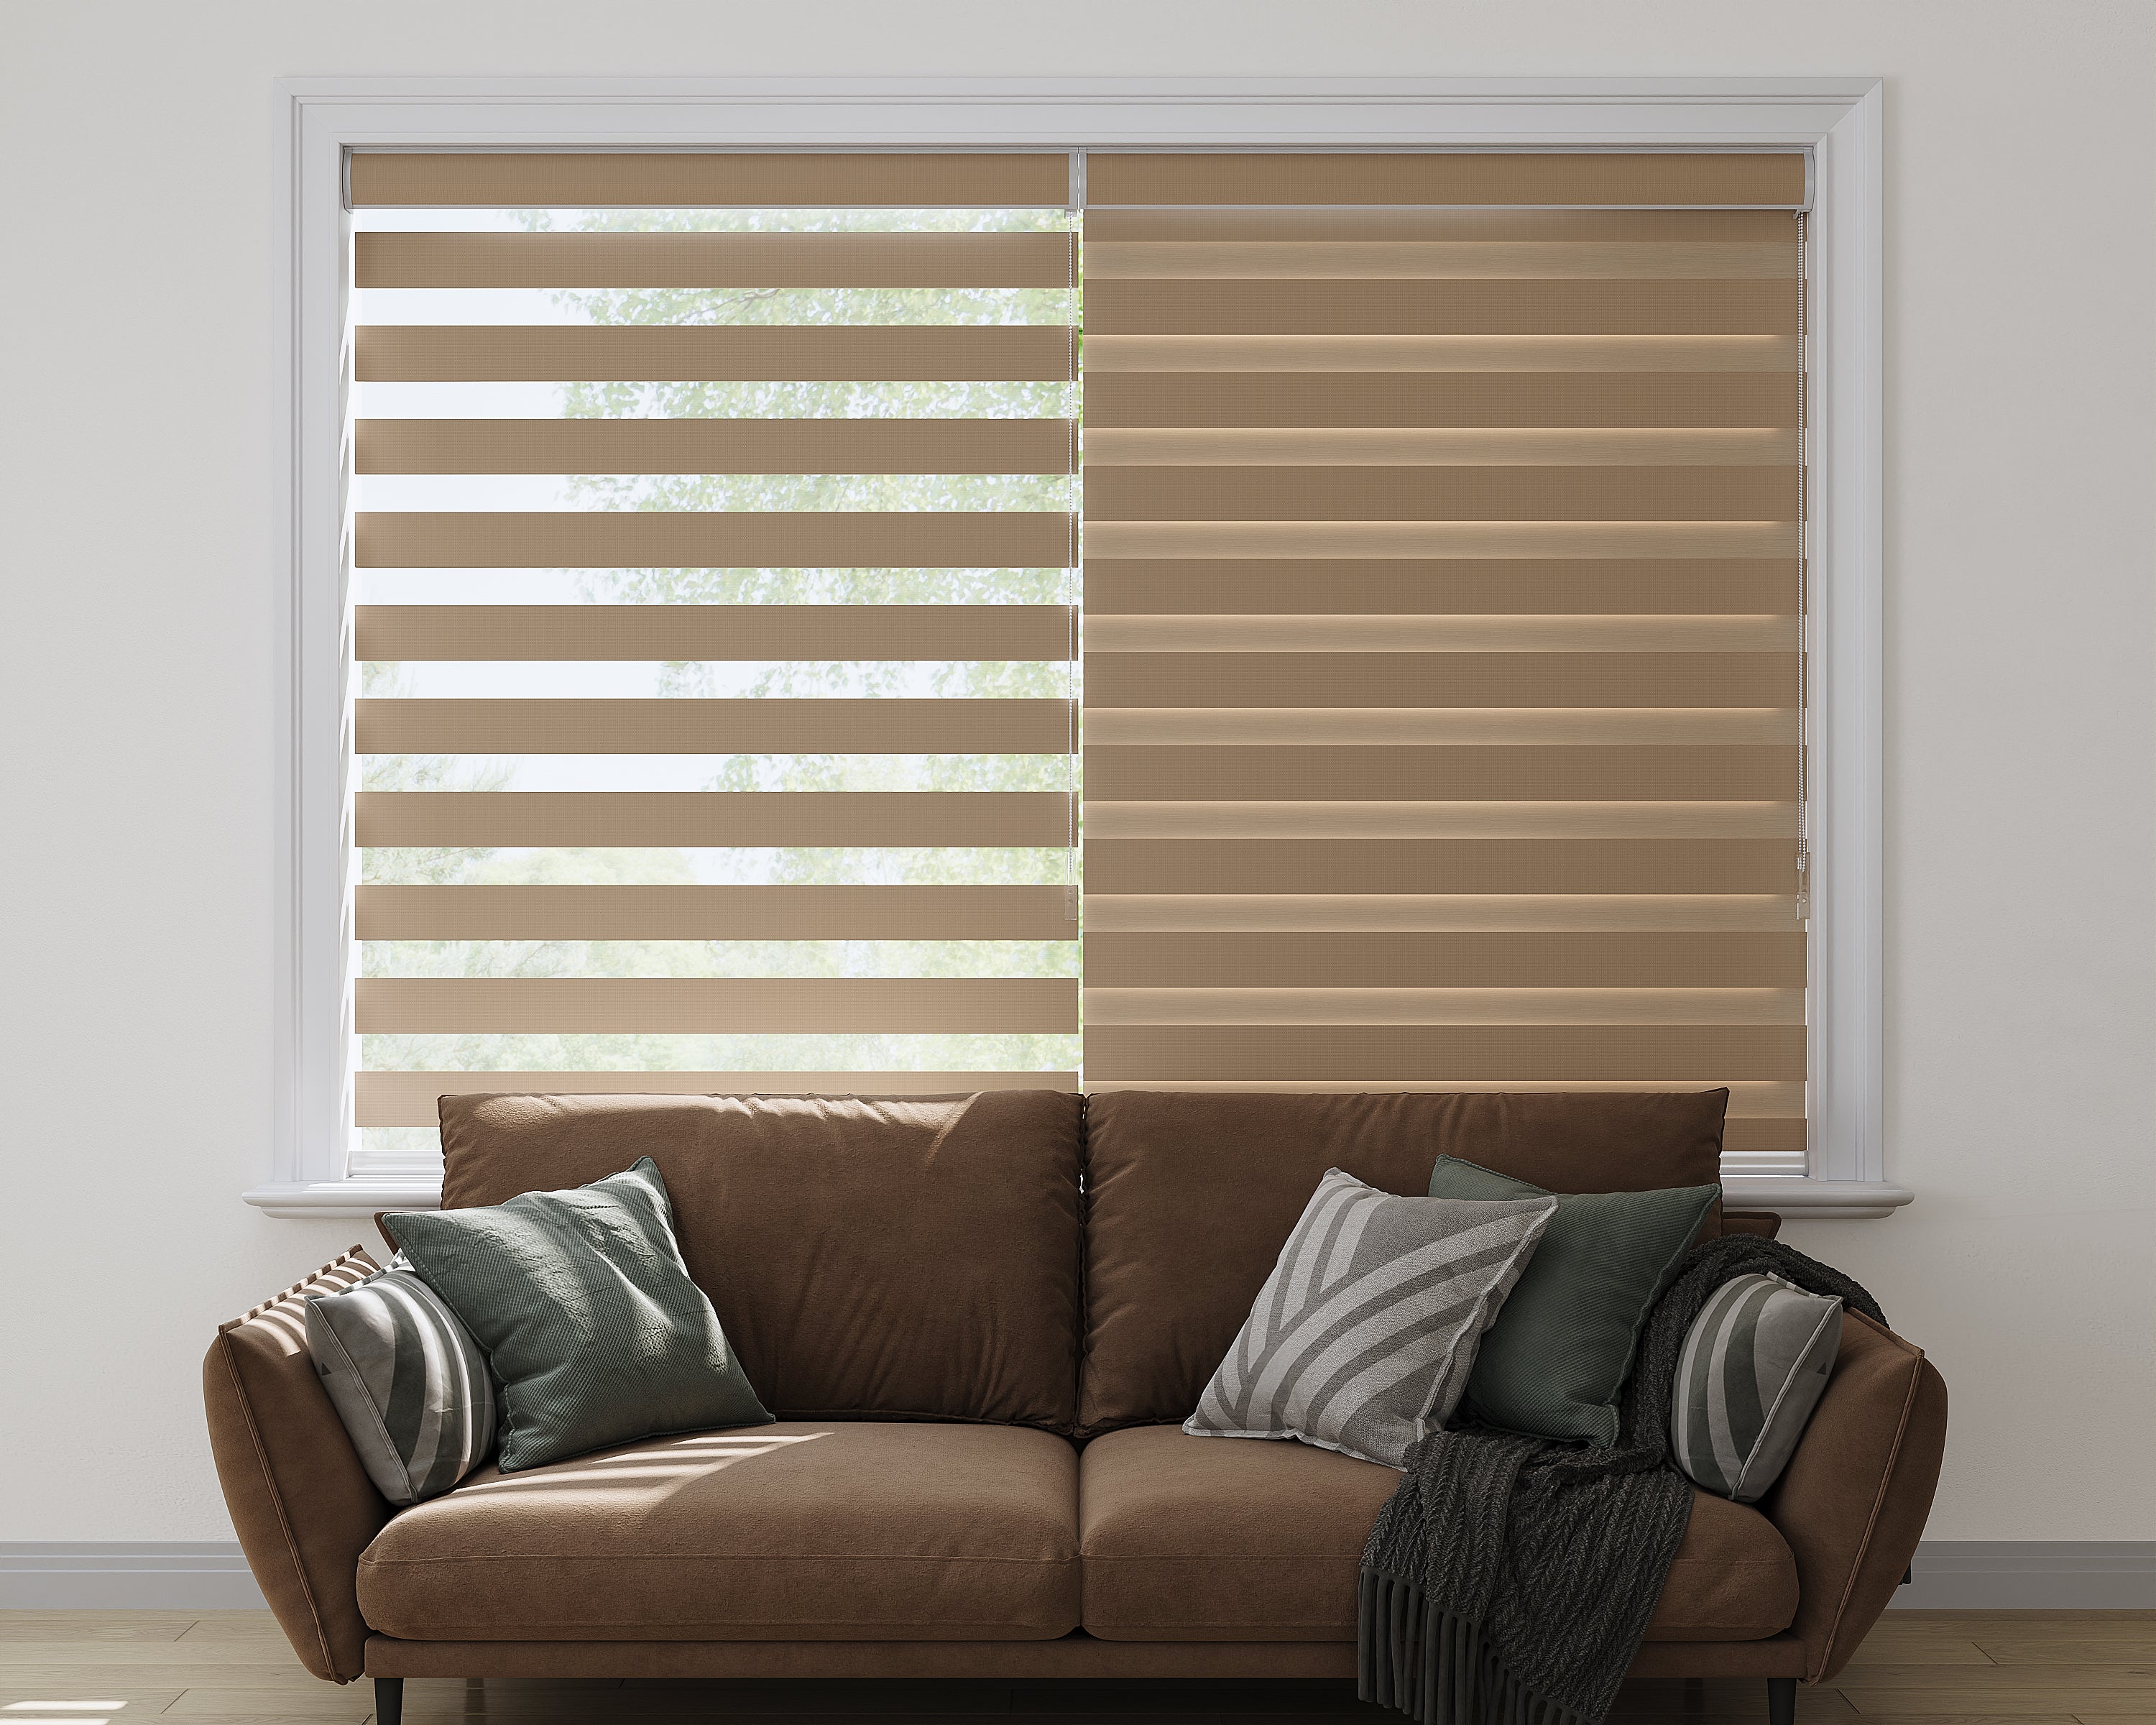
Fully lower your shade before opening the fabric vanes to adjust light and privacy.

Soft, diffused daylight with a filtered outdoor view.

Softly filtered daylight with the direct outdoor view screened by closed fabric vanes.

Layered Sheer Design
Horizontal light-filtering fabric vanes sit between two sheer layers, creating a refined, dimensional look. When closed, the vanes provide approximately 60% light blocking and added privacy while allowing soft, diffused daylight to brighten your room.
Choose from fabric series with 2" or 2½" vanes. Vane size depends on the fabric series you select.
Manual chain operation for everyday shade adjustment. Install the supplied chain safety device as directed.
Lift mechanism demonstrationConvenient remote operation for everyday control, including windows that are harder to reach.
Lift mechanism demonstration
Choose a Zigbee or Matter over Thread motor to control your light filtering sheer shades through a compatible smart-home system.
Adjust shades through your compatible smart-home platform.
Set automatic routines for different times and activities.
Open in the morning and close automatically in the evening.
Adjust one shade or compatible groups together.
Best for Tuya or Zigbee smart homes.
Best for Apple Home and multi-platform smart homes.

A painted aluminum headrail gives your sheer shade a clean, contemporary finish.

Upgrade to a fabric-insert headrail for a coordinated look that brings the fabric detail to the top of your window.

Our battery motorized shades offers a smooth, quiet, and cordless lifting experience. Equipped with a built-in rechargeable battery, a single 6-hour charge provides up to 6 months of usage. Each unit includes a 3-meter USB charging cable for convenient and flexible recharging.
