
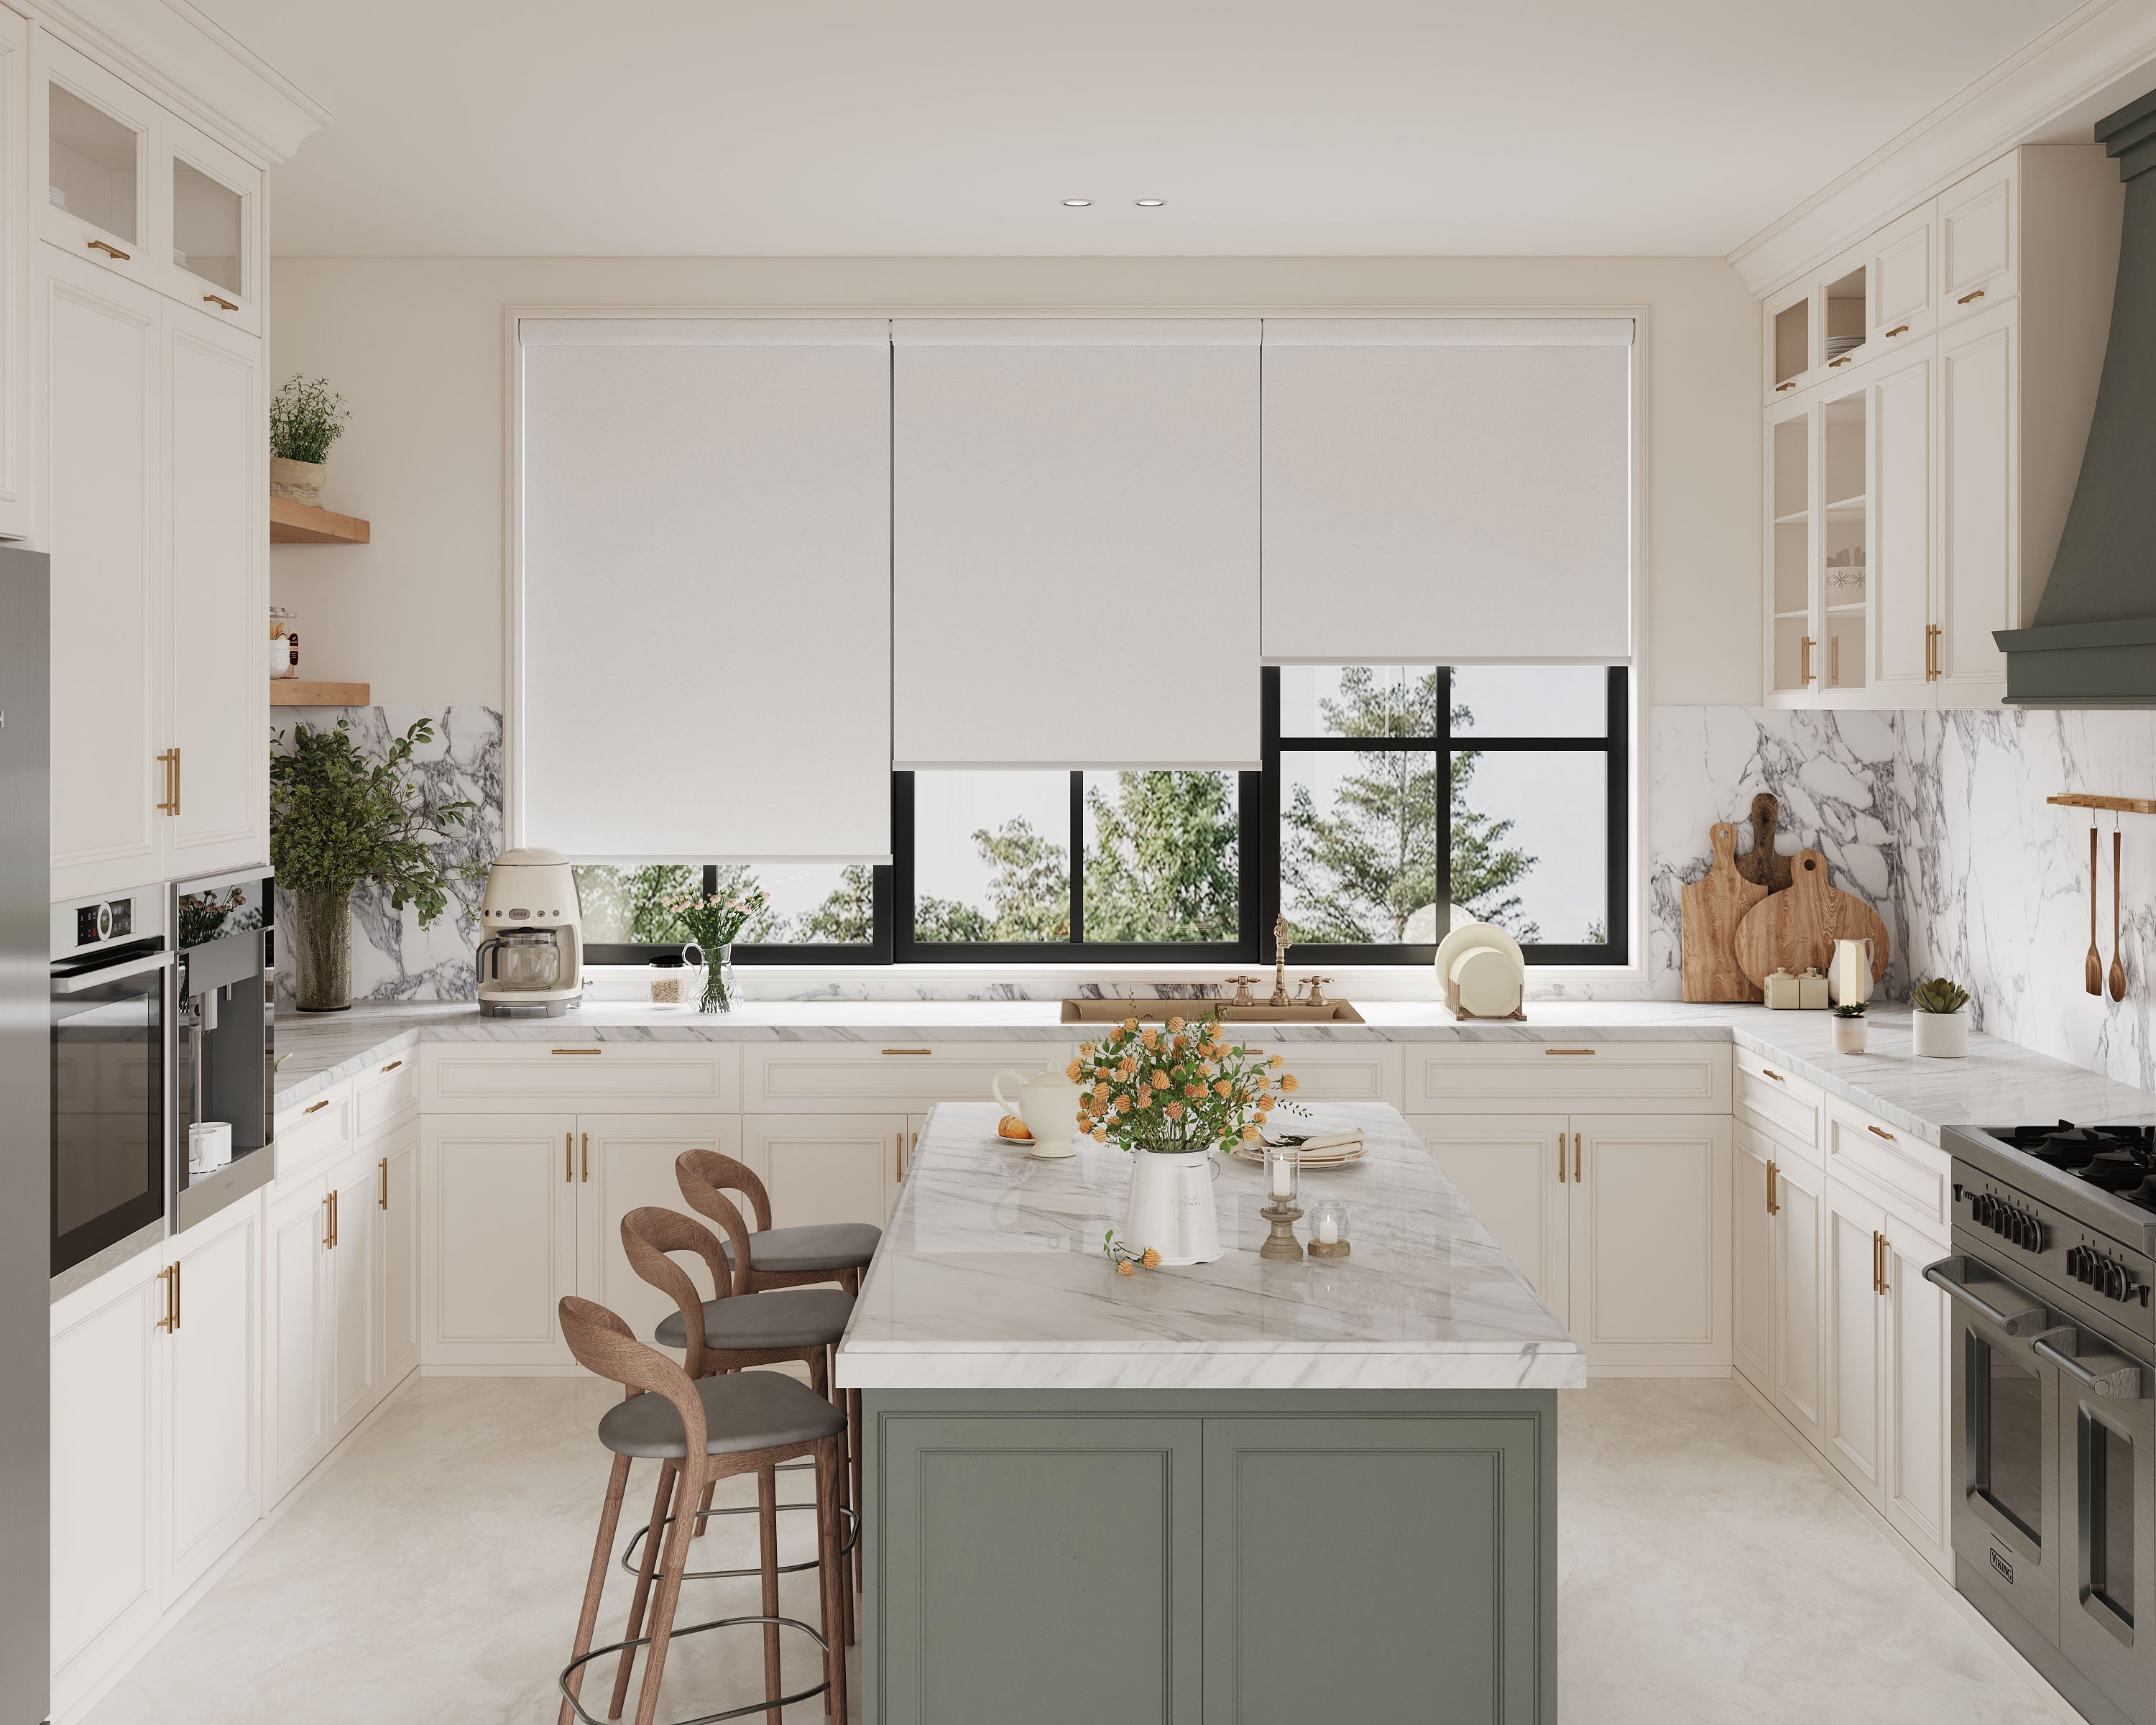
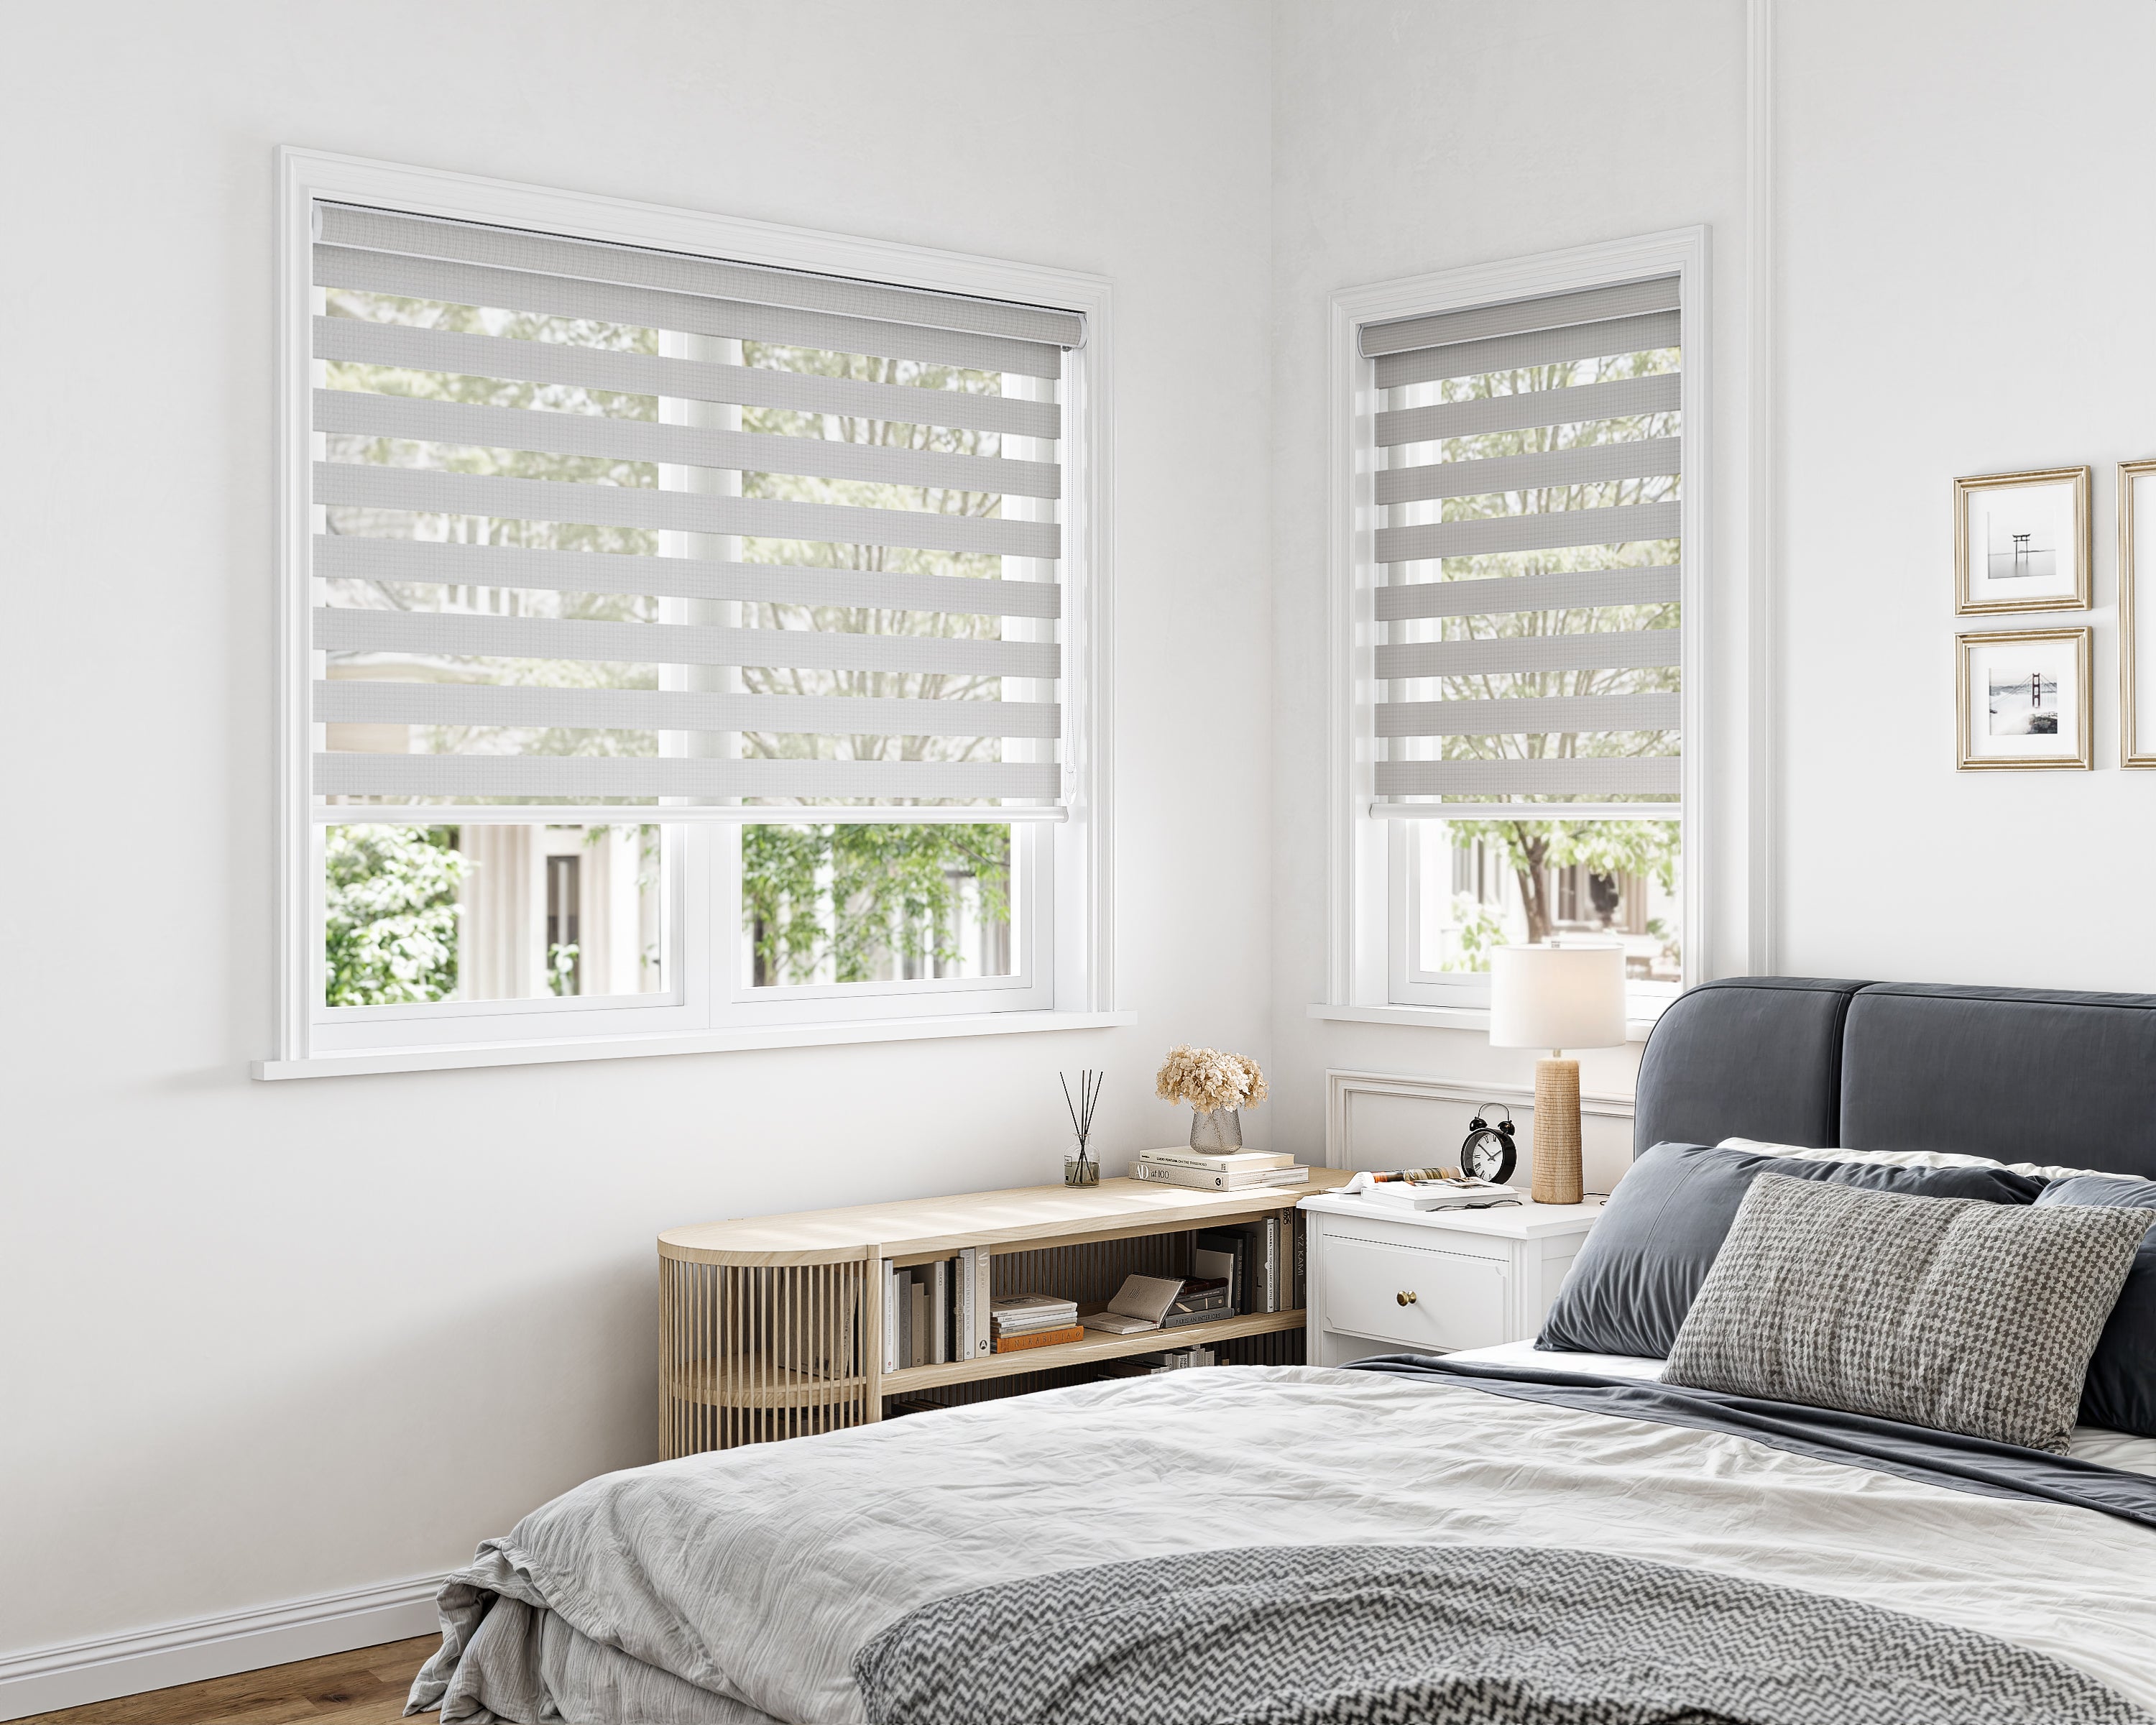
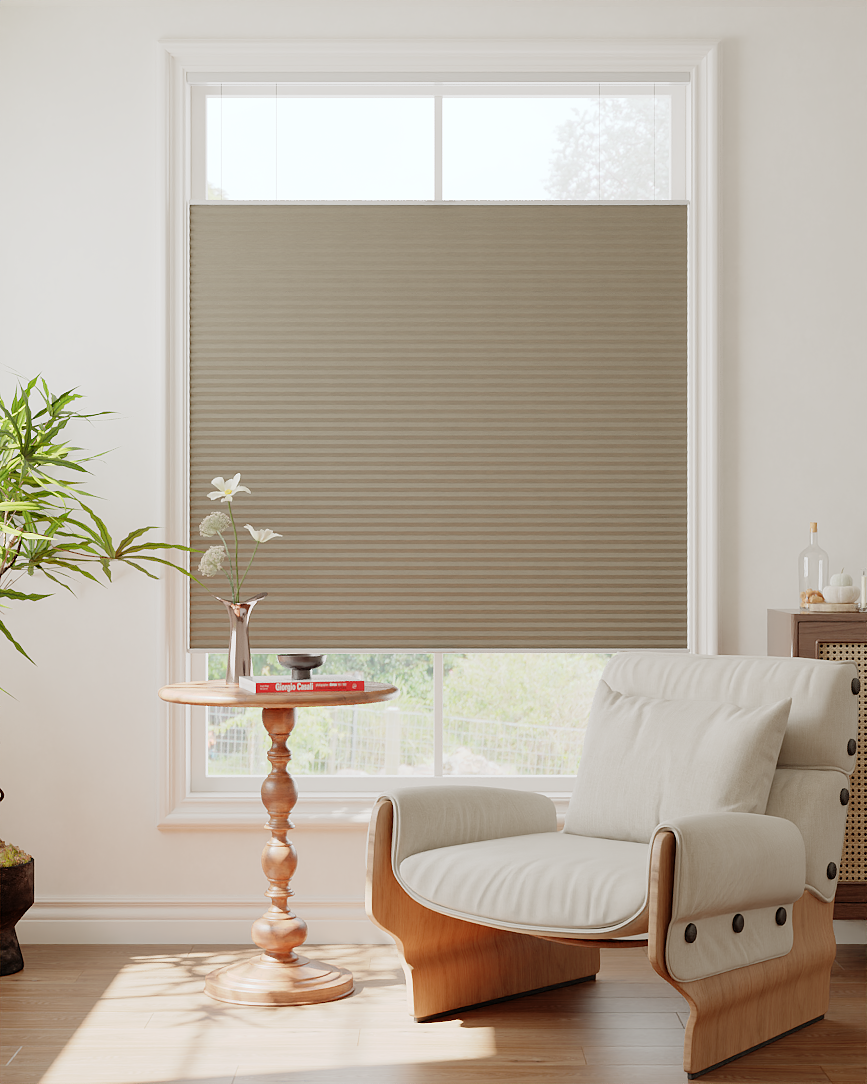
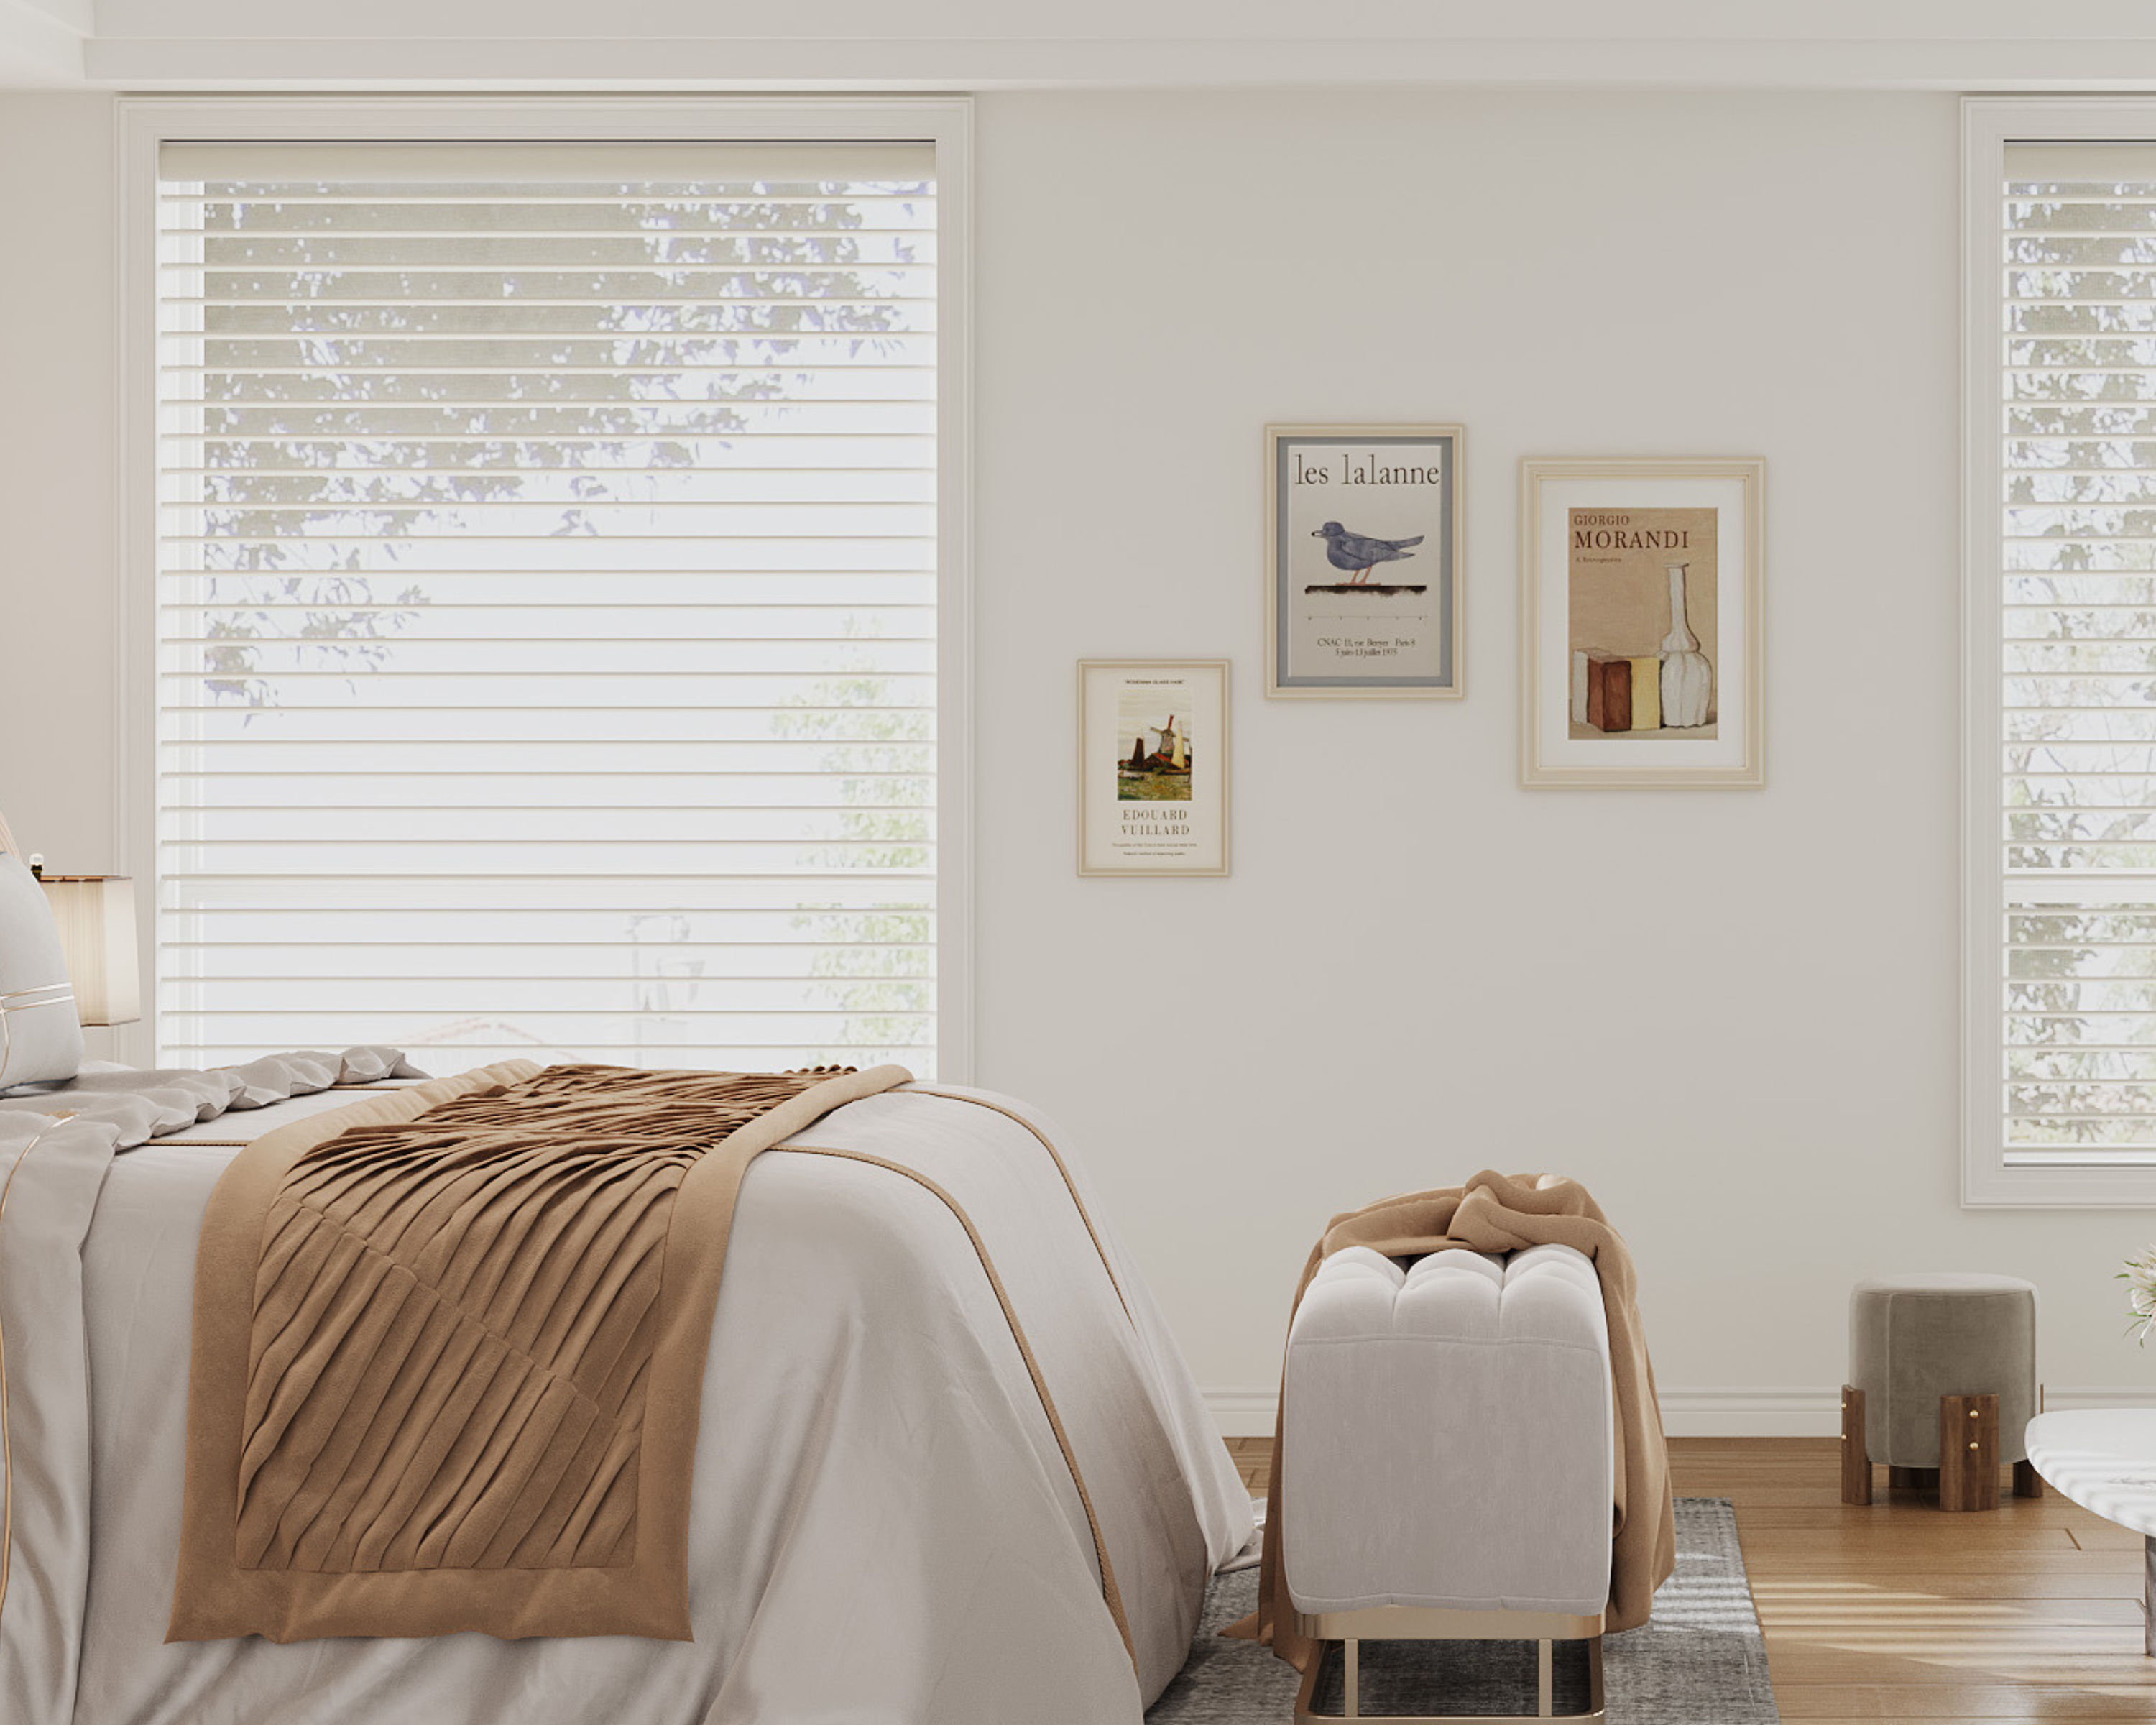
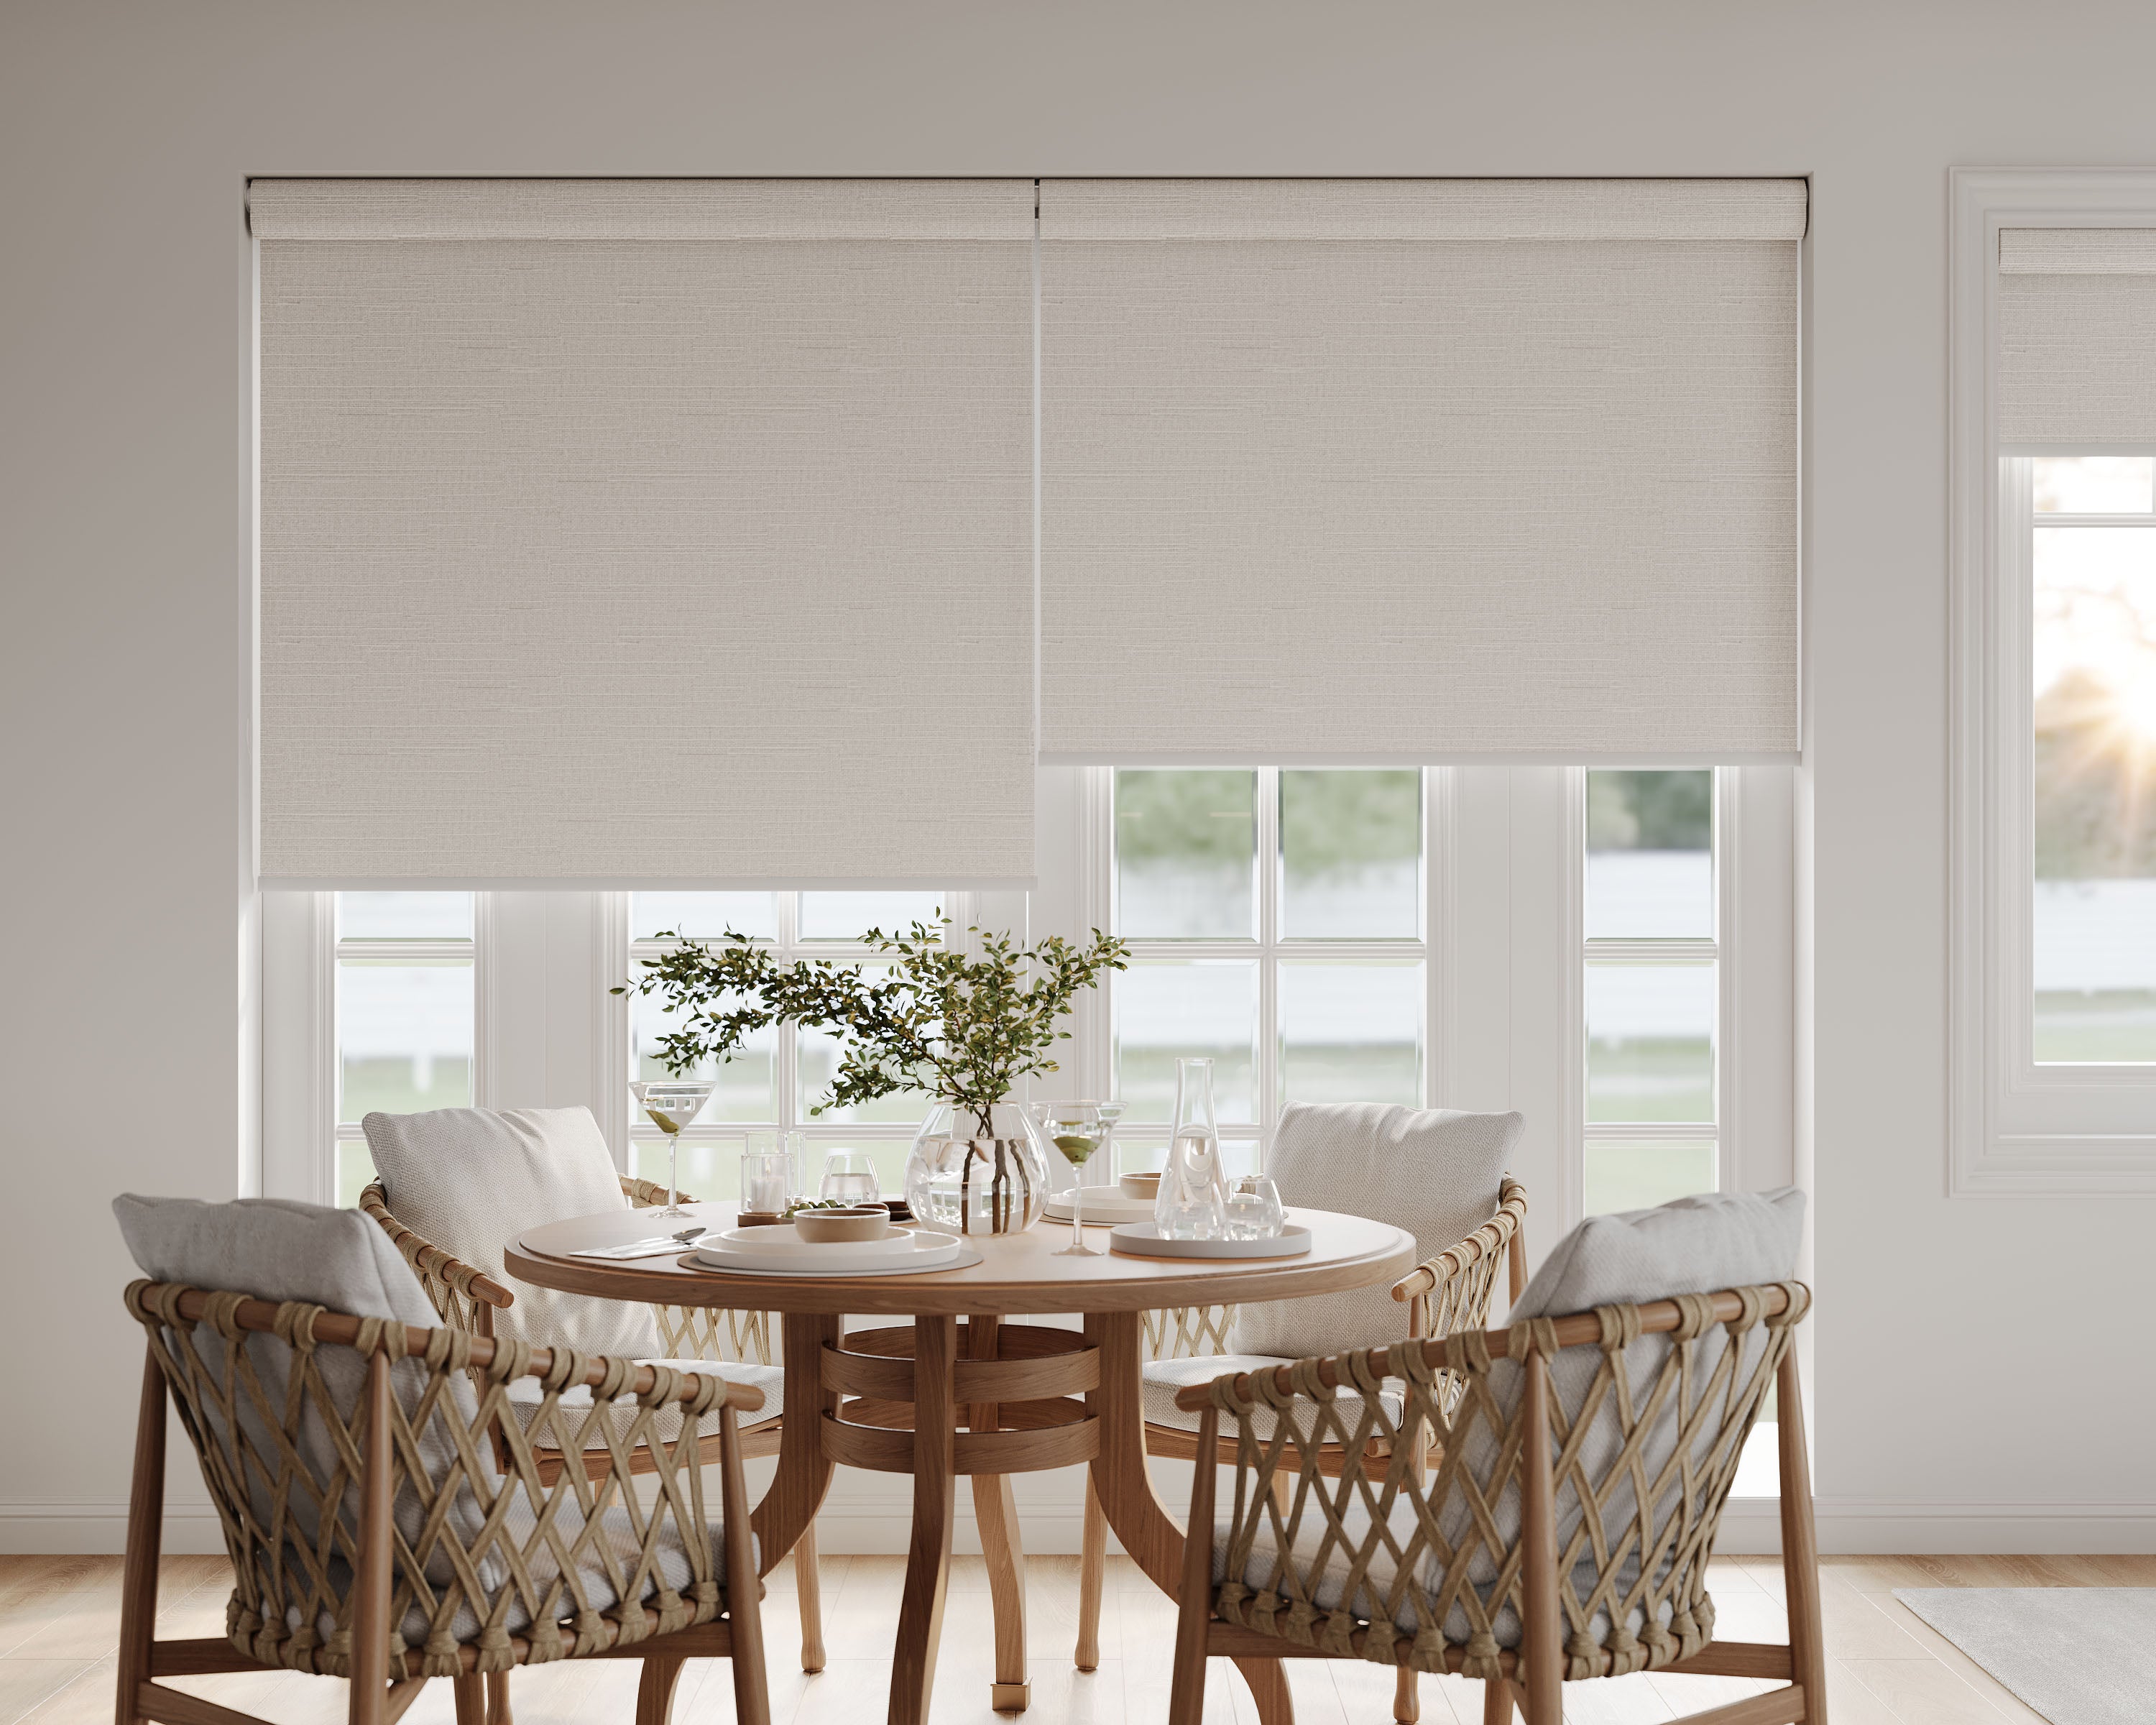


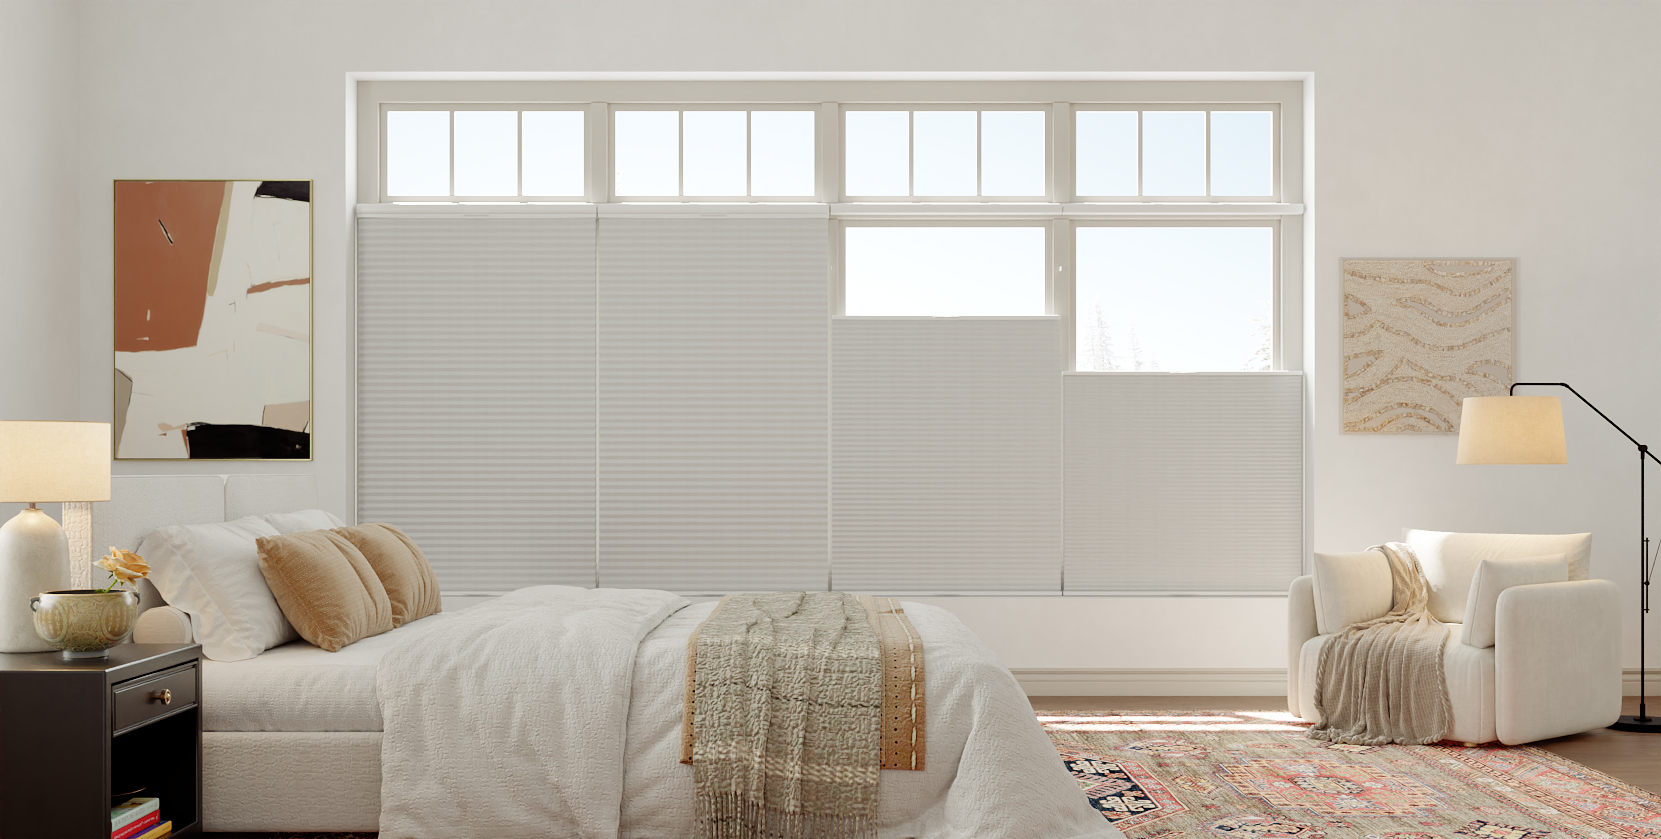


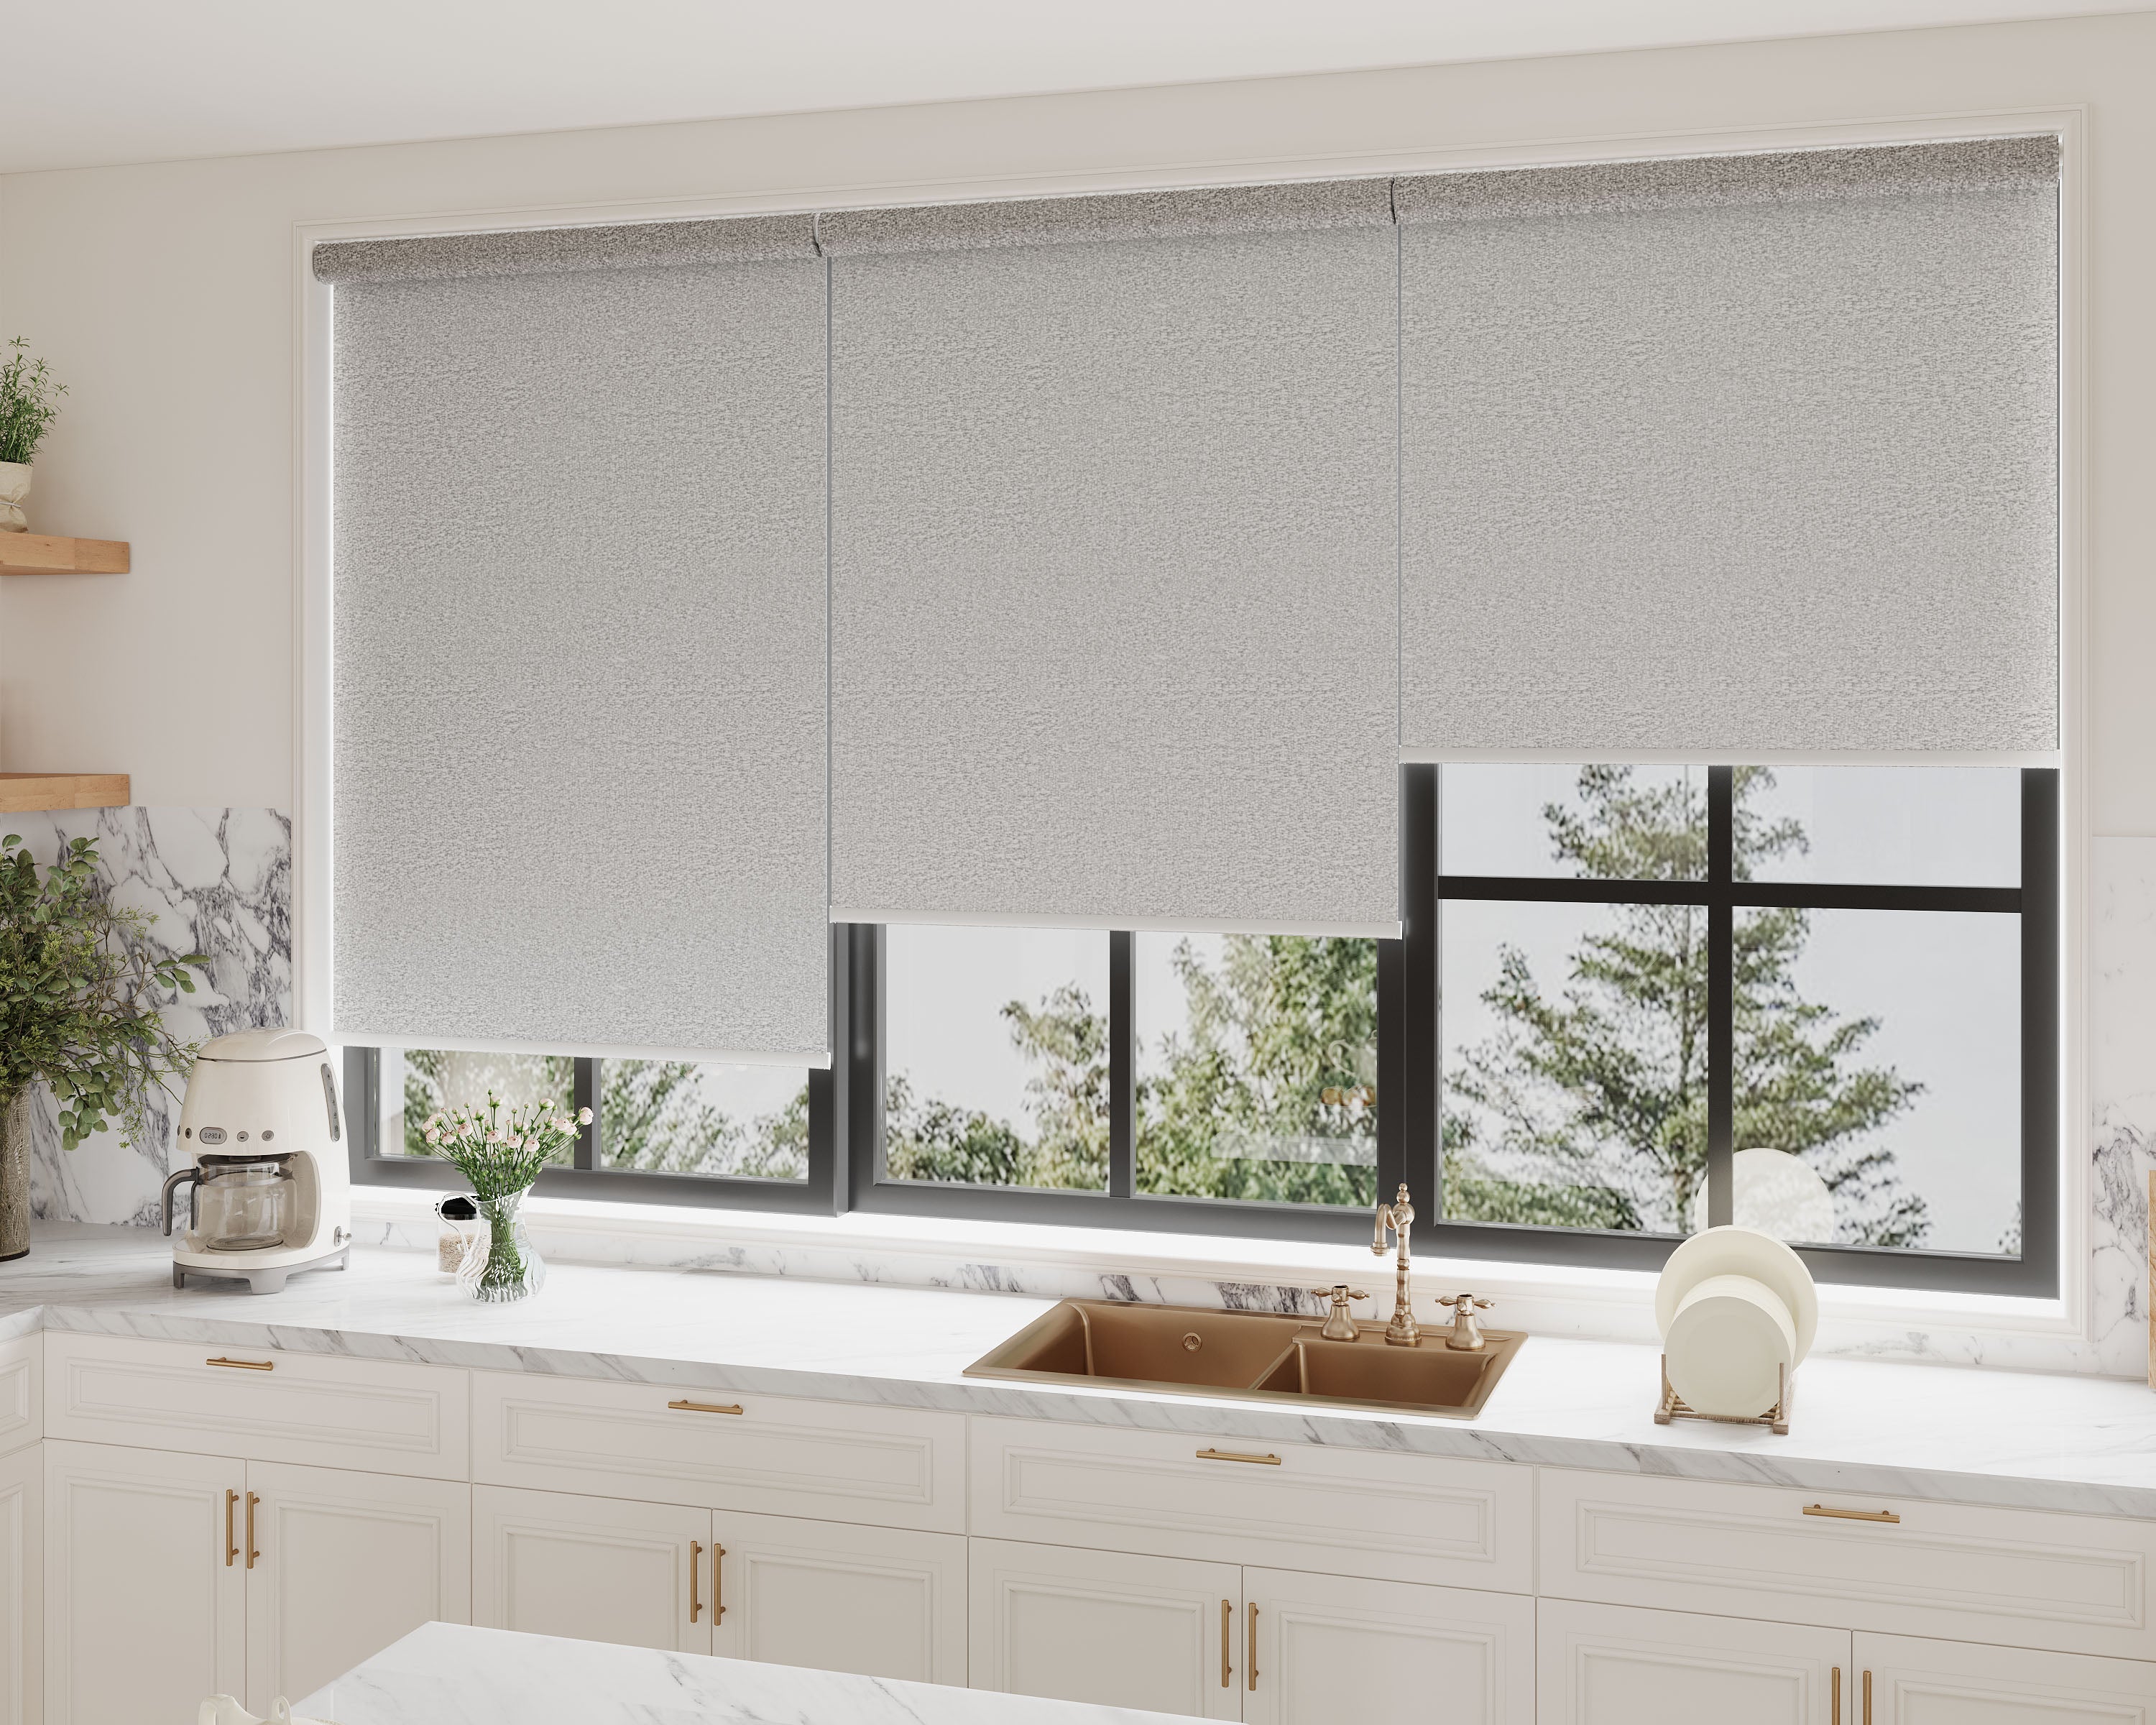



Yes, cellular shades are a superb and functional choice for bay and bow windows, but they require meticulous planning to address their unique angled geometry. Success hinges on precise individual measurements, specialized mounting hardware for corners, and a strategic choice between unified or independent operation. This guide provides the complete technical and design blueprint to transform these architectural features into comfortable, beautiful, and energy-efficient focal points.
Here’s what you’ll learn to navigate this project with confidence:
-
Architectural Understanding: The key geometric differences between bay and bow windows and how they fundamentally impact shade design and installation.
-
Precision Measurement Protocol: A step-by-step method for measuring each individual window segment (or "unit") within the bay or bow, accounting for angles and obstructions.
-
Installation Strategies for Angles: How to use specialty brackets to mount shades on angled jambs and solutions for handling the tight corners where shades meet.
-
Operation & Control Systems: Evaluating the pros and cons of individual shades versus a single continuous treatment, and the best lift systems for multi-shade setups.
-
Design Cohesion: Selecting opacity, color, and features to enhance the window's form while providing the desired light control and privacy for the room.
To achieve a custom fit for these unique windows, you must start with a fully customizable product. Explore the possibilities within our range of cellular honeycomb shades made for custom projects.
Understanding Your Window's Geometry: Bay vs. Bow
The first step is identifying which type of window you have, as this dictates the complexity of the installation and the visual outcome.
-
Bay Windows: Typically consist of three window units—a large central picture window flanked by two smaller angled units (usually at 30, 45, or 90-degree angles). This creates a more pronounced projection from the house and distinct angular corners.
-
Bow Windows: Composed of four, five, or six window units of equal or similar width, arranged in a gentle, graceful curve. The angles between each unit are much more subtle, creating a rounded projection.
This structural difference is crucial: Bay windows have sharp, defined corners where shades can collide. Bow windows present a continuous curve where shades will create small gaps when viewed from the side. Your installation plan must account for this.
The Critical Step: How to Measure for Bay & Bow Windows
Incorrect measurement is the most common point of failure. You are not measuring one large opening; you are measuring for multiple individual shades.
-
Treat Each Unit Individually: Measure the width and height for each separate window segment within the bay or bow. For an inside mount, take three width measurements (top, middle, bottom) and three height measurements (left, center, right) for each unit, using the smallest of each. This is the meticulous process outlined in our dedicated guide on how to measure windows for cellular shades.
-
Note the Angles: If possible, determine the angle at which the flanking windows meet the center window. A professional installer may use an angle finder. This information is vital for ordering correct hardware.
-
Check for Obstructions: Note the exact location of handles, locks, and window cranks in each unit. Your shade must be sized and mounted to completely clear these obstructions throughout its full range of motion.
-
Decide on Mounting: Inside mounts are challenging due to the typically shallow depth of angled jambs. Outside mounts (on the face of the window trim or the wall) are often more successful, as they provide a flat surface and can help mask imperfections.
Installation Strategies: Mastering Angles and Corners
Installing shades on a flat wall is straightforward; installing them on angled jambs requires the right hardware and approach.
-
Specialty Angled Brackets (Essential for Bay Windows): Standard brackets mount at 90 degrees. For the flanking windows in a bay, you need angled brackets that allow the shade to mount flush to the angled jamb while keeping the headrail level. Using a standard bracket here will force the shade to hang crookedly into the room.
-
The Corner Clearance Challenge: In a bay window, two shades will meet in the corner. If both are installed normally, they will collide and cannot operate independently. The solution is a "bypass" or "offset" mounting kit. This kit uses special brackets to install one of the corner shades slightly forward and overlapping the other, allowing both to raise and lower without interference.
-
Mounting Surface Integrity: Angled jambs and the window seat area are often not structural. Ensure you are anchoring brackets into solid wood framing, not just drywall or trim, especially for larger or heavier shades. The principles of secure installation covered in our DIY installation guide for cellular shades are doubly important here.
Operation & Control: Unified or Independent?
You have two main options for operating multiple shades in one bay or bow, each with distinct pros and cons.
| Control Strategy | How It Works | Pros | Cons |
|---|---|---|---|
| Independent Shades | Each window unit has its own shade with its own lift (cordless or motorized). | Ultimate flexibility. You can adjust each shade to different heights for light, view, and privacy. Most straightforward to install and service. | Requires individual adjustment. Multiple lift systems can look visually busy. |
| Unified Motorized System | Multiple shades are linked to a single motor or grouped in an app and operate as one with a single command. | Clean, synchronized operation. Ideal for hard-to-reach windows. Creates a dramatic, uniform effect. | Higher cost. More complex installation and programming. Less individual control over each window segment. |
Recommendation: For most homeowners, individually controlled motorized shades offer the best balance. They can be grouped in a smart home app to act as one when desired but operated independently when needed. This is far superior to struggling with multiple tangled cords in a tight corner.
Design and Opacity Selection for Curved Spaces
The design goal is to enhance the architecture, not fight it.
-
Opacity Consistency: Using the same opacity and color across all shades unifies the appearance. For a living room bay window, light filtering shades preserve the view and airy feel. For a bedroom bow window, room darkening may be preferable.
-
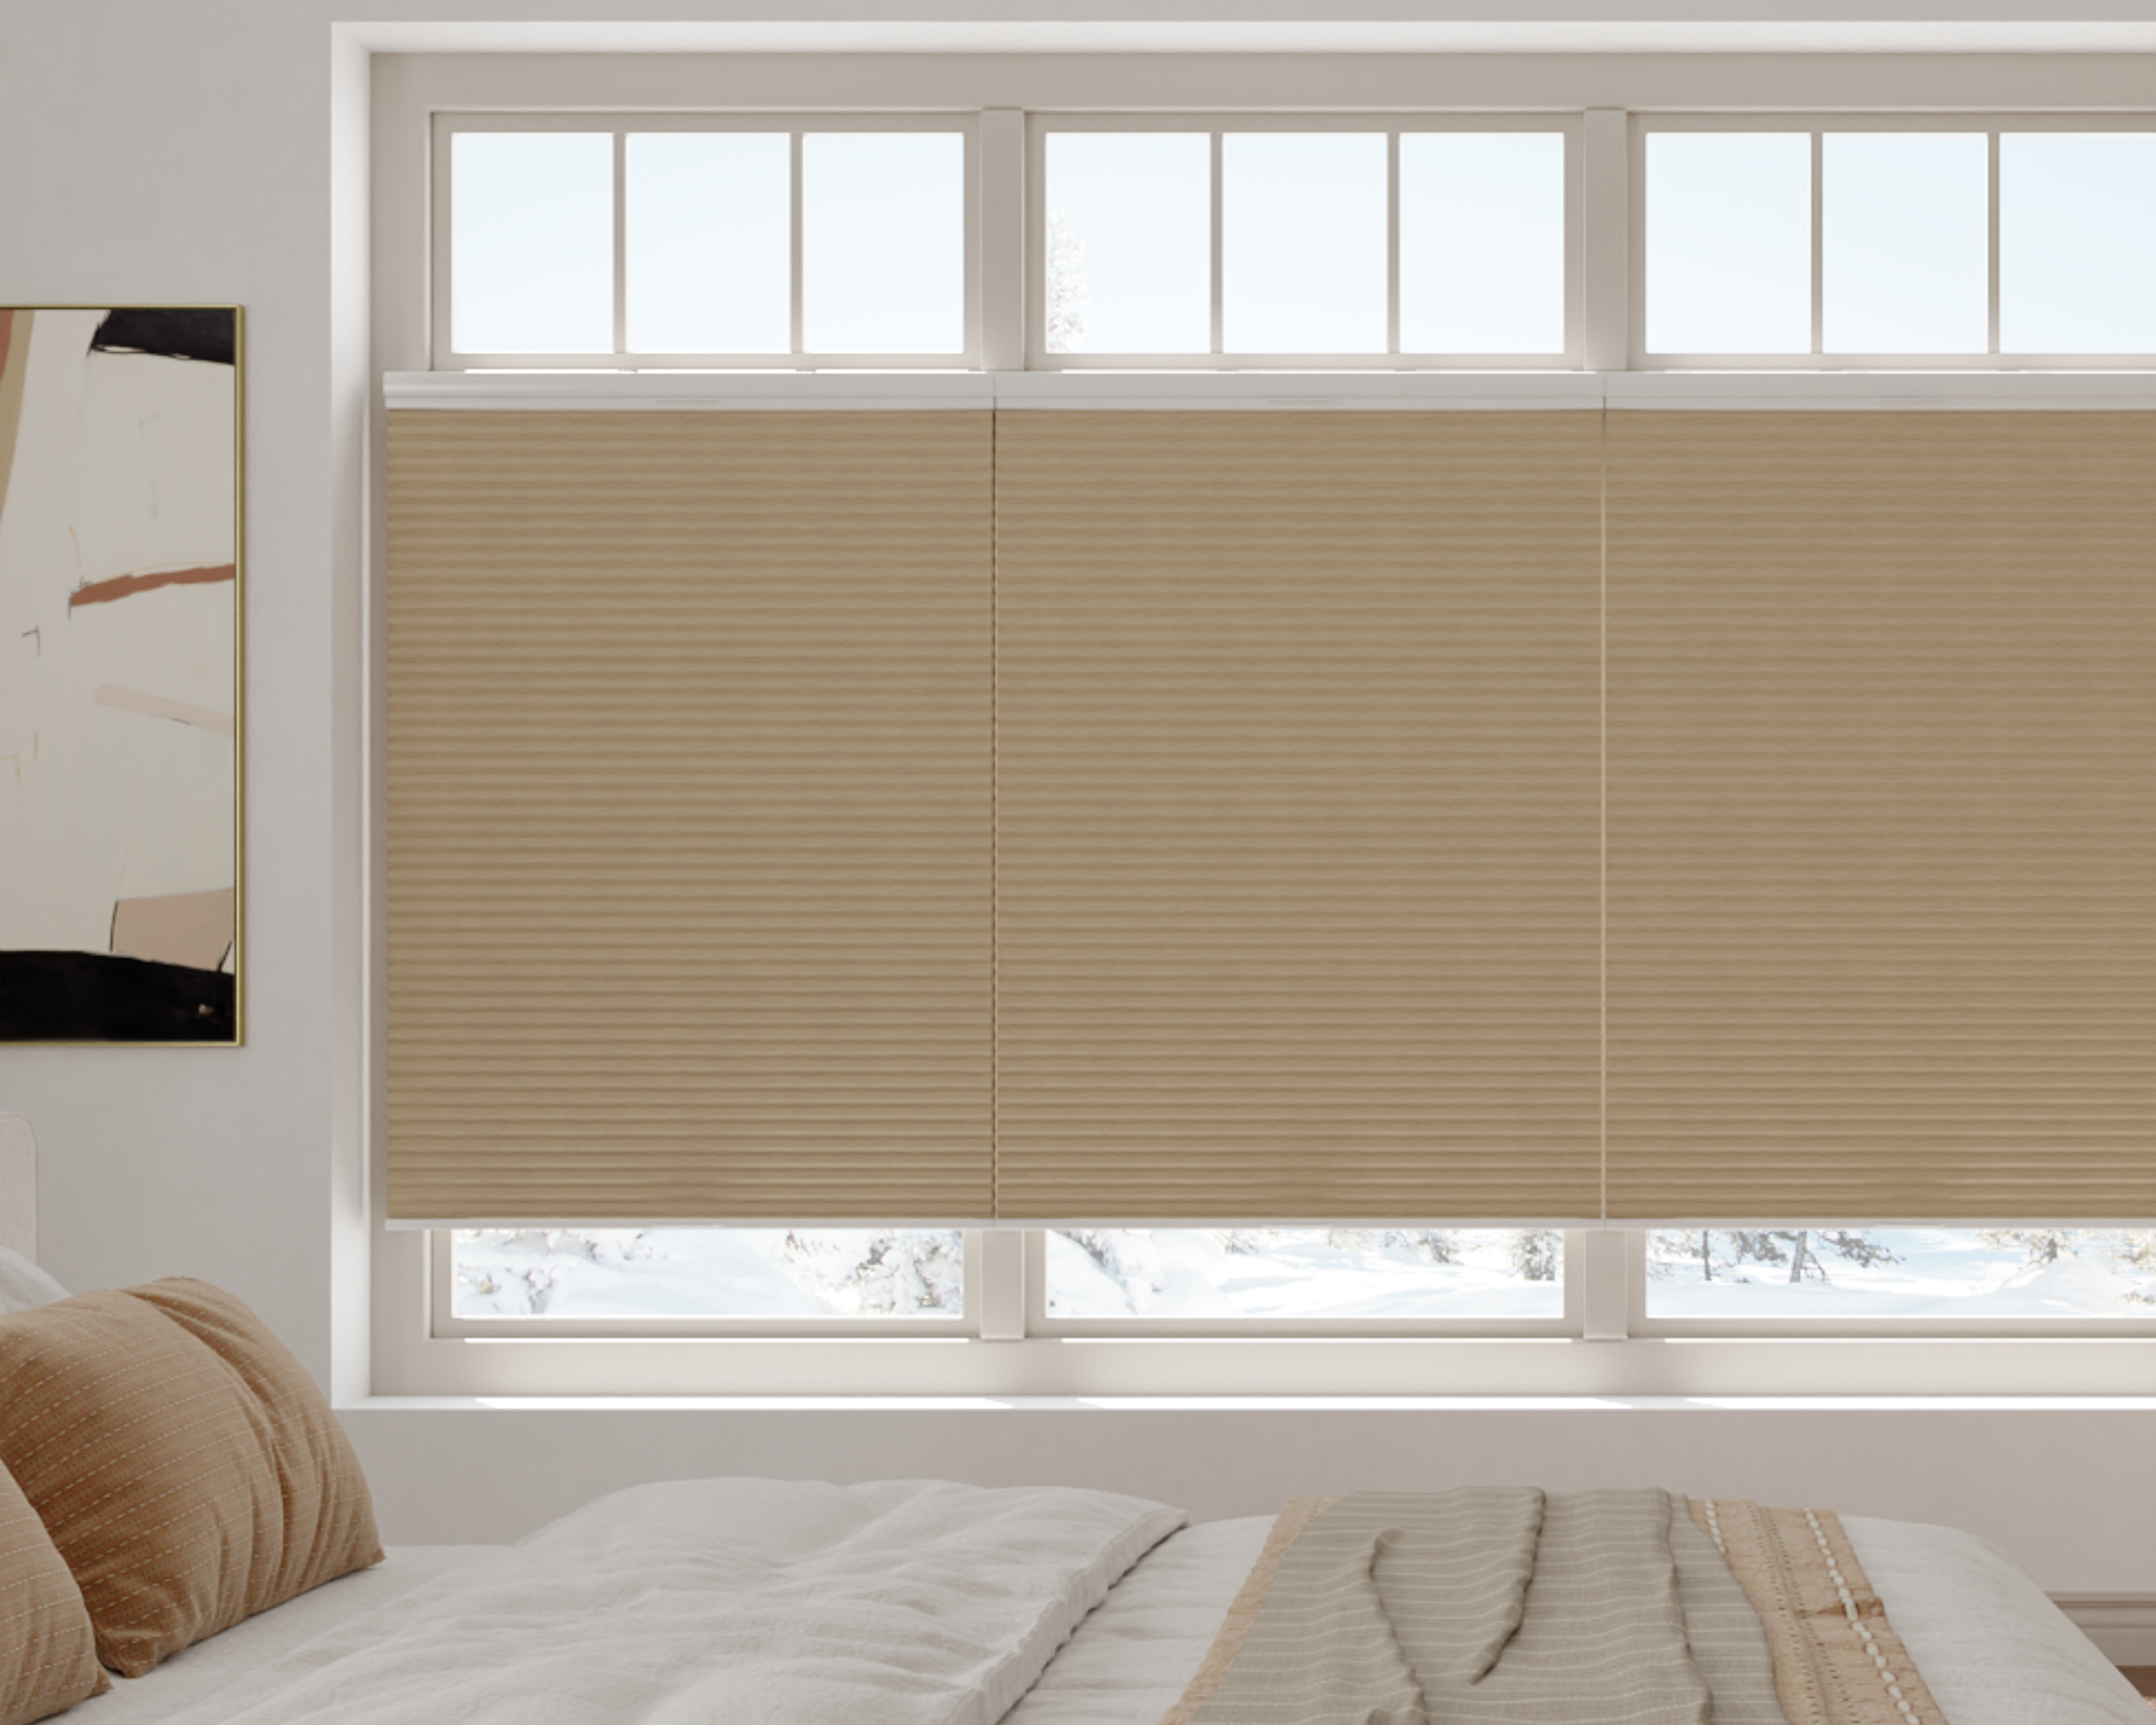
Top-Down/Bottom-Up Consideration: This feature is exceptionally valuable in bay and bow windows, which are often in sitting areas. You can lower the top of the shade for privacy from neighboring houses while maintaining a seated view of the garden or sky.
-
Color and Visual Weight: Lighter colors help the shades recede, keeping focus on the window's shape. Using a continuous outside mount headrail or a unified valance across all shades can visually "stitch" the individual units together into a single, grand statement.
Conclusion: Transforming Architectural Complexity into an Asset
Fitting cellular shades to bay and bow windows is a project that demands precision but rewards you with a spectacularly functional result. By respecting the geometry, investing in the correct angled and bypass hardware, and opting for intelligent motorized control, you can overcome the inherent challenges. The result is a window treatment that provides superb insulation and light control tailored to each facet of your window, turning a complex architectural feature into a comfortable, cohesive, and captivating element of your room's design.
Key Highlights
-
Measure each window unit individually as if they are separate windows, noting angles and obstructions with extreme care.
-
Angled brackets and bypass hardware are not optional for a functional installation on bay windows; they are essential components to prevent collision and ensure level hanging.
-
Motorization is highly recommended for both convenience and the ability to group shades for unified control while retaining individual flexibility.
-
Outside mounts are often more practical than inside mounts for dealing with shallow, angled jambs common in these window types.
-
Consistent design choices in color and opacity across all shades are crucial for creating a harmonious, intentional look that celebrates the window's form.
With careful planning and execution, your cellular shades will not only fit your bay or bow window perfectly but will also elevate its beauty and utility for years to come.
Frequently Asked Questions (FAQ)
Can I have one continuous cellular shade for my entire bow window?
Due to the curved structure, it is physically impossible to have a single, rigid cellular shade panel bend around a bow window. They must be made as individual shades for each flat (or nearly flat) segment of the window. The closest approximation is to use a continuous outside mount headrail or valance to visually connect separate shade units.
The corner of my bay window is very tight. Will the shades touch when down?
If standard brackets are used on both shades, they will almost certainly touch or collide. This is exactly what the bypass mounting kit is designed to prevent. It offsets one shade in front of the other by about an inch, providing the necessary clearance for both to operate freely without touching, even in very tight corners.
Are cellular shades a good insulator for drafty old bay windows?
Absolutely. In fact, they are one of the best solutions. Older bay windows are often significant sources of drafts and heat loss. The honeycomb structure of cellular shades creates a insulating air barrier at the glass, which can dramatically reduce drafts (convection) and radiant heat loss. For the best results, ensure the shades are outside-mounted and have side channels to seal the edges, trapping a pocket of still air over the old window.
How do I clean the shades in the hard-to-reach corners of a bay window?
The corner shades will be difficult to lower fully if they are on a bypass system, as one sits in front of the other. The best method is regular dusting with a vacuum brush attachment. For deeper cleaning, you may need to temporarily detach the front shade from its brackets (usually a simple lift-out) to access the shade behind it, following safe cleaning methods for cellular fabrics.
Should I use the same opacity on the side windows as the center picture window?
For visual cohesion, yes, it is generally recommended. However, there is a functional case for variation. If your center window faces a beautiful view but the side windows face a neighbor's wall, you could use a lighter opacity in the center and a darker one on the sides. The key is to ensure the colors match exactly, so the difference is only perceptible when the shades are down and light shines through.
