


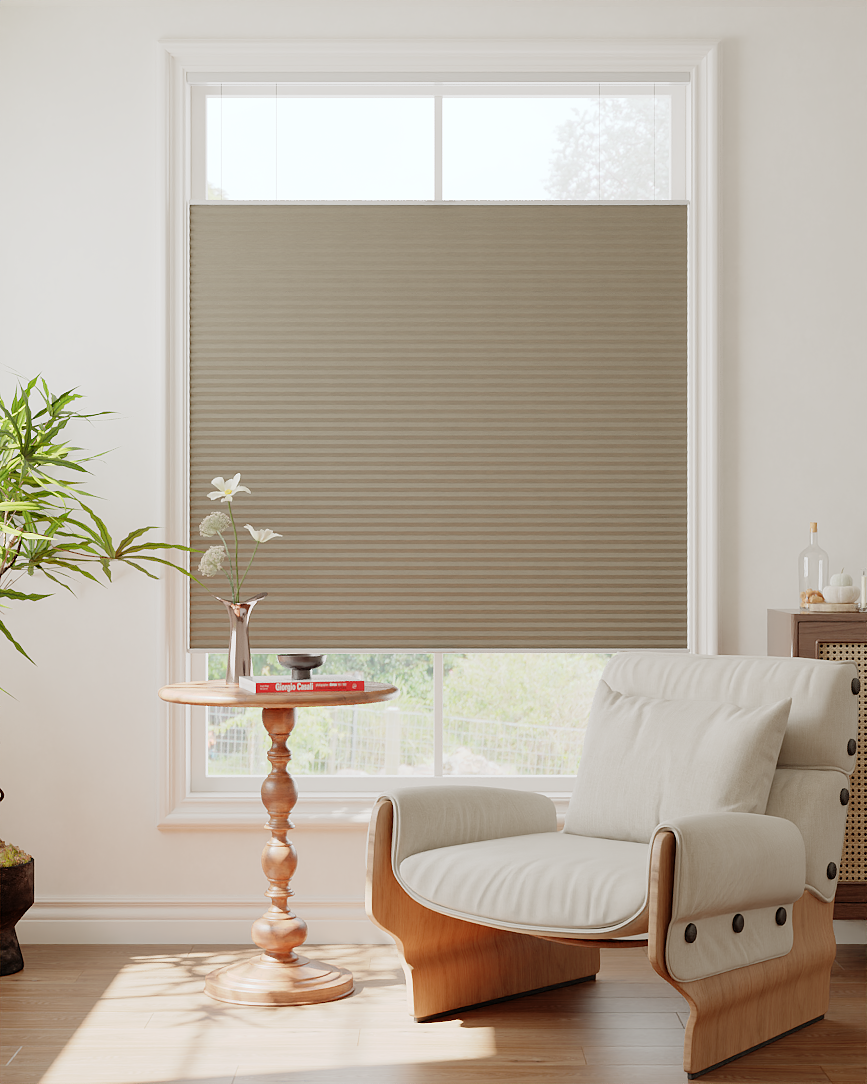
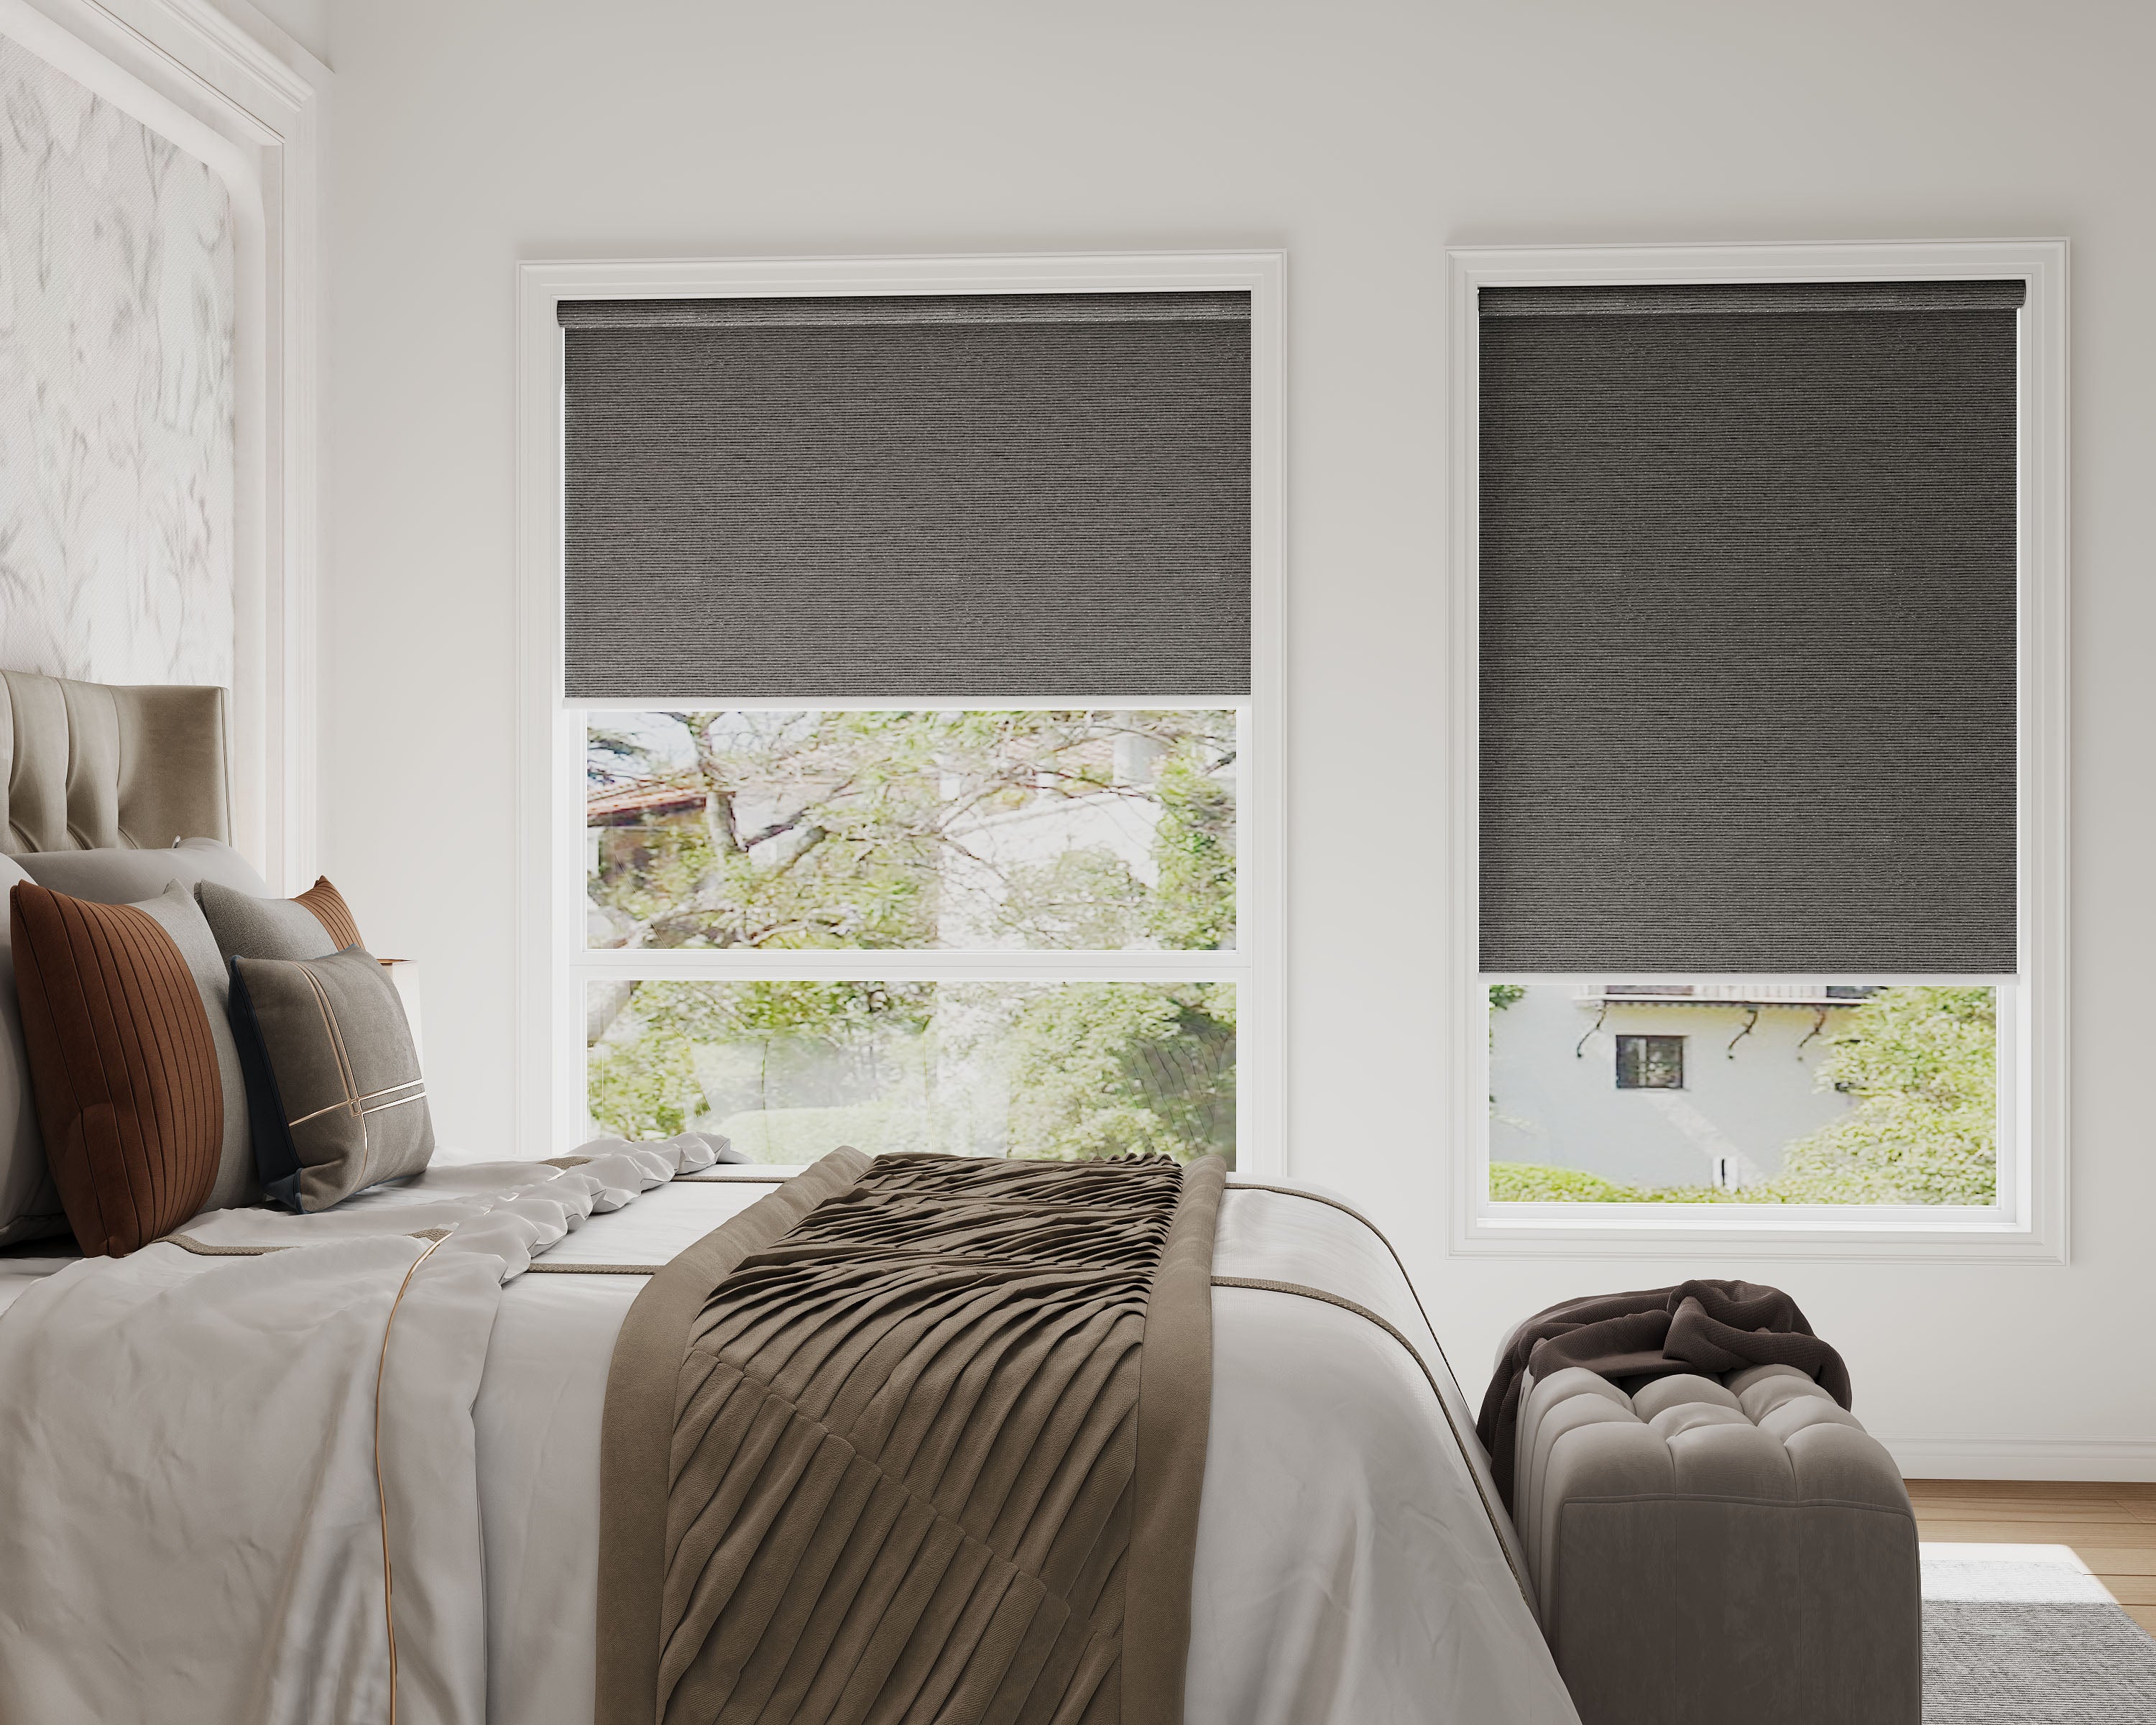
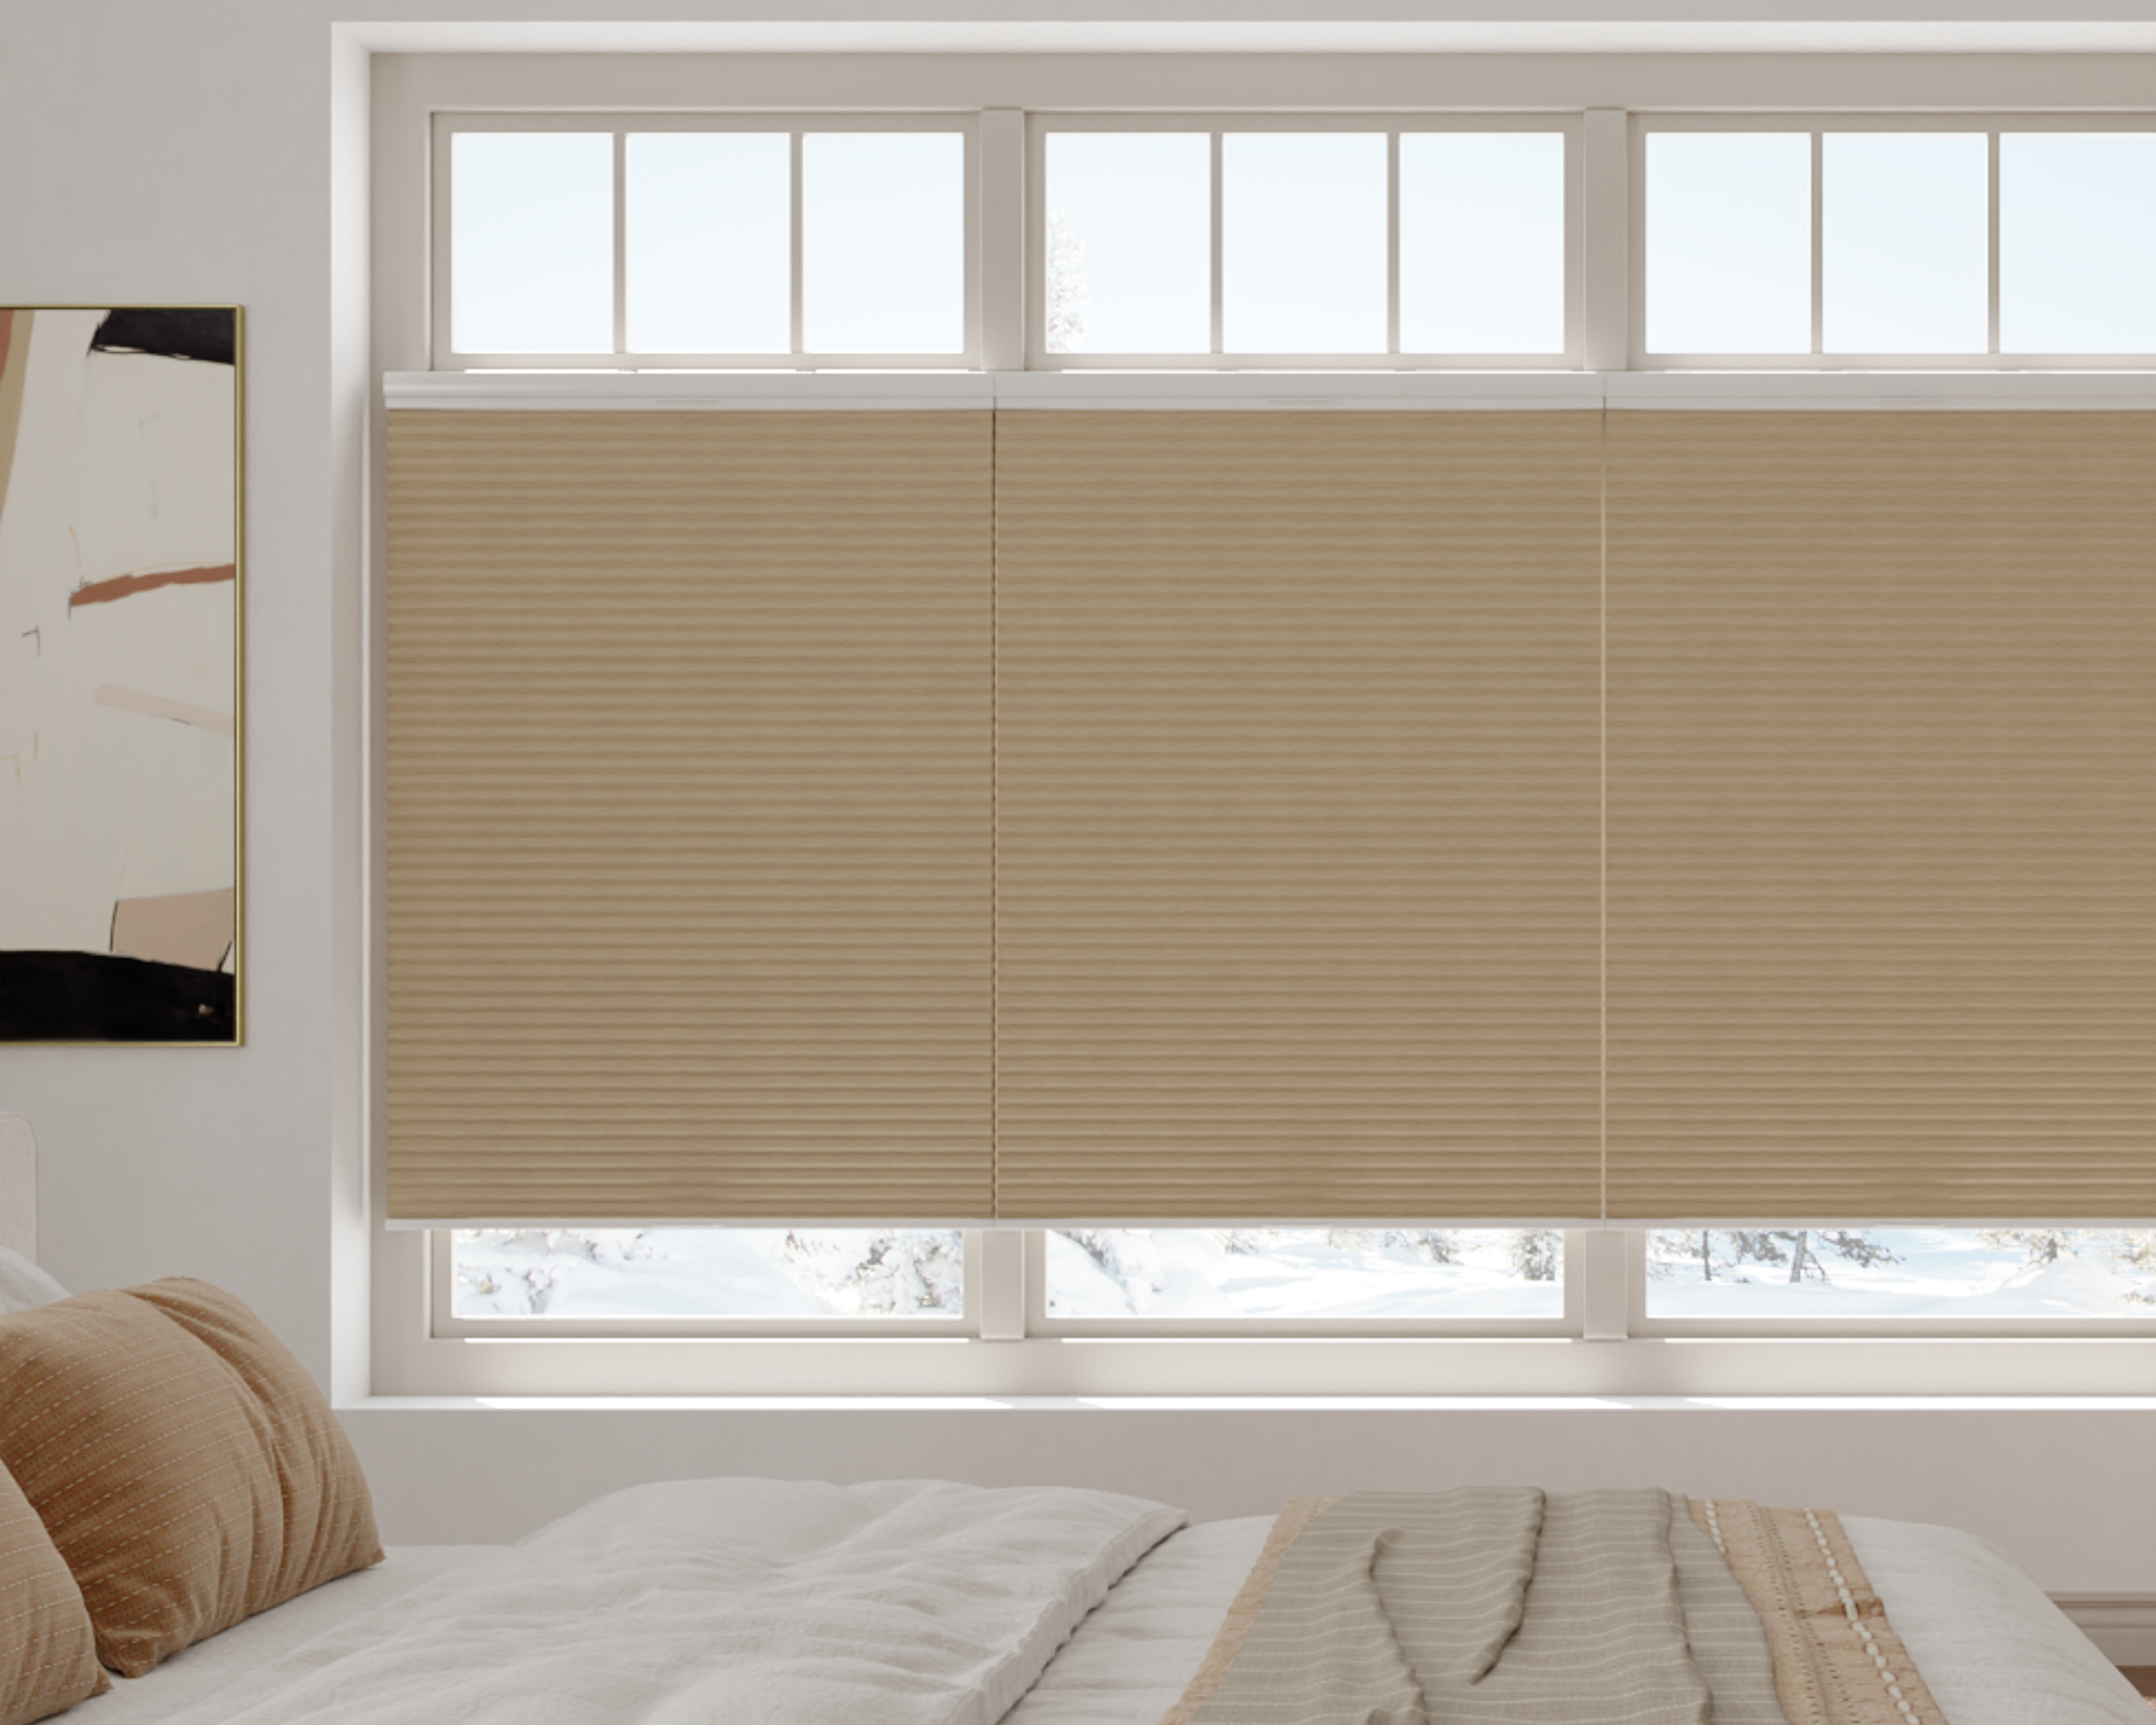



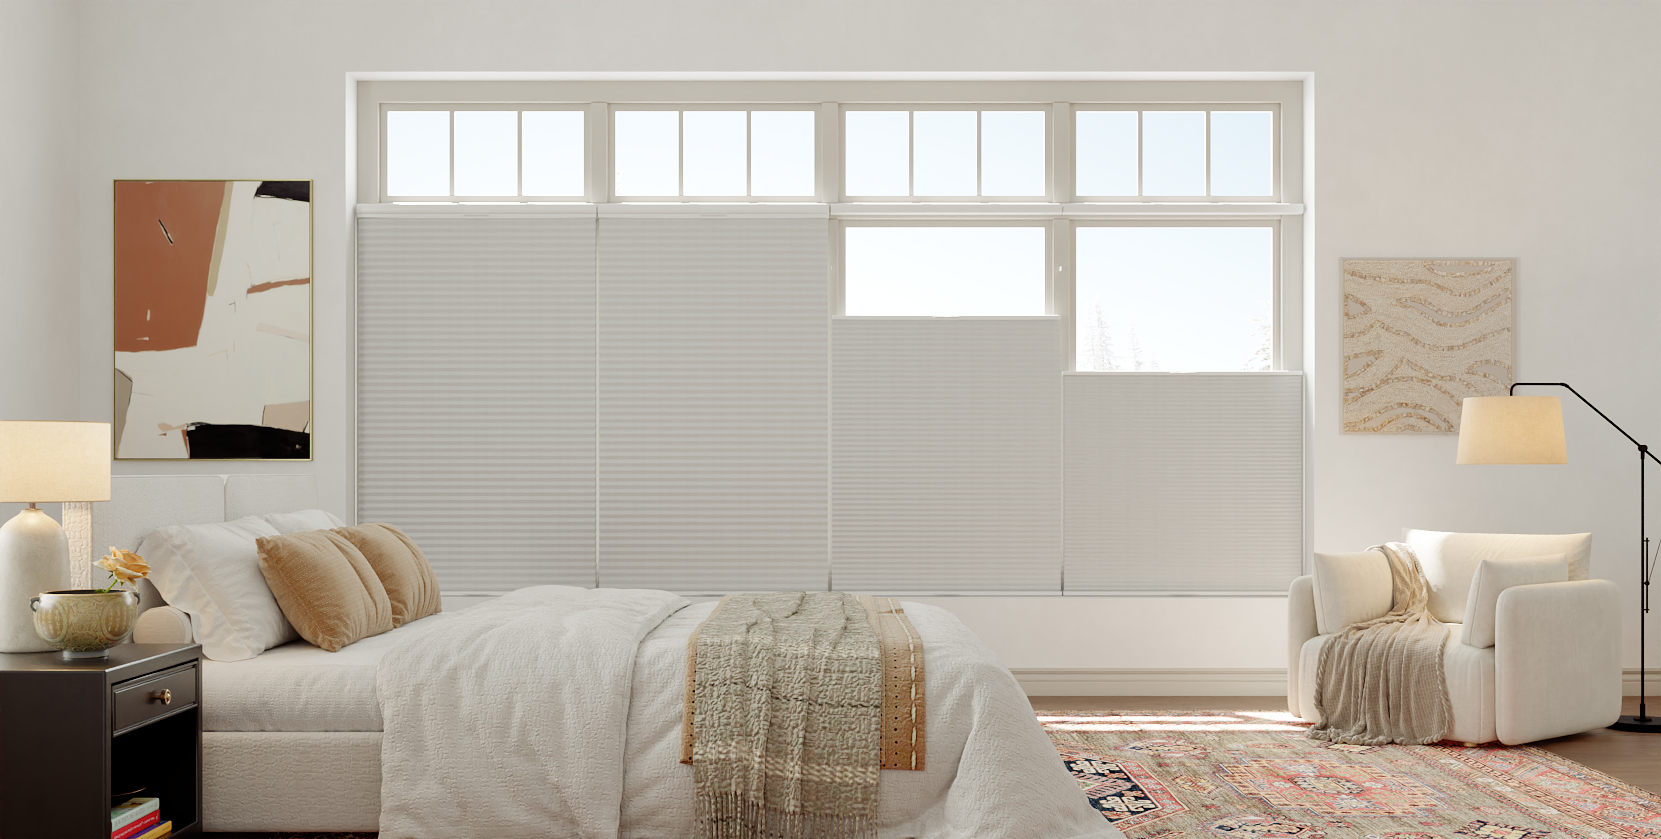


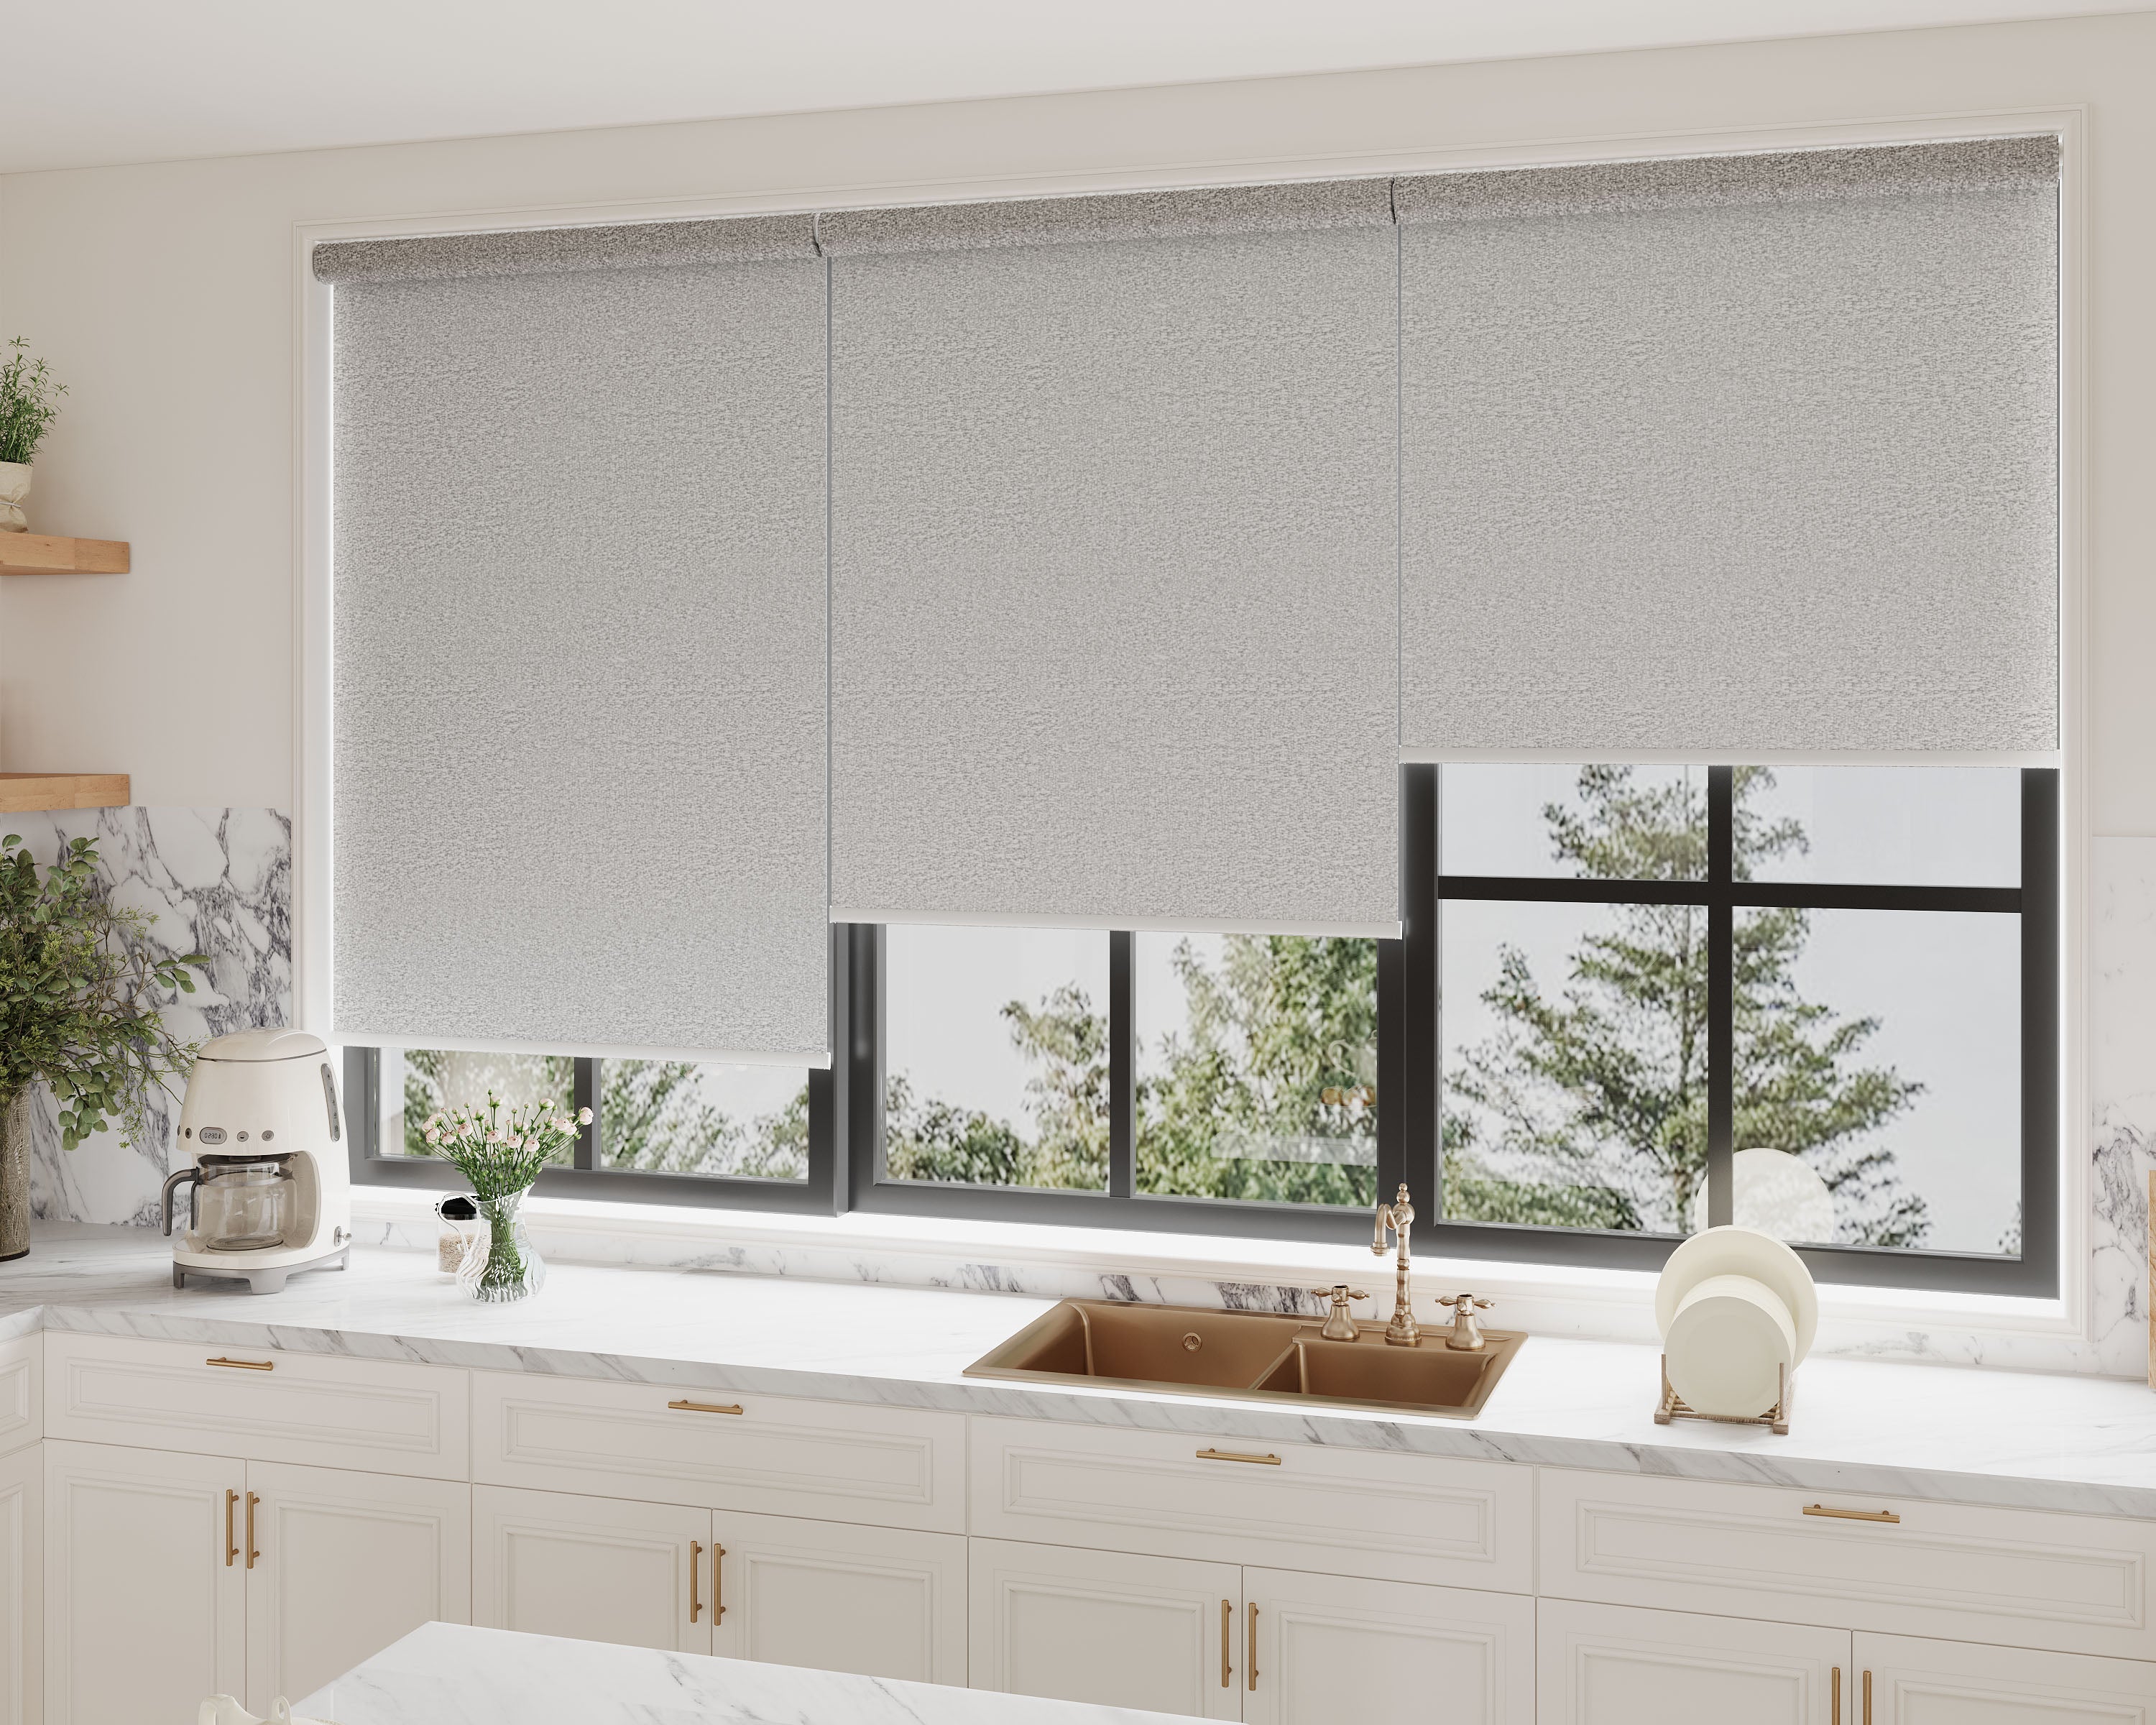




You can effectively clean cellular shades without damaging them by using gentle, low-moisture methods that respect the delicate honeycomb structure. The key is to avoid soaking the fabric, harsh chemicals, and abrasive tools, opting instead for regular dusting, targeted spot cleaning, and occasional deep cleaning with appropriate techniques. This guide provides the complete, safe protocol to maintain the appearance and functionality of your shades for years.
Here’s what you’ll learn to clean your shades safely:
-
The Core Cleaning Principle: Why moisture is the enemy of the honeycomb structure and the golden rules for safe maintenance.
-
Routine & Deep Cleaning Methods: Step-by-step instructions for weekly dusting, targeted spot cleaning, and two safe methods for a full refresh.
-
Material-Specific Guidance: How to adjust your approach for different fabrics like sheer, blackout, or moisture-resistant linings.
-
Stain Removal Tactics: A practical guide to tackling common stains like dust, grease, and mildew without causing damage.
-
Preventative Care: Daily habits and environmental controls to minimize cleaning frequency and preserve your shades.
Regular cleaning maintains the look and function of your window treatments, which starts with choosing the right shades for your space. You can explore various options in our collection of insulating honeycomb cell window treatments.
Understanding the Cellular Shade Cleaning Challenge
Cellular shades are not like flat roller shades or blinds. Their unique, multi-pocketed design is excellent for insulation but can trap dust, allergens, and moisture deep within the cells if cleaned improperly. The fabric is often a blend of synthetic and natural fibers that can shrink, warp, or lose their crisp shape if saturated with water. Therefore, the cardinal rule of cleaning cellular shades is: minimize liquid and never immerse them.
Why Aggressive Cleaning Methods Fail
-
Water Damage: Soaking can break down adhesives in the cell structure, cause metal components in the headrail to rust, and lead to water spots or mildew growth deep inside the cells where it's impossible to dry.
-
Abrasion: Stiff brushes or aggressive scrubbing can fray the delicate fabric edges, pill the material, and wear down any special coatings (e.g., blackout linings).
-
Harsh Chemicals: Solvents, bleach, ammonia-based glass cleaners, or strong detergents can strip fabric treatments, cause discoloration, and weaken fibers.
Adhering to a correct, gentle cleaning routine is part of the broader maintenance required to keep your shades functioning perfectly, as outlined in our guide on the practical use and installation of cellular shades.
Your Safe Cleaning Toolkit: What to Use (and Avoid)
Gathering the right tools is 80% of the battle. Having these items on hand makes the process easy and safe.
Recommended Tools:
-
Vacuum Cleaner with Brush Attachment: The most important tool for routine care.
-
Microfiber Cloths: Lint-free and soft, perfect for dusting and spot cleaning.
-
Soft-Bristled Brush: A clean, dry paintbrush or makeup brush for dislodging dust from crevices.
-
Mild Liquid Detergent: A pH-neutral dish soap or a gentle fabric cleaner.
-
White Vinegar or Rubbing Alcohol: For tackling grease or mildew spots (use sparingly).
-
Two Large, Clean Sponges: For the "sponge bath" method.
-
A Hairdryer (on cool setting): For speeding up drying after spot cleaning.
What to Avoid:
-
Steam cleaners, pressure washers, or soaking in a bathtub.
-
Abrasive scrub pads, old toothbrushes with stiff bristles, or any rough tool.
-
Harsh chemical sprays, bleach, furniture polish, or abrasive cleansers.
Step-by-Step Cleaning Methods
Follow this progression from simplest to more thorough, based on the level of soil.
Method 1: Routine Dry Dusting (Weekly/Bi-Weekly)
This is your first and most important line of defense to prevent deep-seated grime.
-
Close & Secure: Fully lower the shade. If cordless, ensure it's locked in place.
-
Vacuum Gently: Using the soft brush attachment on your vacuum, run it lightly over the front of the shade. Use an up-and-down motion, following the natural vertical lines of the cells.
-
Detail the Crevices: Use a dry, soft-bristled brush (like a clean paintbrush) to gently loosen dust from the interior folds at the top of each cell. Follow immediately with the vacuum brush to capture the dislodged dust.
-
Wipe the Rails: Use a slightly damp microfiber cloth to wipe down the top headrail and bottom rail where dust accumulates.
Method 2: Targeted Spot Cleaning (As Needed)
For fingerprints, splatters, or small stains, address them immediately.
-
Mix a Mild Solution: In a bowl, combine a quart of lukewarm water with 1-2 drops of mild liquid dish soap. Avoid creating suds.
-
Blot, Don't Rub: Dip a corner of a microfiber cloth into the solution and wring it out until it is only damp, not wet.
-
Gently Dab: Lightly dab at the soiled spot, working from the outside of the stain inward to prevent spreading. Do not scrub.
-
Rinse (Optional for Set Stains): For tougher spots, use a second microfiber cloth dampened with clean water to dab the area and remove any soap residue.
-
Dry Immediately: Use a dry part of the cloth to blot the area dry. You can use a hairdryer on its cool, low setting from a distance of 6-8 inches to ensure all moisture evaporates quickly.
Method 3: The "Sponge Bath" Deep Clean (Bi-Annually)
For an all-over refresh without water damage.
-
Prepare Your Sponges: You will need two new, clean household sponges. Dampen one sponge with the mild soapy solution (as above) and wring it out completely. Keep the second sponge completely dry.
-
Work in Sections: Start at the top of the lowered shade. Gently press the damp sponge onto the fabric and lift it straight off. The goal is to lift dirt, not saturate the fabric. Immediately follow by pressing the dry sponge onto the same spot to absorb any residual moisture.
-
Continue Panel by Panel: Move down the shade in small, overlapping sections, repeating the "damp press" followed immediately by the "dry press." Frequently rinse and wring out the damp sponge as it collects dirt.
Tackling Specific Stains and Soils
Different stains require slightly different approaches. Always test any solution on a small, inconspicuous area first.
| Stain Type | Recommended Cleaning Agent | Application Method |
|---|---|---|
| Dust & General Soil | Vacuum with brush attachment; dry sponge. | Regular dry cleaning as per Method 1. |
| Grease or Cooking Oil | Rubbing alcohol (isopropyl alcohol). | Dampen a cotton swab or cloth corner with alcohol, blot stain, then dab with water-damp cloth to rinse. Dry immediately. |
| Ink or Permanent Marker | Rubbing alcohol or hairspray (contains alcohol). | Apply a tiny amount to a swab, blot gently. This may lighten but not fully remove. Test first! |
| Mildew or Mold | Diluted white vinegar (1 part vinegar to 3 parts water). | Lightly dab affected area. Vinegar kills mildew. Follow with a water-damp cloth and dry thoroughly with a hairdryer. |
| Red Wine or Juice | Cold water & mild detergent. | Blot immediately with a cloth dampened with cold water and a drop of soap. Never use hot water, as it sets stains. |
For comprehensive home maintenance that includes your window treatments, our seasonal maintenance checklist for shades offers a broader schedule.
Fabric-Specific Cleaning Considerations
Not all cellular shades are created equal. Adjust your approach based on your shade's material.
-
Light-Filtering & Sheer Fabrics: These are often the most delicate. Use minimal moisture and avoid any alcohol-based cleaners, which can be too harsh. Stick to dry dusting and the sponge bath method.
-
Blackout or Room-Darkening Shades: Pay special attention to the laminated or coated backing. Do not scrub the backing, as you can scratch or peel it. Spot clean only the front fabric layer.
-
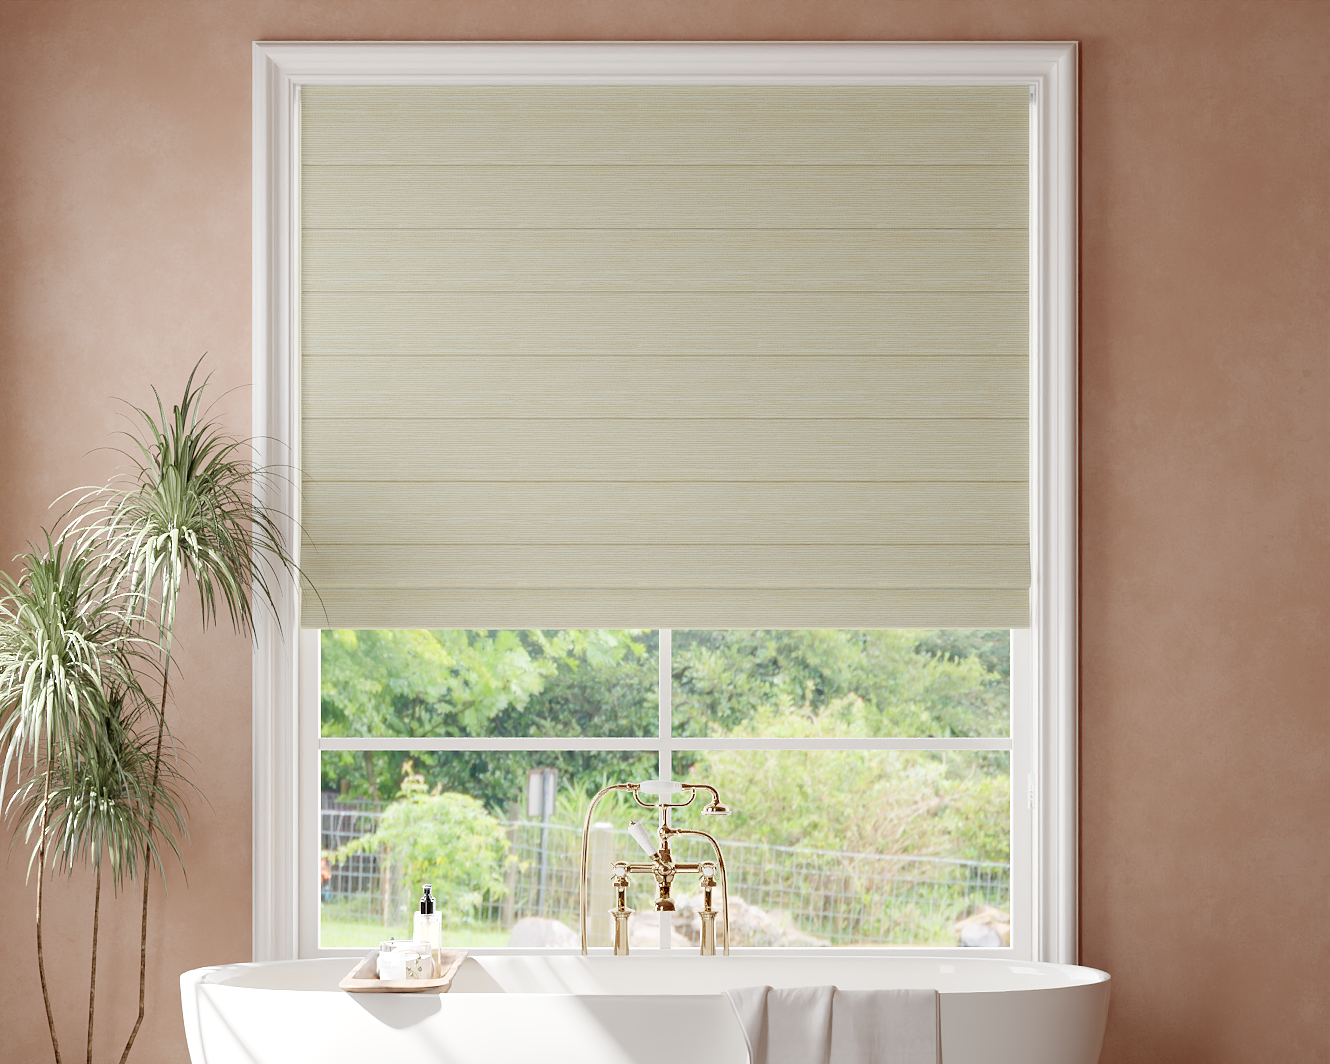
Moisture-Resistant/Bathroom Shades: While the fabric may resist mildew, the structure does not. You can use the diluted vinegar method more readily for mildew spots but ensure complete drying to prevent moisture from being trapped in the cells.
Preventative Care and Best Practices
The best cleaning is the one you barely have to do. Incorporate these habits to keep your shades pristine.
-
Dust Regularly: A quick once-over with the vacuum brush weekly prevents deep buildup.
-
Control Sun Exposure: Prolonged direct UV light can fade fabrics. Consider closing shades during peak sun hours or using a protective spray designed for fabrics.
-
Mind the Environment: In high-humidity areas like bathrooms, run the exhaust fan to reduce moisture in the air that can settle on shades.
-
Handle with Care: Always operate your shades gently. For cordless models, use an even push/pull; for motorized, avoid forcing them if they encounter resistance.
Conclusion
Cleaning cellular shades without damage is entirely achievable by respecting their unique construction and adhering to gentle, low-moisture principles. By establishing a routine of regular dusting, addressing spills immediately with careful spot cleaning, and performing a periodic sponge-bath refresh, you can maintain the beauty, functionality, and insulating properties of your shades for a decade or more. Avoiding harsh chemicals and excessive water is the simple secret to long-term care.
Key Highlights
-
Moisture is the primary enemy: Never soak cellular shades. Always use damp, not wet, cleaning tools and dry immediately.
-
Vacuuming is your best friend: Regular dry cleaning with a soft brush attachment prevents the majority of deep-seated dirt.
-
Spot clean with care: Use mild solutions, blot gently, and always follow with rapid drying to prevent watermarks or structural damage.
-
Adjust for fabric type: Delicate sheers, blackout linings, and bathroom-specific shades each have minor considerations for safe cleaning.
-
Prevention simplifies everything: Consistent dusting and controlling environmental factors like sun and humidity drastically reduce the need for deep cleaning.
With this knowledge, you can confidently care for your investment and enjoy clean, fresh-looking window treatments year-round.
Explore Custom Cellular Shades


Frequently Asked Questions (FAQ)
Can I take down my cellular shades to wash them in the bathtub or shower?
It is strongly discouraged. Immersing cellular shades in water is the most common cause of irreversible damage. The fabric can shrink, the cells can collapse and lose their shape, the headrail mechanisms can rust, and the internal adhesives can fail. The trapped water within the honeycomb structure is also extremely difficult to dry completely, leading to mildew growth inside the cells. The safe cleaning methods outlined above are designed to clean effectively without these risks.
How do I clean the hard-to-reach dust inside the top folds of the cells?
This is a common challenge. The most effective tool is a dry, soft-bristled brush. A clean, 1-2 inch paintbrush or a large, soft makeup brush works perfectly. Gently insert the bristles into the folded area at the top of a cell to loosen the dust, and immediately use the brush attachment of your vacuum cleaner hovering right below to capture the dislodged particles. Work systematically across the shade.
Are there professional cleaning services for cellular shades?
Yes, professional drapery and shade cleaning services exist. The most reputable ones typically use specialized ultrasonic cleaning methods for delicate items like cellular shades. This process uses high-frequency sound waves in a water-based solution to agitate dirt loose without agitation or harsh chemicals. It is effective but can be costly. If seeking professional help, always ask for references, ensure they guarantee their work, and explicitly confirm they have experience with honeycomb shades.
What should I do if my shades get wet from a leak or window condensation?
Act quickly. Gently blot excess moisture with dry, absorbent towels. Then, use a fan or a hairdryer on its coolest setting to circulate air and dry the shade thoroughly. Do not apply heat, as it can set stains or warp materials. Ensure the shade is completely dry—check the cells by feeling and looking inside—before raising it back up. This prevents mildew and odors.
Can I use fabric protector sprays on my new cellular shades to make them easier to clean?
Some manufacturers offer fabric protector sprays specifically designed for their window treatment materials. You must check your warranty and product guidelines first, as some treatments can void warranties or discolor certain fabrics. If approved, a protector can help repel dust and make liquid spills bead up for easier blotting. However, it is not a substitute for proper cleaning and will not protect against all types of stains. Always apply protector sprays before installation in a well-ventilated area, following the product's instructions exactly.
