


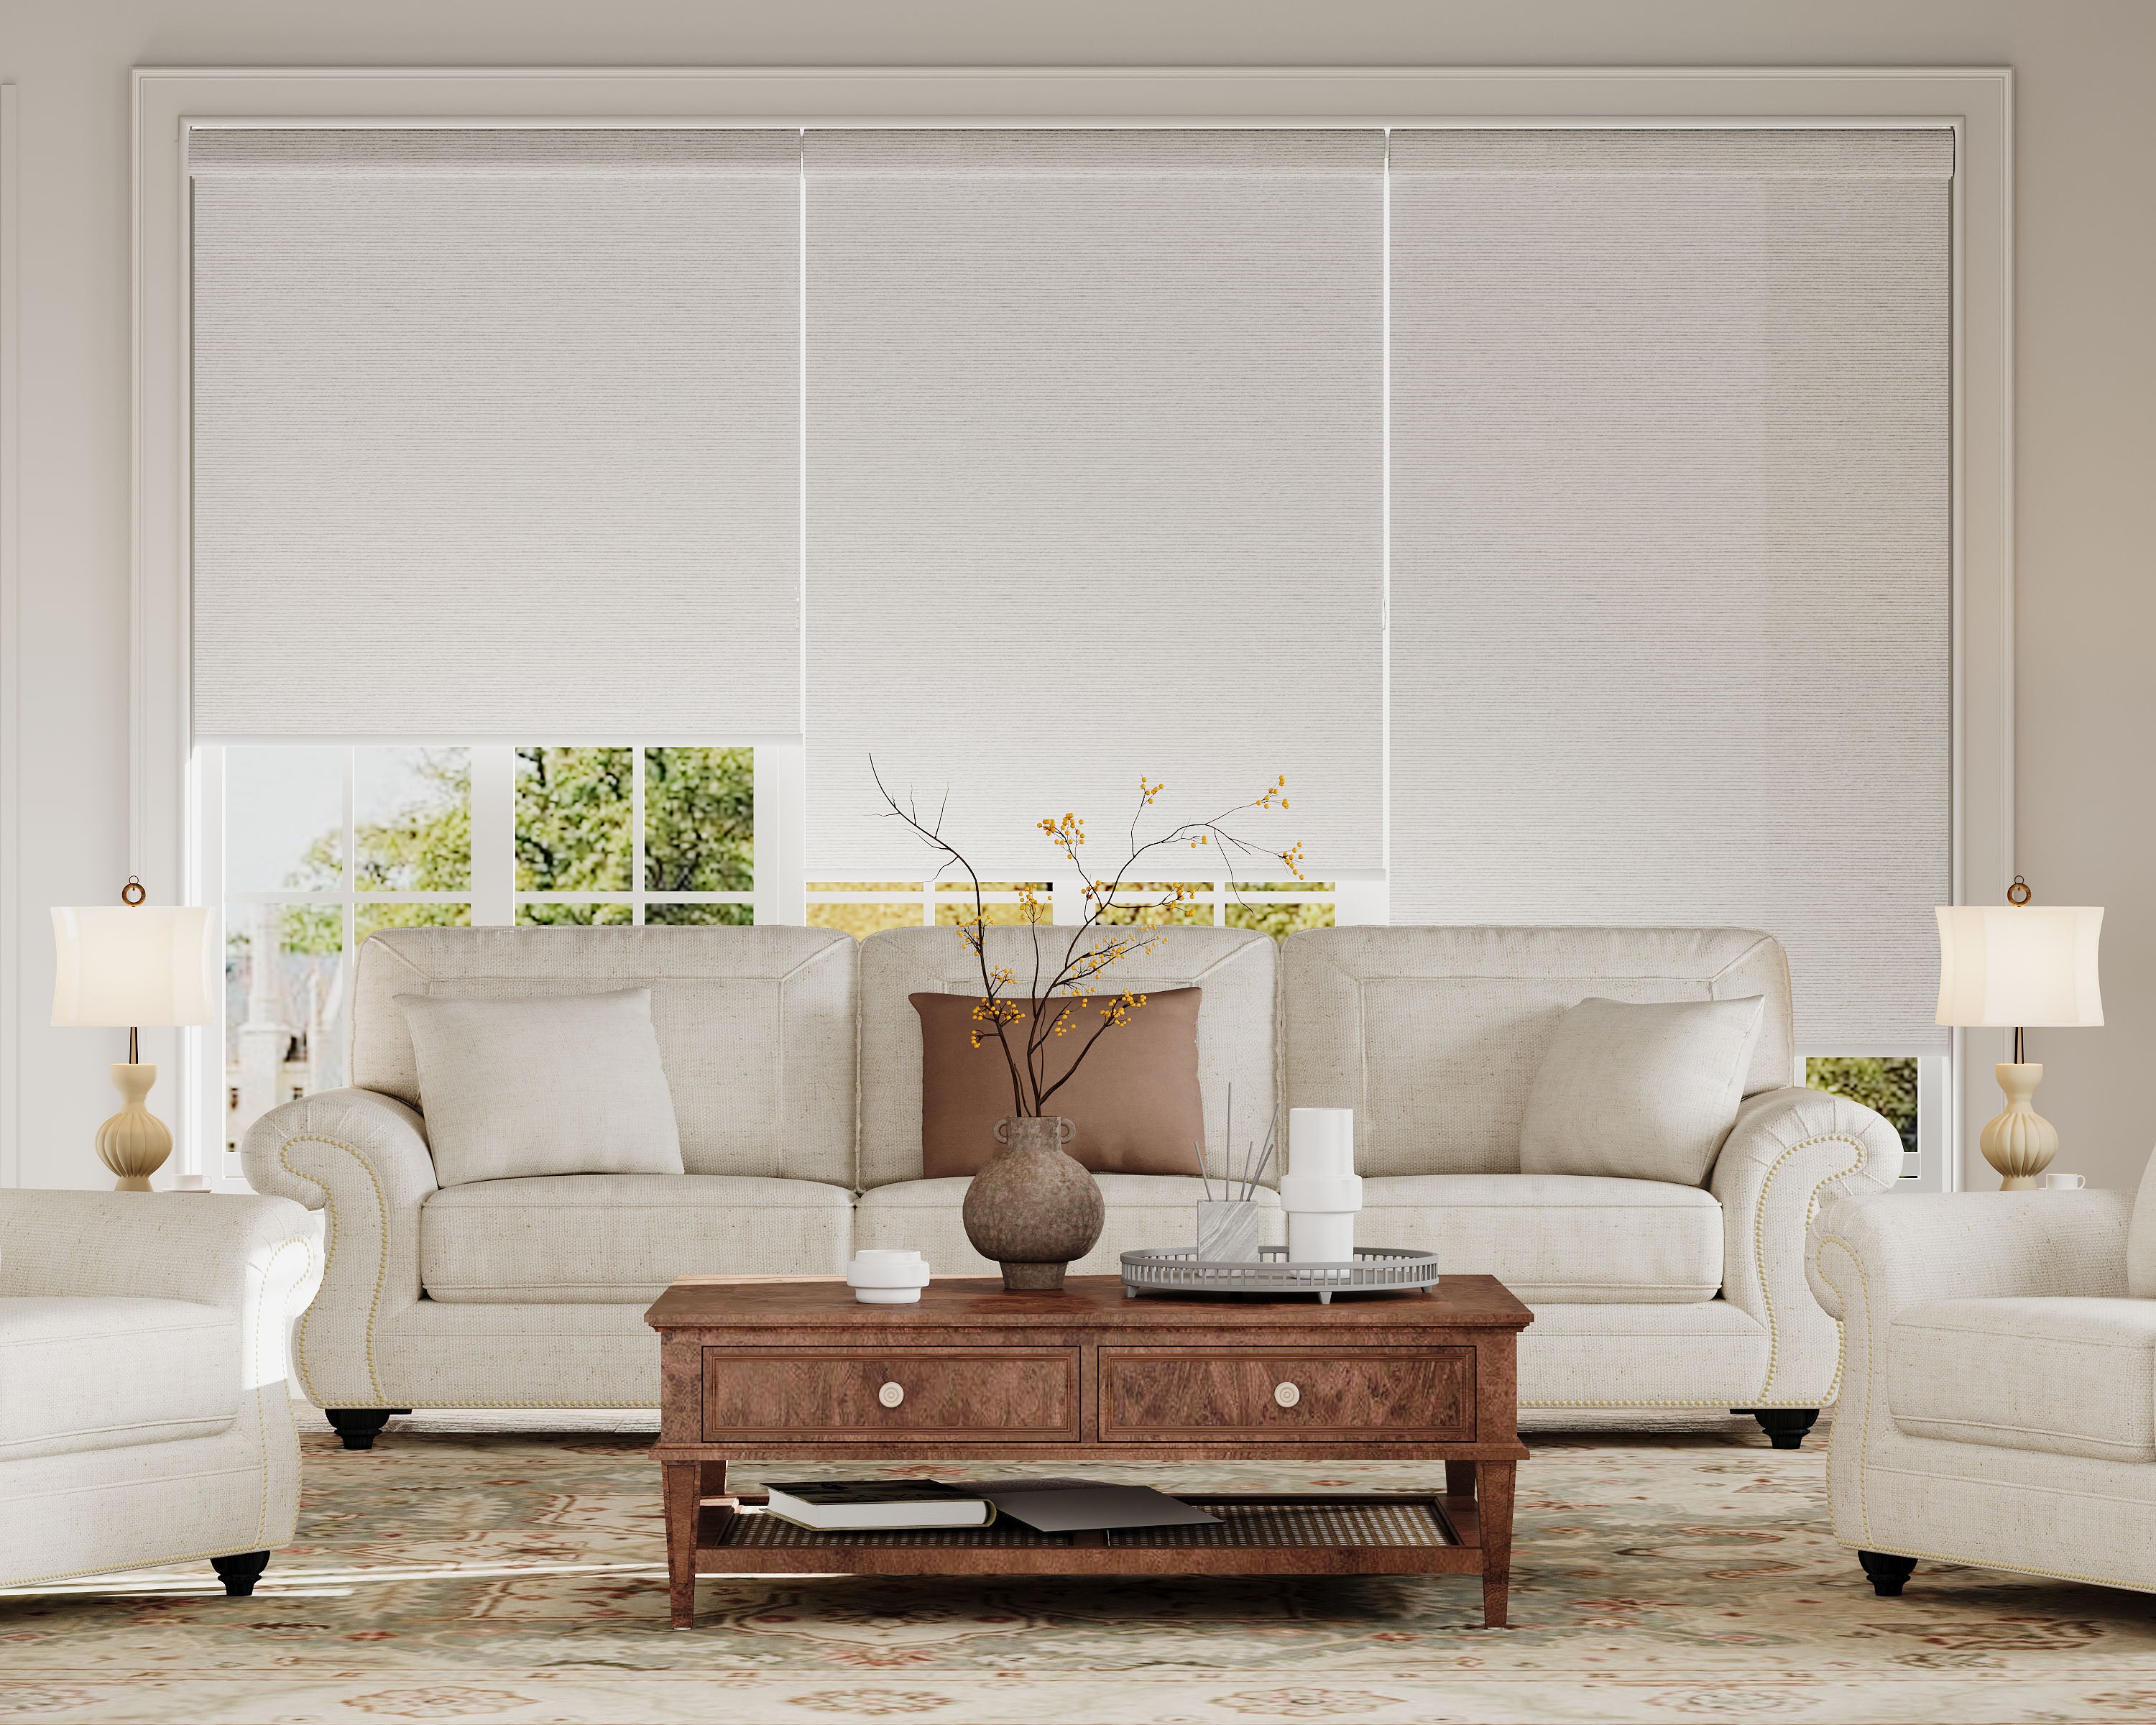


Yes, you can successfully install zebra shades yourself with careful preparation, precise measuring, and methodical execution. A DIY installation is a straightforward project that requires common household tools and attention to detail, saving you the cost of professional service while ensuring your modern zebra blinds and shades are mounted securely and operate smoothly for years to come.
Here’s what you’ll learn in this article:
-
A complete checklist of the tools and hardware you'll need before you start.
-
The critical difference between inside and outside mount, and how to measure perfectly for each.
-
A detailed, step-by-step walkthrough of the mounting and installation process.
-
Pro tips for final adjustments to ensure your shades are perfectly level, secure, and functional.
-
How to troubleshoot common installation issues like uneven hanging or mounting on challenging surfaces.
Pre-Installation: Tools, Planning, and Critical Measurements
A successful DIY project starts with the right preparation. Gathering your tools and taking accurate measurements are the most important steps you will take.
Tools and Materials Checklist
You will typically need:
-
Tools: A steel tape measure, a quality pencil, a level (a 2-foot level is ideal), a power drill/driver, drill bits (for pilot holes), and a screwdriver.
-
Hardware: All necessary brackets, screws, and wall anchors are almost always provided with your shades. Do not substitute these with your own hardware unless you are certain of the weight rating.
-
Safety: Safety glasses and a step ladder if needed.
The Most Important Step: Foolproof Measuring
The entire project hinges on accurate measurements. The process differs fundamentally based on your chosen mount type.
| Mount Type | What It Is | How to Measure (Width x Height) | Ideal For |
|---|---|---|---|
| Inside Mount | Brackets are installed inside the window frame or recess. | Measure the exact width at the top, middle, and bottom of the recess. Use the narrowest measurement. Measure the exact height at the left, center, and right. Use the longest measurement. | A clean, built-in look. Requires a deep enough recess (check bracket depth). |
| Outside Mount | Brackets are installed on the wall or molding above and outside the window frame. | Measure the area you want the shade to cover. For width, add 2-4 inches on each side of the window frame to prevent light gaps. For height, decide how far above the frame you want to mount. | Windows with shallow frames, hiding unattractive trim, or achieving a larger-looking window. |
Pro Tip: Always follow the specific measuring guide provided by your manufacturer. For a deep dive into avoiding common mistakes, our guide on fool-proof measuring for perfect window shade fit is an essential resource.
Step-by-Step Installation Guide
Once your measurements are confirmed and your tools are ready, follow these steps in order.
Step 1: Mark Bracket Locations and Drill Pilot Holes
-
Hold the first bracket in its planned position (use your level to ensure it's not tilted).
-
Lightly mark the center of each screw hole with your pencil.
-
For drywall without a stud: Use the provided wall anchors. First, drill a pilot hole at each mark sized for the anchor, then insert the anchor.
-
For wood/molding or drilling into a stud: You can usually screw directly in, but drilling a small pilot hole will prevent the wood from splitting and make driving the screw easier.
Step 2: Secure the Mounting Brackets
-
Align the bracket with your pilot holes or anchors.
-
Using your drill/driver or screwdriver, securely fasten the bracket to the wall or frame using all provided screws. Do not overtighten, which can strip the holes or warp the bracket.
-
Repeat for the second bracket. This is the most critical moment to use your level. Place the level across both brackets to ensure they are perfectly aligned horizontally. An imbalance here will cause your shade to hang crookedly.
Step 3: Install the Zebra Shade
-
Most zebra shades have a headrail that simply clicks or slides into the mounted brackets. Some may have a front-loading mechanism.
-
Typically, you will tilt the headrail at an angle, hook one end into the first bracket, then lower and click the other end into the second bracket.
-
You should hear or feel a secure click. Gently tug downward on the shade to confirm it is fully seated and locked in place.
Step 4: Test Operation and Make Final Adjustments
-
Slowly raise and lower the shade several times using the cord or cordless mechanism. It should move smoothly without catching.
-
Test the light-adjustment function by shifting the layers. Ensure the fabric tracks evenly without twisting.
-
If the shade is uneven, remove it by reversing the installation step and double-check the level alignment of your brackets.
Pro Tips for a Flawless Installation
-
Check Your Walls: For outside mounts on drywall, always use the provided anchors. For heavy shades or wide spans, consider using heavier-duty toggle bolts for peace of mind.
-
Mind the Headroom: For inside mount, verify the depth of your window recess against the bracket and headrail dimensions. There must be enough space for the shade to fit without rubbing the frame.
-
Protect Your Windowsill: When drilling, place a towel on the sill below to catch any dust or debris.
-
Install with a Helper: For very wide or heavy shades, a second pair of hands is invaluable for holding the shade level while you secure it into the brackets.
Troubleshooting Common DIY Issues
-
Shade is Crooked: The brackets are not level. Remove the shade and re-secure the lower bracket so it aligns perfectly with the higher one.
-
Shade Rubs Against Frame (Inside Mount): This indicates the width measurement was too tight. Re-measure. You may need to re-order or opt for a slight outside mount over the frame.
-
Shade is Difficult to Raise/Lower: Check if the fabric is caught on the brackets or if the headrail is not fully seated. Also, ensure the brackets are not pinching the headrail.
-
Mechanism Feels Loose or Wobbly: The brackets may not be secured tightly enough to the wall. Tighten the screws, ensuring you are not stripping the anchor or wood.
Conclusion and Key Takeaways
Installing zebra shades yourself is an achievable and rewarding project that enhances your home's functionality and style. By prioritizing precision in measuring and patience during installation, you can achieve a result that rivals professional work.
Key Highlights:
-
Measure Three Times, Drill Once: Accurate width and height measurements are the non-negotiable foundation of success.
-
Level is Your Best Friend: Using a level to align brackets is the single action that guarantees a straight-hanging shade.
-
Follow Manufacturer Instructions: Your specific shade may have unique mounting details; always reference the provided guide.
-
Use the Right Hardware: The provided screws and anchors are engineered for your shade's weight; trust them.
-
Test Thoroughly: Operate the shade through all its functions before considering the job complete to catch any issues immediately.
With this guide, you have the knowledge to tackle the installation with confidence, ensuring your new zebra shades perform beautifully from day one.
Explore Custom Zebra Shades


Frequently Asked Questions (FAQ)
Can I install zebra shades on a metal or concrete window frame?
Yes, but you will need the correct tools. For metal frames, you need a drill bit designed for metal to create pilot holes. For concrete, brick, or masonry, you need a hammer drill, masonry drill bits, and concrete screw anchors. The process is the same, but the drilling requires more power and specific hardware.
How far should the brackets be placed from the edge of the window for an outside mount?
A good rule of thumb is to place the brackets 2 to 4 inches beyond the outer edge of the window frame on each side. This ensures the shade fully covers the window glass when lowered, preventing light gaps on the sides. The exact position may be dictated by your headrail length and desired coverage.
What is the most common mistake in DIY zebra shade installation?
The most common mistake is incorrect measuring, particularly for an inside mount. Using the widest measurement instead of the narrowest, or not accounting for obstructions like window cranks, leads to shades that don't fit. The second most common error is not using a level to align the mounting brackets, resulting in a crooked shade.
Do cordless and motorized zebra shades install the same way?
The bracket mounting process is virtually identical. The main difference is the headrail itself. Cordless shades have an internal spring mechanism, while motorized shades house a battery pack or motor. Ensure you have adequate space inside the window recess or above the frame to accommodate the slightly larger headrail of a motorized shade.
How do I ensure my zebra shades are safe for my children?
The safest choice is to install cordless zebra shades, which eliminate loose cords entirely. If your shades have a continuous cord loop, you must secure the cords properly. After installation, follow the latest cord safety standards by installing cord cleats and making cords inaccessible to children.
