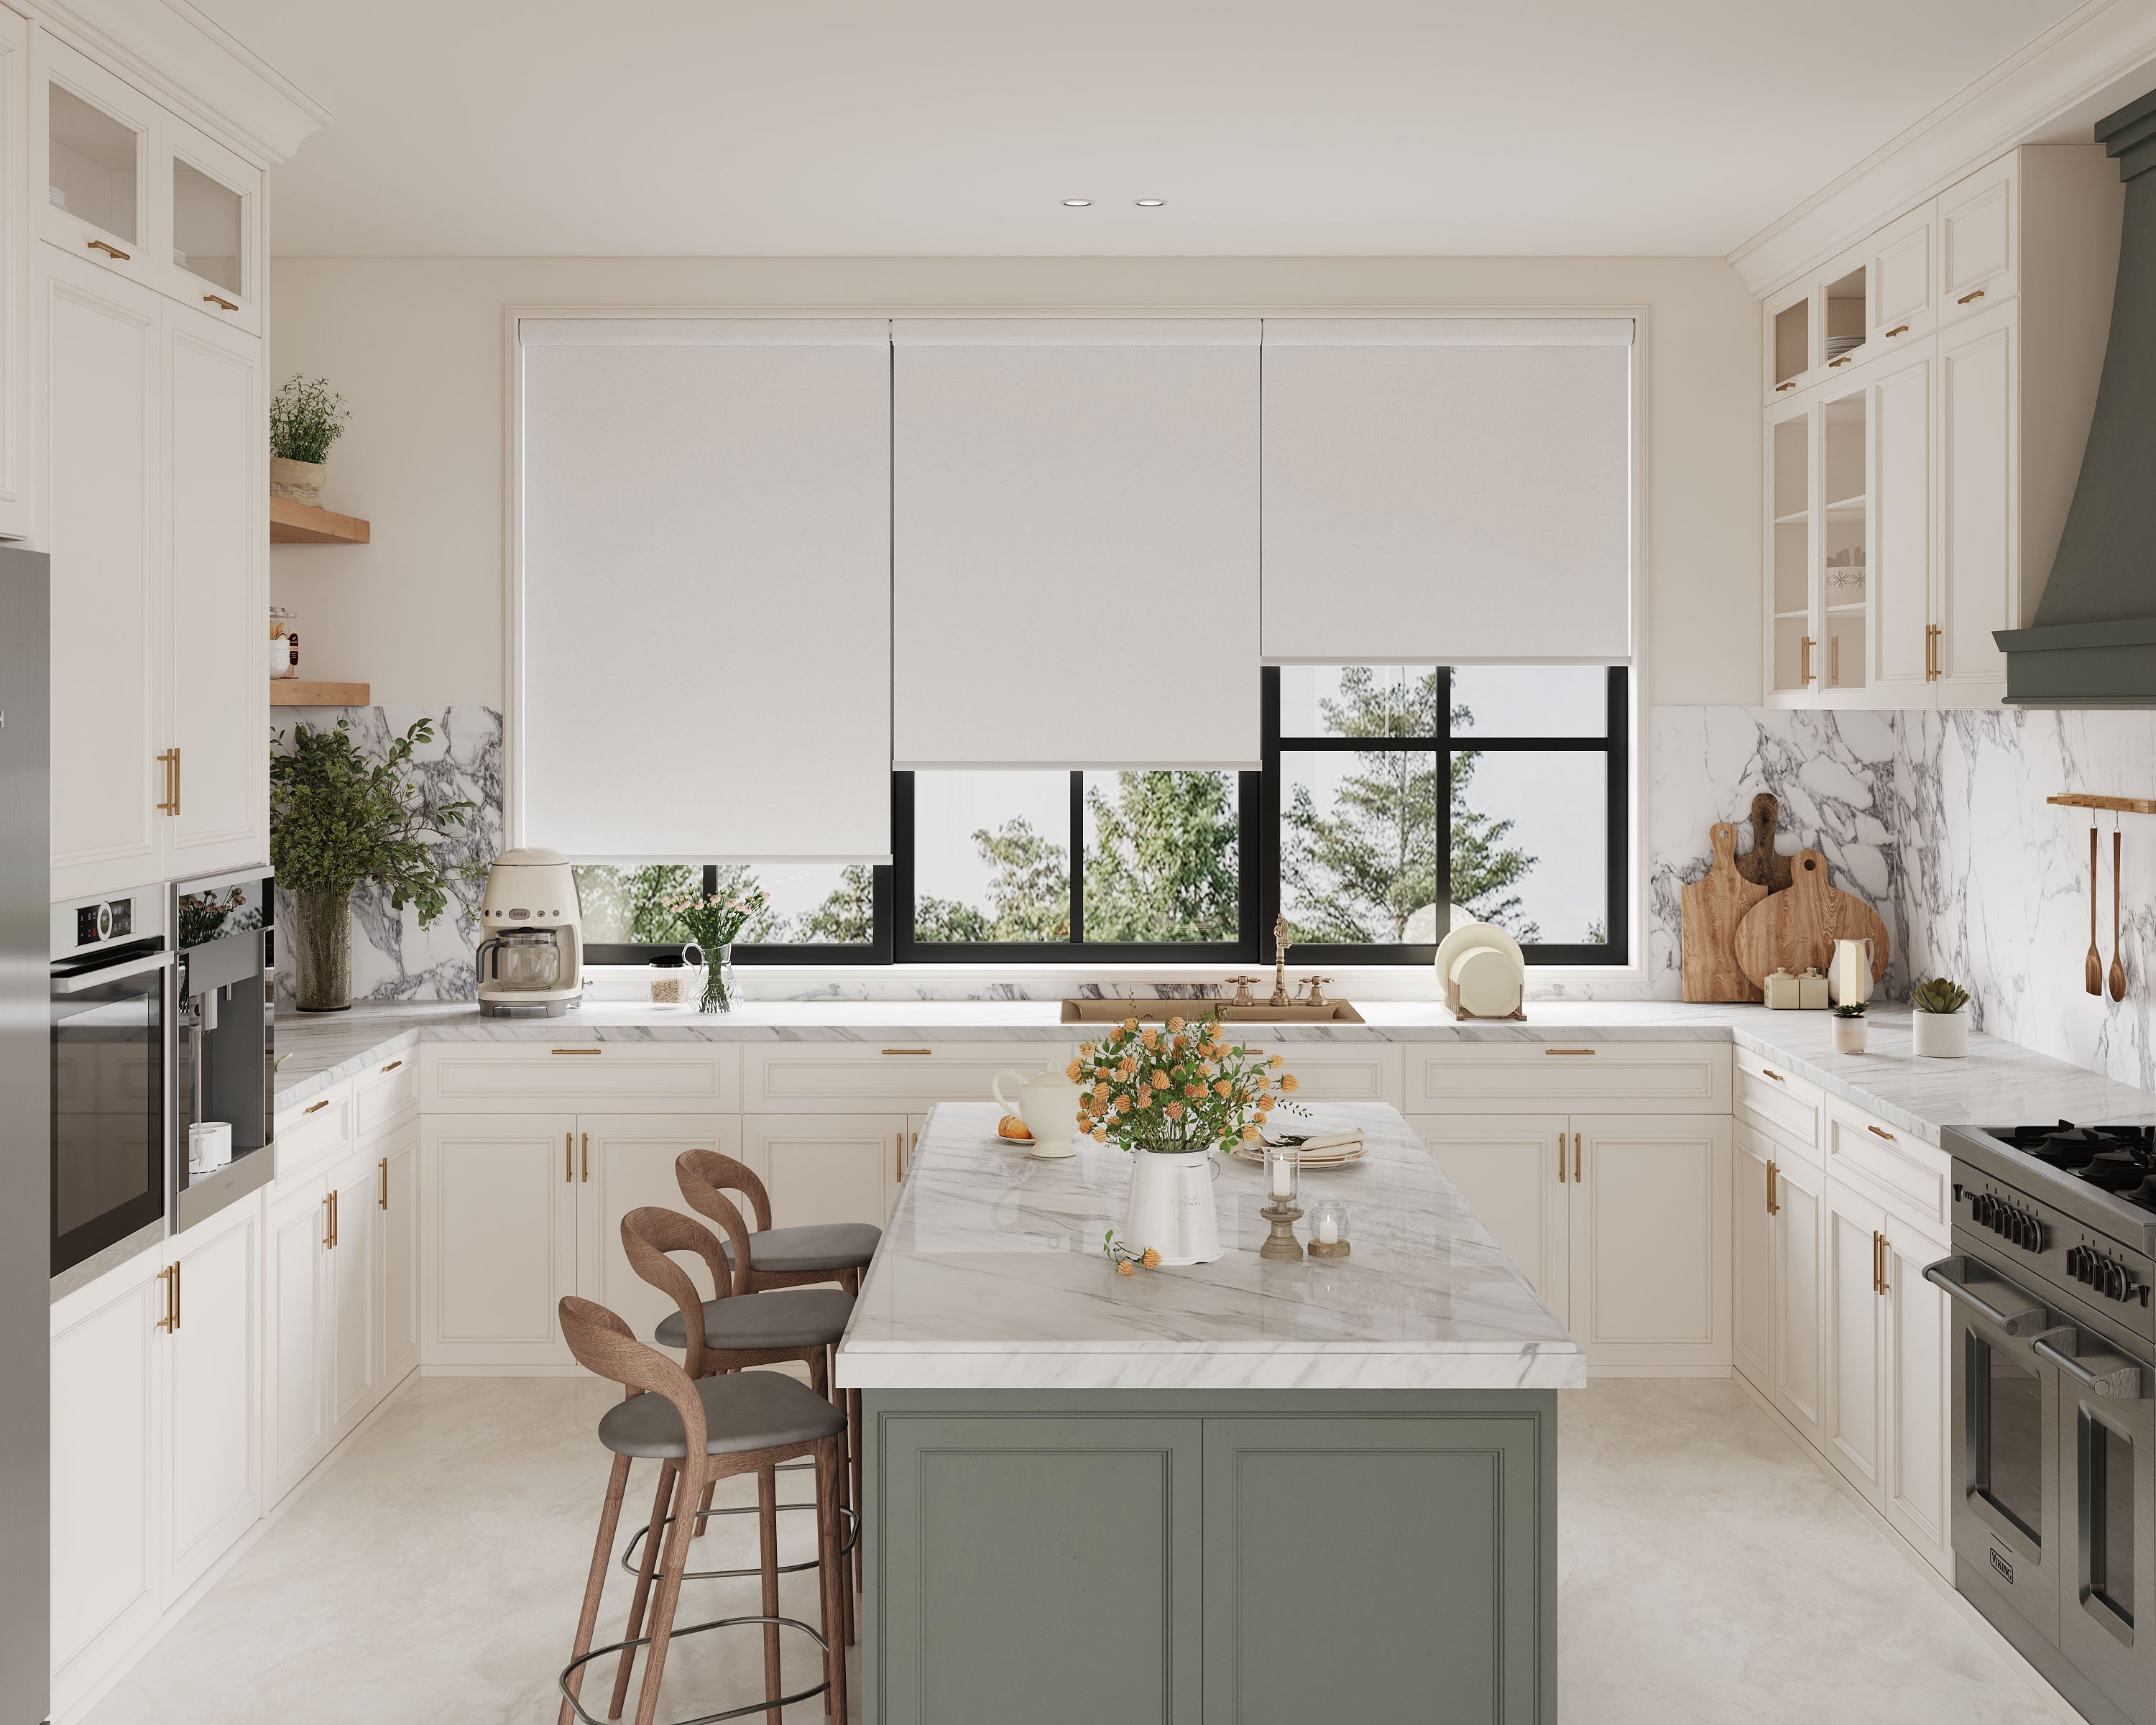
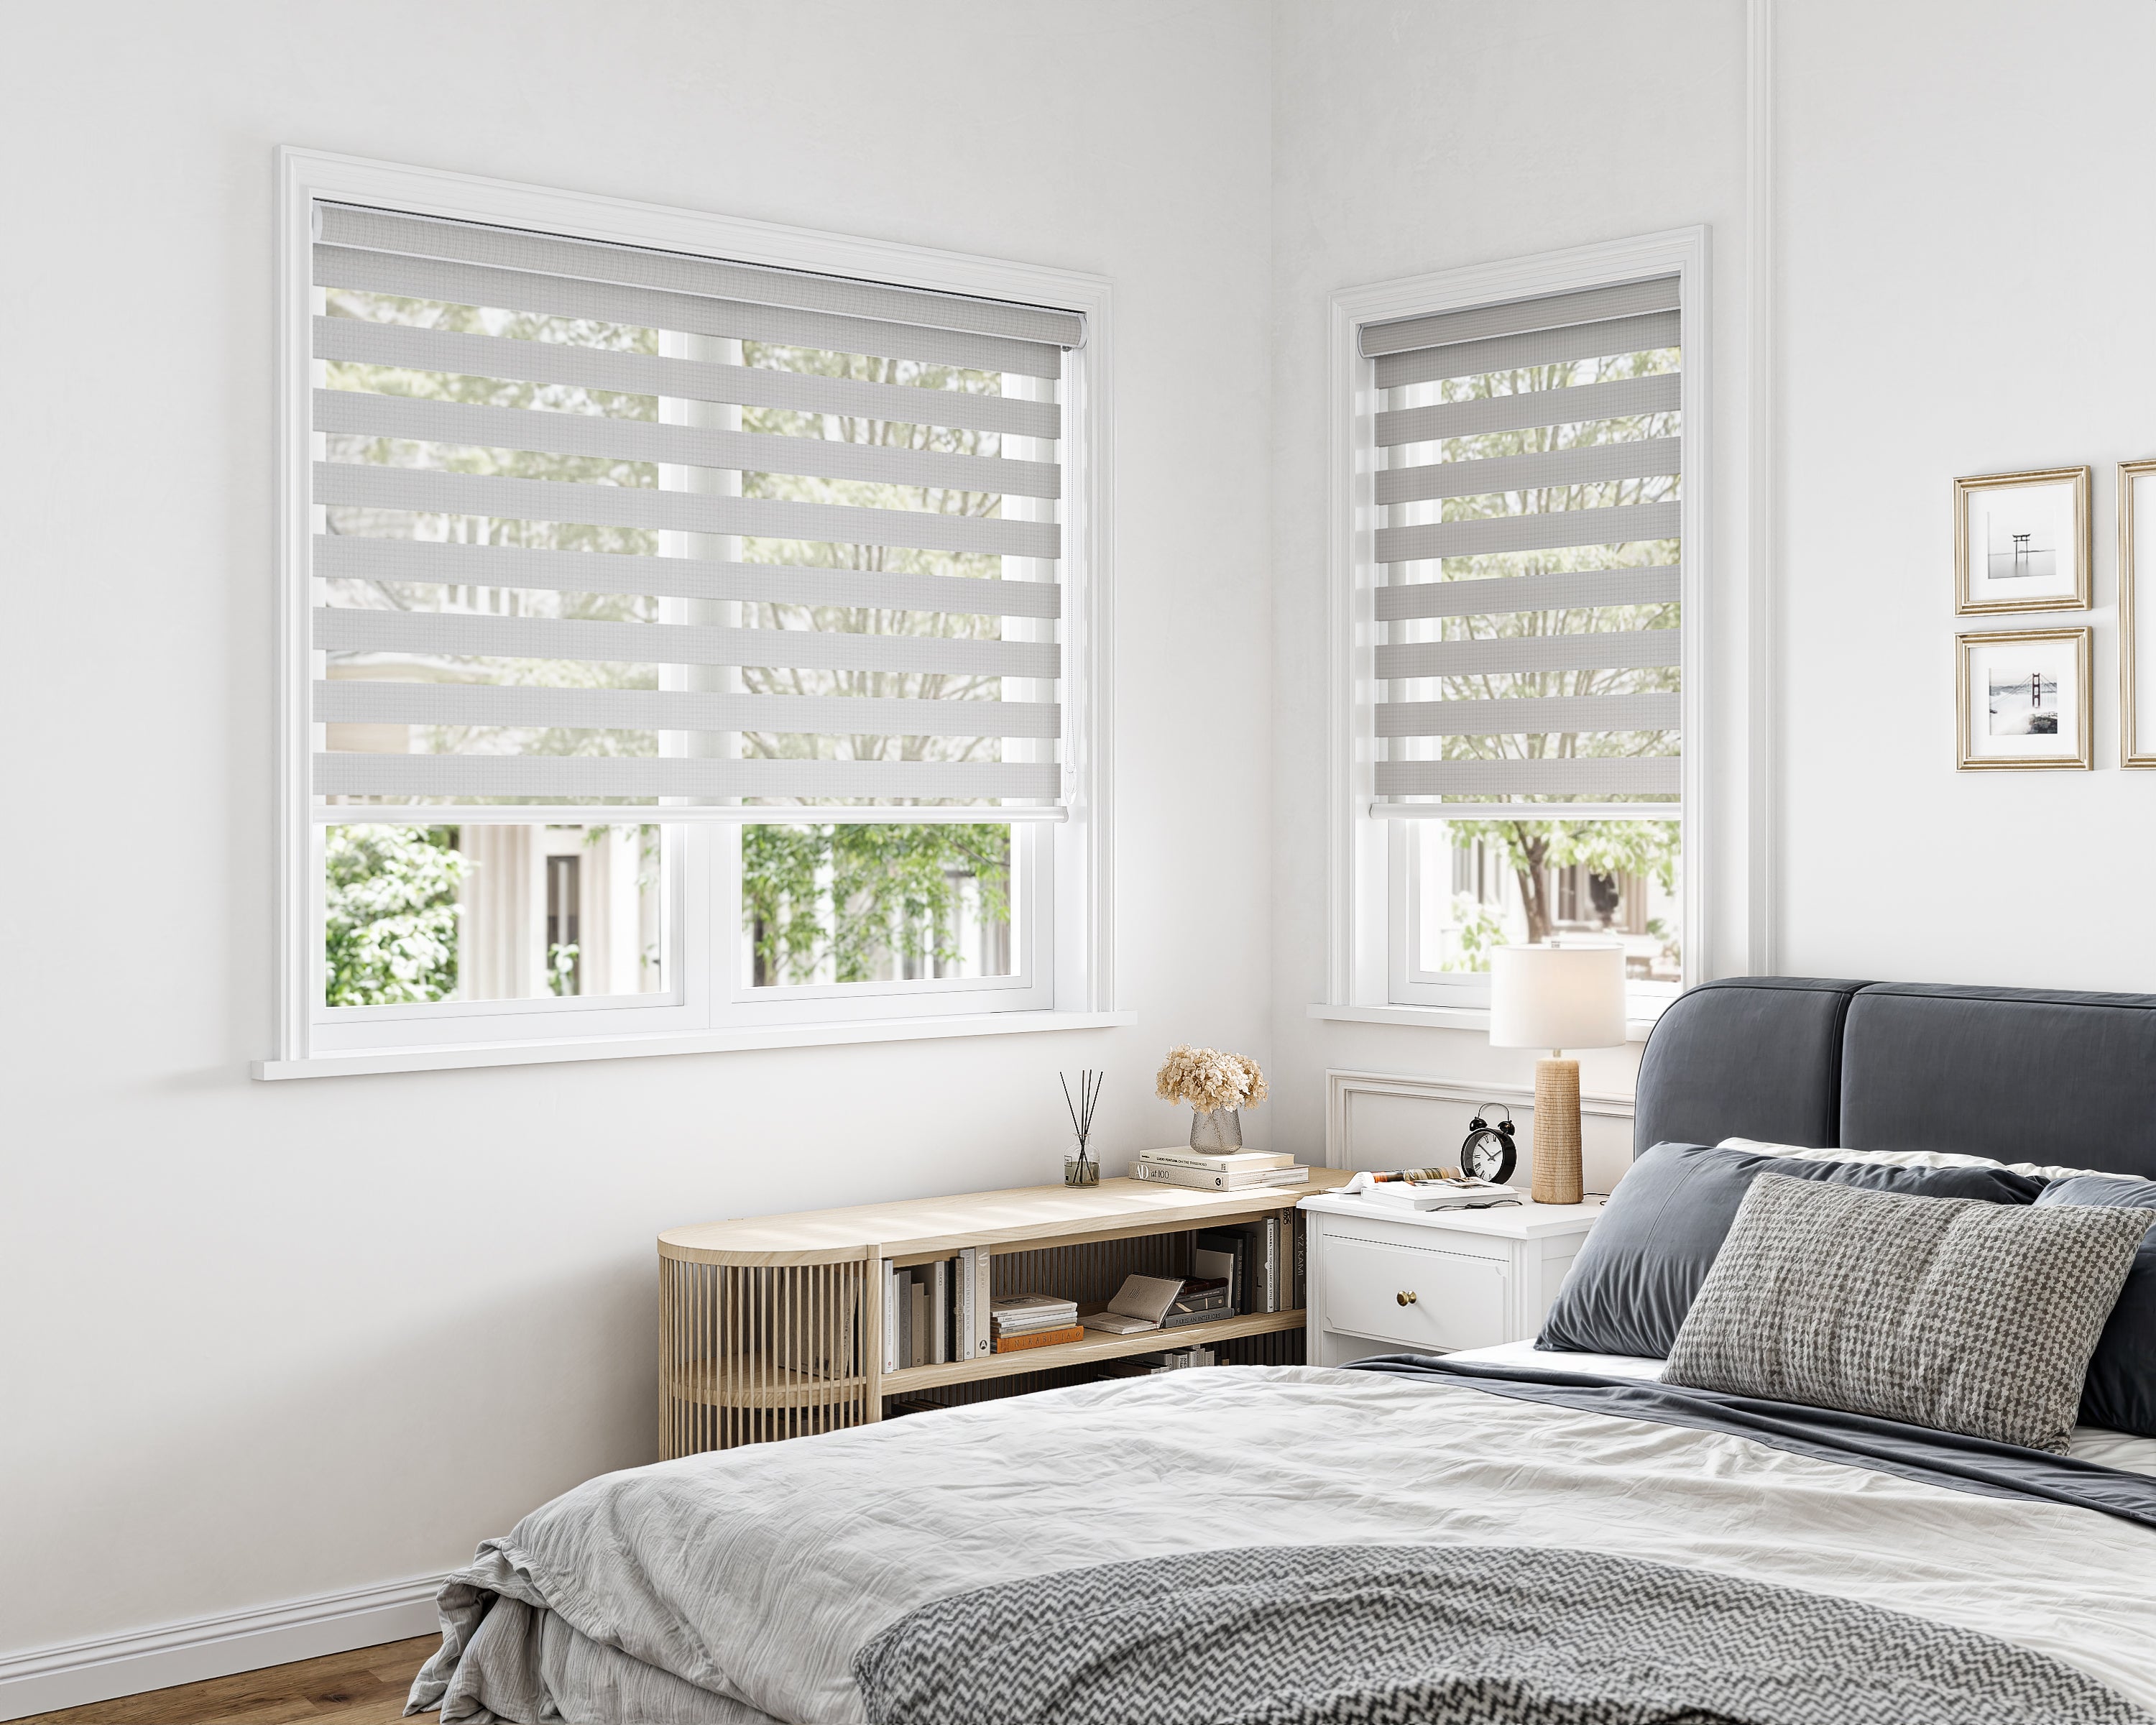
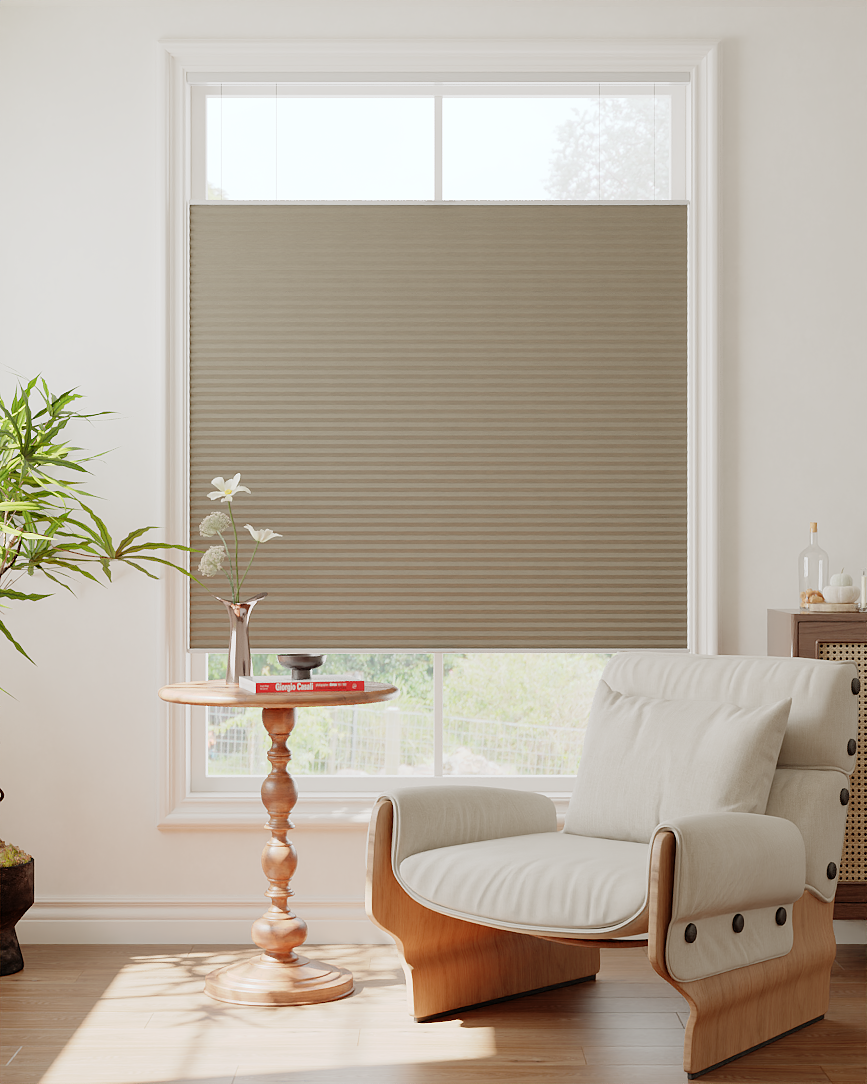
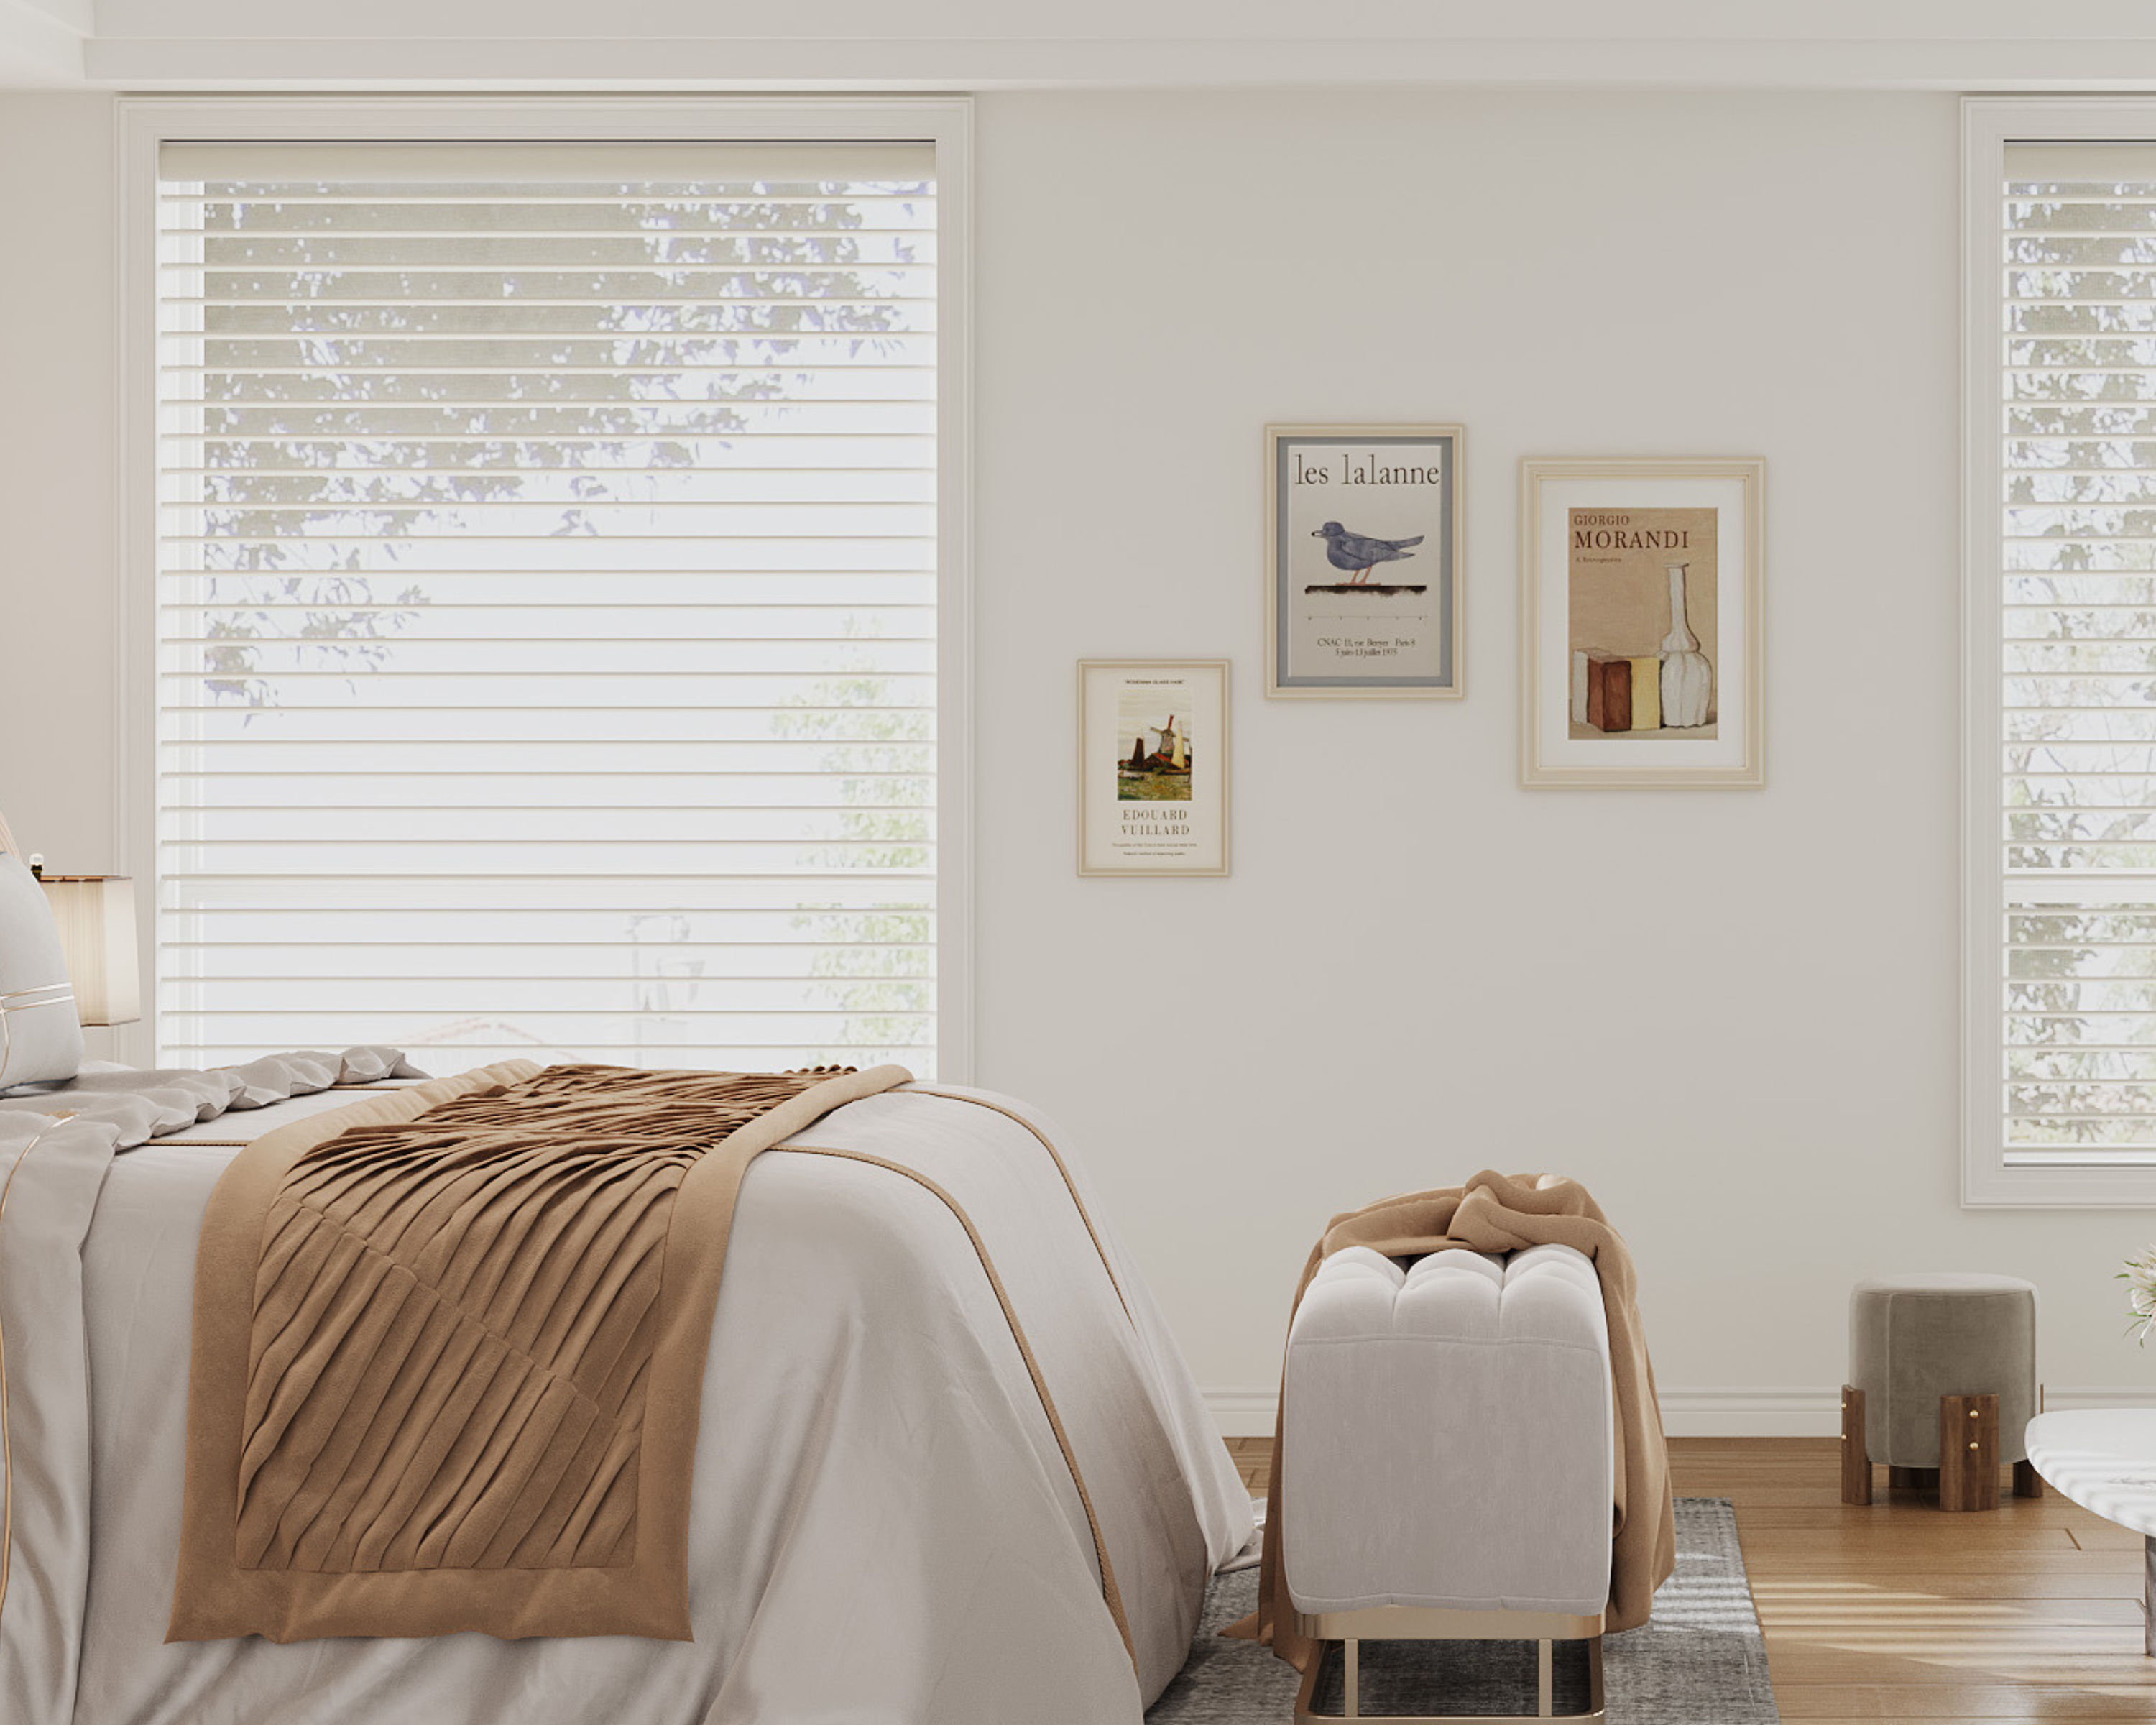
Explore our top collections, including Roller Shades, Zebra Shades, and Blackout Shades.
Measuring for a project sounds easy, but tiny mistakes can wreck our plans. The best way to nail width, height, and depth is with a tape measure and a few practical habits. If you've ever had a shelf that won't fit or curtains that look off, you know why accuracy matters.
We don't need anything fancy—just a good tape measure and some common sense. Let’s dig into how to get it right every time so our next DIY project goes smoother (and maybe even a little faster).
Key Takeaways
- The right tape measure makes a real difference
- Simple habits can prevent measuring headaches
- Accurate tape use keeps projects stress-free
Choosing the Right Tape Measure
If we want reliable numbers, our tape measure choice actually matters. Type, features, and a bit of care can make or break a project.
Types of Tape Measures
Most of us see a few main types at the hardware store. The classic retractable steel tape is sturdy and works for most indoor jobs. For bigger spaces or outdoor work, open reel tapes (fiberglass or steel) reach much farther.
Pocket tapes (12 to 35 feet) are perfect for furniture and trim, while soft cloth tapes are better for sewing or crafts. Laser tape measures give digital readouts and handle long interior distances, but they’re pricier and need batteries.
Here’s a quick table:
| Type | Best For | Range |
|---|---|---|
| Steel Retractable | Carpentry, general | 12-35 feet |
| Open Reel (Fiberglass) | Large outdoor jobs | 50-300 feet |
| Cloth/Flexible | Sewing, soft items | 60 in - 120 in |
| Laser | Long, precise indoor | Varies (up to 300 ft) |
Features to Look For
Tape measures can look alike but feel totally different once you use them. For most jobs, a 16- or 25-foot tape is just right.
Wide, rigid blades are handy—they stand out farther before flopping over, which helps a lot. Markings with fractions and red “stud” numbers save time. Magnetic hooks are a nice bonus if you’re working with metal, and a lock is non-negotiable.
Look for blades with durable coatings so the numbers don't vanish after a few months. A comfy grip and a sturdy belt clip make life easier, too.
Care and Maintenance
Tape measures last way longer if we treat them right. Wipe the blade with a dry cloth before retracting, especially if it’s been in sawdust or outside.
Don’t let the blade snap back—easy way to bust the end hook or jam it up. If it gets wet, pull it out all the way and dry it before rolling it back in. A bit of silicone spray now and then keeps things moving smoothly and fends off rust.
Store your tape in a dry spot, out of direct sun, and it’ll be ready for the next project. A little care now means fewer surprises later.
Prepping for Accurate Measurements
Accurate measurements start before we even grab the tape. Clearing clutter, making clear marks, and checking for straightness all pay off.
Creating a Clear Measuring Path
First, get anything out of the way. Furniture, rugs, random stuff—they can bend the tape or mess with your line of sight. A clear path from start to finish keeps numbers honest.
Check for things like baseboards or weird wall angles. If you’re measuring on a wall, dust it off so the tape grips. And honestly, asking a friend to help is smart—they can hold the tape or spot things you might miss.
A little prep now saves a lot of “why doesn’t this fit?” later.
Marking Start and End Points
Precise marks make all the difference. Painter’s tape, sticky notes, or a sharp pencil work well—just skip fat markers that blur the line.
Tip:
- Press the tape right to the edge, not just “close enough.”
- If you’re measuring a bunch of spots, label your marks (“A” for width, “B” for depth, etc.) so you don’t forget what’s what.
Clear marks mean you aren’t guessing later or second-guessing yourself.
Leveling and Alignment Basics
Measuring only works if the tape is straight. For width or height, a bubble level or laser level is your friend. These tools keep the tape parallel, not sneaking off at an angle.
Always keep the tape flat and tight, no slack or twists. If it sags or droops, redo it. For depth, especially inside a cabinet, press the tape against the back and use a small square to keep things at a right angle.
It’s not glamorous, but a minute checking level saves hours of frustration.
Getting Spot-On Width Measurements
Getting width right can save you from buying a couch that won’t fit or ruining a cut. Here’s how to measure width, dodge obstacles, and make sure your numbers are solid.
Best Practices for Measuring Width
Pull the tape tight and straight, no sag in the middle. If you’re solo, painter’s tape can anchor one end. Always hook the tape snugly to the edge and keep it level.
Measure left to right if you’re right-handed, the other way if you’re a lefty—it’s just easier to read. For big spans, jot the number down immediately. If you’re dealing with odd edges, note exactly where you’re measuring (baseboard to baseboard, wall to trim, etc.).
Quick tips:
| Tip | Benefit |
|---|---|
| Pull tape tight | Prevents inaccurate numbers |
| Keep tape level | Ensures precise measurement |
| Tape in place (solo) | Helps one-person jobs |
Dealing with Obstacles
Obstacles happen—cords, furniture, pets. Just break up the measurement. Measure to the obstacle, note it, then start again on the other side and add the numbers.
If the tape won’t lie flat, use a stiff yardstick or a straight piece of wood as a bridge. Never bend the tape around corners—it’ll lie to you.
For windows or doorways blocked by trim, run the tape above or below the obstacle. If there’s a lip, record both inner and outer widths to know what will really fit.
Double-Checking Your Results
Always measure twice (or more if you’re picky). Take a reading, reset, and try from the other end if you can. If the numbers don’t match, something went sideways—maybe the tape was angled or started in the wrong spot.
For long widths, cut a piece of string or painter’s tape to your measured length and check it against the surface. Quick, easy, and it’ll catch mistakes. If you have a digital tape, use it as a backup, but trust your instincts.
Write numbers down right away, even if it’s just a pencil note on blue tape. Trust me, you’ll forget by the time you hit the store.
Measuring Height Like a Pro
Getting height right takes a little care, a steady hand, and a sharp eye. Whether you’re hanging curtains or squeezing a bookcase into a tight corner, those inches count.
Vertical Measurement Techniques
For height, start at the floor and go up, keeping the tape straight and tight. A locking tape helps, especially if you’re working alone. When measuring floor to ceiling, weigh down the end or ask a friend for help.
Some quick tips:
- Use a level to check the tape’s alignment.
- For high ceilings, extend the tape along a wall—not dangling in mid-air.
- Measure twice: floor to ceiling, then ceiling to floor, just to be sure.
In really tall rooms, a laser measure can save your back (and nerves).
Common Height Mistakes
Reading the tape at an angle will give you a larger number than you want (sneaky tape droop again). It’s also easy to start measuring from the wrong spot, especially if the tape’s under a baseboard or carpet.
A few things to keep in mind:
- Don’t forget the metal tab at the tape’s end—it counts.
- Adjust for trim or molding to avoid surprises.
- Don’t stretch too far—if you’re off-balance, your numbers will be, too.
Double-check your start and end points. It’s a pain to find out you measured wrong when you’re shoving a cabinet into a too-short space.
Tips for Tall Spaces
Tall spaces can be a pain. Here’s how to make it easier:
- Use an extension pole: Tape measure plus broomstick = extra reach.
- Get a helper: One person holds the base, the other anchors the top.
- Mark the height: Stick painter’s tape or a pencil mark at the top, then measure.
If you’re outside or in a breezy spot, secure the tape so it doesn’t flap around. A tape with bold, easy-to-read numbers helps a ton. And honestly, take your time—wobbly ladders and rushing don’t mix.
Nailing Depth Measurements
Getting depth right is just as important as width or height, especially for shelves and built-ins. Here’s how to get depth measurements that are spot-on, simple, and won’t drive you nuts.
Approaches for Measuring Depth
When measuring depth, we want the tape flat and straight between the front edge and the back wall. Every surface counts—measure from the real face, not over trim or molding. No shortcuts there.
If you can’t see the end point, mark where the tape lands with a pencil or a bit of masking tape. For cabinets or shelves, go from the front edge straight to the very back, steering clear of any rails or lips that might throw things off. If you’ve got a laser measurer, it’s a lifesaver in big or awkward spaces, but honestly, most of the time, a regular tape does the job.
Don’t trust just one measurement—double-check. It’s easy to misread when the tape’s pressed against a wall. Measure twice, then move on.
Tools That Help with Depth
Still loyal to the classic tape measure. A rigid, wide tape bridges gaps better and stays straighter. Look for one with big, clear markings—colored numbers or reflective bits are a bonus in dim corners.
If you’re reaching way back or can’t quite get there, a laser distance measurer is fast and accurate. Some digital tapes let you “freeze” the number, which saves you from squinting or guessing.
In really cramped spots, a folding rule or just a plain ruler might work better than a floppy tape. Control is everything. For woodworking or when you need to be super precise, a depth gauge or caliper gets you down to the millimeter.
Working with Awkward Angles
Not every depth is a perfect 90 degrees. Alcoves, odd nooks, shelves with overhangs—sometimes you have to get creative. If you bend the tape, always read from where the base meets the surface, not the hook.
One trick: lay a straightedge across the opening and measure from there to the back wall. Subtract the straightedge’s thickness, and you’ve got your number.
A quick sketch or a phone photo helps you remember tricky spots and why a measurement might seem off later. Creativity counts—accuracy matters most.
Advanced Measuring Tricks
Getting accurate measurements, especially solo or in tight spaces, is all in the details. Here are some tape measure habits that make life easier and results more reliable.
Using the Tape Hook Effectively
That hook at the end of a tape measure isn’t just for show—it’s clever. The little bit of “wiggle” lets it adjust for its own thickness. Push the hook against a surface, and thickness gets subtracted. Hook it over an edge, it’s added.
If the hook feels loose, don’t stress—it’s supposed to move about 1/16 inch. For super-precise work, check for dimension markings on the tape body so you can add the case width for inside measurements.
Try this:
- Set the tape against a wall, extend it, and compare with a rigid ruler.
- Make sure the hook sits tight, or you’ll get a wonky number.
Marking Without a Helper
Measuring long distances alone can be a pain. Painter’s tape or a nail can anchor the end for you.
Most tape hooks have built-in notches—hook those over a nail or screw to free up a hand. If you can’t mark directly, press a pencil or knife into the tape’s notch to make a tiny mark.
A little tension in the tape helps it stay put over long stretches. Here’s a quick list for solo marking:
- Anchor with tape or a nail
- Use the hook’s notch
- Mark with a sharp pencil or blade
How to Measure in Tight Spots
Inside cabinets or drawers, a floppy tape is useless. Many tape measures list their case width right on the side—jam the case into a corner, extend the blade, and add the case width.
If the tape bends, stand it up like a “T” for more control. If it’s too tight for even that, a flexible measuring tape can work, but for hard surfaces, stick with a tape measure and a small square if you can.
Here’s a table for quick reference:
| Spot Type | Best Tool/Trick | Why It Works |
|---|---|---|
| Cabinet corners | Add case width | Maximizes accuracy for interiors |
| Narrow channel | Stand tape on edge | Avoids tape sagging or bending |
| Deep drawers | Use a stiff, locked tape | Maintains straight measurement |
Staying methodical keeps things accurate, even in the smallest spots.
Common Tape Measuring Mistakes and How to Dodge Them
A handful of classic tape measure mistakes can really throw a project off. If you know what to watch for, you’ll save yourself headaches—whether you’re hanging shelves, building furniture, or deep in a remodel.
Reading Tape Incorrectly
Tiny tape markings can mess with you, especially if you’re in a rush or distracted. It’s easy to misread inches, mix up centimeters and inches, or miss a half-inch mark. Some tapes have odd symbols or divisions that aren’t obvious.
Always read from the end hook, not the middle or a damaged spot. If your tape has both metric and imperial, double-check which side you’re using. If your eyes are tired, a tape with big, bold marks is worth it.
Quick tips:
- Take your time and check units.
- Read from the end hook.
- Keep the tape flat and straight to avoid parallax errors.
Ignoring Tape Sag and Slack
A saggy tape can sneak in extra fractions of an inch, especially over long stretches. That’s how shelves end up not fitting or doors refuse to close.
Keep the tape tight, level, and supported at both ends. If you can’t avoid sag, get someone to help, or prop up the tape with boxes or blocks.
Quick fixes:
| Problem | Fix |
|---|---|
| Tape sags | Pull it taut, get a helper |
| Tape not straight | Use supports |
| No helper | Measure in two shorter steps |
Using Worn-Out Tape
Old tapes don’t last forever. Faded numbers, bent hooks, or blades that don’t retract mean your measurements are probably off. A wobbly hook or missing rivets can add or subtract an eighth of an inch without you noticing.
Pick tapes with a solid, undamaged hook and clear numbers. If your tape’s looking rough, it’s time for a new one. It’s a small cost to save a lot of frustration.
Signs it’s time for a new tape:
- Faded or missing numbers
- Bent or loose hook
- Blade kinks or won’t retract
Practical Home Design Applications
Pulling out the tape measure is a rite of passage for any home project. Good measurements save you money, time, and the pain of furniture that just won’t fit. It’s about knowing where to measure and double-checking before you commit.
Measuring for Furniture Fit
Before buying that dream couch or table, check if it’ll actually fit. Measure the length, width, and depth of the spot—not just the furniture. Painter’s tape on the floor helps you see the footprint.
Nothing’s worse than a bookshelf blocking a doorway or a table that’s just too tight. Leave a couple of extra inches for walking space and baseboards.
Checklist:
- Measure the widest and deepest points, including handles or arms.
- Check heights for tall items, especially near low lights or sloped ceilings.
- Measure hallways and entryways so you can actually get the piece inside.
Checking Window and Door Openings
For windows and doors, you can’t fudge the numbers. Measure the opening and trim—width, height, and depth—down to the millimeter if you can. Do this in three spots (top, middle, bottom for width; left, center, right for height) to catch any weirdness.
If you’re replacing or upgrading, even a tiny difference matters. Always note which side has hinges or handles—it can change where you start or stop.
| Area | Where to Measure |
|---|---|
| Windows (Width) | Top, Middle, Bottom |
| Windows (Height) | Left, Center, Right |
| Doors (Width) | Top, Middle, Bottom |
| Doors (Height) | Left, Center, Right |
How to Size Up Shelving
Before you install shelves, figure out what you’ll store and where they’ll go. Measure the wall space, but also check the depth so shelves don’t stick out or block switches.
If you want multiple shelves, measure vertical space and leave enough room for tall items. Using a level helps keep things straight—no one wants a wonky shelf.
Quick tip: For adjustable shelves, leave space for brackets and supports. Sketch the outline on the wall with a pencil to see exactly where things will land.
Frequently Asked Questions
Getting precise measurements is the backbone of smart home updates and DIY projects. From tape comparisons to reading inches and centimeters, here are some common questions and straight answers.
What's the trick to accurately measuring dimensions for my latest room makeover?
Measure twice, write it down, and check again. A steel tape stays flat and straight, which helps avoid mistakes. If you’ve got space, ask a friend to hold one end.
Can I trust my phone's app for precise measurements when curtain shopping?
Phone apps are fine for quick estimates, but they’re not always spot-on. For curtains or anything that needs to be exact, stick with a real tape measure. Apps can miss small details, especially if your hand shakes or lighting’s weird.
How do I ensure I'm reading inches correctly when trimming for that perfect fit?
Focus on the numbered inch marks and pay attention to the dashes—most tapes break an inch into halves, quarters, eighths, and sixteenths. If you’re unsure, count the lines and check a simple chart or guide.
Body measurements for that custom shelving—any tips on getting them right every time?
Stand against the wall or spot where the shelf will go, holding the tape at the base. Keep it snug and level. Measure twice—sometimes with help—to avoid regrets.
Metric system got you puzzled? How do you read a tape measure in centimeters?
Check which side says ‘cm’. Each number is a centimeter, and the small lines are millimeters—ten per centimeter. Just count the lines past the last big number. Not as tricky as it sounds.
Does a spring-loaded tape measure make a difference when tackling a DIY desk project?
A spring-loaded tape really does help. Hit the button and it zips right back, which saves a bit of hassle. It holds steady when you stretch it out, so trying to measure something alone isn’t such a pain. Honestly, it’s just kind of nice to roll it up when you’re done—there’s something weirdly satisfying about that.

