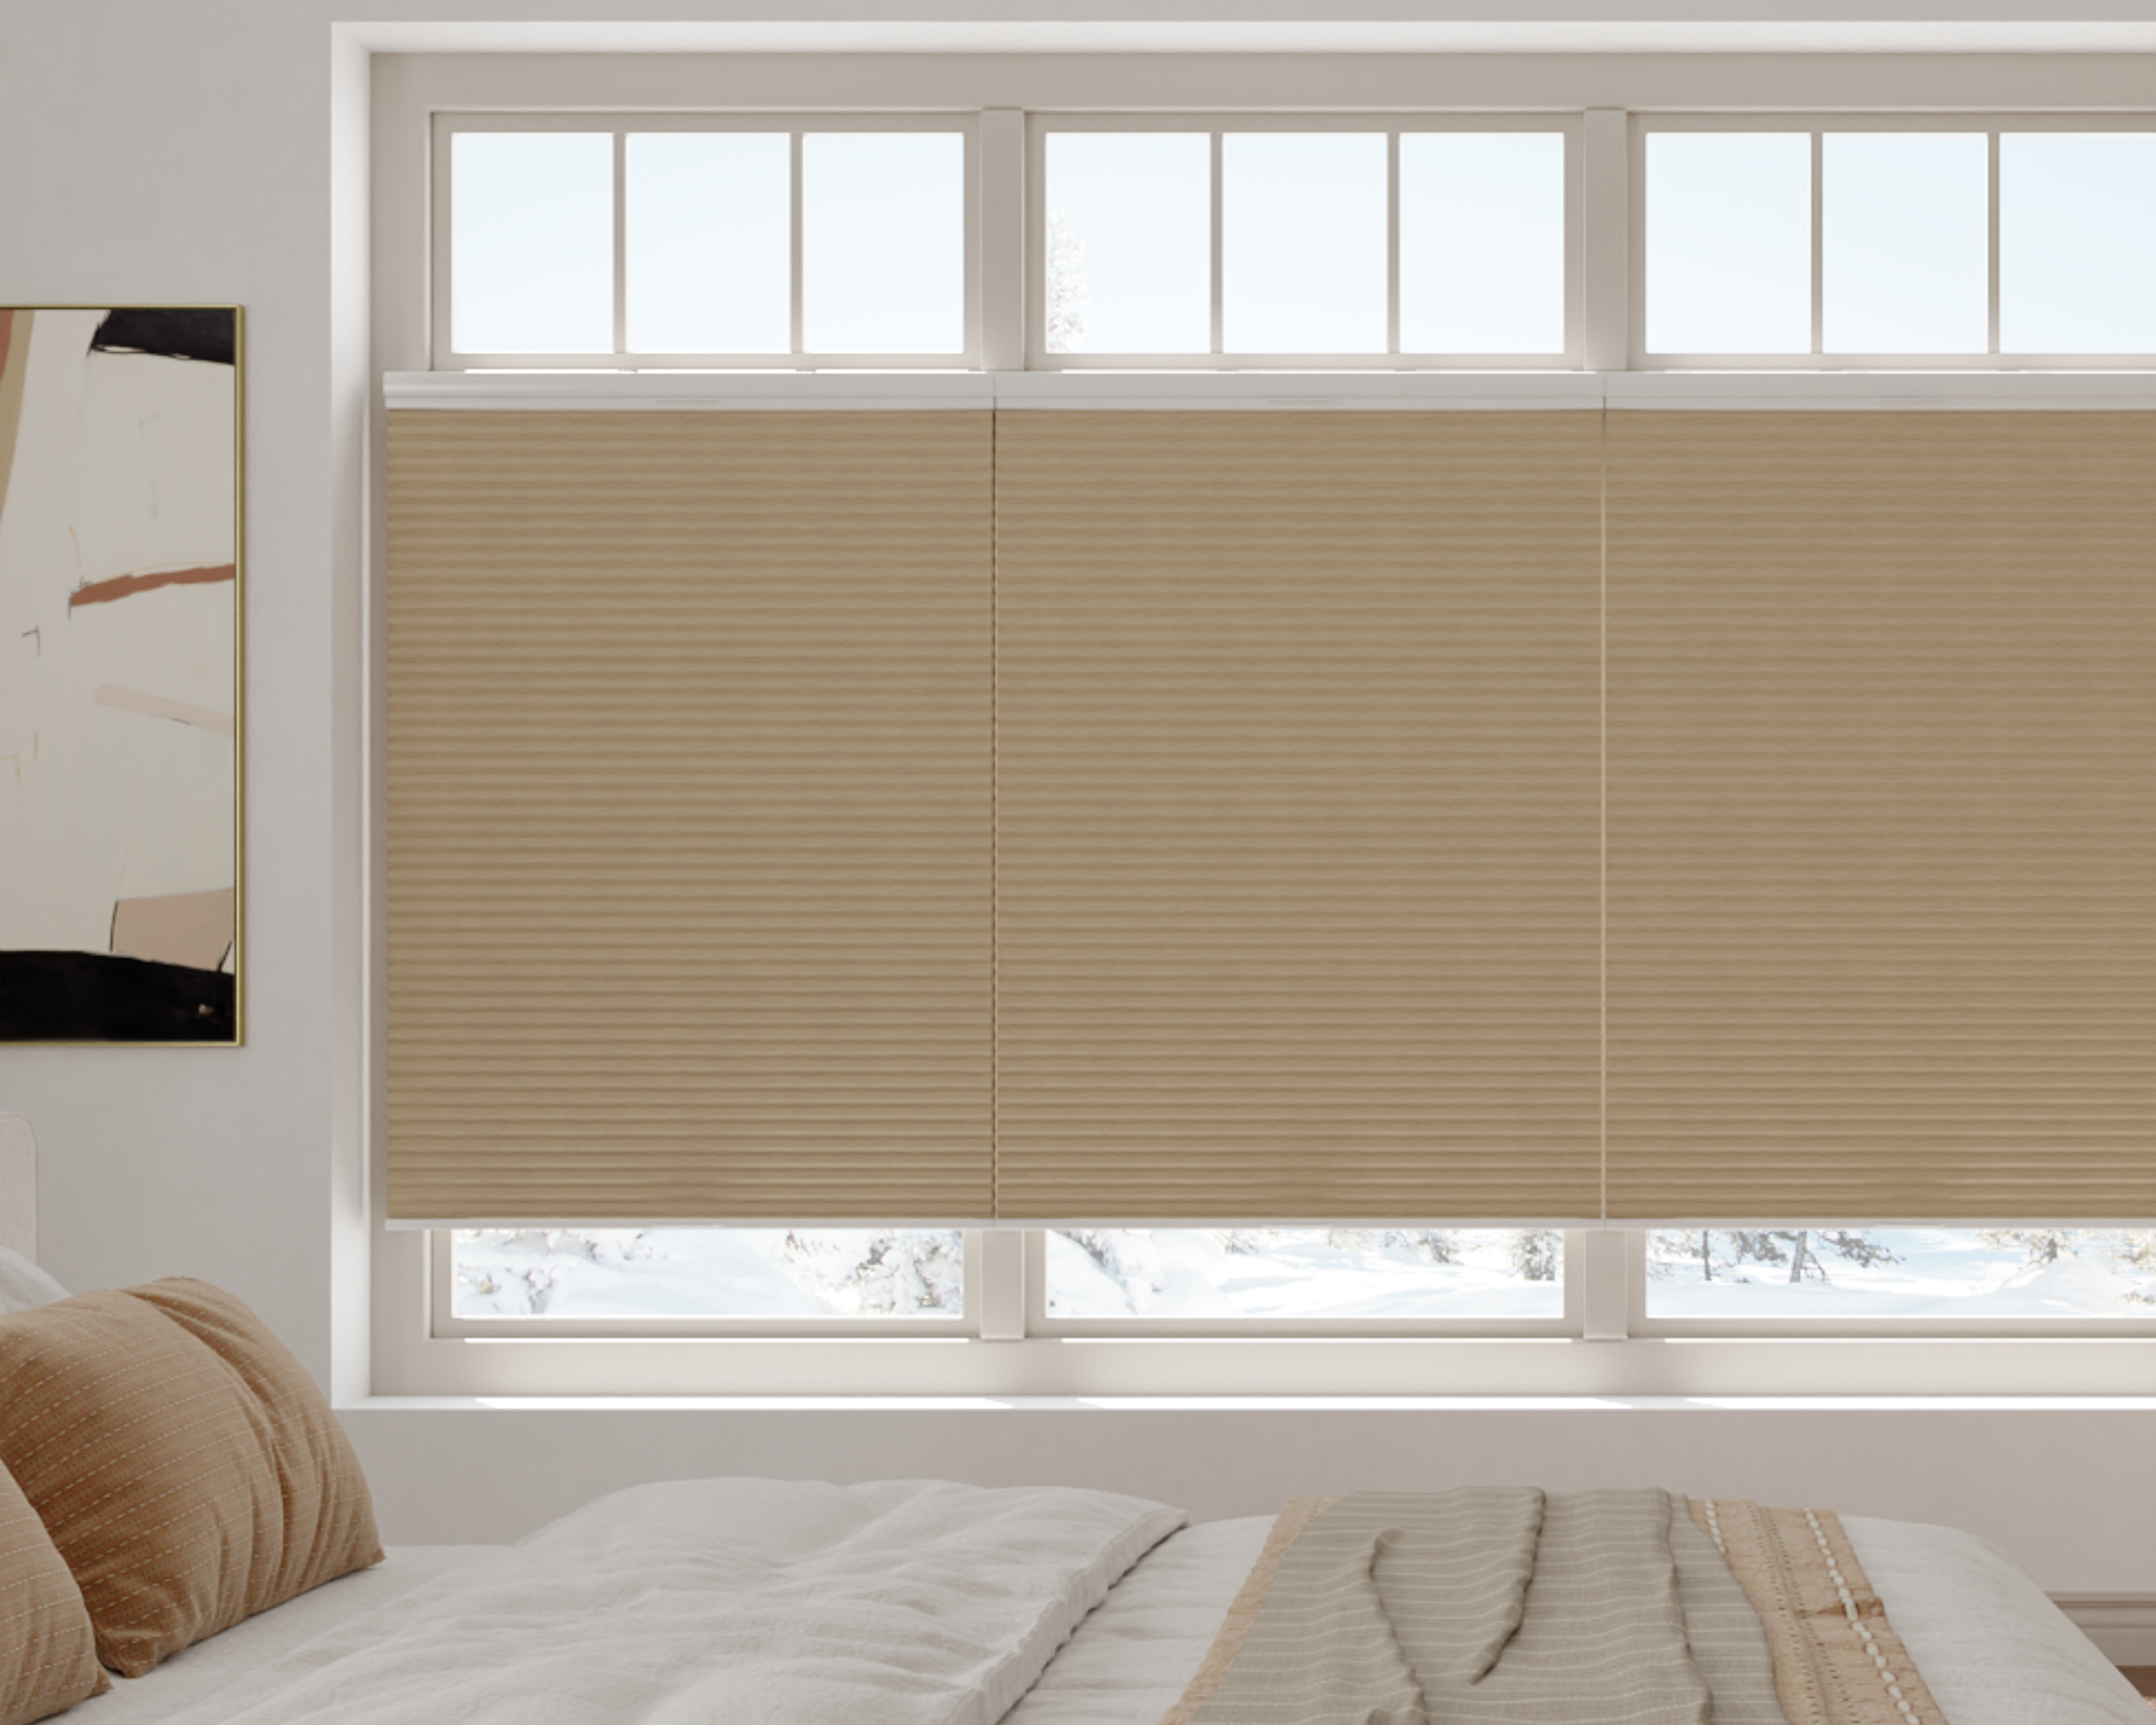
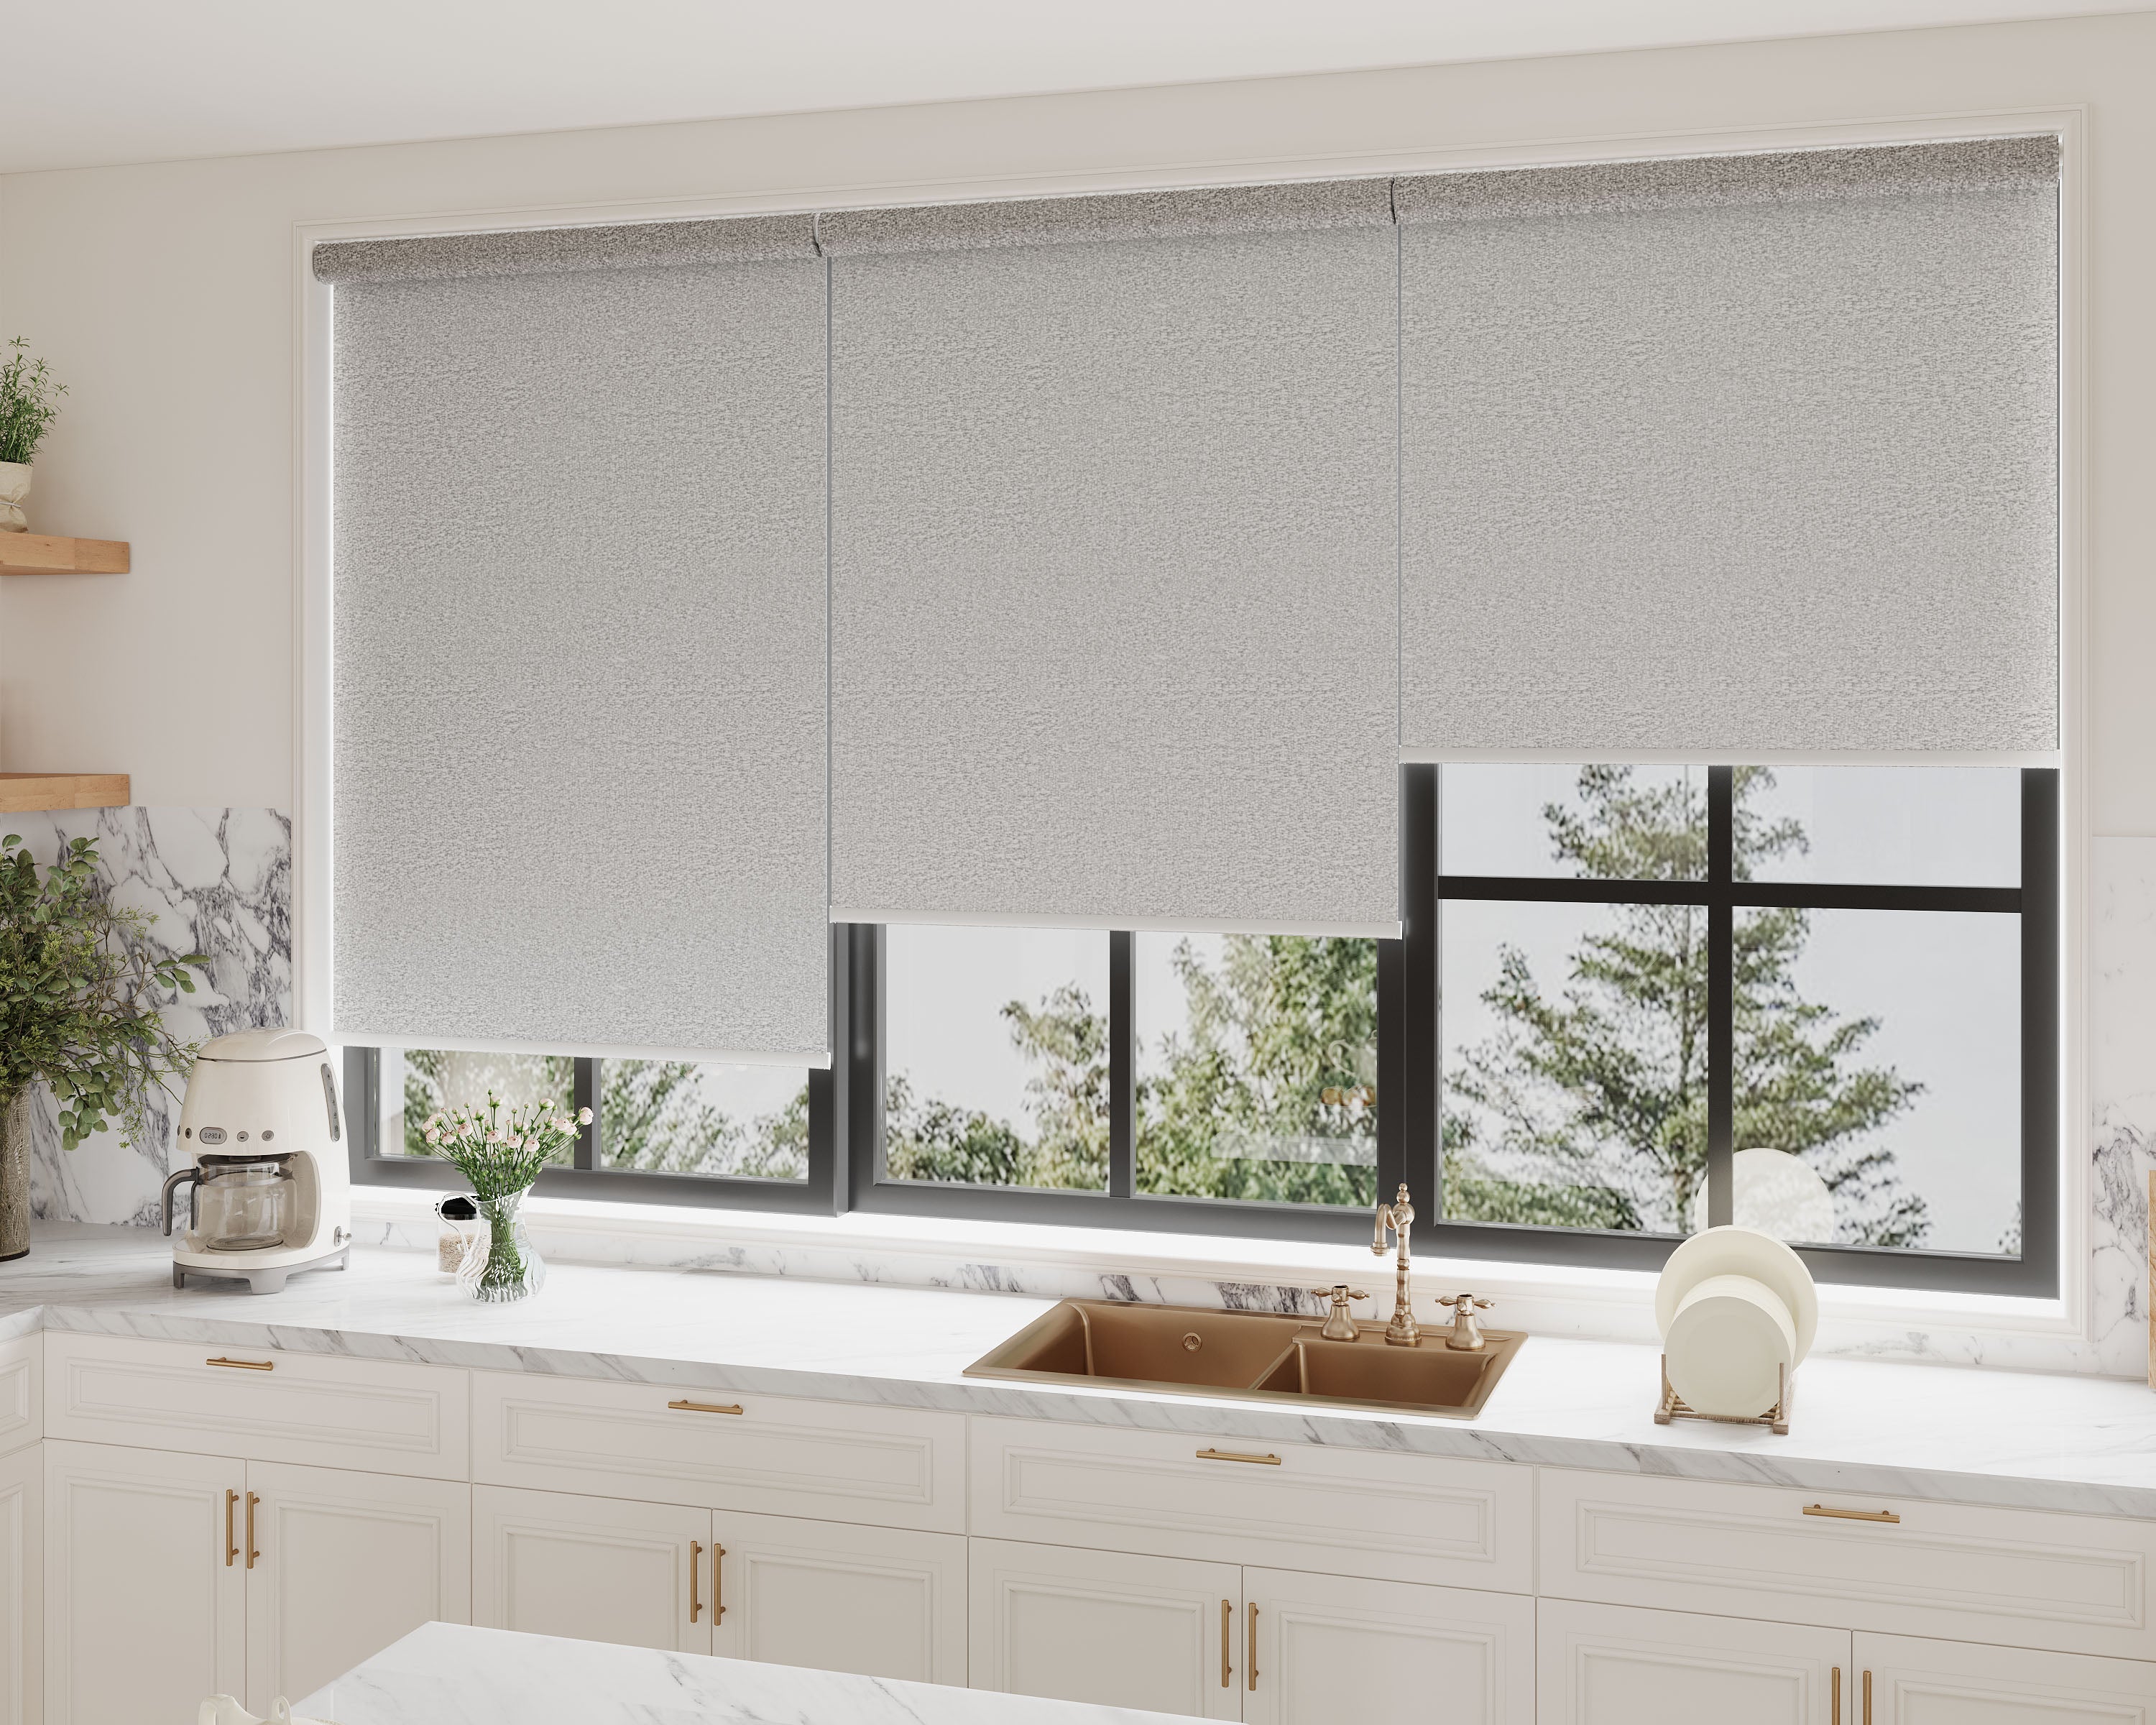
Getting ready for new shades? It’s exciting—until you realize those old mini-blinds have to come down first. Taking out mini-blinds safely protects our walls, windows, and fingers, and really sets us up for a smoother installation. Most of us don’t think about hidden dust, wobbly brackets, or that tangle of cords until we’re knee-deep in the job, but with a little planning, it’s way less stressful.
You don’t need a fancy toolbox—just a few steps and a minute to think about safety. Let’s do this together, keep it tidy, and clear the way for our new look without any drama.
Key Takeaways
- Outdated mini-blinds come down safely with a few simple steps
- A little planning saves a lot of hassle
- Taking precautions keeps our home and hands safe
Why Replace Outdated Mini-Blinds
Switching out old mini-blinds isn’t just about style. New window treatments can freshen up a room, give us better control over light and privacy, and might even help with energy bills.
Improved Home Style and Aesthetic
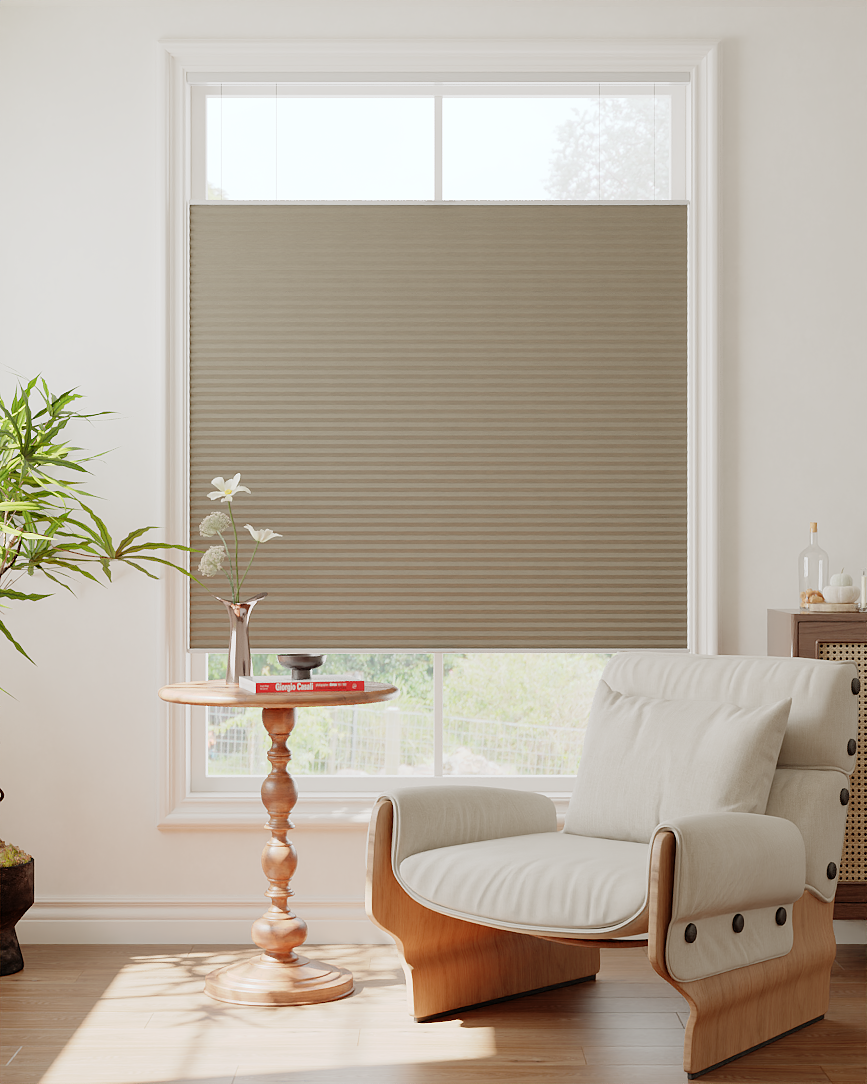
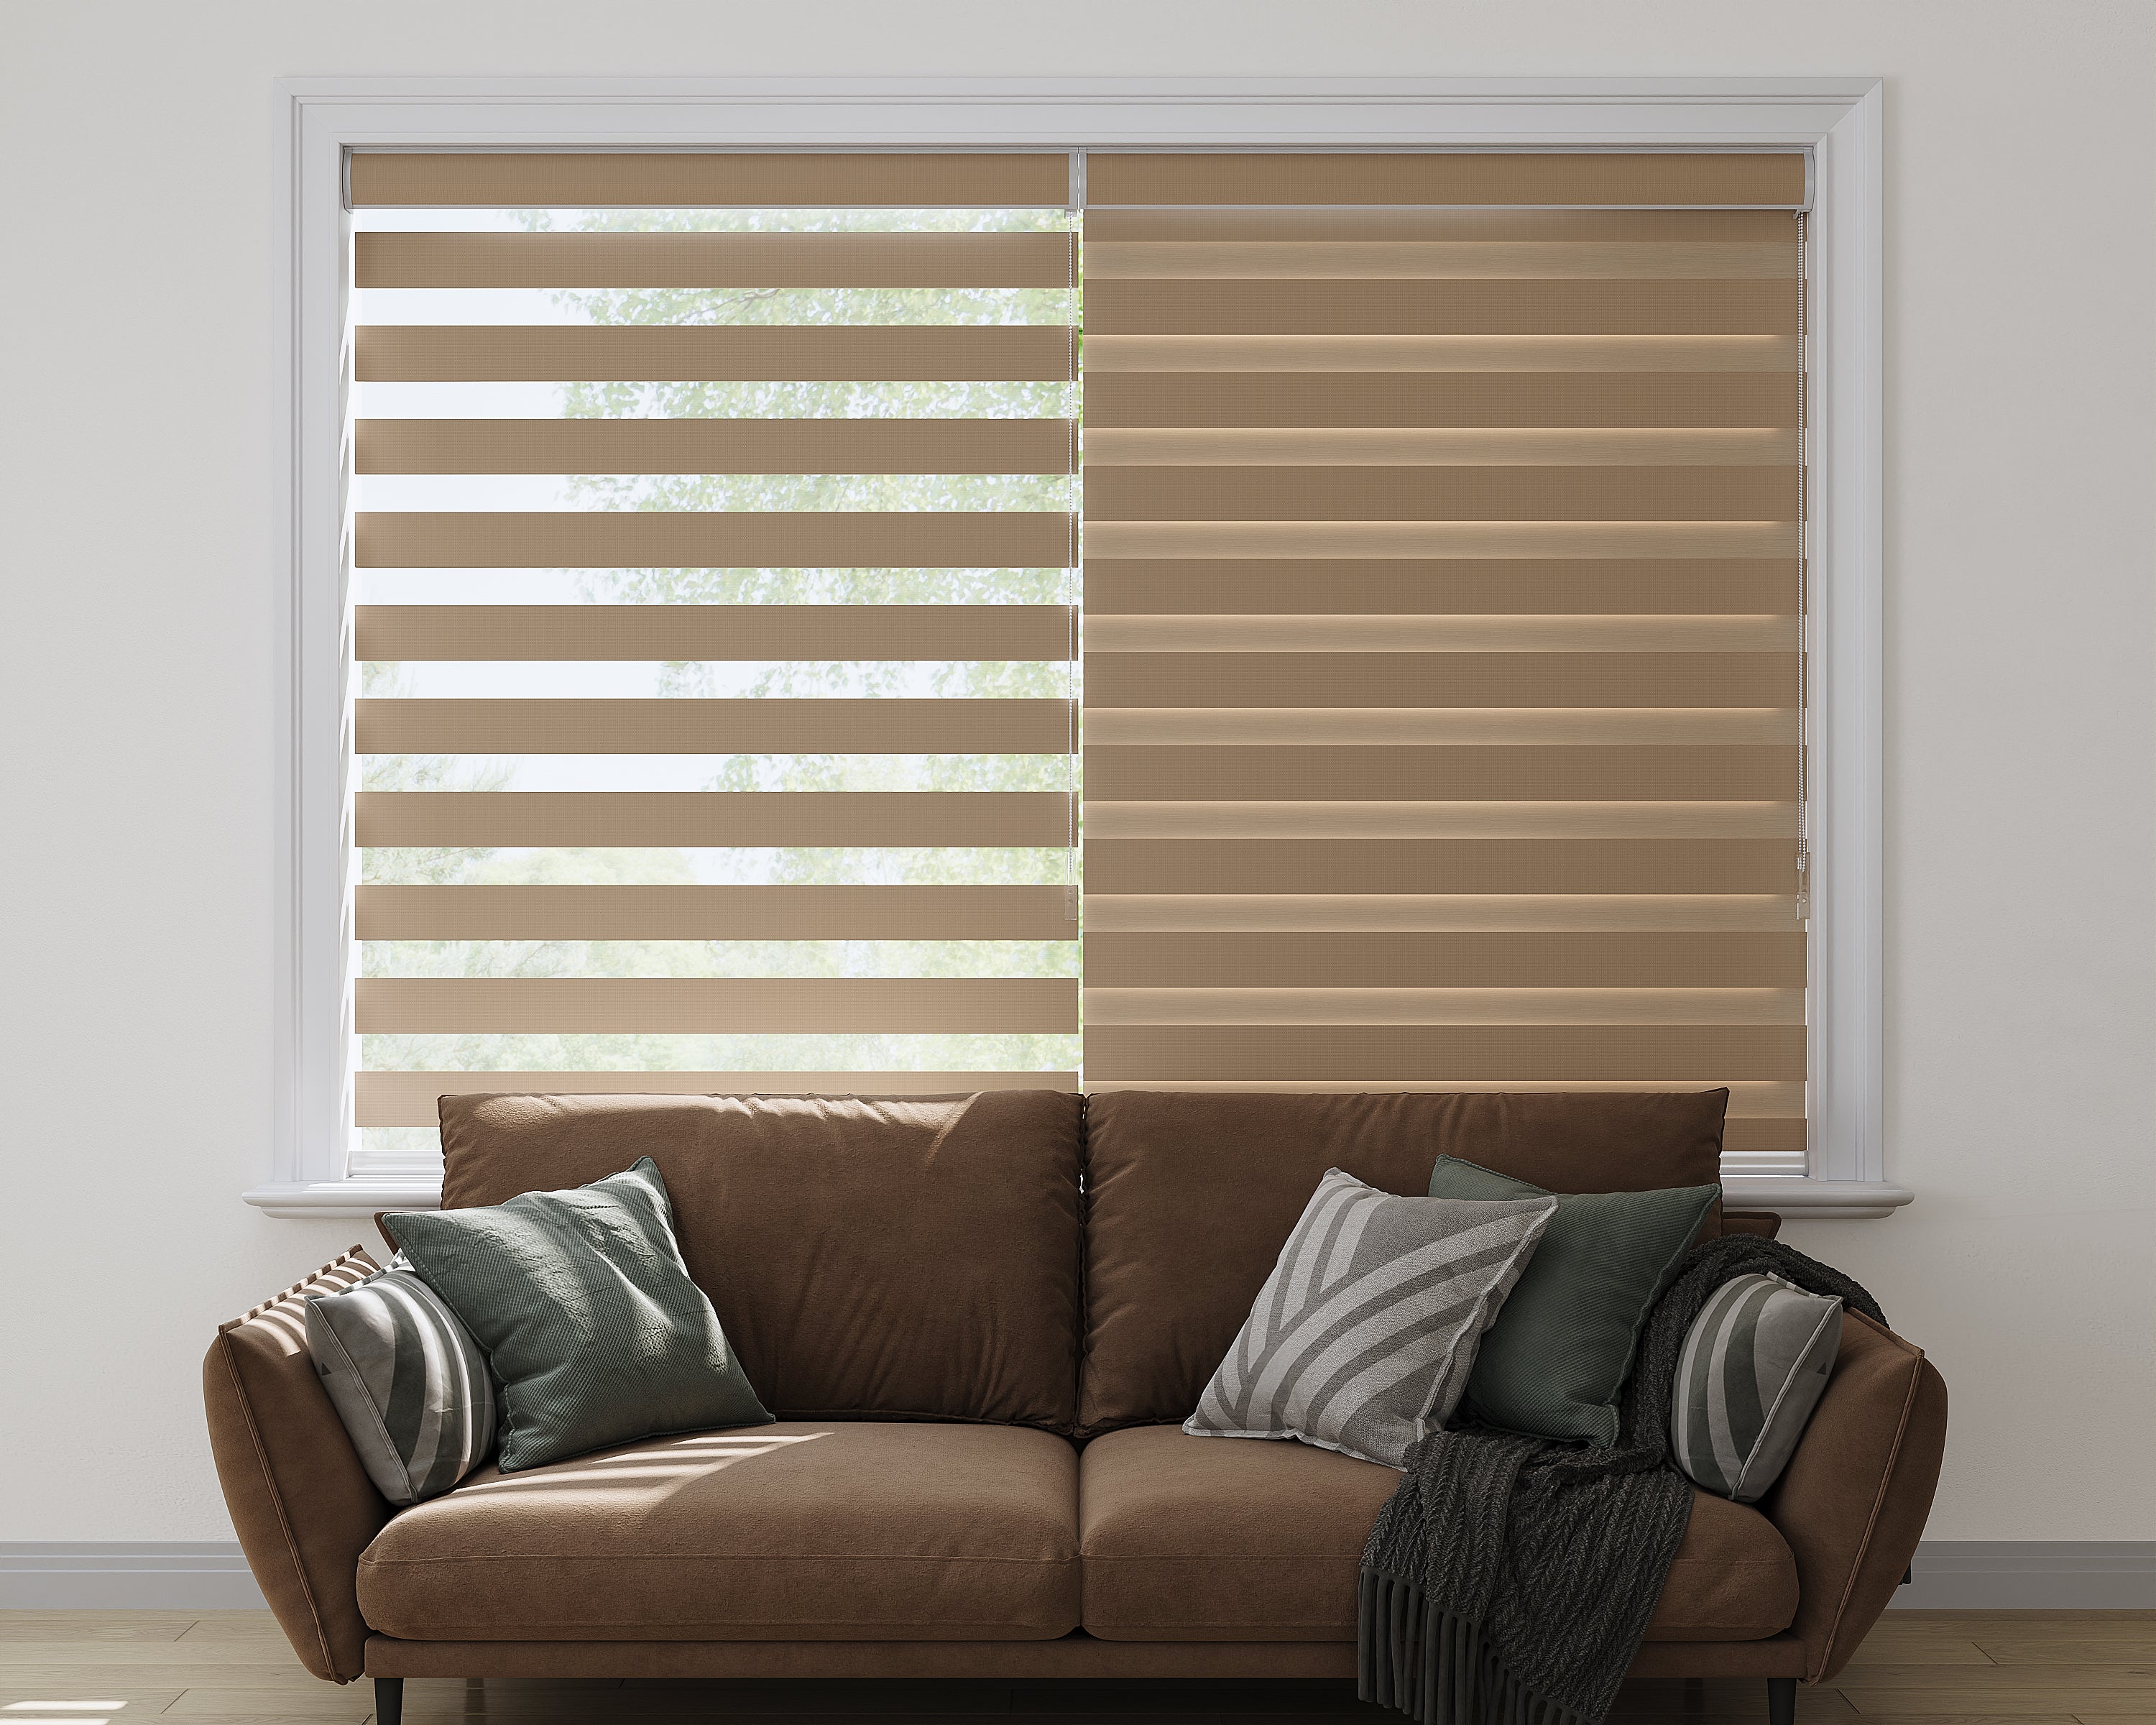
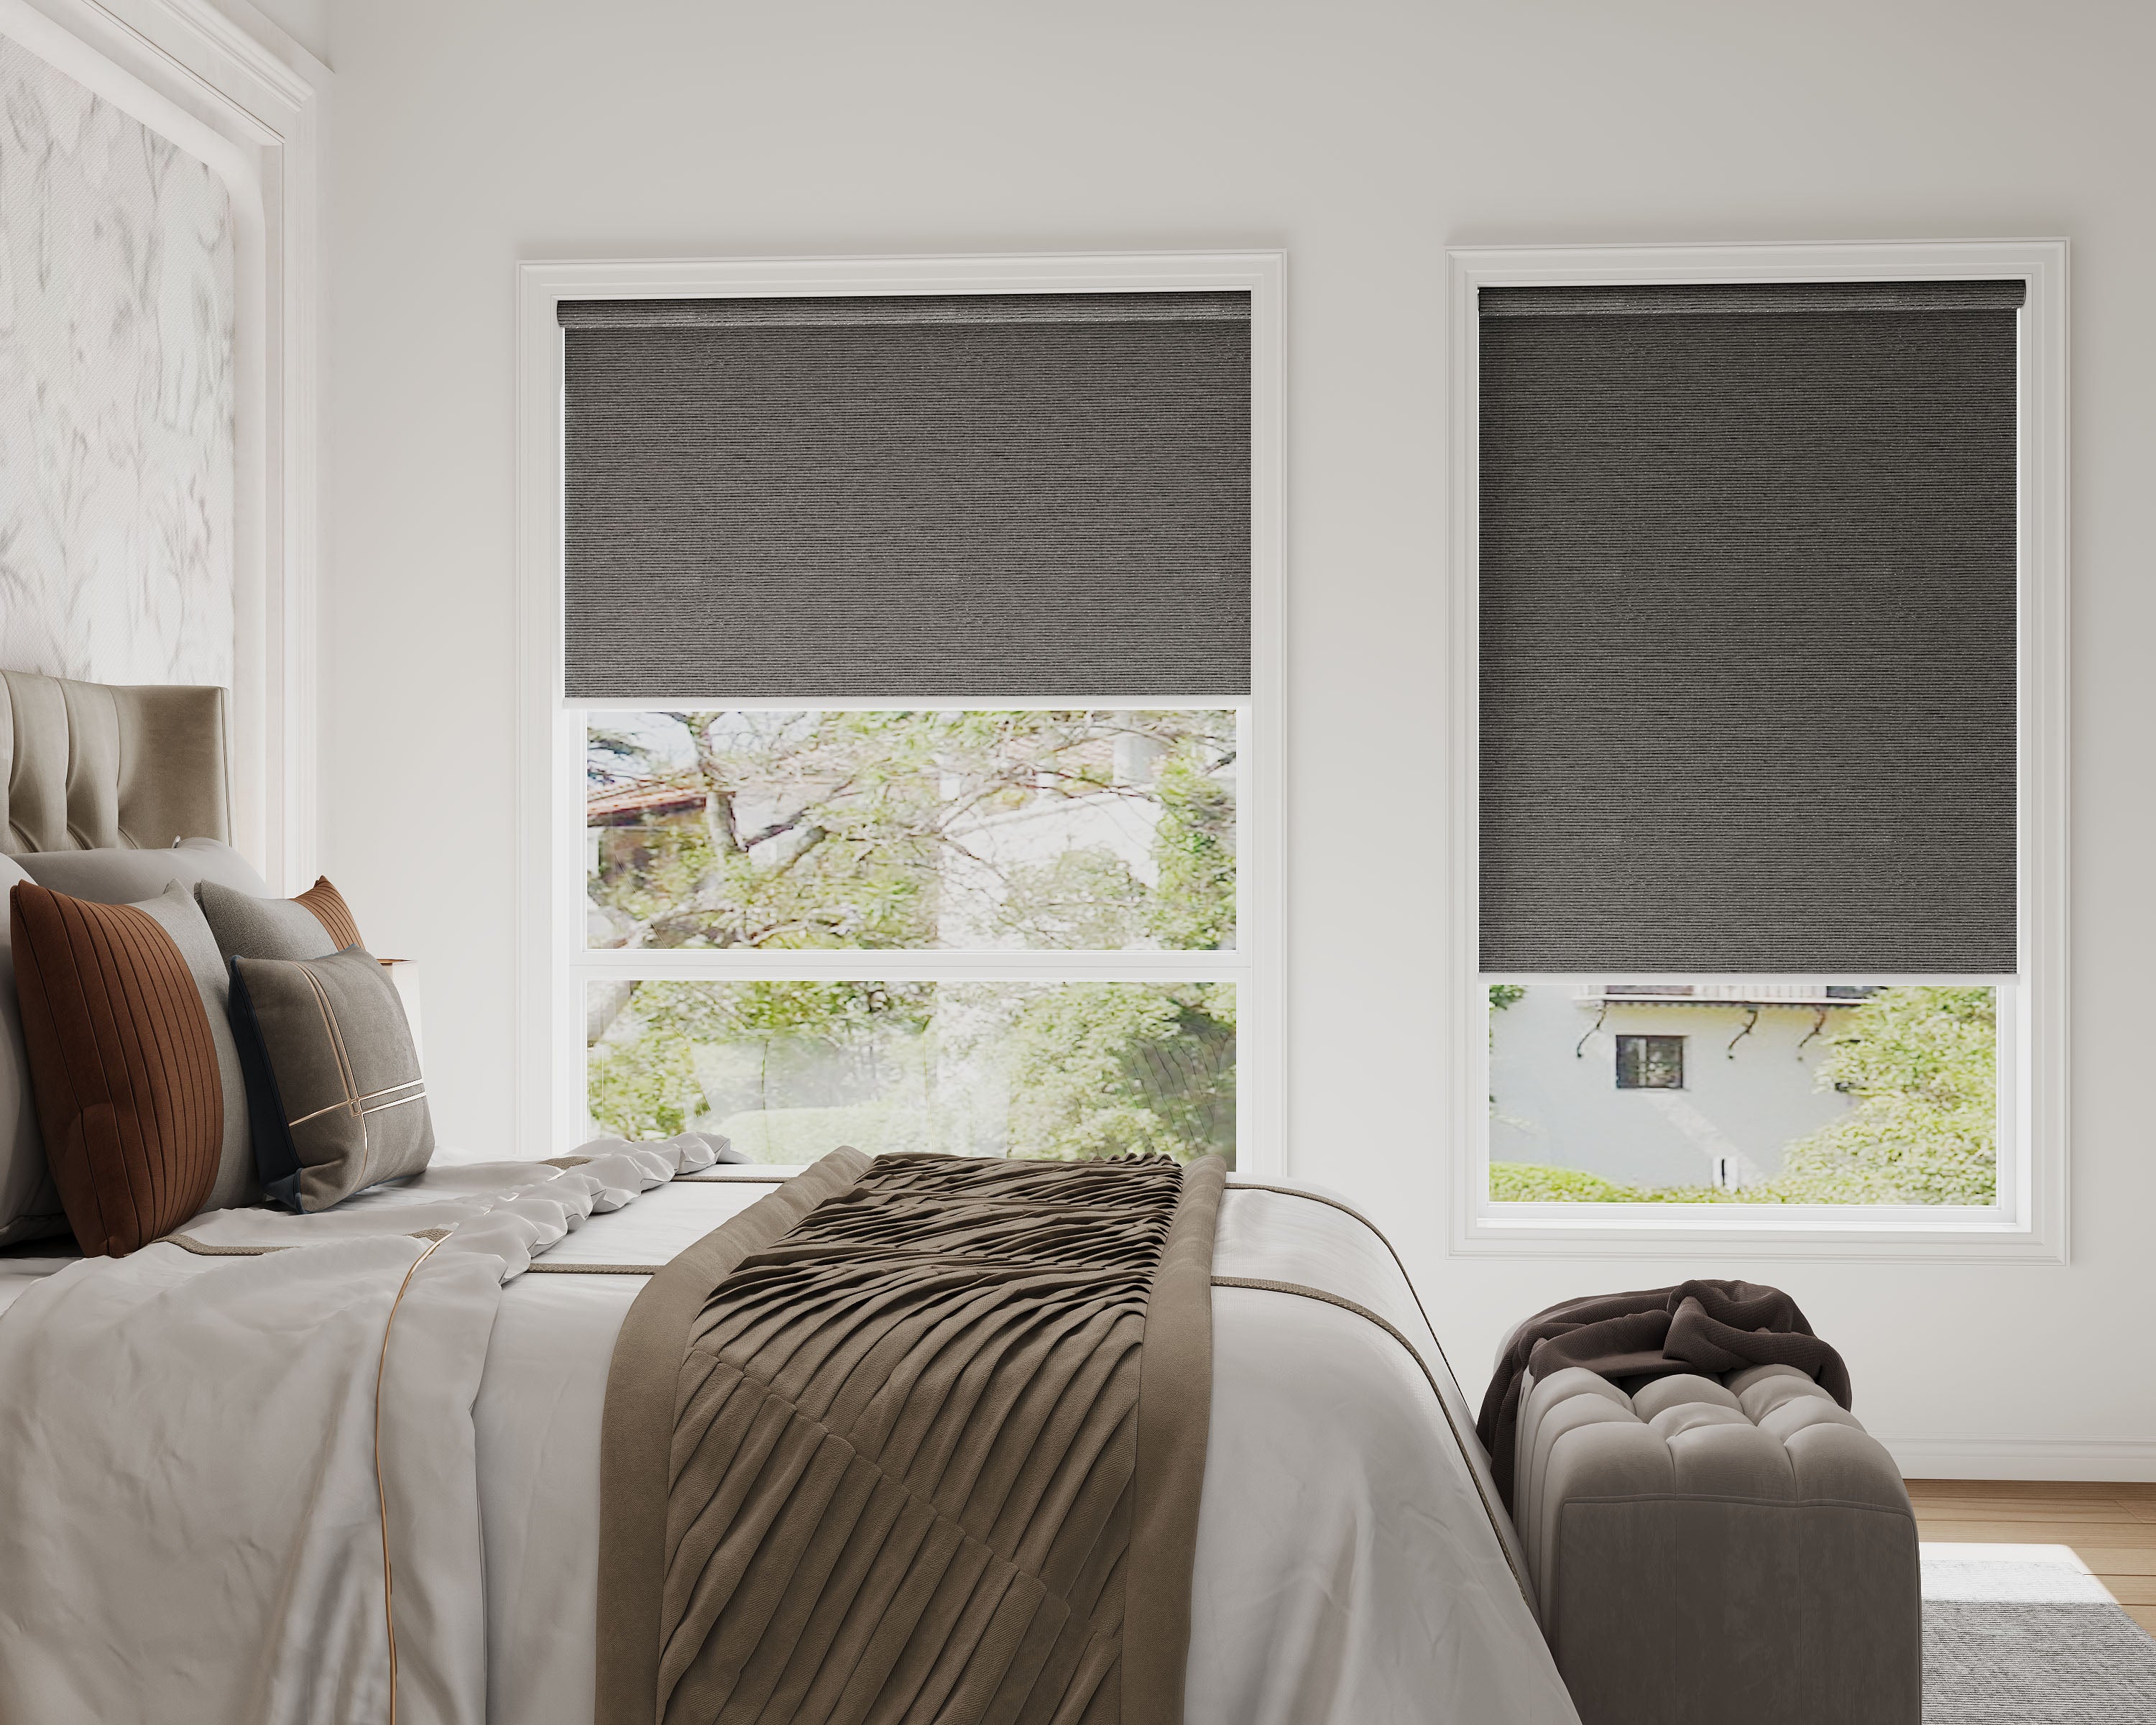
Let’s face it: bent slats and tangled cords can make even a clean room look tired. Modern shades—roller, cellular, Roman, you name it—instantly update a space.
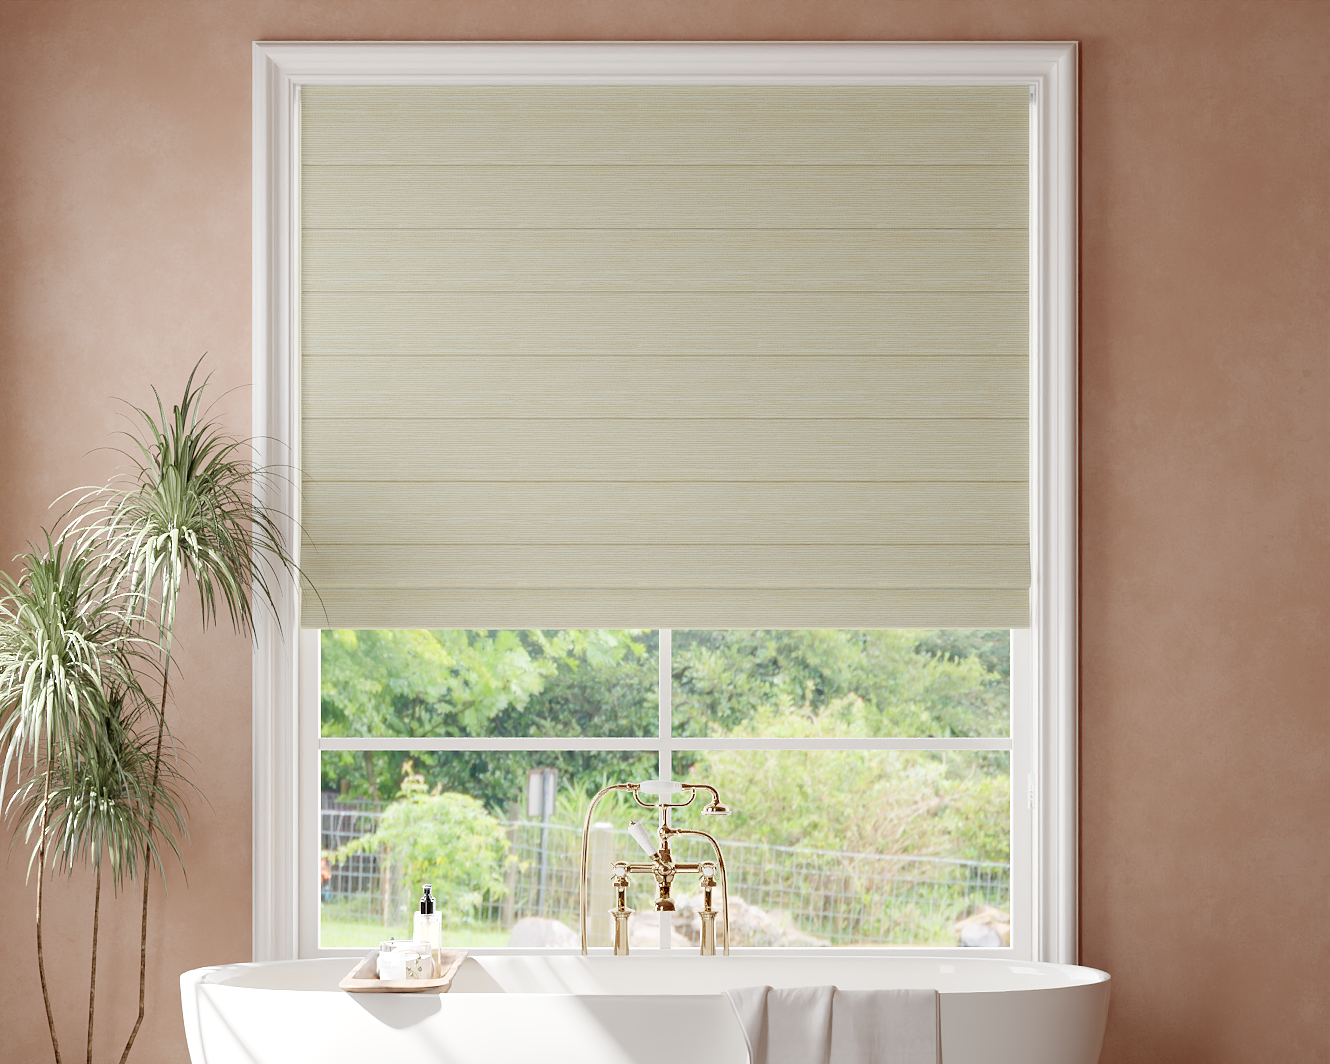
There’s a huge range of materials, colors, and patterns now. Whether you’re into minimalism or want something bold, it’s so much easier to match your vibe. Goodbye, “builder beige.” Hello, personality. This is the perfect moment to explore the timeless elegance of new roman shades as a sophisticated upgrade.
And hey, curb appeal matters. Buyers notice window treatments, so this is one of those quick upgrades that can make a solid first impression.
Enhanced Light Control and Privacy
Mini-blinds are notorious for letting in slivers of light and not always giving us the privacy we want. Newer shades give us more control over both.
Top-down/bottom-up shades or smart shades? We can adjust exactly where the light comes in or block it out altogether. No more wrestling with cords just to dim the glare for a nap or a Zoom call.
Better light control means less fading on furniture and floors, too. And it just makes the space feel more comfortable, whatever time of day.
Energy Efficiency Perks
Let’s be honest, mini-blinds don’t do much for insulation. Modern shades—especially cellular or honeycomb styles—trap air and help with drafts or summer heat.
Energy-efficient shades can actually lower heating and cooling bills. Some even have reflective or thermal linings for extra insulation. Over time, those savings can add up. Plus, it’s just nicer not to feel a chill every time you walk past the window.
Planning Ahead: Timing and Preparation
Getting a head start on mini-blind removal makes the upgrade process smoother and helps us avoid last-minute headaches. It also protects walls and window frames from unnecessary damage.
Coordinating Mini-Blind Removal With New Shades Delivery
Timing is everything. If we take down blinds too early, we’re stuck with bare windows—awkward in bathrooms or street-facing rooms. Wait too long, and there’s no time to patch or clean before the new shades go up.
Let’s double-check when the new shades will arrive and plan the removal a day or two before installation, if we’re doing it ourselves. If someone else is installing, coordinate with their schedule. For windows where privacy is a must, temporary paper shades or an old curtain work in a pinch.
Essential Tools and Materials Checklist
Let’s get our toolkit together before starting. Here’s what we’ll want:
- Screwdriver (flat or Phillips)
- Pliers
- Step ladder
- Utility knife
- Dust mask and gloves
- Small container for screws/brackets
A gentle cleaner and putty knife help with sticky residue. Painter’s tape is handy if we’ll patch and paint holes right after. Toss an old sheet or tarp on the floor to catch dust and debris. Having everything close by makes the job way less chaotic.
Measuring and Assessing Your Windows
Once the old blinds are gone, take a good look at the windows. Check for damage, discoloration, or leftover bracket bits. Now’s the time to clean the frame and sills.
Double-check measurements for the new shades. Even small changes in trim or frame condition can mess with the fit. Grab a tape measure and jot down width, height, and depth. If you spot cracked paint or holes, patch them up before the new shades arrive. Before ordering, ensure a perfect fit by following our guide to fool‑proof measuring for your replacement shades.
A quick chart helps keep things organized:
| Window Location | Width (in) | Height (in) | Depth (in) | Issues to Address |
|---|---|---|---|---|
| Living Room Left | ||||
| Bedroom North | ||||
| Kitchen Sink |
Safety First: Precautions Before You Start
Before diving in, let’s make safety a priority. Protecting ourselves, our space, and handling leftover parts the right way makes everything go more smoothly.
Protecting Yourself and Loved Ones
Start with work gloves—mini-blinds have sharp edges and splinters. Eye protection isn’t overkill; you never know when a cord might snap.
If there are kids or pets around, set up a safe zone. Nobody wants a little one tugging on loose cords or stepping on brackets.
Use a sturdy ladder or step stool, not a wobbly chair. Make sure it’s on level ground. If the blinds are up high, ask for help instead of stretching and risking a fall.
Safeguarding Your Walls and Floors
Lay down an old sheet or drop cloth to save your floors from scratches and stray screws. Painter’s tape under the brackets can help prevent scuffs.
Scan for hidden wires or pipes if the brackets are deep in the wall—a basic stud finder does the trick. That way, you avoid a surprise repair job.
Keep a small container or magnetic tray handy for screws and brackets. It’s way easier than chasing tiny parts across the floor later.
Safe Disposal of Hardware
Once the blinds are down, resist the urge to just toss them. Most metal and plastic parts can be recycled. Check your local recycling guidelines or drop them at a community center.
If the blinds still work, donating them is a thoughtful move. Some hardware stores even accept old blinds for recycling.
Bag up loose hardware and label it. Sharp bits are safer this way, for you and anyone handling the trash or donations.
Step-by-Step Guide to Removing Mini-Blinds
Taking down mini-blinds is a manageable job if we stay organized. Work methodically, handle parts carefully, and aim to leave the window area clean for the next step.
Detaching Blinds Without a Hitch
First, raise the mini-blinds all the way so they’re compact and easy to manage. Open them up, then pull the lift cord to gather the slats at the top.
Look for valances or decorative fronts—they usually snap or slide off with a gentle tug. Find the brackets at each end of the headrail; most have a hinged latch or small locking tab.
Pop open the bracket latches with your fingers or a flathead screwdriver. Once both ends are free, grip the headrail with both hands and slide it out. Keep your movements steady to avoid dropping or bending anything.
Tip: If the blinds seem stuck, double-check the bracket tabs. A little wiggle usually does it—don’t force it, though!
Handling Mounting Brackets and Screws
After the blinds are out, unscrew the mounting brackets with a screwdriver. Usually, two to four screws hold each bracket. Drop all the loose bits into a small container.
Pay attention to window corners and the ceiling if the blinds were mounted above the frame. Sometimes, paint makes brackets stick—a gentle twist with the screwdriver can help. Once all the hardware is down, check for holes or chipped paint.
Here’s a quick checklist:
| Task | Tools Needed |
|---|---|
| Unscrew brackets | Screwdriver |
| Remove valance clips or covers | Hands/flat screwdriver |
| Gather screws and hardware | Small container |
If you plan to keep using the existing mounting points, ensure compatibility by learning about ordering replacement brackets for legacy hardware models.
Look for sharp metal bits or splinters before moving on. We want a clean area for the new shades.
Cleaning Up After Removal
With everything down, wipe the window frames with a damp cloth. Mini-blinds are dust magnets, so clean the sills and corners well. Vacuum up any loose dirt or plaster.
If you see holes from old screws, fill them with spackle or wood putty and smooth them out. This gives a nice, even surface for the new treatments. Let any patching dry, then dust the area.
Recycle metal parts or donate what you can. Keeping things tidy now makes the next step much easier.
Dealing With Unexpected Surprises
Sometimes, things don’t go as planned. Hardware can get stubborn, or maybe the wall behind the blinds isn’t in great shape. It happens—here’s how to handle it.
Addressing Stubborn or Damaged Hardware
When brackets or screws won’t budge, don’t force them and risk messing up the wall. Try this:
- Put a little penetrating oil on stuck screws—let it sit for 10 minutes.
- Use a manual screwdriver for more control, not a power drill.
- If a screw is stripped, wedge a rubber band between the screw and driver for extra grip.
- For bent or broken brackets, gently pry the edges with a putty knife.
Keep a small hammer, adjustable pliers, and a utility knife nearby. Swapping out damaged hardware now saves headaches later, especially if you’re putting new shades in the same spot. If your new shades aren't perfectly straight after installation, learn how to level a crooked shade without re‑drilling for a quick fix.
Repairing Holes and Wall Damage
After taking down blinds, you'll probably spot some holes or little dings in the drywall. Luckily, you don't need to be a pro to patch them up:
- Clean the area—get rid of dust or loose bits first.
- Fill small holes with lightweight spackling paste and a putty knife.
- For bigger gouges, grab a wall repair kit and let it dry well.
- Sand lightly with fine-grit sandpaper so everything's smooth.
If the removal reveals a shallow frame or limited depth, you may need to explore slim‑profile hardware solutions for shallow frame problems.
Touch up with leftover paint if you have it, feathering out the edges so the fix blends in. Honestly, having that last can of paint stashed away makes these repairs a breeze.
Eco-Friendly Disposal and Recycling Options
Tossing old mini-blinds in the trash isn't the only option. There are better, greener ways to recycle or reuse them, whether they're metal, plastic, or wood.
Where to Recycle Old Mini-Blinds
First off, figure out if your blinds are aluminum, wood, or vinyl—that changes what you can do with them. Aluminum mini-blinds usually go to scrap metal yards, and some recycling centers will take them if you cut off the strings and other non-metal bits.
Vinyl and plastic blinds are trickier. Most curbside bins won't accept them, but it's worth calling local recycling centers about drop-off options. Sometimes hardware stores run take-back programs for blinds—doesn't hurt to ask next time you're there. If you have to trash them, at least separate and recycle any metal parts.
Here's a quick checklist before you recycle:
- Cut off cords, tassels, and hardware
- Separate materials (metal, plastic, etc.)
- Wipe everything down to get rid of dust
A little prep keeps recycling centers happy and avoids contamination.
Creative Repurposing Ideas
If recycling's a dead end, why not get creative? You can turn wood or metal slats into garden markers, plant stakes, or drawer dividers. Just clean, cut, and label them with a marker or chalk paint.
Maybe you like crafts—those slats work for wall art, frames, or tiny shelves. Even vinyl blinds make decent stencils or kid-friendly craft supplies.
If you know a teacher or someone running workshops, bundle up old blinds and donate them. Arts centers and schools often love free materials, and it's better than tossing them. Sometimes, the best decor starts with what you almost threw away.
Getting Ready for Your New Shades
Before you hang those shiny new shades, take a little time to prep the space.
Measure the windows again—just to be sure. It's a little paranoid, but it beats a surprise misfit.
Move anything crowding the window: plants, knickknacks, furniture—just clear the zone. You'll want space to work without bumping into stuff.
Quick checklist:
- Take down all hardware from the old blinds.
- Patch and paint any holes, if needed.
- Clean the glass, sills, and frames.
- Gather tools and mounting parts for the new shades.
Tip: If the new brackets are different, toss all those tiny bits in labeled bags so nothing disappears. This is also the time to decide whether an inside mount or outside mount is best for your windows and new shades.
While you're at it, vacuum or dust the corners the old blinds hid for years. Your new shades will look even better in a clean space.
Once prepped, set the new shades nearby—but not in your way. No sense in tripping over them when you're ready to install.
Final Touches: Keeping Windows Looking Fresh
With the old blinds gone, it's the perfect moment to show your windows a little love. Check for scuffs, dust, and any leftover hardware.
A microfiber cloth works wonders for a quick wipe-down. For stubborn grime, a bit of warm water and mild soap does the trick. Don't skip the sill and trim—they collect more dust than you think.
If you spot nail holes or marks, dab on some spackle. Once it dries, sand lightly and touch up with a bit of paint.
Here's a handy checklist:
| Task | Tools/Materials |
|---|---|
| Wipe glass & frame | Microfiber cloth, spray |
| Clean sills | Duster, vacuum |
| Patch holes | Spackle, putty knife |
| Touch up paint | Small brush, paint |
Check that the windows open and close smoothly, too. If they're sticky, a little lubricant on the tracks usually helps.
A tidy window area makes your new shades pop. Plus, it's a nice reset if you're planning any new decor.
Frequently Asked Questions
Removing mini blinds can be a bit of a puzzle, especially with clips, hidden brackets, or strict rental rules. Here are some practical tips to make swaps cleaner, simpler, and maybe a little more eco-friendly.
What's the trick to removing mini blinds with hidden brackets?
Hidden brackets usually hide a latch or tab underneath or behind. Use a flathead screwdriver to press or pry it while you support the blind with your other hand. Once the latch pops, the headrail should slide out with a gentle pull.
Can you guide me through replacing my window blind slats?
First, raise the blinds and pop off the end caps on the bottom rail. Slide out the old slats, slide in the new ones, and line them up with the ladders. Put the end caps back and lower the blinds. That's it.
I'm updating my space—how do I take down old mini blinds without making a mess?
Close the slats and vacuum them before removal to catch dust. Lay an old sheet below the window to grab any stray bits. Work in sections and take your time—it keeps the mess under control.
Is there a simple way to take down blinds that have clips?
Find the metal or plastic clips holding the headrail. Support the blind with one hand, and use the other to pry the clips open with a screwdriver or just your fingers. Once the tension's off, the blinds should come down pretty easily.
Are there special considerations for replacing blinds in an apartment to avoid fees?
Definitely. Check your lease, snap before-and-after photos, and stash all hardware in a labeled bag. Keep the old blinds so you can put them back before moving out—avoids any surprise charges for missing window treatments.
How do I dispose of old mini blinds in an eco-friendly way?
Got metal blinds? You might want to haul them over to a scrap metal recycling place—most of those spots will take them off your hands. Plastic or vinyl blinds get trickier; some local recycling centers might accept them, but it really depends, so you’ll need to check around. Sometimes, schools or community centers actually want old blinds for craft projects (who knew?). Just make sure they’re not filthy or totally busted before you donate.


