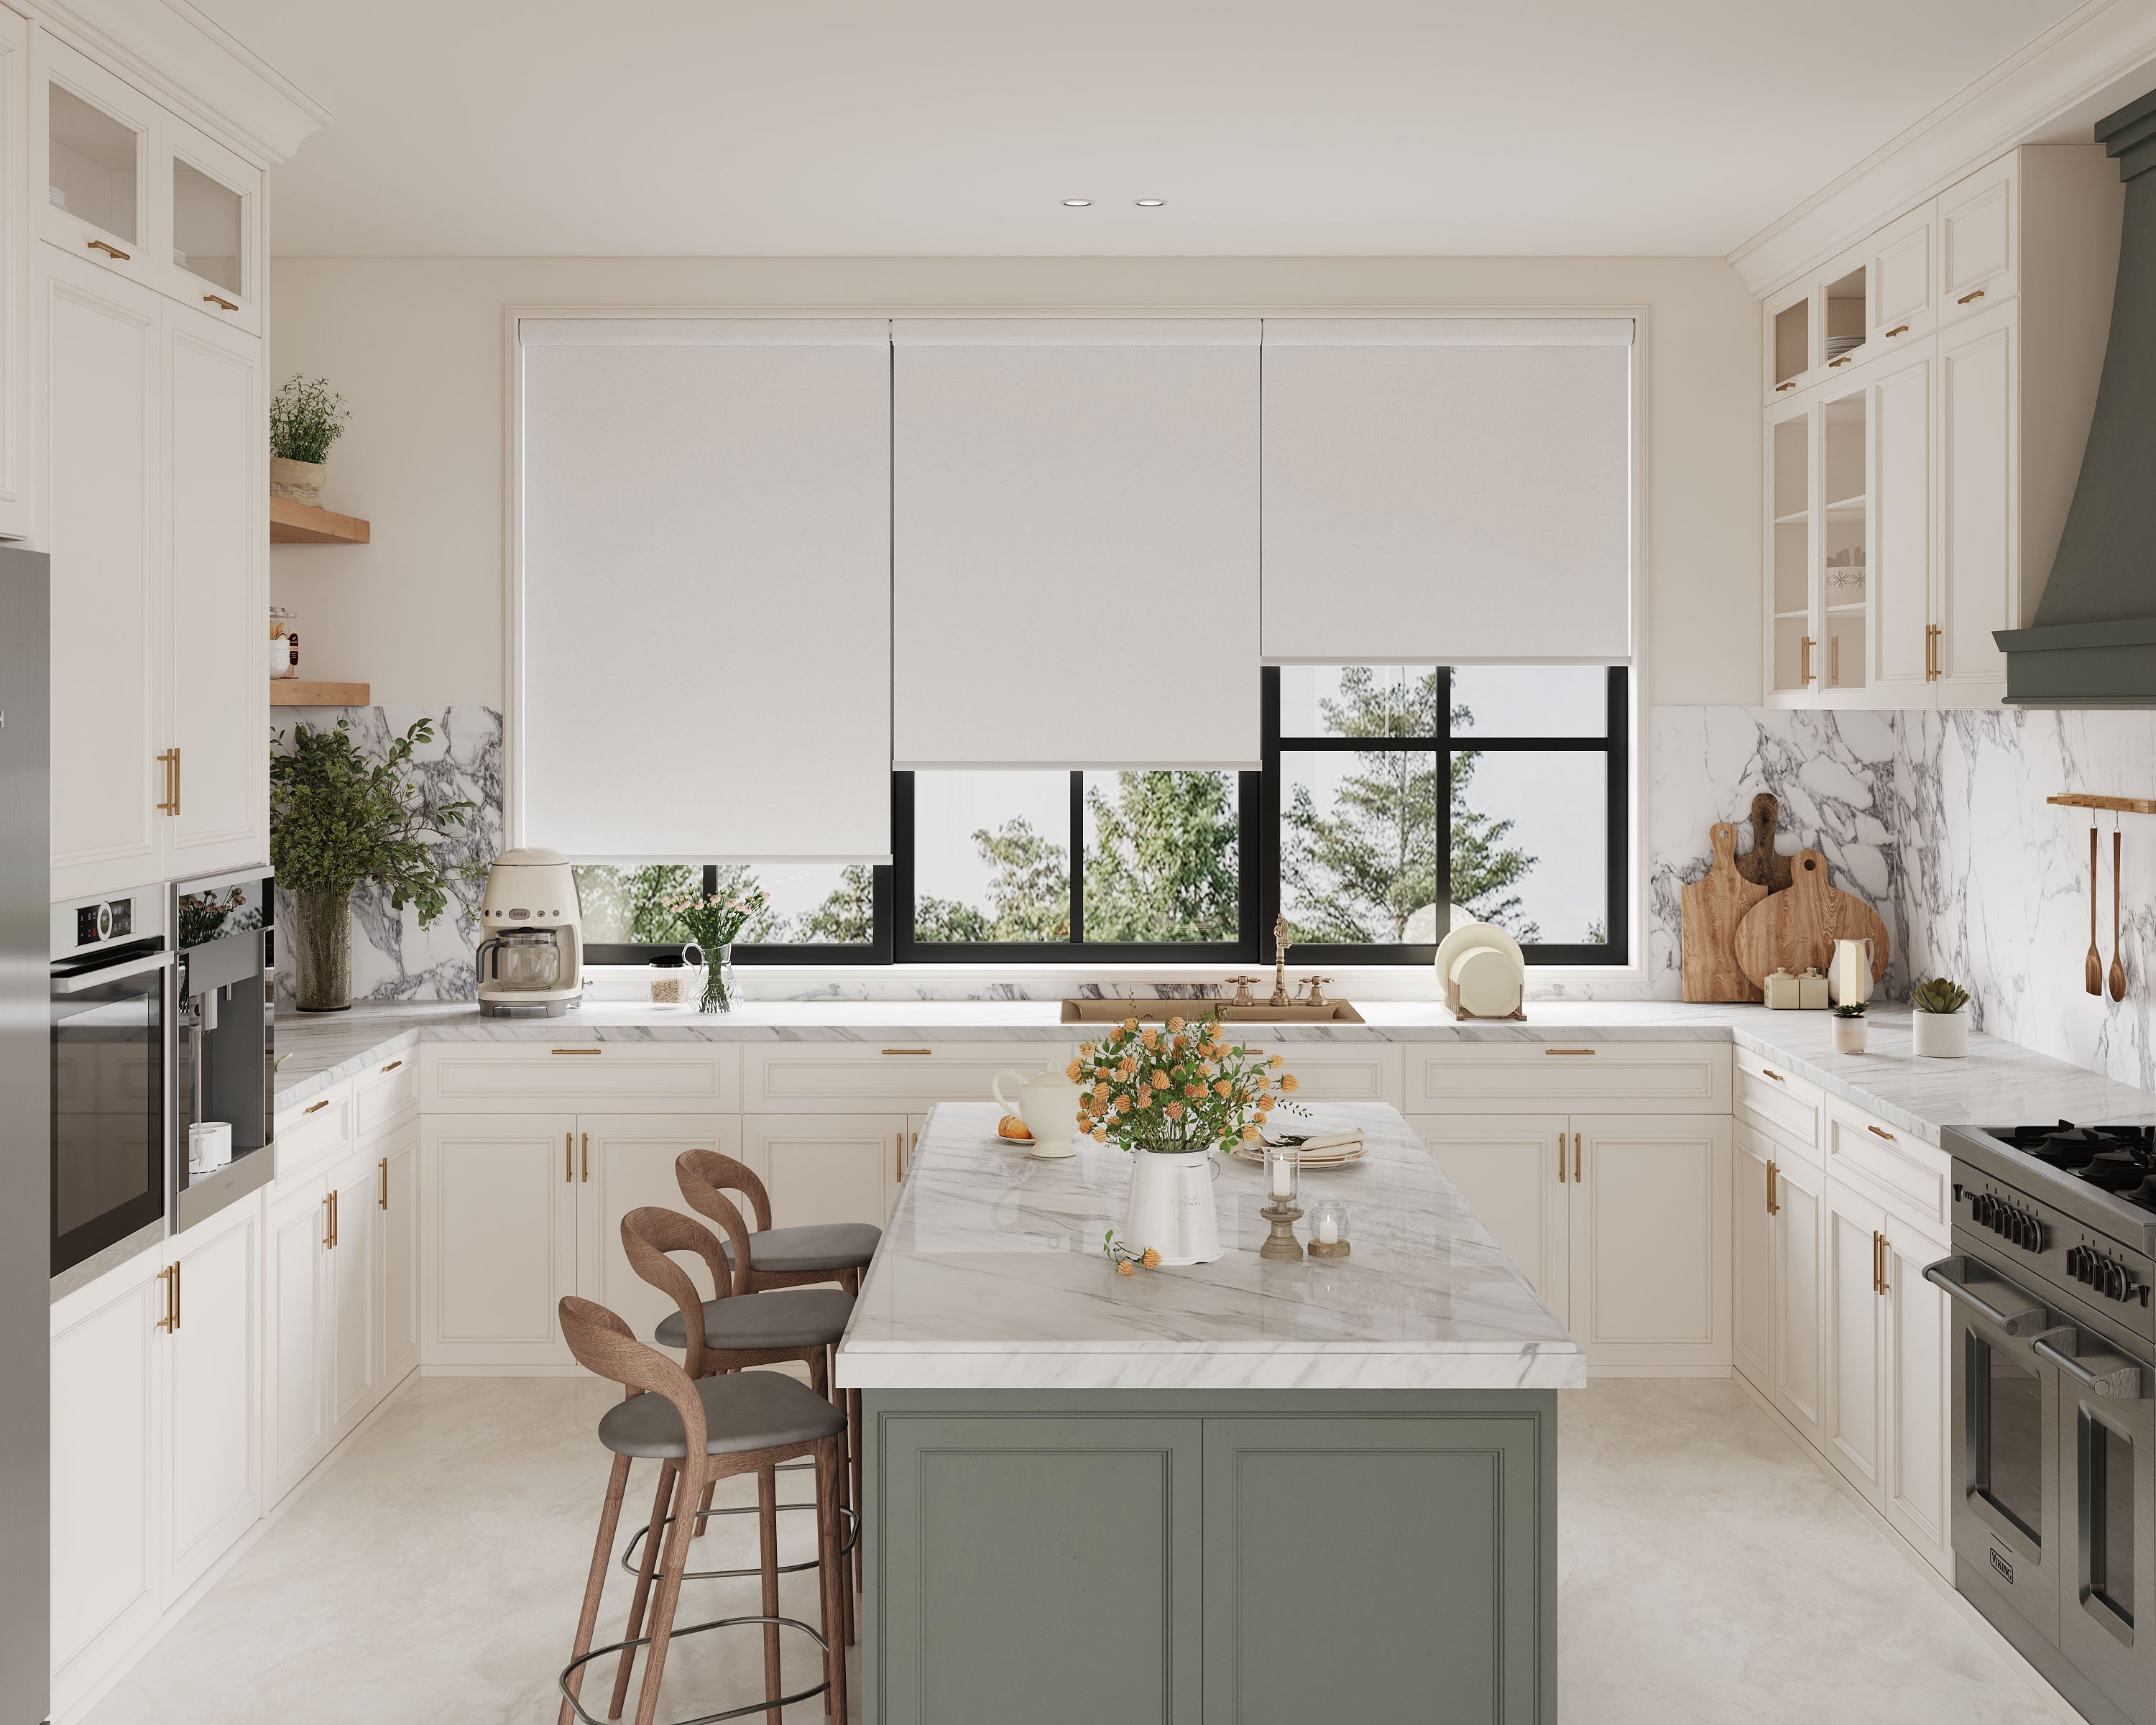
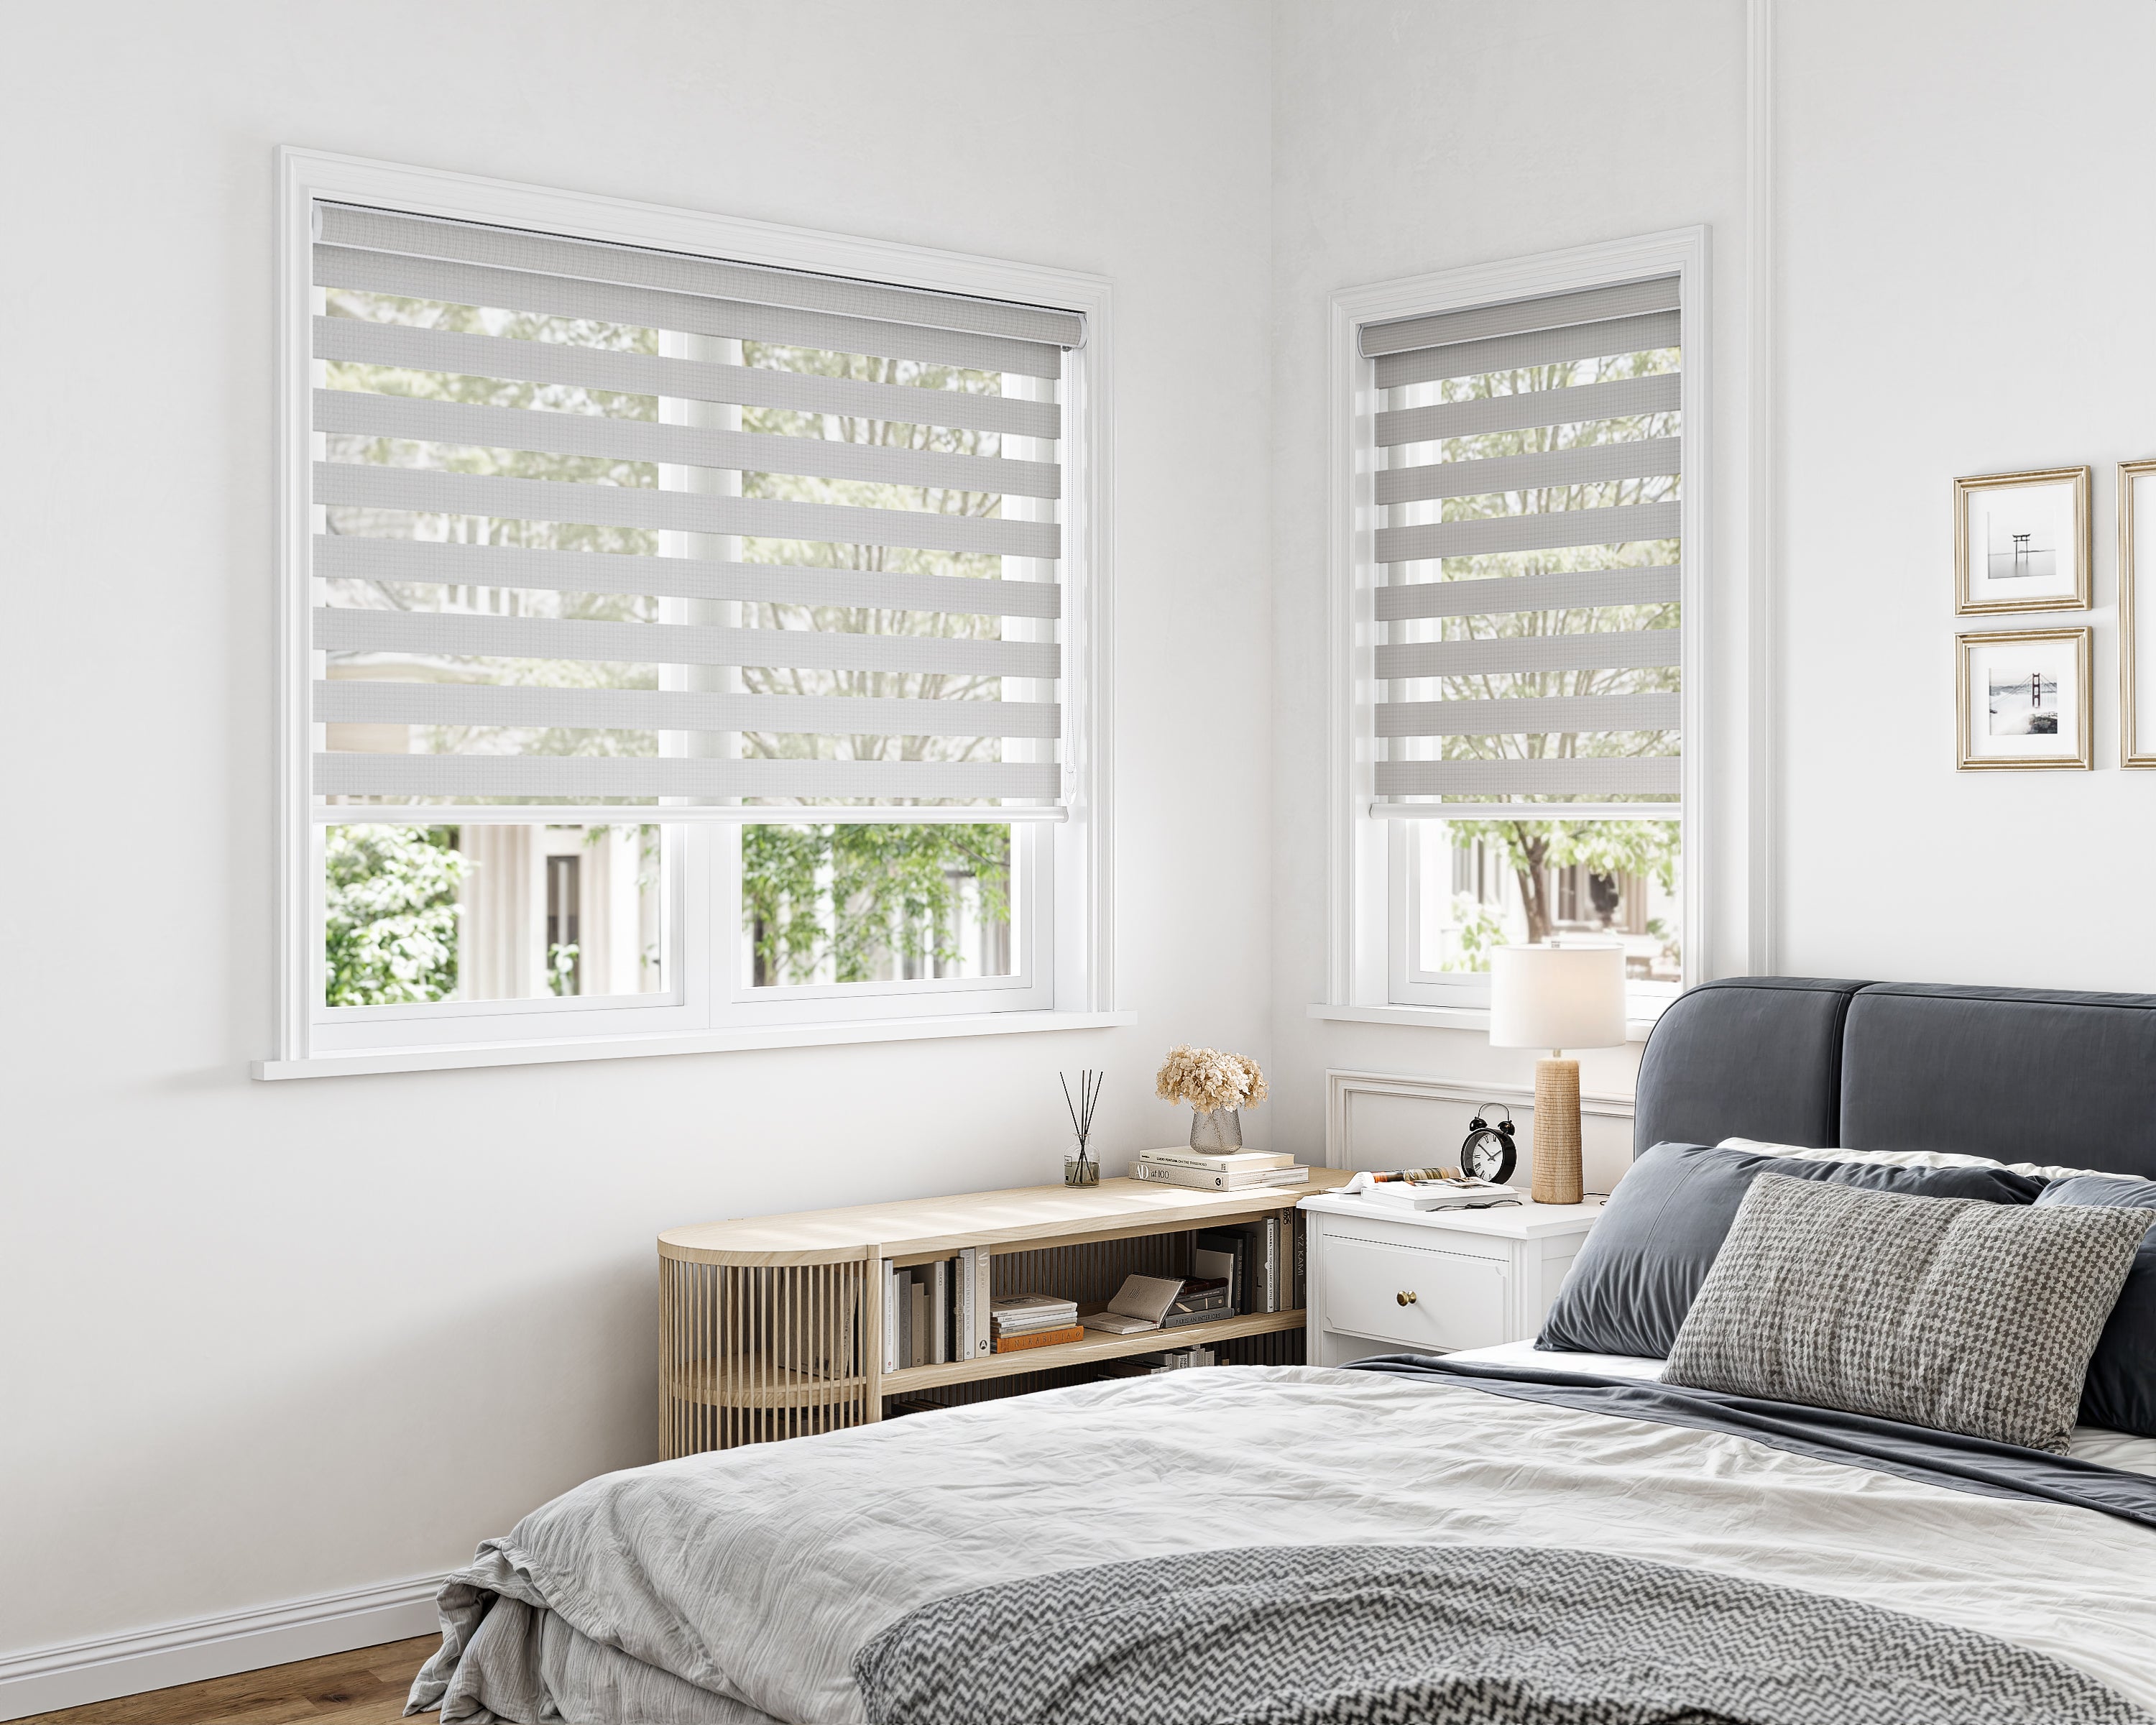
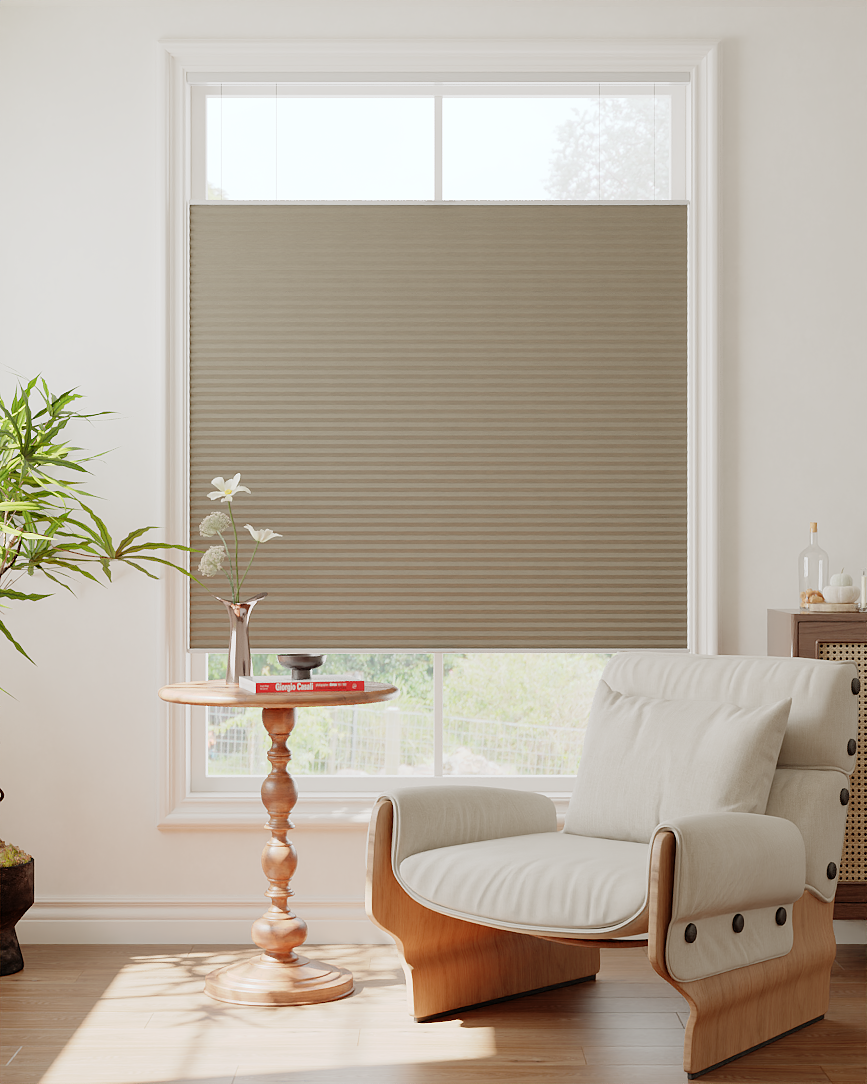
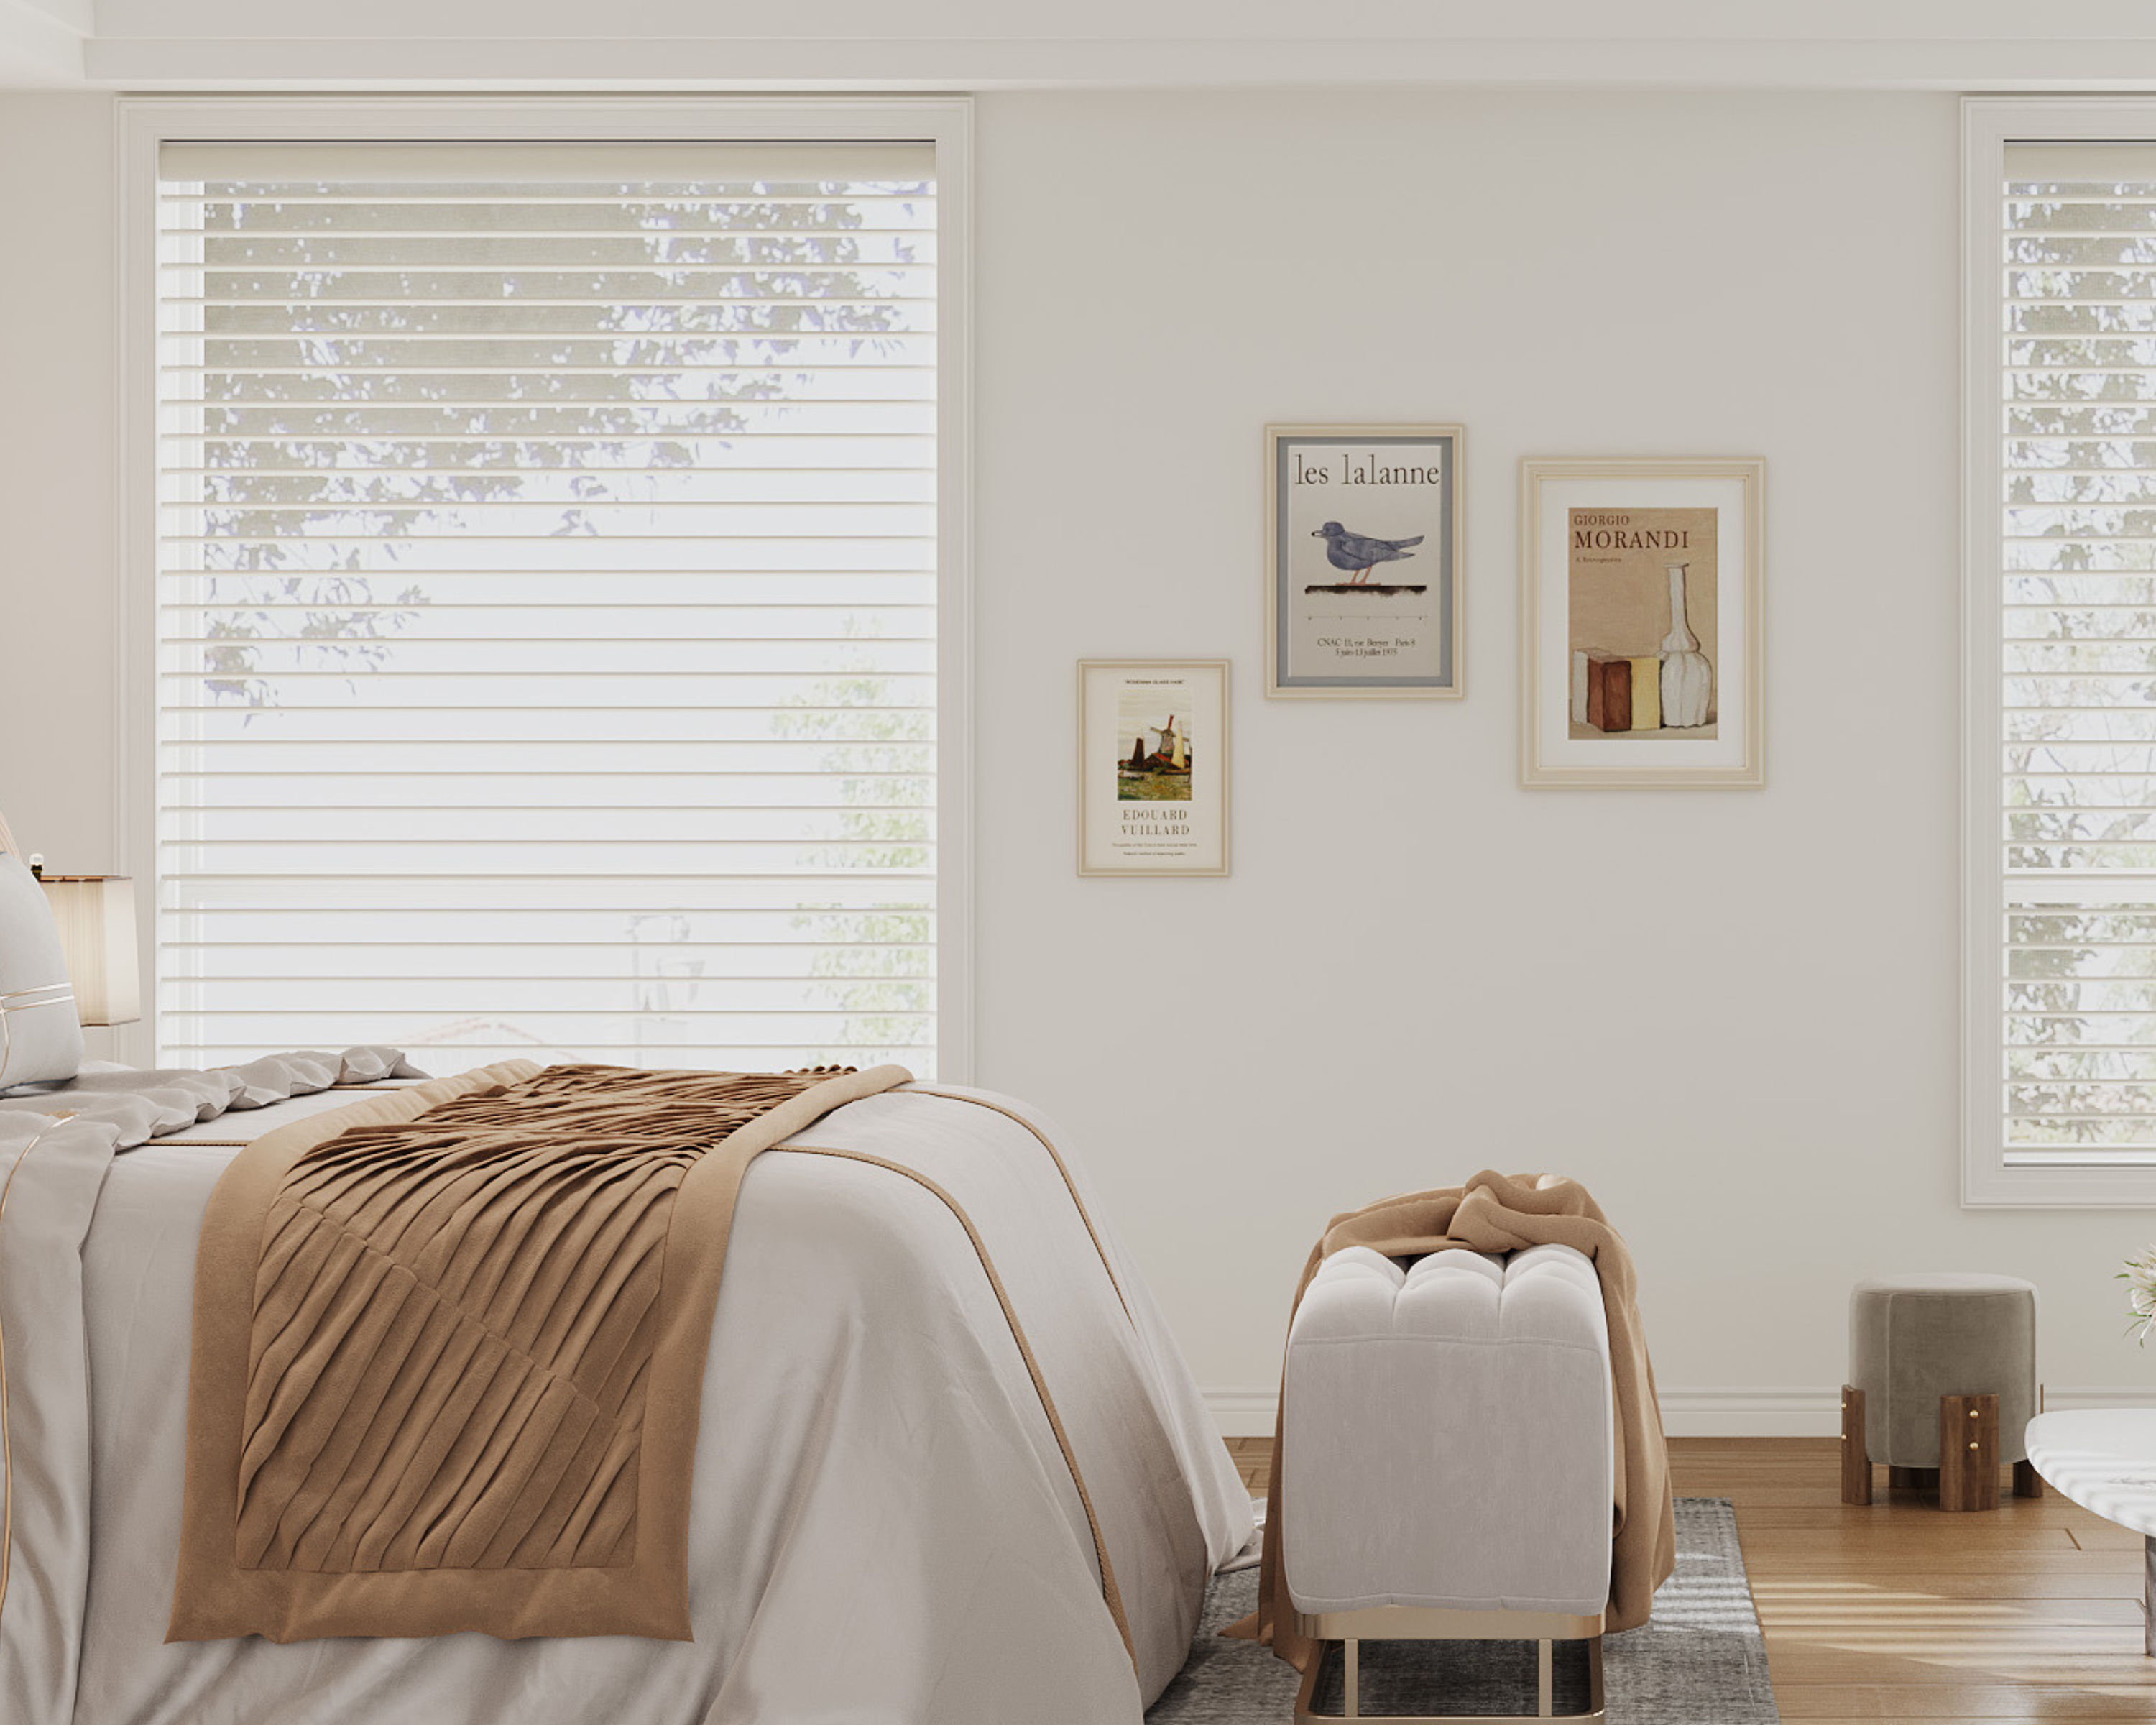
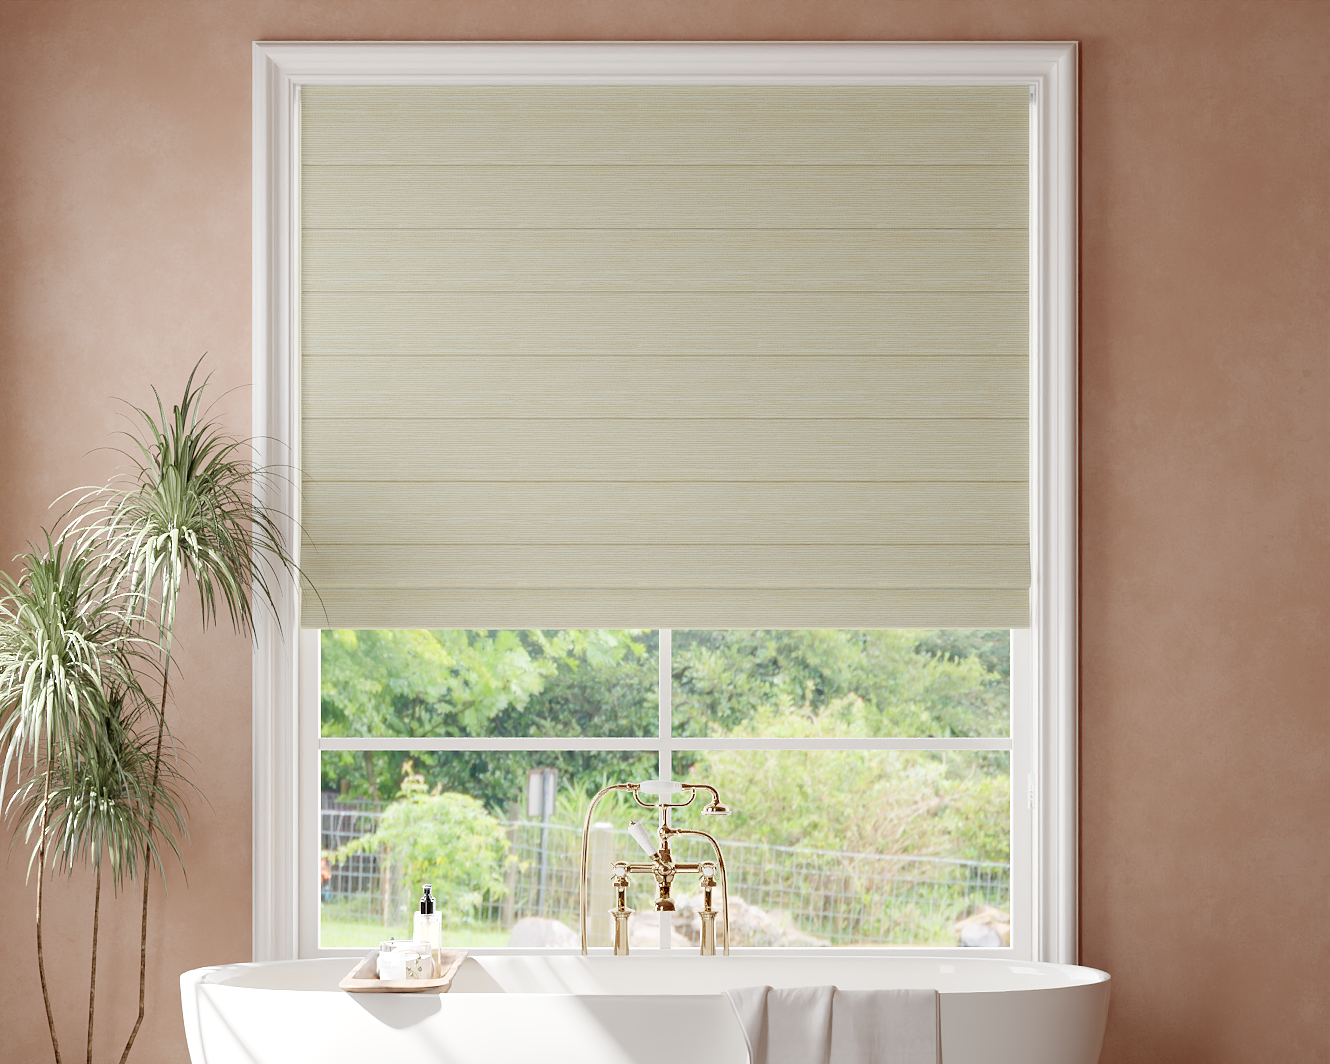
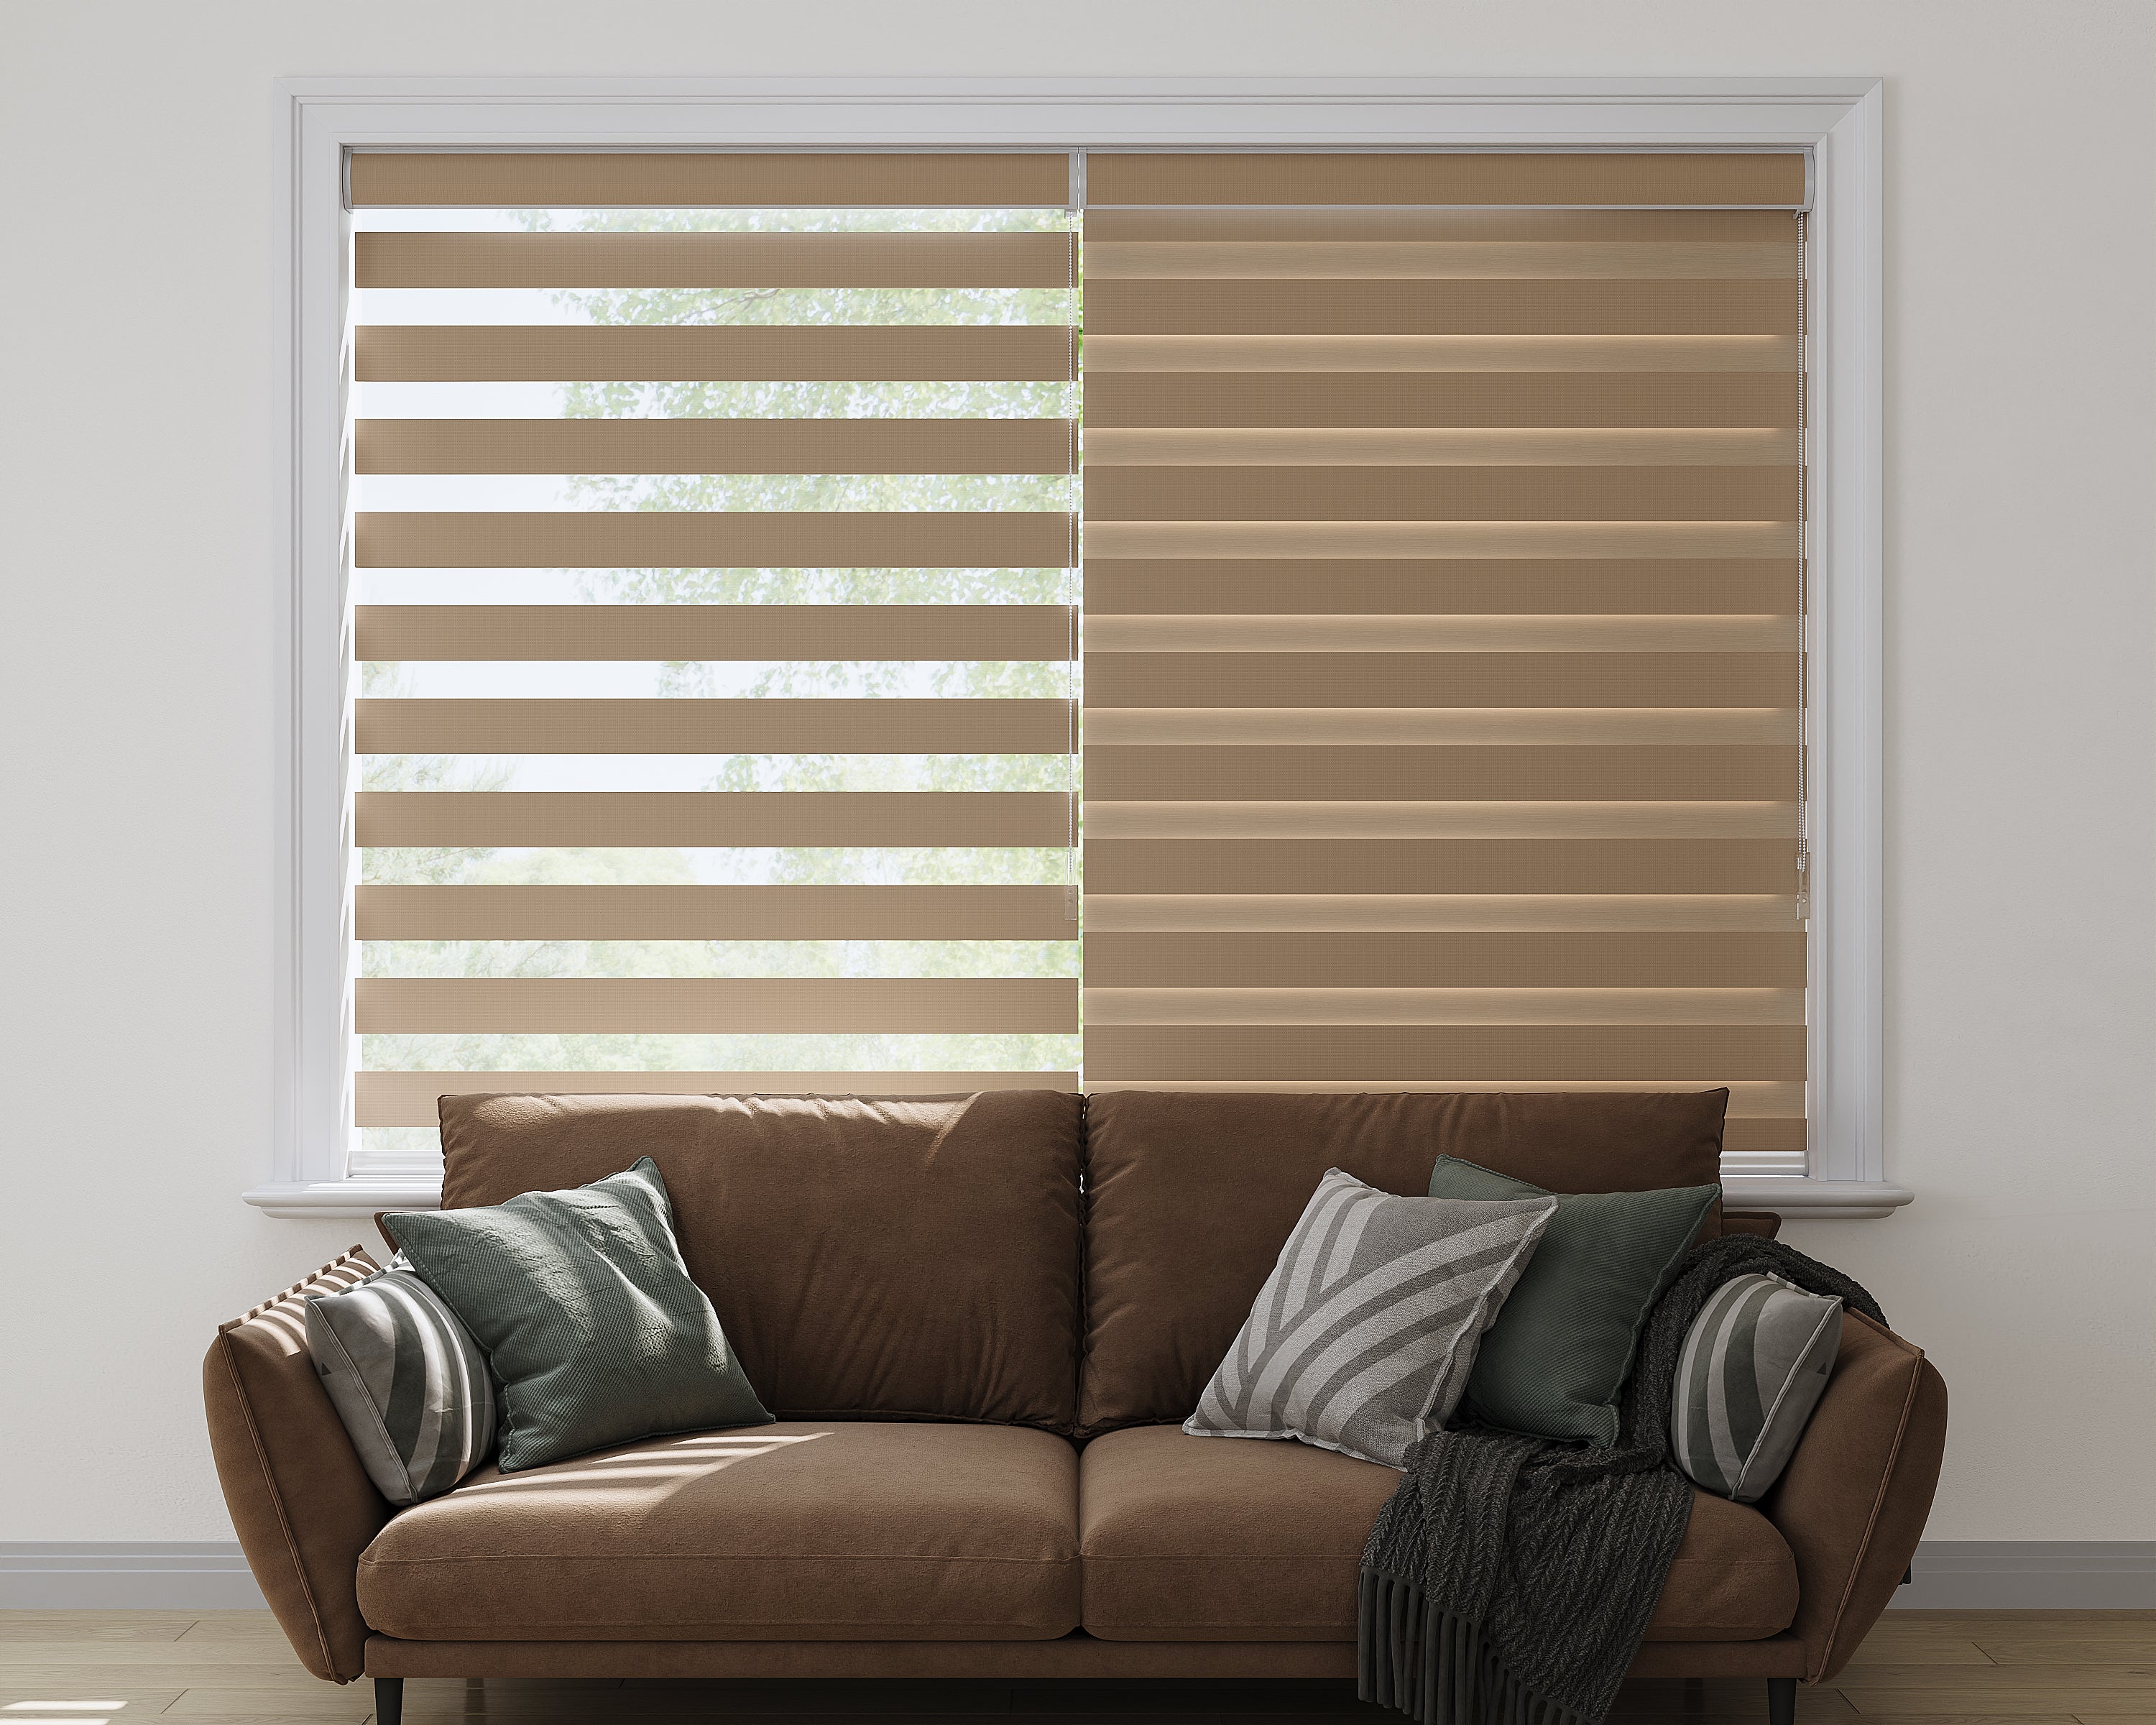
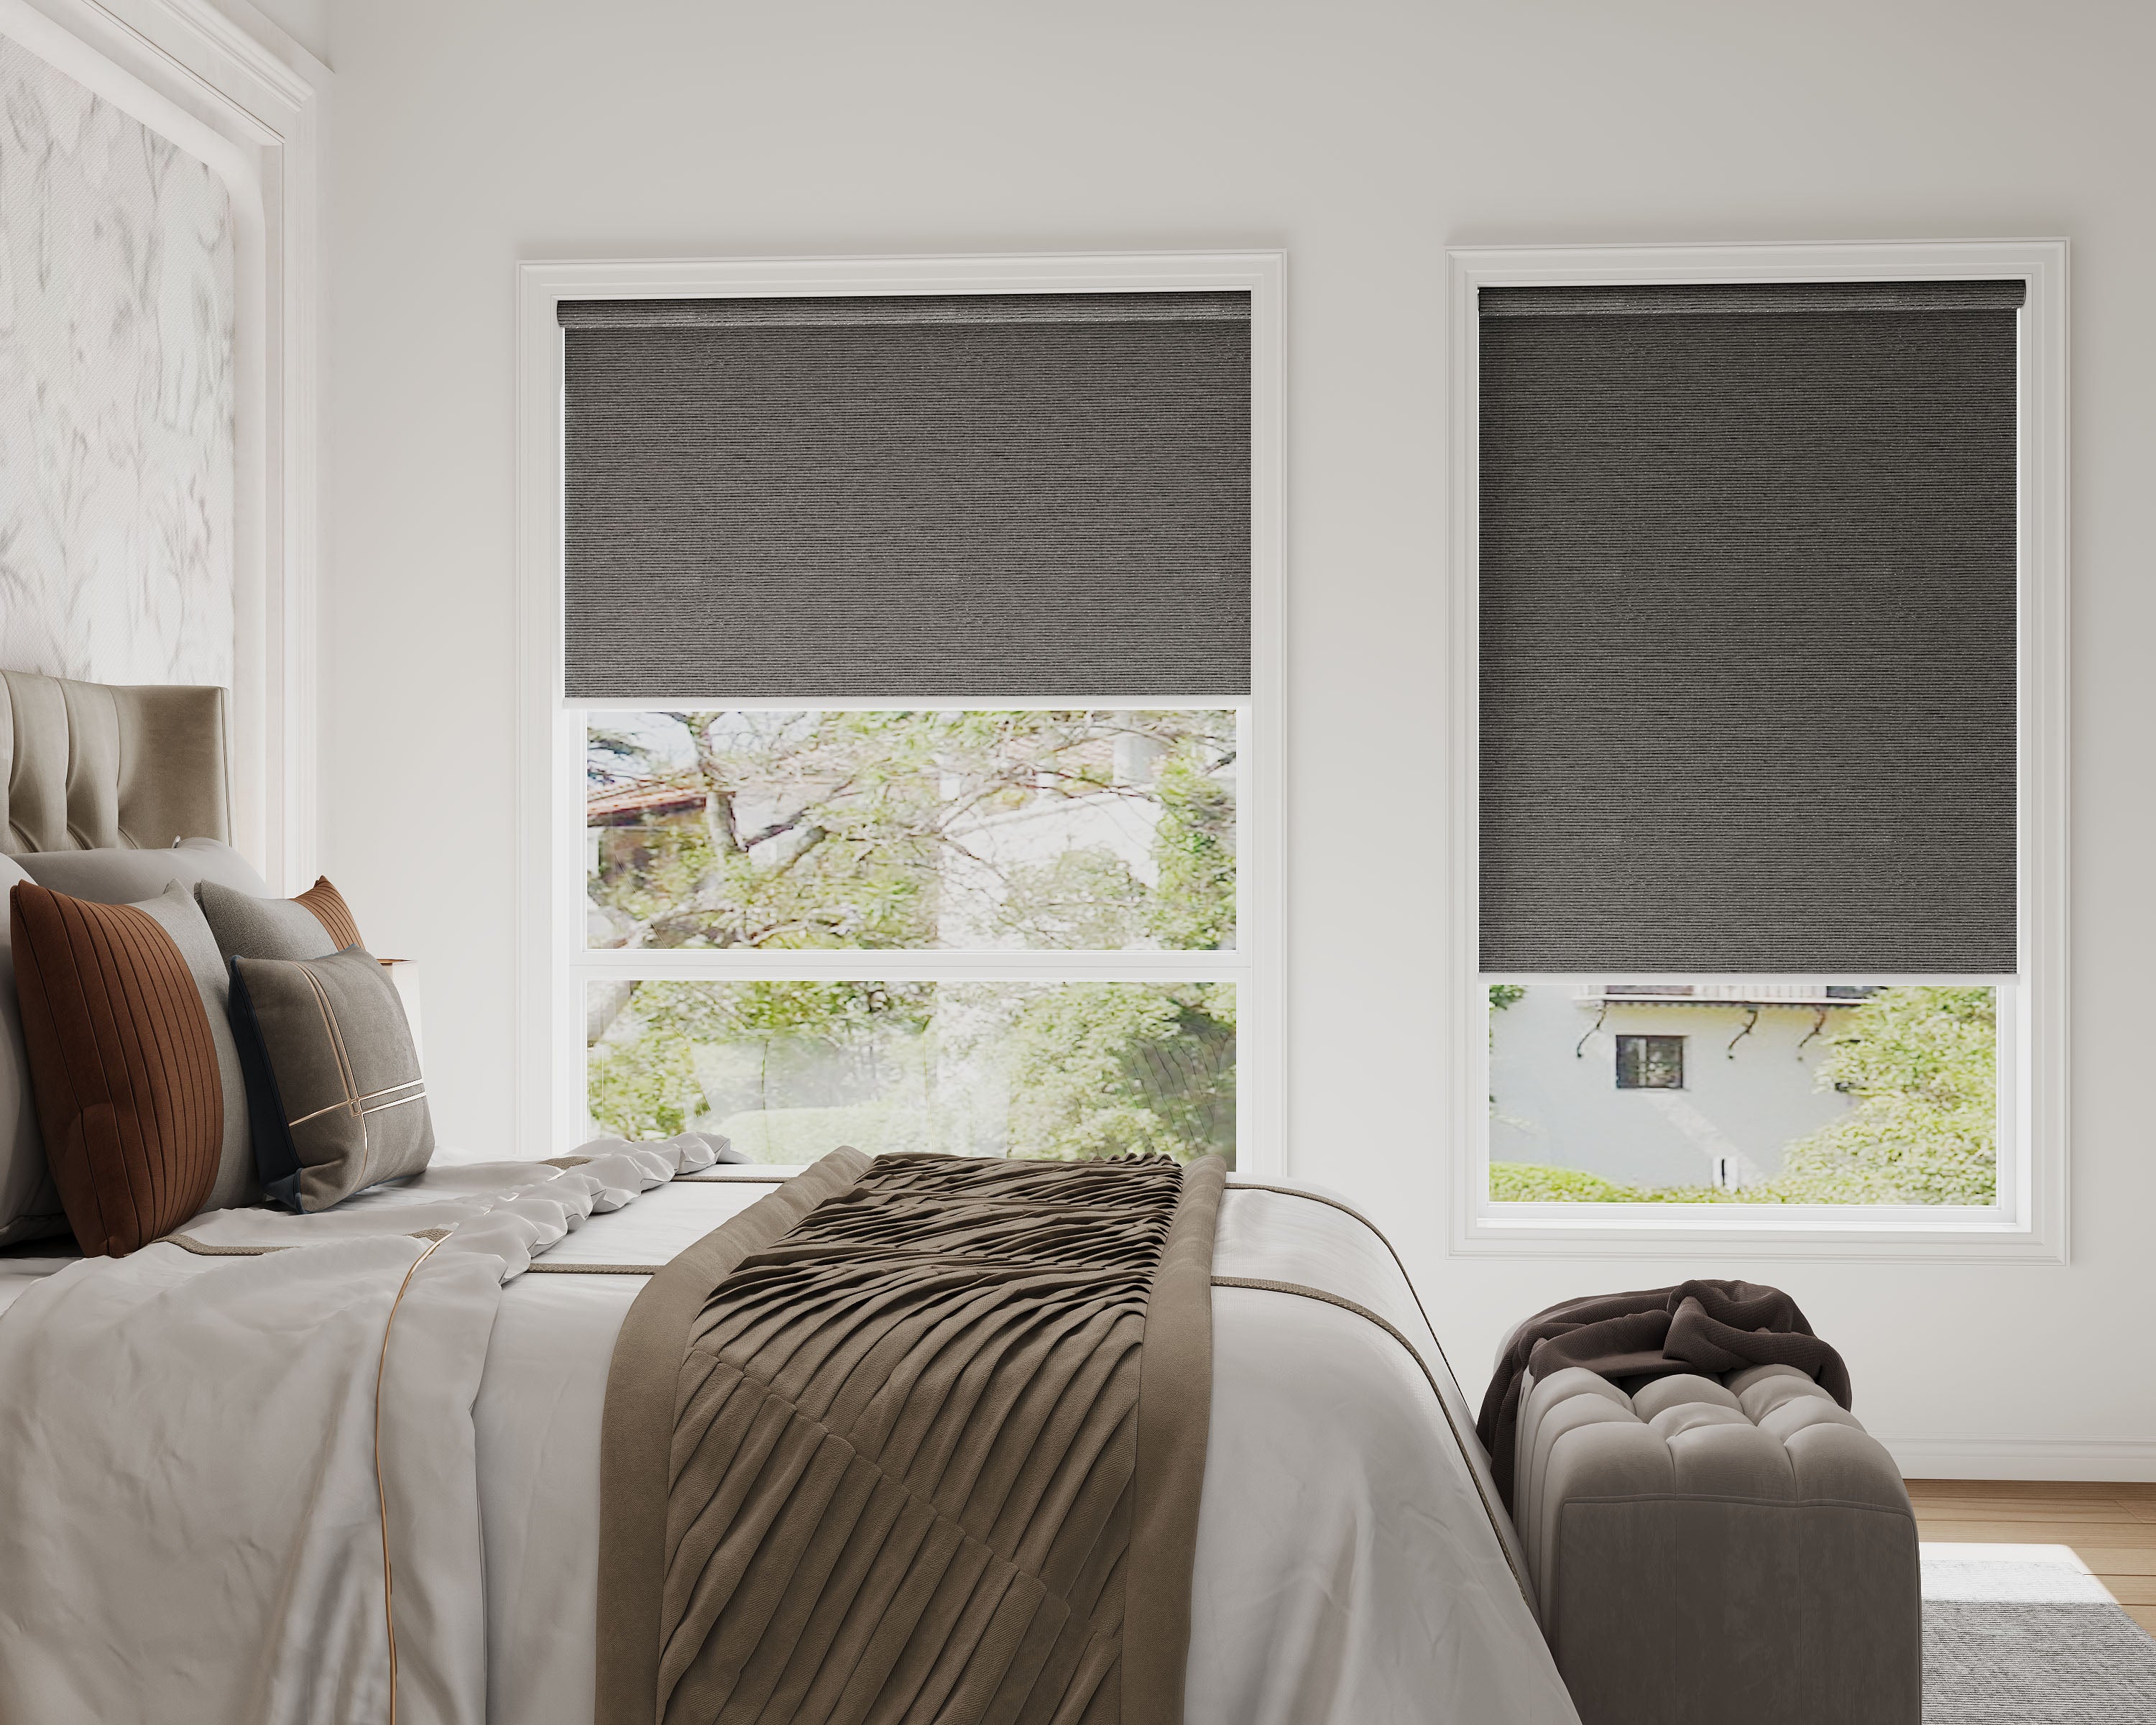
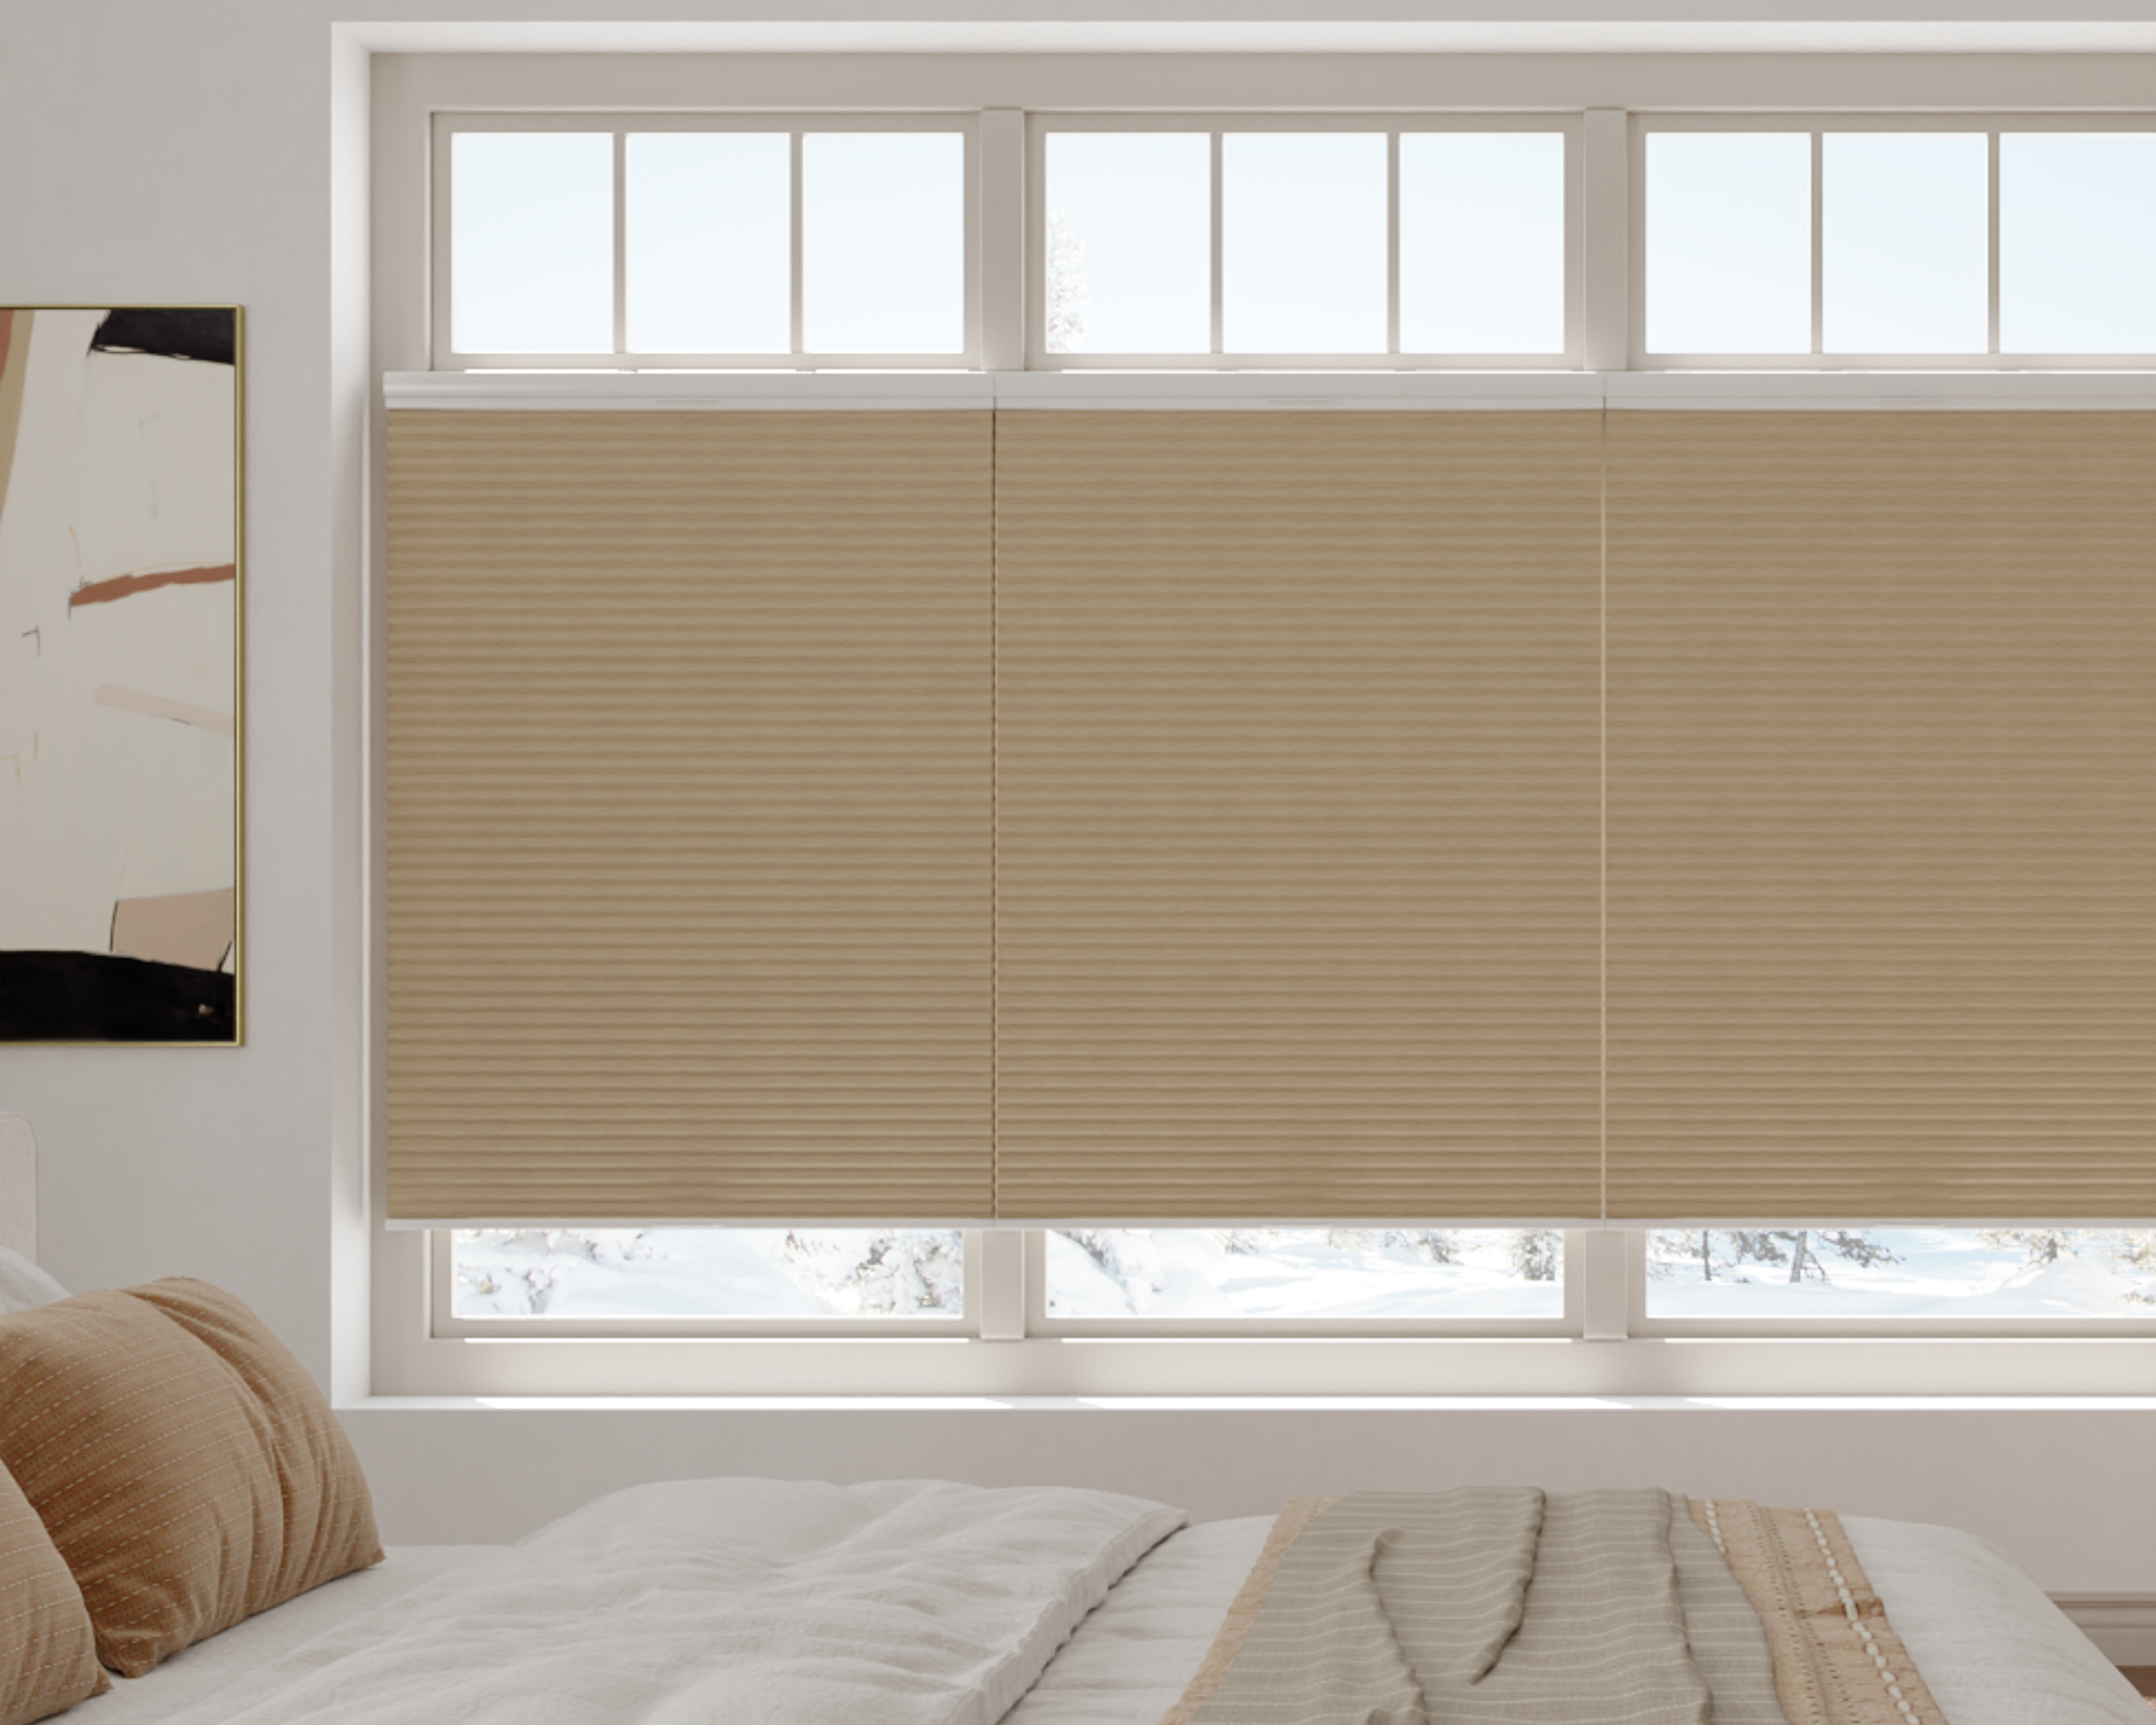
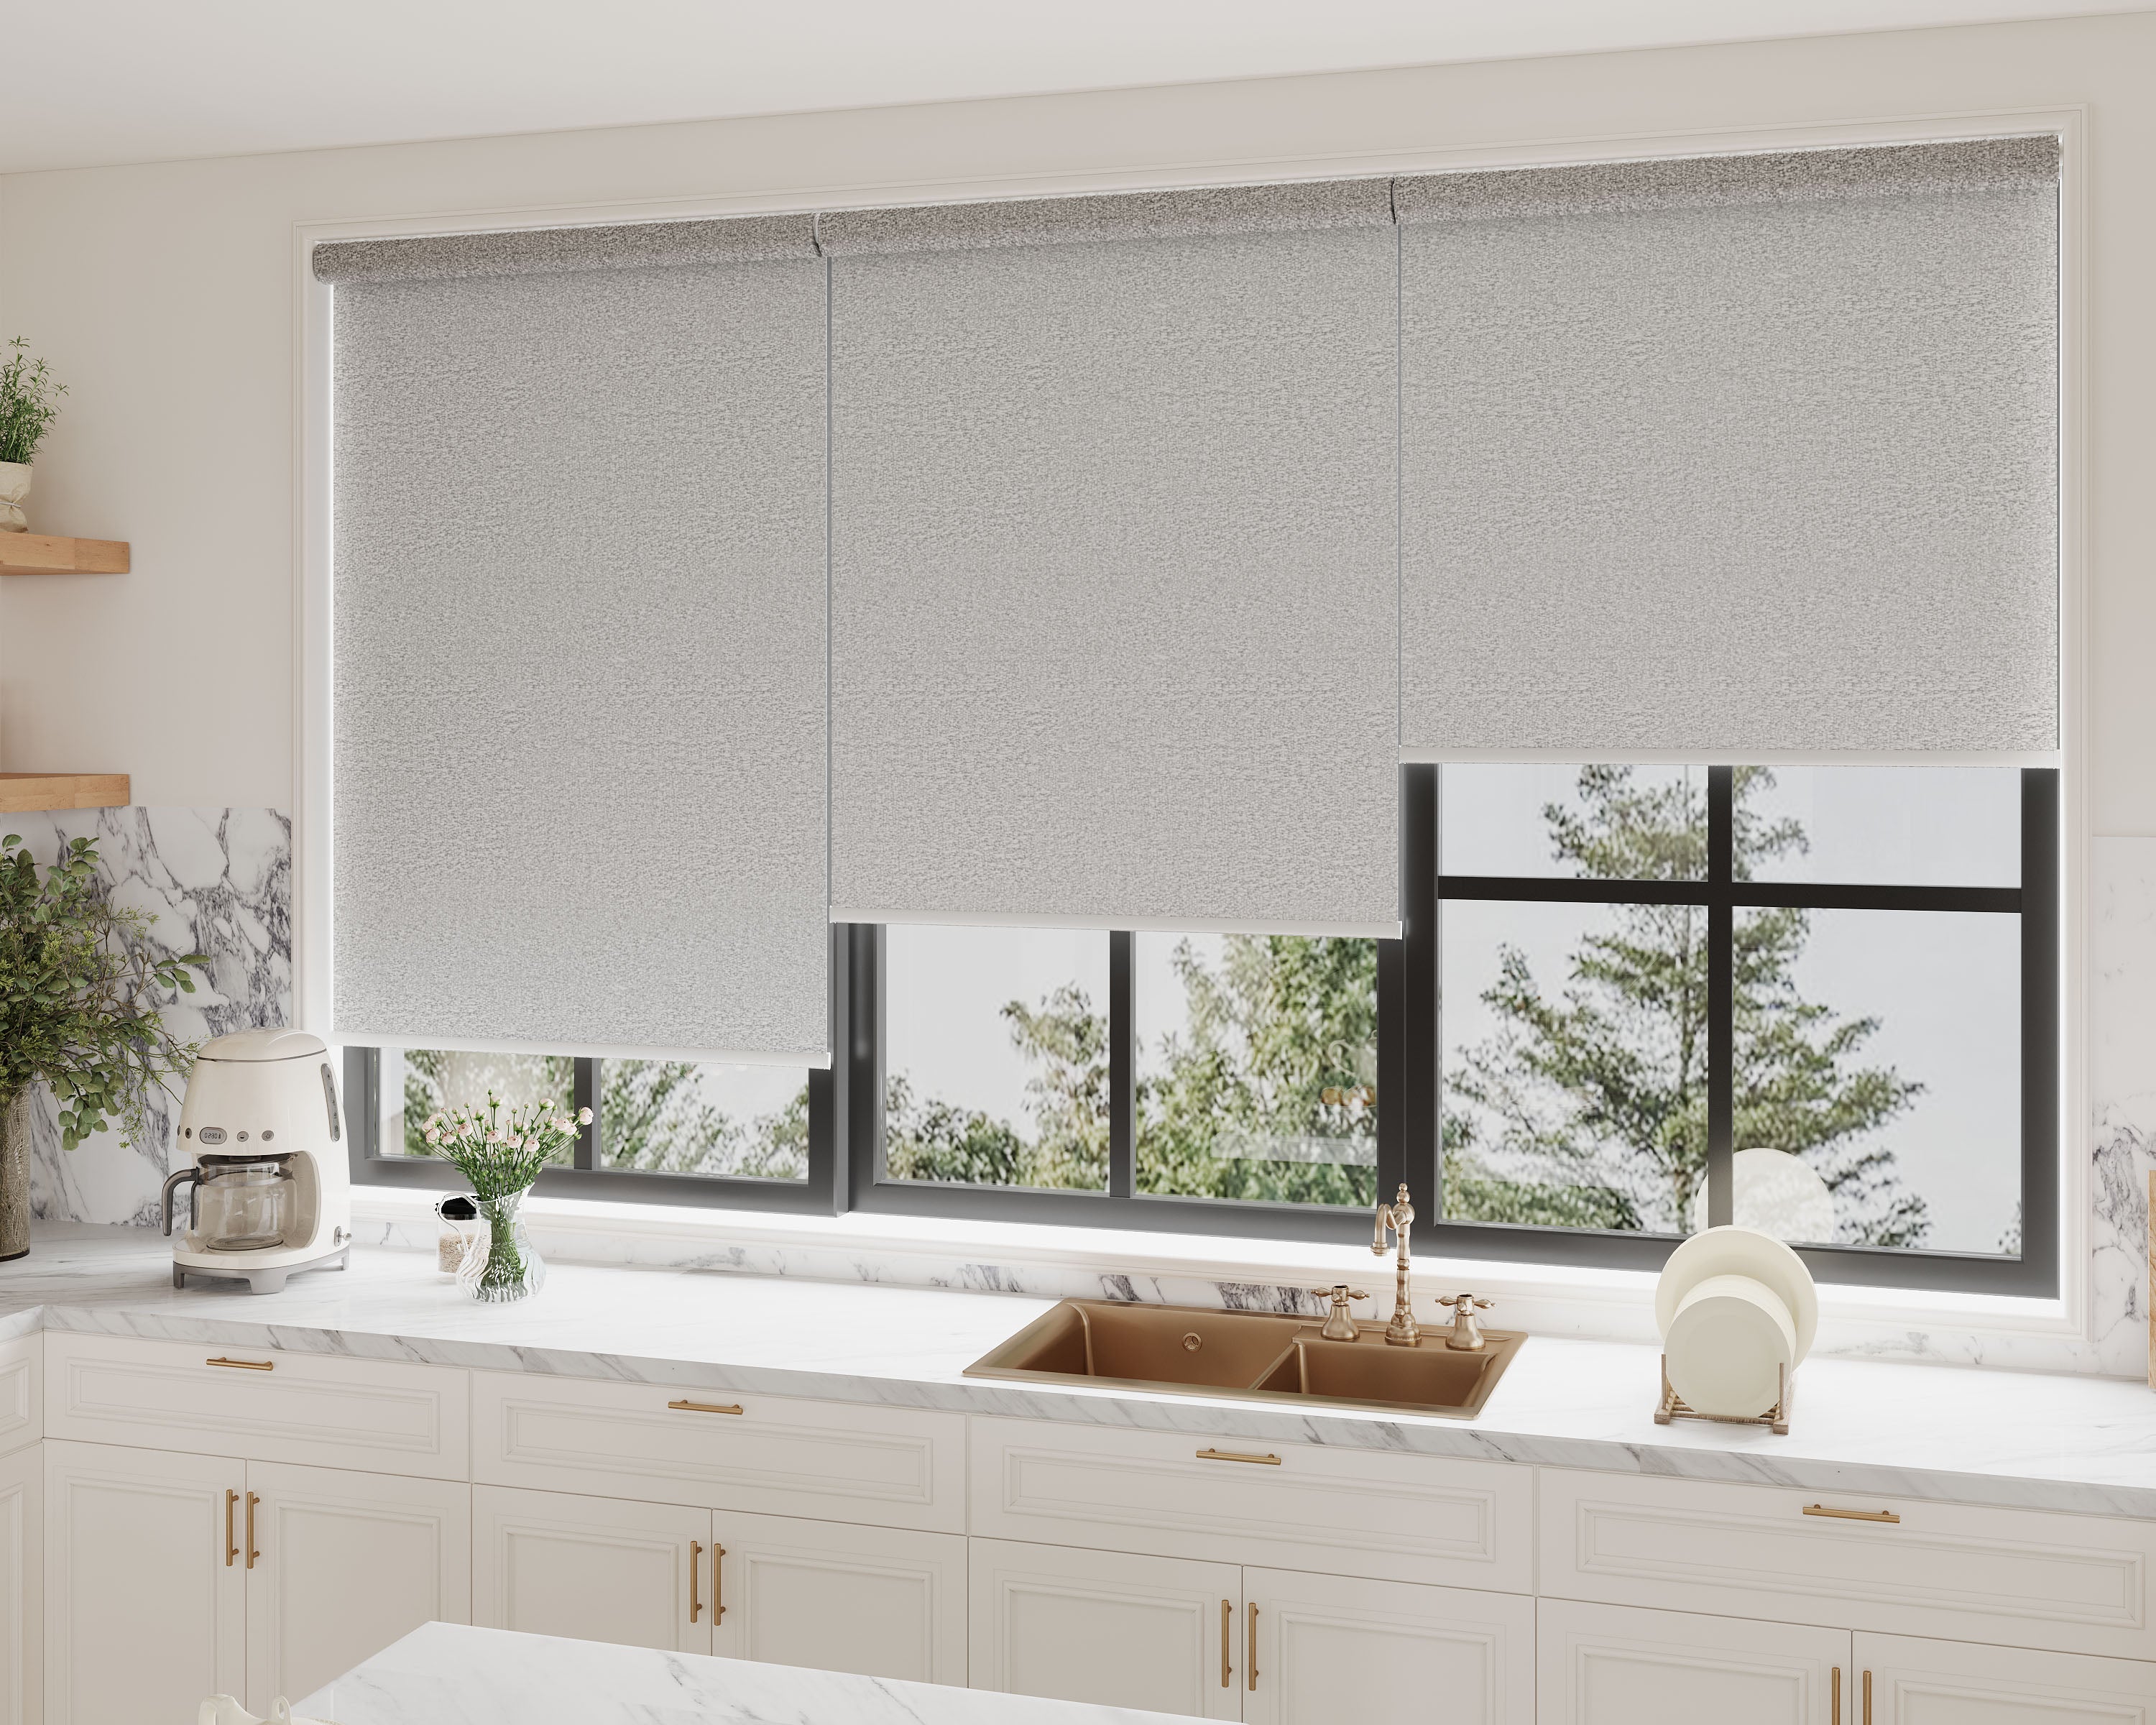
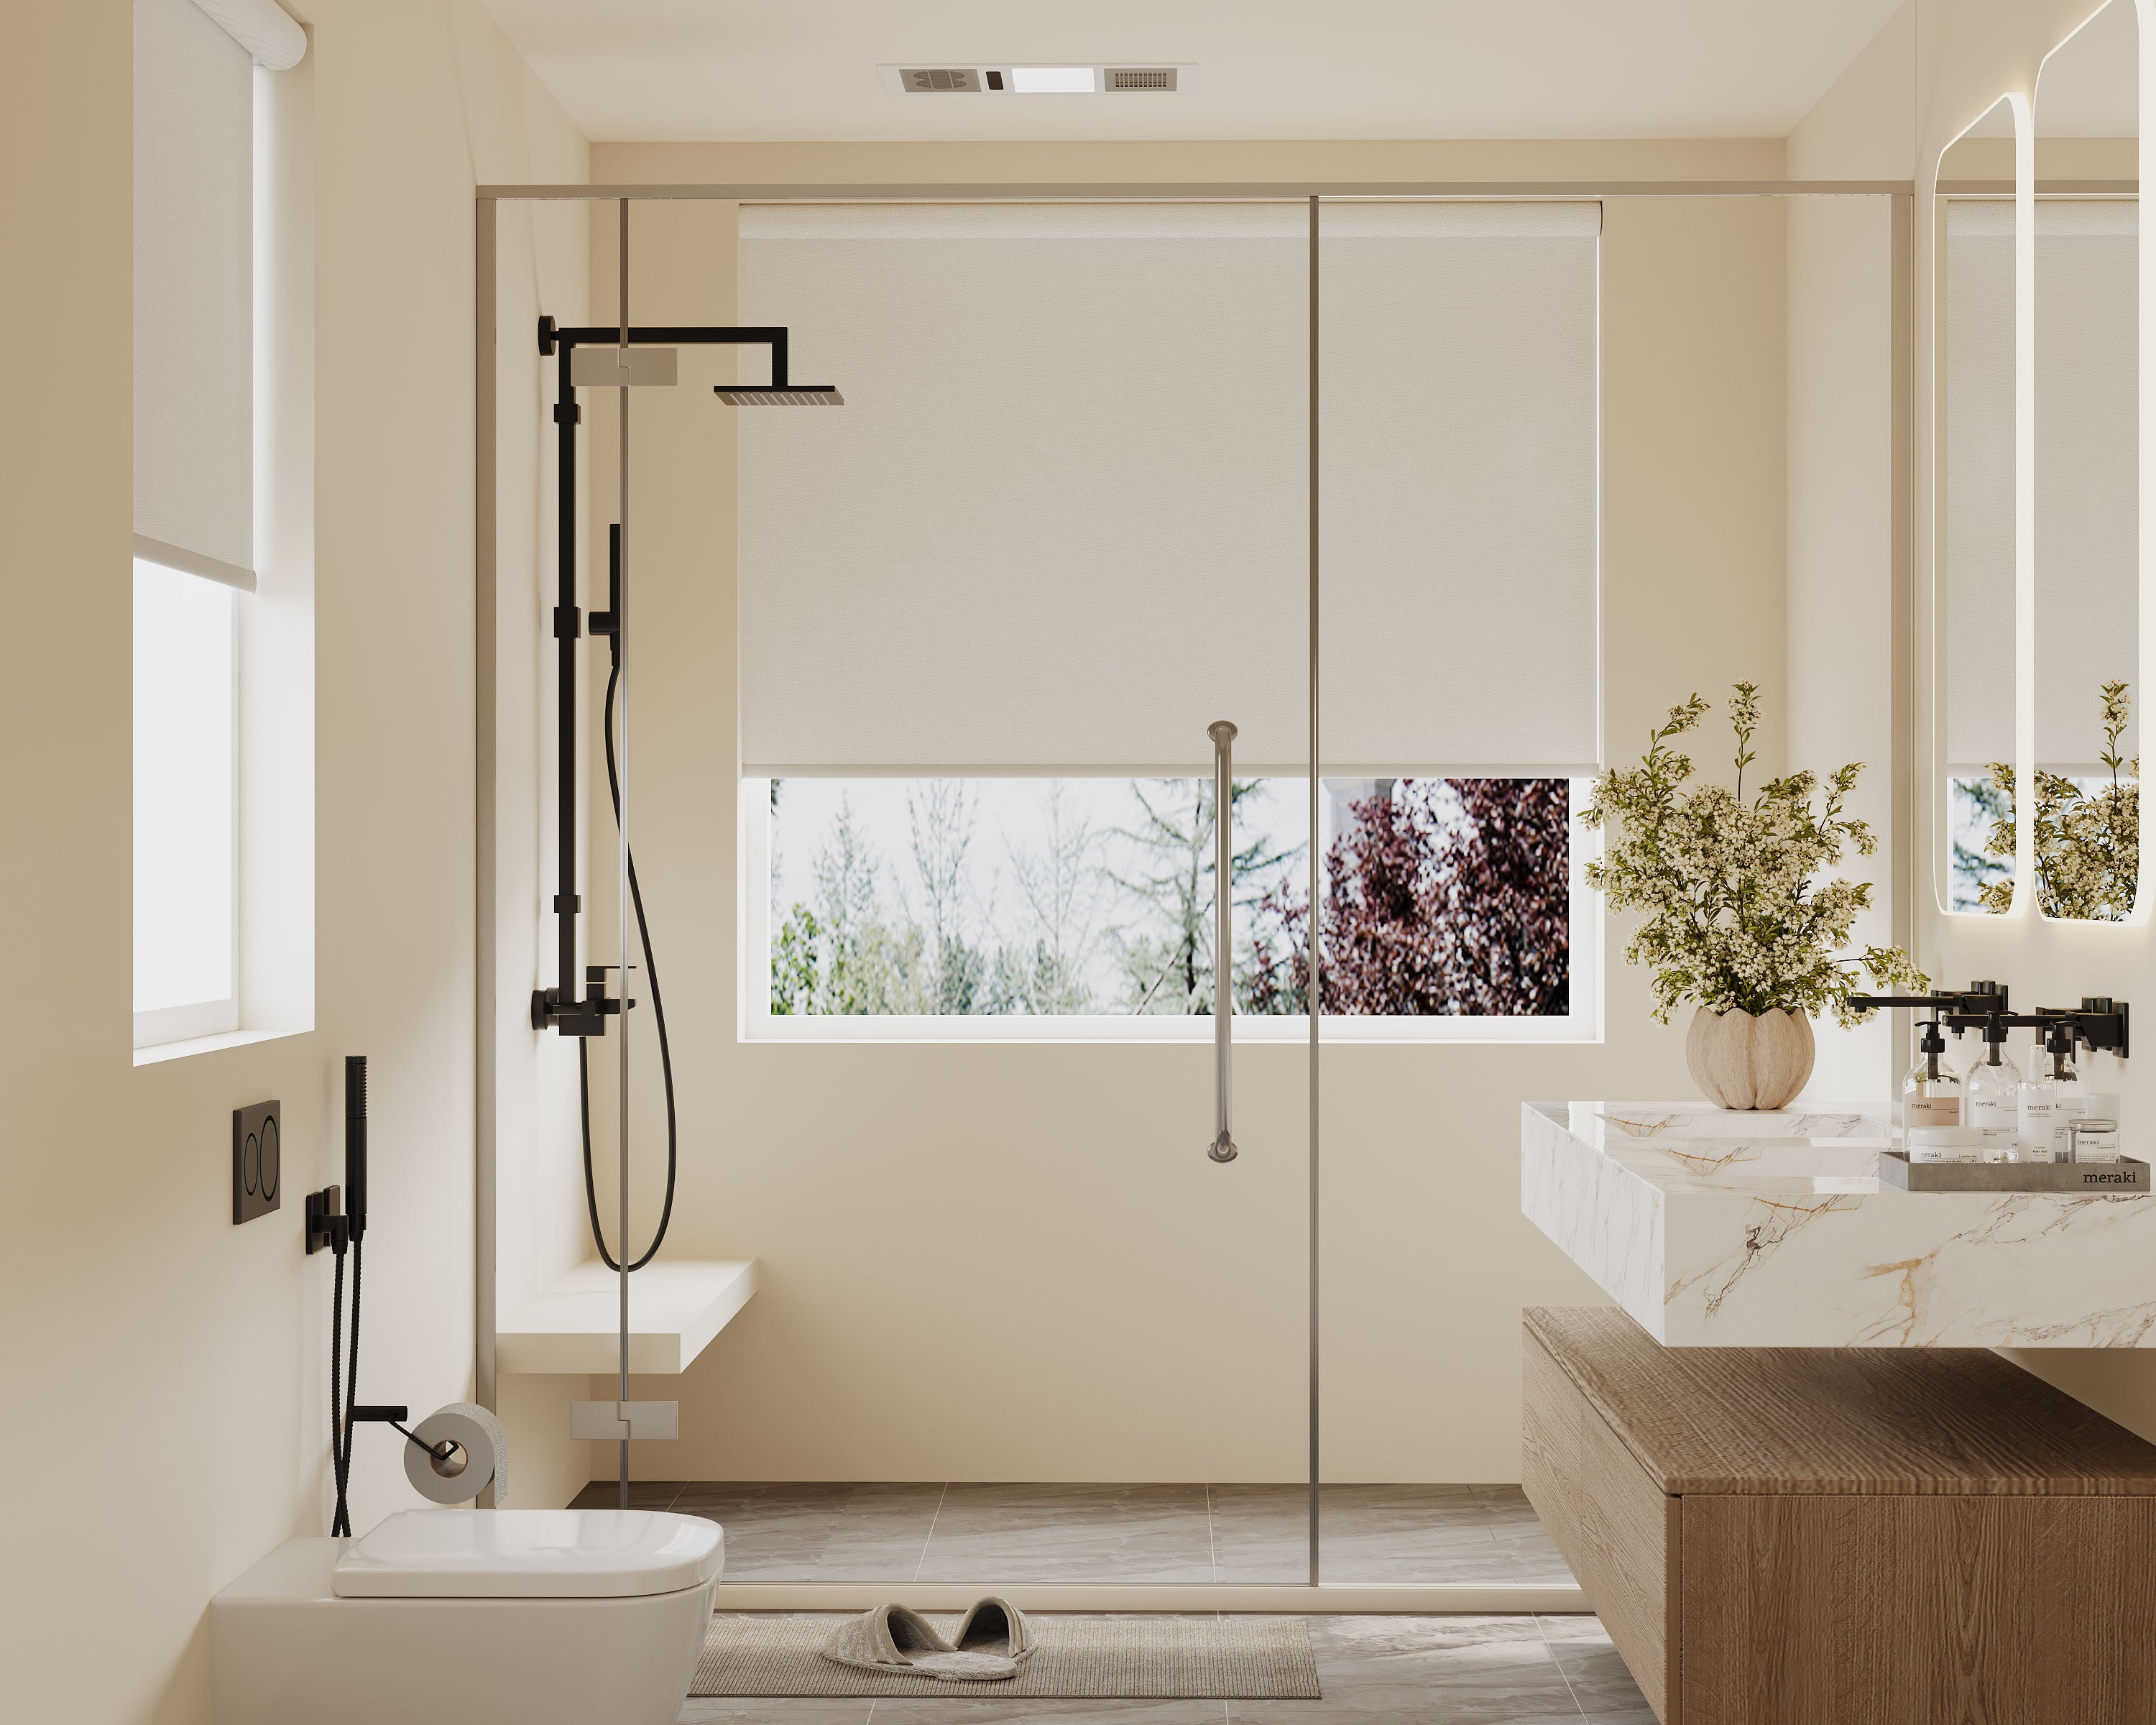
A crooked window shade is just plain irritating—especially right after installation when we expect a crisp, finished look. Browsing our roller shades collection can help you compare headrail styles that naturally stay straighter after installation. But honestly, there’s no need to drag out the drill or pepper the wall with more holes just to fix a lopsided shade. With a few quick tweaks, we can get things looking sharp again, no sweat.
Usually, it’s just a matter of fiddling with the cord, nudging a bracket, or slipping in a shim. Sometimes even stubborn shades have a workaround if you know where to look.
Key Takeaways
- Crooked shades usually happen because of minor install hiccups.
- Most fixes don’t call for extra hardware or new holes.
- A few small adjustments can make a big visual difference.
Common Causes of Crooked Shades After Installation
Even when we follow the directions, shades sometimes end up a little off. Bracket placement, wall or frame wonkiness, or even a factory goof can throw things out of whack.
Bracket Misalignment
If one bracket sits a smidge higher or lower, the shade’s going to tilt. Sure, a tape measure helps, but tiny errors sneak in—especially if we’re eyeballing it or using old pencil marks.
Brackets might look level, but being off by just a few millimeters throws the whole thing. Shades really magnify those little mistakes. We’ve all rushed this step at some point, right?
And sometimes, the window frame itself isn’t square. These inside‑mount vs outside‑mount alignment tips help you understand how mounting style affects bracket levelness. If we use it as our guide, both brackets might end up crooked without us realizing.
Mounting Surface Issues
Shades need a solid, flat spot for mounting. If the wall or frame is warped, bumpy, or a bit damaged, brackets can tilt or shift after install. Old houses are notorious for this—walls settle, things get a bit lumpy.
You’ll notice brackets that wiggle when you tighten the screws, or screws that just won’t sit flush. Big dips or bumps can make even perfectly aligned brackets act crooked, so the shade leans. To avoid surprises, here’s a guide on how to measure accurately before installing shades so brackets sit flush.
If you’re mounting into drywall without enough support, the screws might work loose over time. Plaster can crumble, or sometimes there’s just not much stud where you need it.
Factory Defects
It’s rare, but sometimes the roller or headrail isn’t straight from the get-go. Maybe it looks fine at first, but then the shade hangs weird no matter what you try.
Sometimes end caps or mechanisms are off, or the fabric’s cut a bit wonky. Here’s what to check for:
- Roller tube visibly bent
- Shade fabric veering off to one side
- Brackets line up, but the shade still sags
If that’s the case, swapping the product or asking for a warranty fix is usually the only real solution.
Assessing the Crooked Shade
Before jumping into fixes, we need to pin down what’s actually off. Sometimes it’s the way the shade sits, sometimes it’s the hardware, or maybe it’s the shade style itself.
Checking Levelness
Grab a level (or a phone app) and line it up with the shade’s bottom edge when it’s all the way down. Even if it looks just a tad off, measuring helps us figure out how much we need to adjust.
Take a few steps back and look at the shade compared to the window frame or sill. Subtle tilts jump out from across the room. If you don’t have a level handy, a straight ruler or a piece of string works in a pinch.
Inspecting Mounting Hardware
Give the brackets and screws a close look. Sometimes a bracket isn’t fully seated, or it’s twisted just enough to throw things off.
Check each screw—tight, but not so tight you warp plastic parts. Compare multiple brackets for alignment. Make sure wall anchors haven’t budged, especially with drywall.
Quick spot-check table:
| Hardware Issue | What to Look For |
|---|---|
| Loose Screws | Bracket wiggles when touched |
| Bracket Twisting | Uneven gap from window |
| Shifting Wall Anchors | Dust or crumbs near anchor |
| Bent Brackets | Odd gap under bracket |
Identifying Shade Type
Not all shades are built the same, and the fix sometimes depends on the design. Rollers, cellular, Roman, or Venetian—each has its quirks. Rollers might slip, Venetian slats could be misthreaded, and Romans can sag at the seams.
If you’re unsure, check the manufacturer info or your order details. Take note of cord spots, mounting style (inside or outside mount), and how you raise or lower it. Some shades have built-in adjustments, so knowing your type saves time. Sometimes crookedness comes from limited recess space, so understanding frame depth for proper shade fit helps diagnose the issue.
Fast Fixes Without Re-Drilling Holes
We can get a shade level without making new holes. Just a few tricks—nudging brackets, adding spacers, or tweaking clips—usually do the job.
Adjusting the Brackets
Loosen the screws a bit and nudge the bracket up or down in its slot. Sometimes that’s all it takes. If the bracket’s stuck, a gentle tap with a rubber mallet can help—just don’t go overboard.
Tighten everything back up and step back to check. No power tools needed, just a screwdriver and a little patience. If the frame itself is uneven, these solutions for shallow or uneven window frames can help stabilize the brackets.
Using Spacer Materials
If one side sags, slip a shim or spacer between the bracket and the wall. Folded cardstock, thin washers, wood shims, or even stacked Post-its can work.
Comparison at a glance:
| Spacer Type | Pros | Cons |
|---|---|---|
| Cardstock | Easy to cut, size | Flattens with time |
| Washer | Stable, durable | Might not fit all brackets |
| Wood Shim | Precise, sturdy | Needs trimming, might show |
Stick the spacer behind the low bracket and screw it back in. Even a tiny lift can make a big difference. Use a bubble level to check. This fix is simple and easy to undo.
Bending Mounting Clips
If the mounting clips are just a little off, a slight bend with pliers can help. Take the shade down, carefully adjust the clip, and then reattach.
Go for a subtle tweak—enough to nudge the shade level, but not so much you break the clip. Works best on metal or flexible plastic, not brittle stuff.
Creative Solutions for Persistent Crookedness
Even with careful installs, crooked shades happen. But there are quick ways to rescue the look without busting out extra tools or making more holes.
Adding Shims Behind Brackets
If one side sits lower, a thin shim behind the bracket can even things up. Washers, folded cardboard, or a trimmed paint stir stick work well. The idea is to gently push the bracket out just enough.
Loosen the screws, slip in the shim, tighten, and check for level. You might have to tweak it a couple times to get it right.
Trim any excess so it doesn’t show. Removable shims are handy if you want flexibility later. It’s a cheap, low-key fix when you need just a little correction.
Leveling With Adhesive Pads
Adhesive pads—like felt bumpers or rubber dots—can work wonders if the bracket rocks against an uneven wall. Stick a pad between the bracket and the wall at the low end to raise things up.
Clean and dry the area first. Pads come in different thicknesses, so you can fine-tune. Stack two if you need extra lift, or trim one to fit.
No tools needed, and they protect walls from scratches. If you ever take the shade down, the pads peel off clean.
Tools and Materials Recommended for Adjustments
When a shade looks off, the right tools make things easier and neater. We want fixes that look intentional, even if we skipped the drill.
Bubble Level
A bubble level is a must for checking if the shade’s straight. It shows exactly how tilted things are—no more guessing. Phone apps work, but a two-foot level is more precise for big windows.
Before adjusting, set the level above the shade. If the bubble’s off-center, you’ve got a tilt—even if it’s barely noticeable. Honestly, it’s a nice way to prove it’s the window, not your eyes.
If you like gadgets, a small magnetic level can stick right on the headrail, freeing up your hands.
DIY Spacers
When one bracket’s lower than the other, a DIY spacer lifts things into line. Instead of re-drilling, use stuff you probably already have—washer shims, felt pads, sturdy cardboard, or rubber bumpers.
Slip the spacer between the bracket and wall or frame. It nudges the bracket out, raising or lowering the headrail on one side. It’s subtle, but using something sturdy and cut to size keeps things tidy and balanced.
Quick list of handy spacer materials:
- Metal washers
- Felt or cork pads
- Rubber or silicone bumpers
- Folded cardboard or cardstock
A bit of double-sided tape helps thinner spacers stay put. These tricks are easy to undo if you want a more permanent fix later.
Preventing Future Shade Alignment Issues
Getting shades to hang straight is mostly about careful prep and the right tools. A little extra attention before and during install saves a lot of headaches.
Double-Checking Measurements
We’ve all had that sinking feeling—holding up a shade and realizing the brackets look off. Before drilling, always measure the window frame in at least two or three spots. Windows aren’t always perfectly straight.
A metal tape measure is best for accuracy. Mark both ends, double-check bracket spacing, and use a bubble or laser level. Check for level both ways—horizontal and vertical. Spending a couple minutes here can save hours of frustration later. Leveling also helps with reducing light leaks around crooked shades, especially on blackout fabrics.
Choosing the Right Hardware
Not all mounting screws and anchors are up to the same job. For heavy or wide shades, it’s extra important to use hardware made for the wall material around your window. If you’re working with drywall, you’ll want anchors or toggle bolts—otherwise, the screws might just pull right out.
Here’s a quick guide:
| Surface | Recommended Anchor Type |
|---|---|
| Drywall | Plastic anchors / Toggle bolts |
| Wood | Standard screws |
| Masonry | Masonry anchors |
It’s smart to match screw length and type to the shade’s weight. Most packaging suggests a size that’ll support things well enough. High-quality brackets and hardware help prevent slippage and wobble, so your shades stay level (and you don’t have to mess with them again next week).
When a Professional Should Step In
Sometimes, even after all the tinkering, a crooked shade just won’t cooperate. If you’ve tried every basic fix and it’s still off, maybe it’s time to call in someone who does this for a living.
When does it make sense to get help?
- You spot damage to the wall, window frame, or the mounting hardware.
- The shade’s pricey or custom, and you really don’t want to mess it up.
- The mechanism grinds, sticks, or sounds weird.
- The window’s high up, hard to reach, or the shade’s wired.
| Signs We Need a Pro | What’s at Stake |
|---|---|
| Cracks in wall or hardware | Structural integrity |
| Persistent crookedness | Aesthetic & function |
| Wiring issues | Safety & warranty |
Forcing a stubborn shade can sometimes just make things worse. If you’re not sure what’s wrong—or you’re tired of fighting with it—having a pro take a look is probably worth it.
Frequently Asked Questions
We’ve all had blinds that just refuse to look straight. Sometimes a tiny adjustment fixes it, sometimes you need a simple trick—nothing fancy, no toolbox needed.
What's the trick to balancing uneven cordless blinds after they're up?
If cordless blinds are crooked, grab the bottom rail and gently pull down on the higher side. Sometimes just lifting and letting go will reset things. For small tilts, a couple of gentle tugs usually do the trick.
Is there a no-tools-required method to level out corded blinds?
With corded blinds, raise them all the way up, then lower them slowly together. If one side still sits higher, give a little extra tug on that side’s cord until things line up. Patience beats yanking every time.
Can you give me a rundown on fixing lopsided honeycomb blinds without a total redo?
Start by gently tugging the lower rail on the uneven side. Sometimes sliding the bottom rail side to side helps things settle back in the tracks. If the fabric’s caught, a gentle push with your hand usually gets it back in line.
Any hacks for correcting roller blinds that just won't hang straight?
If a roller blind won’t sit straight, roll it all the way up, then lower it with slow, even pressure using both hands. Still tilted? Pull down just a bit more on the higher side to balance the fabric as it unrolls.
What are the steps to troubleshoot a blind that won't stay up?
When a blind won’t stay up, check for dust or anything blocking the mechanism. Running it up and down a few times sometimes resets the tension. If it’s still not working, look for worn-out springs or loose brackets—those are often the culprits.
How do I tweak the tension in blinds strings to fix wonkiness?
I usually start by gently tugging one cord at a time, just enough to even things out. Sometimes, if the blinds still look off, I’ll try pulling both cords together and then letting go quickly—apparently, that can reset whatever’s going on inside. In my experience, careful little adjustments almost always work better than yanking hard.

