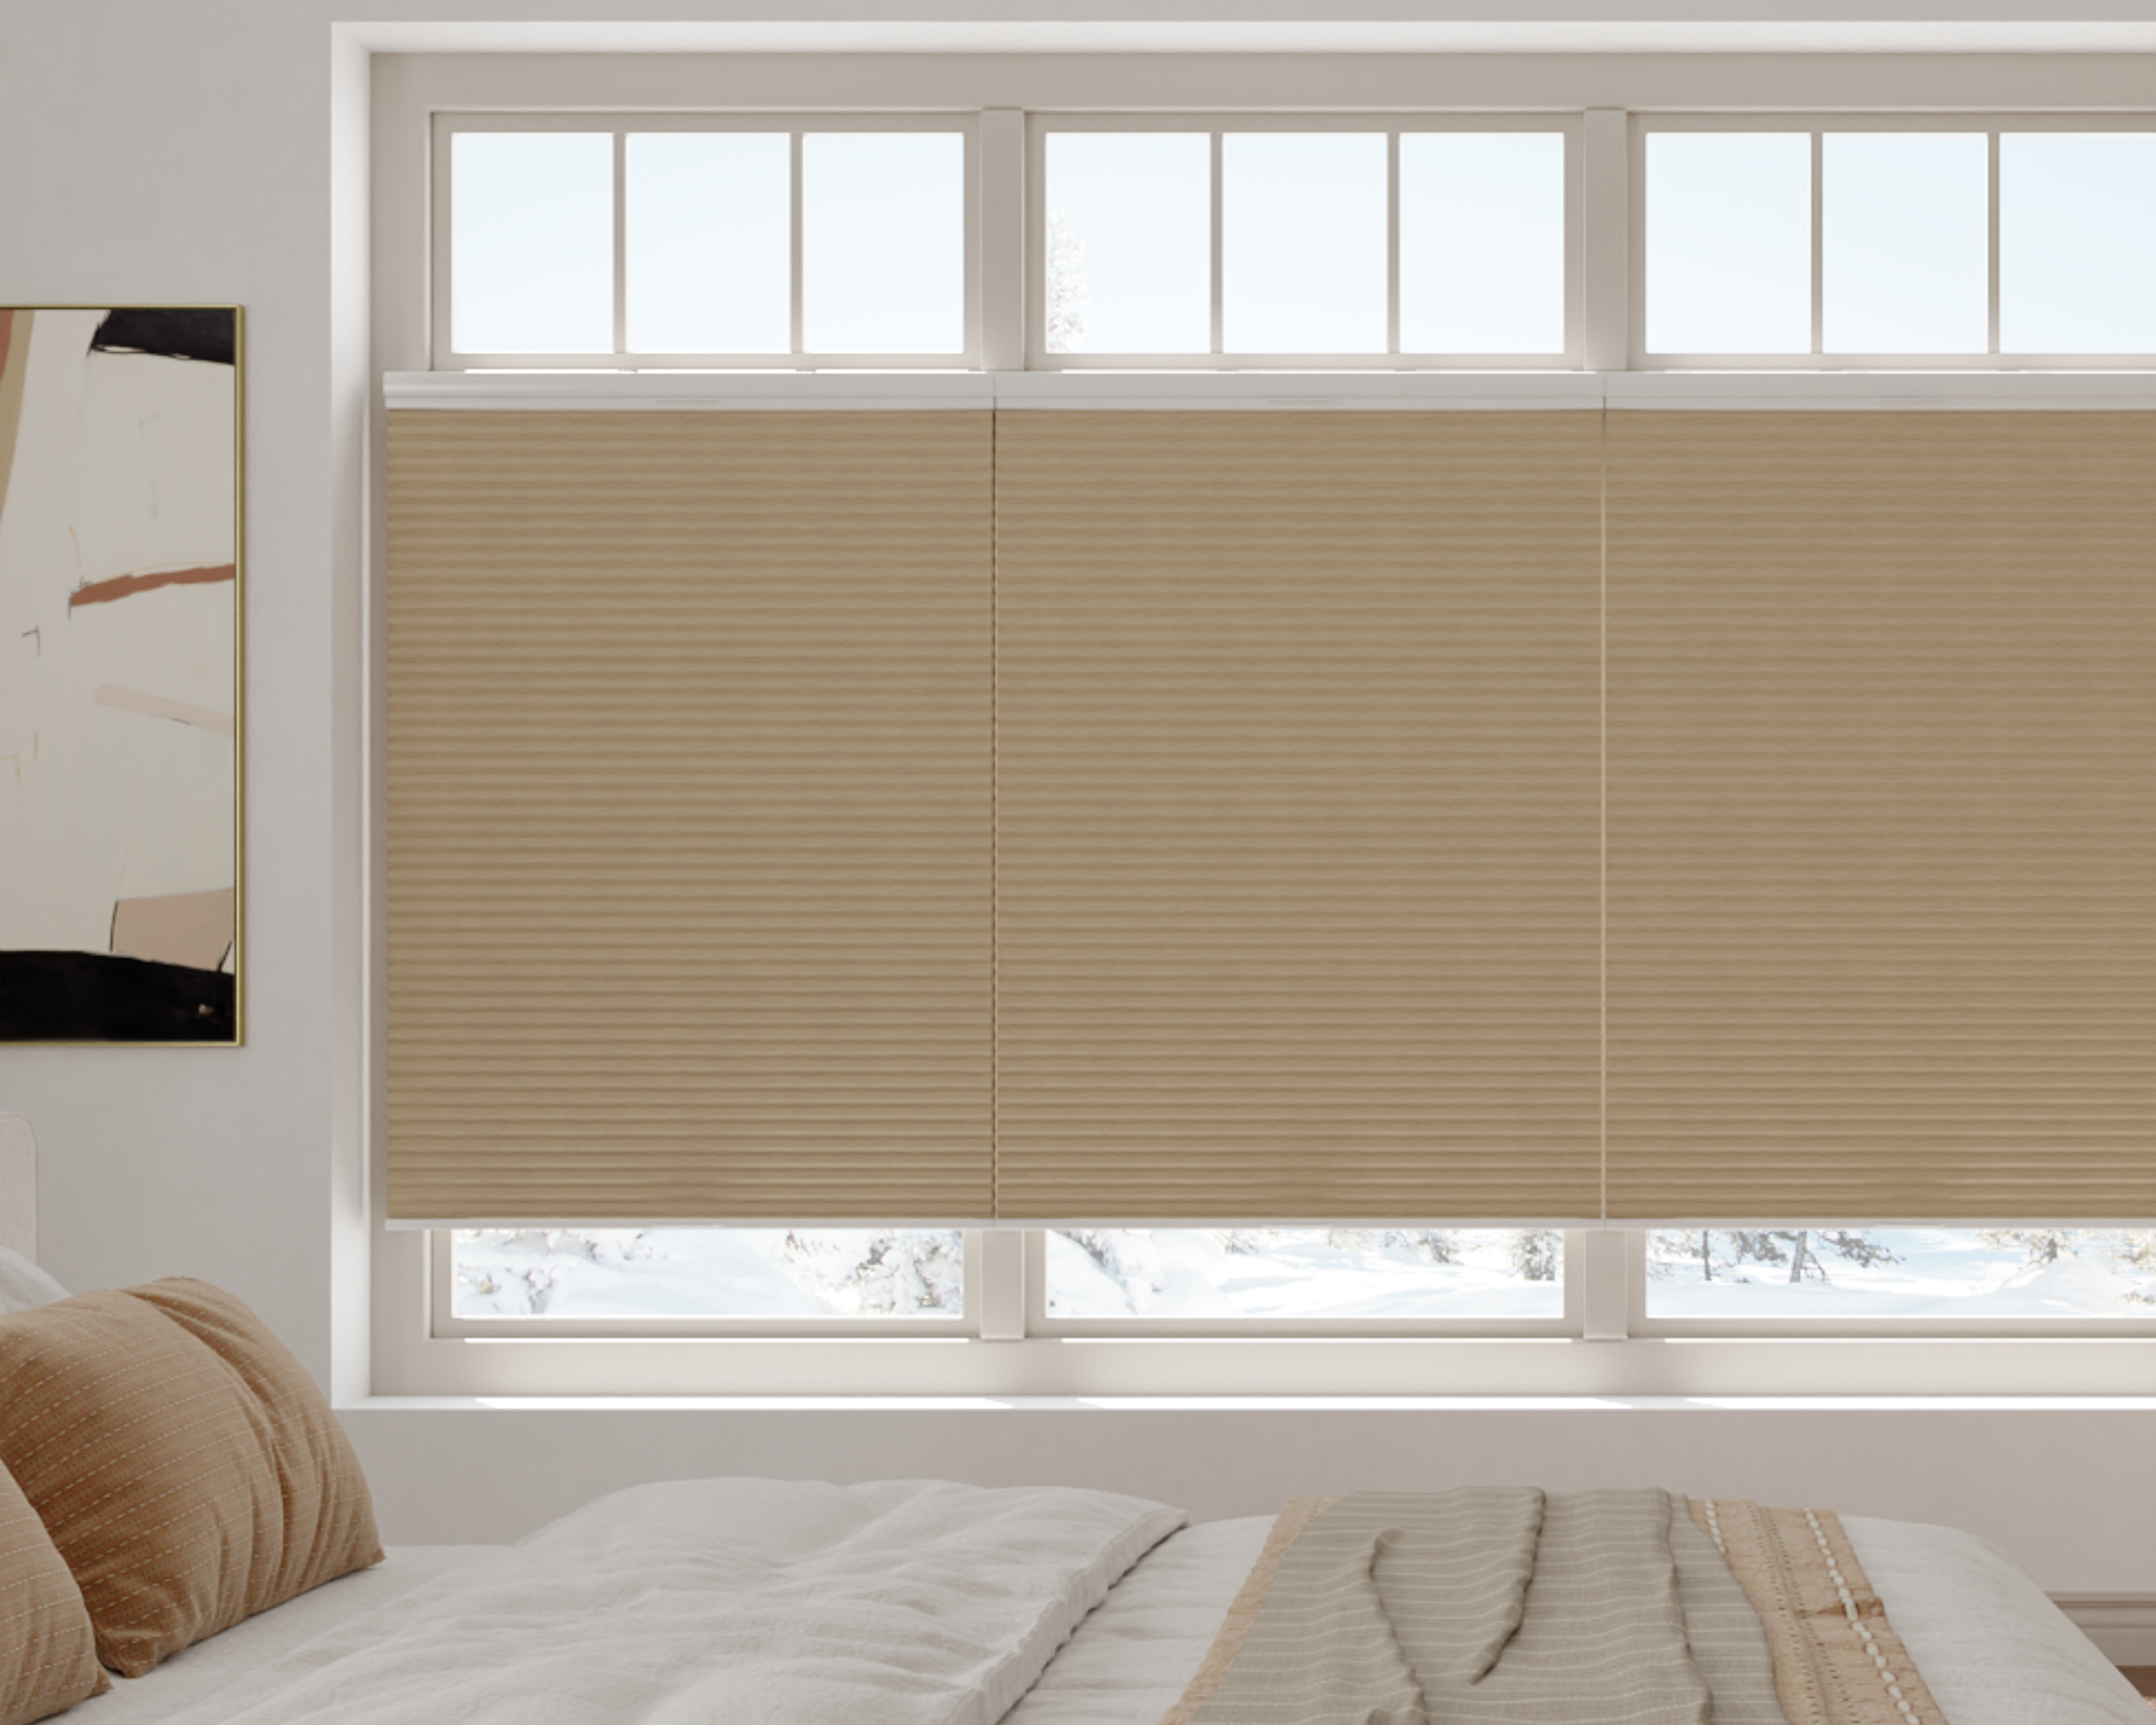
A fresh installation marks a big milestone, but the real magic happens in the final touches that ensure everything runs flawlessly and quietly. Choosing high‑quality roller shades from the start makes these final adjustments much easier. Whether it's a new appliance, a sleek piece of tech, or a major system upgrade, we've all experienced that moment of doubt: Is it really set up for the long haul, or will those rattles and hiccups start soon? Getting the details right now means enjoying smooth, silent performance—and avoiding those late-night troubleshooting sessions.
Let's just run through the basics—double-checking the setup, fine-tuning for smooth operation, and blending new features into our home without a fuss. From silent hinges to seamless automation, these quick post-install moves can make a world of difference.
Key Takeaways
- Safety and performance checks after install prevent future issues.
- Fine adjustments and quiet tweaks ensure long-lasting comfort.
- Integrating smart features and keeping records help us maintain our upgrades.
Essential Safety Inspections
Nothing sets our minds at ease like knowing we've double-checked every crucial point of our new installation. These steps keep everything safe, secure, and ready for smooth, quiet use.
Checking All Fastenings and Mounts
Let’s start by giving all fastenings a solid inspection. We want to confirm every screw, bracket, and anchor is tightened to spec. If any mounts are even slightly loose, unwanted vibration and noise can creep in before we know it.
A quick checklist helps:
- Tighten wall and ceiling anchors
- Check shelf and cabinet mounts
- Ensure all bolts meet torque requirements
- Test for minor movement with a firm shake
Loose mounts can threaten the project and anything nearby. For window treatments, these tips for fixing crooked or uneven shades after installation help ensure everything stays aligned. If we spot stripped screws or cracked anchors, swap them out right away. Double-checking now saves headaches later.
Electrical System Final Tests
We shouldn’t skip double-checking the electrical system. First, turn off the breaker and make sure no power is flowing where it shouldn’t. Then, inspect every wire connector, grounding point, and junction box—tidy, correctly routed wires are a must.
Safety tips for the checklist:
- Confirm all wire nuts are secure and covers are in place
- Use a circuit tester for outlets and connections
- Check that ground fault circuit interrupters (GFCIs) trip properly
- Look at cord paths for pinches or risk of wearing
Labeling new circuits on the panel helps everyone. If anything looks off, pause and call a licensed electrician.
Verifying Safety Features
This step ensures built-in safety features actually work. Test door and window sensors, device shutoffs, or emergency cutoffs by triggering and resetting them with real actions—not just the “test” button.
Tasks include:
- Triggering overheat or overload cutoffs
- Opening/closing access panels to test auto-shutoff
- Reviewing sensor placement for correct response range
- Checking that warning labels are clear and in the right spot
If a sticker is peeling, slap on a new one. Even things like clear access to emergency switches matter. Safety doesn’t have to be complicated if we check every time.
Fine-Tuning for Smooth Operation
Getting everything running effortlessly means focusing on the little things. Moving parts, proper balance, and keeping things lubricated all play a role in quieter, more reliable function.
Adjusting Moving Parts
Check every hinge, roller, and sliding mechanism. If a drawer sticks or a door swings too fast, fix it now. Test movement with gentle pressure—listen for resistance, scraping, or uneven motion.
If something’s off, tightening screws or swapping a worn washer usually solves it. Sometimes, a quick adjustment with a screwdriver or wrench is all it takes. Cabinets and pull-out shelves often just need their tracks cleaned and re-aligned.
It helps to keep a checklist of moving parts and work through it. That way, nothing slips through the cracks.
Balancing and Alignment Techniques
Perfect balance can make a clunky installation feel brand new. Use a small level to check for tilt or sag on doors and drawer fronts. Shim or adjust mounting brackets on uneven cabinets or appliances. This prevents wear and those annoying creaks.
For larger installations, look for manufacturer alignment marks—little notches or guides. Proper alignment helps everything wear evenly and look better too. Using accurate measuring techniques for perfect alignment prevents most of these issues before they start.
It’s smart to check alignments after moving heavy furniture or when seasons change. What felt perfect yesterday might shift overnight.
Lubricating Key Components
Lubrication is a simple step with big payback. For metal tracks, hinges, and rollers, use a light machine oil or silicone spray. Just a bit—too much attracts dust. Plastic parts often prefer dry lube like graphite powder.
Door catches and locksets should move quietly after a quick spritz. Skip petroleum-based greases on anything in the sun or heat—they get sticky. Flexible straw applicators make hard-to-reach spots less frustrating.
A regular lube schedule keeps things gliding and silent, so we’re not reminded by squeaks that we skipped it. For window shades, understanding frame depth for smoother shade operation also helps reduce friction and noise.
Achieving Whisper-Quiet Performance
Getting our space truly quiet isn’t just about muting big noises; it’s about tracking down the little ones that ruin the calm. We can hunt for creaks, add noise barriers, and tweak the room layout for better acoustics.
Silencing Squeaks and Rattles
Squeaks and rattles always show up at the worst times—a floorboard under a chair, a hinge that whines every time the door moves. Pinpoint the source with a walkthrough, listening for odd noises as you press, open, or move things.
A shot of lubricant (silicone spray or petroleum jelly) usually quiets hinges, rollers, and drawer slides. For floorboards, sprinkle talcum powder into seams and tap it in. Tighten loose screws and fasteners, and replace missing parts.
Go room by room with a checklist—you’ll find at least a few hidden culprits. The goal is less interruption, not perfection. Some rattles come from loose edges, so reducing light leaks and edge noise around shades can help quiet things down.
Using Dampening Materials
Dampening materials help soak up vibrations before they turn into rattles or buzzing. Here’s a quick list of what actually helps:
- Weatherstripping: Great for doors and windows. Cuts noise and drafts.
- Adhesive felt pads: Perfect under furniture feet and lamp bases.
- Acoustic panels: For walls in noisy spots or home theaters.
- Rug pads: Layer these under area rugs for extra sound absorption.
Placement matters. Put pads and strips where movement and friction happen, and layer soft surfaces where sound bounces. Tap or move things to test if you need more cushion.
Optimizing for Room Acoustics
Sometimes it’s not the noise, but how the room echoes or amplifies it. Hard, empty rooms make footsteps and voices sound sharp. Adding fabric curtains, upholstered furniture, or a few thick throw blankets can cut harsh echoes.
Try moving things around—bookshelves on bare walls or tall plants in corners scatter sound and soften sharp reverberations. Heavy curtains and soft wall hangings help too.
If a space is especially noisy—like a home office near traffic—consider double-paned windows or DIY window inserts. Even rearranging furniture can make a noticeable difference without much cost. Mounting style also affects noise—choosing the right mount style for quieter shade performance helps minimize vibration.
Smart Integrations and Automation
Modern homes rely on smart systems for efficiency and comfort, but they only work well if we set them up right. Getting the most from our devices means checking connections, dialing in settings, and fine-tuning automation.
Configuring Smart Controls
Start by linking devices like thermostats, fans, and air purifiers to the home’s smart hub. Each device should connect smoothly over Wi-Fi or Zigbee, so double-check compatibility and update firmware if needed. If a device won’t link, reset it and try pairing again—sometimes it really is just turning it off and on.
Once connected, assign devices to logical rooms or groups. That way, it’s easier to control them by voice or app—like, “Turn off the living room fan.” For routines, set schedules around daily habits. For example:
| Routine | Time/Condition | Action |
|---|---|---|
| Morning Warm-Up | 7:00 AM weekdays | Raise thermostat 2°C |
| Away Mode | When we leave | Power down unnecessary lights |
| Bedtime | 10:30 PM | Dim lights, reduce fan speed |
Set up alerts so we know if a device disconnects or a filter needs changing.
Testing Automated Settings
After setting things up, run through each automation and scene to see if they behave as expected. Trigger actions via the app and with voice commands. If a lamp stays on or a fan turns off too early, tweak the triggers or schedules.
Test for noise responses too. If an automation ramps up a fan speed and creates extra noise, adjust it for a gentler transition. For motion sensors, walk past to confirm the right devices activate. Test at different times—sometimes a routine works in daylight but not at night.
Jot down results in a quick checklist or table. Keep notes on what needs fixing, and celebrate the routines that work perfectly on the first try. Sometimes, the best spot to check which lights we forgot to automate is from the sofa or bed.
Cleaning Up and Final Presentation
Now that everything’s installed and adjusted, it’s time to clean up. Let’s ditch the leftover mess and make everything shine so the space feels brand new.
Removing Debris and Packaging
First up: tackle the clutter. Gather up tools, leftover materials, screws, or hardware that didn’t make the cut. Empty boxes, plastic wrap, foam inserts, and paper instructions—sort them out.
Cardboard and recyclables go in their bins; bag non-recyclables like certain plastics or packing peanuts separately. If you find hazardous stuff like old batteries or broken bulbs, take them to a proper disposal site.
A quick sweep or vacuum is essential. Nothing ruins a reveal faster than crunching on drywall or stepping on a rogue nail.
Polishing Surfaces
Once the area’s clear, go for the finishing touches. Wipe down counters, fixtures, and cabinets with a microfiber cloth and a cleaner that suits the material—nobody wants streaks or residue.
Pay special attention to smudges, fingerprints, or dust on glass or metal. For wood, use a gentle polish or oil if it’s recommended. Remove adhesive residue or sticky spots from labels with a gentle solvent.
Check hinges, handles, and knobs for fingerprints and buff them out. Even light dust can dull the look, so a final once-over makes the results pop.
Documentation and Warranty Registration
Let’s take a breather and deal with paperwork that saves us stress later. Setting aside a few minutes now to handle documentation and registration can protect our investment and make sure we’re ready if something goes wrong.
Completing Product Registration
Registering our product with the manufacturer is a simple step, but honestly, it’s easy to forget when we just want to get back to enjoying our space. Most brands let us register online; usually, all they want is the product serial number, purchase date, and a contact method.
It’s smart to register within the first week after install. Some manufacturers extend coverage or send reminders once we’re in their system. If our info’s current, support is way faster if we run into warranty issues. We should keep that registration confirmation somewhere safe—save the email or print a PDF, whatever’s easiest.
What we need for most registrations:
- Product serial/model number
- Purchase date and location
- Copy of receipt (photo or PDF)
- Our contact info
Organizing Manuals and Receipts
Manuals and receipts are lifesavers when troubleshooting or making warranty claims. We like to stash original manuals and receipts together in a labeled folder or envelope, so we’re not digging around when something goes wrong. For appliances or smart devices, jotting the install date right inside the manual helps too.
Scanning and backing up documents in a cloud folder means they're never lost to spills or “helpful” decluttering. We can even make a table for tracking our items:
| Item | Purchase Date | Serial # | Warranty End | Receipt Location |
|---|---|---|---|---|
| Kitchen Faucet | 06/13/2025 | 12345-AQZ | 06/13/2030 | Home Binder (PDF) |
A bit of effort organizing now saves us headaches if repairs, replacements, or upgrades pop up later.
Post-Install Monitoring and Upkeep
Once everything’s installed, we’ve got to stay proactive to keep things running smoothly. Regular attention helps us avoid issues, cut down on noise, and extend the lifespan of our improvements.
Scheduling Routine Checks
Honestly, the best way to dodge future headaches is to plan check-ups. Mark the calendar for monthly or quarterly inspections, depending on the equipment. For anything mechanical, check fasteners, lubricate moving parts, and look for wear.
Here’s a quick checklist to keep us on track:
| Frequency | Task |
|---|---|
| Monthly | Wipe down surfaces |
| Bi-Monthly | Tighten screws/bolts |
| Quarterly | Inspect seals and gaskets |
| Annually | Deep clean components |
Setting reminders on our phone or scribbling notes on a wall calendar works. We shouldn’t skip these checks, even if everything seems fine—problems love to hide.
Ongoing Noise Watch
Silence is great—until it’s suddenly interrupted. We’ll want to keep our ears open for any new or increasing noises. Unusual clicks, rattles, or humming can be early signs of trouble.
If we notice sounds that weren’t there before, let’s jot them in a log. Recording details like time, location, and conditions helps us spot patterns. That way we can tackle issues before they snowball.
Don’t forget to check usual suspects like loose fittings, vibration points, and worn pads. A wrench and screwdriver should always be nearby for quick fixes. If nothing else works, a rubber pad or felt strip can sometimes work magic on stubborn noise spots.
Frequently Asked Questions
We all want a home that runs smoothly and quietly behind the scenes. Here, we get into specific tactics for silent installs, stealthy configurations, and maintenance that feels nearly invisible.
What steps should I follow for a silent and smooth installation process?
First, always check for a "silent" or "quiet" option in the installer’s documentation. They’re usually listed as /silent, /quiet, or /S.
Then, disable notifications and auto-launch features if you can. It helps to close unnecessary apps before starting to avoid interruptions.
Can I get a rundown on the command line parameters for silent installations?
Absolutely! The most common parameters for silent installs are /S, /silent, /quiet, and /VERYSILENT.
But check the official docs for each app—sometimes options change. Some installers also support /norestart to skip automatic restarts.
How do I configure a newly installed application for silent operation?
Look for launch or startup settings inside the app, usually under Preferences or Settings. Choosing options like "Start minimized" or "Don’t show notifications" keeps things quiet. Disabling any unneeded background processes helps, too.
What's the secret to ensuring a post-install environment is whisper quiet?
After installing, review background processes with Task Manager or Activity Monitor. Turn off auto-updates or background checks if they’re not essential.
If the app lets you, shut off unnecessary alerts in the settings so you don’t get interrupted.
Any tricks to prevent a reboot after a silent software installation?
Try the /norestart or /NoRestart parameter if the installer allows it. Documentation is your friend here.
Closing running apps before installing helps lower the odds of a forced reboot. Sometimes you can also just skip or postpone restarts if the prompt pops up.
Is there a standard approach for silently uninstalling software without leaving traces?
Most uninstallers take parameters like /silent, /quiet, or /uninstall—so you can just toss those into the command line and let it do its thing.
Once it’s done, I usually grab a cleanup tool or just poke around myself, deleting any stubborn folders in Program Files or AppData. That usually gets rid of the leftovers, though sometimes you’ll find a stray file or two hanging around.


