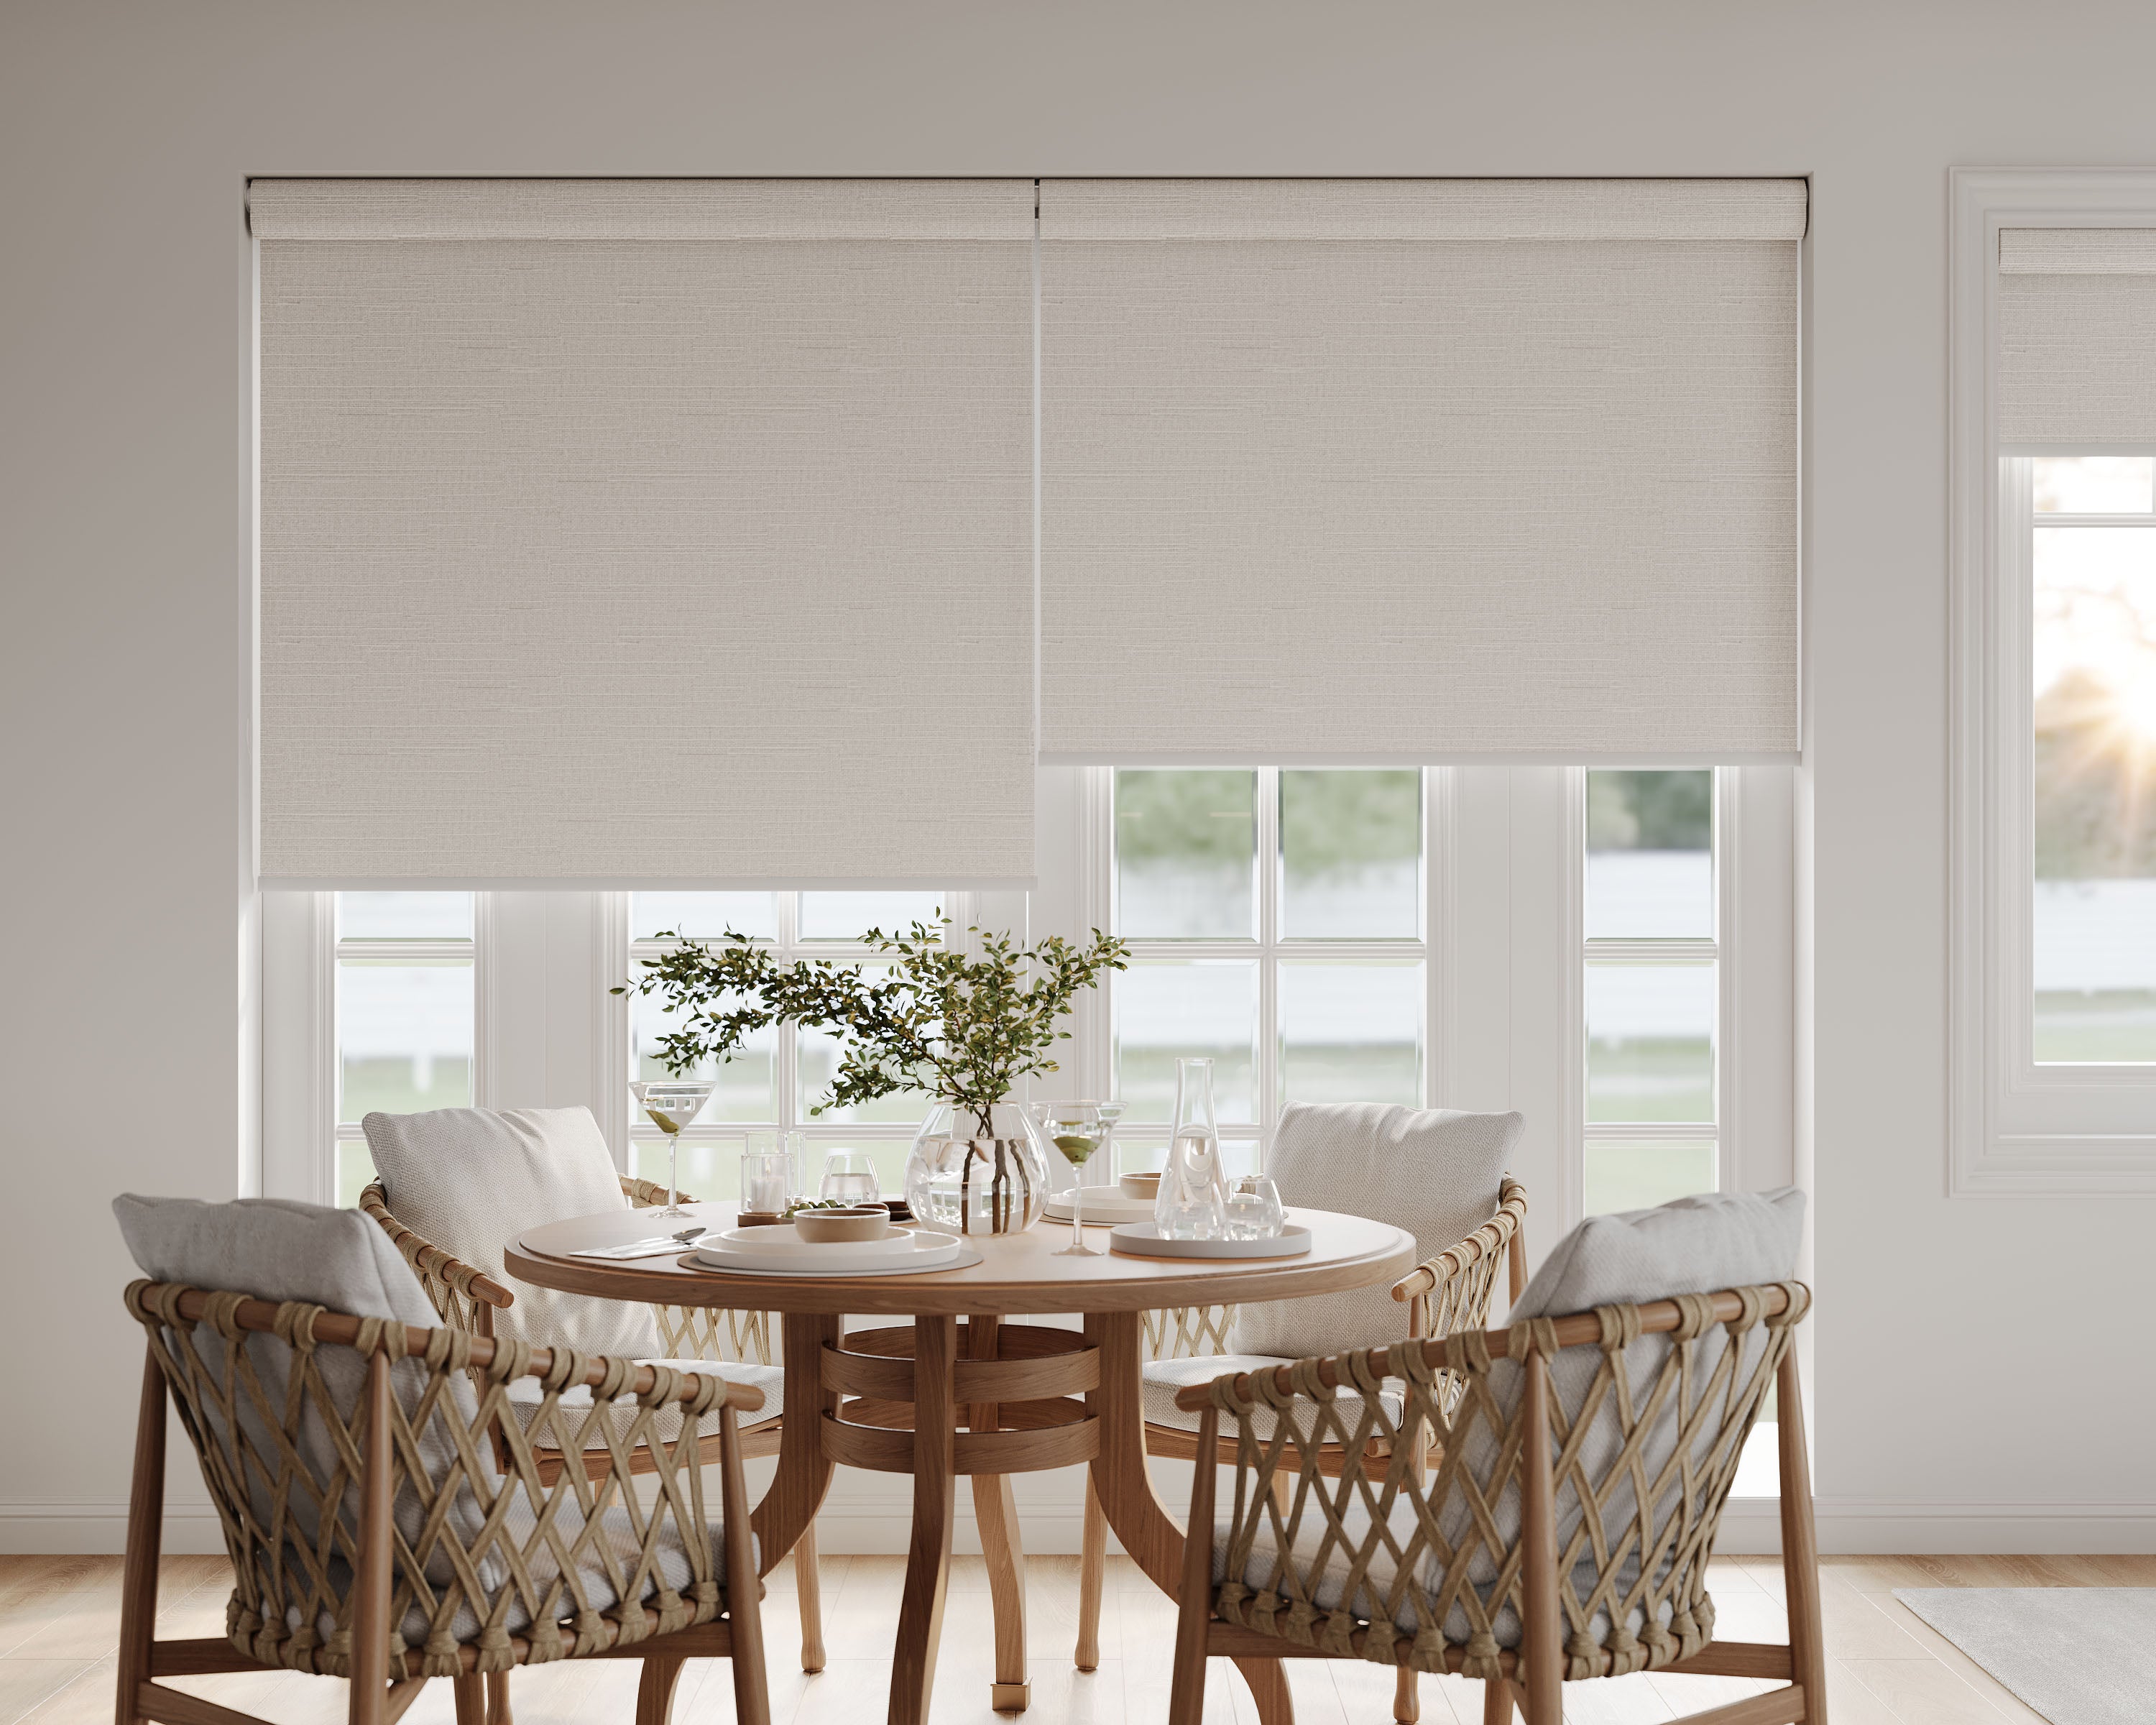
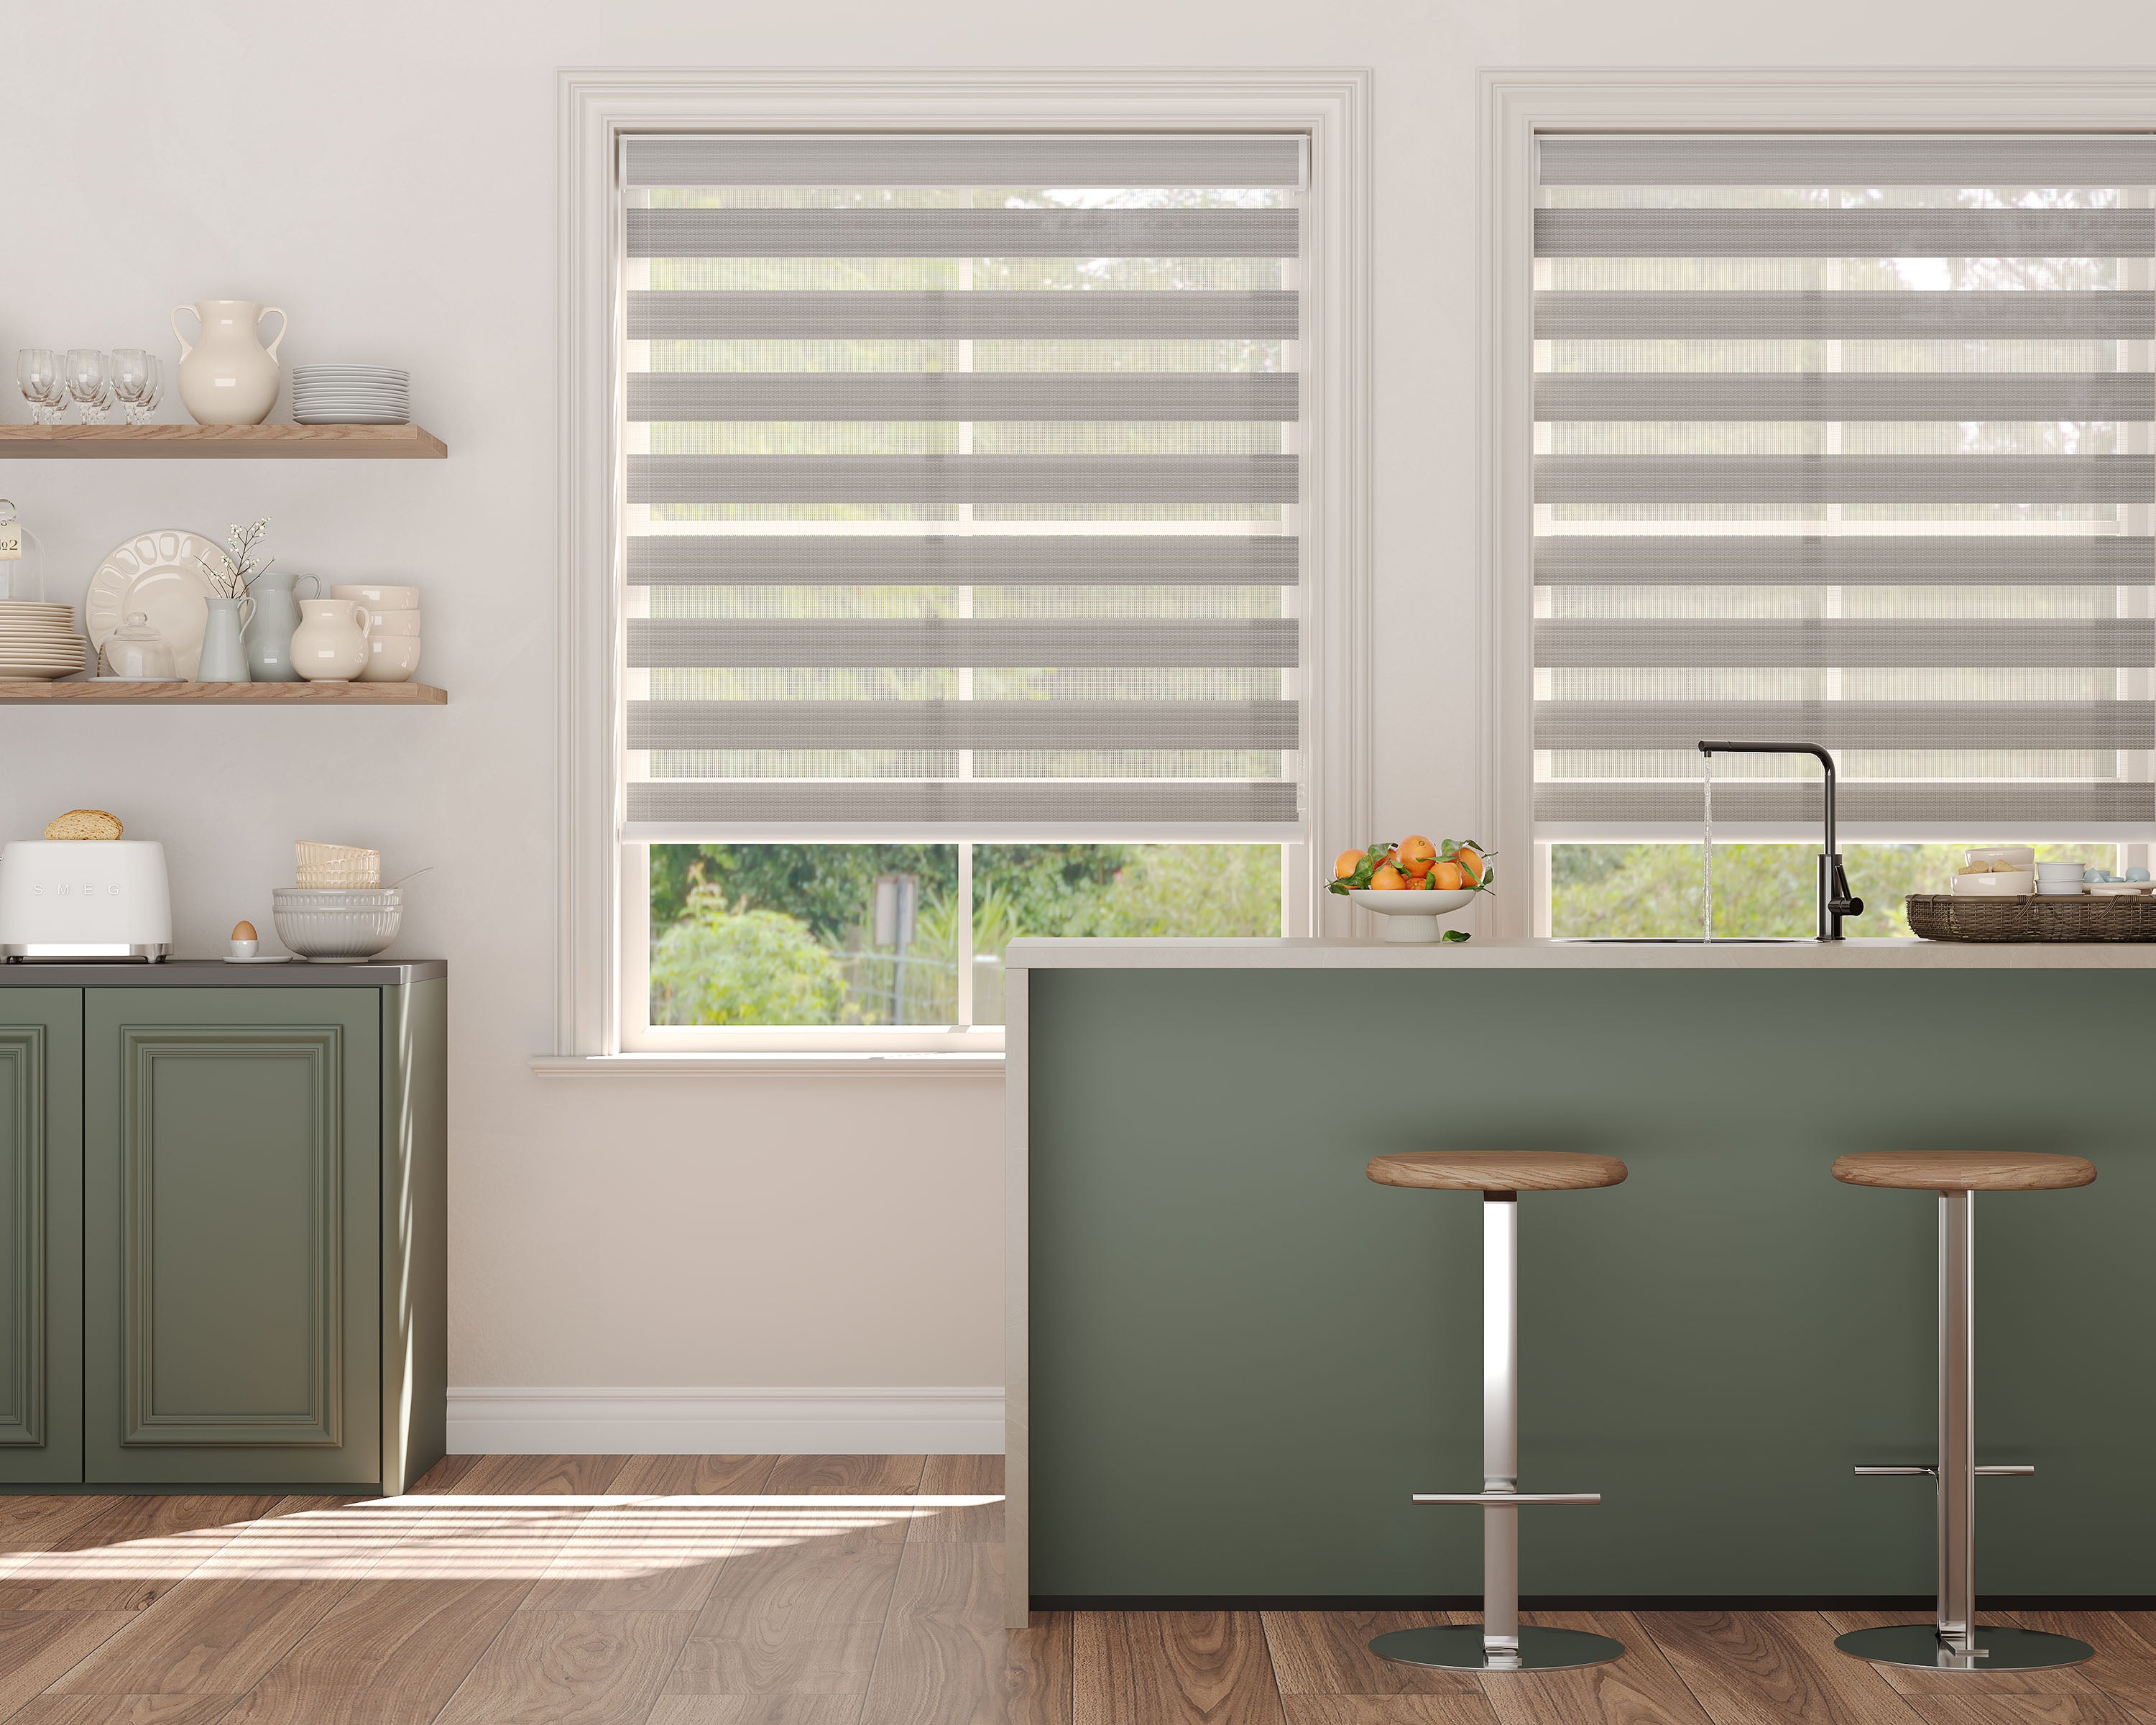
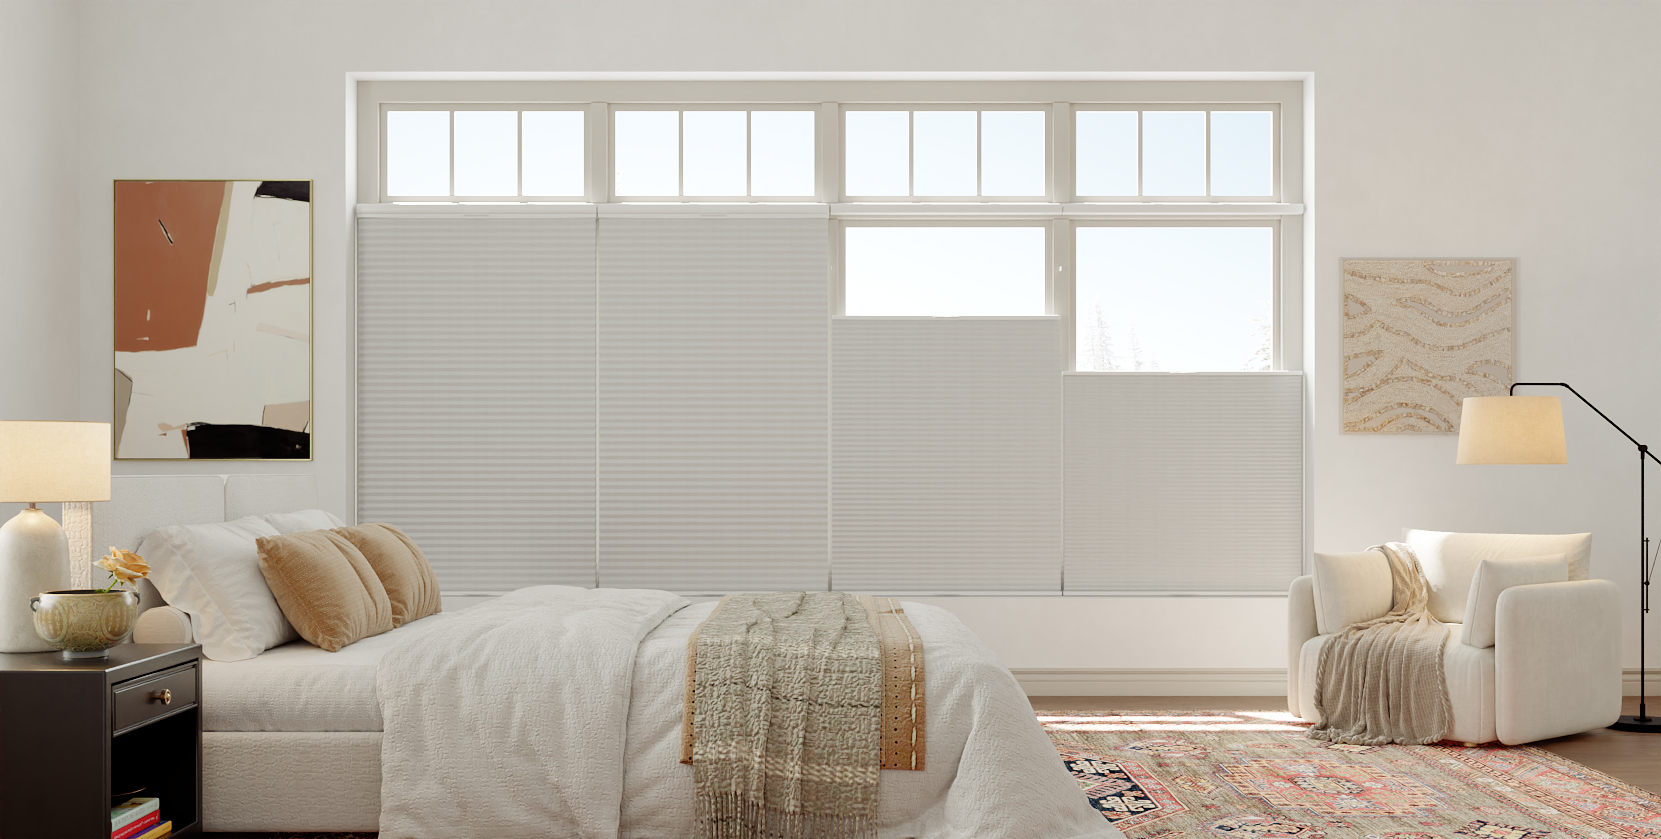
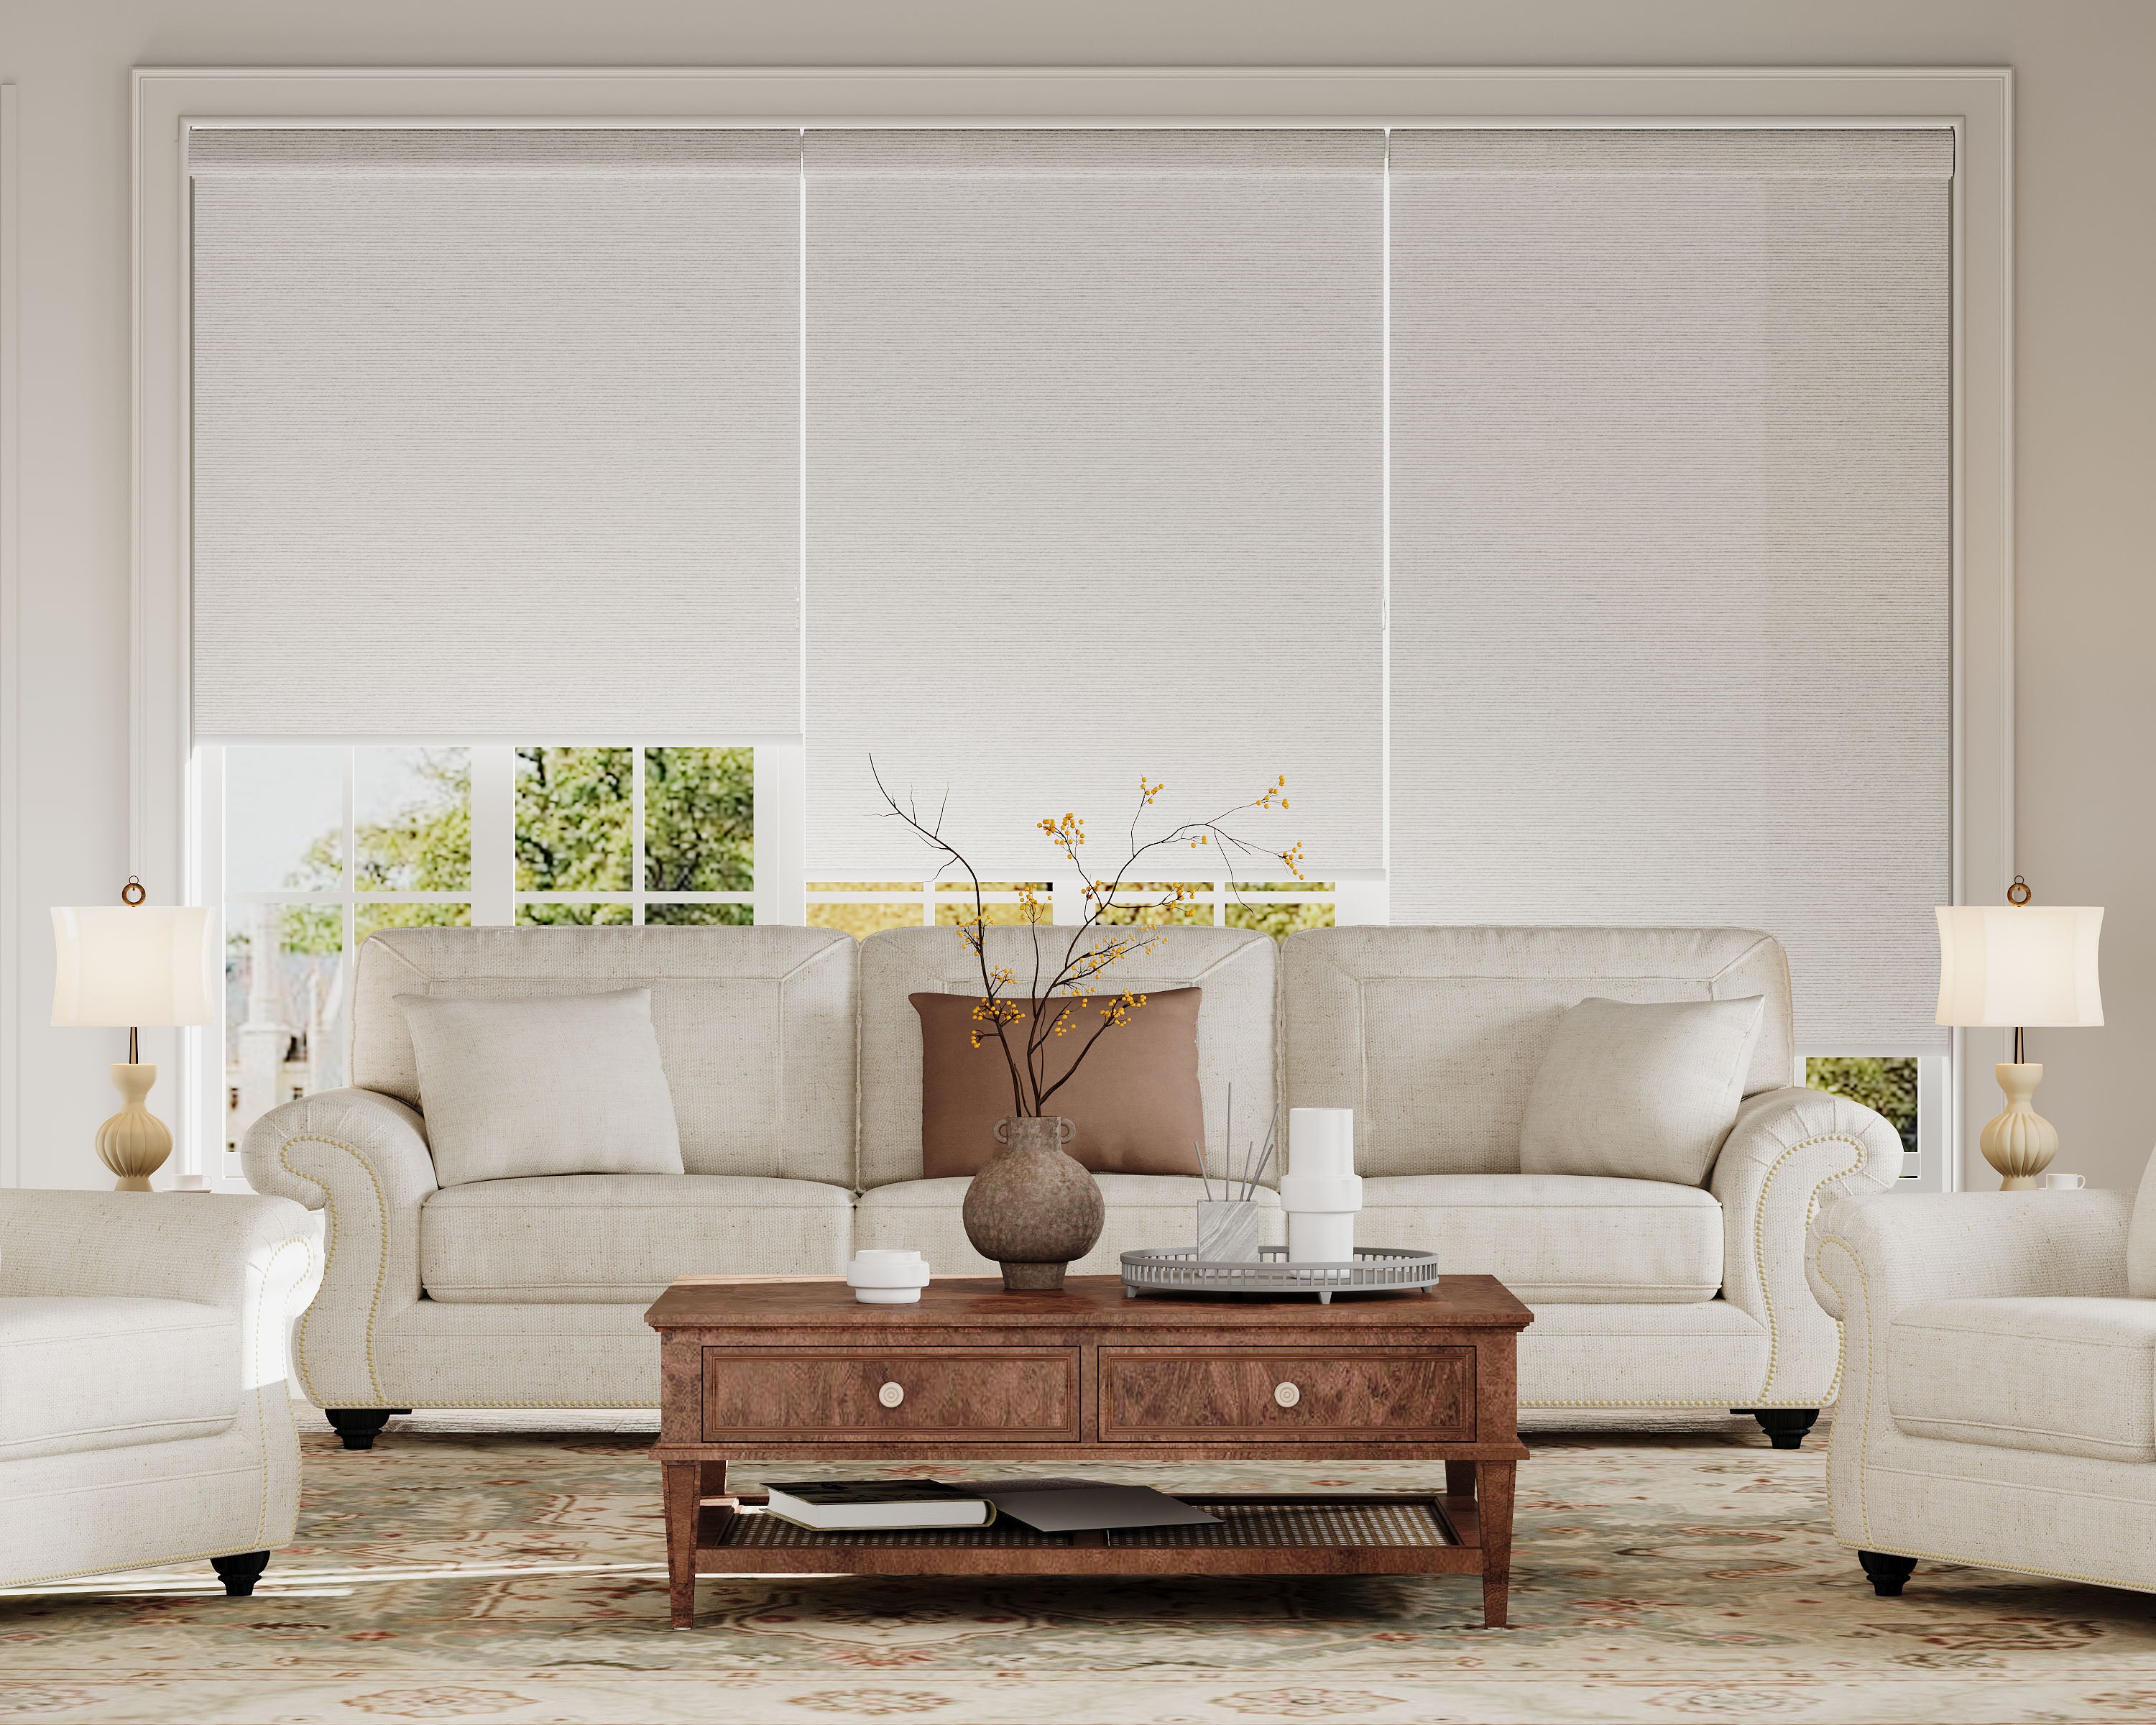
If you’ve ever tried to hang window shades on wavy old plaster walls, you know the struggle is real. Using shims is the simplest way to level shades and keep them looking neat, even when the wall behind them is anything but straight. Gaps, crooked brackets, and tilting shades can all be fixed with a few easy tweaks.
Let’s walk through how to pick the right shims, prep those unpredictable walls, and get shades looking like a pro put them up. No fancy skills or expensive gadgets needed—just some patience and a decent plan.
Key Takeaways
- Plaster walls often make shades hang unevenly.
- Shims help us adjust and level shades easily.
- The right prep and tools lead to a cleaner, straighter look.
Achieving this is especially important for the seamless fit of custom cellular shades, which rely on perfect alignment for optimal insulation and appearance.
Why Shades Go Crooked on Plaster Walls
It’s easy to get frustrated when window shades just won’t hang straight, no matter how carefully we measure or level. The culprit is usually the wall itself—old plaster that’s shifted and warped over time.
Challenges With Wavy Surfaces
Old plaster walls shift, crack, and get lumpy as the years go by. Modern drywall gives a flat surface, but plaster? It might bulge, ripple, or dip in random spots.
Mounting a shade bracket straight onto a wavy wall is a gamble. The wall might bulge behind one bracket or dip behind the other, making it tough to get both brackets lined up. Even the fanciest laser level can’t fix a wall that’s not flat.
Some common headaches:
- Bulges shove brackets forward, so shades tilt out.
- Hollows set brackets back, making the shade look crooked.
- Cracks can make hardware feel loose and unstable.
How Plaster Wall Irregularities Affect Shade Installation
Plaster walls hide high and low spots that don’t show up until you start drilling. Hit a high spot, and the bracket sits further out; a low spot, and it’s recessed. Even a couple millimeters off can make the whole shade look wonky.
Shades need both brackets at the same height and distance from the wall. Uneven surfaces ruin symmetry—one side might gap, the other scrapes the window frame. Loose, crumbly plaster adds another layer of hassle, sometimes shifting under the drill.
Common Shade Types Impacted by Uneven Walls
Different shades show wall issues in their own annoying ways.
- Roller shades highlight crookedness with their bottom bar.
- Roman shades can bunch up weirdly, making folds look messy.
- Cellular or honeycomb shades don’t sit flush, letting in streaks of light.
Here’s a quick table of shade types and how they’re affected:
| Shade Type | Typical Problem on Uneven Walls |
|---|---|
| Roller | Noticeable slant, gaps |
| Roman | Uneven folds, misaligned cord stacks |
| Cellular/Honeycomb | Gaps at sides, light leaks |
| Horizontal blinds | Tilted slats, uneven closes |
Really, the wall behind the shade makes or breaks the final look. No one wants shades that look like they’ve had a rough night.
Understanding and Selecting Shims
To hang shades straight on wavy plaster, you’ve got to know what shims do, which materials work best, and whether to buy or DIY. Picking the right shim saves time and avoids future headaches like crooked shades or loose brackets.
What Are Shims and How Do They Help?
Shims are slim, wedge-shaped pieces that fill gaps between brackets and the wall. With plaster or old lath, you’re almost guaranteed to hit uneven spots. Shims step in, giving brackets a stable, level base.
Tuck a shim behind the bracket to adjust for dips or bulges. This extra layer keeps hardware flush, so shades move smoothly and look sharp. If you notice light leaks or a saggy shade after hanging it, a shim is almost always the fix.
You can trim shims with a knife or scissors, so they’re easy to fit, even on the weirdest walls. If the shade’s off after you hang it, try a shim before anything else.
Materials and Types of Shims for Window Treatments
You’ll find shims in all sorts of materials, and each has its quirks:
| Material | Pros | Cons |
|---|---|---|
| Plastic | Moisture resistant, cheap, consistent | Can crack with heavy screws |
| Wood | Easy to trim, strong, widely available | May split, can swell with humidity |
| Cardboard | Readily available, easy to cut | Not durable, can compress over time |
| Metal | Extremely durable, stable | Harder to cut, may scratch walls |
Plastic shims are popular—they don’t soak up moisture and come in standard sizes. Wood shims (like cedar shingles) are sturdy for bigger gaps but need to stay dry.
For tiny tweaks, even folded cardboard from the packaging works, though it won’t last forever. Metal shims are rare for shades but good if you need something super thin or precise.
When to Use Ready-Made vs. DIY Shims
Ready-made shims are fast and reliable, with exact thicknesses. If you need a small adjustment or want to keep things simple, grab a pack of plastic or wood shims from the hardware store.
DIY shims are great when your wall is extra weird or the gap isn’t standard. Cut up wood scraps, layer bits of plastic, or fold cardboard to fit behind the bracket. Sometimes you just don’t want to run to the store—a cereal box can save the day.
If the gap’s more than 1/4 inch or you’re mounting heavy shades, go for prefab shims—they’re sturdier. For odd shapes or tiny fixes, homemade shims fill weird spaces and let you level shades, no matter how wild the wall.
Prepping for Shade Installation
A little prep makes mounting shades on bumpy old walls way easier. Careful inspection, spot-on measurements, and picking the right mounting spots help guarantee a level, pro-looking finish.
Inspecting Plaster Walls for Unevenness
Run your hand over the plaster—feel for waves, bulges, or dips. Even tiny bumps can mess up brackets, so take your time.
A long carpenter’s level pressed horizontally against the wall will show you the high and low spots. Mark them lightly with painter’s tape or a pencil. Don’t skip the corners; sometimes the worst spots hide there.
If you hear hollow sounds or the plaster crumbles, fix those first. Hardware needs a solid base, or you’ll be back fixing it again soon.
Measuring and Marking for Levelness
Pick exactly where the brackets will go. Use a level to draw a straight, horizontal line above the window. Tempting as it is, don’t trust the window trim in old houses—it’s often not level. Trust the level, not your eyes.
Measure both ends of your line to make sure they’re the same distance from the floor or sill. Mark bracket screw spots lightly with a pencil.
Tools you’ll want:
- Spirit or laser level
- Tape measure
- Pencil
- Painter’s tape
Measure twice, drill once. A quick visual check before you start saves patching extra holes later. This critical step relies on the basics of fool‑proof measuring for window shades to ensure your starting points are accurate.
Assessing the Best Mounting Locations
Plaster can fool you—looks solid, but isn’t always. Use a stud finder to hunt for wall studs; they give the most secure hold.
If you can’t find a stud, look for thick, undamaged plaster or wood lath. Steer clear of cracked spots and areas near outlets—old wiring can surprise you.
If you’re not sure, use hollow wall anchors rated for plaster. Some shades need more support than anchors can give, so match your method to the weight. One solid bracket beats two that rip out after a week.
Step-By-Step: Using Shims to Level Window Shades
Leveling shades on wavy plaster is oddly satisfying with the right approach. Shims let you tweak brackets so shades sit straight, no matter what the wall throws at you.
Fitting Shims Behind Mounting Brackets
Grab your shims (wood or plastic), a level, screwdriver or drill, pencil, and the hardware.
- Hold the bracket where it’ll go.
- Lay the level across the bracket to spot any dips or bulges.
- Slip shims behind the bracket where the wall bows, checking that it sits flat as you adjust.
Trim shims as needed to keep them hidden. No one wants a wedge poking out from behind their shades. A utility knife does the trick.
Adjusting Shim Placement for Accuracy
Once the shim’s in, don’t rush. Even a tiny tilt shows once the shade’s up. Check with the level a few times, nudging the shim until it feels right.
If the bubble won’t center, swap in a thinner or thicker shim, or stack two. Sometimes it takes a little trial and error.
Mark the final shim position lightly with a pencil before you screw in the bracket. If a shim slips, you’ll know where it belongs.
Securing Shades and Testing for Level
With shims in place, screw in the bracket. Keep an eye on it as you tighten—too much force can twist the bracket or shift the shim. Go easy.
Hang the shade and set the level on the bottom rail. If it looks good, awesome. If not, loosen the bracket a bit and adjust the shim. Sometimes it takes a couple tries—a little wiggle, a nudge—until the shade sits straight.
Troubleshooting Common Issues
Sometimes the wall’s so curvy, even thick shims aren’t enough. Stack thinner shims or cut a custom wedge for a bigger gap.
Dropped shims and wobbly brackets are just part of the process. Tape the shim in place before screwing in to keep things neat. If the shade still tilts, double-check that brackets aren’t flexing or digging into soft plaster.
For crumbly plaster, use wall anchors or toggle bolts for backup. For detailed techniques on securing hardware into challenging materials, review our guide on mounting into metal, tile, or brick with the right drill bits and anchors. Here’s a quick table for common annoyances:
| Issue | Solution |
|---|---|
| Shim too thick/thin | Trim or stack shims |
| Bracket slips | Tape shim before screwing in |
| Wall crumbles | Use wall anchors or toggles |
| Still not level | Recheck shim placement, repeat |
Honestly, patience and a sense of humor help. Leveling shades on wavy plaster is more art than science.
Advanced Tips for Historic and Delicate Plaster
Working with old plaster walls is a balancing act—trying to keep history intact while making things work. Wavy surfaces need extra care, or you’ll risk chipping details that can’t be replaced.
Minimizing Damage to Old Plaster
We want to keep historic plaster as intact as possible. Before drilling, grab a stud finder and painter’s tape to mark safe spots. That way, you’re less likely to crack or punch unnecessary holes. Use a sharp, small masonry bit and start with a pilot hole—less vibration, neater holes.
If you’re using screws to secure shims, self-tapping anchors or toggle bolts are your friends. They spread pressure behind the wall, not straight into the fragile plaster. For delicate spots, adhesive putty or removable strips let you attach lightweight shades without drilling at all. Another innovative approach for tricky surfaces involves solving shallow-frame problems with slim-profile hardware. And really, don’t over-tighten fasteners or whack the wall—old plaster flakes easily.
Camouflaging Shims for a Clean Look
Even if you get the shade dead-level, visible shims can ruin the effect. Use wood or plastic shims trimmed flush to the bracket, then sand the edges with fine-grit paper.
Paint the shims to match the wall or hardware, or hunt down clear or neutral ones for pale walls. If you’re feeling picky, caulk the tiny gaps and dab on leftover wall paint. It’s a sneaky way to make the whole installation look polished—nobody will spot your tricks.
Choosing Shades That Work Best With Wavy Walls
Not every window shade gets along with wavy plaster. Your results depend a lot on picking hardware and shade styles that don’t mind a few bumps, plus a willingness to improvise when windows are just plain weird.
Optimal Shade Styles and Hardware
Roller shades and Roman shades are usually the most forgiving. They hang straight from their brackets and don’t need side channels pressed tight, so small gaps won’t jump out at you.
Inside-mount shades only work if your window is pretty square. Most of the time, outside-mount shades—attached above or outside the trim—do a better job at hiding uneven edges. This is a key reason why choosing an inside mount or outside mount is one of the most important decisions for problem walls.
Adjustable brackets are a lifesaver. They let you tweak the position without stacking shims like pancakes. Metal hardware usually holds better in old plaster than plastic—worth the extra few bucks. If you're replacing old hardware, ensuring a perfect fit is critical; learn the process for ordering replacement brackets and matching legacy hardware models correctly.
Here’s a quick rundown:
| Shade Type | Suited for Wavy Walls? | Notes |
|---|---|---|
| Roller | Yes | Hangs straight, minimal contact |
| Roman | Yes | Flexible fit, good coverage |
| Cellular/Honeycomb | Sometimes | Best as outside-mount |
| Mini Blinds | No | Gaps show more on wavy walls |
Custom Solutions for Awkward Windows
Some windows just don’t play fair—tilted frames, bulges, you name it. Custom-cut shades can help a lot. When you get shades trimmed to the exact width, side gaps shrink and the fit looks way better, even on crooked frames.
For arches, strange corners, or just oddball shapes, local suppliers and online shops usually offer made-to-measure shades. Some companies even let you trace your window’s outline for a perfect fit—pretty neat, honestly.
Fabric valances or cornice boxes can hide hardware and shade tops, and they do a nice job of disguising bumpy bits at the top edge. It’s a subtle fix, but makes the whole thing look more intentional.
Caring For Your Refinished Window Shades
After all that work, you want your shades to stay sharp. Dust builds up fast—especially in older houses. A dry microfiber cloth once a week is usually enough.
For deeper cleaning, use a barely damp cloth on most finishes. Skip the harsh cleaners and don’t soak the shades; moisture can mess with adhesives or warp wood.
If your shades are fabric, the vacuum’s brush attachment lifts dust without tugging seams. Spot-clean stains with gentle soap and a little water—don’t go overboard.
Simple Shade Maintenance Checklist:
| Task | Frequency |
|---|---|
| Dust with a cloth | Weekly |
| Vacuum fabric | Every 2 weeks |
| Spot clean stains | As needed |
| Check hardware | Quarterly |
Don’t ignore the brackets and shims. Every few months, check that everything’s tight and secure. A quick twist with a screwdriver keeps shades lined up and safe.
A little upkeep goes a long way. There’s something about sunlight through clean, straight shades that just feels right.
Frequently Asked Questions
Leveling shades on old plaster walls can be a pain—those bumps and dips never seem to quit. Shims and a bit of creative mounting help you get things looking straight, no remodel needed.
What's the trick to leveling shades on an old wall that's more wavy than a roller coaster?
We use thin shims—wood or plastic—behind the brackets to even things out. A small torpedo level is a lifesaver for catching those sneaky tilts.
Shims let you tweak the angle so the shades look straight, even if the wall isn’t.
Got a bumpy wall? Any pro tips for mounting shades straight and secure?
We always mark both bracket spots with a level before drilling. If the wall’s extra lumpy, we back the brackets with a wider wood strip and screw into that.
Plaster or masonry anchors help the screws grip, even when the wall feels crumbly.
Is there a quick fix for hanging window treatments on my wonky plaster walls without a full-blown remodel?
We cut a thin piece of cardboard or the tip off a wood shim, slip it behind one side of the bracket, and level the shade. Tape holds the shim in place until you drive in the screws.
It takes just a few minutes—no patching or big repairs.
Oh no, plaster chaos! Can I hang shades without them looking like a funhouse mirror reflection?
If the window isn’t square, we line up the shades with the trim or the floor—whatever looks best. Sometimes you have to trust your eyes, not just the level.
Shims, little wedges, even layers of painter’s tape behind the bracket can help tweak things.
Do I need a magician to level my window shades on these ancient, uneven walls, or is there a simpler solution?
No magic needed—just patience and a few basic tools. Shims from the hardware store or scraps of trim handle most of the work.
Take your time marking bracket spots, check with a level, and adjust with shims until it looks right.
What are some creative ways to make my shades look even without playing 'Tilt the frame' on my lumpy plaster walls?
Sometimes, I’ll use a decorative valance or pick shade mounts a bit wider than the window to hide those weird uneven spots. If you’re up for it, try mounting a painted board or a strip of trim behind the brackets—it gives you a flatter surface to work with and honestly, it just looks more finished.
If you notice little gaps or a slight tilt, you can camouflage them with fabric swags or even some small trim pieces. It’s not always perfect, but it works surprisingly well.

