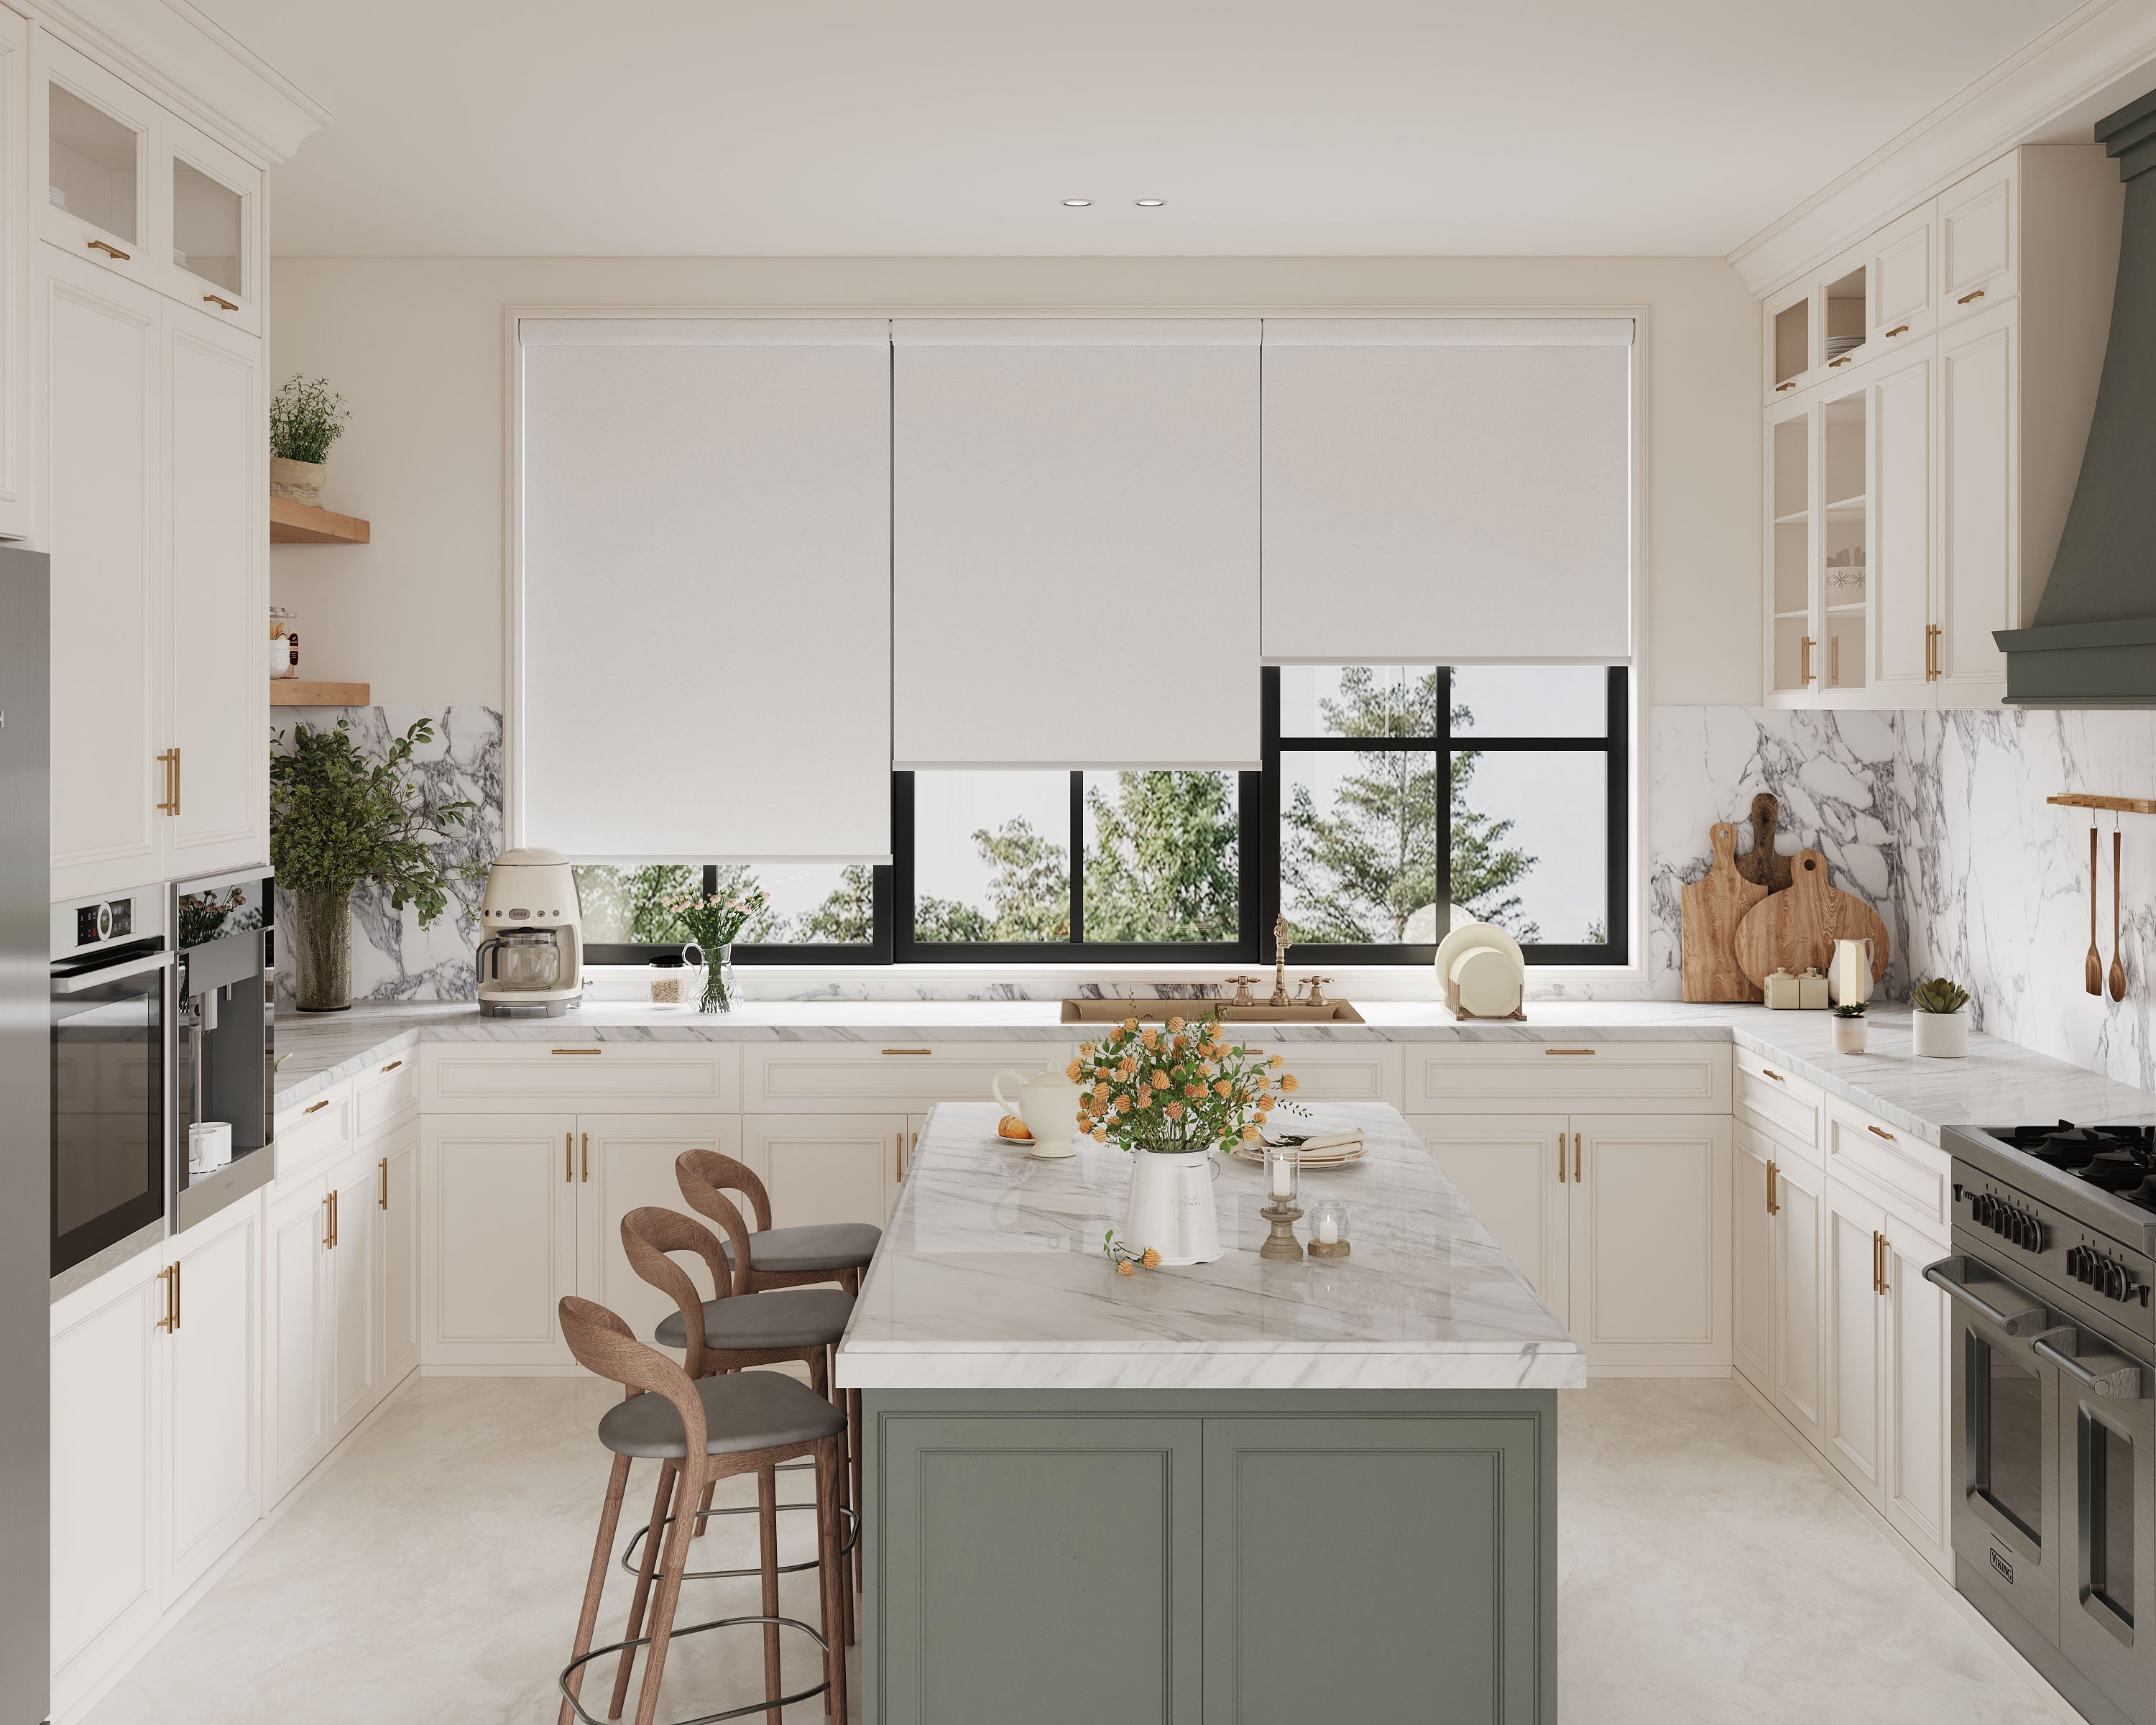
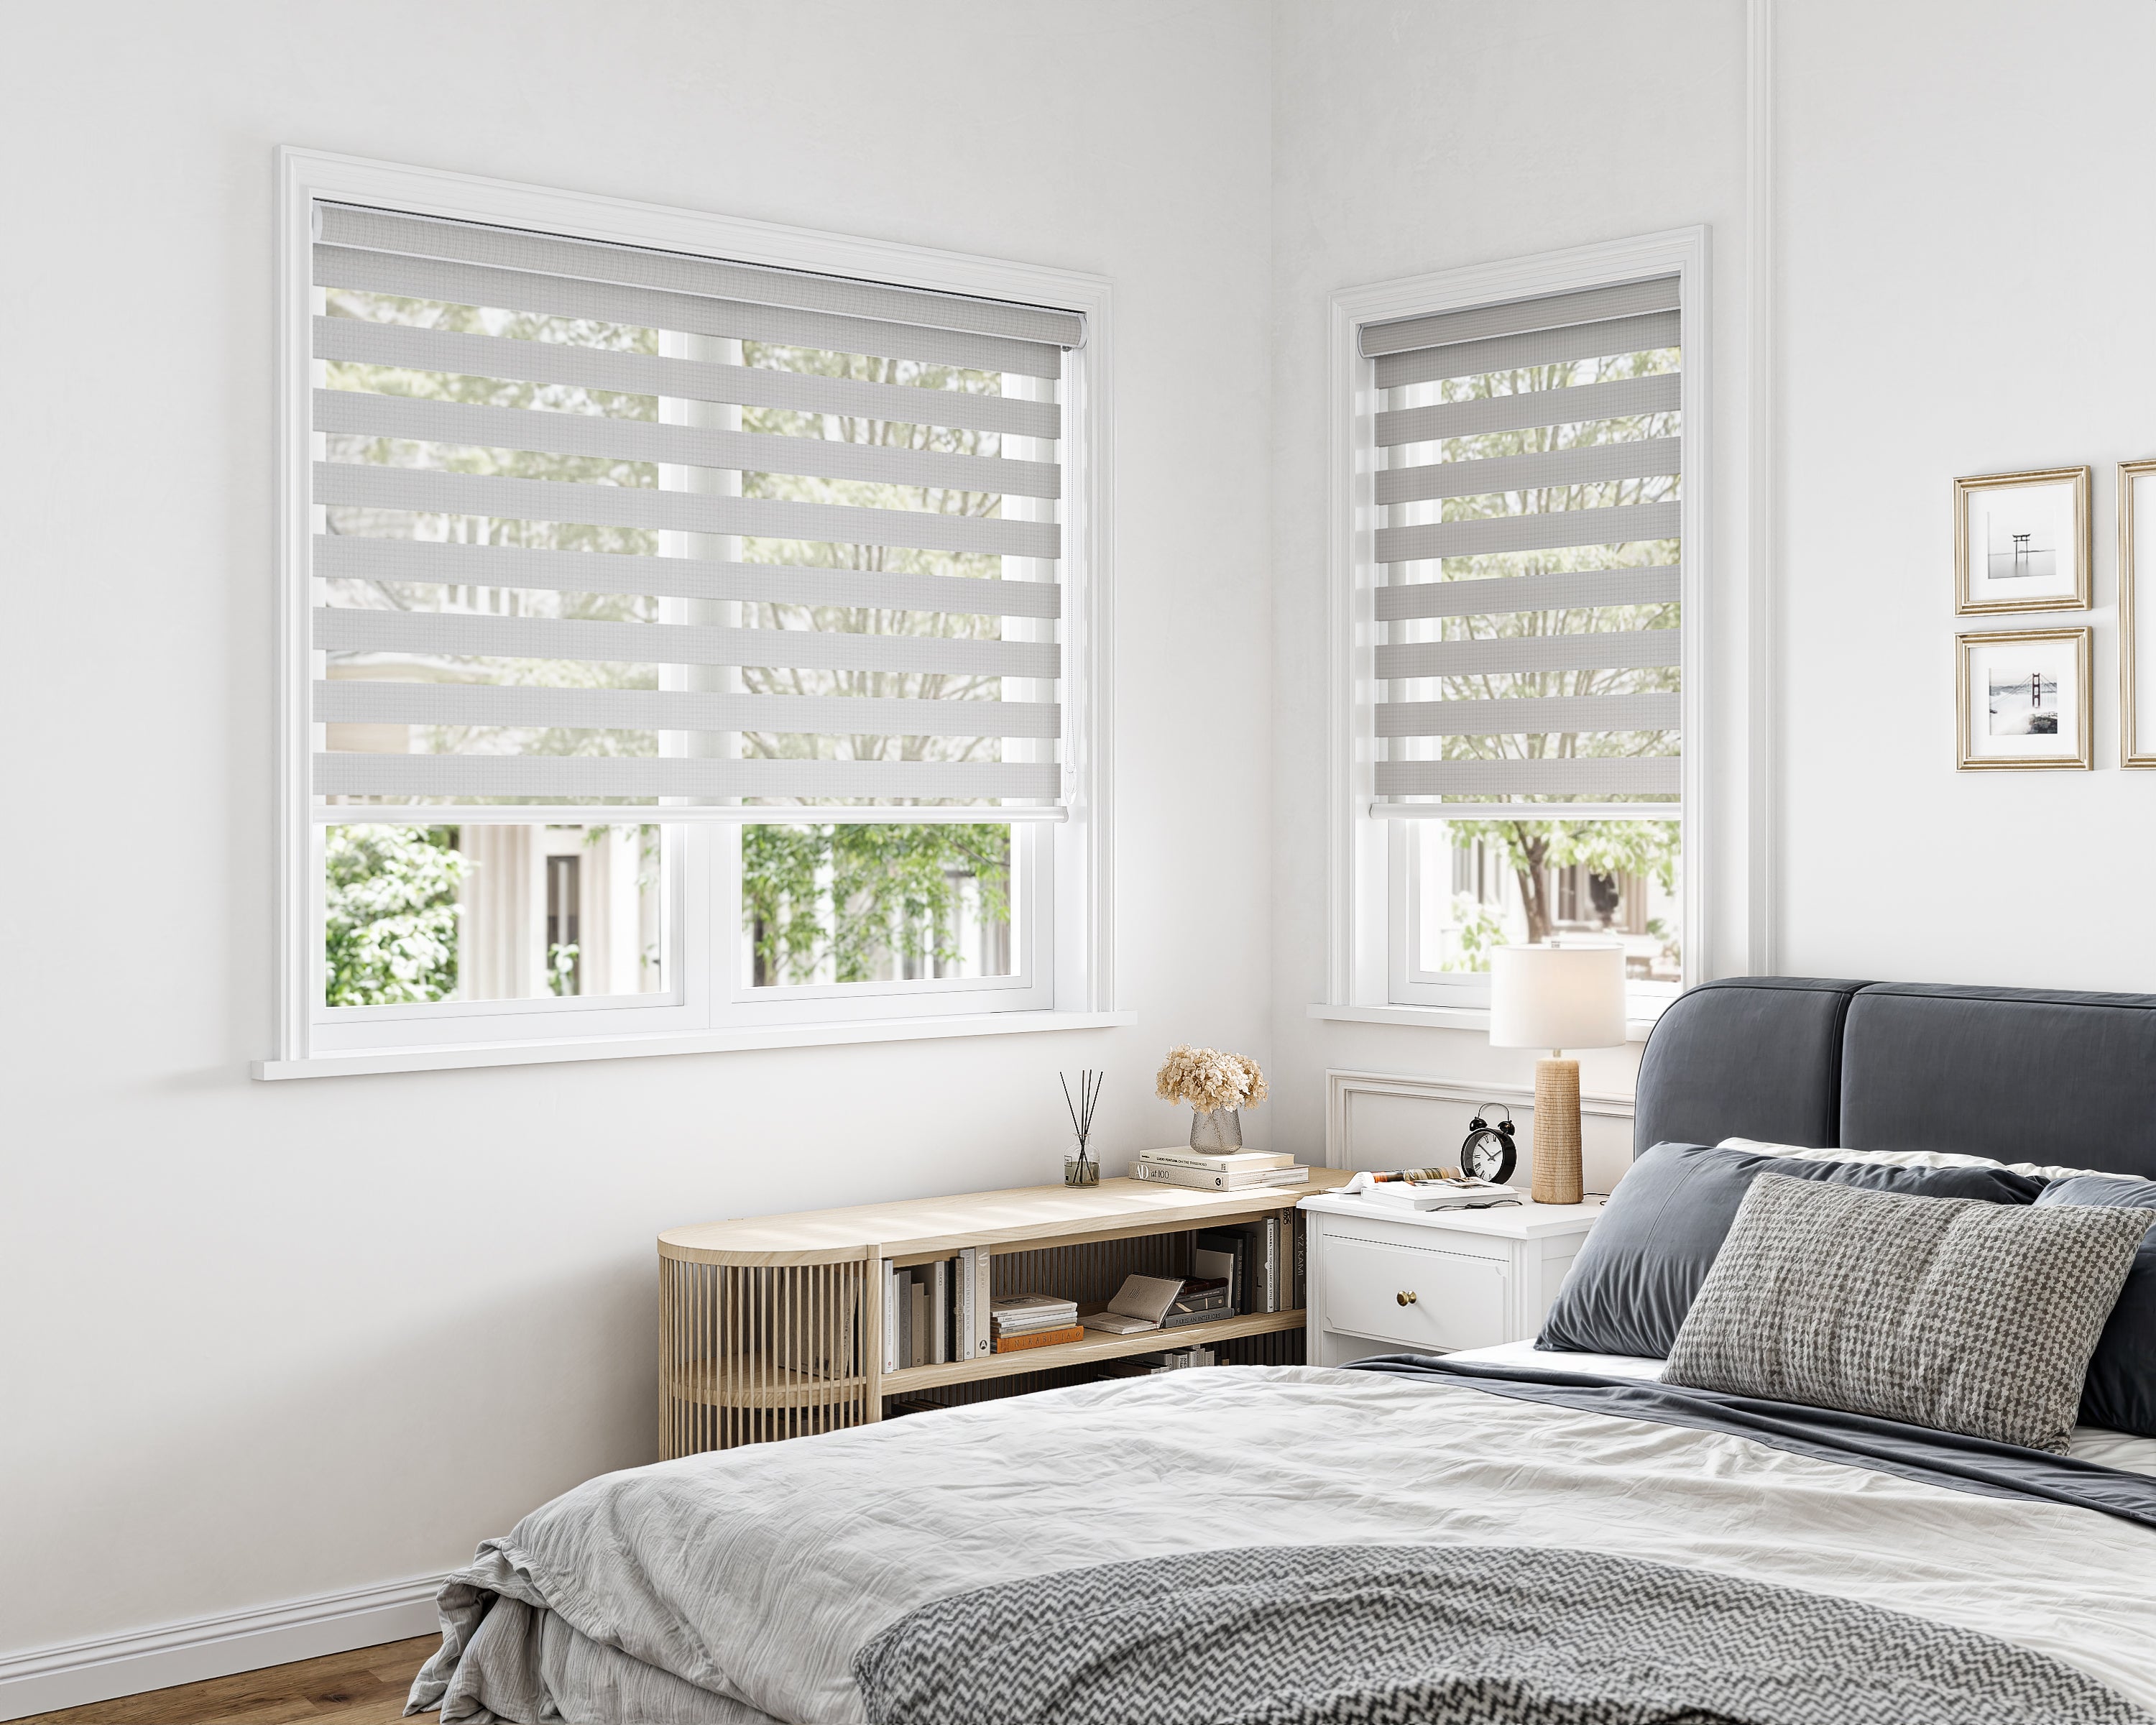
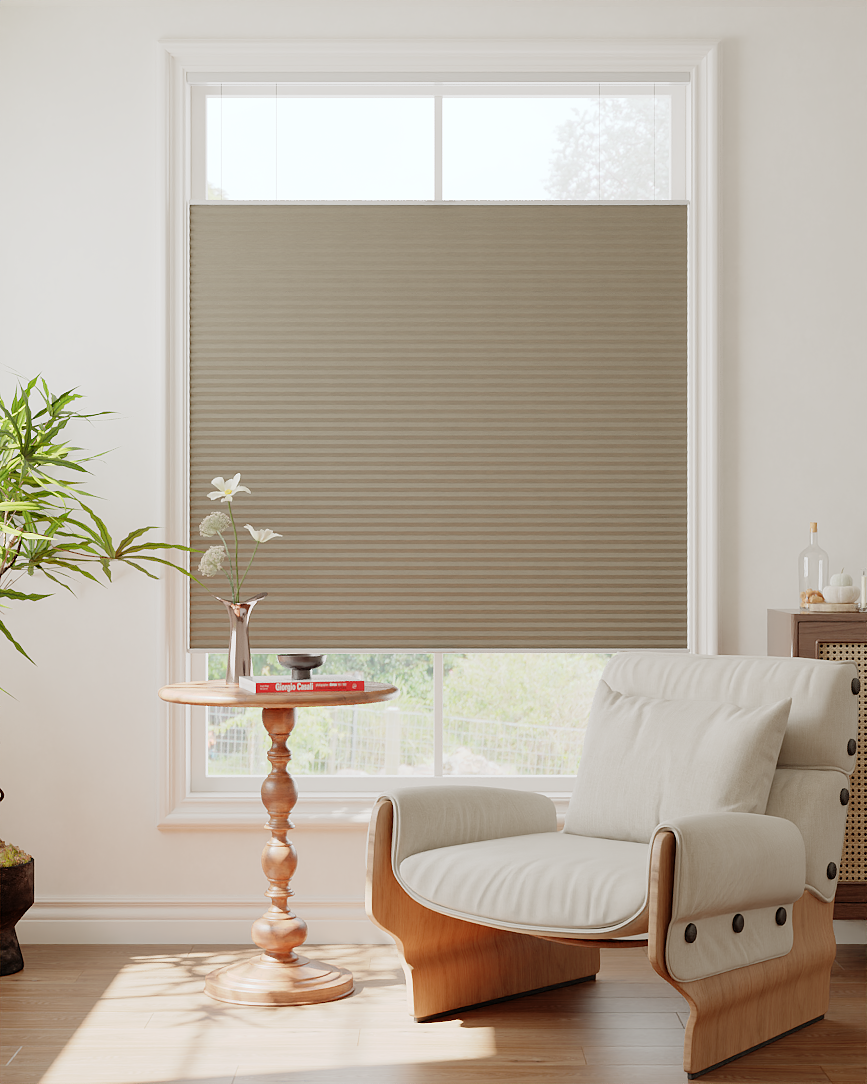
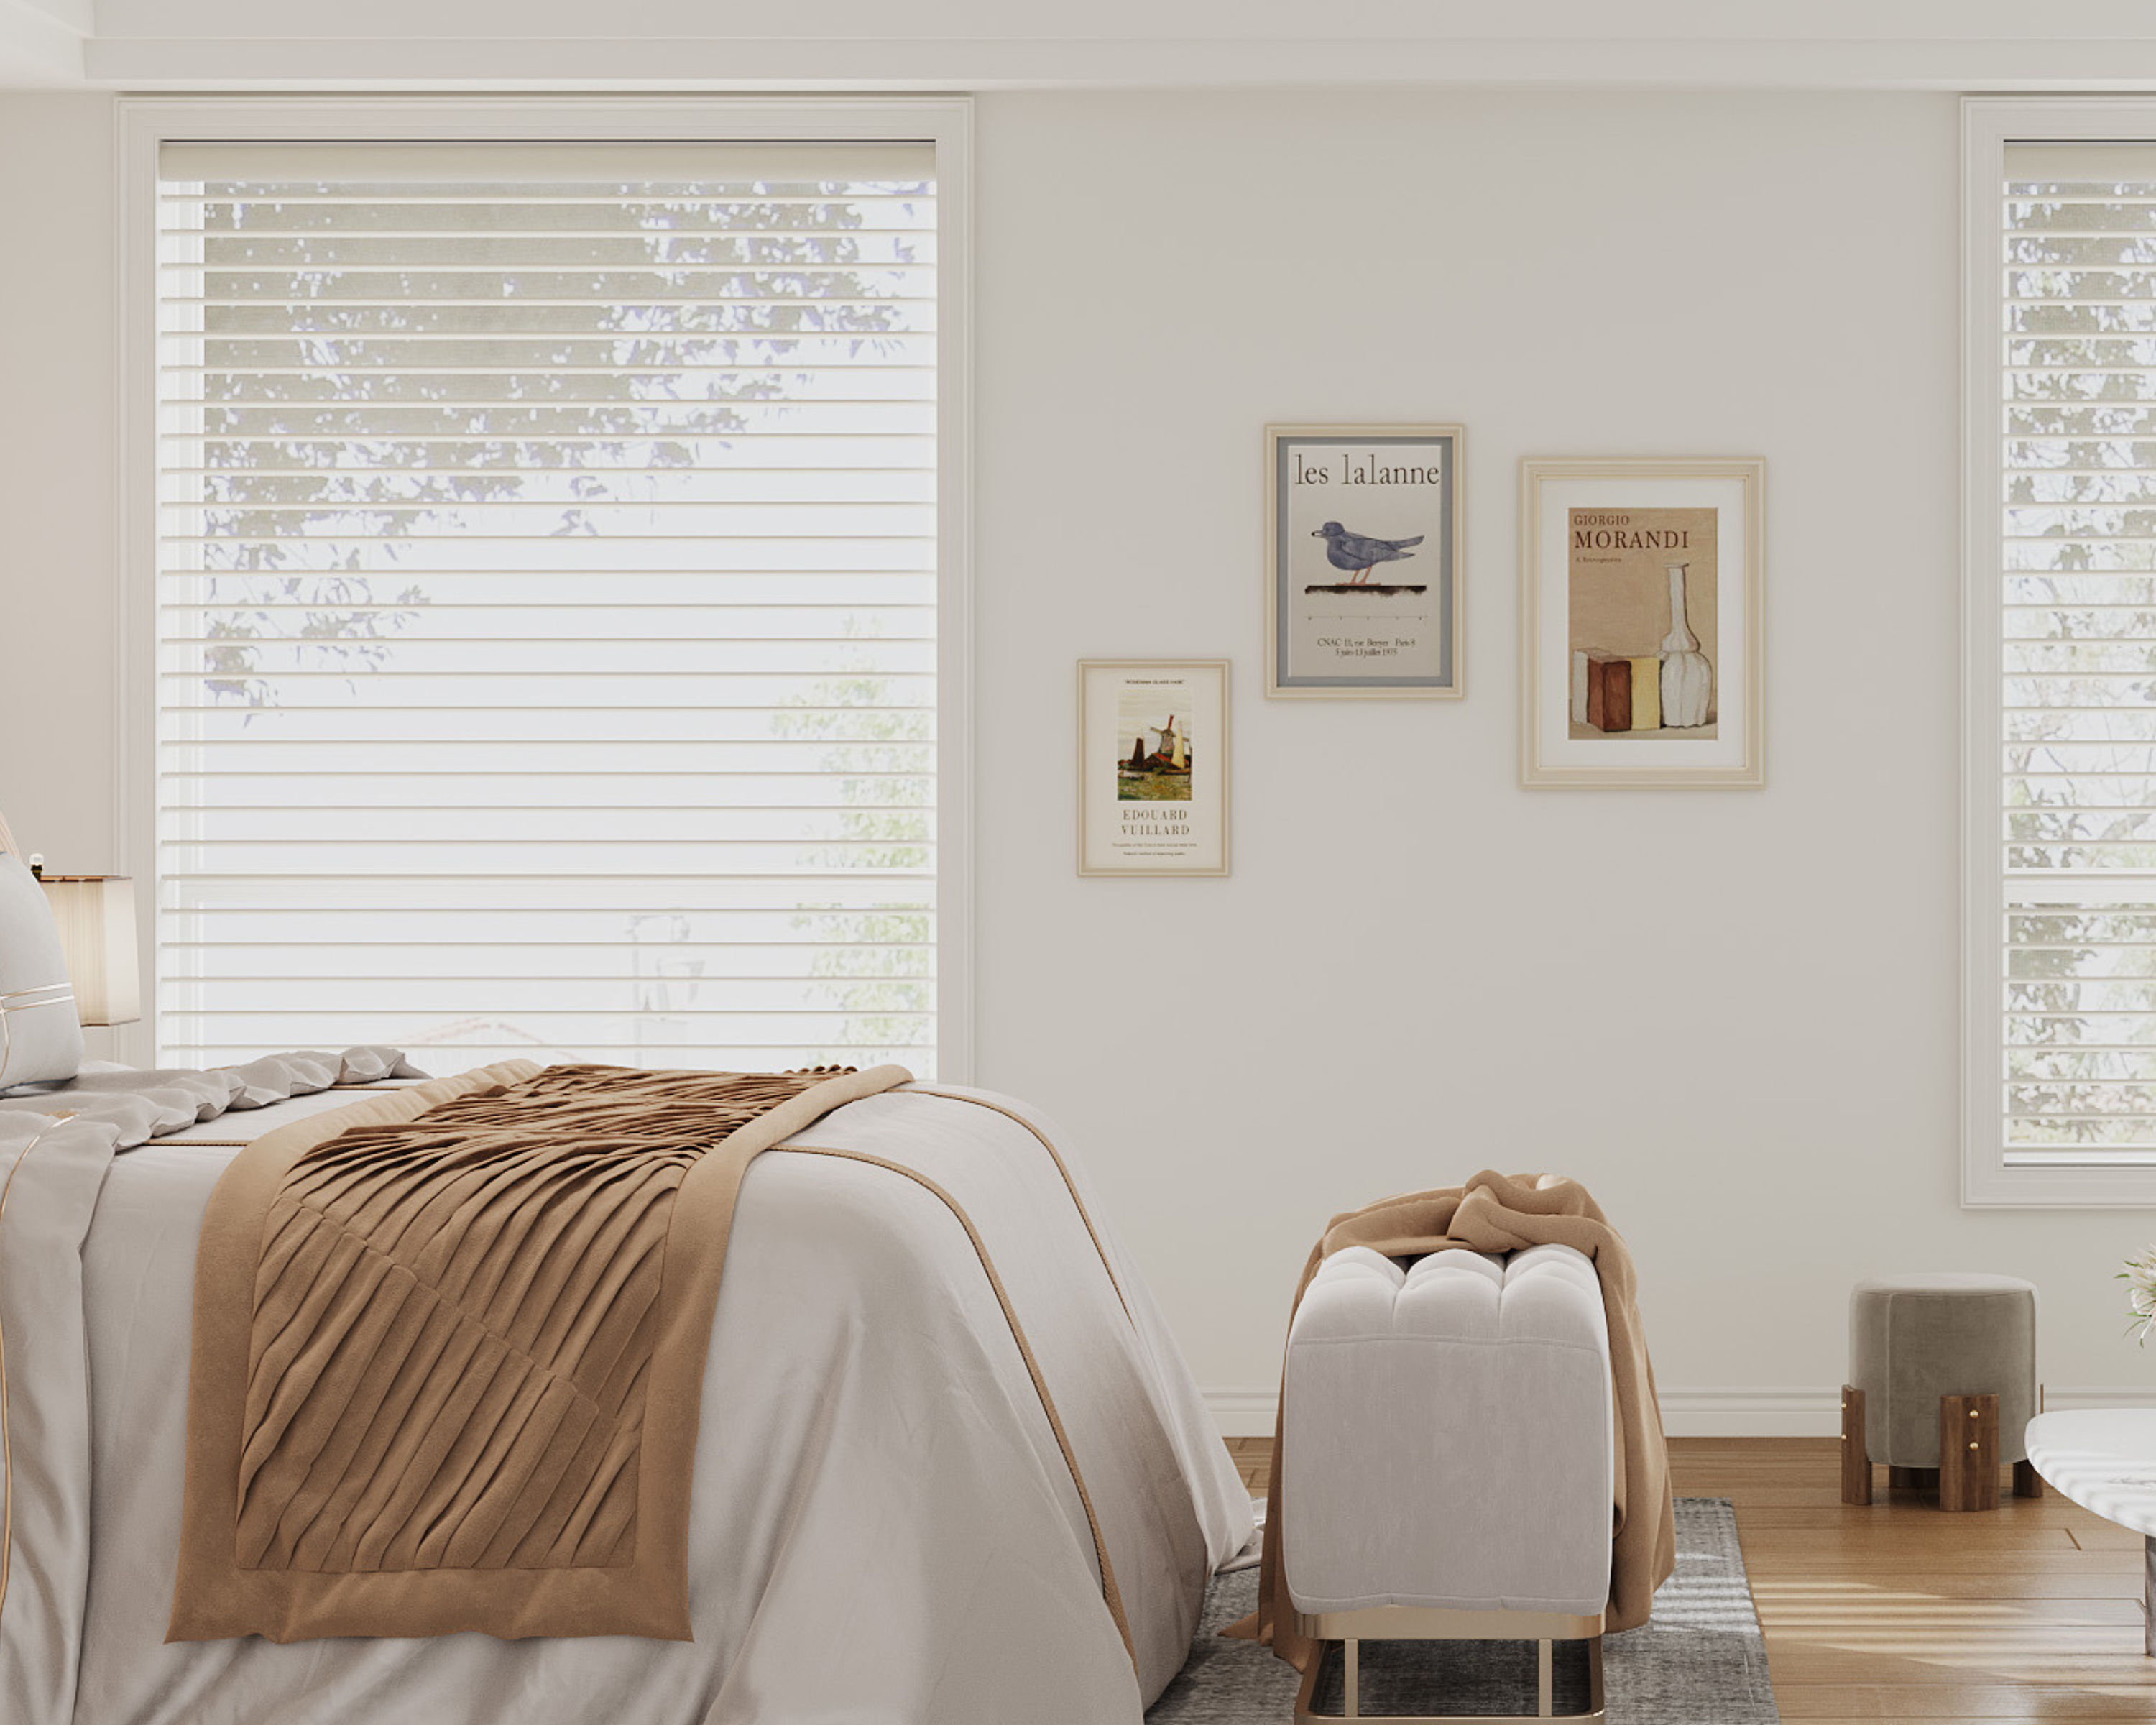
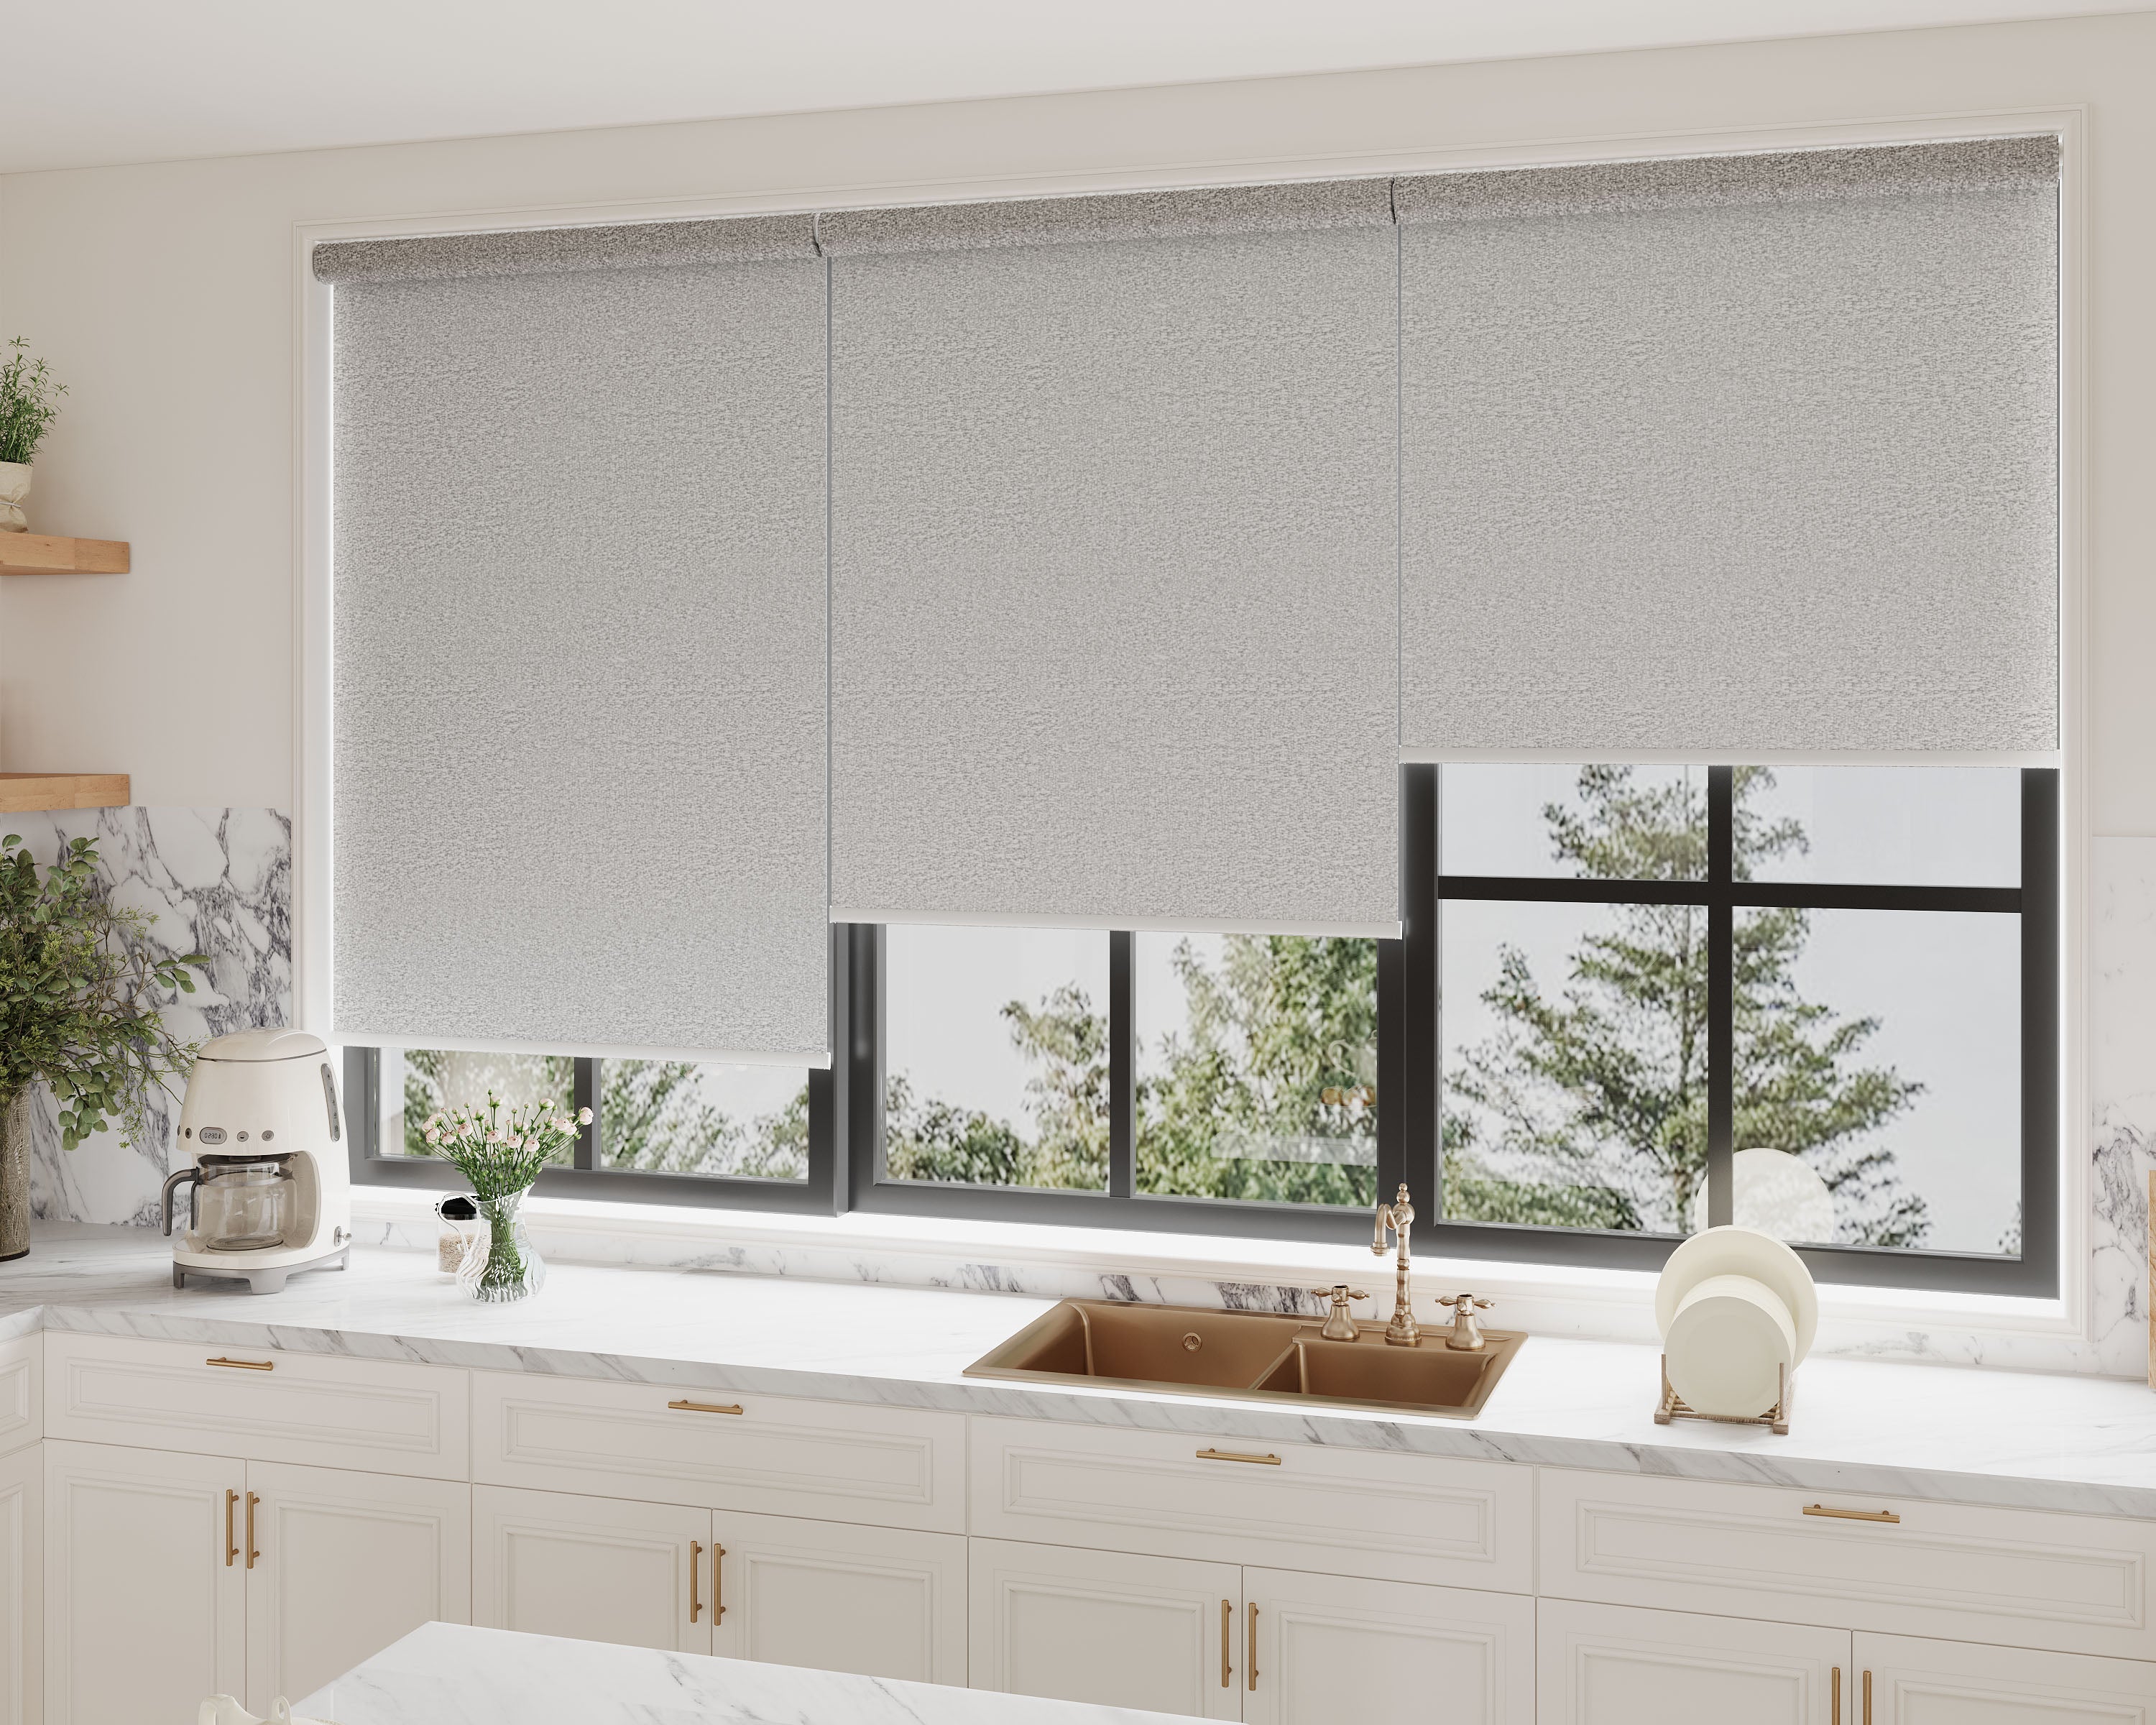
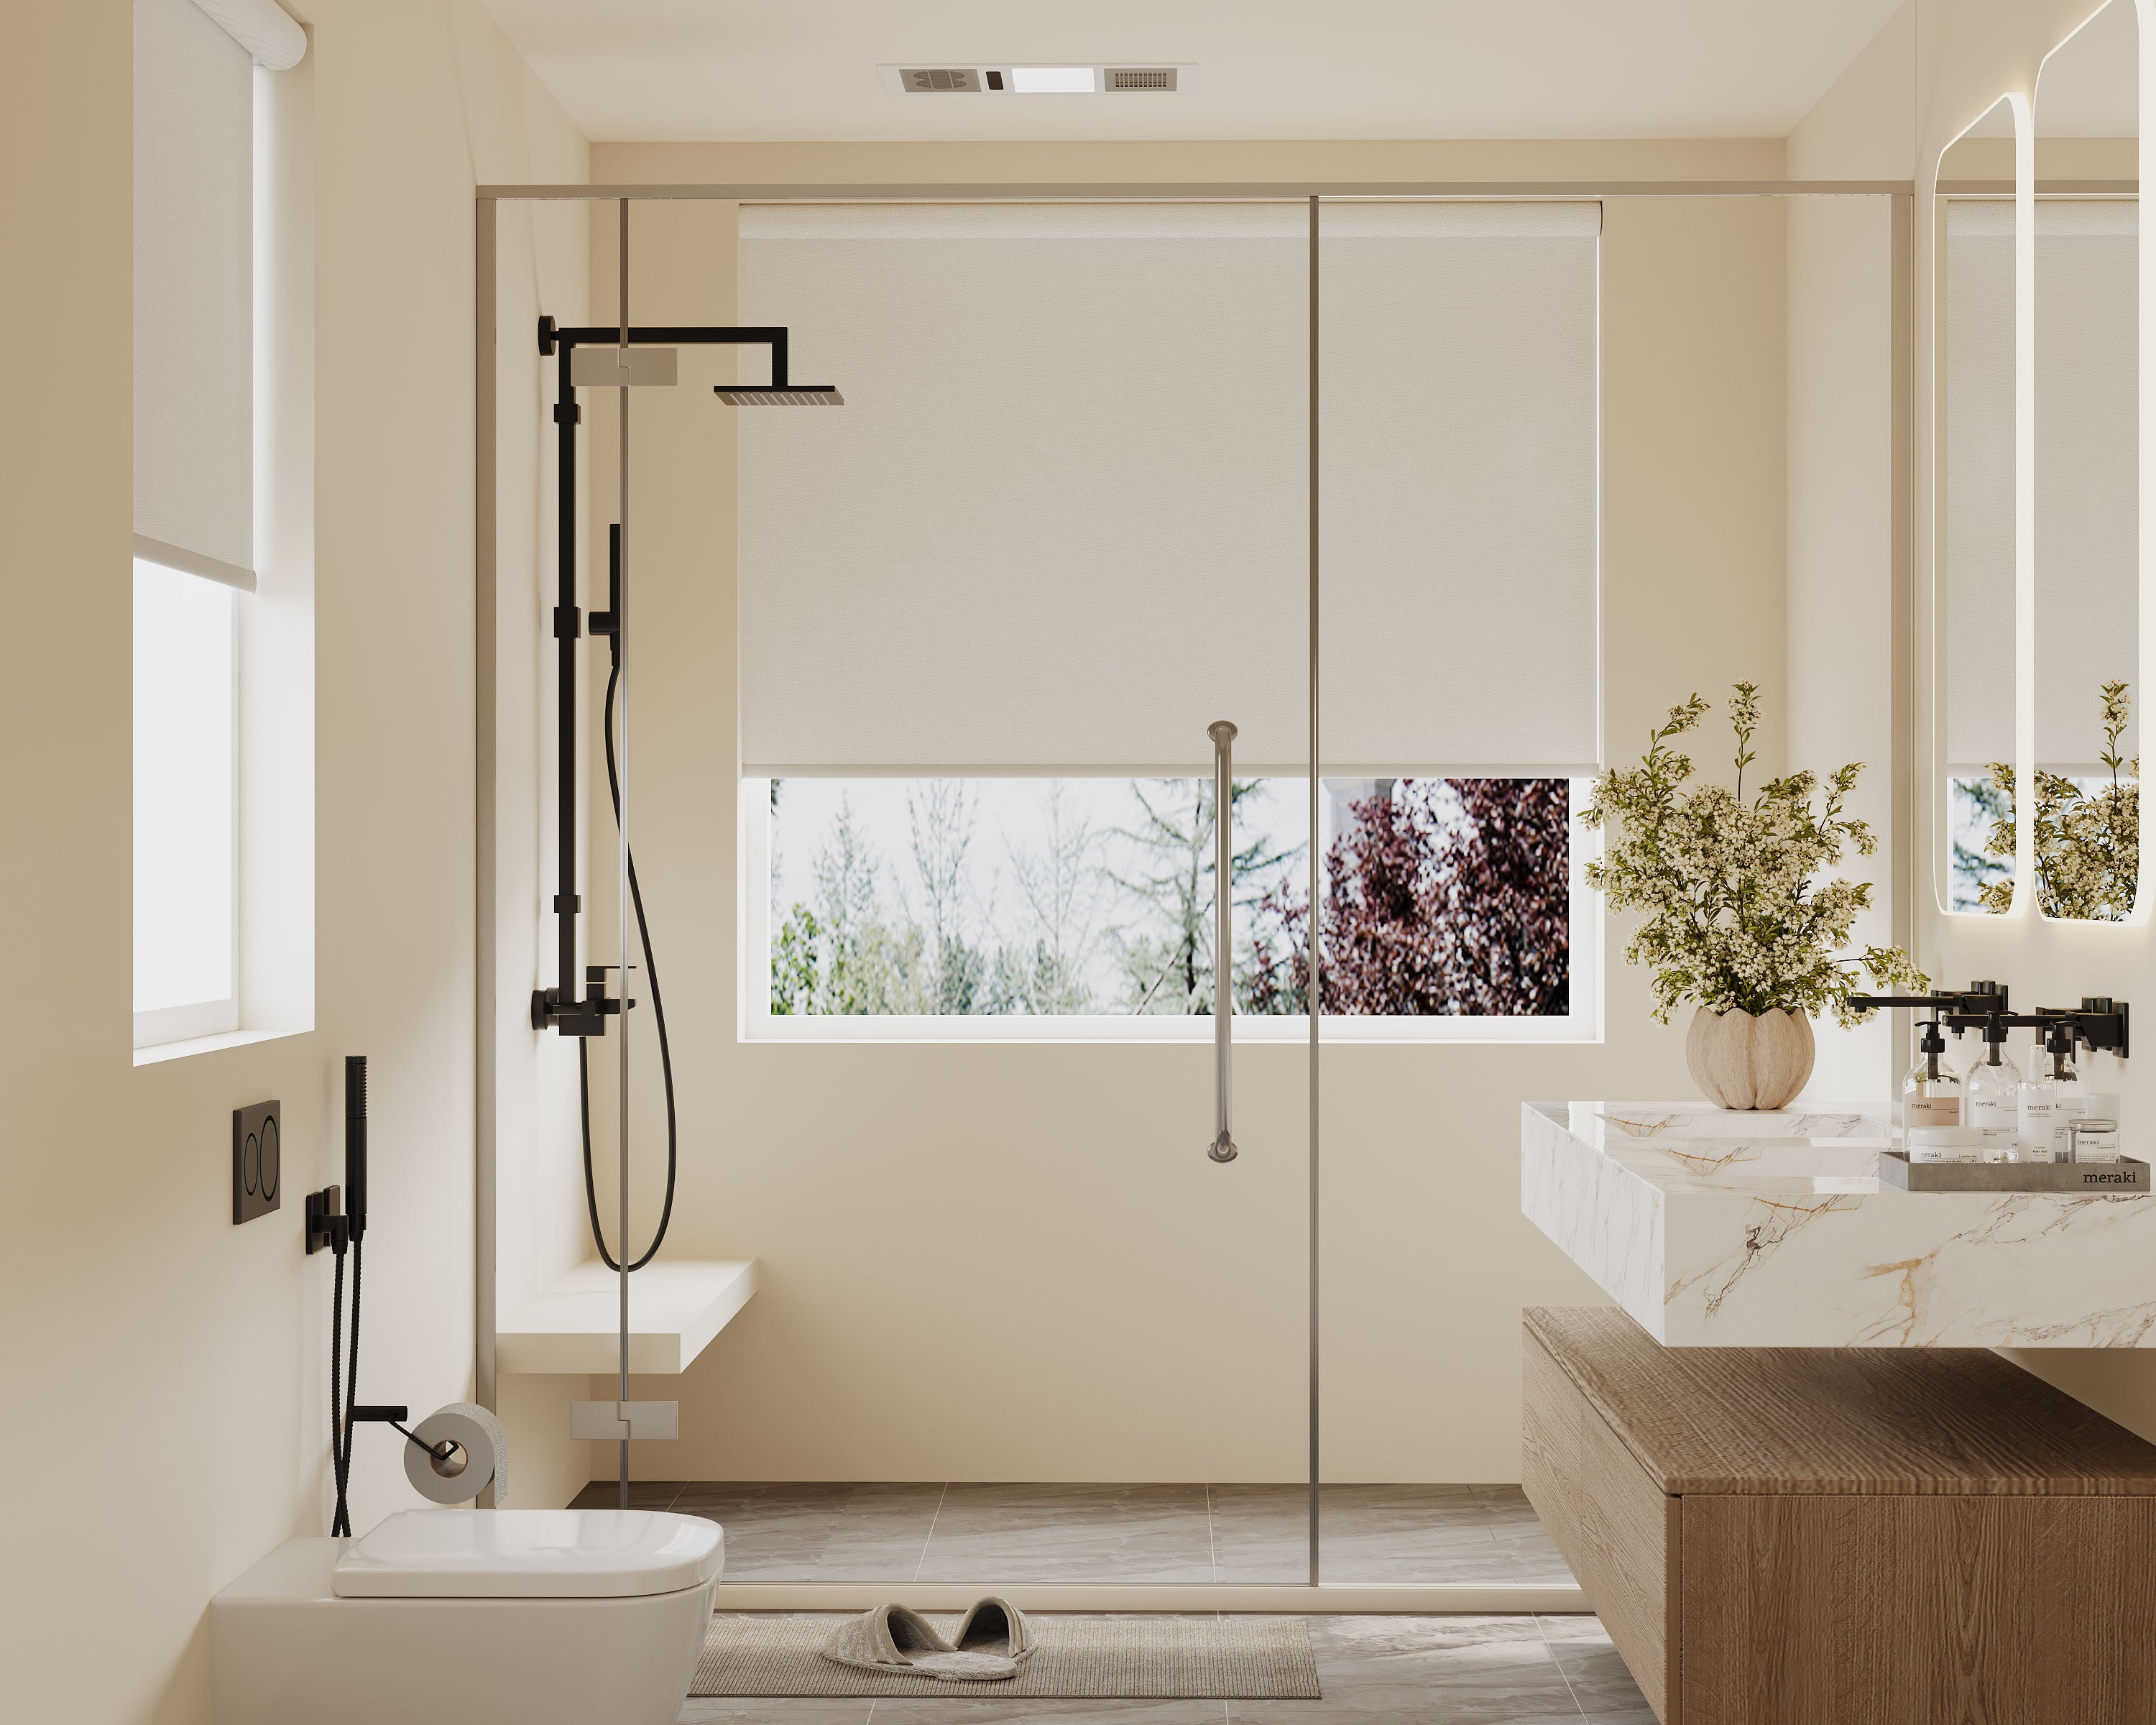
Ever thought about making your window shades a bit smarter—without shelling out for all-new ones? Retrofitting smart roller shades is one of the easiest ways to upgrade without replacing your existing window coverings. Retrofitting existing shades with smart controllers is a surprisingly doable way to bring some modern magic into your home. Upgrading your window coverings yourself isn’t as intimidating as it sounds, and it can seriously boost the comfort and vibe of any space.
Let’s break down how to pick the right smart controller, round up the tools, and get everything set up with the shades you already have. We’ll hit a few tricky spots, sure, but there’s always a workaround—and maybe even a shortcut or two.
Key Takeaways
- Retrofitting shades with smart controllers is totally DIY-friendly.
- Connecting shades to home automation makes life easier and more comfortable.
- A little troubleshooting and maintenance will keep things running smoothly.
Understanding Smart Shade Controllers
Smart shade controllers automate the raising and lowering of window shades. They let you control shades with your phone, a remote, voice assistants, or on a schedule. How well they work depends on your shade type, the controller’s compatibility, and your home automation setup.
What Are Smart Shade Controllers
A smart shade controller is a retrofit gadget that turns manual shades into motorized, automated ones. Instead of yanking a cord or twisting a rod, you can tap your phone or ask Alexa, Google Assistant, or Siri to do the work.
Most controllers use a small motor that attaches to the cord, chain, or mechanism already on your shades. Many models let you set schedules—so shades open with the sunrise or close for privacy at night. Some even have sunlight or temperature sensors.
Wireless is the norm, with Wi-Fi, Zigbee, or Bluetooth connections. Battery-powered models need barely any wiring, which is a big win if you’re not into electrical projects. If you’re still deciding on a power source, this comparison of battery‑powered vs hardwired motors breaks down the pros and cons.
Compatibility With Existing Window Shades
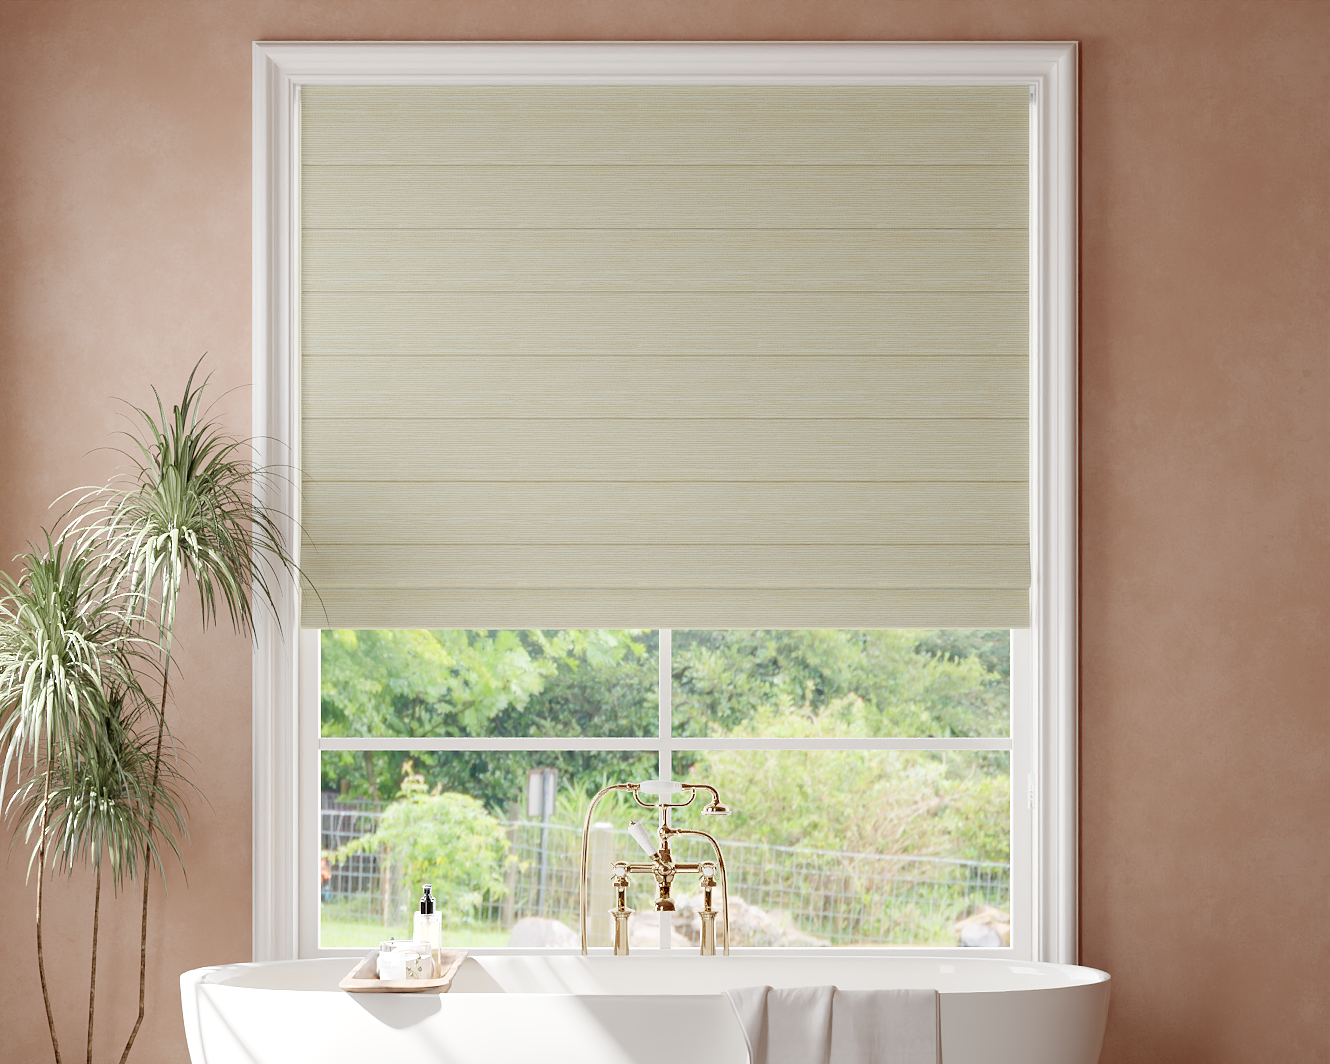
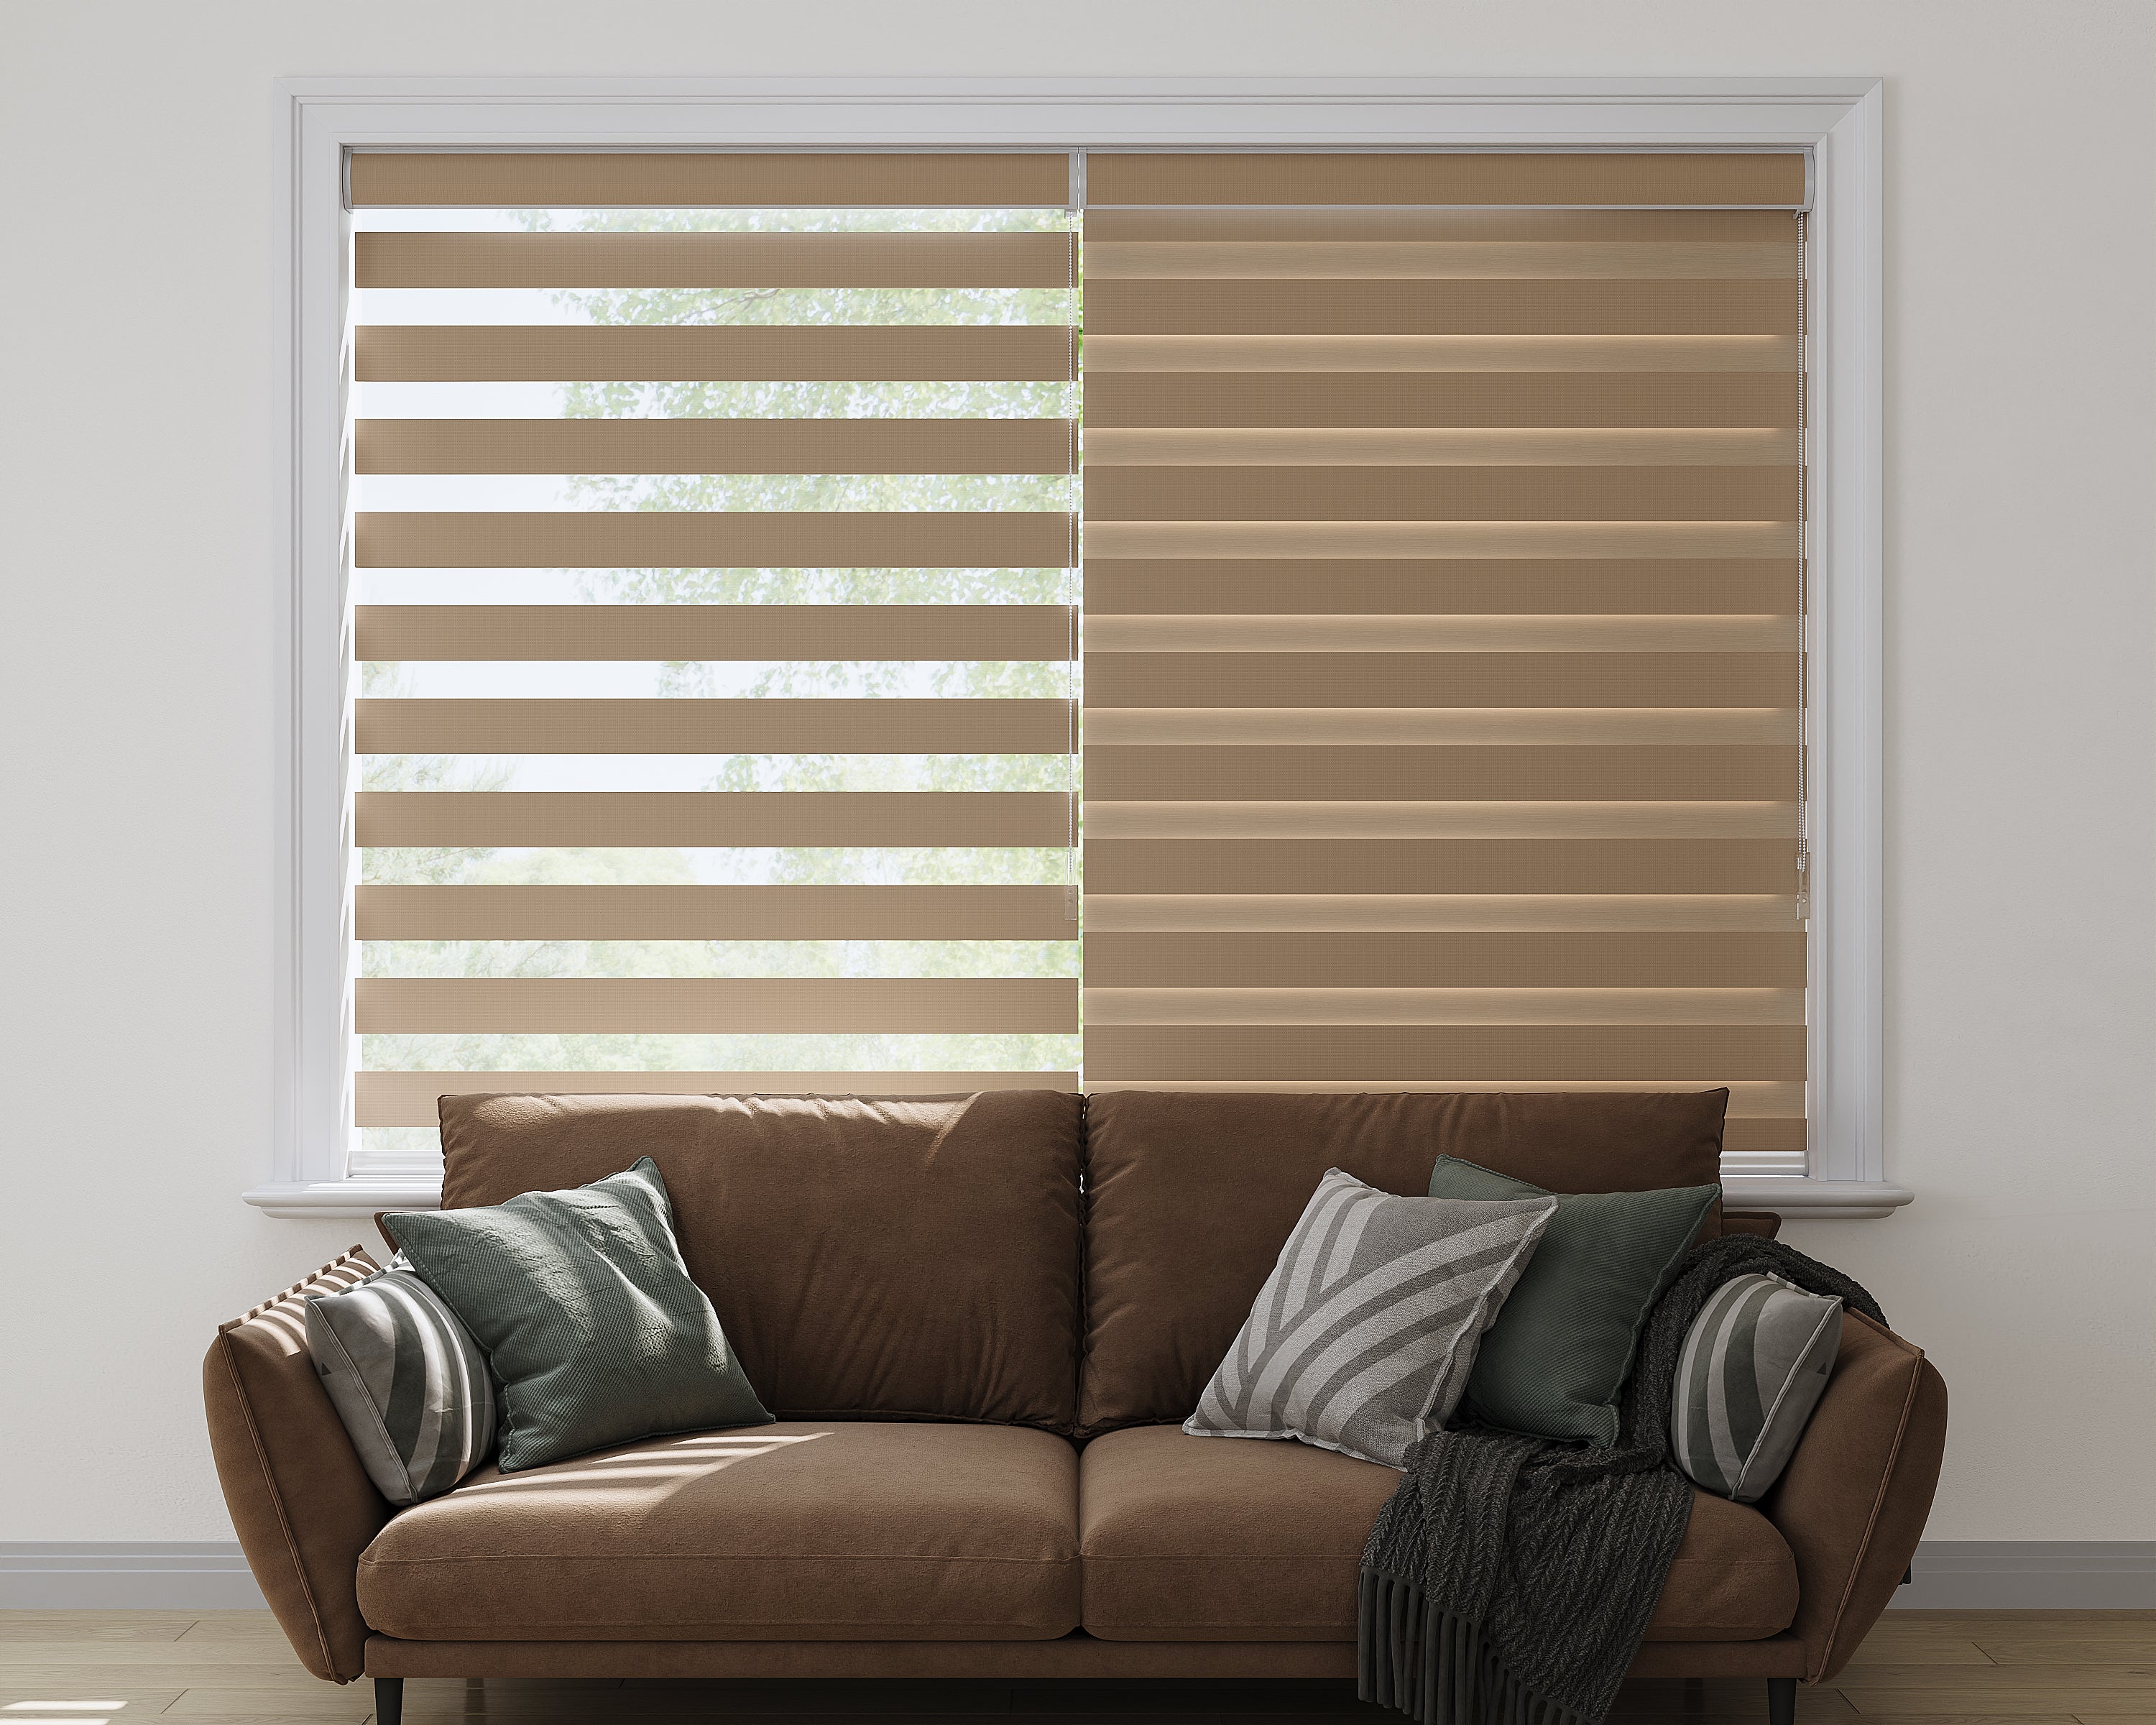
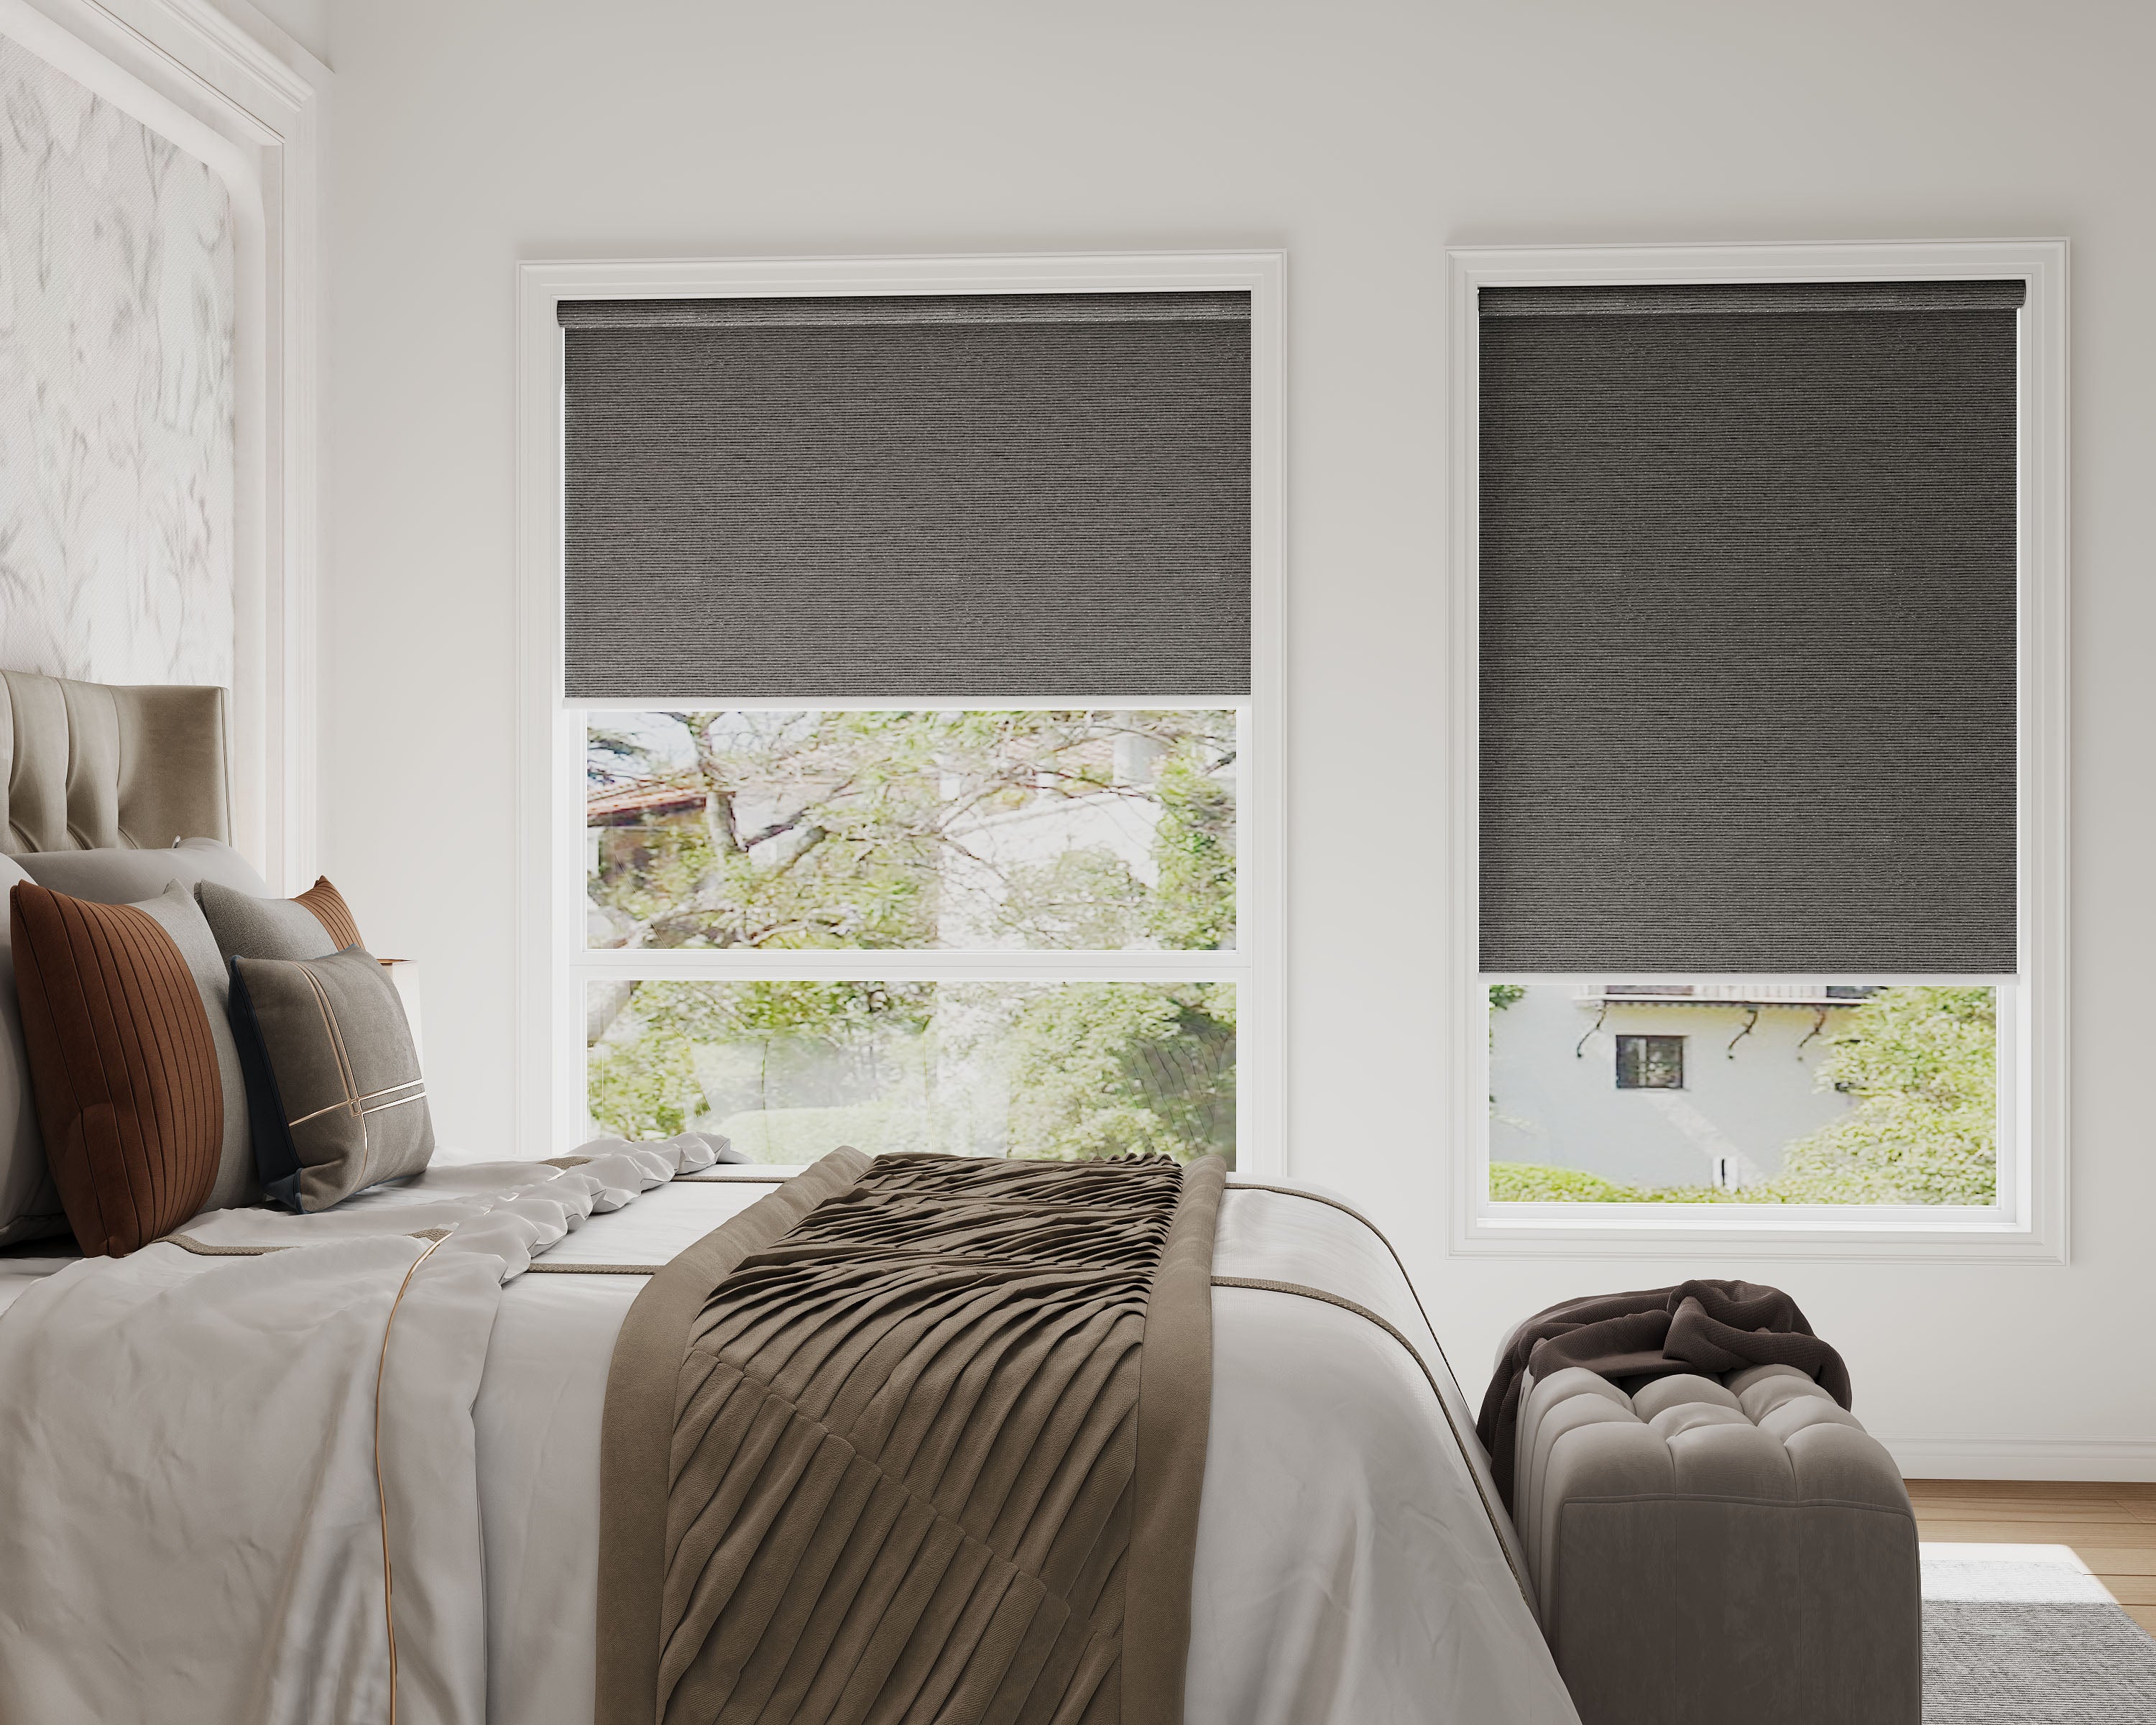
Not every smart controller fits every shade, so first, figure out what you’ve got. Most controllers work with roller, Roman, and Venetian blinds. The mounting style and cord or chain design really matter here.
| Shade Type | Compatible? | Notes |
|---|---|---|
| Roller Shades | Yes | Most retrofits support rollers |
| Roman Shades | Sometimes | Check cord location and style |
| Venetian Blinds | Often | Motor must handle slats |
| Cordless Shades | Rarely | Few controllers support these |
Measure the diameter of your rollers, the length of cords or chains, and consider the weight of heavier shades. Manufacturers usually post compatibility details online, and it’s worth peeking at support forums to see what actually works in real homes. If your controller pairs inconsistently or loses signal, this smart shade connectivity troubleshooting guide covers the most common fixes.
Popular Brands and Smart Features
A few brands always seem to pop up when people talk about smart shade controllers. Soma, SwitchBot, and Axis Gear have solid retrofit kits, each with their own quirks and supported platforms. Even IKEA’s jumped in, which keeps things affordable for once.
Look for features like:
- Voice Control: Works with Alexa, Google, or Siri.
- Scheduling: Set automatic open/close times.
- Light Sensing: Adjusts shades based on sunlight.
- Remote App Control: Manage shades from anywhere.
Some brands play nice with Apple HomeKit, Samsung SmartThings, and other hubs. If you’re loyal to a certain ecosystem (or just want everything to work together), you’ll have a decent lineup to choose from.
Choosing the Right Smart Controller
Picking out a smart controller can feel overwhelming with all the options out there. Let’s zero in on what actually matters, how connection types compare, and why it’s smart to match your pick to your budget and needs.
Key Features to Look For
First, double-check compatibility. Make sure the controller works with your shade mechanism and with voice assistants you actually use.
A good app interface, customizable schedules, and scene settings are worth hunting for. Some controllers add sun-tracking or remote access, which is handy if you’re away often.
Integration with other smart home gear is a bonus. For more advanced routines, many homeowners use IFTTT automations for smart shades to create hands‑free schedules. Features like obstacle detection or manual override are especially nice if you’ve got pets or kids running around.
Wired vs Wireless Controllers
Wired controllers offer steady power and reliability, but installing them can get messy—think running cables or digging into walls. Not ideal if you’re already happy with your decor.
Wireless controllers are a breeze to install and run on batteries or plug into a wall. They usually use Bluetooth, Wi-Fi, or Zigbee to connect to your smart home hub. The catch? You’ll need to swap batteries now and then and watch for signal dropouts in bigger houses.
Here’s a quick look:
| Feature | Wired Controllers | Wireless Controllers |
|---|---|---|
| Installation | Complex | Simple |
| Power | Mains electricity | Battery/Plug-in |
| Reliability | High | Depends on range |
| Flexibility | Low | High |
Budget Considerations
Smart controllers run the gamut from cheap, basic remotes to high-end systems packed with features. Figure out which extras you actually want and what you can skip.
If you’re on a budget, a simple wireless controller gets you most of the way there. Mid-range models add Wi-Fi and app control for more flexibility.
Premium versions pile on stuff like multi-platform integration, voice control, and advanced scheduling. Tempting, sure, but they can cost a lot more. Sometimes bundles or starter kits are a better deal if you want to automate a whole room.
Tools and Materials Needed
Before you start, make sure you’ve got what you need. Having the right tools really makes everything smoother.
Basic Tools You’ll Want:
- Phillips and flathead screwdrivers
- Cordless drill and drill bits
- Measuring tape
- Level
- Wire strippers/cutters
- Pencil for marking
For the smart controller, pick one that matches your shade type. Kits usually include the motor, mounting hardware, and a remote or app.
Typical Materials Check:
| Material | Purpose |
|---|---|
| Smart shade controller | Main control unit |
| Adapter kit | Compatibility with different brands |
| Power supply (batteries or plug-in) | To power the controller |
| Screws and anchors | Safe installation |
Double-check what’s in the kit before buying extra parts. Some brands toss in all the mounting bits you need, but it’s worth a look.
If you want voice control with Alexa, Google, or HomeKit, a compatible smart hub is a nice add-on. It just makes everything a bit easier (and, let’s be honest, it’s fun to show off).
Clear your workspace and maybe grab a step stool if your windows are high up. Safety’s important—even if style is a close second.
Preparing Existing Shades for Retrofitting
Before you jump in, figure out what shades you have and whether they’re ready for a smart upgrade. That means checking the material, design, and how everything’s mounted or operated.
Assessing Shade Type and Material
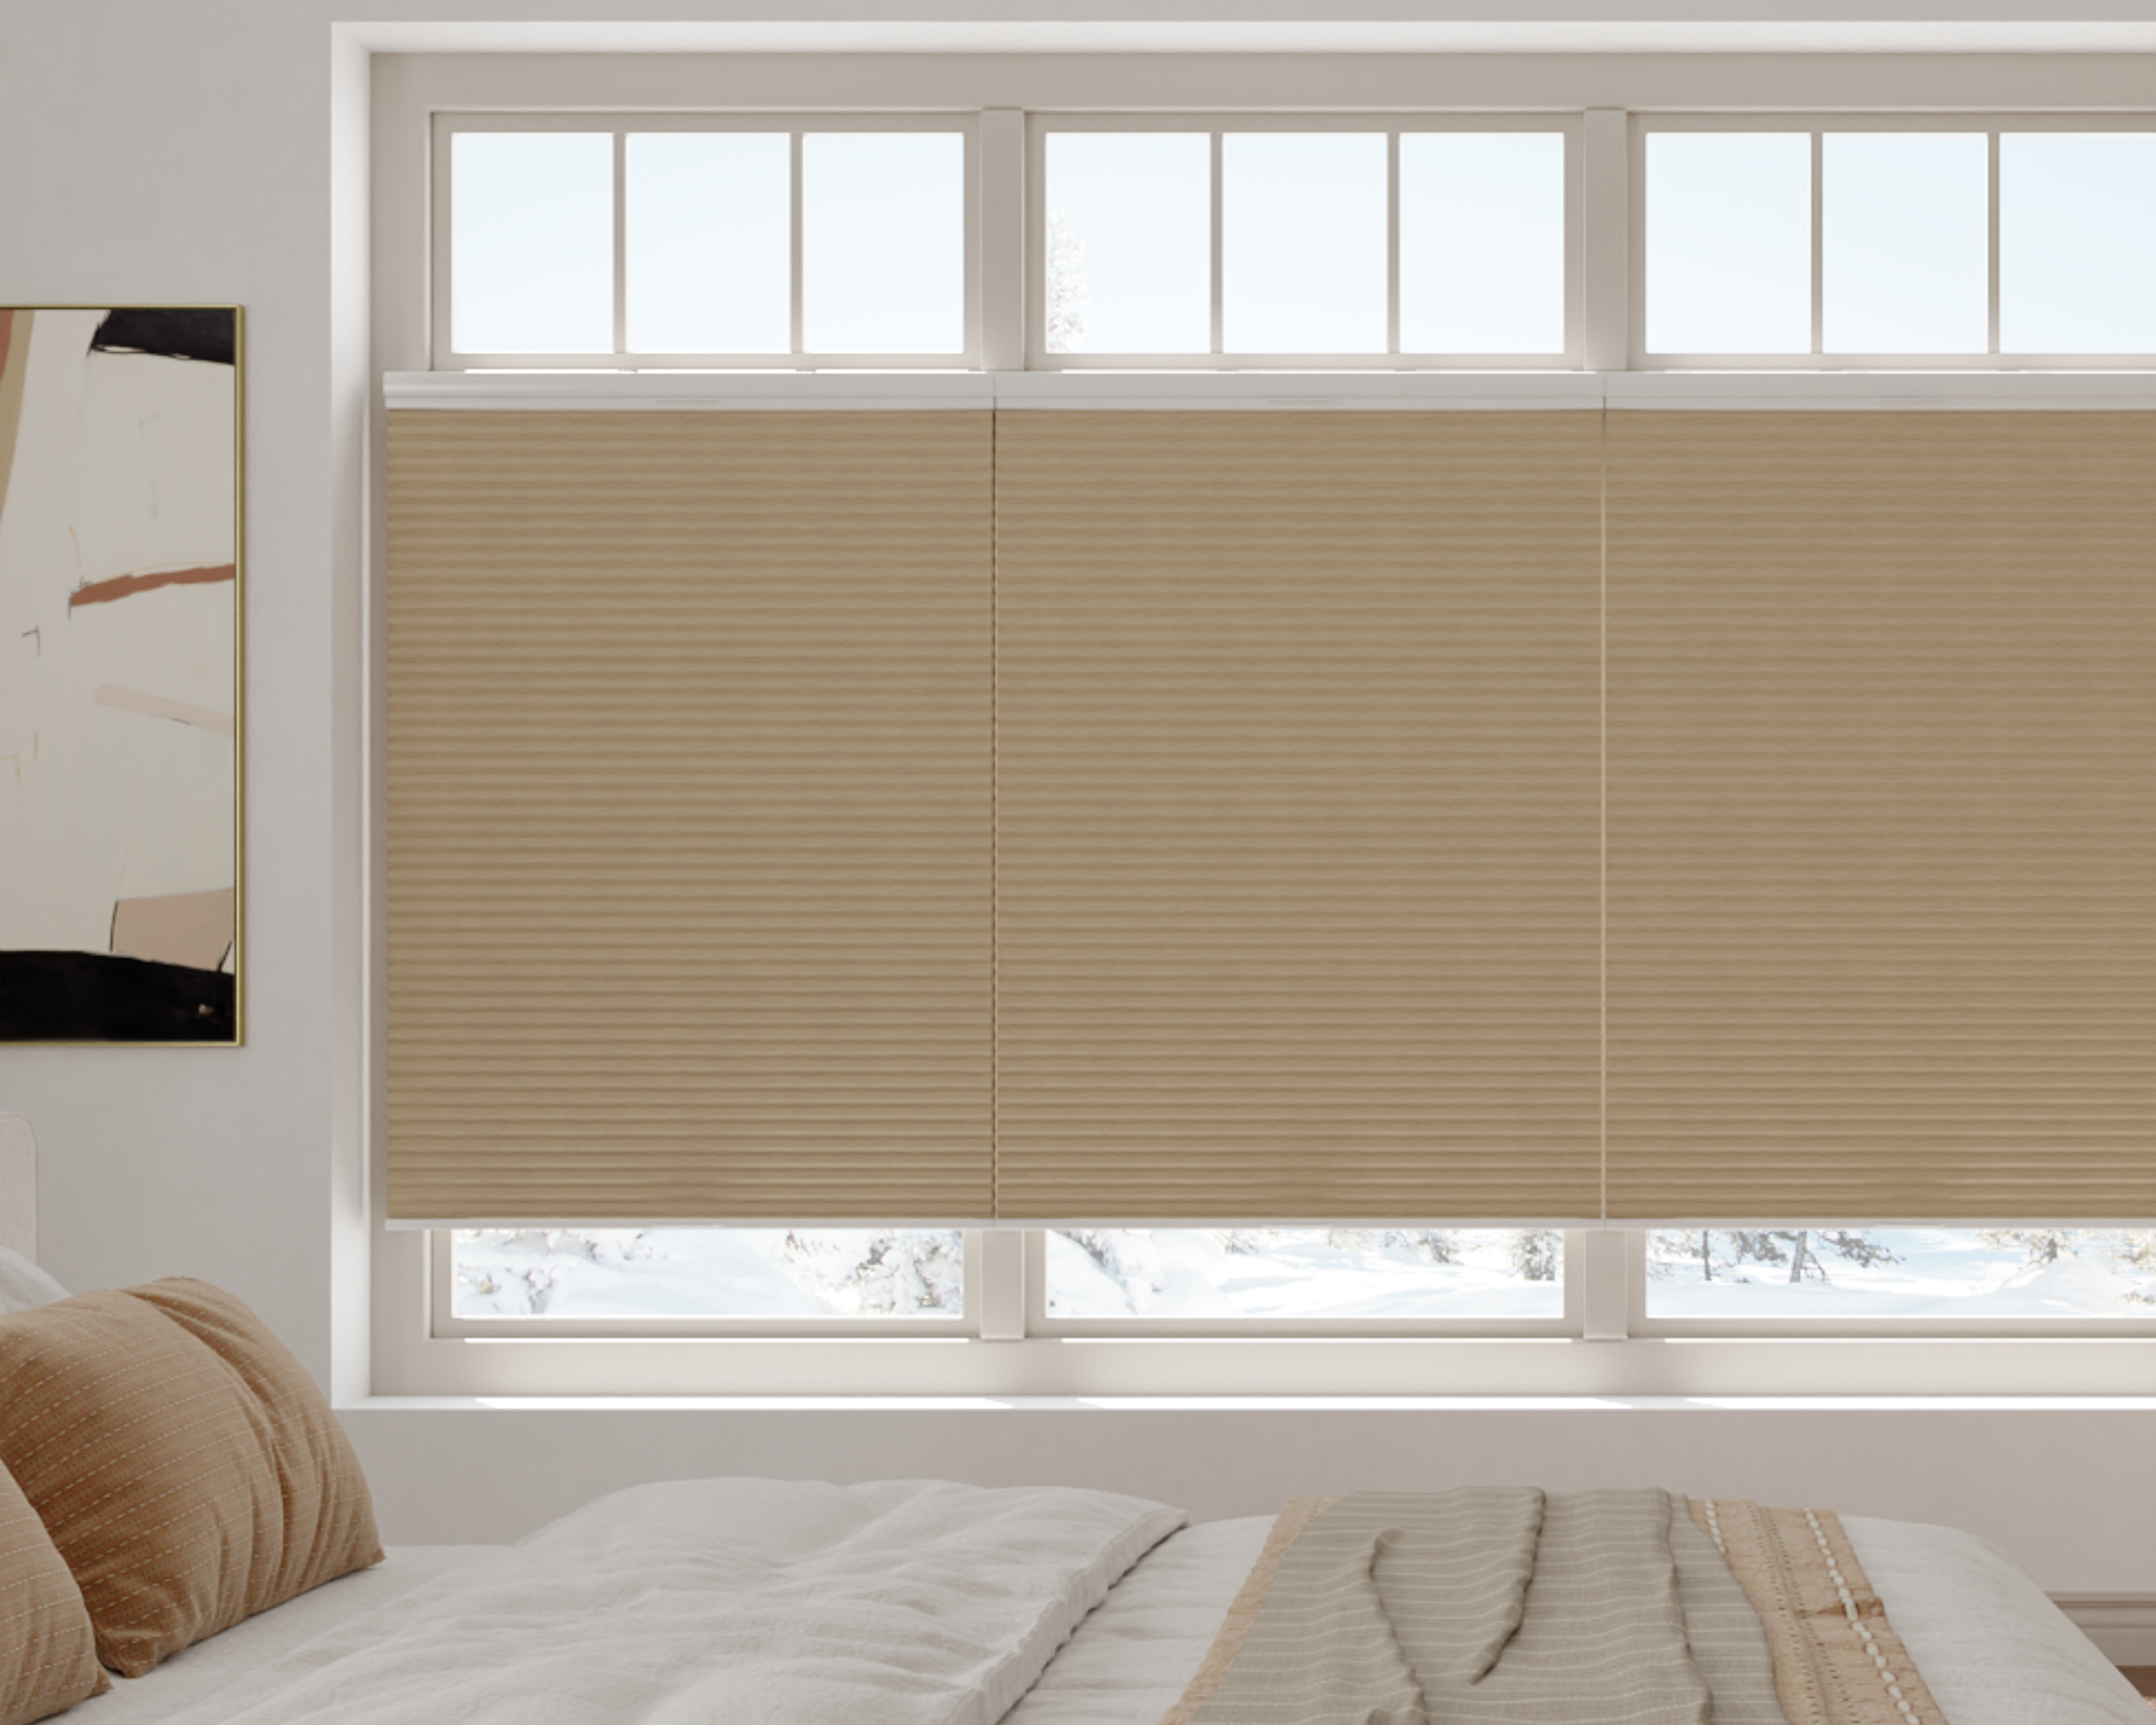
Start by identifying your shade type—roller, Venetian, cellular, Roman… they all react differently to retrofit kits. Most smart controllers list compatible types, so matching up now saves headaches later.
Check the material next. Heavy fabrics and wood blinds need stronger motors and brackets. Lighter polyester or vinyl shades are easier to upgrade.
Jot down:
- Shade type (roller, Roman, etc.)
- Material and thickness
- Width and length
This info makes shopping for the right controller way easier, and it can help you dodge costly mistakes.
Inspecting Mounts and Mechanisms
Give your hardware a once-over. Are the mounts solid? If a bracket feels loose or rusty, it might not handle the added weight of a motor.
Figure out how the shades lift—cord loop, bead chain, or spring? Some smart kits need cords, others turn the tube directly.
If you spot frayed cords, stuck pulleys, or cracked plastic, fix those now. It’s way easier to deal with small repairs before you install anything new.
Step-by-Step Installation Process
Turning your shades smart starts with removing the old bits, adding the controller, and tidying up the wiring and power. Each step keeps things neat and helps your setup last.
Removing Existing Manual Controls
Gather what you need: Phillips screwdriver, pliers, and maybe a step stool. Raise the shade all the way up to make things easier.
Most roller shades have a beaded chain or cord on a clutch. Unscrew the clutch cover or pop it off, depending on the model. If you’re not sure, a quick look at the manual doesn’t hurt.
Take off the chain, cord, or control rod, holding it so nothing snaps back. Some shades have a spring—release it slowly so you don’t get a surprise. Keep the screws and small parts; you might need them later.
Attaching the Smart Controller
Now, line up the smart controller mount with the roller tube. Most retrofits use a drive adapter that fits where the clutch was. Pick the adapter that matches your tube (most kits include a few).
Push the controller’s drive head onto the tube, making sure it’s flush and secure. Tighten the locking clip or set screw—just don’t overdo it and strip the threads. If your shade is wide, ask someone to help keep things level.
Before you tighten everything, do a quick test fit. Make sure the shade rolls smoothly and nothing sounds off. Gritty noises or crooked movement? Check your alignment or try a different adapter.
Securing Wiring and Power
Now for the less glamorous part: power. Most controllers either plug in or run on batteries. For plug-in types, run the cord along the window frame and use adhesive clips to keep it tidy.
Battery-powered models usually have a slim pack that snaps in behind the shade or along the tube. If you need an extension cord, keep it out of walkways—no one likes tripping.
Good cable management really matters. Use self-adhesive clips or a cable raceway to keep things neat. Renters might want to use removable hooks or paint-safe tape to keep landlords happy. And please, don’t tuck cables behind radiators or anywhere they could overheat.
Connecting to Home Automation Systems
Getting your retrofitted shades talking to your smart home system is where the real fun starts. Pick the right connections, set up your apps, and play around with schedules—it’ll save you time and maybe a bit of energy, too.
Pairing With Smart Home Hubs
Let’s see if our smart shade controller plays nicely with platforms like Amazon Alexa, Google Home, Apple HomeKit, or Samsung SmartThings. Most brands make this clear on the box or their product page.
Pairing’s usually straightforward: put the controller in pairing mode—usually by holding a button—then open the hub’s app and search for new devices. Sometimes you’ll need to scan a QR code. If we get stuck, the brand’s support site or user forum is usually a good place to poke around for tips.
To keep things smooth, it helps to have our Wi-Fi password handy and keep the hub and controller close together during setup. If we’ve got more than one hub, sticking to a single platform saves headaches down the road. For whole‑home comfort, consider integrating shades with smart lighting and thermostats so multiple devices work together.
Configuring Mobile Apps
Once paired, we’ll want to grab the official app for our shade controller. The app usually walks us through setup, calibration, grouping shades by room, and renaming them for voice commands.
It’s worth checking for firmware updates right away. Updates can squash bugs and sometimes add new tricks. Even if we think we know what we’re doing, peeking at the app’s tutorial or demo mode can’t hurt.
Notifications help us catch problems, like a jammed shade or a lost connection. Tuning these alerts means we only get the ones we actually care about.
Setting Up Schedules and Routines
Here’s where it gets fun: automation. Most smart shade apps let us schedule open and close times. Want to wake up with the sunrise? Plenty of apps can tap into weather or sunrise data.
We can create routines that sync shades with other smart devices. For example, close all shades when we leave, or open them when the security system disarms. Some platforms have “scenes” that combine shades, lights, thermostats, and even music for a certain vibe.
Pro tip: start simple. Build a basic routine, then add layers as you go. If something triggers at the wrong time, it’s easy to adjust in the app. Daylight savings, though—yeah, that one sneaks up on all of us.
Troubleshooting Common Issues
Even the best setups hit snags now and then. Most problems don’t take long to fix if we know what to check.
Controller Not Responding
When the controller won’t respond, check power first. For plug-in models, make sure the outlet works and connections are tight. Battery-powered? Try fresh batteries—sometimes that’s all it takes.
Let’s also make sure the controller’s actually paired to the shades. Most systems have a reset or pairing button—hold it for several seconds and follow the manual’s instructions. A quick reset often clears up weird behavior.
Here’s a quick checklist:
| Step | Action |
|---|---|
| Power | Check batteries or outlet |
| Physical connections | Inspect for loose wires |
| Reset | Try a manual reset or re-pairing |
If nothing’s working, unplug the controller, wait 30 seconds, plug it back in. The classic “turn it off and on again” move still works wonders.
Connectivity Problems
Smart controllers crave a strong Wi-Fi signal, but walls and gadgets can mess with it. If shades aren’t responding, check the Wi-Fi network first. Make sure the controller’s within range and not buried behind obstacles.
Try using your phone near the controller to check signal strength. If your phone struggles, the controller probably does too. Moving the router closer or adding a Wi-Fi extender can help.
Double-check that your phone and the controller are on the same Wi-Fi network. Changed your router name or password recently? You might need to reconnect the controller. Sometimes toggling Wi-Fi off and on clears up a stubborn connection.
Maintenance and Care Tips
Let’s keep those smart shade controllers humming along. Nobody wants a surprise sunbeam in the middle of a movie.
Regularly Check Connections:
Loose wires or weak battery contacts can mess things up. Once a month, sneak a peek behind the scenes and make sure everything’s snug.
Keep Things Clean:
Dust creeps into motors and sensors.
A gentle wipe with a dry, soft cloth can keep both controller and shades in good shape.
Firmware Updates:
When the controller nudges us for a software update, don’t ignore it. Updates keep things reliable and sometimes add handy features.
Troubleshooting Basics Table
| Issue | Quick Fix |
|---|---|
| Shades not moving | Check Wi-Fi and power, restart controller |
| Slow response | Clear any dust, inspect batteries |
| App connection loss | Reconnect the device in the app |
Double-checking things once in a while saves us bigger headaches down the road. Plus, it’s always a little satisfying to look like a smart home whiz when friends visit.
If shades start making odd noises or stick, stop and check the mechanism instead of forcing it. Catching small issues early keeps everything running smoothly.
Eco-Friendly and Energy-Saving Benefits
Upgrading old shades with smart controllers isn’t just about the tech. We’re actually trimming energy waste, which is good for our bills and the planet.
Auto-scheduling lets shades open for sunlight on cold days, so we use less heat. In summer, closing them during peak sun keeps rooms cooler and gives the AC a break.
Let’s break it down:
| Benefit | How It Helps |
|---|---|
| Less Heat Loss | Keeps warmth in during the winter |
| Blocks Hot Sun | Lowers cooling costs in the summer |
| Uses Natural Light | Reduces need for electric lighting |
When shades and smart thermostats work together, they help keep the house comfortable without wasting energy. It’s like they’re quietly coordinating behind the scenes.
Cutting energy use means a smaller carbon footprint, too. You can boost these savings even further by using energy‑saving shade scheduling strategies that follow the sun’s movement. Mother Nature approves.
If our shades still have life in them, upgrading instead of tossing them just makes sense. It keeps stuff out of landfills and gives our old blinds a second act.
Customizing Smart Shade Functionality
After installing our smart shade controllers, we get to make them fit our routines and home style. Most systems let us mix and match features depending on what we like.
We can set schedules so shades rise in the morning and close at night. Some apps make this as simple as a couple taps. No more debates about who forgot to close the blinds.
Integration with other smart devices is a big plus. Linking shades to Alexa, Google Assistant, or Siri means we can just ask and the shades will move.
Popular Customization Options
| Feature | Benefit |
|---|---|
| Scheduling | Automated shade movement |
| Voice Control | Hands-free operation |
| Sunlight Sensors | Shades react to brightness |
| Group Controls | Move multiple shades at once |
Grouping lets us move all shades in a room together. Or, we can set up different rules for each room—keep the office bright, the bedroom cozy and dim.
Privacy concerns? Set up automatic adjustments for certain hours. Most apps let us fine-tune everything from speed to stopping points.
Not every feature’s for everyone, so it’s worth poking around in the settings. Start with the basics and add more as you get comfortable.
Frequently Asked Questions
Retrofitting old blinds with smart controllers is easier than you might expect. It saves cash, dodges compatibility headaches, and sometimes even makes for a few laughs along the way.
How can I add a touch of tech to my existing blinds without breaking the bank?
Plenty of affordable smart blind kits are out there. We can usually get rolling for under $100, especially if we don’t mind a bit of DIY.
Choosing a kit with battery-powered motors and simple remotes saves money and skips the need for pro installation.
What's the DIY scoop on turning my regular shades into smart marvels?
Most retrofit kits come with instructions and mounting hardware. Attach the motor to your shade’s chain or wand, sync it with the smart controller, and set your preferences using the app or voice commands.
No need to replace the whole blind—just upgrade the controls.
Are there compatibility issues when fitting a smart controller to my current blinds?
Not every controller works with every blind. We need to check that the kit matches our chain or cord type—ball chain, beaded chain, or wand.
Looking up our blind’s brand and model before buying helps. Manufacturers usually post compatibility lists online.
What tools will I need to make my blinds smarter than a fifth grader?
Most kits only need basic tools: screwdriver, drill, tape measure, maybe a level. A step stool comes in handy if you’re not tall—no shame.
Some kits even have adhesive mounts, so there’s less drilling (and fewer holes).
Is it a weekend project to integrate smart controllers with my existing shades?
For most folks, yes. Installing a smart blind controller usually takes an hour or two per window. Got a bunch of windows? Maybe spread it out, or bribe a friend with pizza.
Setup time varies, but it’s rarely a marathon—unless things get really interesting.
Got any savvy tips for maintaining my newly smartened-up blinds?
Try to keep the motors clean and free from dust—makes everything run smoother. Every so often, check the batteries or the charging cables, depending on how yours are set up.
If you’ve got a smart hub in the mix, remember to update the firmware once in a while. Oh, and resist the urge to pull the blinds by hand; just let the tech handle it.

