


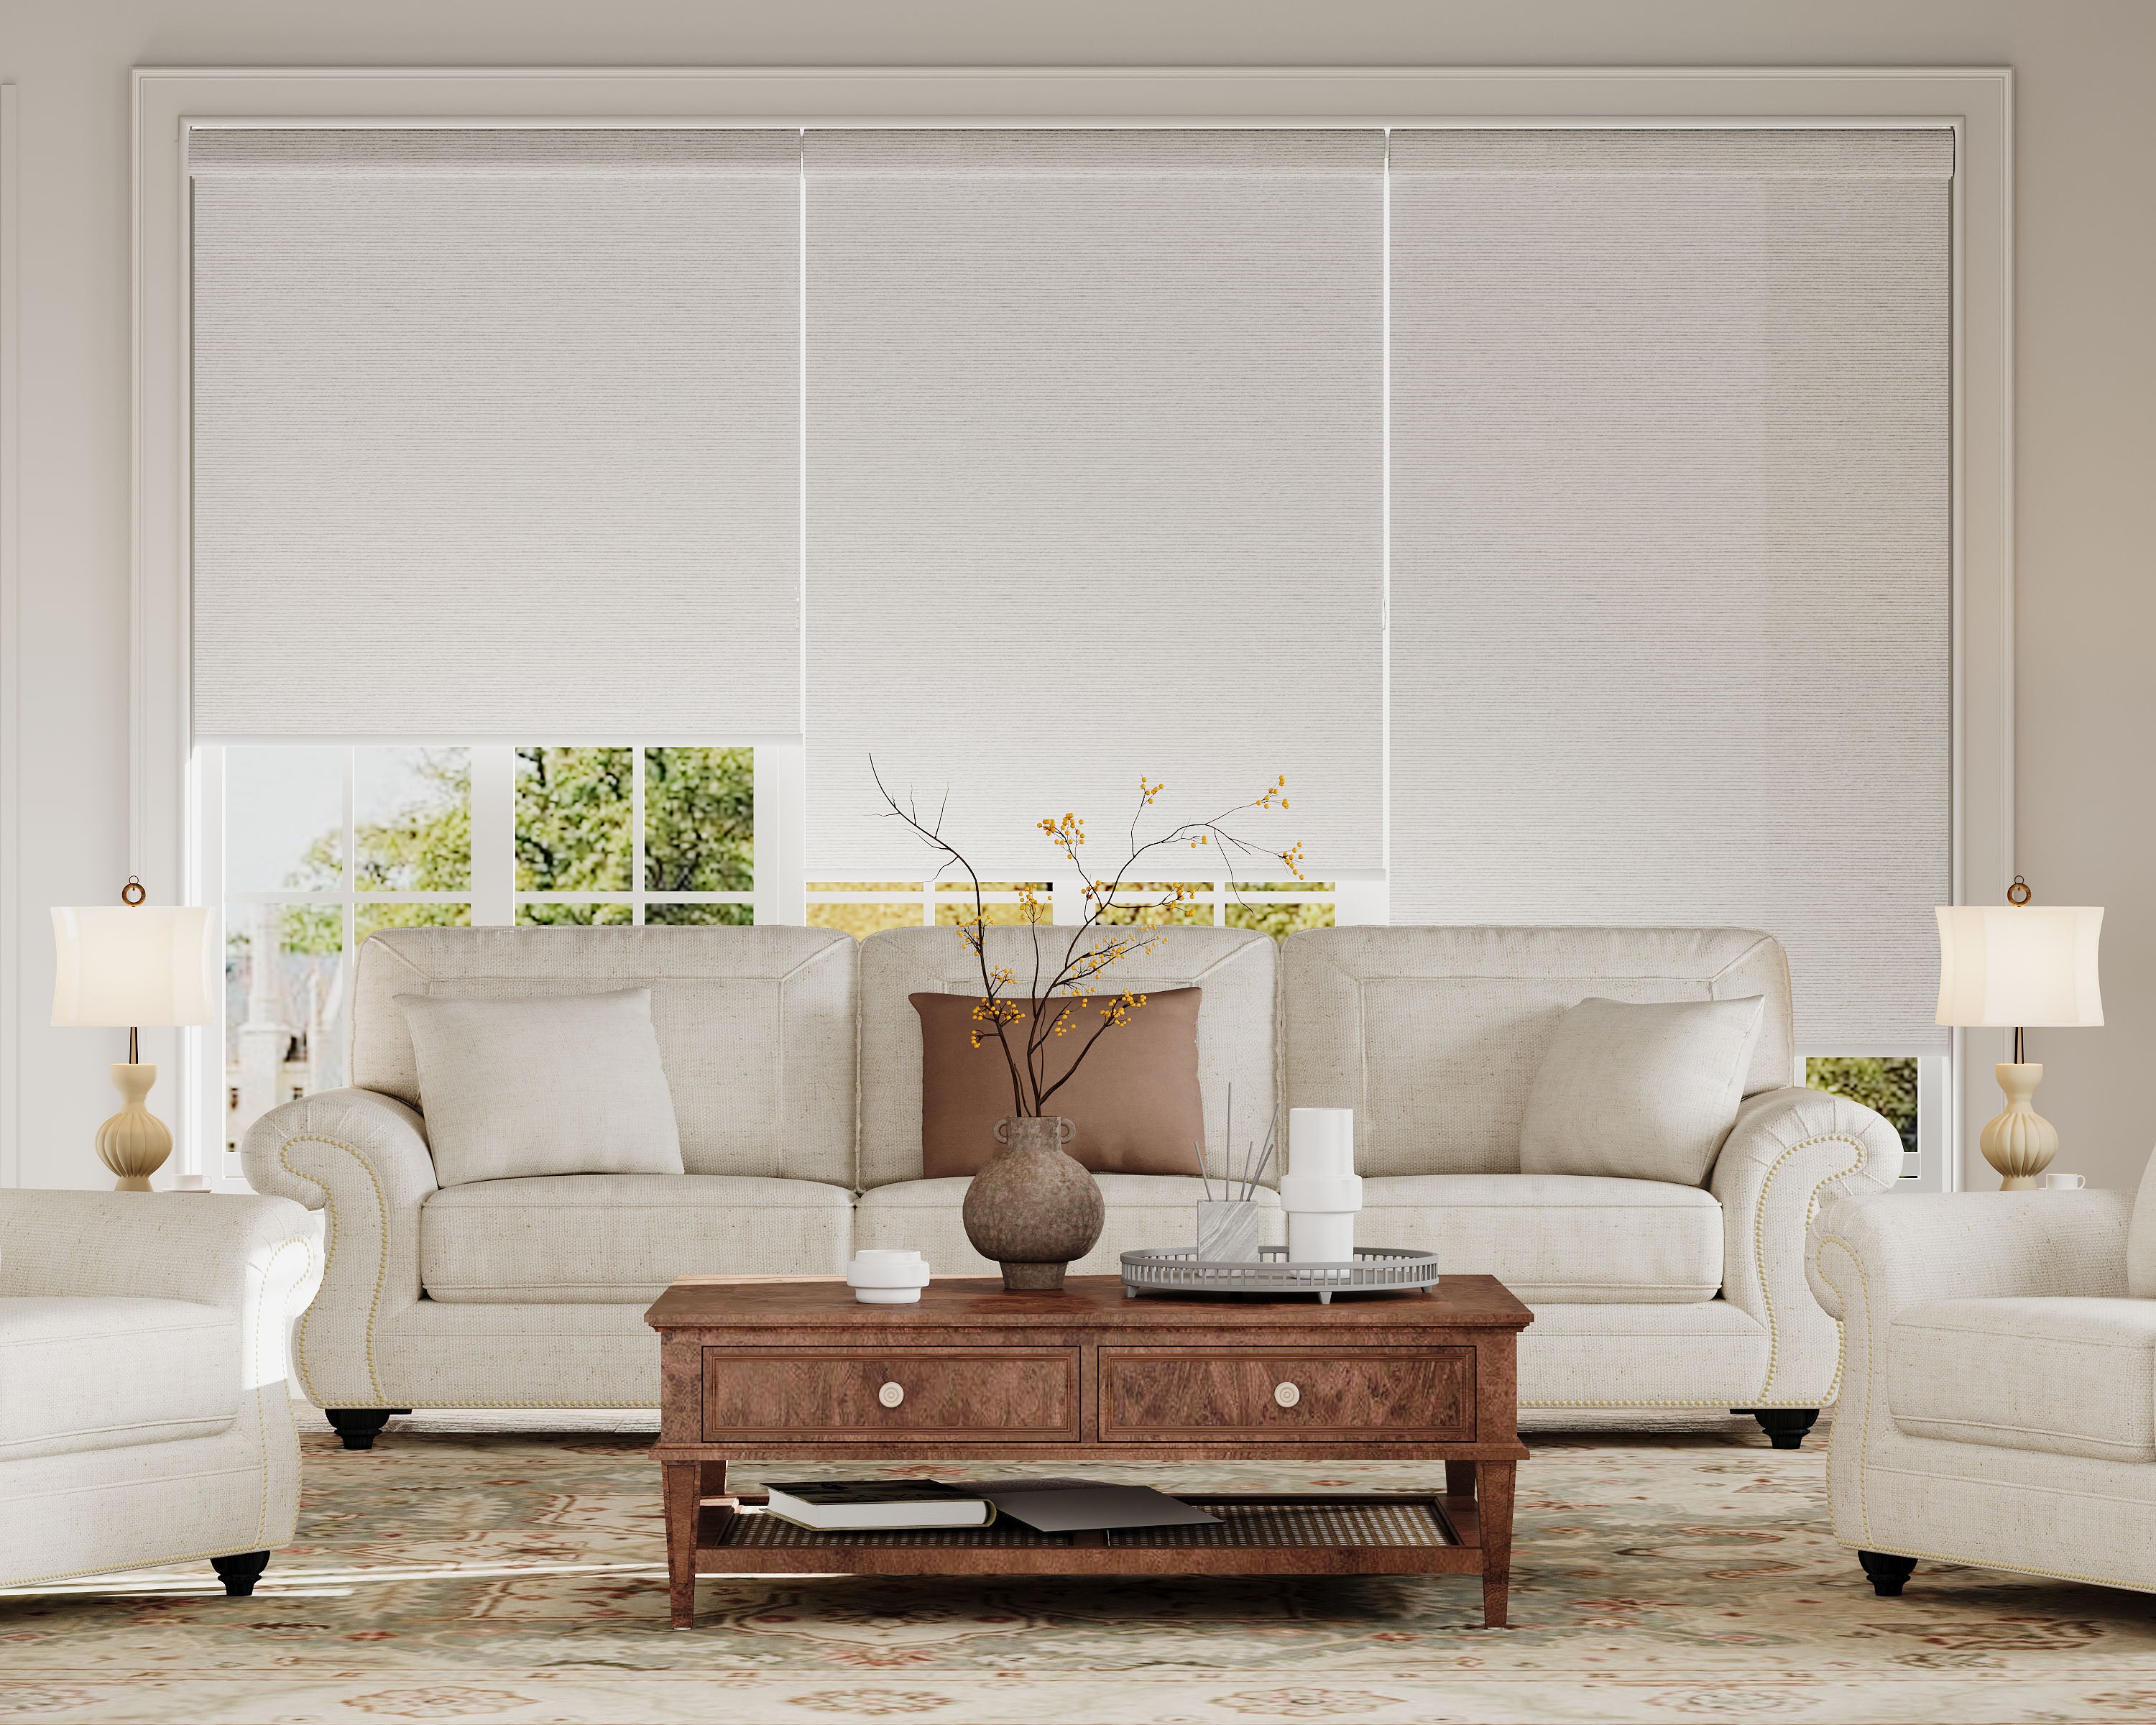


Yes, you can successfully install cellular honeycomb shades yourself. It is a straightforward DIY project that requires careful preparation, basic tools, and methodical execution. This guide provides the complete walkthrough to achieve a secure, level, and professional-looking installation that ensures your shades operate smoothly for years.
Here’s what you’ll learn to complete the installation:
-
Project Assessment: How to verify your order and understand the critical differences between inside and outside mount hardware.
-
Tool Preparation: A definitive checklist of every tool you'll need, from essential to nice-to-have.
-
Step-by-Step Installation: Detailed walkthroughs for both inside and outside mount scenarios, including handling tricky materials like brick or tile.
-
Post-Installation Perfection: How to calibrate shades for smooth operation, integrate smart features, and perform final safety checks.
-
Troubleshooting: Simple fixes for common issues like uneven hanging or motor connectivity problems.
Successful installation starts with a perfect fit. Before mounting your brackets, it is crucial to have followed a precise measuring process, which you can learn more about in our guide on how to measure windows for cellular shades. Once your measurements are confirmed, you can explore the various styles and features of insulating honeycomb cell window treatments to finalize your order.
Is DIY Installation Right for You? A Realistic Look
Installing cellular shades is a project well within the reach of a confident DIYer. It typically requires basic handyman skills: careful measuring, using a level, and operating a drill. The most complex aspect is often ensuring everything is perfectly level and square.
Consider professional installation if:
-
Your windows are extremely large, heavy, or located in very high, hard-to-reach areas.
-
The installation surface is challenging (e.g., crumbling plaster, full-height glass walls, or intricate stonework).
-
You are integrating a whole-home automated system with complex wiring.
For the vast majority of standard windows in drywall, wood, or standard frames, a DIY approach is perfectly feasible and rewarding. To make the process seamless, having your complete DIY installation toolkit ready is a crucial first step.
Pre-Installation: Verification and Preparation
Rushing into installation is the most common cause of errors. Taking time to prepare will make the entire process smooth.
Verify Your Order and Hardware
-
Unpack Carefully: Lay out all components on a clean, soft surface to avoid scratching. You should have the shade itself, left and right mounting brackets, screws, wall anchors, and possibly a valance.
-
Match to Your Window: Confirm the shade width is slightly smaller than your window opening (for inside mount) or matches your ordered dimensions (for outside mount).
-
Identify Mount Type: Brackets differ for inside and outside mounts. Inside mount brackets are often L-shaped to hook into the top of the frame, while outside mount brackets may be more heavy-duty and designed to sit flat on the wall.
Understand Your Mounting Method
Your measurement choice determines your installation path. This table outlines the core differences you'll encounter during setup:
| Aspect | Inside Mount Installation | Outside Mount Installation |
|---|---|---|
| Bracket Position | Inside the top of the window frame (on the "ceiling" of the recess). | On the wall or window trim above the window. |
| Primary Challenge | Ensuring adequate frame depth for the headrail and stacked shade. | Ensuring perfect levelness across a longer span on the wall. |
| Best For | Deep, square windows where a flush, built-in look is desired. | Covering trim, masking uneven windows, or maximizing light blockage. |
| Key Tool | Depth gauge or ruler to verify clearance. | A longer (24+ inch) level for accuracy. |
Critical Check: If you chose an inside mount, you must confirm your window frame has the required minimum depth. Our explainer on why frame depth matters for cellular shades details the consequences of ignoring this spec.
Step-by-Step Installation Instructions
Follow these steps methodically. The process is similar for both mount types, with key differences in bracket placement.
Standard Installation for an Inside Mount
-
Test Fit the Shade: Before drilling, hold the shade (or just the headrail) up inside the window opening. Visually check for clearance at the sides and confirm it fits within the depth.
-
Position the Brackets: Most brackets are marked "L" and "R." Hold the left bracket inside the top-left corner of the window frame. It should sit flush. Use a pencil to mark the center of the screw holes. Repeat for the right bracket.
-
Level the Brackets: Use a small level placed across the tops of both bracket markings (or a laser level) to ensure they are perfectly aligned. An unlevel bracket will cause the shade to hang crookedly. Adjust your pencil marks if needed.
-
Drill Pilot Holes & Secure Brackets: At your marks, drill pilot holes slightly smaller than your screws. If you're not drilling into solid wood, insert the provided plastic wall anchors. Screw the brackets firmly into place.
-
Install the Shade: Typically, you tilt the top of the shade forward, hook the provided lip on the headrail into the front of the brackets, then gently lower the shade back until it clicks or snaps into place. Consult your specific manufacturer's guide, as mechanisms vary.
-
Attach the Valance: If included, the front valance usually snaps onto a channel on the front of the headrail to conceal the hardware.
Standard Installation for an Outside Mount
-
Mark Your Desired Placement: Decide on the shade's final position. For optimal light coverage, the headrail should be placed 2-4 inches above the window molding, extending 1.5-3 inches beyond the frame on each side.
-
Position and Level the Headrail: Hold the headrail itself (or a cardboard template if provided) in your desired position. Use a long level on top of the headrail to get a perfectly horizontal line. Mark the wall at both ends.
-
Mark Bracket Locations: The brackets will mount to the wall above the headrail. Following your manual, measure down from your level line to mark the exact screw hole locations for each bracket. Re-check levelness between these marks.
-
Drill and Secure Brackets: Drill pilot holes at your marks, insert anchors for drywall, and securely fasten both brackets to the wall.
-
Install the Shade: The process is similar to an inside mount—hook the headrail into the brackets and lower it into place.
-
Test Operation: Gently raise and lower the shade to ensure it moves freely without rubbing the wall or window.
Installing on Challenging Surfaces
-
Tile or Glass: Use a glass-and-tile drill bit. Drill slowly with light pressure to avoid cracking. Use anchors designed for hard surfaces.
-
Brick or Concrete: Use a hammer drill with a masonry bit to create holes for lead sleeve anchors or high-strength plastic anchors.
-
Metal Window Frames: Self-tapping metal screws are often sufficient. Pre-drill a pilot hole slightly smaller than the screw's diameter.
Post-Installation Calibration and Troubleshooting
Once the shade is up, a few adjustments ensure perfect operation.
Calibration and Final Adjustments
-
Check for Level and Operation: Raise and lower the shade fully. If it catches or seems uneven, it may not be fully seated in both brackets. Remove and re-engage it.
-
Cordless Shade Tension: Some cordless shades require a "calibration" lift: lower completely, then raise to the top in one smooth motion to set the internal clutch.
-
Program Motorized Shades: For smart shades, follow the app instructions to connect to Wi-Fi, set travel limits, and create schedules. Our guide on the practical use and installation of cellular shades covers smart feature integration in detail.
Troubleshooting Common Issues
Use this table to diagnose and solve frequent post-installation problems:
| Issue | Likely Cause | Solution |
|---|---|---|
| Shade is uneven (one side lower) | Shade not fully engaged in one bracket; brackets not level. | Remove shade and re-seat evenly. Use level to check bracket alignment. |
| Shade rubs against frame/wall | Width too tight (inside mount) or not enough clearance (outside mount). | For inside mount, minor rubbing may lessen over time. For outside, ensure brackets allow enough space. |
| Cordless shade won't stay up | Internal clutch not engaged. | Lower completely, then raise in one firm, continuous motion to the desired height. |
| Motorized shade is unresponsive | Dead batteries, lost power, or Wi-Fi disconnect. | Check/replace batteries. Reboot power. Re-pair with app/Wi-Fi following manufacturer steps. |
| Shade doesn't roll smoothly | Fabric may be catching on bracket or rail. | Ensure shade is centered and path is clear. Lightly clean the rail edges. |
Conclusion
Installing cellular honeycomb shades yourself is a structured process that rewards patience and precision. By thoroughly preparing, understanding your mounting type, executing each step with care, and performing final calibrations, you can achieve a flawless, professional-grade installation. The result is not just cost savings, but also the deep satisfaction of having expertly enhanced your home's comfort, light control, and style with your own hands.
Key Highlights
-
Preparation is paramount: Verifying your order, understanding the hardware, and having the right tools set the stage for success.
-
Leveling is non-negotiable: Whether inside or outside mount, taking the time to ensure brackets are perfectly level is the key to a shade that operates smoothly and looks straight.
-
Bracket security is foundational: Properly drilling pilot holes and using the correct anchors for your wall material prevents future sagging or failure.
-
Calibration completes the job: Testing operation, setting clutches, and programming smart features transform an installed shade into a fully functional window treatment.
-
Most problems have simple fixes: Common issues like uneven hanging are typically resolved by re-seating the shade or double-checking bracket alignment.
With this guide, you’re equipped to tackle the project confidently and enjoy the long-term benefits of your beautiful, functional cellular shades.
Explore Custom Cellular Shades


Frequently Asked Questions (FAQ)
What is the single most important tip for a successful DIY installation?
The most critical tip is to use a level at every stage involving bracket placement. Do not trust the visual alignment of your window frame or ceiling, as they are often not perfectly level or square. Mark your bracket holes based on the bubble in your level, not by eyeballing it. This one practice prevents crooked shades and ensures smooth operation.
Can I install cellular shades if I only have a 1-inch deep window frame?
It is very challenging and often not recommended. Standard inside-mount cellular shades typically require a minimum of 2.5 to 3 inches of frame depth to accommodate the headrail mechanism and allow the fabric to stack without pressing against the glass. With only 1 inch of depth, you will almost certainly need to use an outside mount, installing the brackets on the wall above the window frame instead.
How do I safely install shades on a large or heavy picture window?
For large, wide windows (over 6 feet), the installation principles are the same, but support is key. First, ensure you have a helper to hold the heavy shade during test-fitting and installation. Second, the headrail may require a center support bracket in addition to the two end brackets to prevent sagging in the middle. Check your product specifications to see if a center support is required or recommended for your shade's width.
The screws that came with my shades seem too small for my drywall. What should I do?
The included screws and plastic anchors are designed for standard drywall. If they feel insubstantial or your wall is old plaster, it is wise to upgrade. Purchase higher-weight-rated wall anchors (like toggle bolts or heavy-duty plastic anchors) from a hardware store. Use screws that are the same thickness but slightly longer than the provided ones to engage the new anchors properly. It's better to over-secure than to have a bracket pull out of the wall.
What should I do immediately after installation to ensure everything is working?
Run through this quick post-install checklist:
-
Operational Test: Raise and lower the shade fully 3-4 times. Listen for smooth operation without catching.
-
Security Check: Gently pull down on the installed shade to ensure brackets are firmly attached.
-
Limit Setting (Motorized): Use the app to set the upper and lower travel limits so the motor stops at the correct positions.
-
Safety Check (Corded): If you have a loop cord, immediately install cord cleats or a tension device to keep cords secured and out of reach of children and pets.
