


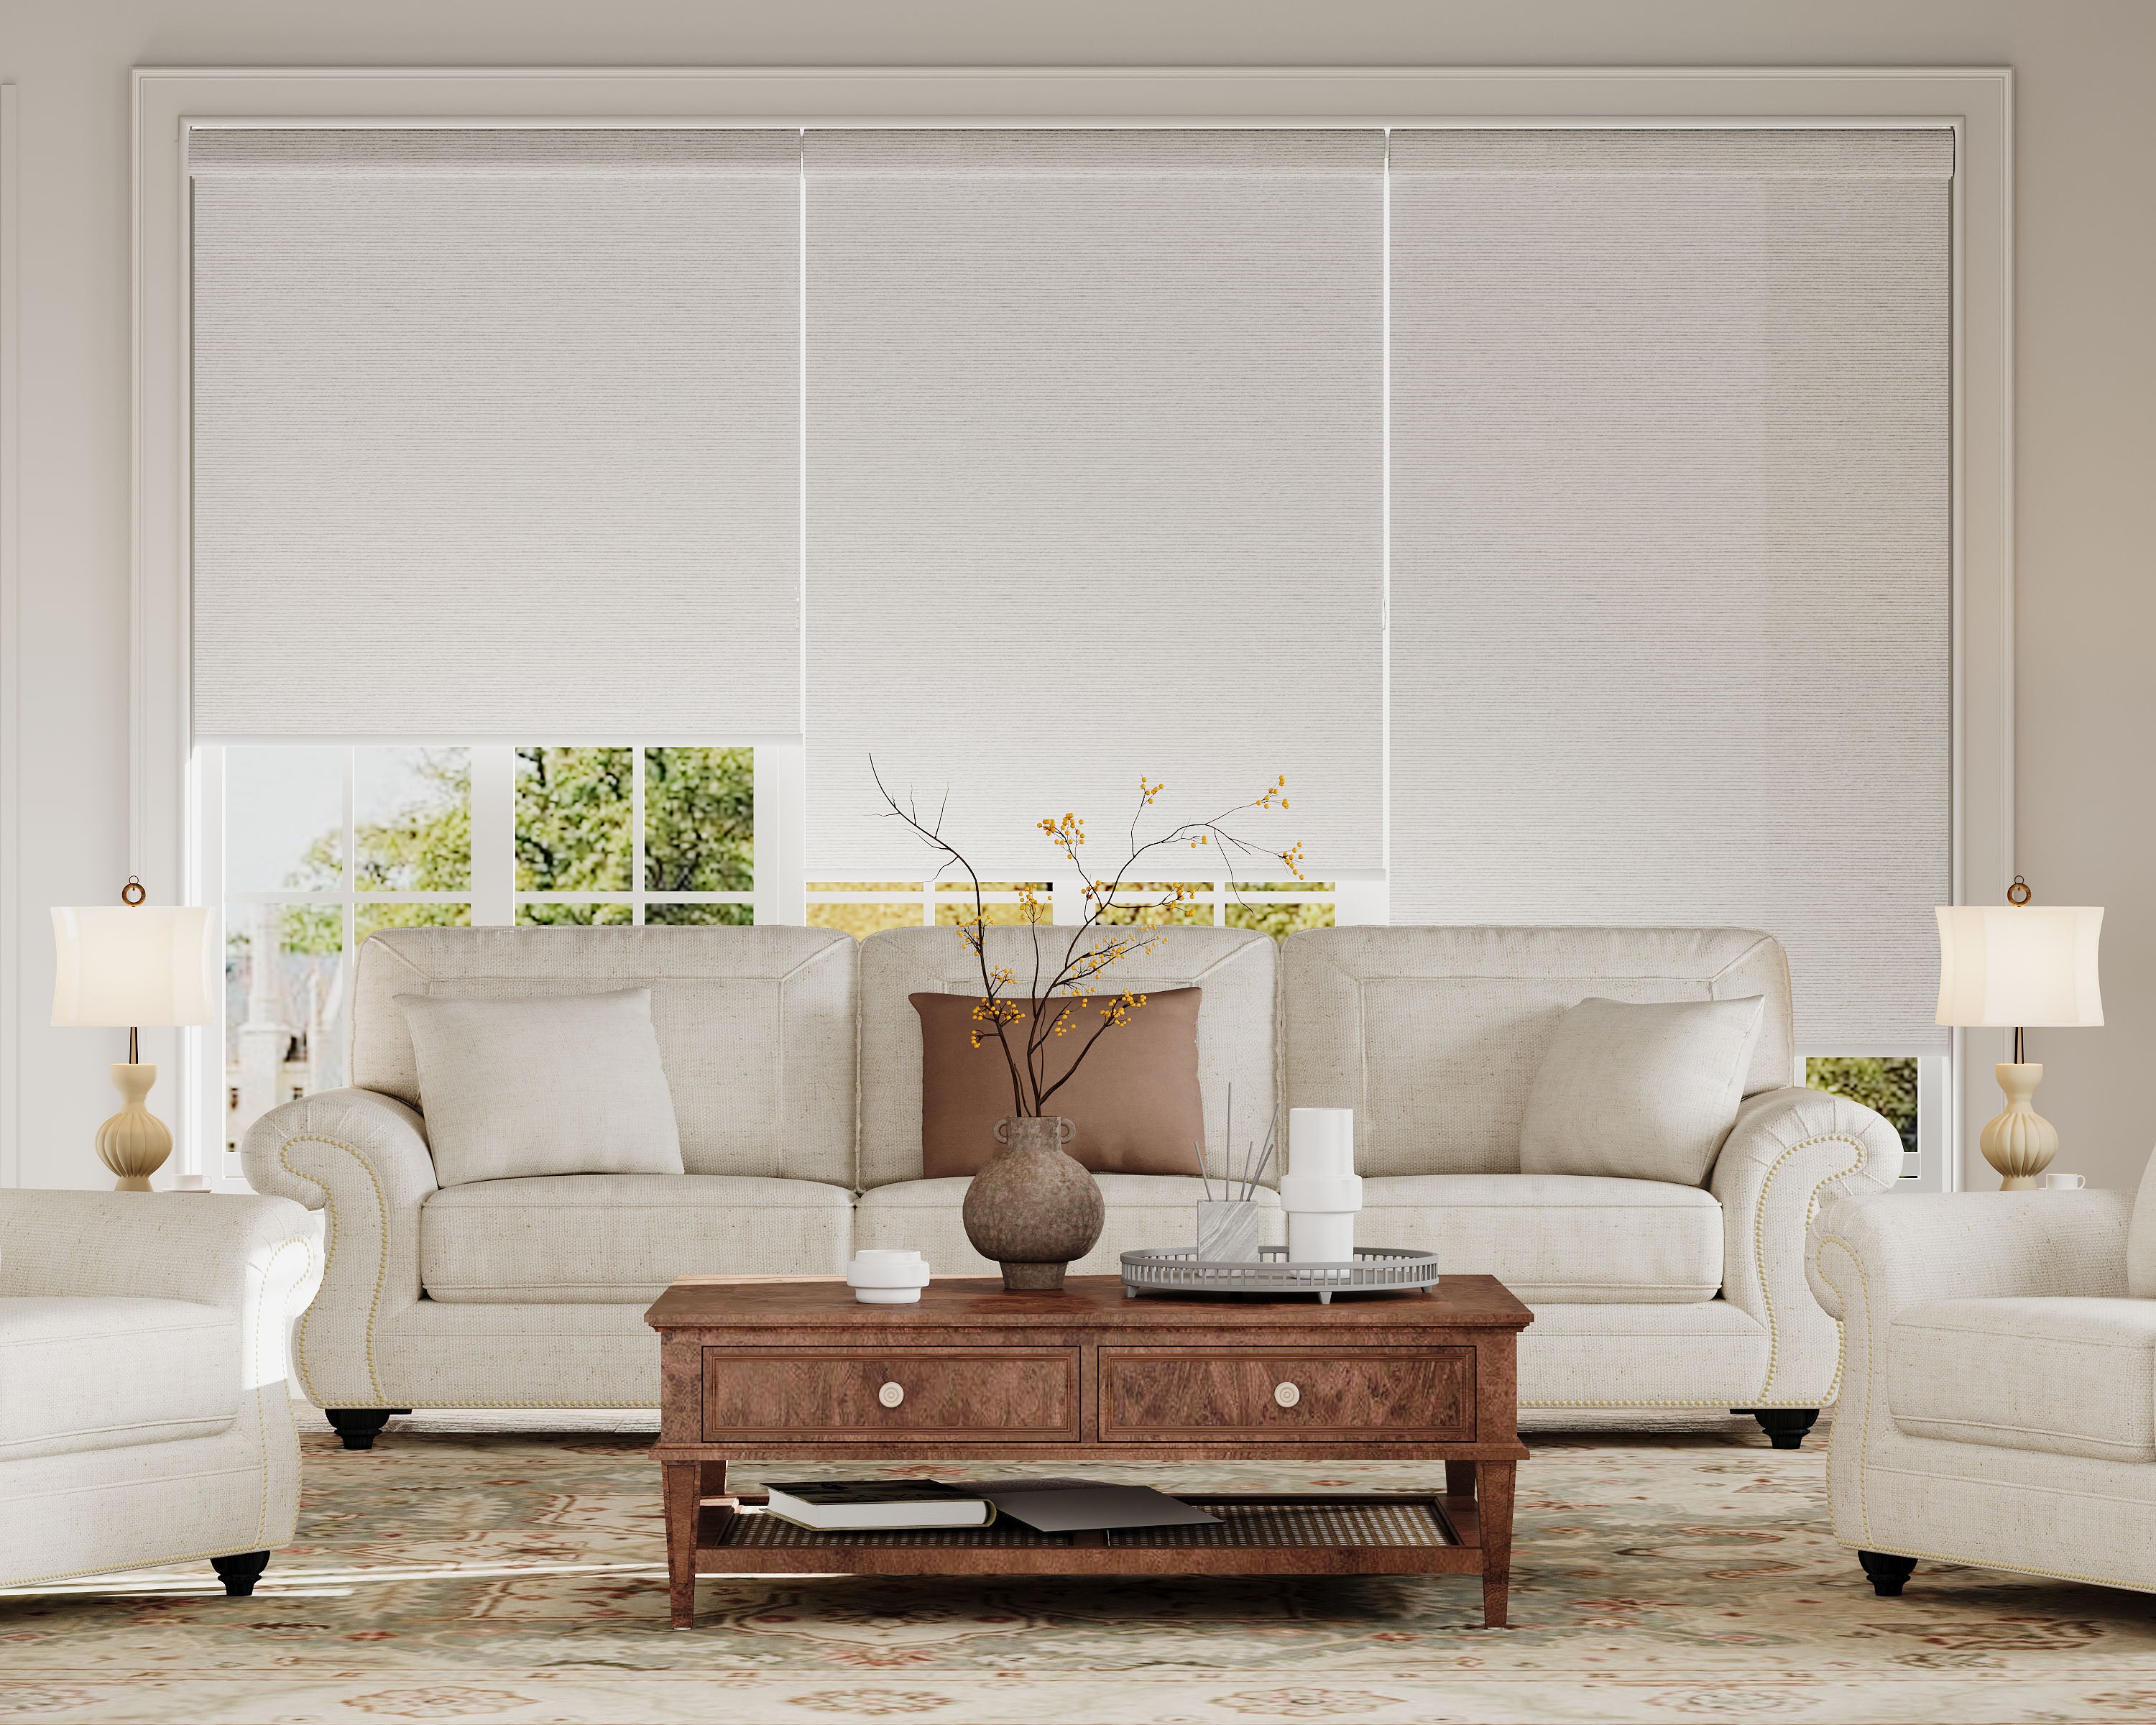


Absolutely, you can install sheer shades on a bay window. The process is very achievable and results in a beautiful, light-softening effect that enhances the architectural feature. Success depends on choosing the right installation method for your specific bay structure and planning for the unique challenges of angles and projections. For this project, exploring versatile sheer roller shade designs is an excellent starting point.
Here’s what you’ll learn in this comprehensive guide:
-
A clear decision framework comparing the two main installation methods: individual panels versus a continuous track system.
-
Bay-window-specific measuring techniques that account for angles, depth, and projection to ensure a perfect fit.
-
Specialized hardware and mounting solutions for tackling corners and ensuring all shades align perfectly.
-
Practical design and operation tips to achieve a cohesive look and smooth, hassle-free functionality across all windows.
Understanding Your Bay Window: The First Step
Before measuring or shopping, you must understand your window's structure. Bay windows are defined by their projection (how far they extend from the wall) and their angle (typically 30, 45, or 90 degrees for a box bay).
-
Projection: This determines how much space you have inside the bay for furniture and affects how far the shades will extend into the room when mounted.
-
Angle: This is critical for measuring and for determining if you need special corner brackets or connectors to bridge adjacent shades.
Identify whether your bay has a front-facing center window with angled side windows, or if it's a continuous curve. This guide focuses on the more common angled bay. For inspiration on solving other complex, non-standard windows, the principles in our guide for insulating tricky angled and projected windows can be very helpful.
Method 1 vs. Method 2: Choosing Your Installation Approach
There are two primary ways to install shades on a bay window, each with distinct advantages and trade-offs. Your choice will set the course for your entire project.
| Feature | Method 1: Individual Panels (Most Common) | Method 2: Continuous Track System |
|---|---|---|
| Description | A separate shade is installed on each window pane (typically 3 or 5) within the bay. | Multiple shade rollers are mounted onto a single, custom-bent headrail that follows the bay's angles. |
| Installation Complexity | Moderate. Standard mounting, but requires precise alignment of each independent unit. | High. Requires professional measurement and installation of the custom bent track. |
| Flexibility & Control | High. Each shade can be operated independently for ultimate light control. | Unified. All shades operate together from one or two points; individual control is limited or impossible. |
| Aesthetic | Clean, defined look for each window. Small gaps between panels at corners. | Seamless, ultra-modern appearance with no visual breaks between windows. |
| Cost | Standard cost for multiple individual shades. | Premium cost due to custom track engineering and installation. |
| Best For | DIYers, those who want zoning control, traditional home styles. | A minimalist, high-end look where a seamless appearance is the top priority. |
For most homeowners, Method 1 (Individual Panels) is the most practical and versatile choice. It allows you to use standard shades and offers the flexibility to raise or lower sections independently—a key benefit for managing sun and privacy throughout the day.
How to Measure a Bay Window for Individual Sheer Shades
Accuracy is non-negotiable. You will measure and order each window in the bay as a separate unit. Always measure in inches to the nearest 1/16".
Tools Needed: Metal tape measure, notepad, pencil, and a digital angle finder (a small, inexpensive tool that is crucial for this job).
Step-by-Step Process:
-
Determine Mounting Type: Decide between inside mount (within each individual frame) or outside mount (on the trim or wall above each window). Outside mount is often easier for bays as it avoids individual frame depth issues and creates a more unified look.
-
Measure Width & Height for Each Window: Follow standard measuring rules for your chosen mount type (measure width in 3 places, height in 3 places). Crucially, treat each angled side window as its own independent rectangle. Do not measure the entire span of the bay as one width.
-
Measure the Angles: Use your digital angle finder to measure the exact angle where the side windows meet the center window, and where the side windows meet the wall. Record these angles (e.g., "135° between center and left window"). Your shade manufacturer or installer needs this to understand the spatial relationship if you are using corner connectors.
-
Check for Obstructions: Note the location of window handles, locks, and any decorative trim that might interfere with brackets or the rolling fabric.
The meticulous approach required here is similar to that needed for measuring other complex window shapes like arches and rounds, where every dimension counts.
Hardware & Installation Strategies for a Flawless Fit
Installing individual panels in a bay requires careful planning for the corners where shades meet.
-
Standard Brackets with Spacing: The simplest method is to install each shade using its standard brackets, leaving a small, consistent gap (1/2" to 1") between shades at the corners. This is operationally simple and works well.
-
Corner Connectors (Bay Window Brackets): For a more integrated look, you can use special corner connectors or L-brackets. These allow the headrails of two adjacent shades to meet directly at the corner, minimizing the gap. You must provide your measured angles to get the correct connectors.
-
Face-Mounting for Alignment: If the window frames are at different depths, face-mounting all brackets to the front face of the trim (rather than inside the recess) can ensure all headrails align on the same plane, creating a cleaner line.
During installation, use a long level across the entire bay to ensure all brackets are installed at the exact same height. Even a small discrepancy will be visually obvious. If things end up slightly off, don't panic—our guide on leveling a crooked shade without re-drilling can help with minor adjustments.
Design Considerations for a Cohesive Bay Window Look
Beyond mechanics, think about how the shades will look and function as a whole.
-
Fabric Consistency: Using the same sheer fabric, color, and opacity across all panels is essential for a unified appearance.
-
Operation Harmony: Decide if you want all shades to operate together (which may require linking cords or motors) or independently. Cordless or motorized shades are highly recommended for bays to avoid a tangled web of lift cords.
-
Layering Potential: Sheer shades are perfect for layering. You can install them as the primary filter and add a second, separate layer of drapes or blackout shades on a rod installed at the front of the bay for maximum flexibility. This is an excellent way to achieve the balance many seek in open concept spaces for privacy and light.
Conclusion and Key Highlights
Installing sheer shades on a bay window is a project that rewards careful planning with a spectacular result. By respecting the window's unique geometry and choosing a method that fits your skill level and design goals, you can enhance this beautiful architectural feature.
Key Highlights:
-
Yes, sheer shades work beautifully on bay windows, most commonly as individually operated panels on each window section.
-
Precise measurement is paramount, especially recording the angles between windows with a digital angle finder.
-
Your main decision is between individual shades (more flexible, DIY-friendly) and a continuous track system (seamless, often professional install).
-
Special hardware like corner connectors can minimize gaps for a more built-in look but require accurate angle data.
-
For visual cohesion, use the same sheer fabric across all panels and strongly consider cordless or motorized operation to simplify daily use.
By embracing the bay window as a set of connected but individual windows, you can successfully outfit it with soft, luminous sheer shades that celebrate its form.
Shop Sheer Shades by Light Control


Frequently Asked Questions (FAQ)
What type of shade is easiest to install on a bay window?
Individual inside-mount or outside-mount roller shades are generally the easiest for a DIY installation on a bay window. They are lightweight, come with standard brackets, and each unit is installed separately, allowing you to tackle one window at a time and make minor adjustments as you go. Cellular shades can be more challenging due to their side depth in tight corners.
Can I use a single, extra-wide shade to cover my bay window?
It is strongly not recommended. A single flat shade cannot conform to the angles of a bay window. It would either block the glass of the angled sections, create massive light gaps on the sides, or not fit at all. Bay windows require treatments that respect their multi-faceted structure.
How do I handle the corner where two shades meet?
You have two options: 1) Leave a small, consistent gap (about 1/2") between the two shade headrails. This is simple and ensures they never bang together. 2) Use specialized corner connectors that join the headrails at the precise angle of your bay. The second option provides a cleaner look but requires exact angle measurements and potentially professional help.
Should I choose inside or outside mount for a bay window?
Outside mount is often the more forgiving and visually unifying choice for bays. It ensures each shade fully covers its window glass (eliminating light gaps), avoids conflicts with varying frame depths, and makes it easier to align all headrails on the same plane. Inside mount can work if every window recess is deep, square, and uniform—which is rare in older homes.
Can motorized sheer shades be synchronized on a bay window?
Yes, this is a major advantage of motorization. Using a system like Somfy TaHoma, Lutron, or a brand-specific hub, you can group the individual shade motors together in the app. This allows you to create a scene (e.g., "Bay Open" or "Bay Close") that moves all shades in unison with a single command, providing both the flexibility of individual panels and the convenience of unified control.
