




App & Voice Control
Adjust shades through your compatible smart-home platform.
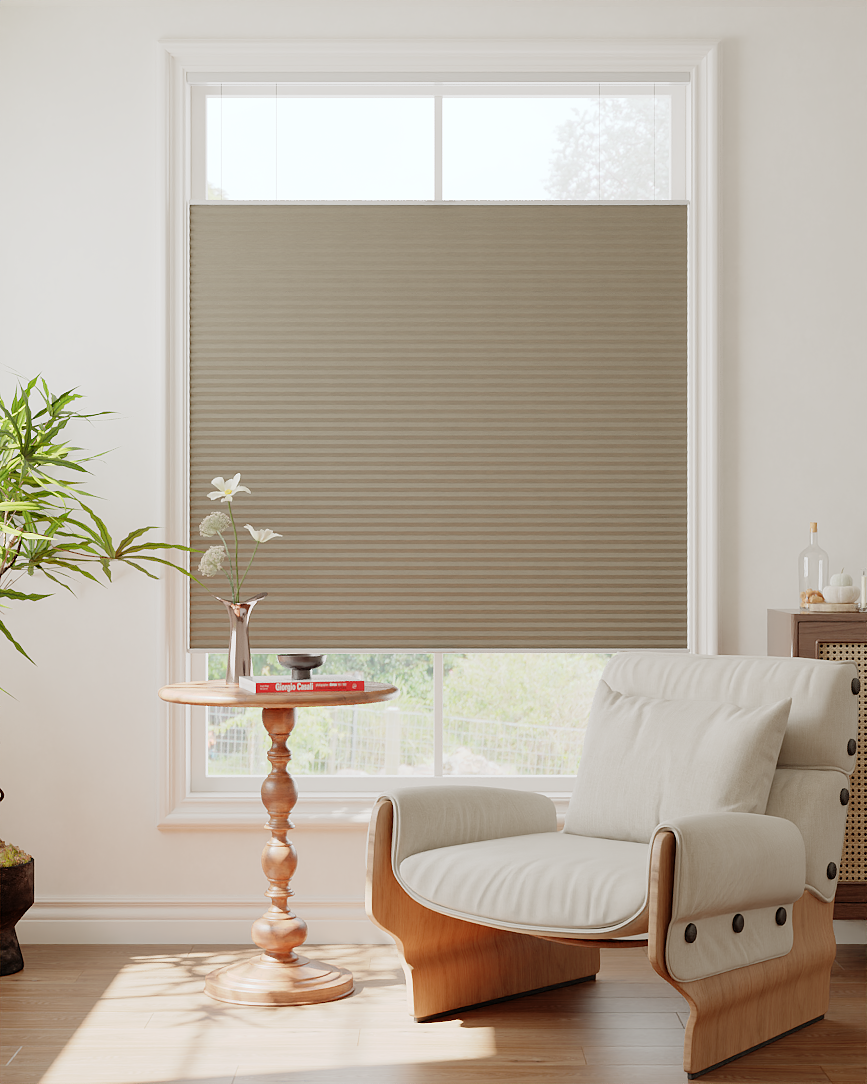
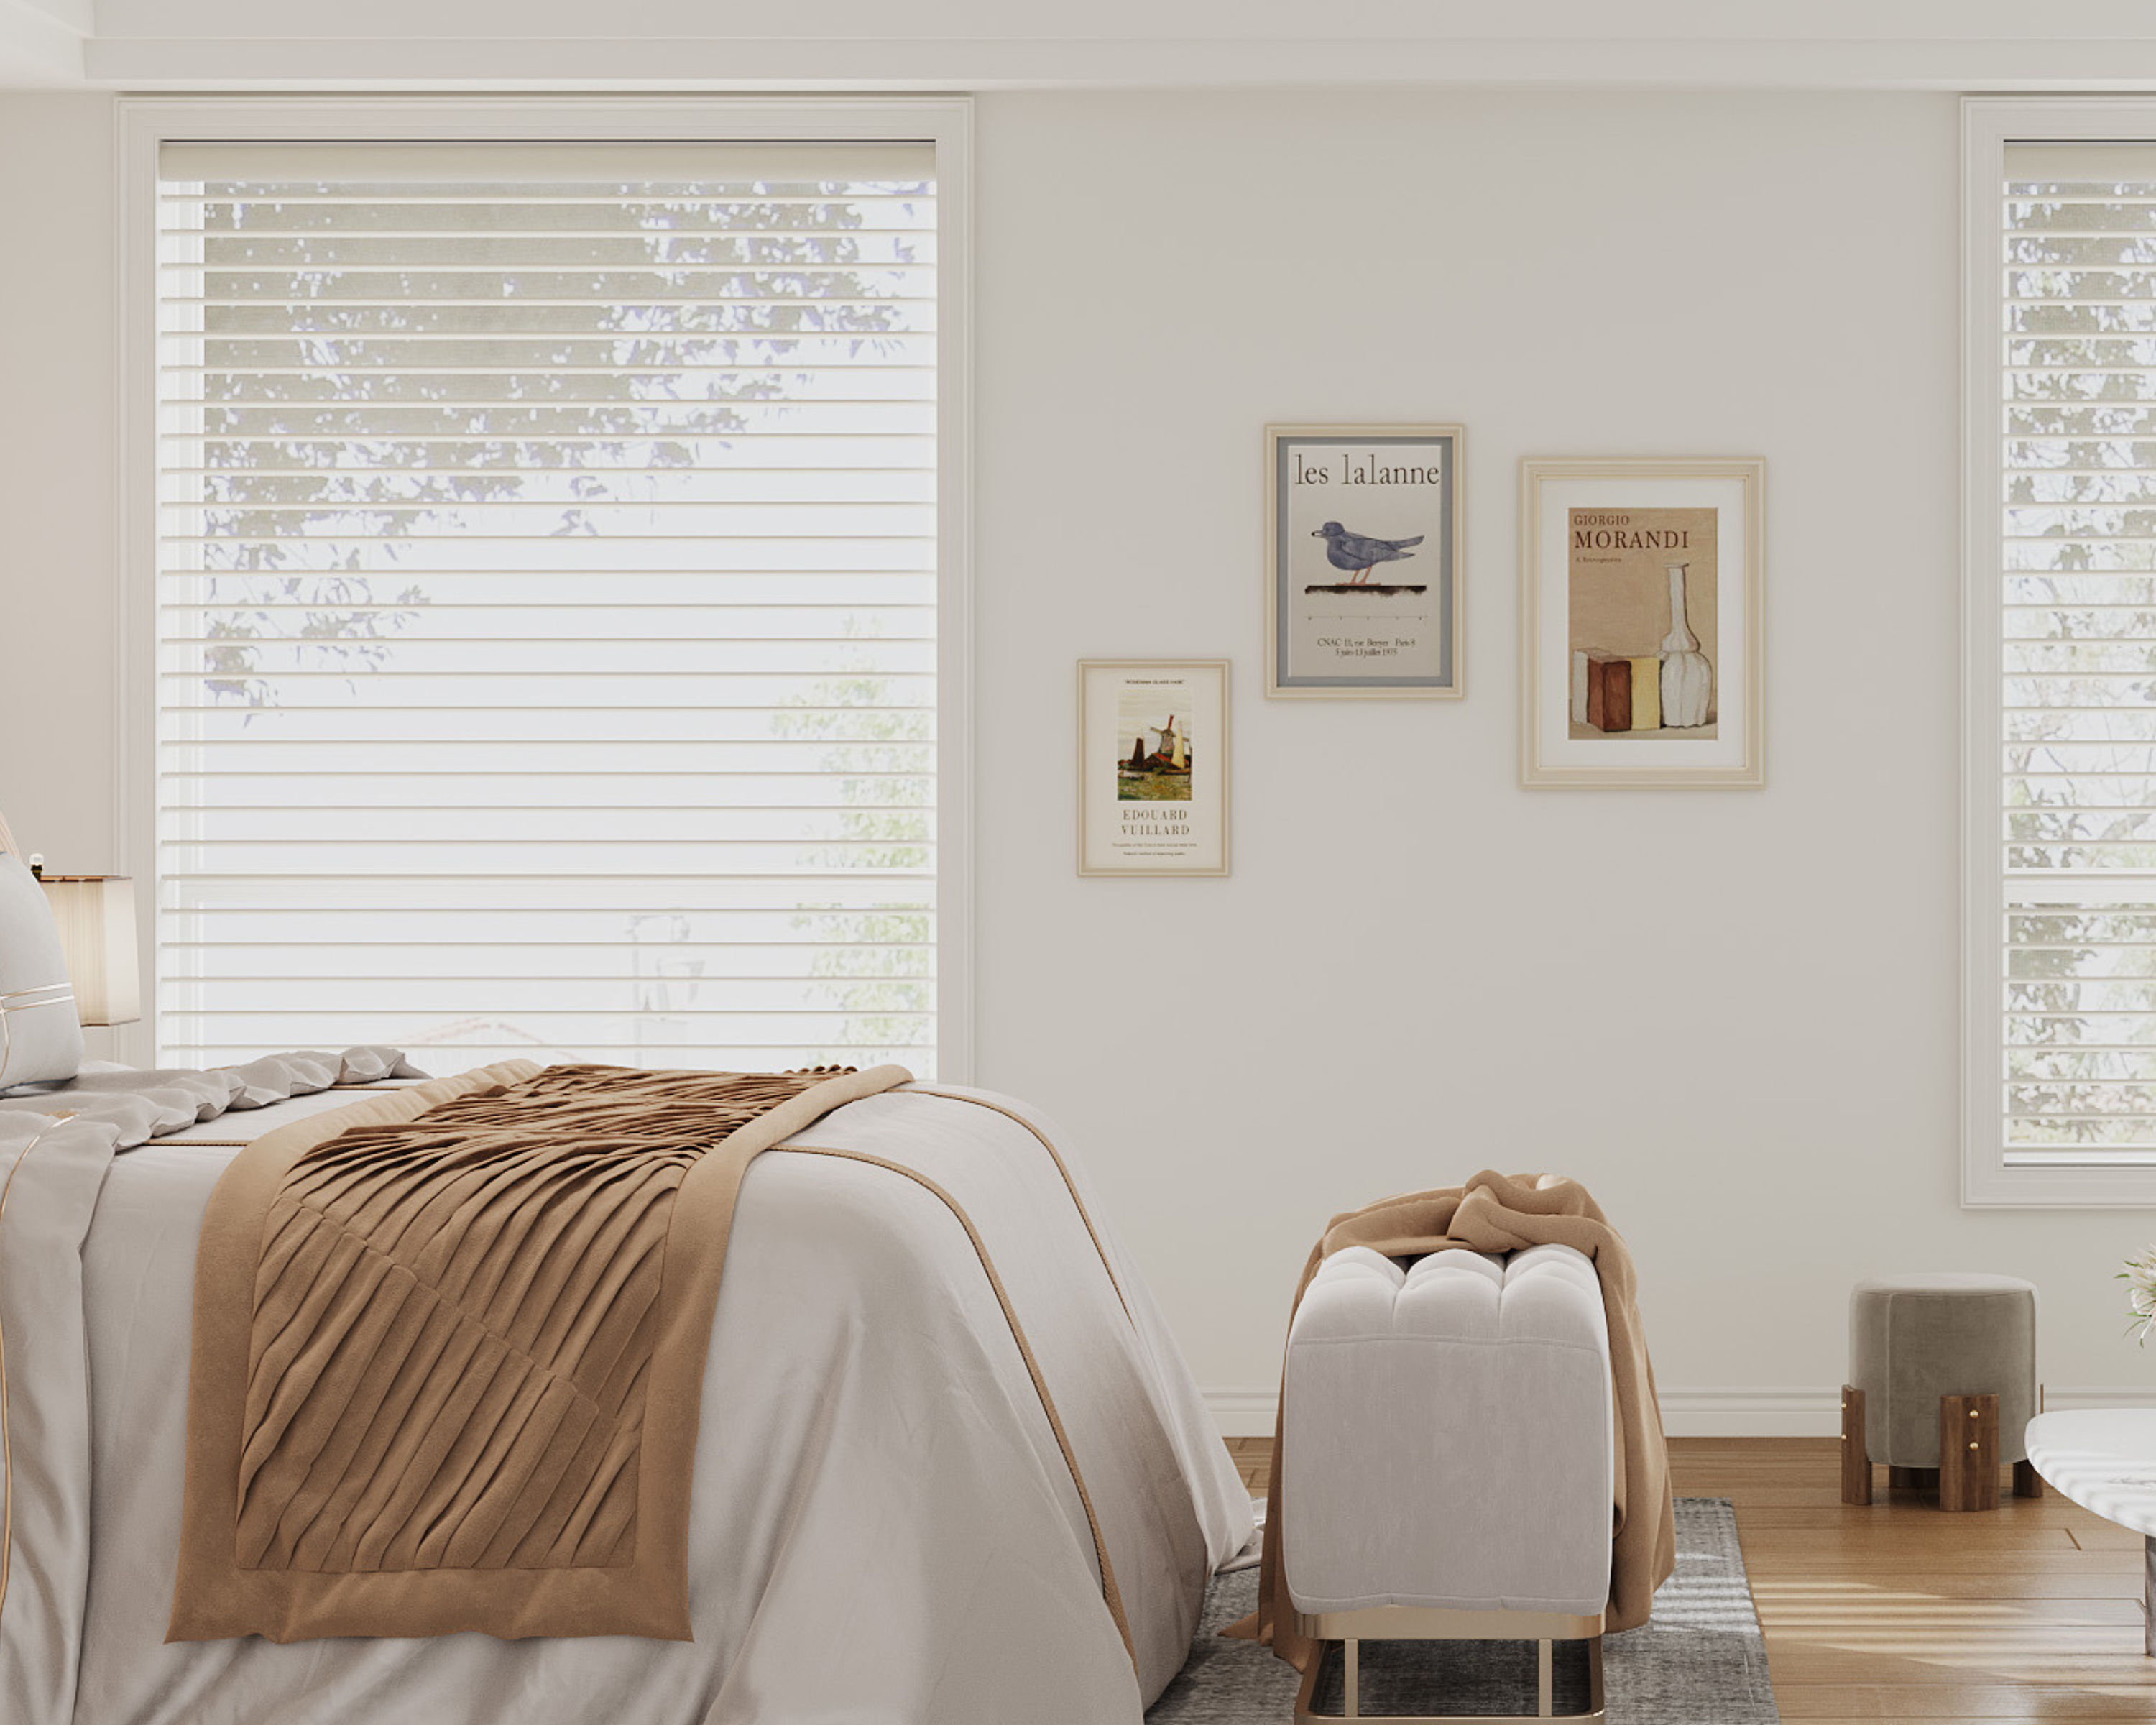
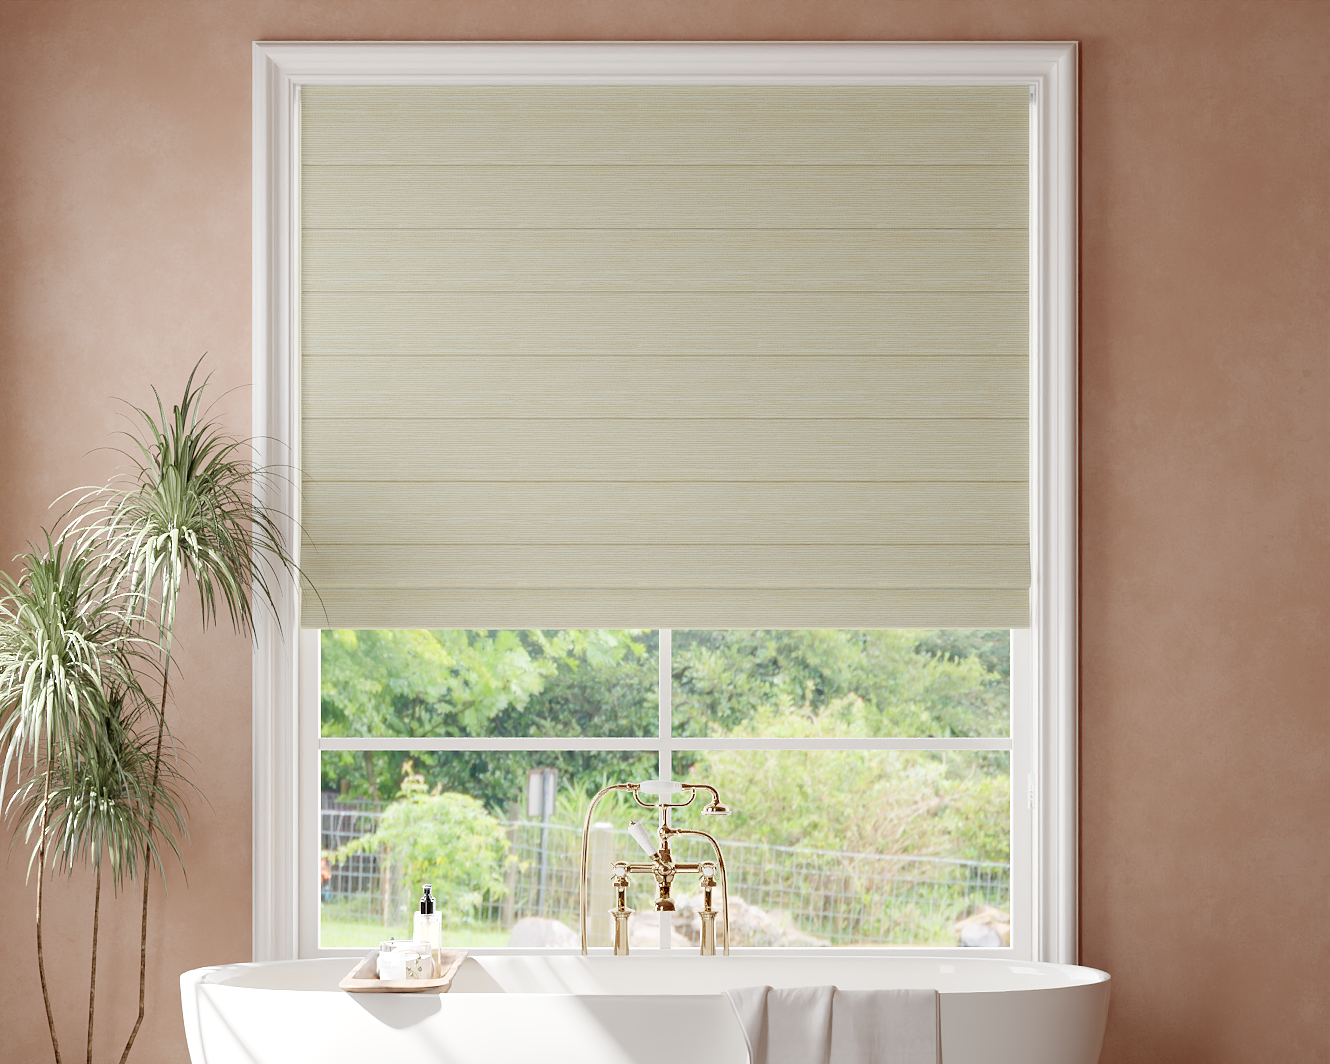
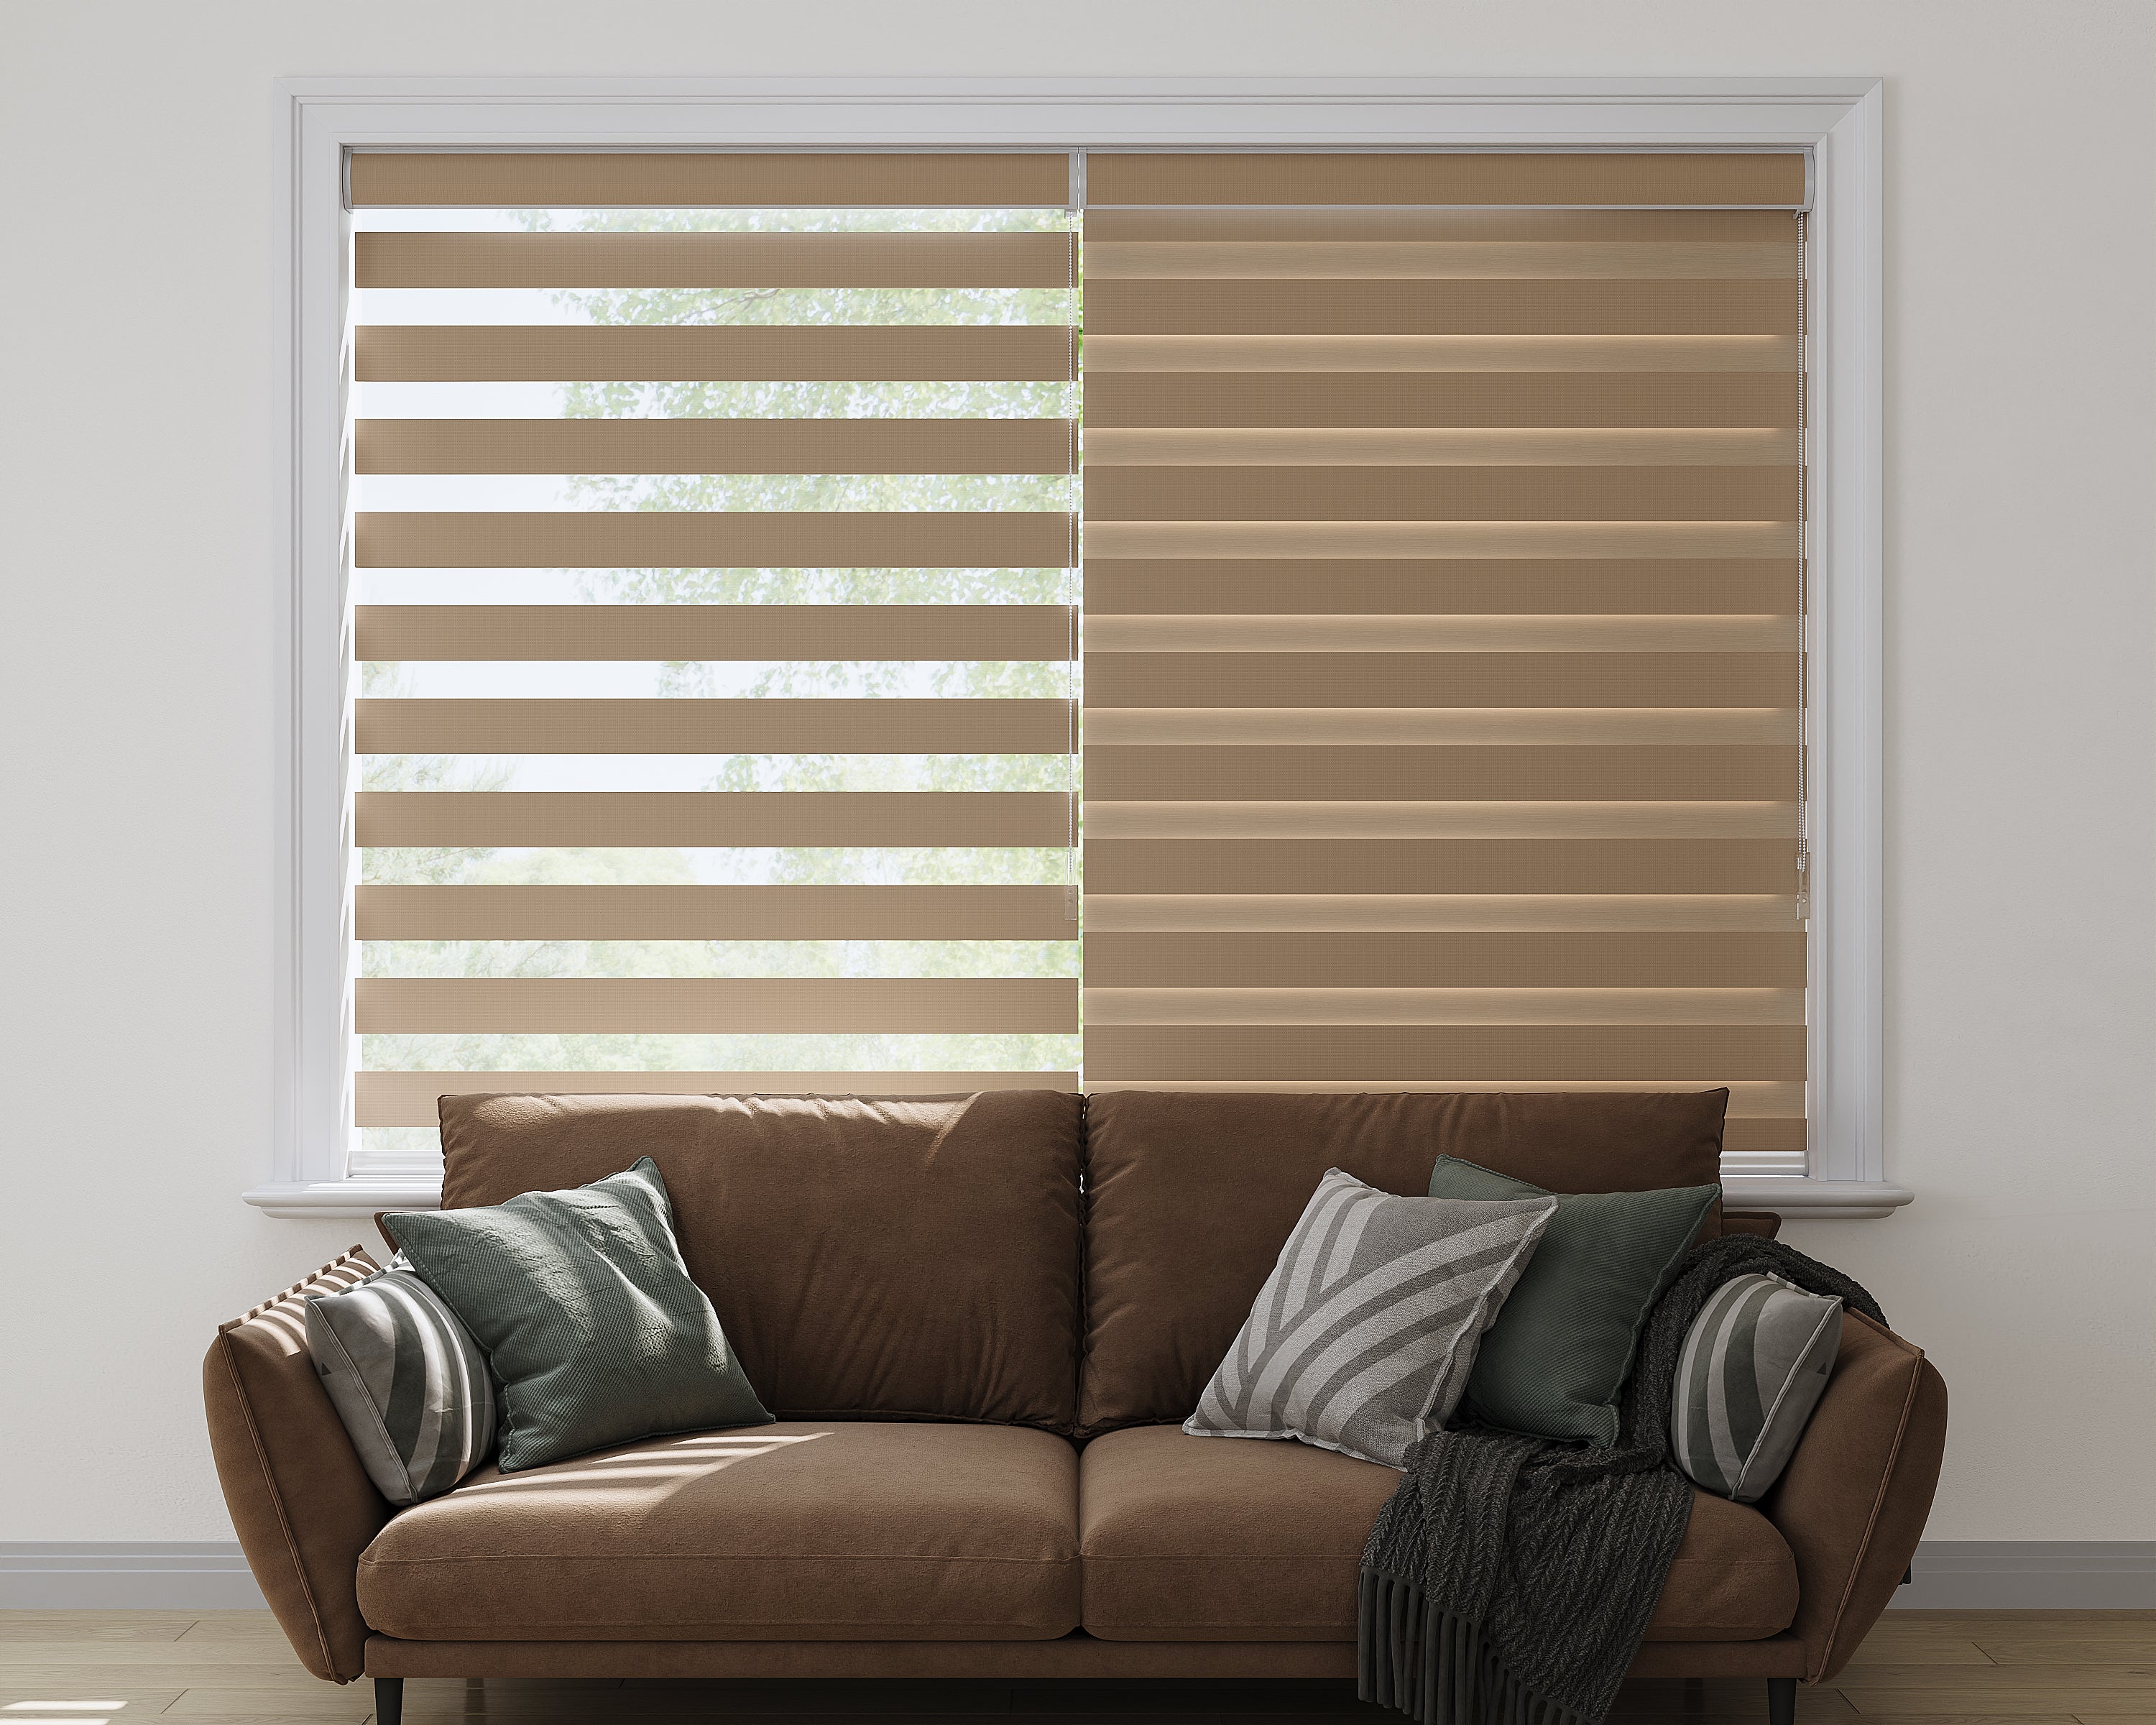







 Your custom-made shades are estimated to ship in 4 ~ 5 business days
| Spend | Save |
|---|---|
| $450+ | $35 off |
| $750+ | $100 off |
| $1,100+ | $130 off |
| $1,500+ | $210 off |
Using a metal tape measure, first check if you have sufficient depth:
Measure inside the window opening from the back of the window to the front of the opening where the shade would mount. A minimum inside-mount depth of 2" is required for all three top-treatment options.
For a fully flush inside mount, the required depth is:
A fully flush mount means the selected top treatment is completely recessed within the window opening. If your window does not have sufficient depth, the shade may still be suitable for a partially recessed inside mount, or you may choose an outside mount instead.
Let's start with the Width:
Now, let's do the Height:
Note: Always provide us with the actual measurement of the window opening. We will make the necessary deduction of approximately 3/16" to the width of the top of the shade to accommodate the installation brackets.
No deductions will be made to the ordered height.
Before you start measuring, decide where above your window opening you want to mount your shade. The minimum flat vertical mounting space depends on your selected top treatment:
Follow the instructions below based on where you plan to install your shade.
If you do not have sufficient vertical space for mounting the brackets, please see our inside mount instructions or consider a different product.
Your ordered width will be the "tip to tip" measurement, which is the widest part of the top of the shade including the brackets and cassette valance (if applicable). If you wish to have the fabric cover a specific width, we recommend ordering slightly wider — just ensure that you have enough horizontal space to mount the shade.
Looking at your window and surrounding wall, decide what area you would like to cover. We recommend the shade extends about 2-4" on each side of the window opening for the best light control and appearance.
Using a metal tape measure, measure from left to right, including your desired extra space on each side of the window. That is your ordering width.
Consider how far above the window you would like to install your shade but at least starting with the minimum vertical space referenced above. Since the shade spools onto the roll, it does not need to be installed high above the window to have the shade fabric fully clear the window.
Measure from the top of where you will mount the shade on the wall down to where you want the bottom of the shade to be, using the same extra space below your window opening as you used above; if you have a protruding windowsill, measure down to the top of the sill. That is your ordering height.
Looking at your window and surrounding wall, decide what area you would like to cover. We recommend the shade extends about 2-3" on either side of the window opening for the best light control and appearance.
Using a metal tape measure, measure from left to right, including any desired extra space on each side of the window. That is your ordering width.
Consider how far above the window you would like to install your shade but at least starting with the minimum vertical space referenced above. Since the shade spools onto the roll, it does not need to be installed high above the window to have the shade fabric fully clear the window.
Measure from the top of where you will mount the shade on the wall down to where you want the bottom of the shade to be, using the same extra space below your window opening as you used above, or to the bottom edge of the trim if you prefer; if you have a protruding windowsill, measure down to the top of the sill. That is your ordering height.
Note: The shade fabric may rub against the trim when operating. If your trim is more than 1/2" thick, consider adding shims (not included) under the brackets for additional clearance. If your trim is 3/4" or thicker, we recommend using an extended slotted bracket.
We don't normally recommend mounting roller shades directly on the trim unless your window configuration doesn't allow for other placements. Your ordered width will be the bracket-to-bracket measurement, which cannot exceed the width of your trim. However, the fabric portion of roller shades is always narrower than the ordered width, and will not extend to the edges of the trim.
Confirm that the height of your trim is at least the minimum height required for installing the mounting brackets. At the top of your window, use a steel measuring tape and measure from outer edge to outer edge of the trim. That is your ordering width.
Note that the fabric portion of the shade will be narrower than your ordered width.
Measure from the top of your trim to the bottom of your trim or to the top of the windowsill if you have a protruding sill. That is your ordering height.
Using a metal tape measure, measure left to right from the outside edge of the trim piece that goes around the glass to the other outside edge. That is your ordering width. However, if you have space, it is best to order the shade about 2-4" wider for better light control.
Consider how far above the window trim piece you would like to install your shade but at least starting with the minimum vertical space referenced above. Measure down to where you want the bottom of the shade to be, using the same extra space below the window trim piece as you used above. That is your ordering height.
Before you begin, make sure you have everything you need for a smooth and secure installation.
Important: Do not remove the protective paper wrapping from the fabric until the shade is fully installed. Removing it too early may cause the fabric to shift or affect alignment.
Once everything is prepared, follow the step-by-step installation instructions in the guides below.
After installation, use the setup guides below for motor, remote, and smart-control setup.
Before you begin, make sure you have everything you need for a smooth and secure installation.
Important: Do not remove the protective paper wrapping from the fabric until the shade is fully installed. Removing it too early may cause the fabric to shift or affect alignment.
Once everything is prepared, follow the step-by-step installation instructions in the guides below.
After installation, use the setup guides below for motor, remote, and smart-control setup.
Please review the following information carefully before purchase.
We offer three motor options depending on how you would like to control your shades. All three motor options can be paired with a compatible remote control. Remote controls are sold separately.
| Outside Mount Flat Space Required | 3 1/8" |
|---|---|
| Min Depth for Inside Mount | 2" |
| Depth Required for Flush Mount | 3 3/4" |
| Specification | Beaded Chain | Cordless | Motorized |
|---|---|---|---|
| Minimum Width | 14" | 15" | 20" |
| Maximum Width | 103" | 78" | 96" |
| Minimum Height | 12" | 12" | 18" |
| Maximum Height | 120" | 105" | 120" |
| Chain Side | 1/2" |
|---|---|
| Opposite Side | 3/16" |
| Outside Mount Flat Space Required | 3 3/16" |
|---|---|
| Min Depth for Inside Mount | 2" |
| Depth Required for Flush Mount | 3" |
| Specification | Beaded Chain | Cordless | Motorized |
|---|---|---|---|
| Minimum Width | 14" | 15" | 20" |
| Maximum Width | 103" | 78" | 96" |
| Minimum Height | 12" | 12" | 18" |
| Maximum Height | 120" | 105" | 120" |
| Chain Side | 1/2" |
|---|---|
| Opposite Side | 3/16" |
| Outside Mount Flat Space Required | 2 3/16" |
|---|---|
| Min Depth for Inside Mount | 2" |
| Depth Required for Flush Mount | 2 5/8" |
| Specification | Beaded Chain | Cordless | Motorized |
|---|---|---|---|
| Minimum Width | 14" | — | 20" |
| Maximum Width | 103" | — | 96" |
| Minimum Height | 12" | — | 18" |
| Maximum Height | 120" | — | 120" |
| Chain Side | 1/2" |
|---|---|
| Opposite Side | 3/16" |
Built for Long-Term Reliability
At Sense Blinds, we stand behind the quality of our products with a 5-Year Warranty. If there are any issues with parts or components during this period, we’ll send you a brand-new replacement. For more information about our warranty,click here.


For a polished finish, you can customize the roll style with a matching cassette headrail, fabric insert, and a white bottom rail to completely conceal the roller. You can also choose an aluminum valance, available in 5 colors with a matching color bottom rail.
Each shade comes standard with a classic continuous cord loop for easy operation. Prefer a cleaner, safer option? Upgrade to a free, kid-friendly cordless lift system to keep your walls and windows looking streamlined and tidy.

UV Protection

Does Not Fade

Hassle Free Assembly

Smooth & Quiet Lift

Easy Maintenance

5-Year Warranty

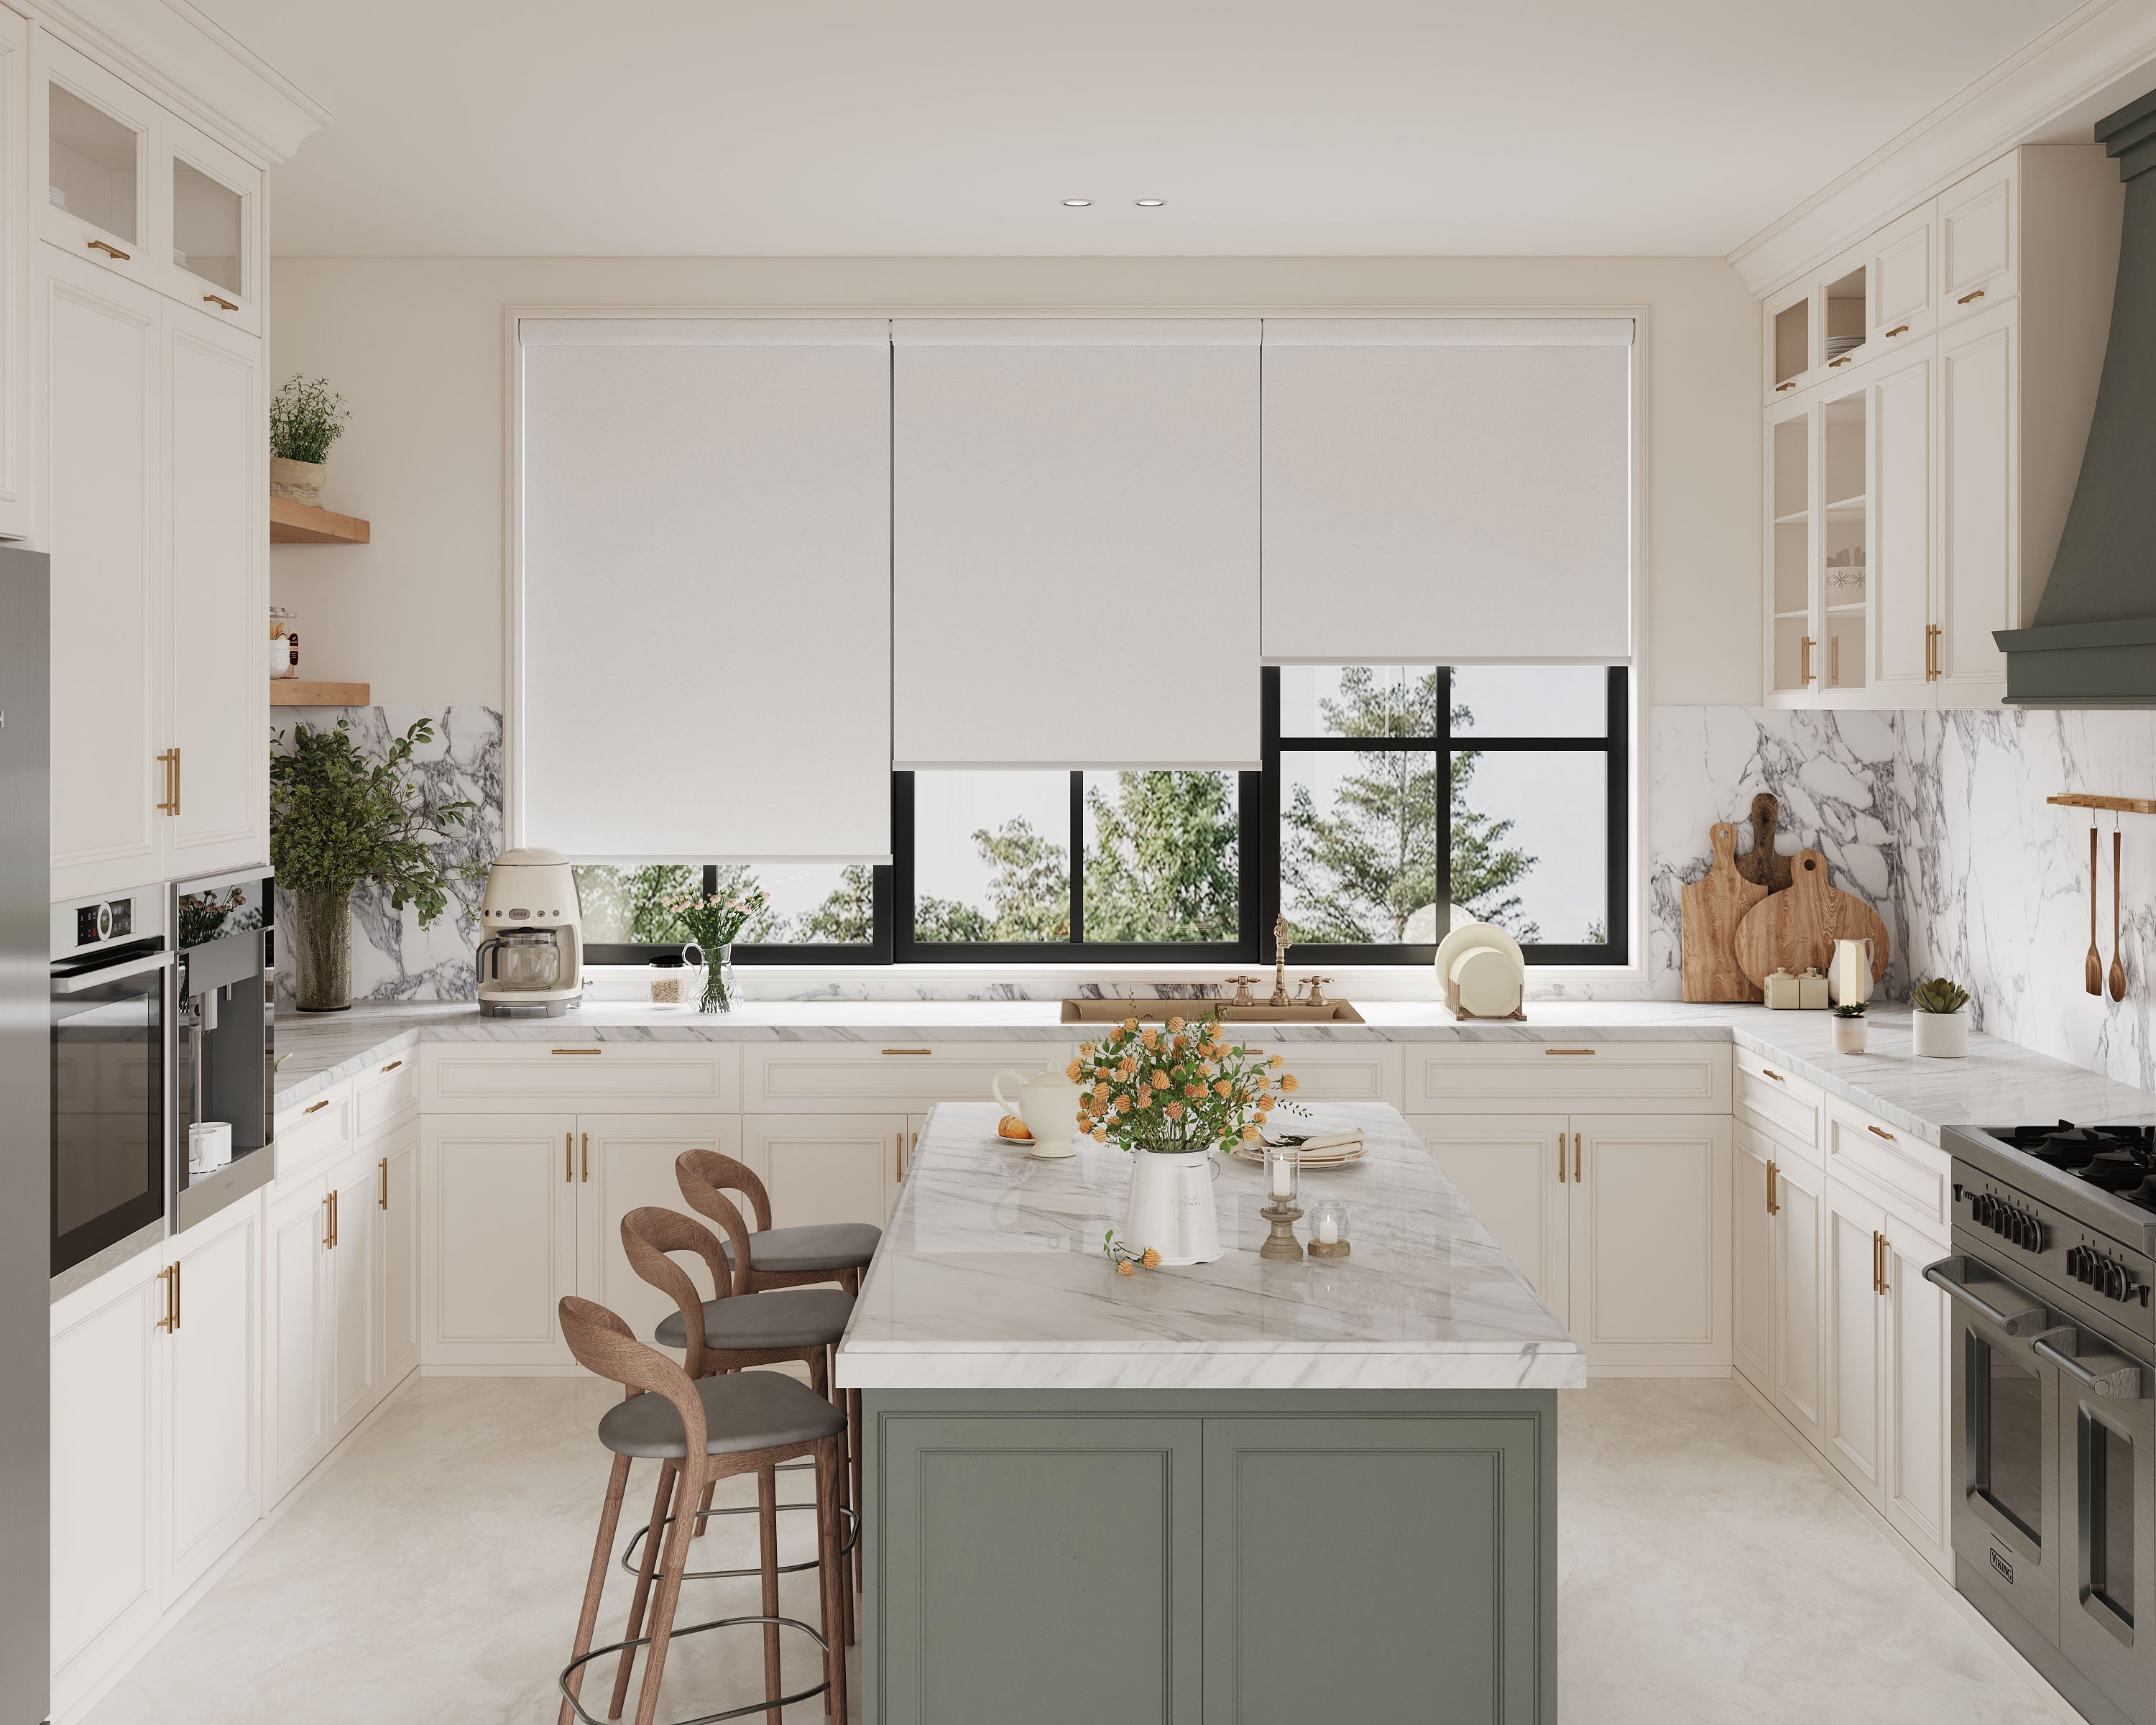
The Vinyl Series is made from 80% PVC + 20% Polyester material, providing enhanced UV protection, moisture resistance, and easy maintenance. The fabric features a reinforced vinyl construction designed for long-lasting strength and durability. With a smooth, easy-clean surface and a color-matched reverse side, it is an ideal option for blackout roller shades that require reliable performance and low maintenance.
For windows inside a shower zone, explore our Premium Waterproof Roller Shades ↗.

Keep everyday upkeep simple with an easy-clean vinyl surface. Gently wipe the fabric with a soft, damp cloth.
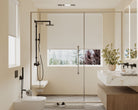
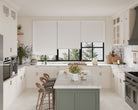
For bathroom and kitchen windows.
Clean, minimal operation with no visible cords for a safer and more modern look.
Smooth chain-operated control, ideal for larger shades and precise positioning.
Adjust your shades with one touch for added convenience and a cleaner cordless finish.

Choose a Zigbee or Matter over Thread motor to control your blackout roller shades through a compatible smart-home system.
Adjust shades through your compatible smart-home platform.
Set automatic routines for different times and activities.
Open in the morning and close automatically in the evening.
Adjust one shade or compatible groups together.
Best for Tuya or Zigbee smart homes.
Best for Apple Home and multi-platform smart homes.

Sleek aluminum headrail with a clean, modern finish. Available in five color options, with the bottom rail color matched to your selected valance for a cohesive and well-finished look.

A cassette valance conceals the roller tube, with matching fabric inserted across the front and a white aluminum bottom rail for a clean, finished appearance.

The bottom rail color is matched to the selected aluminum cassette, creating a clean, coordinated look from top to bottom.

Designed to secure the bead chain to the wall for safer everyday use in homes with children or pets.
| Lift Option | Best For | Key Benefits |
|---|---|---|
|
Chain Lift
|
Large or heavy shades
|
Most stable and durable, easy to control
|
|
Cordless
|
Homes with children or pets, shorter-height windows
|
Clean look, safer and easy to operate
|
|
Motorized (Remote)
|
Large windows or hard-to-reach areas
|
Effortless control, smooth and quiet operation
|
|
Smart Motor
|
Smart homes
|
App control, scheduling, and automation
|

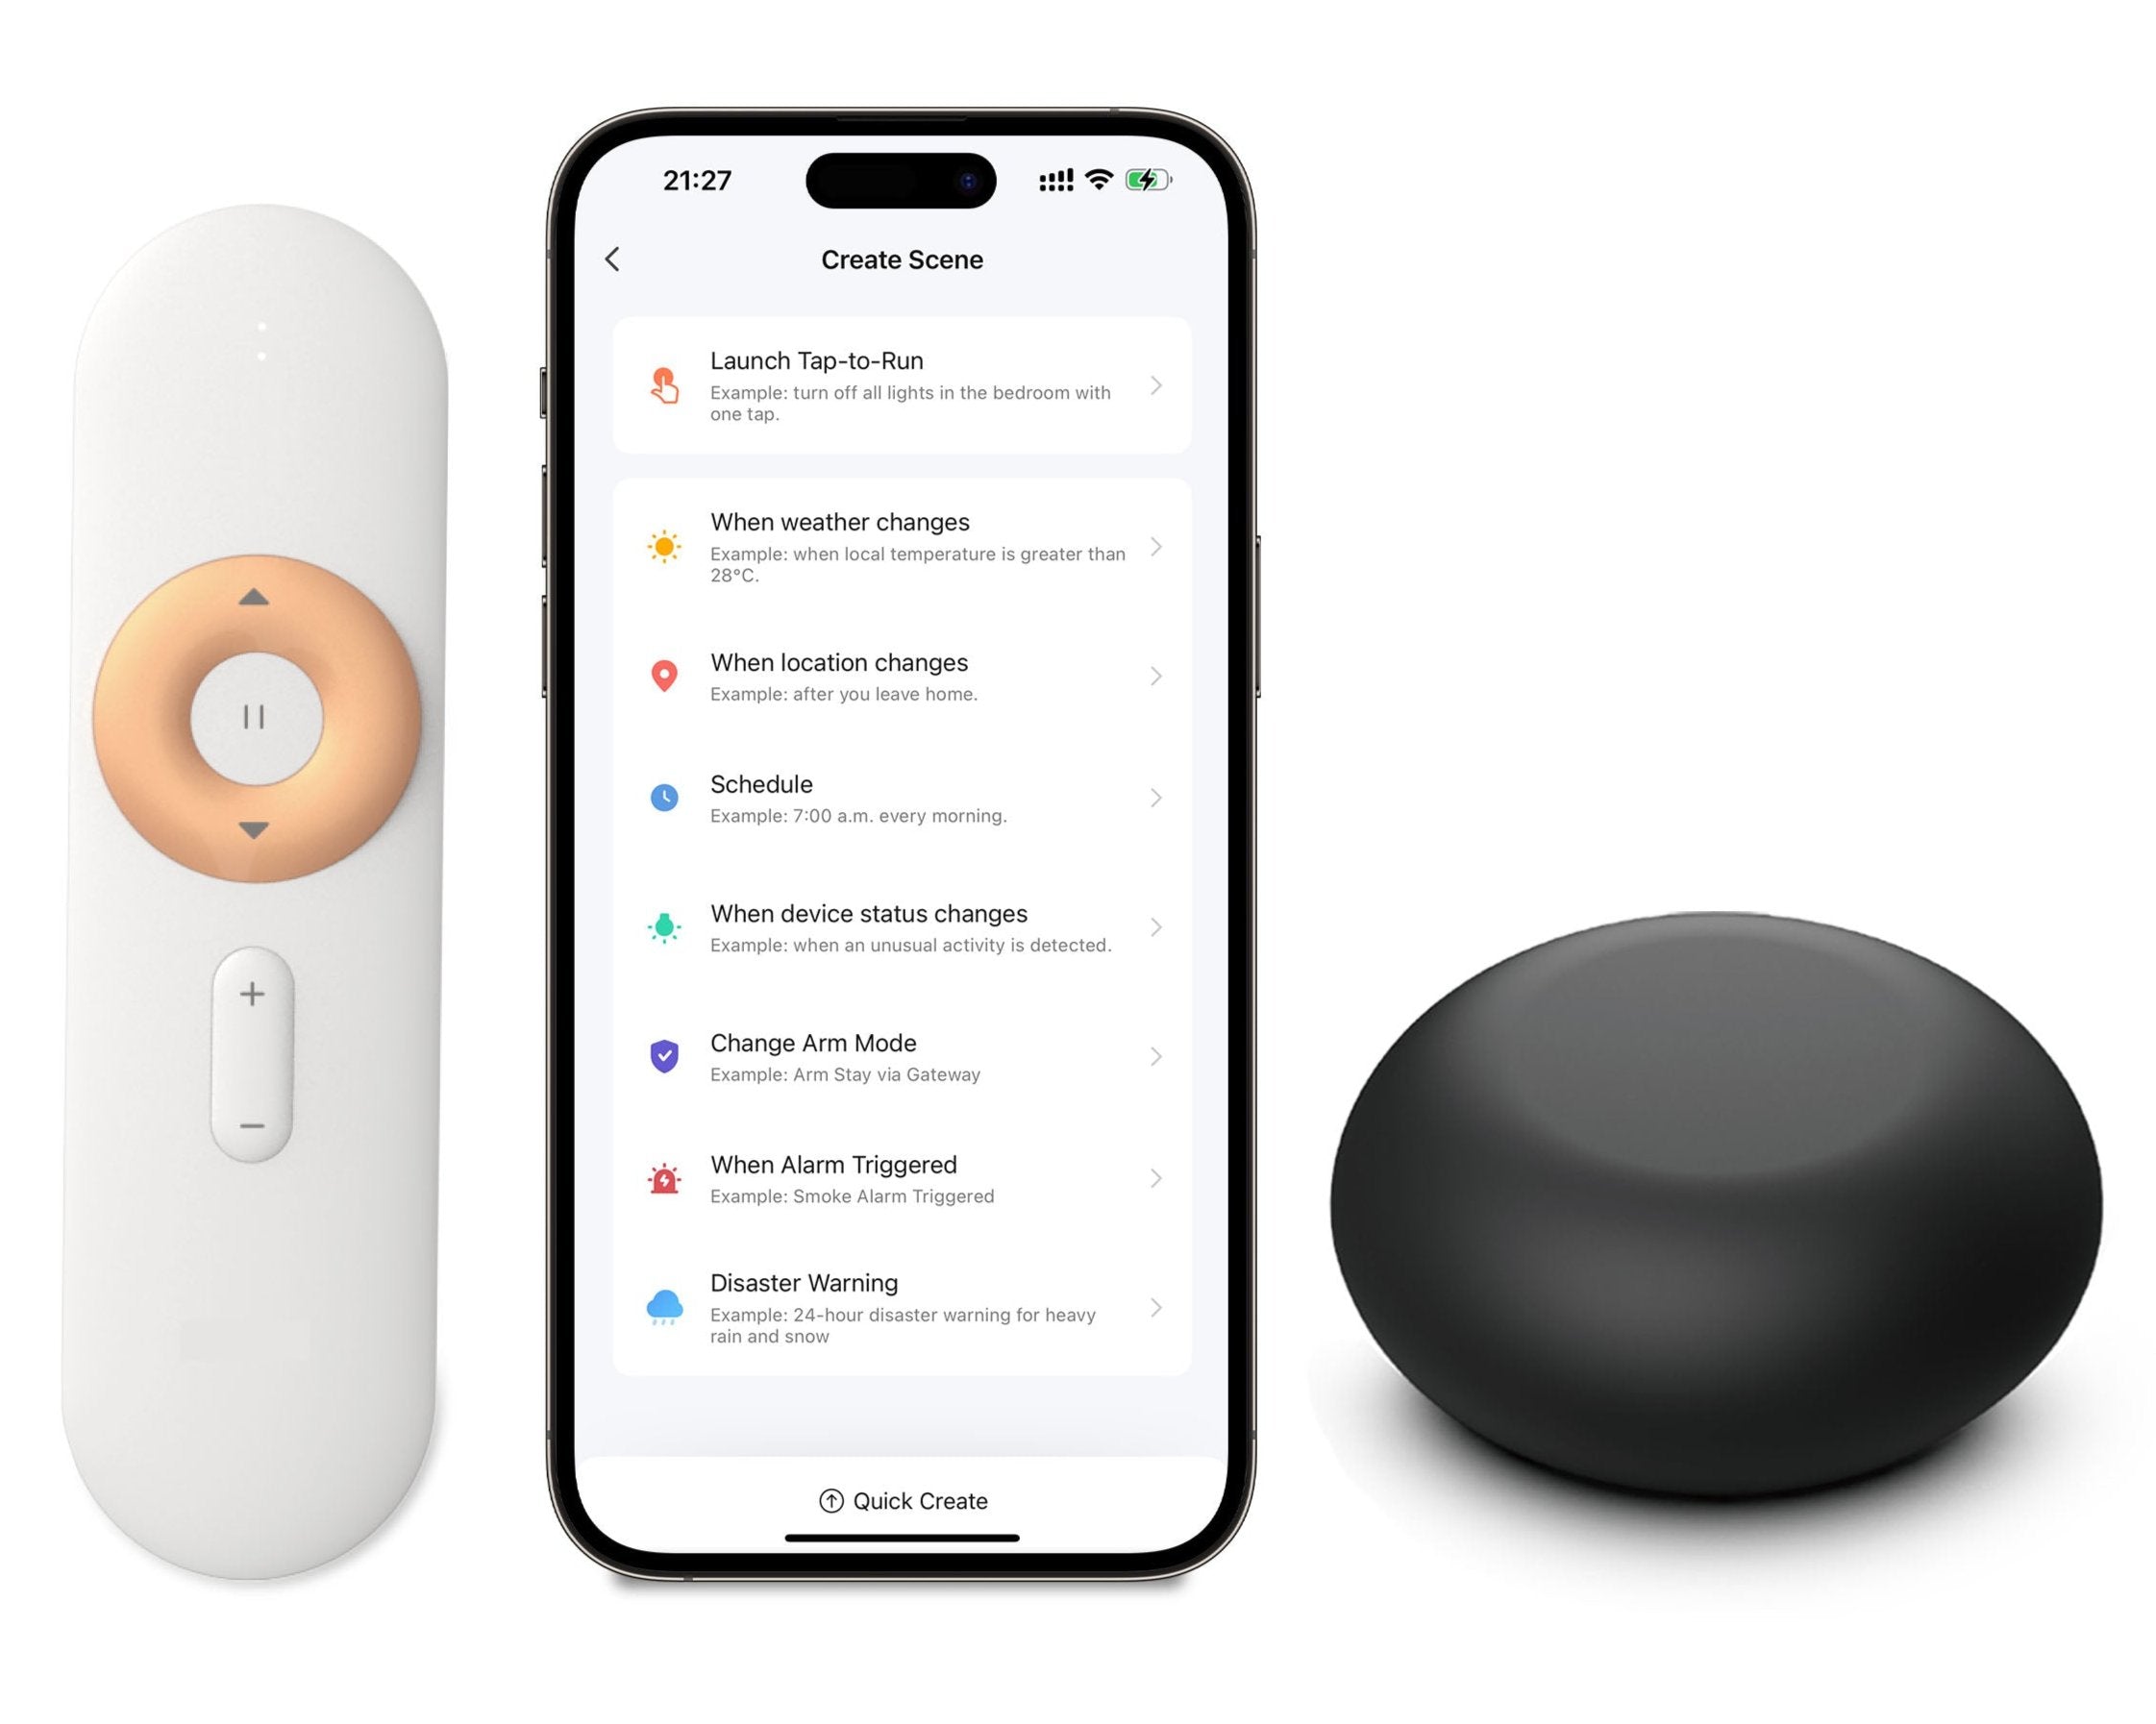
Our battery motorized shades offers a smooth, quiet, and cordless lifting experience. Equipped with a built-in rechargeable battery, a single 6-hour charge provides up to 6 months of usage. Each unit includes a 3-meter USB charging cable for convenient and flexible recharging.


