
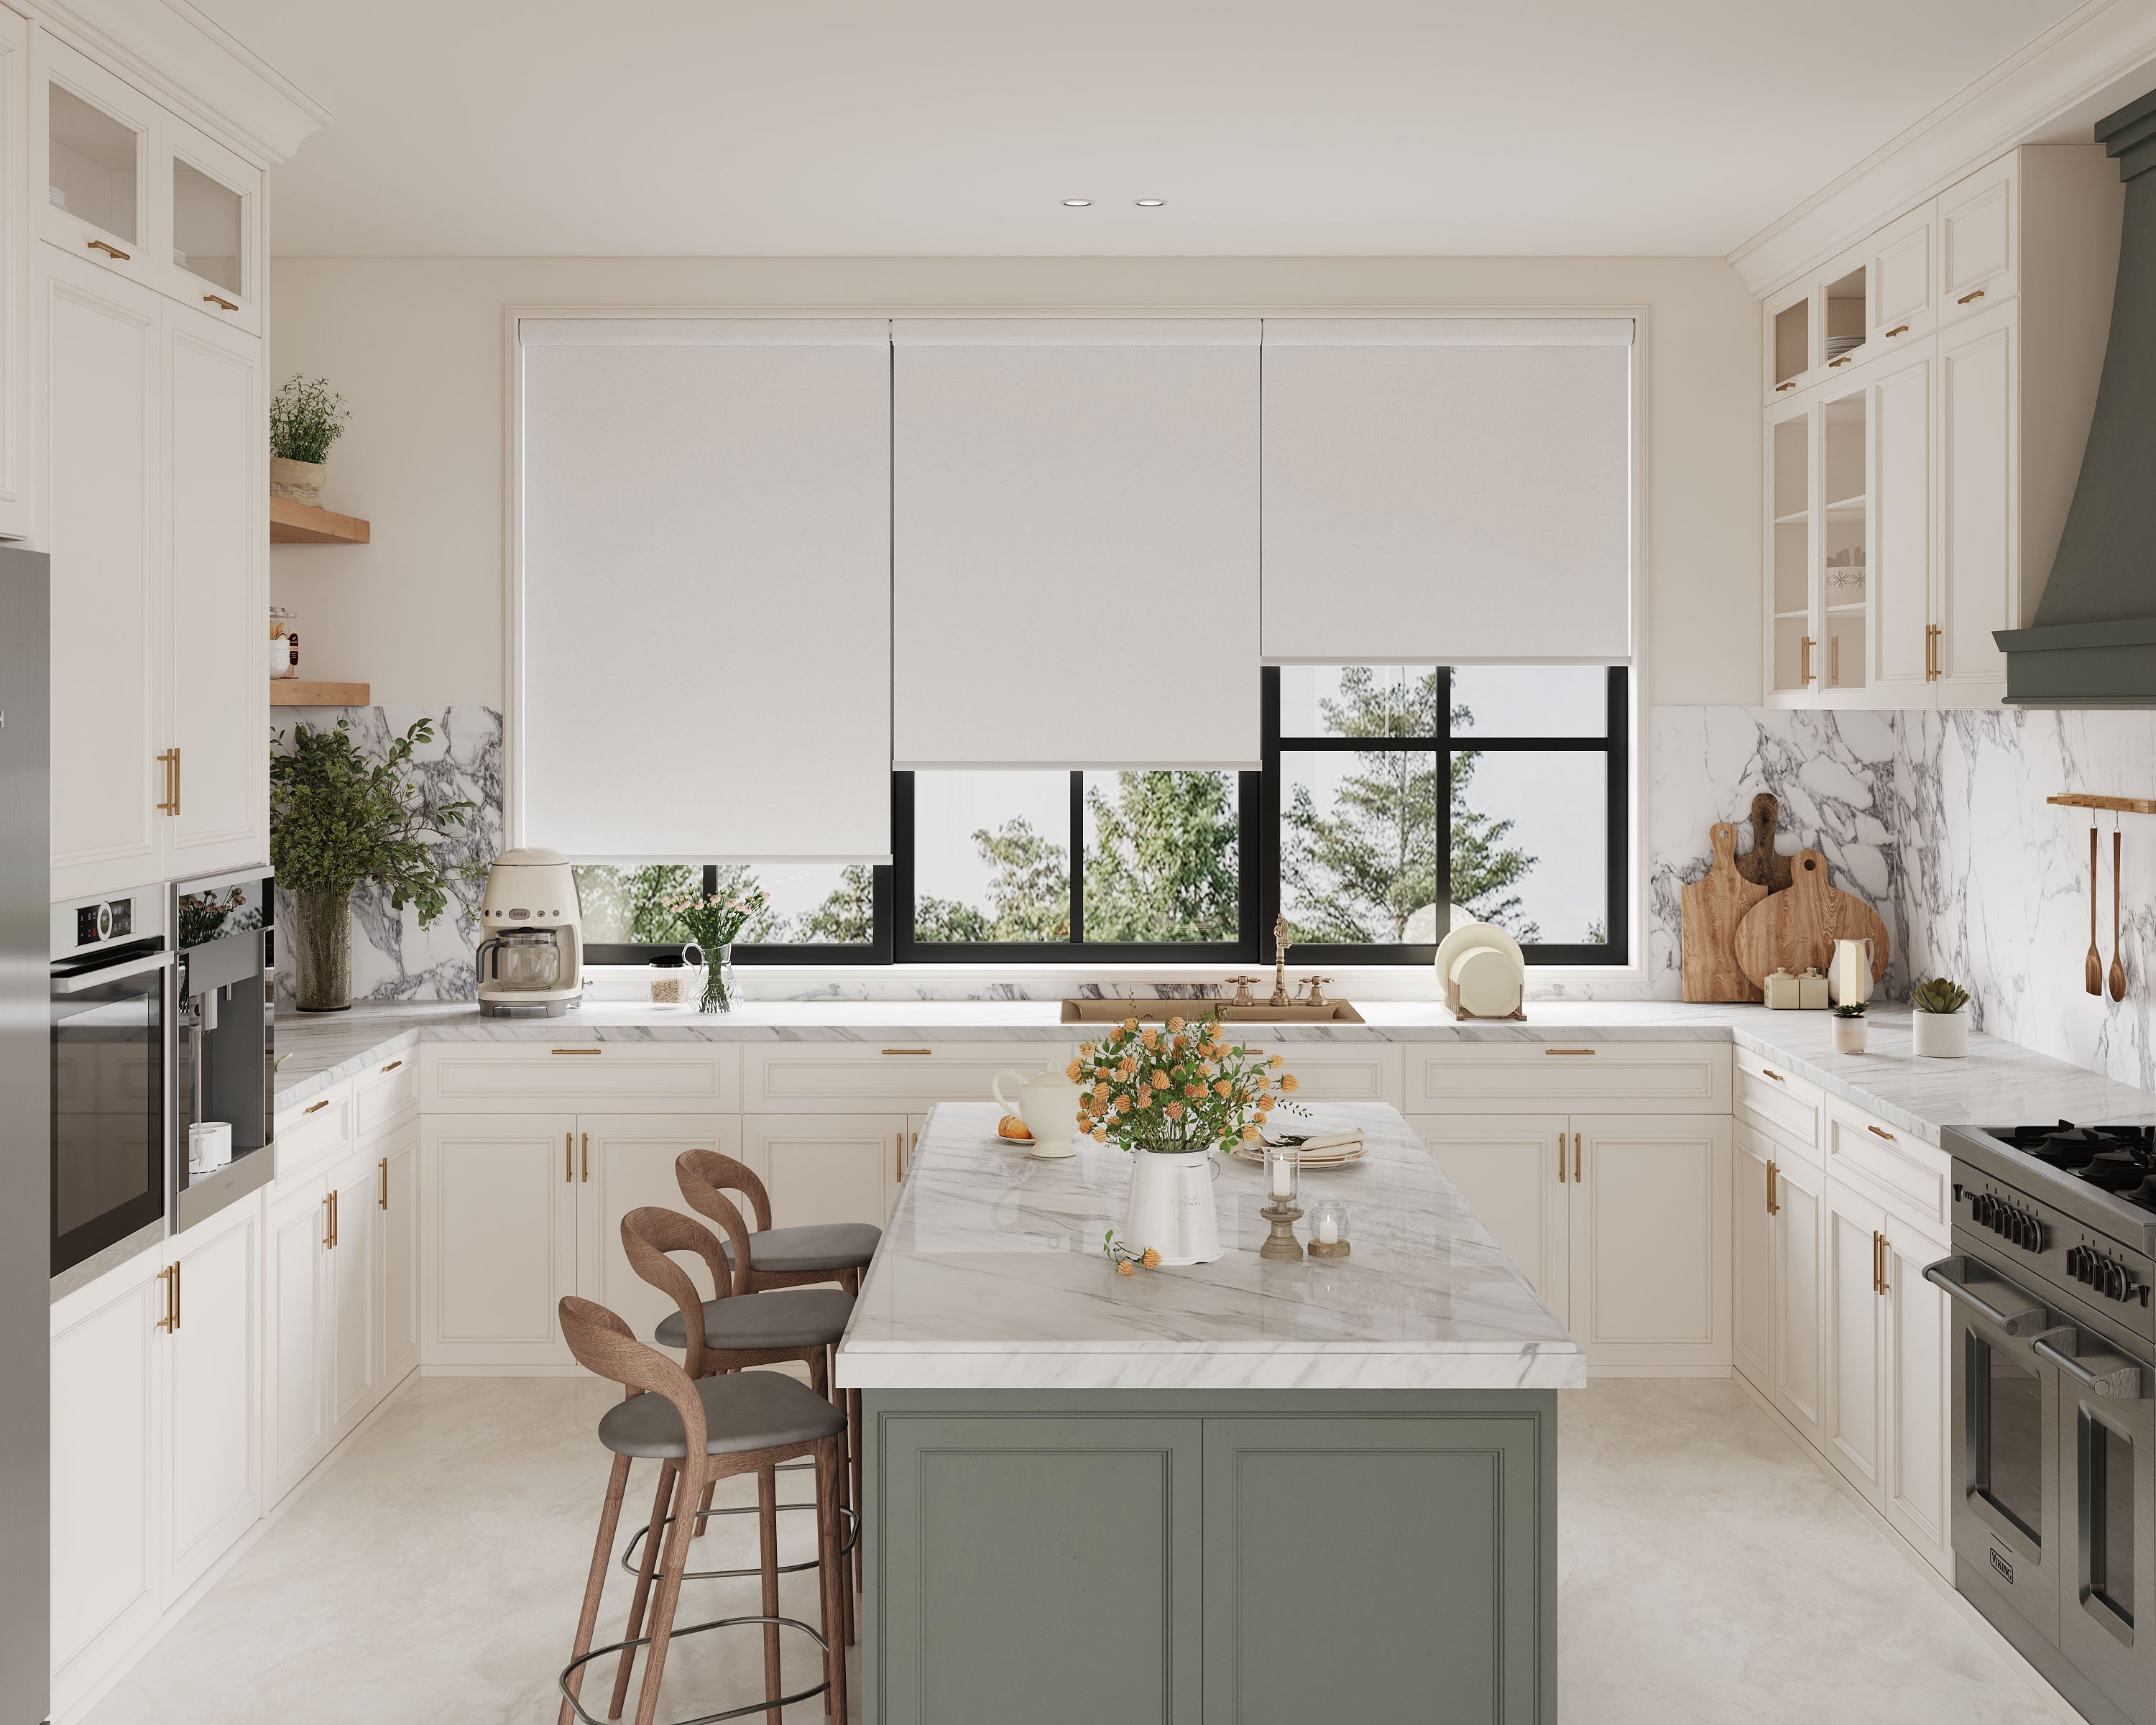
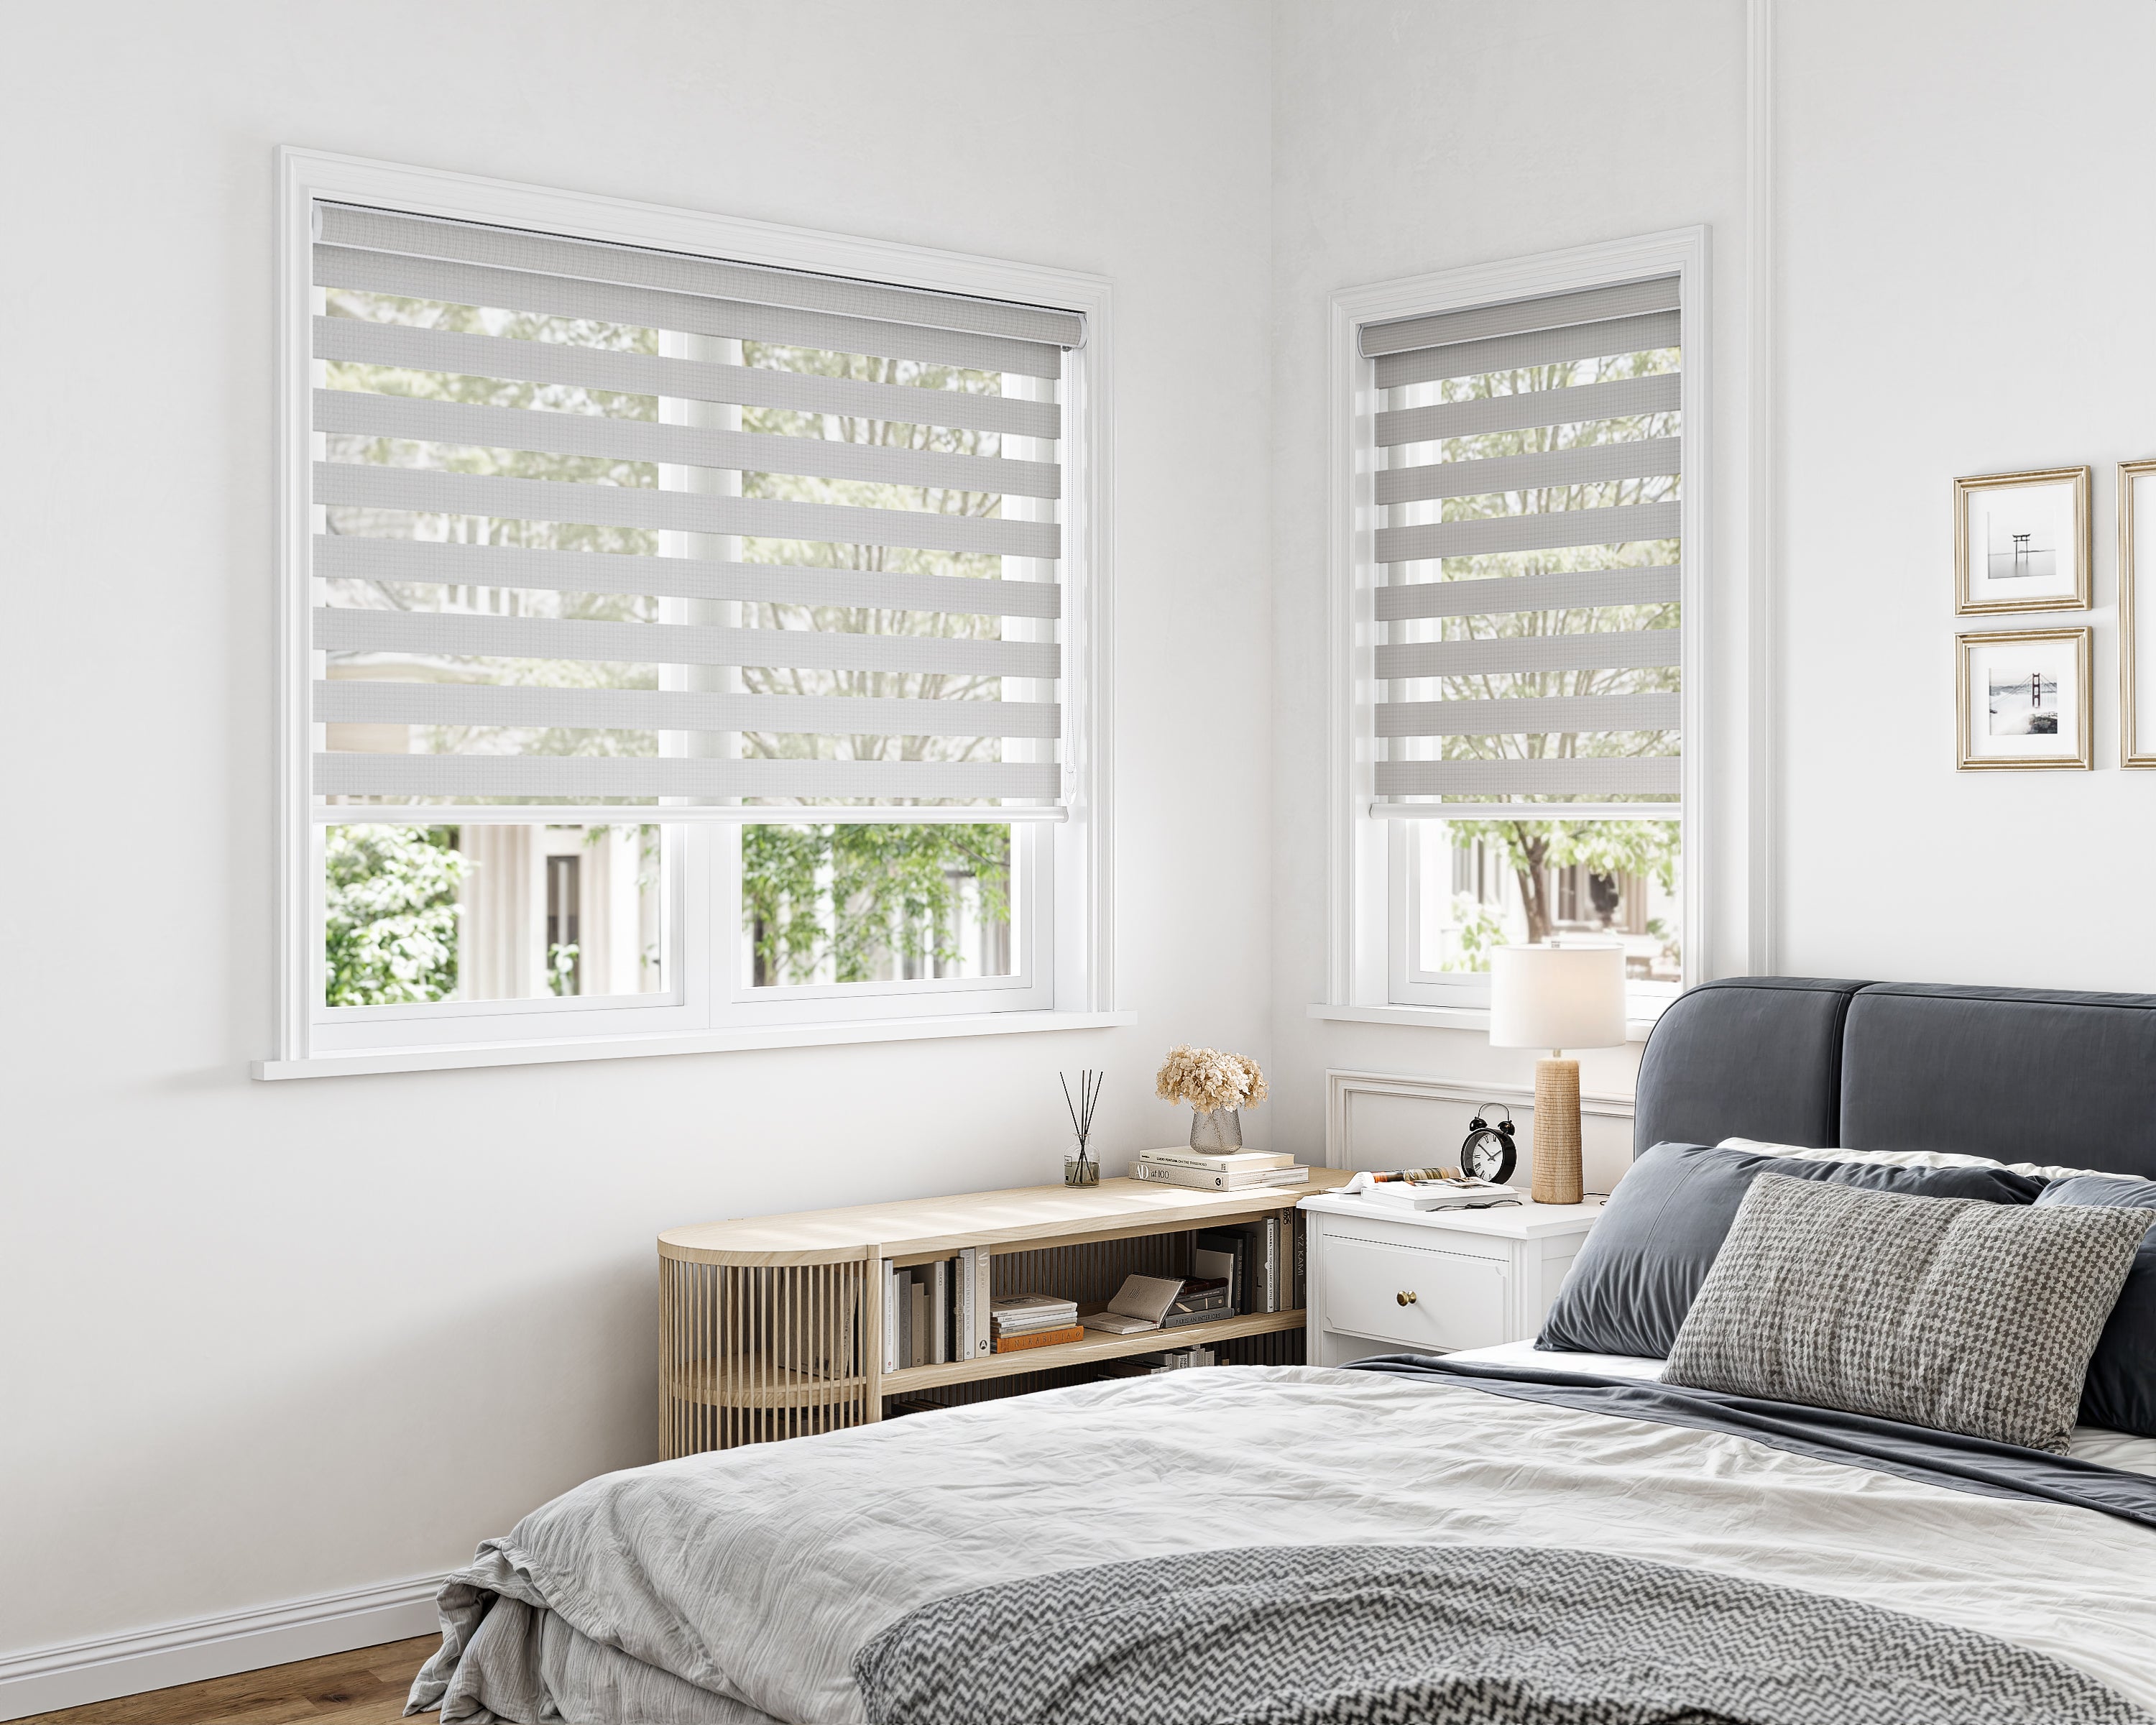
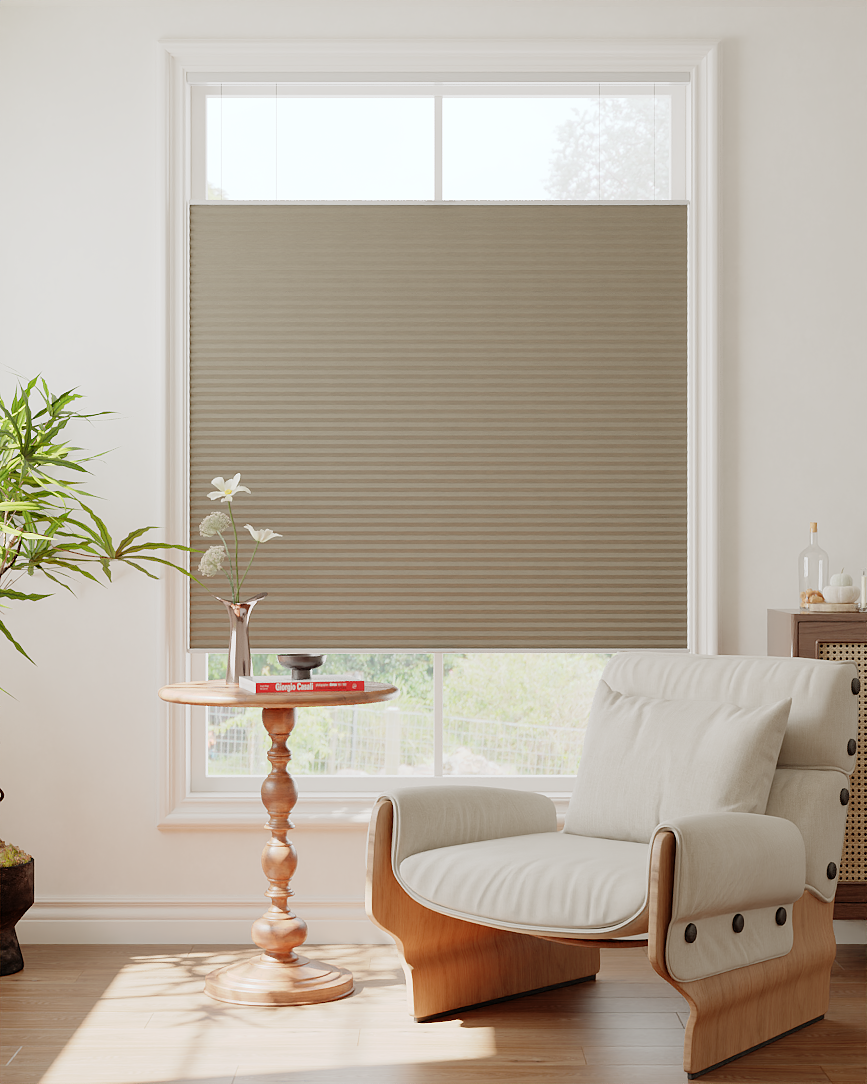
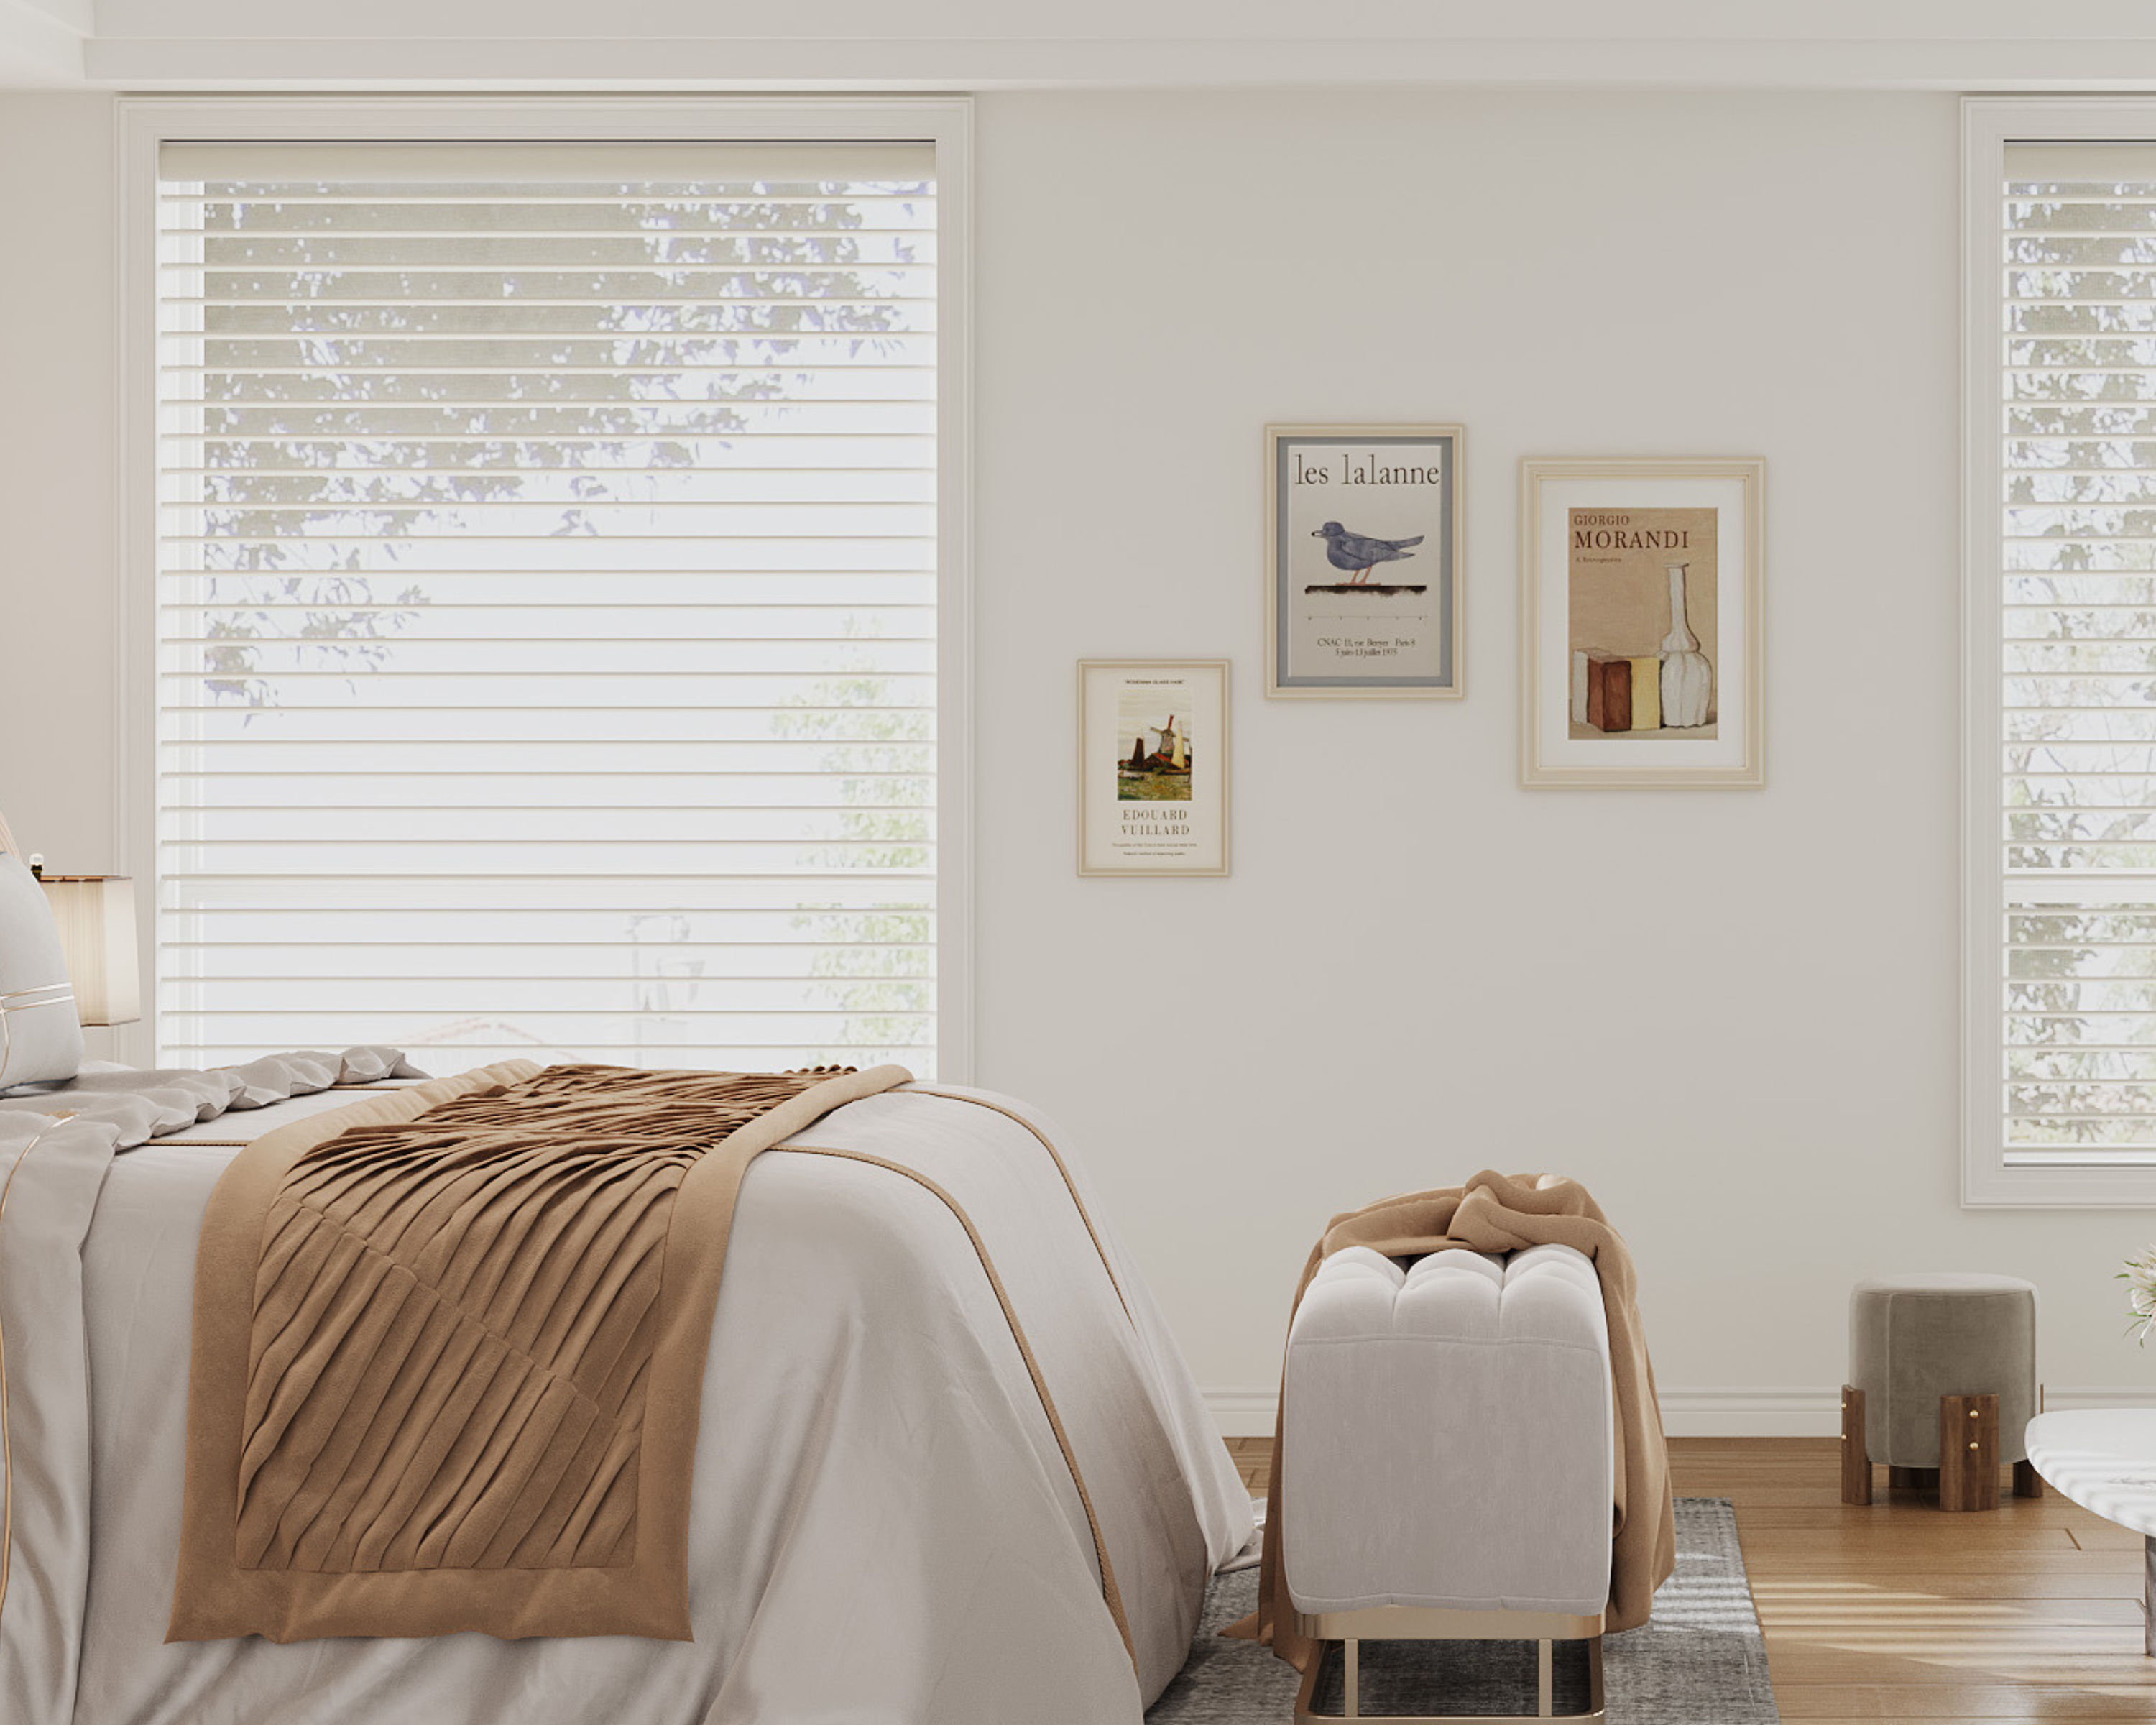
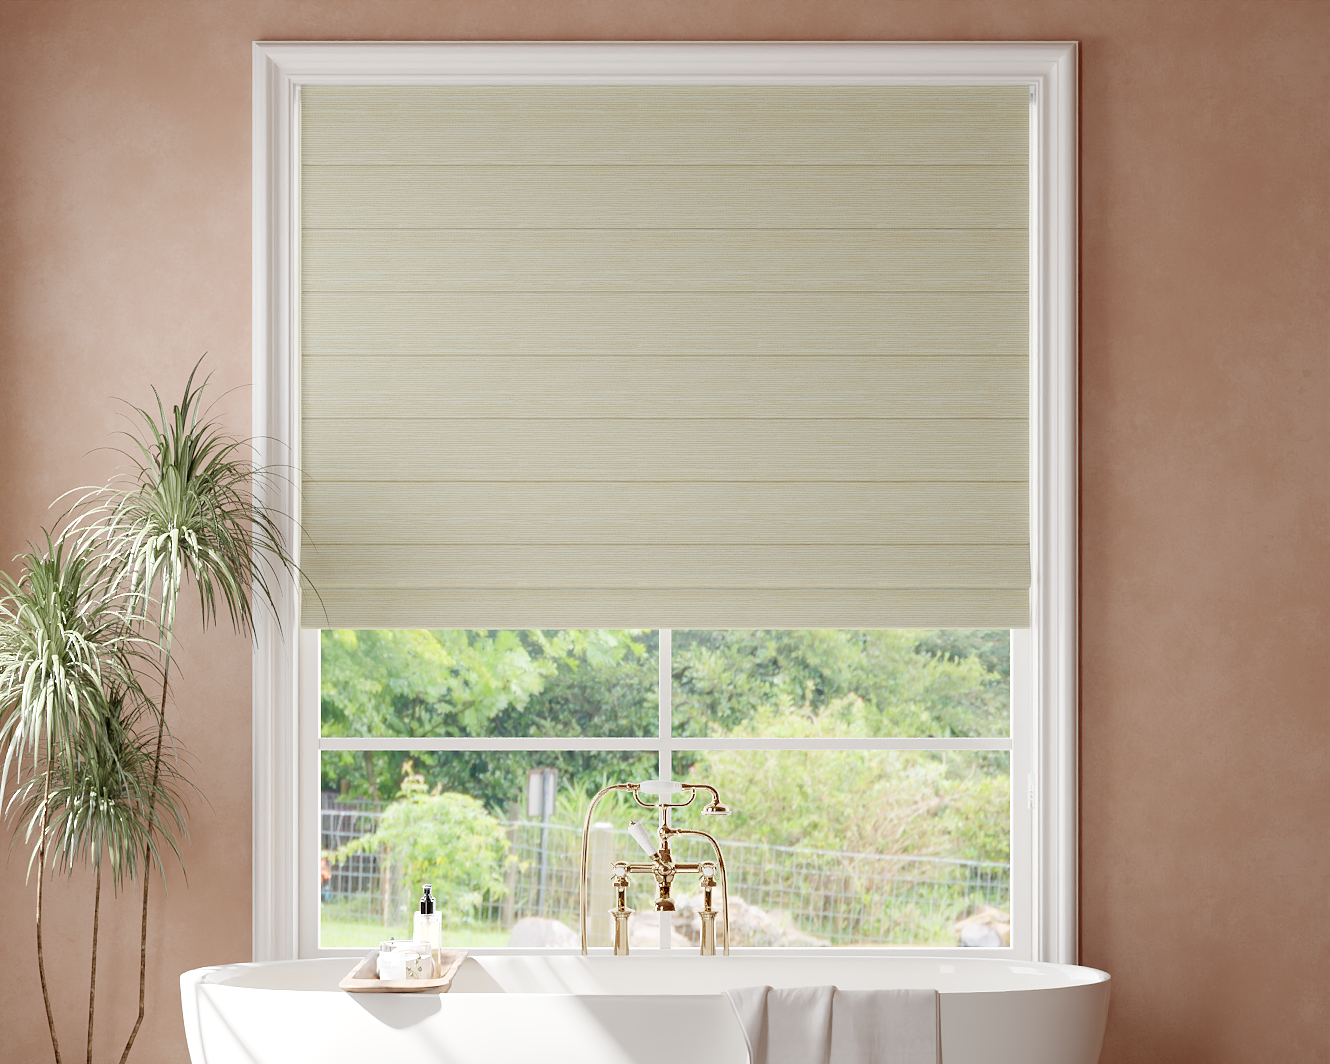
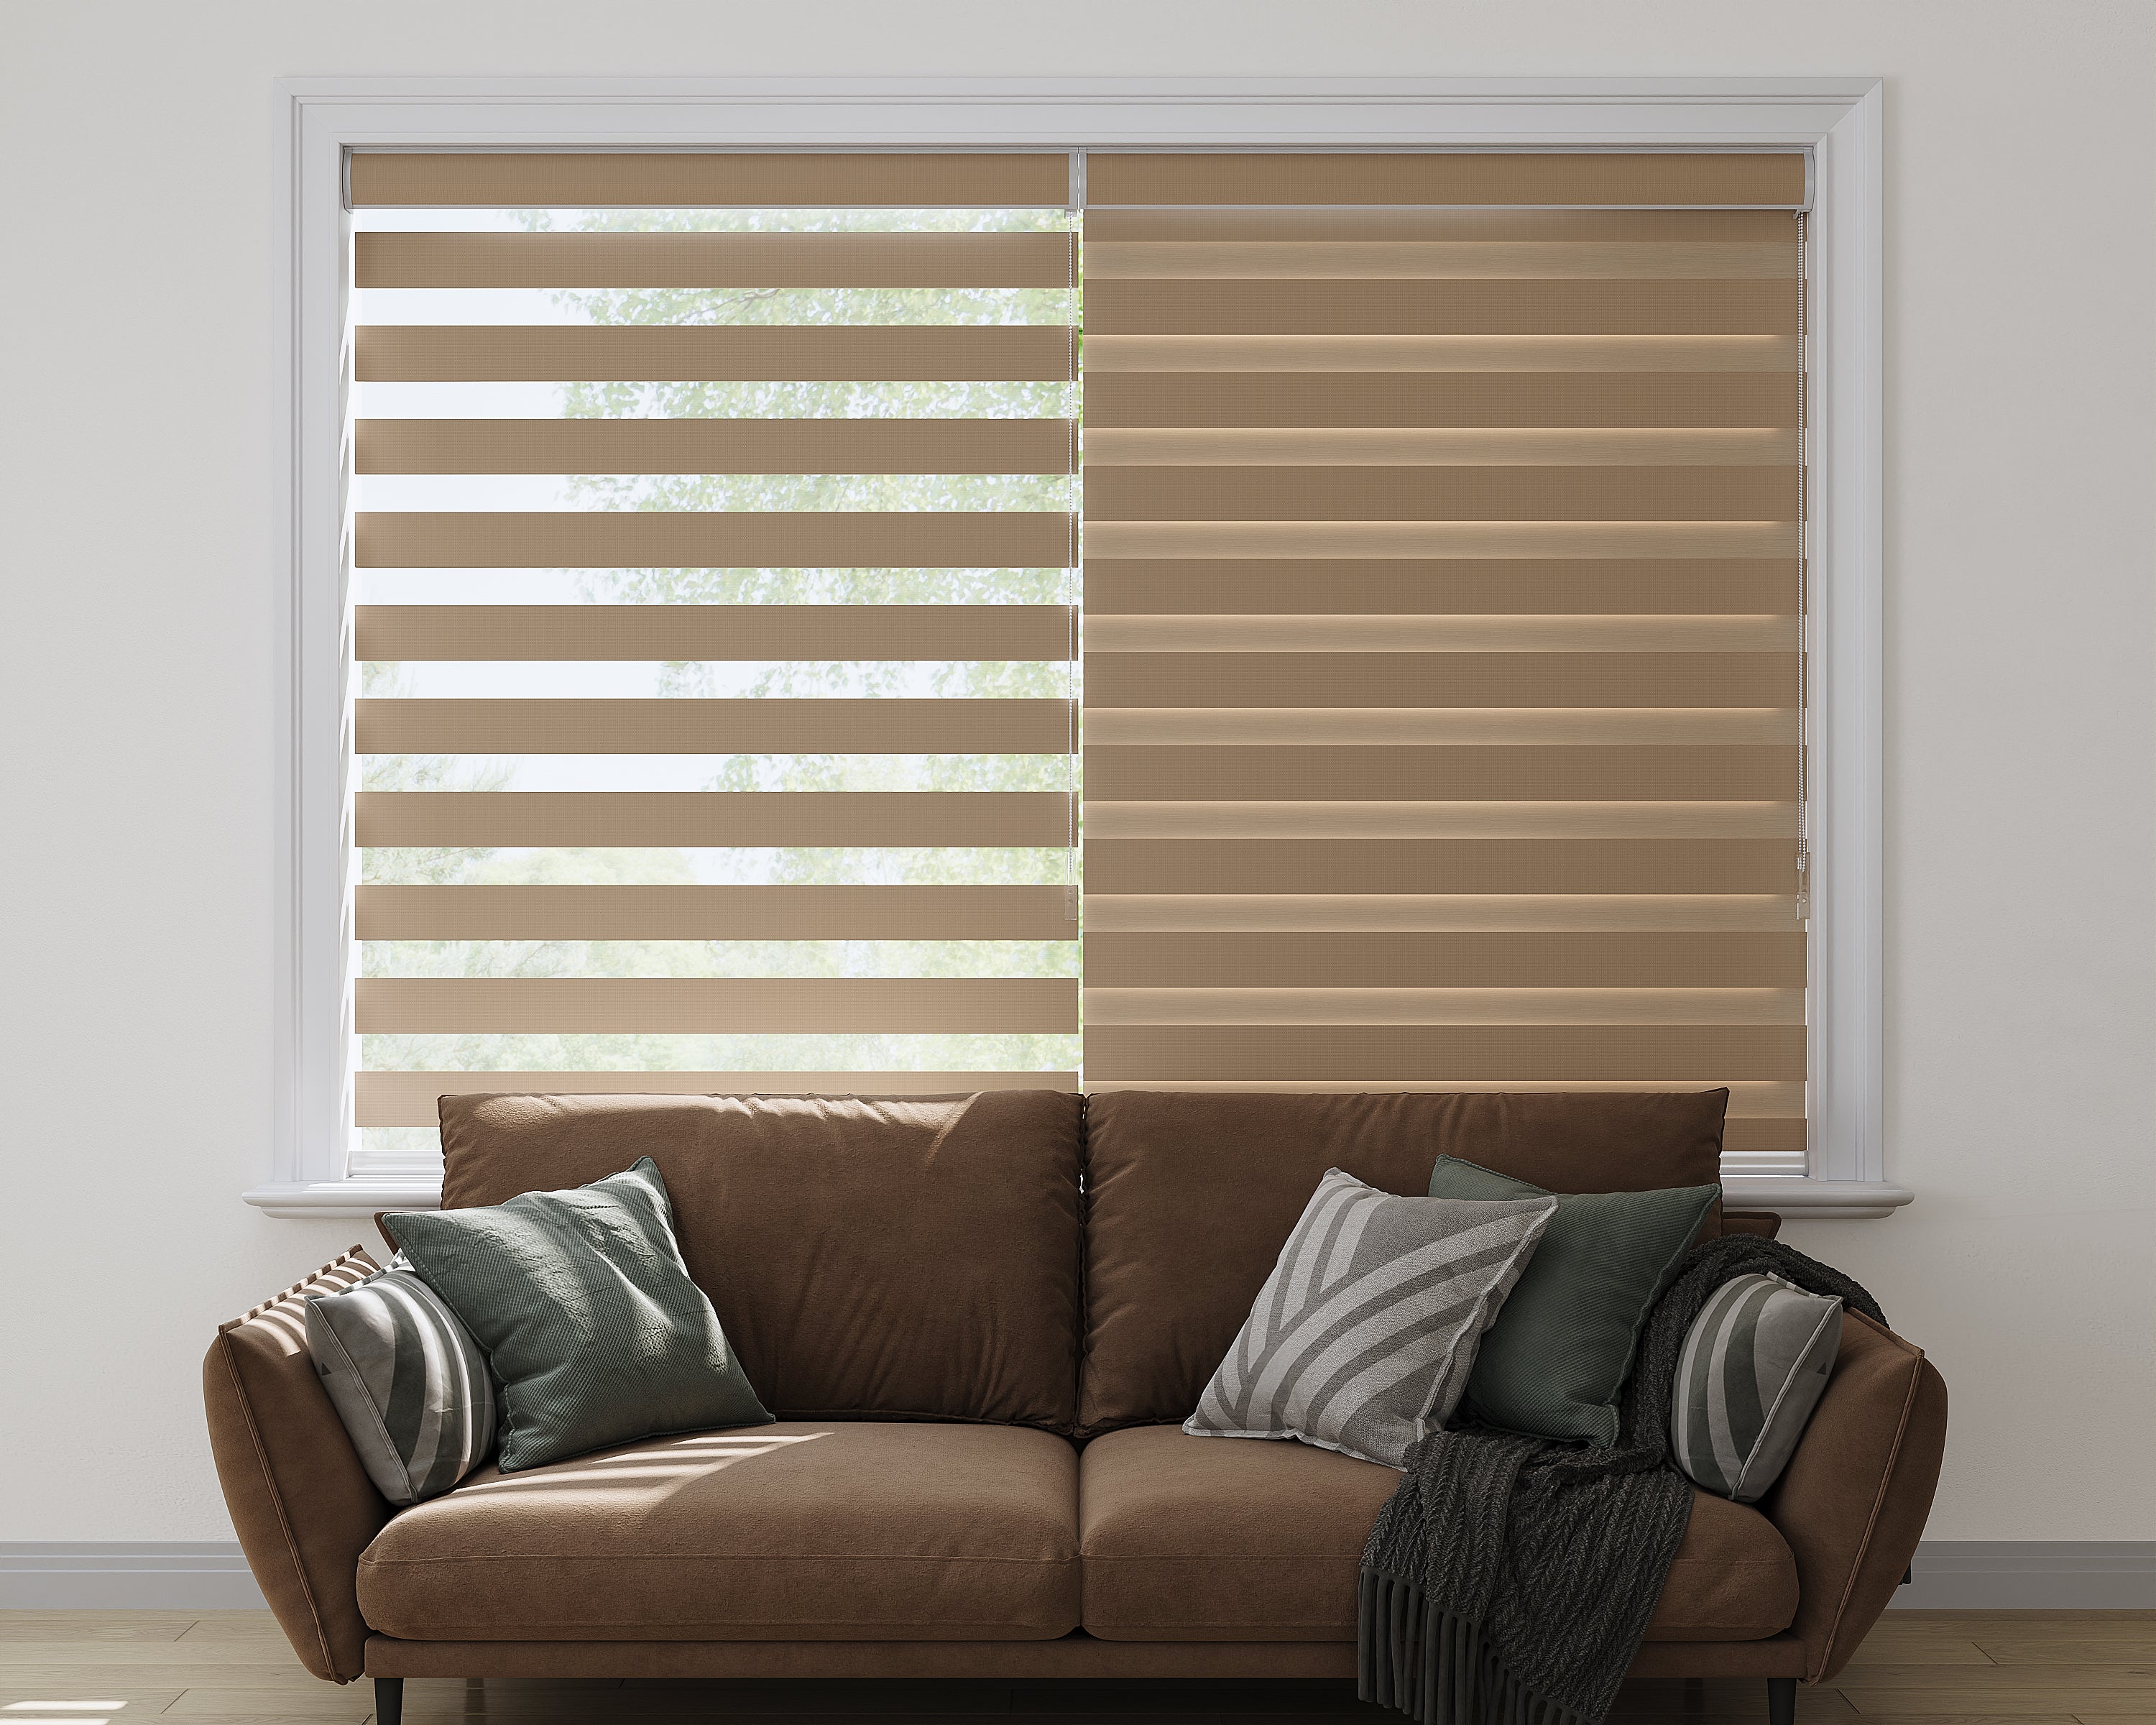
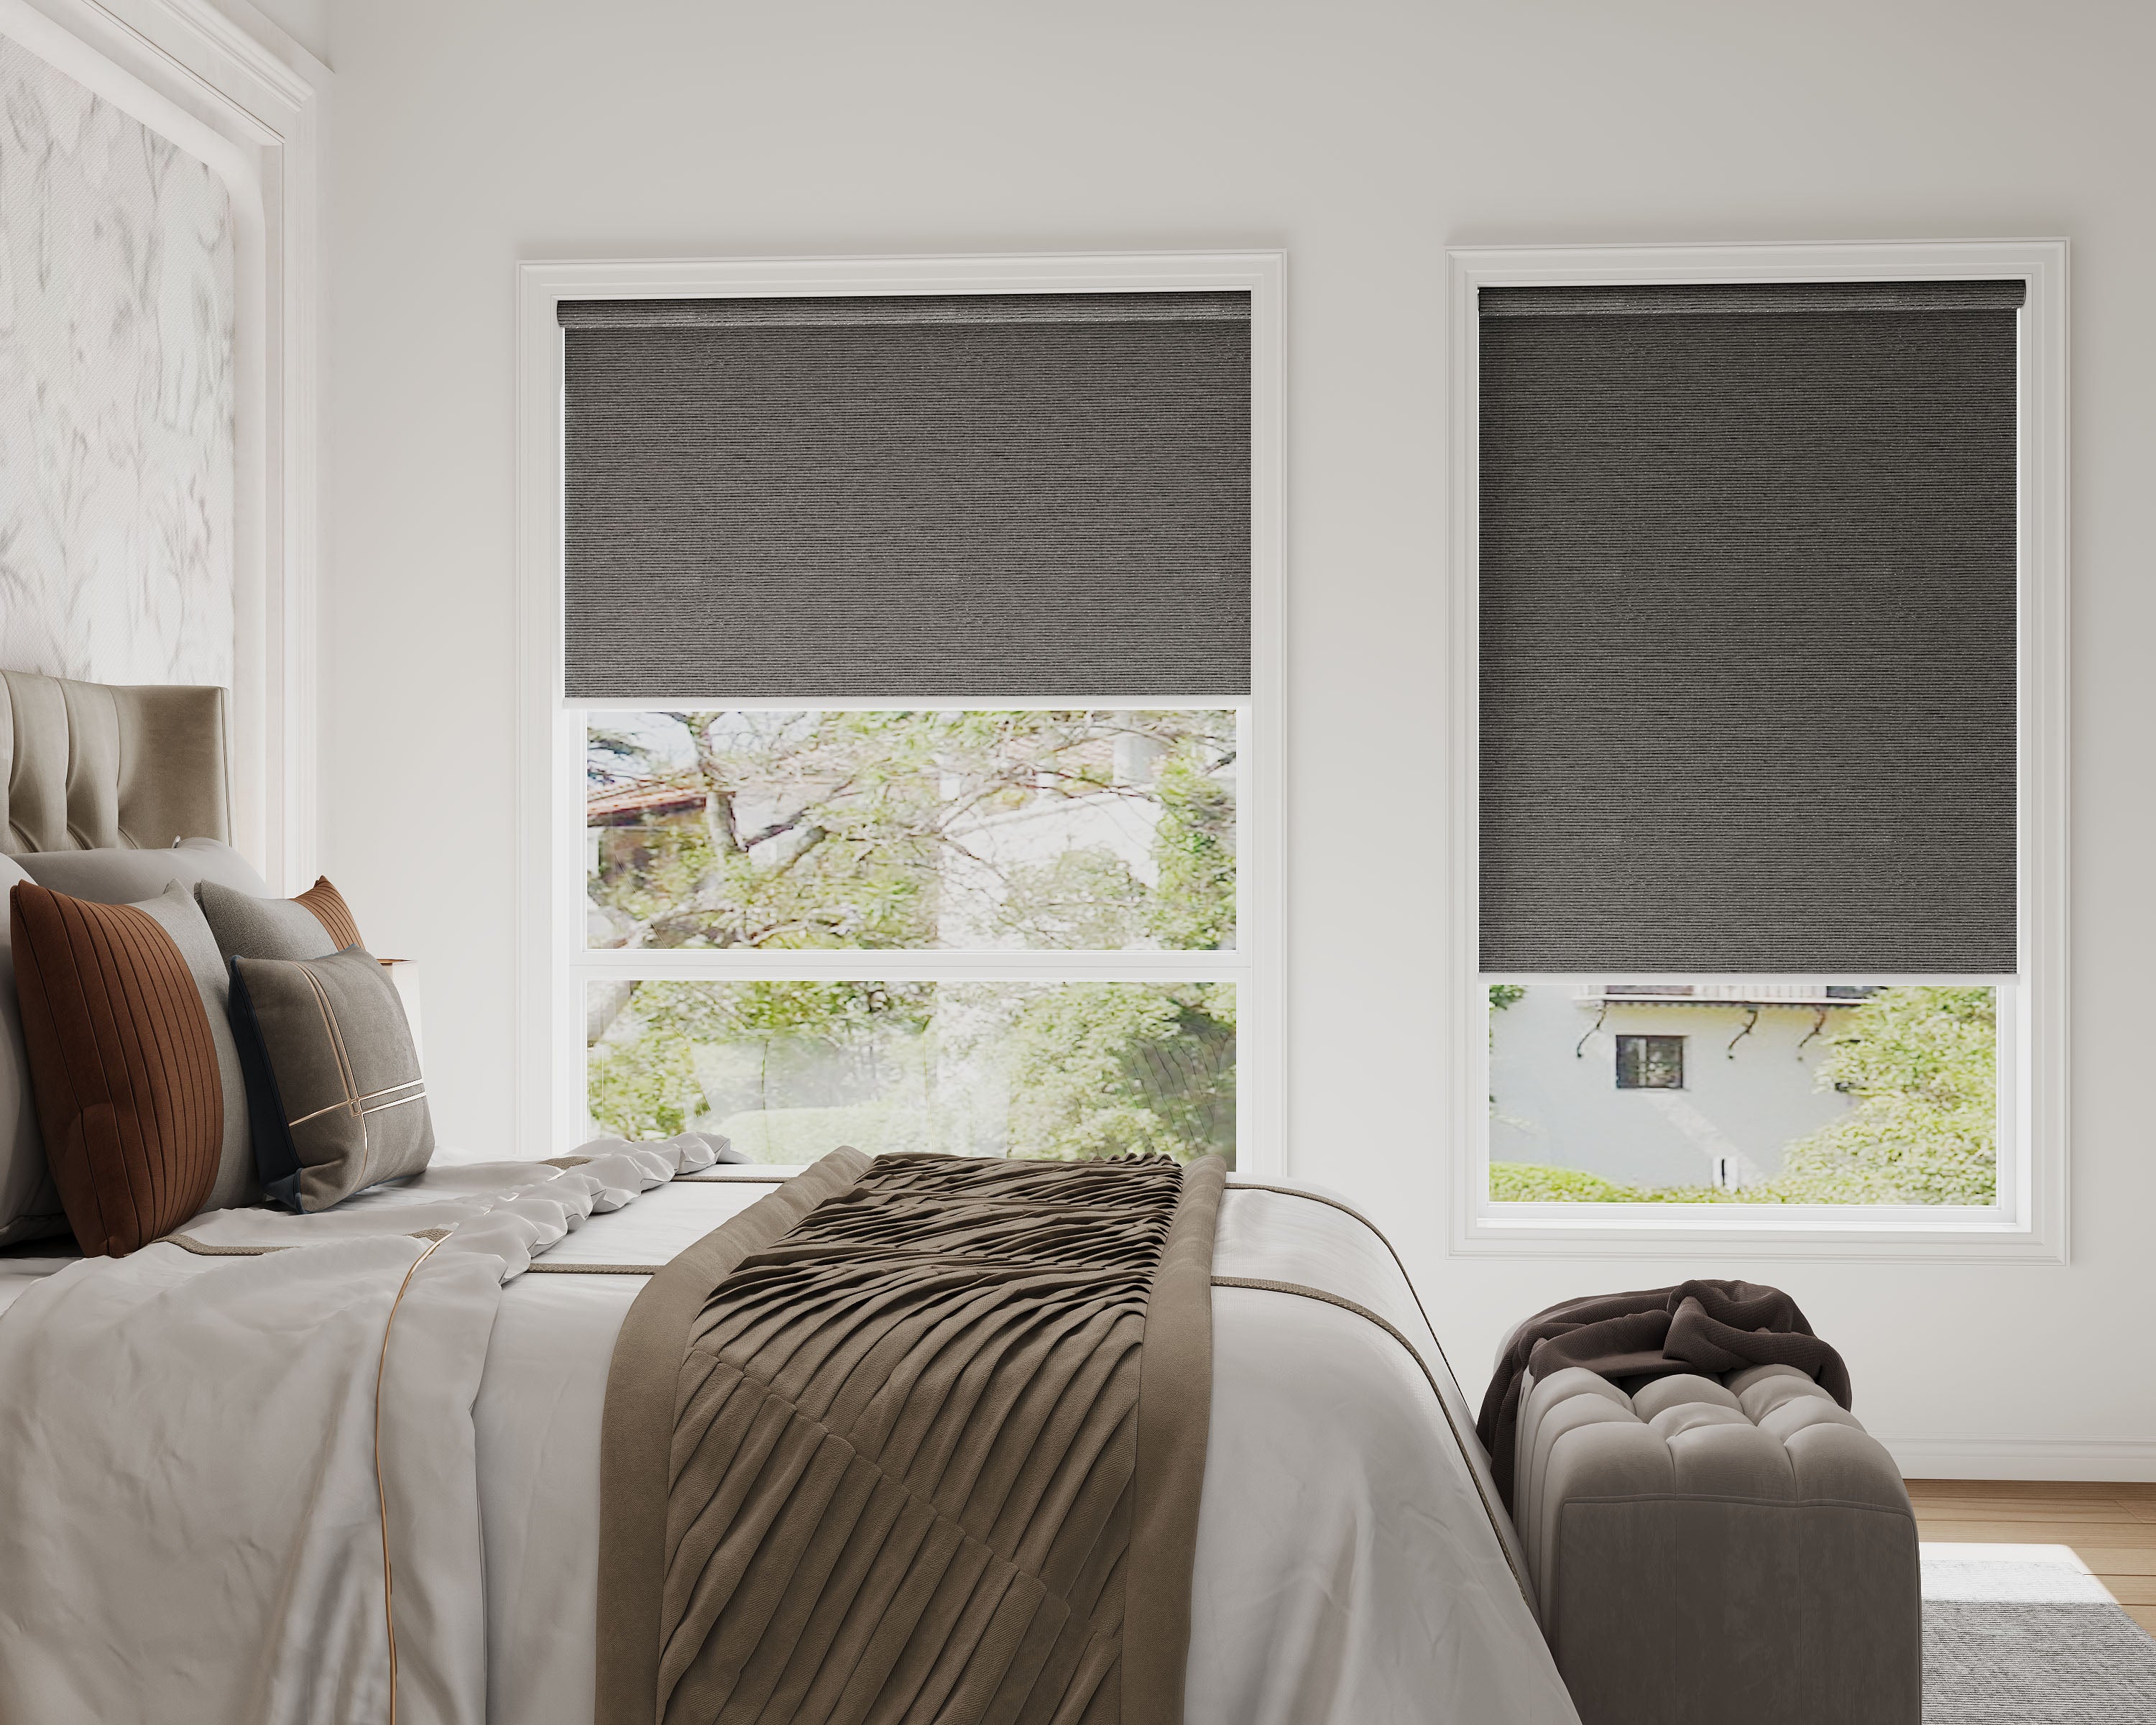
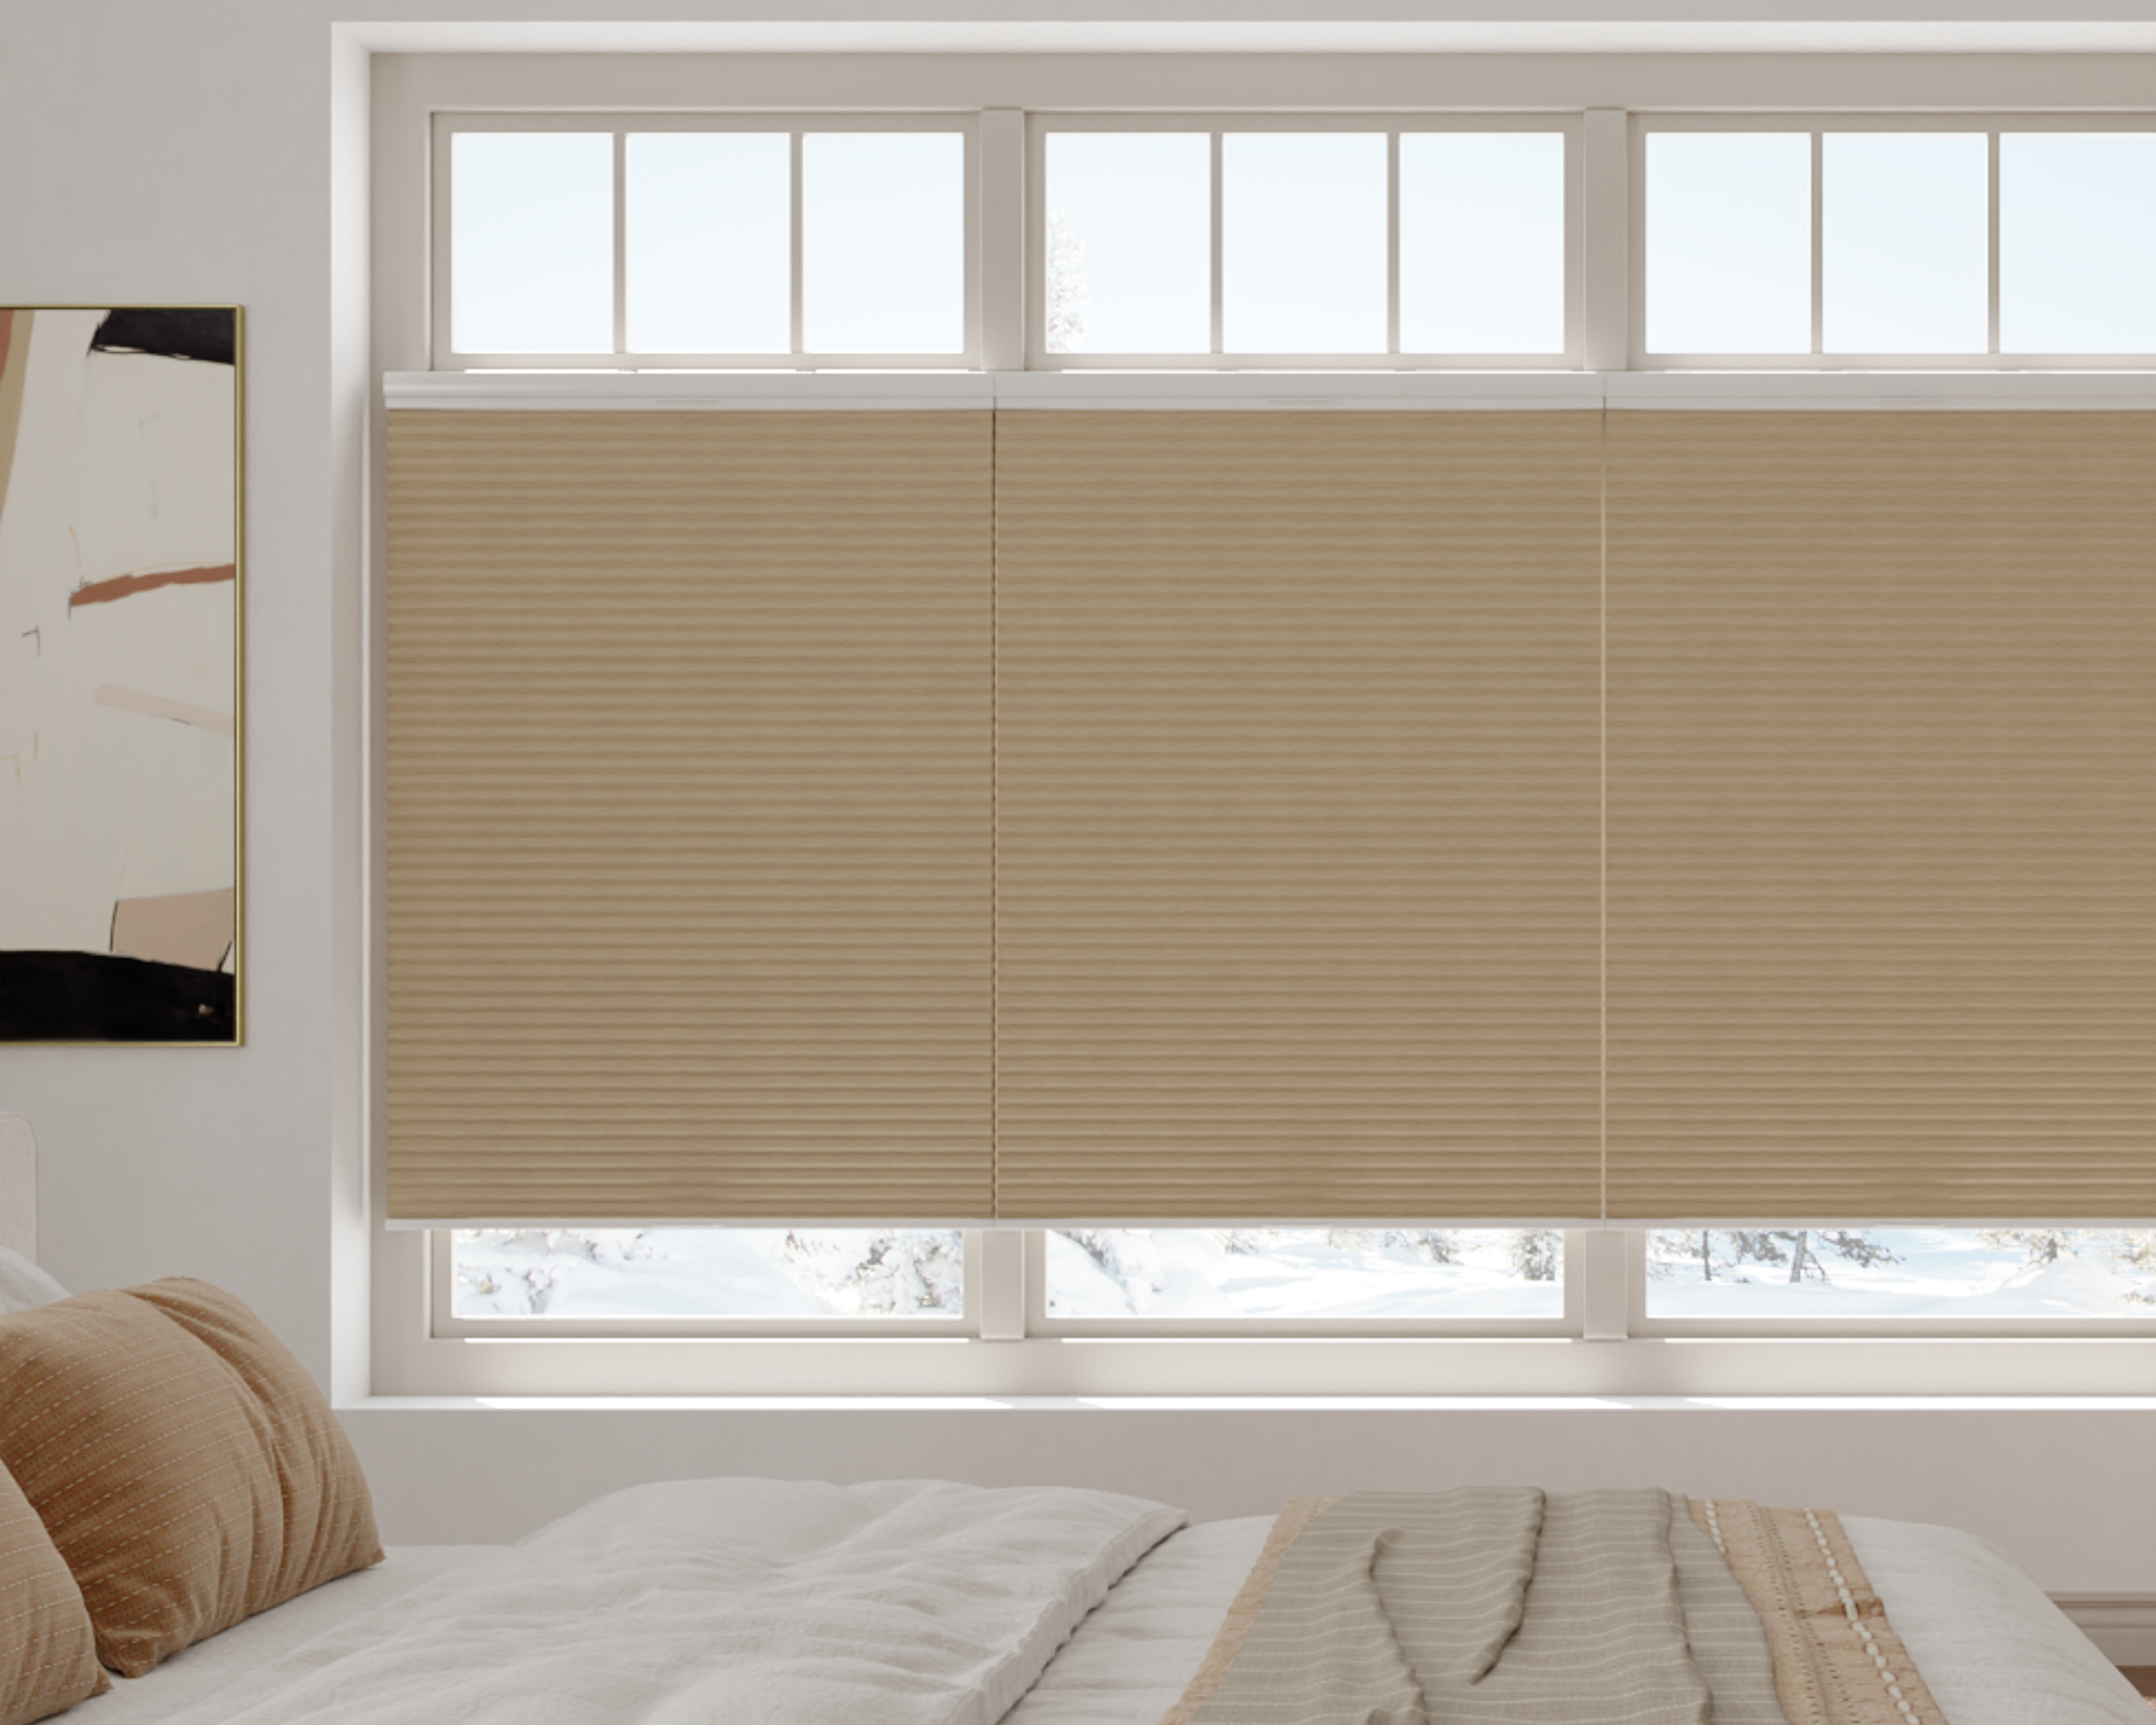
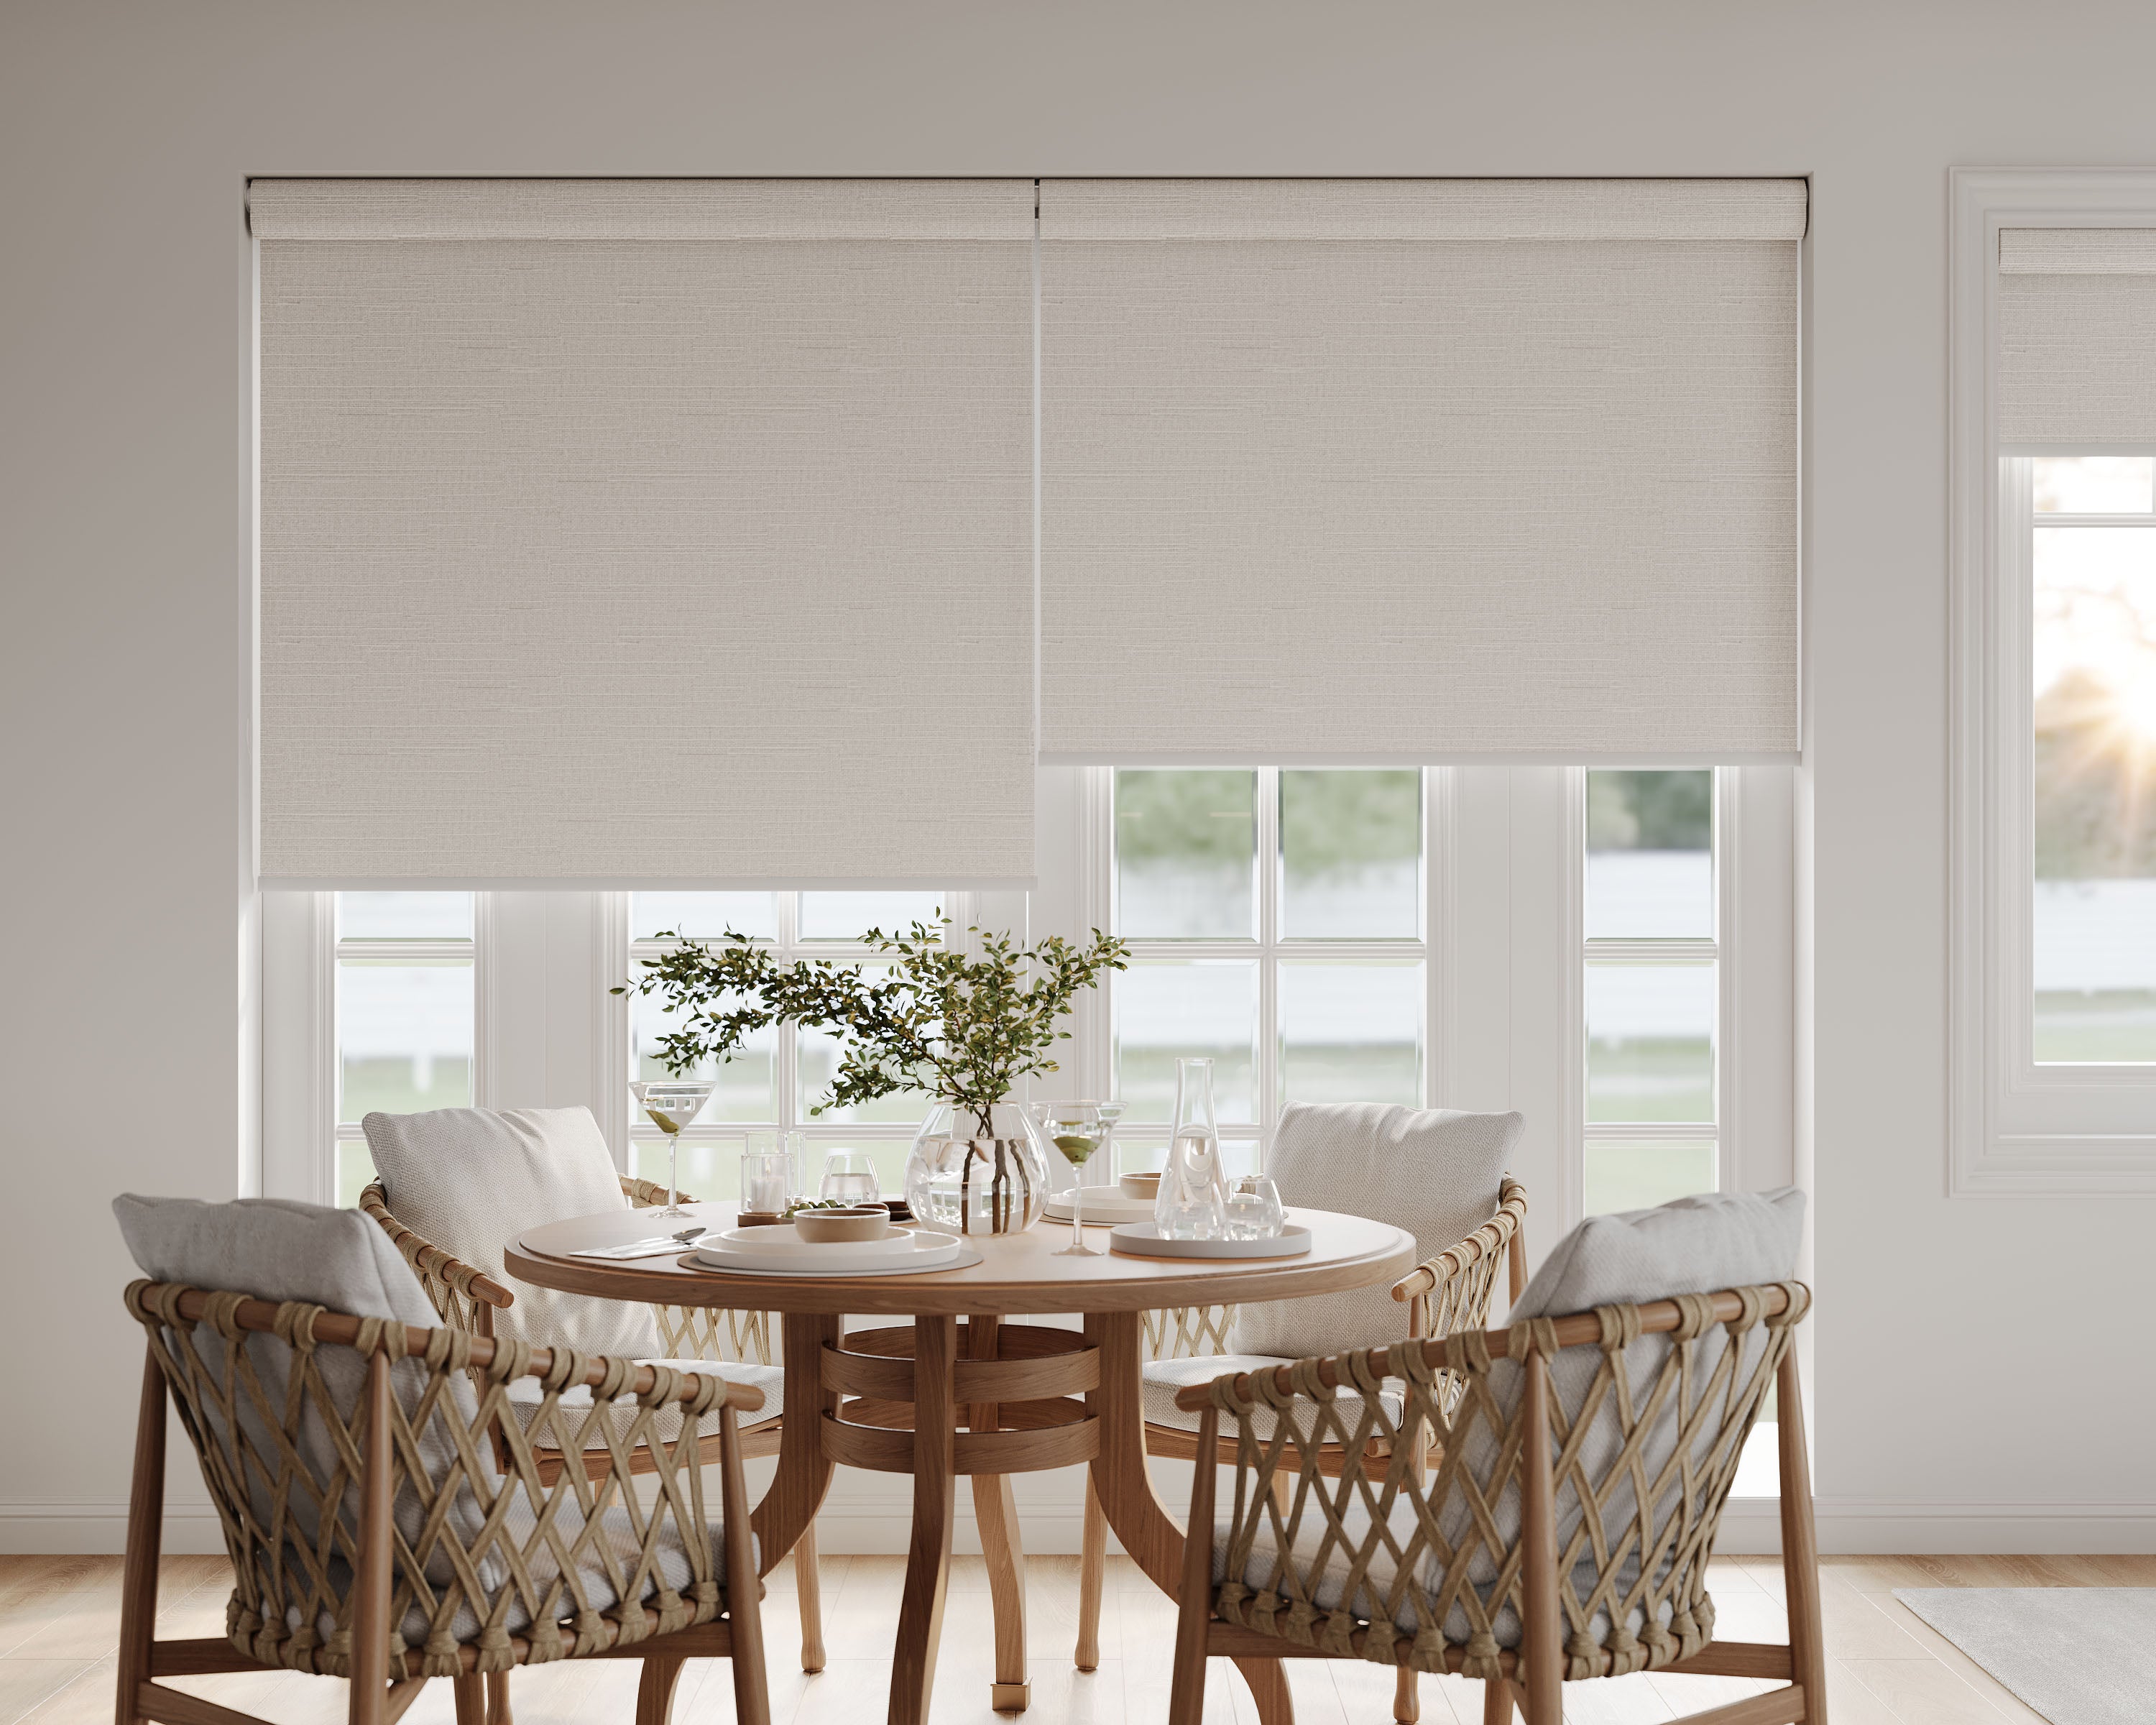


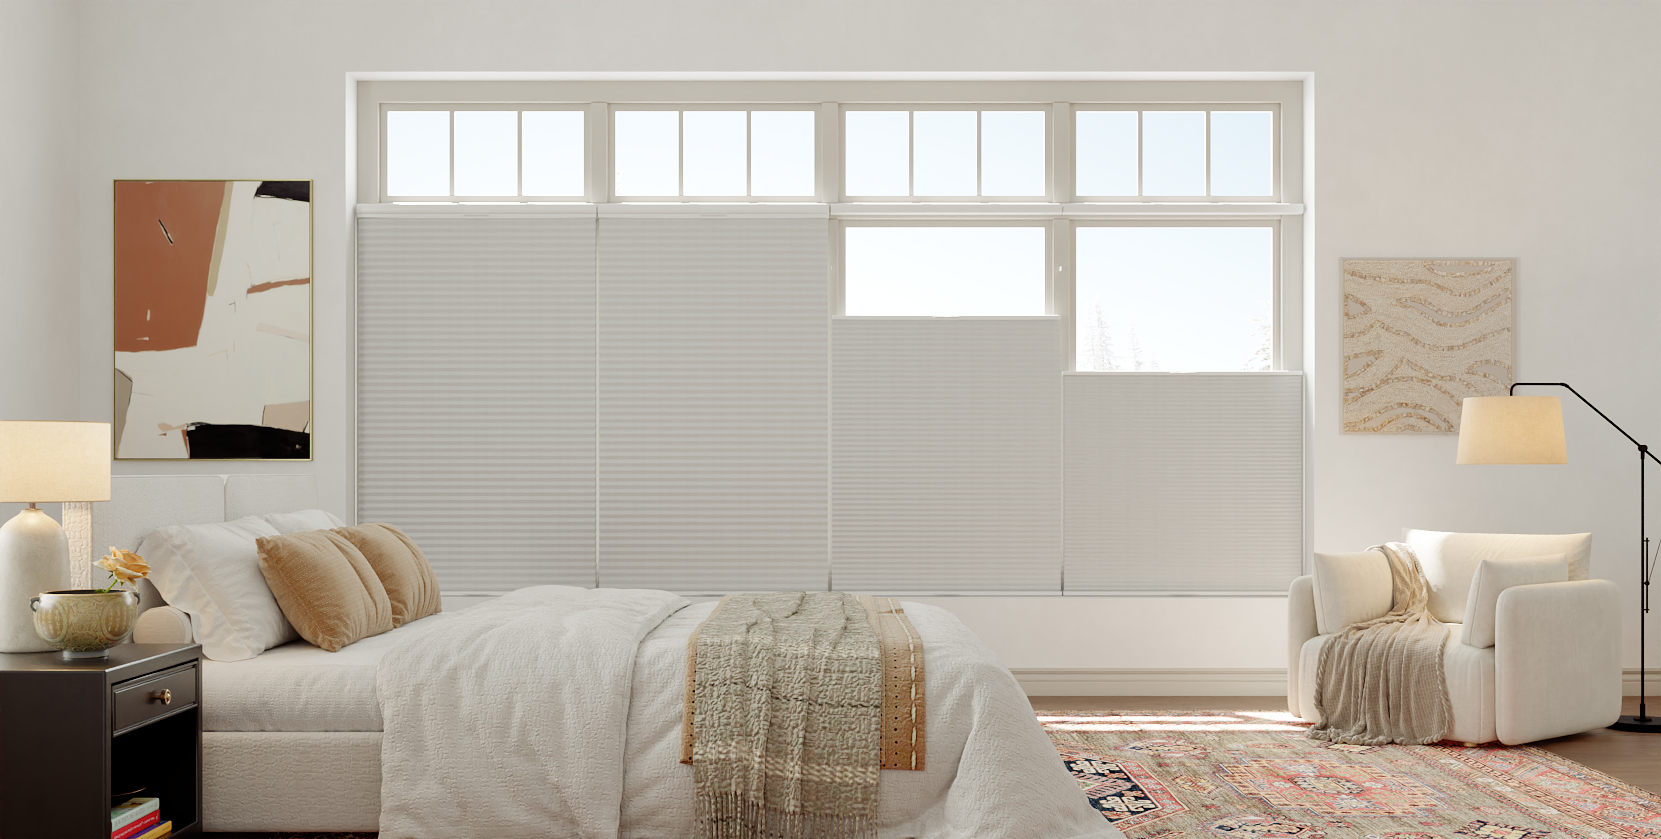


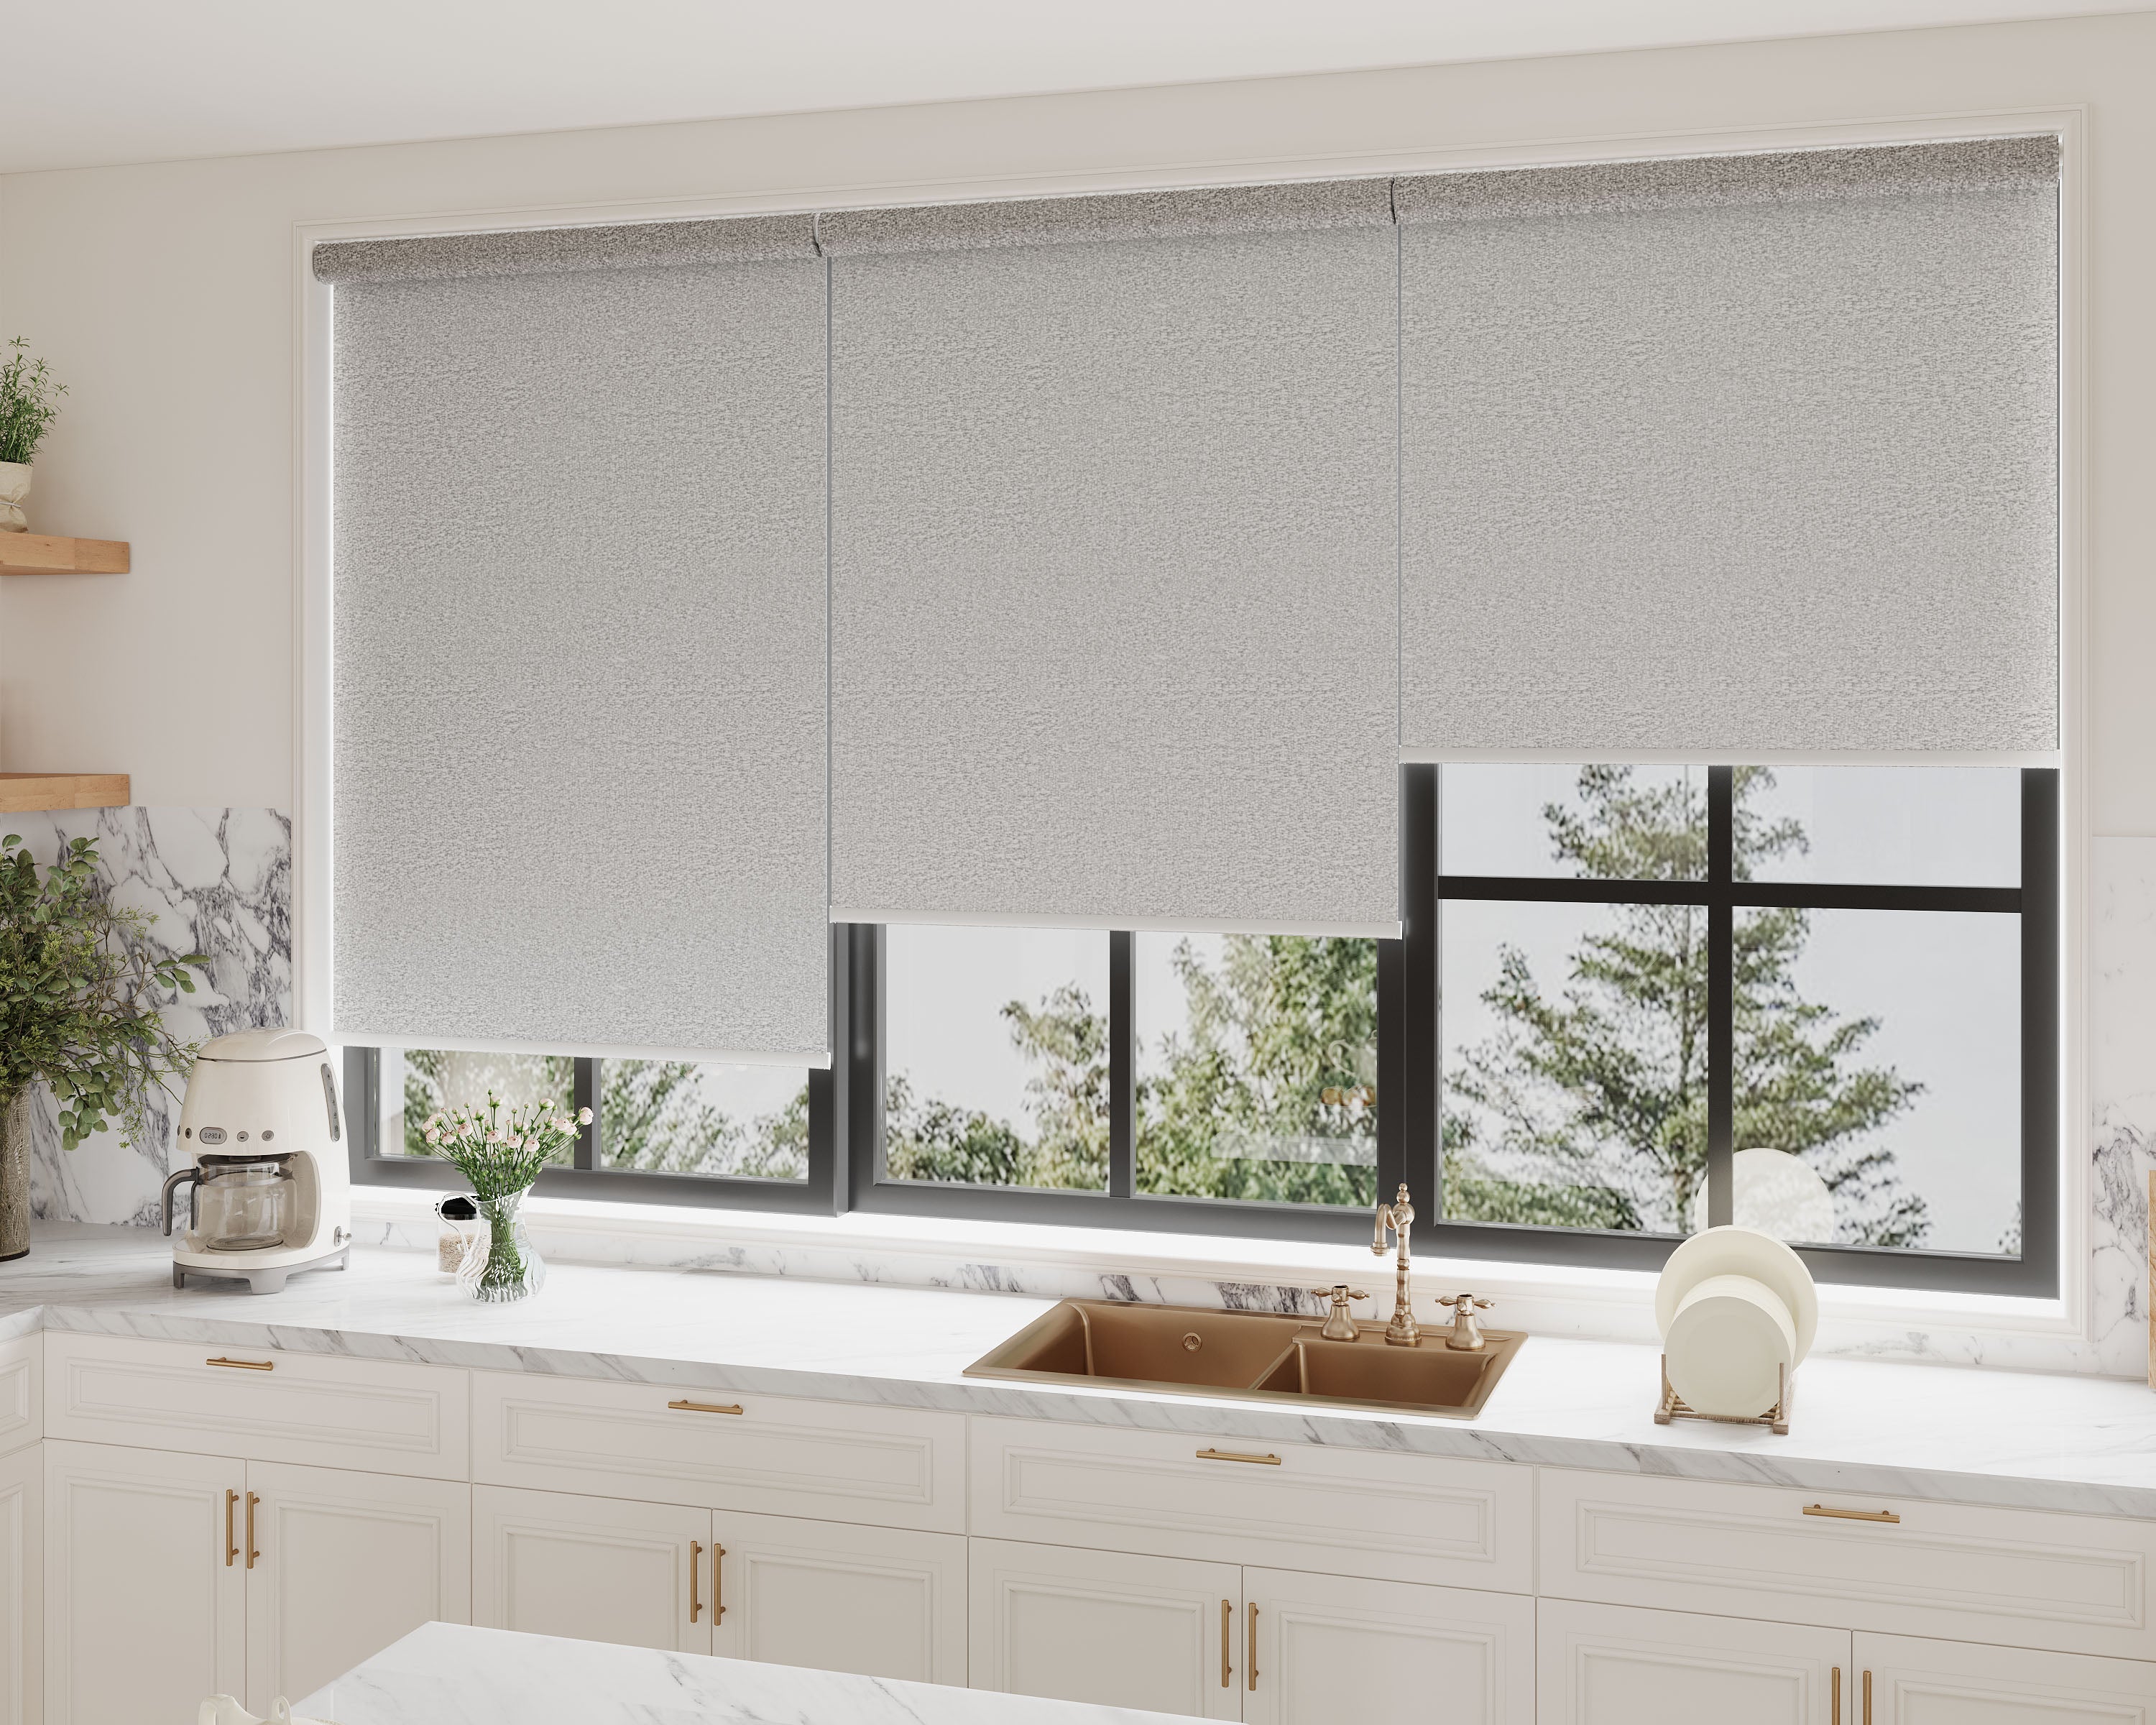

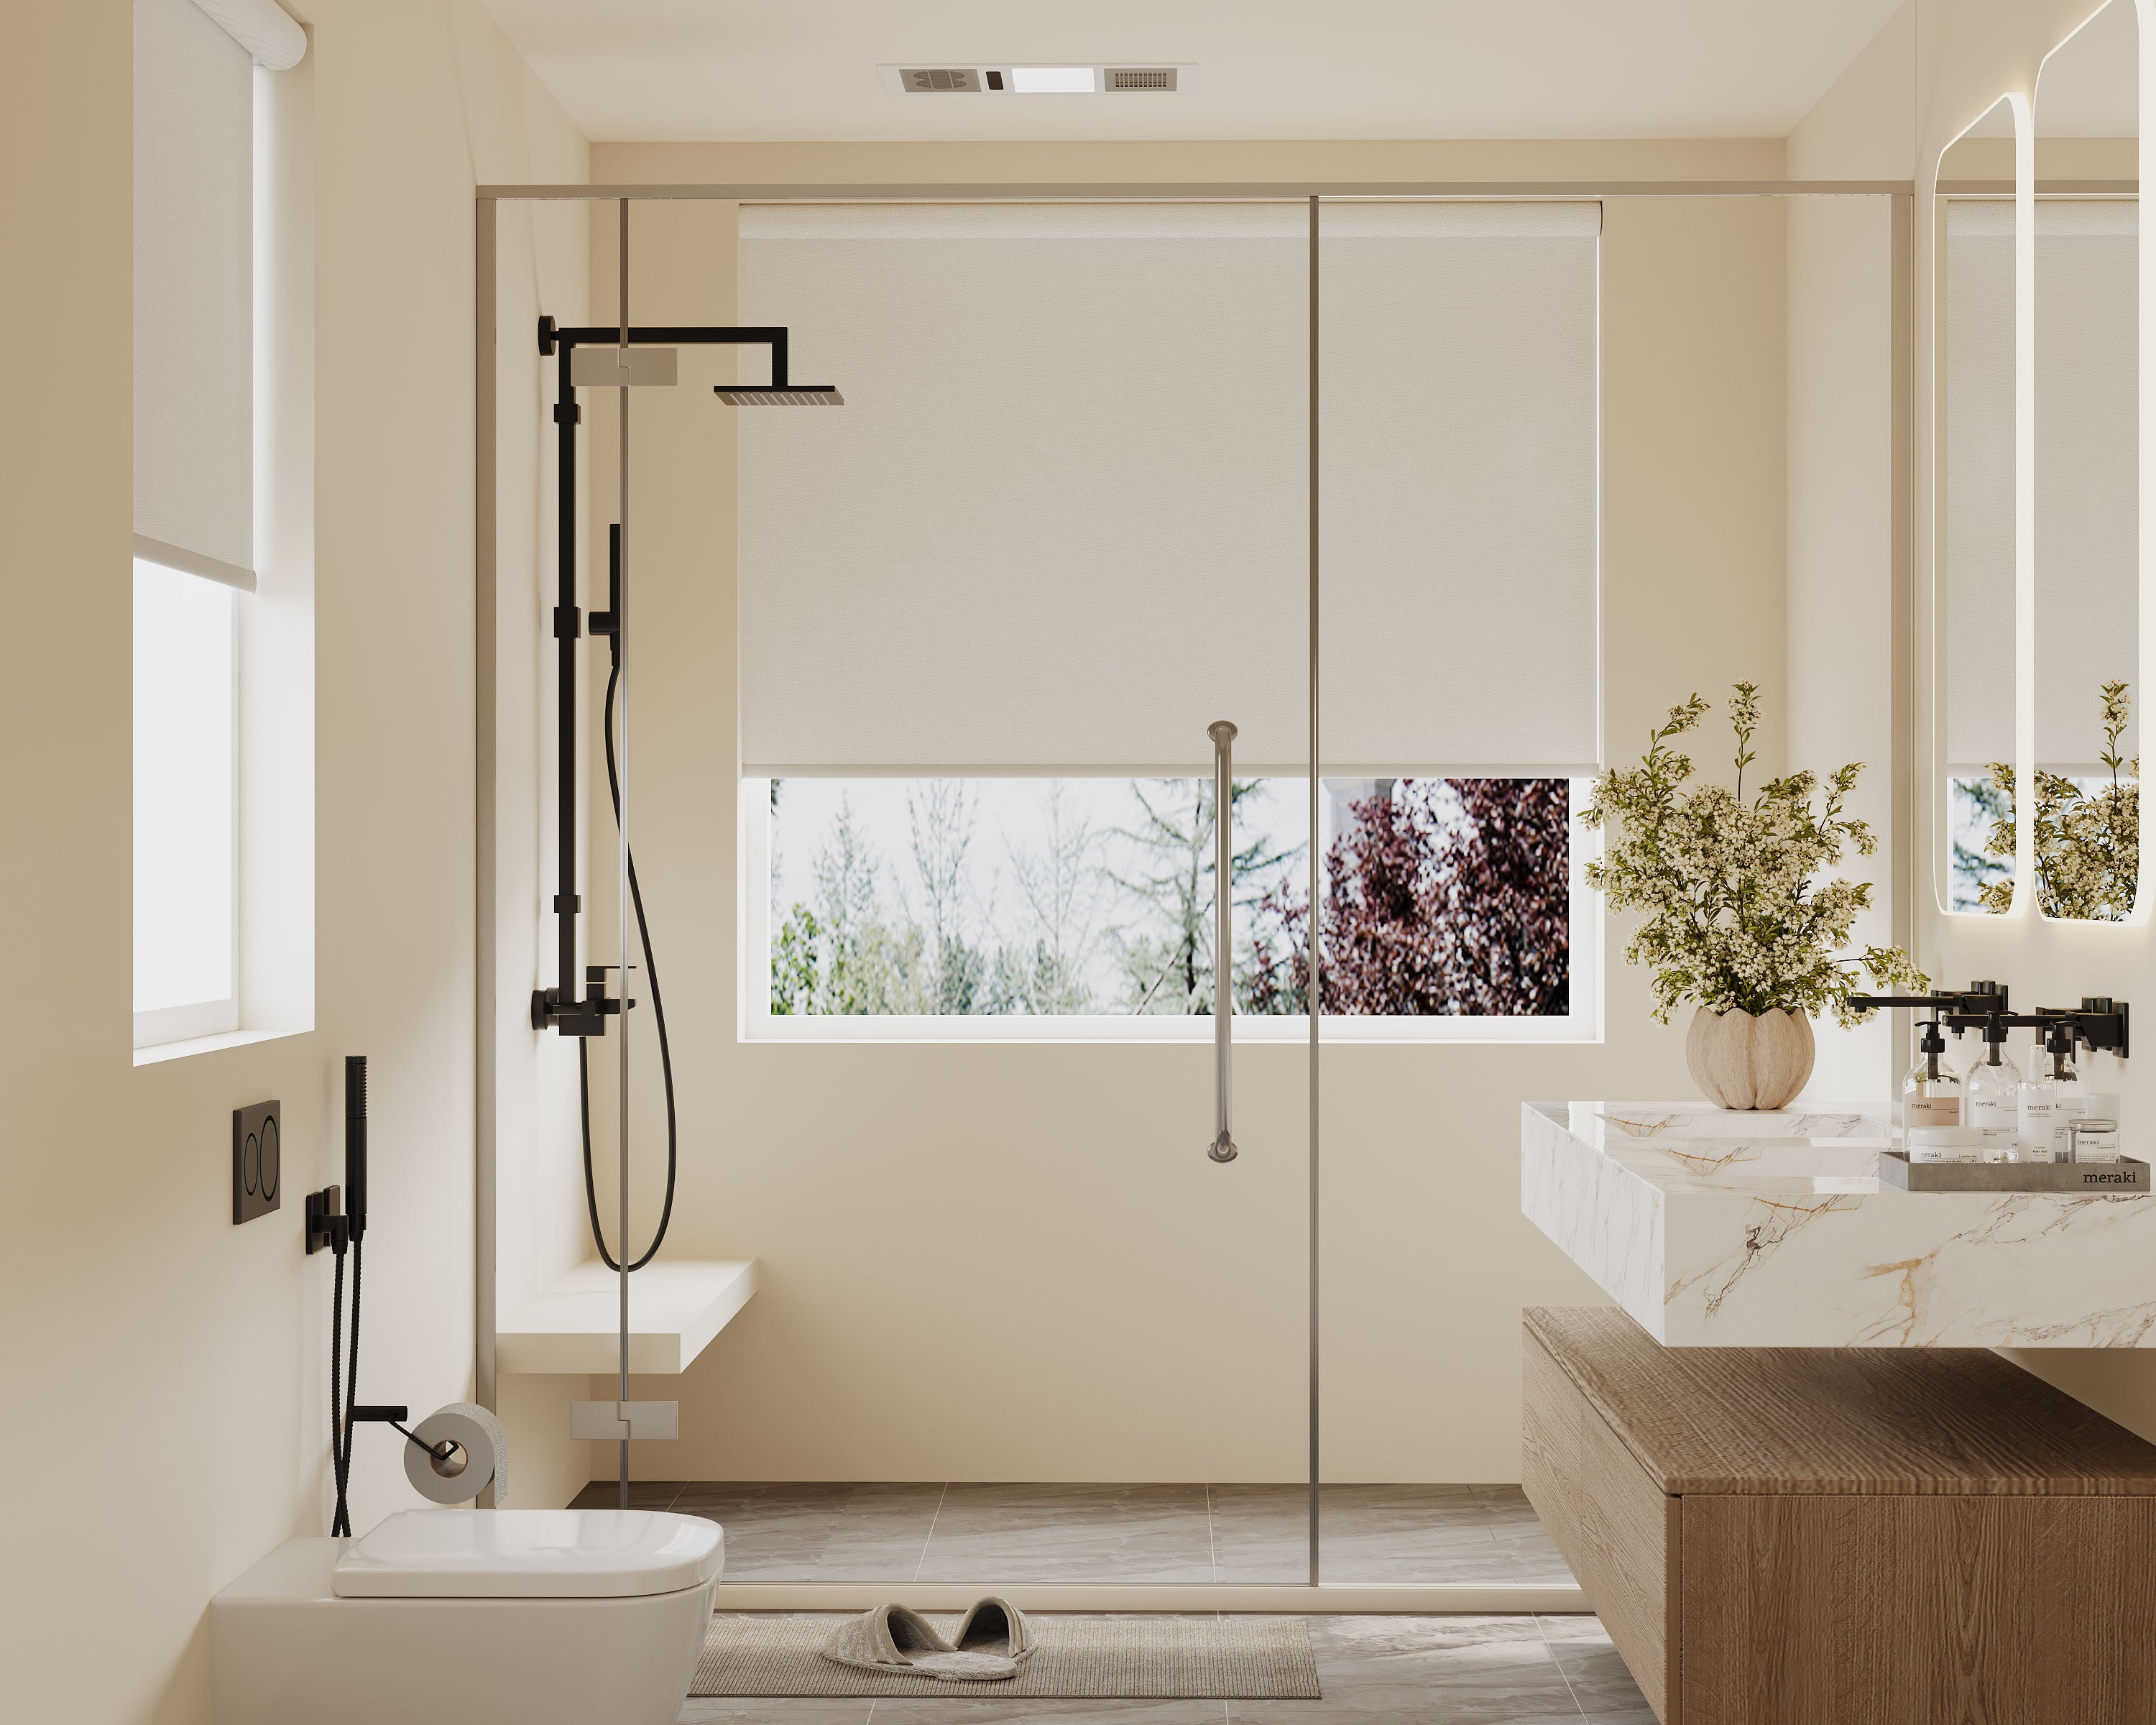


Yes, you can absolutely enjoy the beauty and soft light of sheer shades in your rental without losing your security deposit. The key is adopting a renter's mindset: prioritizing temporary, reversible, and damage-free solutions for every step, from mounting to light control. With the right approach, you can install elegant sheer window shades that look custom and leave no trace behind.
Navigating window treatments as a renter requires a different playbook. This guide provides your complete strategy.
-
The "Renter's Mindset" and the three core principles for a damage-free installation.
-
A detailed comparison of temporary mounting methods: adhesive systems, tension rods, and creative hardware.
-
Adapted measuring and installation steps specifically for non-permanent setups.
-
Smart styling and privacy hacks to make temporary solutions look intentional and polished.
The Renter's Mindset: Core Principles for a Damage-Free Home
Before choosing a shade, internalize these three principles that guide every renter-friendly decision:
-
Temporary is Paramount: Every component must be removable without damaging the underlying surface. This rules out drilling, screwing into trim, or using permanent adhesives.
-
Function Meets Flexibility: Your solution must hold the shade securely for daily use but also come down cleanly. It should also be adaptable, as rental windows are rarely standard.
-
The Clean Removal Mandate: The end goal is a pristine wall or window frame. The methodology must prioritize removal techniques that don't strip paint or leave residue.
Temporary Mounting Methods Compared: Choosing Your Champion
Your mounting choice is the most critical decision. It must support the weight and operation of your shade safely.
| Method | How It Works | Best For / Weight Capacity | Key Considerations |
|---|---|---|---|
| Heavy-Duty Adhesive Mounting Systems | Specialized, high-strength adhesive pads (like 3M VHB tape) bond mounting brackets to the wall or frame. | Light to medium roller or sheer shades. Must follow weight limits religiously. | Surface is everything. Requires perfectly clean, smooth, non-textured, and painted surfaces (not wallpaper). |
| Inside-Mount Tension Rods | A spring-loaded rod presses tightly between the two interior sides of a window recess. | Lightweight sheer roller shades with a cassette designed for a rod. | Only works in windows with parallel sides and a recess. Limited weight capacity; can slip. |
| C-Clamp or U-Clamp Brackets | Mechanical clamps attach directly to the window sill or the lip of the window frame itself. | Virtually any shade type. Offers the most secure non-drill hold. | Requires an exposed sill or frame lip to clamp onto. May leave subtle indentations on wood (often acceptable). |
| Magnetic Mounts | Powerful magnets are used—one adheres to the metal window frame, the other is attached to the shade bracket. | Metal-framed windows only. Great for very lightweight applications. | Requires a ferrous metal frame. Adhesive strength on the magnet is the limiting factor. |
For an in-depth look at the mechanics and limits of these systems, our dedicated guide to no-drill mounting solutions for window treatments is an essential resource.
The Renter's Workflow: Measure, Install, and Remove Correctly
Step 1: Adaptive Measuring
For tension or inside-mount adhesive solutions, measure the inside width and height of the window recess at multiple points, using the smallest width and largest height. For outside-mount adhesive applications, measure the wall area you want to cover. Always note obstructions like window locks or handles.
Step 2: Damage-Free Installation Protocol
-
Surface Prep is Non-Negotiable: Clean the mounting area with isopropyl alcohol and let it dry completely. This is the single biggest factor in adhesive success.
-
Follow the System's Rules: If using adhesive pads, apply firm, sustained pressure for the recommended time (often 30-60 seconds). For tension rods, extend them slightly wider than the opening.
-
Test Before Finalizing: Install the shade and operate it multiple times. Ensure the mounting feels solid with no slipping or sagging before considering the job done.
Step 3: The Art of Clean Removal
When it's time to move, removal technique matters more than installation.
-
For Adhesive Strips: Use the manufacturer's recommended method, which is typically stretching the strip slowly parallel to the wall (not pulling away from it). Use a hairdryer on a low setting to gently warm stubborn adhesive if needed.
-
For Tension Rods: Simply compress and remove.
-
For Clamps: Loosen and remove. Buff out any minor indentations on wood with a soft, slightly damp cloth.
Styling & Privacy Hacks for a Polished, Temporary Look
Temporary shouldn't look temporary. Use these tricks to elevate your setup.
-
Conceal Hardware with Style: Use a removable, self-adhesive cornice board made of foam board or a shallow wood box attached with command strips to hide the headrail of an outside-mounted shade for a built-in look.
-
Solve the Privacy-At-Night Dilemma: Sheer shades offer daytime privacy only. For night, layer them with a stand-alone tension rod and a set of opaque drapes in front. This gives you complete flexibility without a single hole.
-
Eliminate Light Gaps Temporarily: Use removable, low-tack weather stripping or foam tape along the sides of the window recess where a tension-mounted shade might have gaps. This improves light control and insulation without damage.
-
Create a Focal Point: Center your shade installation perfectly and pair it with other non-damaging decor, like leaning a large mirror against the wall or using a tall, freestanding plant, to draw the eye and make the window treatment look intentional. This approach is key to achieving a balanced and stylish open space.
Conclusion and Key Highlights
Living in a rental doesn't mean sacrificing style or function at your windows. By choosing the right temporary mounting system and executing it with care, you can enjoy the transformative effect of sheer shades and leave your space perfectly intact for the next tenant.
Key Highlights:
-
Adopt the renter's mindset: Prioritize temporary, reversible, and damage-free solutions above all else.
-
Match your mounting method to your window and shade weight. Adhesive systems demand perfect surfaces, tension rods need a recess, and C-clamps offer the strongest non-drill hold.
-
Success is 90% preparation. Meticulously cleaning the mounting surface is critical for any adhesive-based solution.
-
Plan for clean removal from day one. Know how you'll take the system down without a trace.
-
Use styling tricks like layered drapes on a second rod or a removable cornice to make your temporary installation look custom and polished.
With these strategies, you can confidently create a light-filled, private, and beautiful apartment that feels like home—without compromising your lease or your deposit.
Shop Sheer Shades by Light Control


Frequently Asked Questions (FAQ)
Can Command Strips really hold up roller shades?
It depends entirely on the specific product's weight rating and your surface. Standard picture-hanging Command Strips are not designed for this dynamic load. You must use Heavy Duty Command Strips or similar VHB (Very High Bond) adhesive strips that are explicitly rated for the weight of your shade and its bracket. Always choose a strip rated for more weight than you need and follow the instructions precisely.
What if my apartment has those cheap, hollow vinyl blinds already?
You have a great opportunity! You can often mount your new sheer shades directly over the existing blinds. Use C-clamp brackets that attach to the top of the existing blind's headrail or the window sill above it. This completely avoids interacting with the wall, gives you a super-secure mount, and layers function—you can use the vinyl blinds for total privacy at night.
Are tension rods strong enough for daily use?
For lightweight sheer shades, yes, if installed correctly. The key is to ensure the rod is sized correctly (extending about 1-2 inches wider than the opening) and that you are mounting it in a true recess with parallel sides. The constant pressure can sometimes mar very soft paint over time, so test in an inconspicuous spot first.
How can I make my rental windows look bigger?
Use an outside-mount approach with adhesive brackets placed on the wall, several inches above and wider than the window frame. Hang a sheer shade that is wider than the window. This draws the eye outward, framing a larger area and making the window itself appear more substantial. This technique aligns with principles for achieving clean, minimalist lines that enhance space.
What's the best way to layer window treatments as a renter?
The renter's layering gold standard is multiple tension rods. Install one rod in the window recess for your sheer shades. Install a second, longer tension rod (or a rod on adhesive brackets) on the wall outside the recess for a set of decorative or blackout drapes. This gives you the full designer look with independent control and absolutely no damage.
