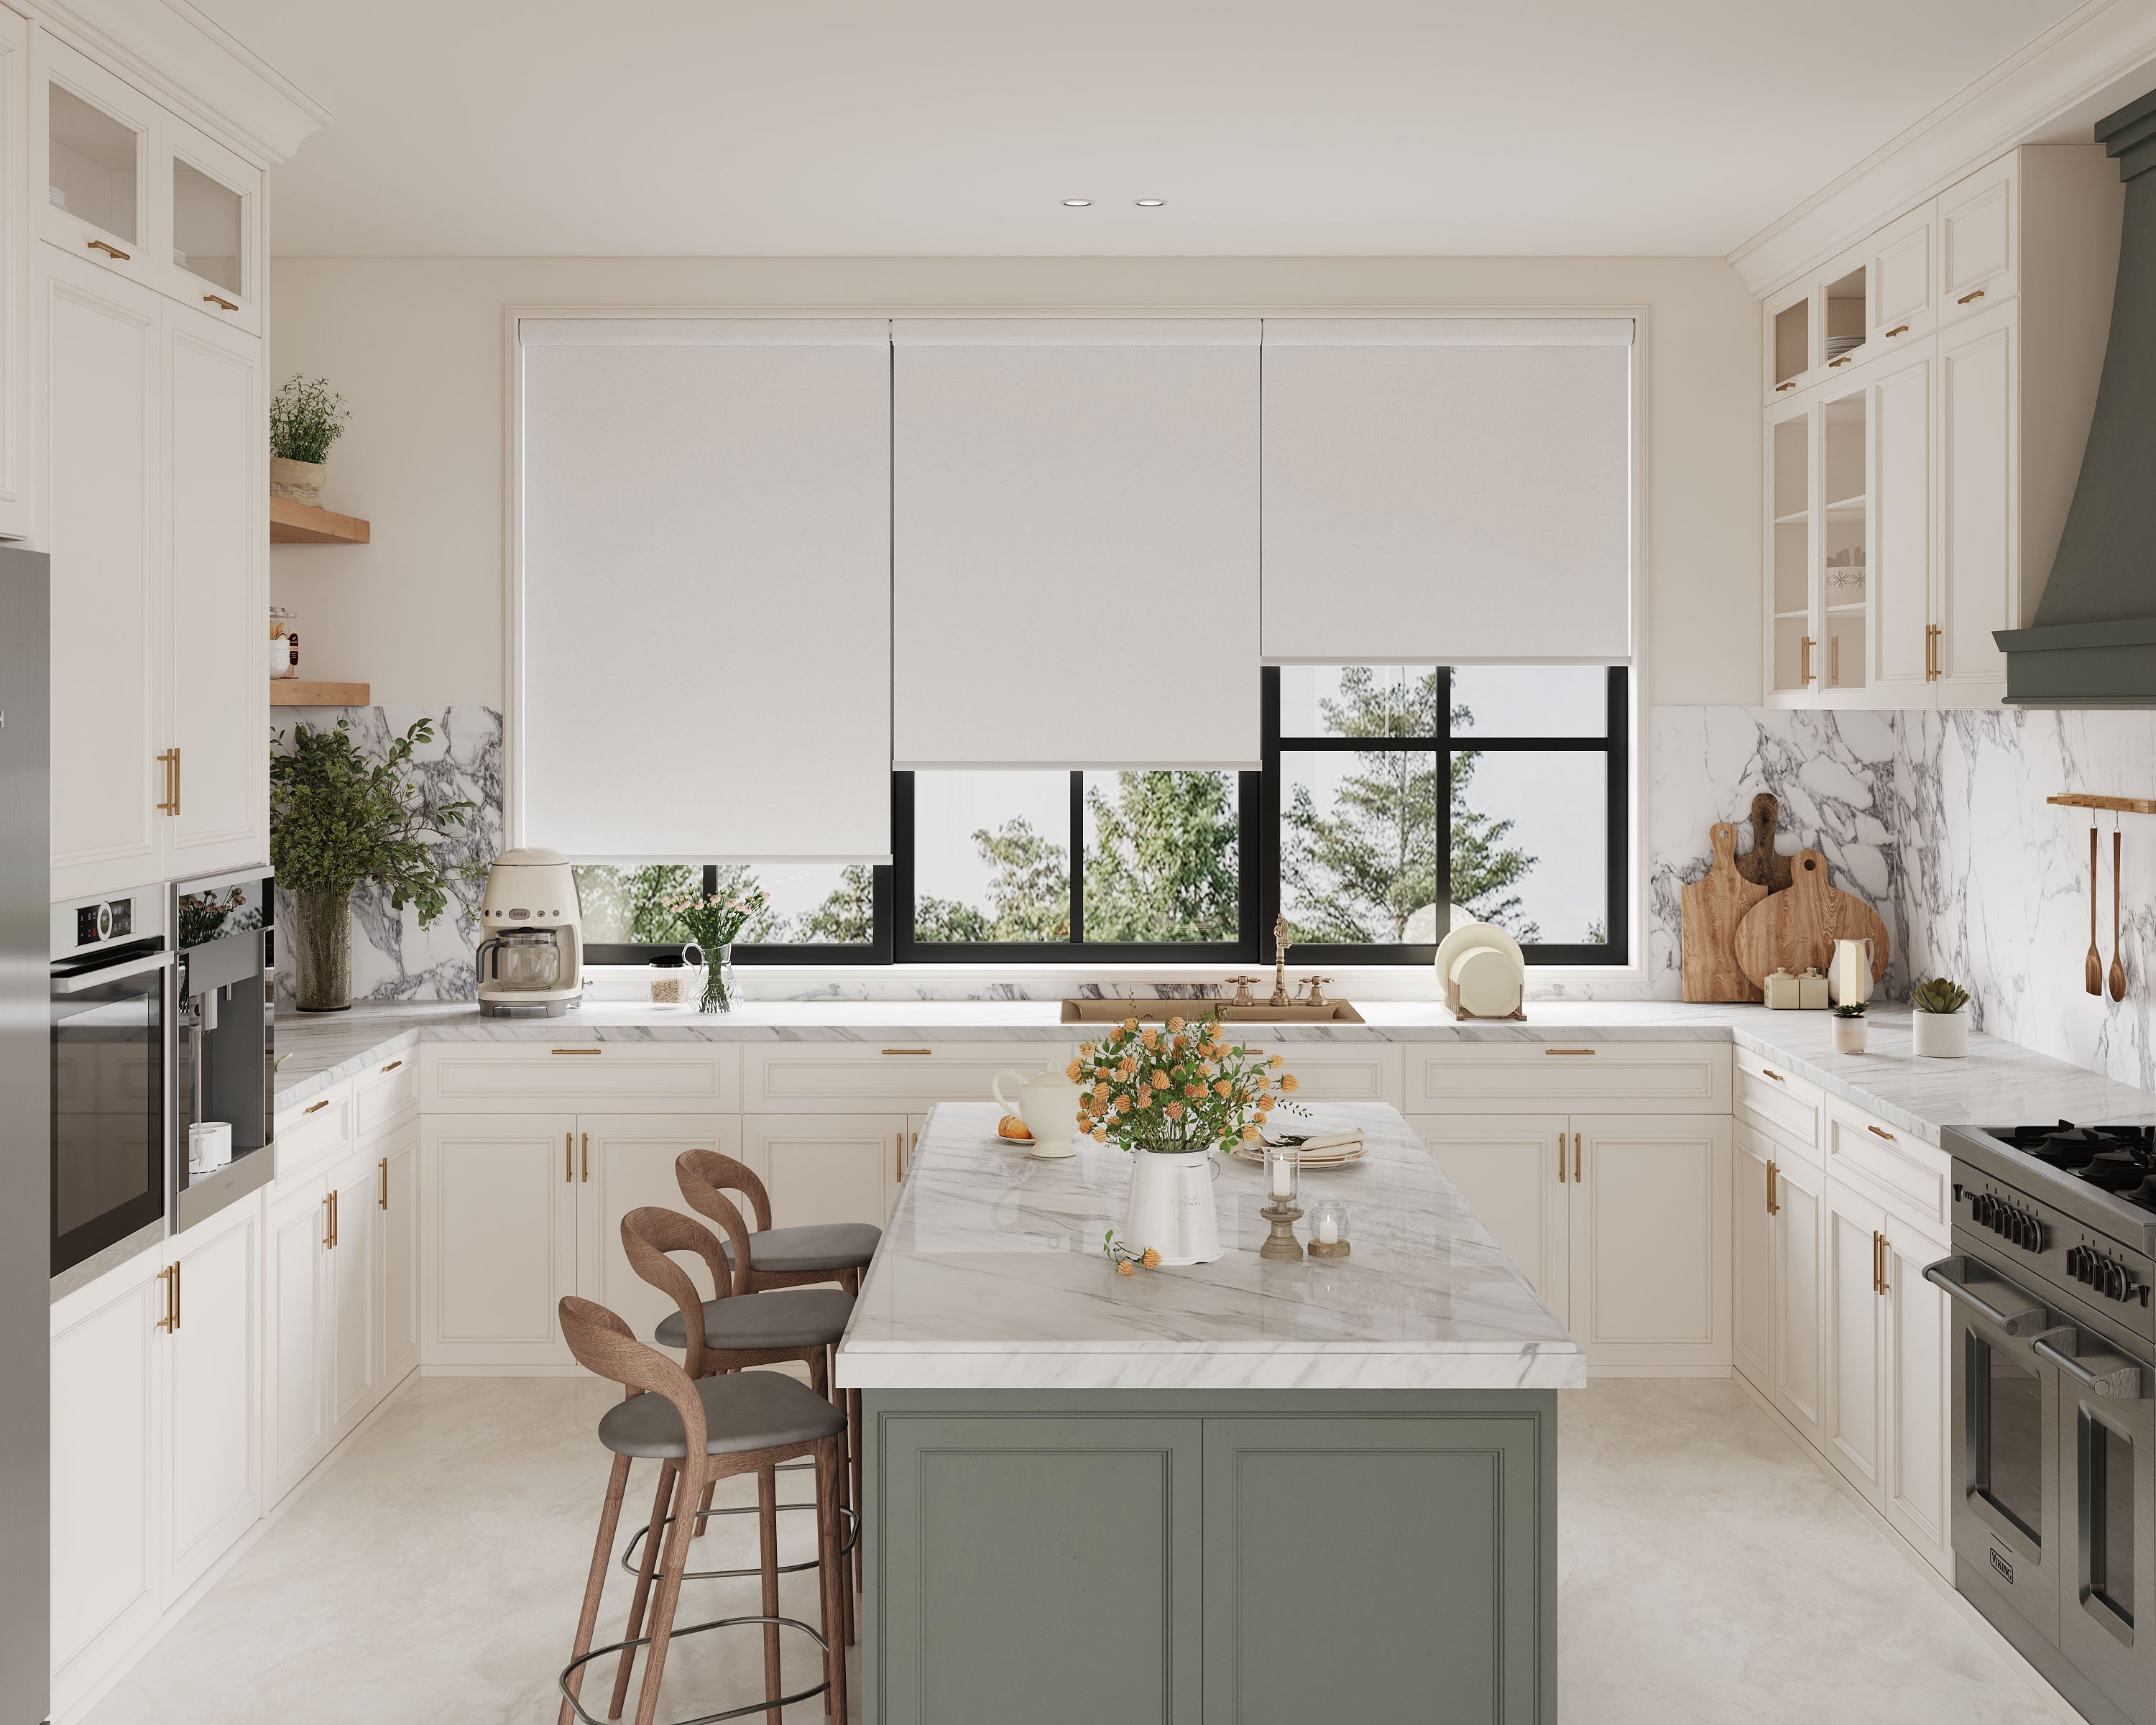
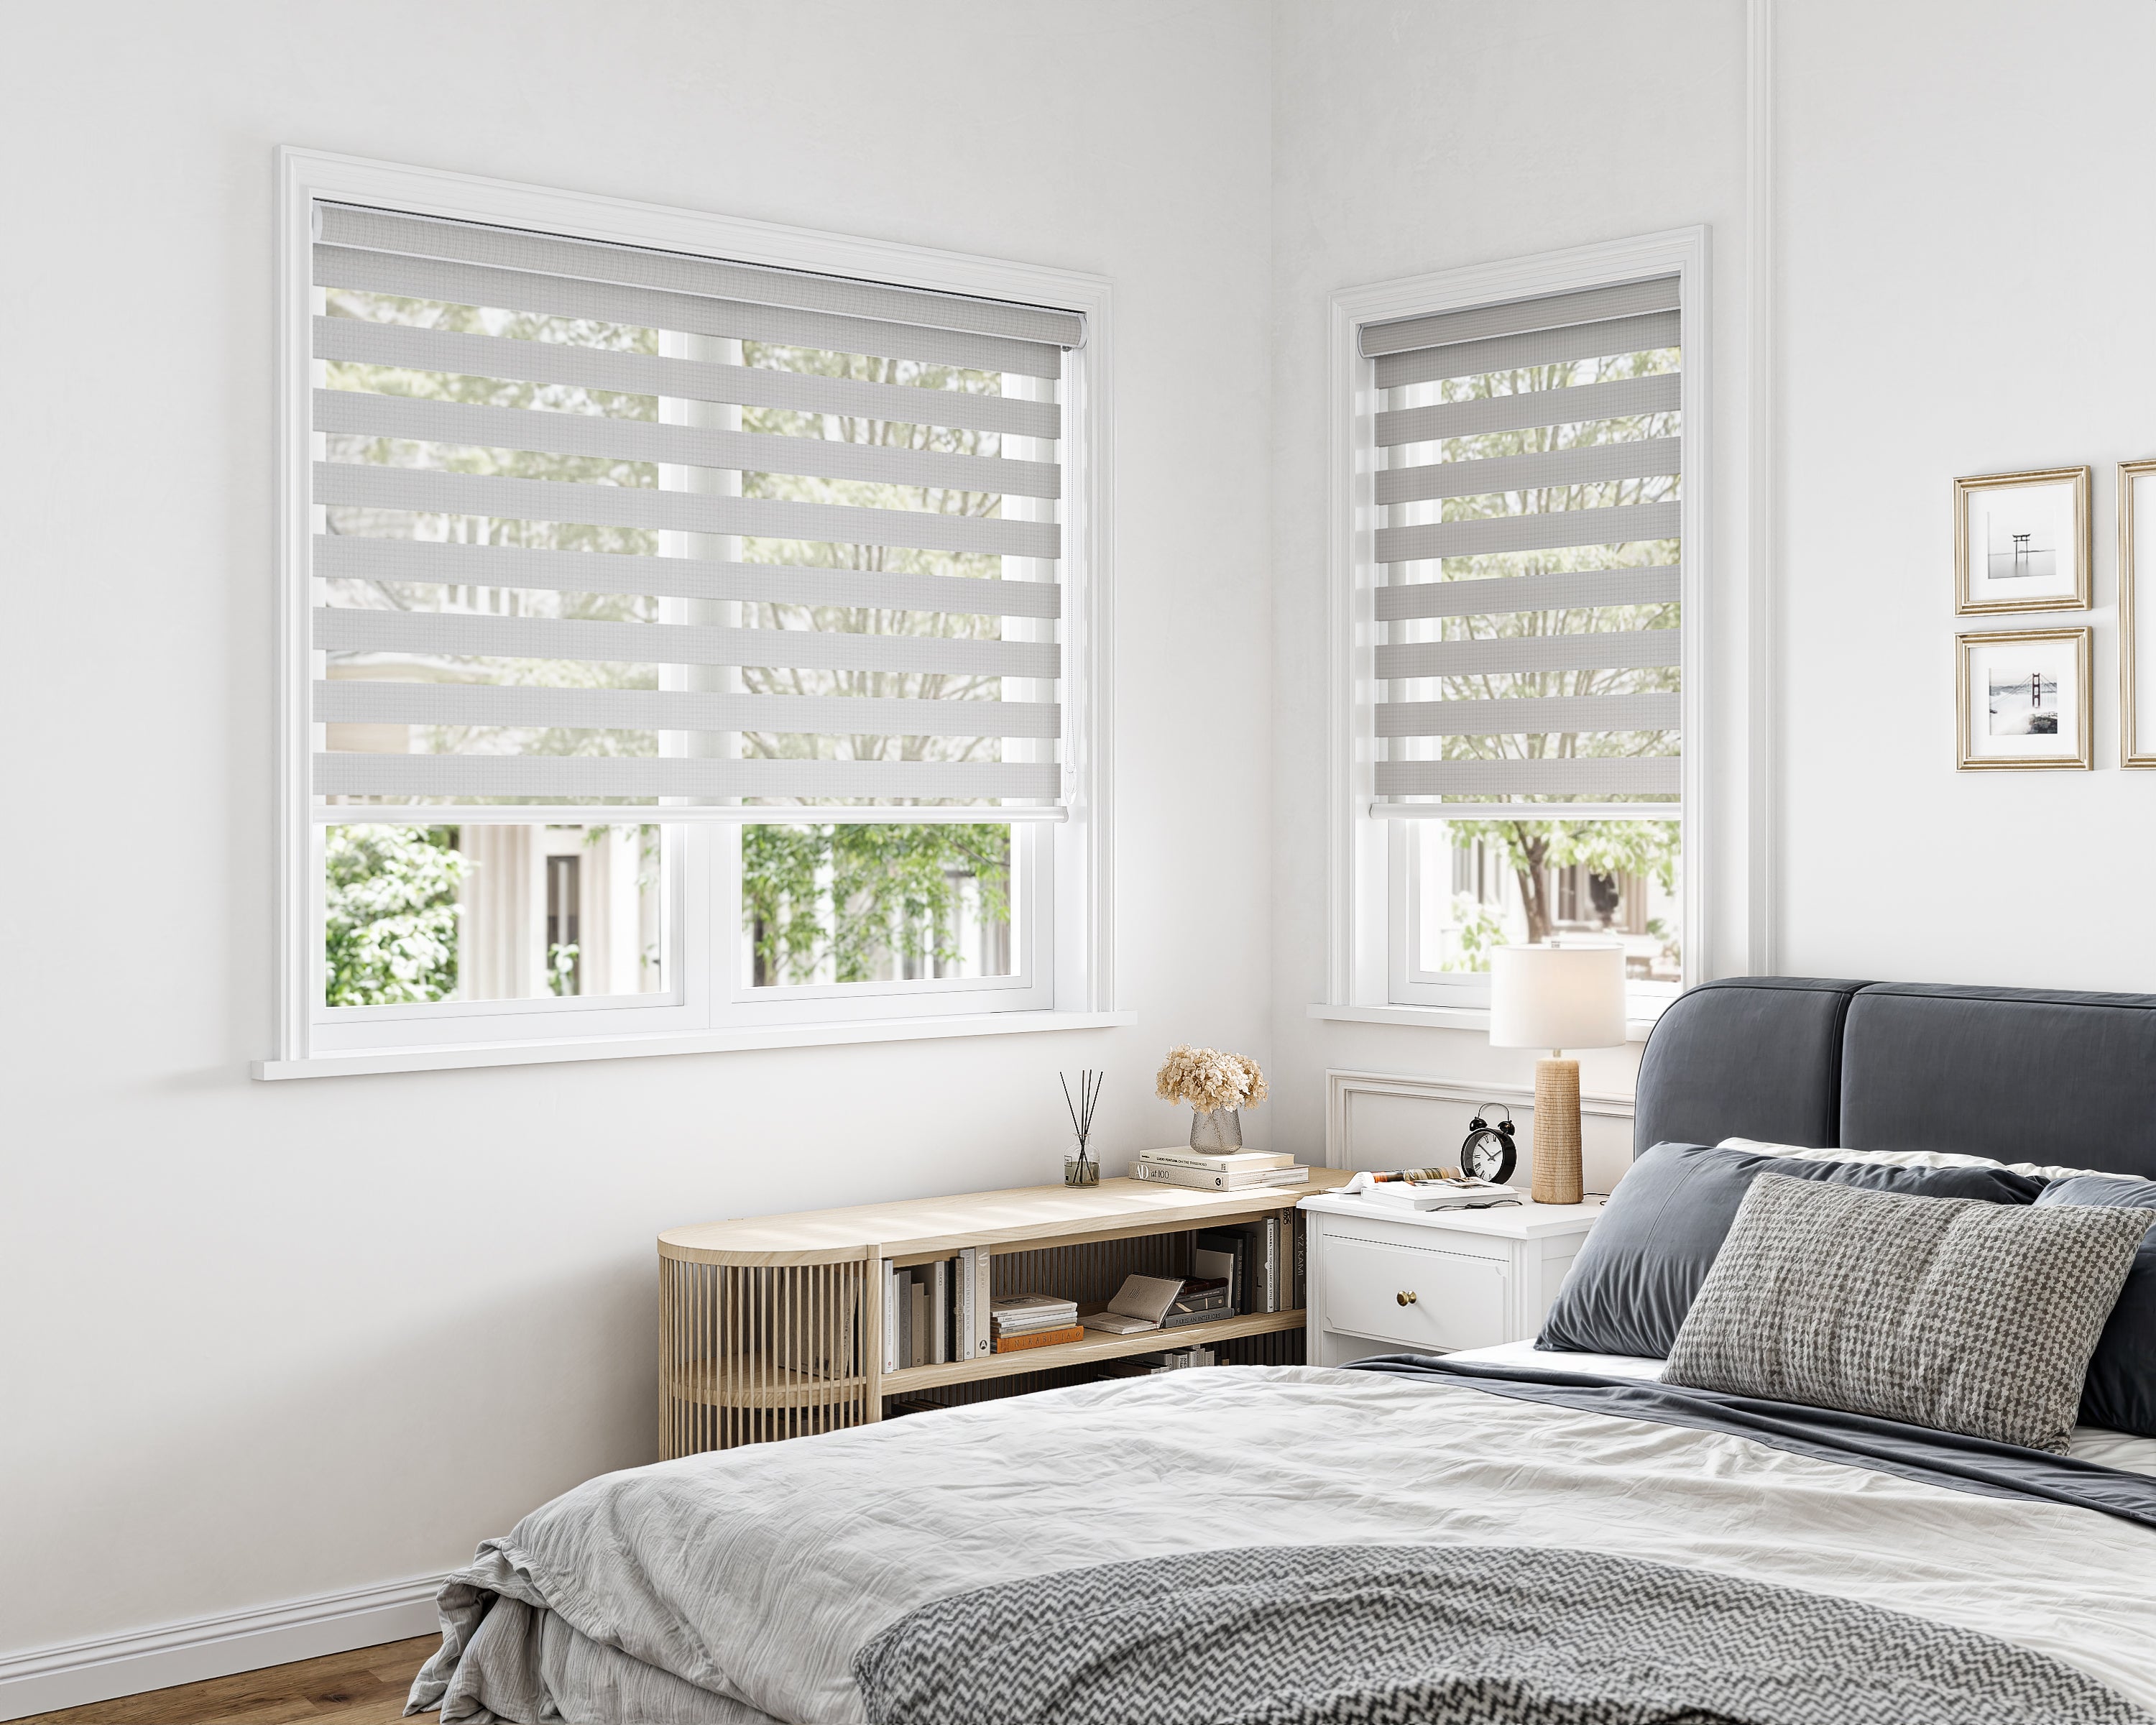
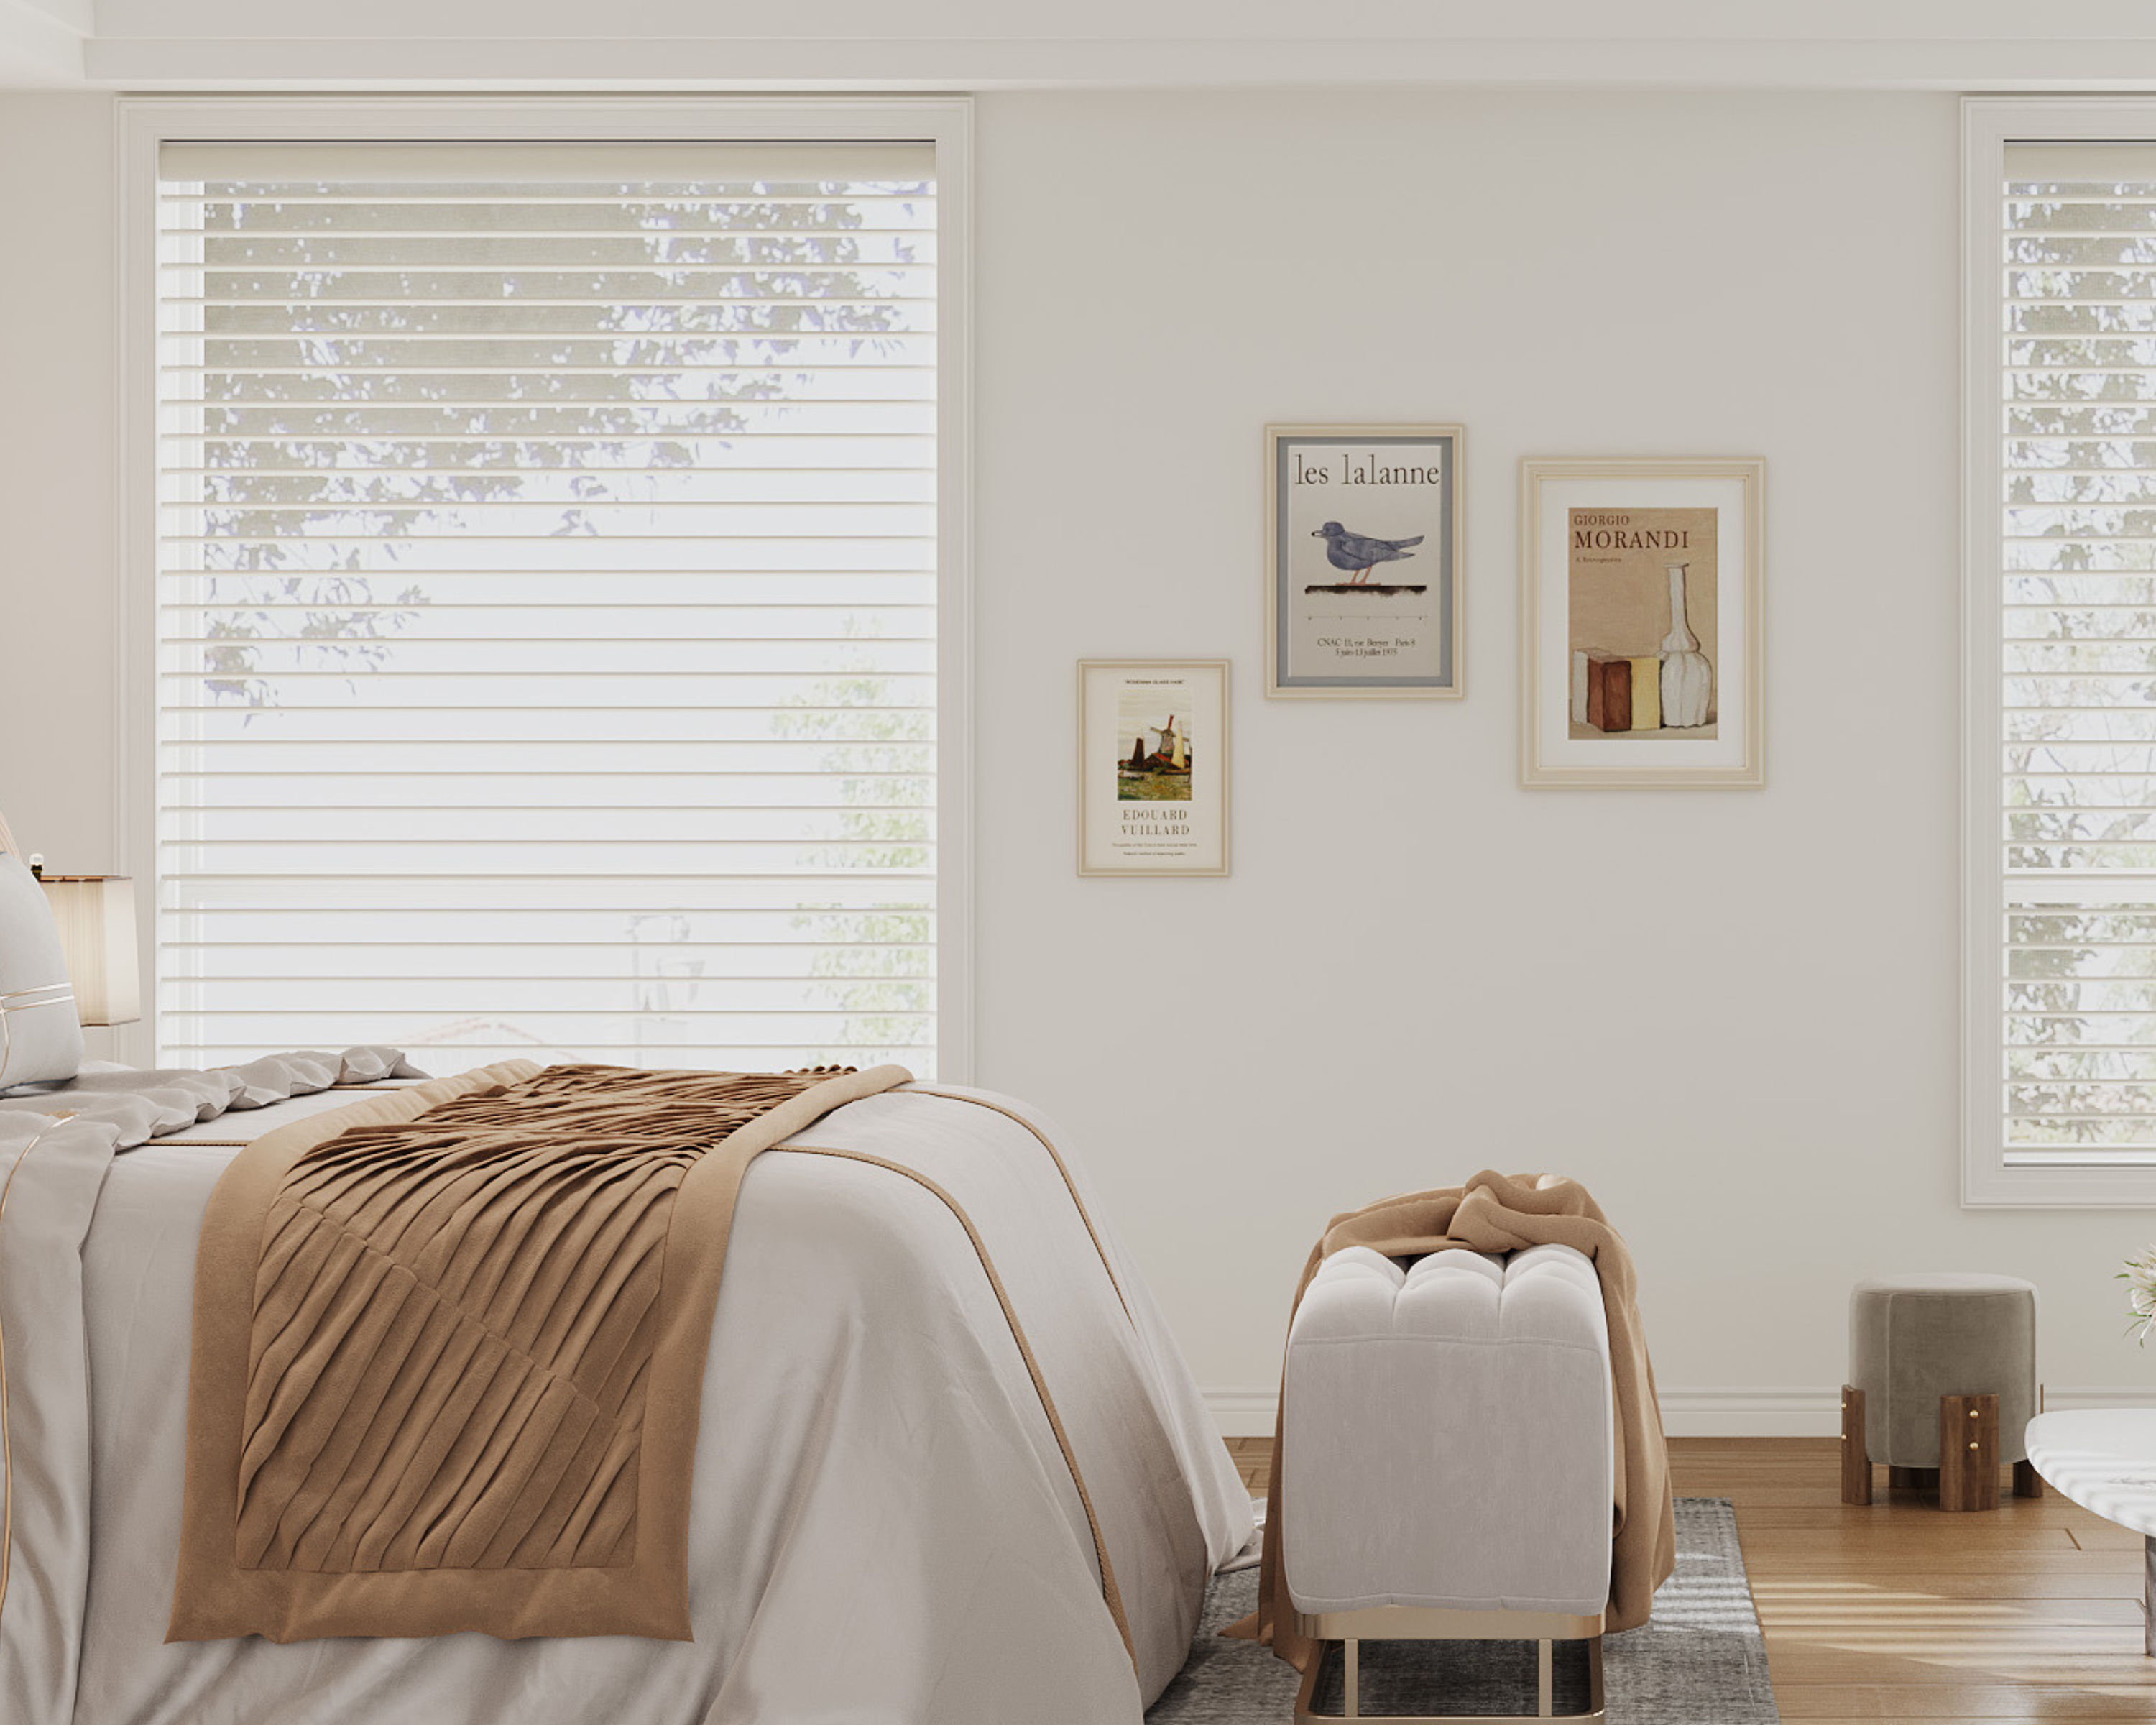
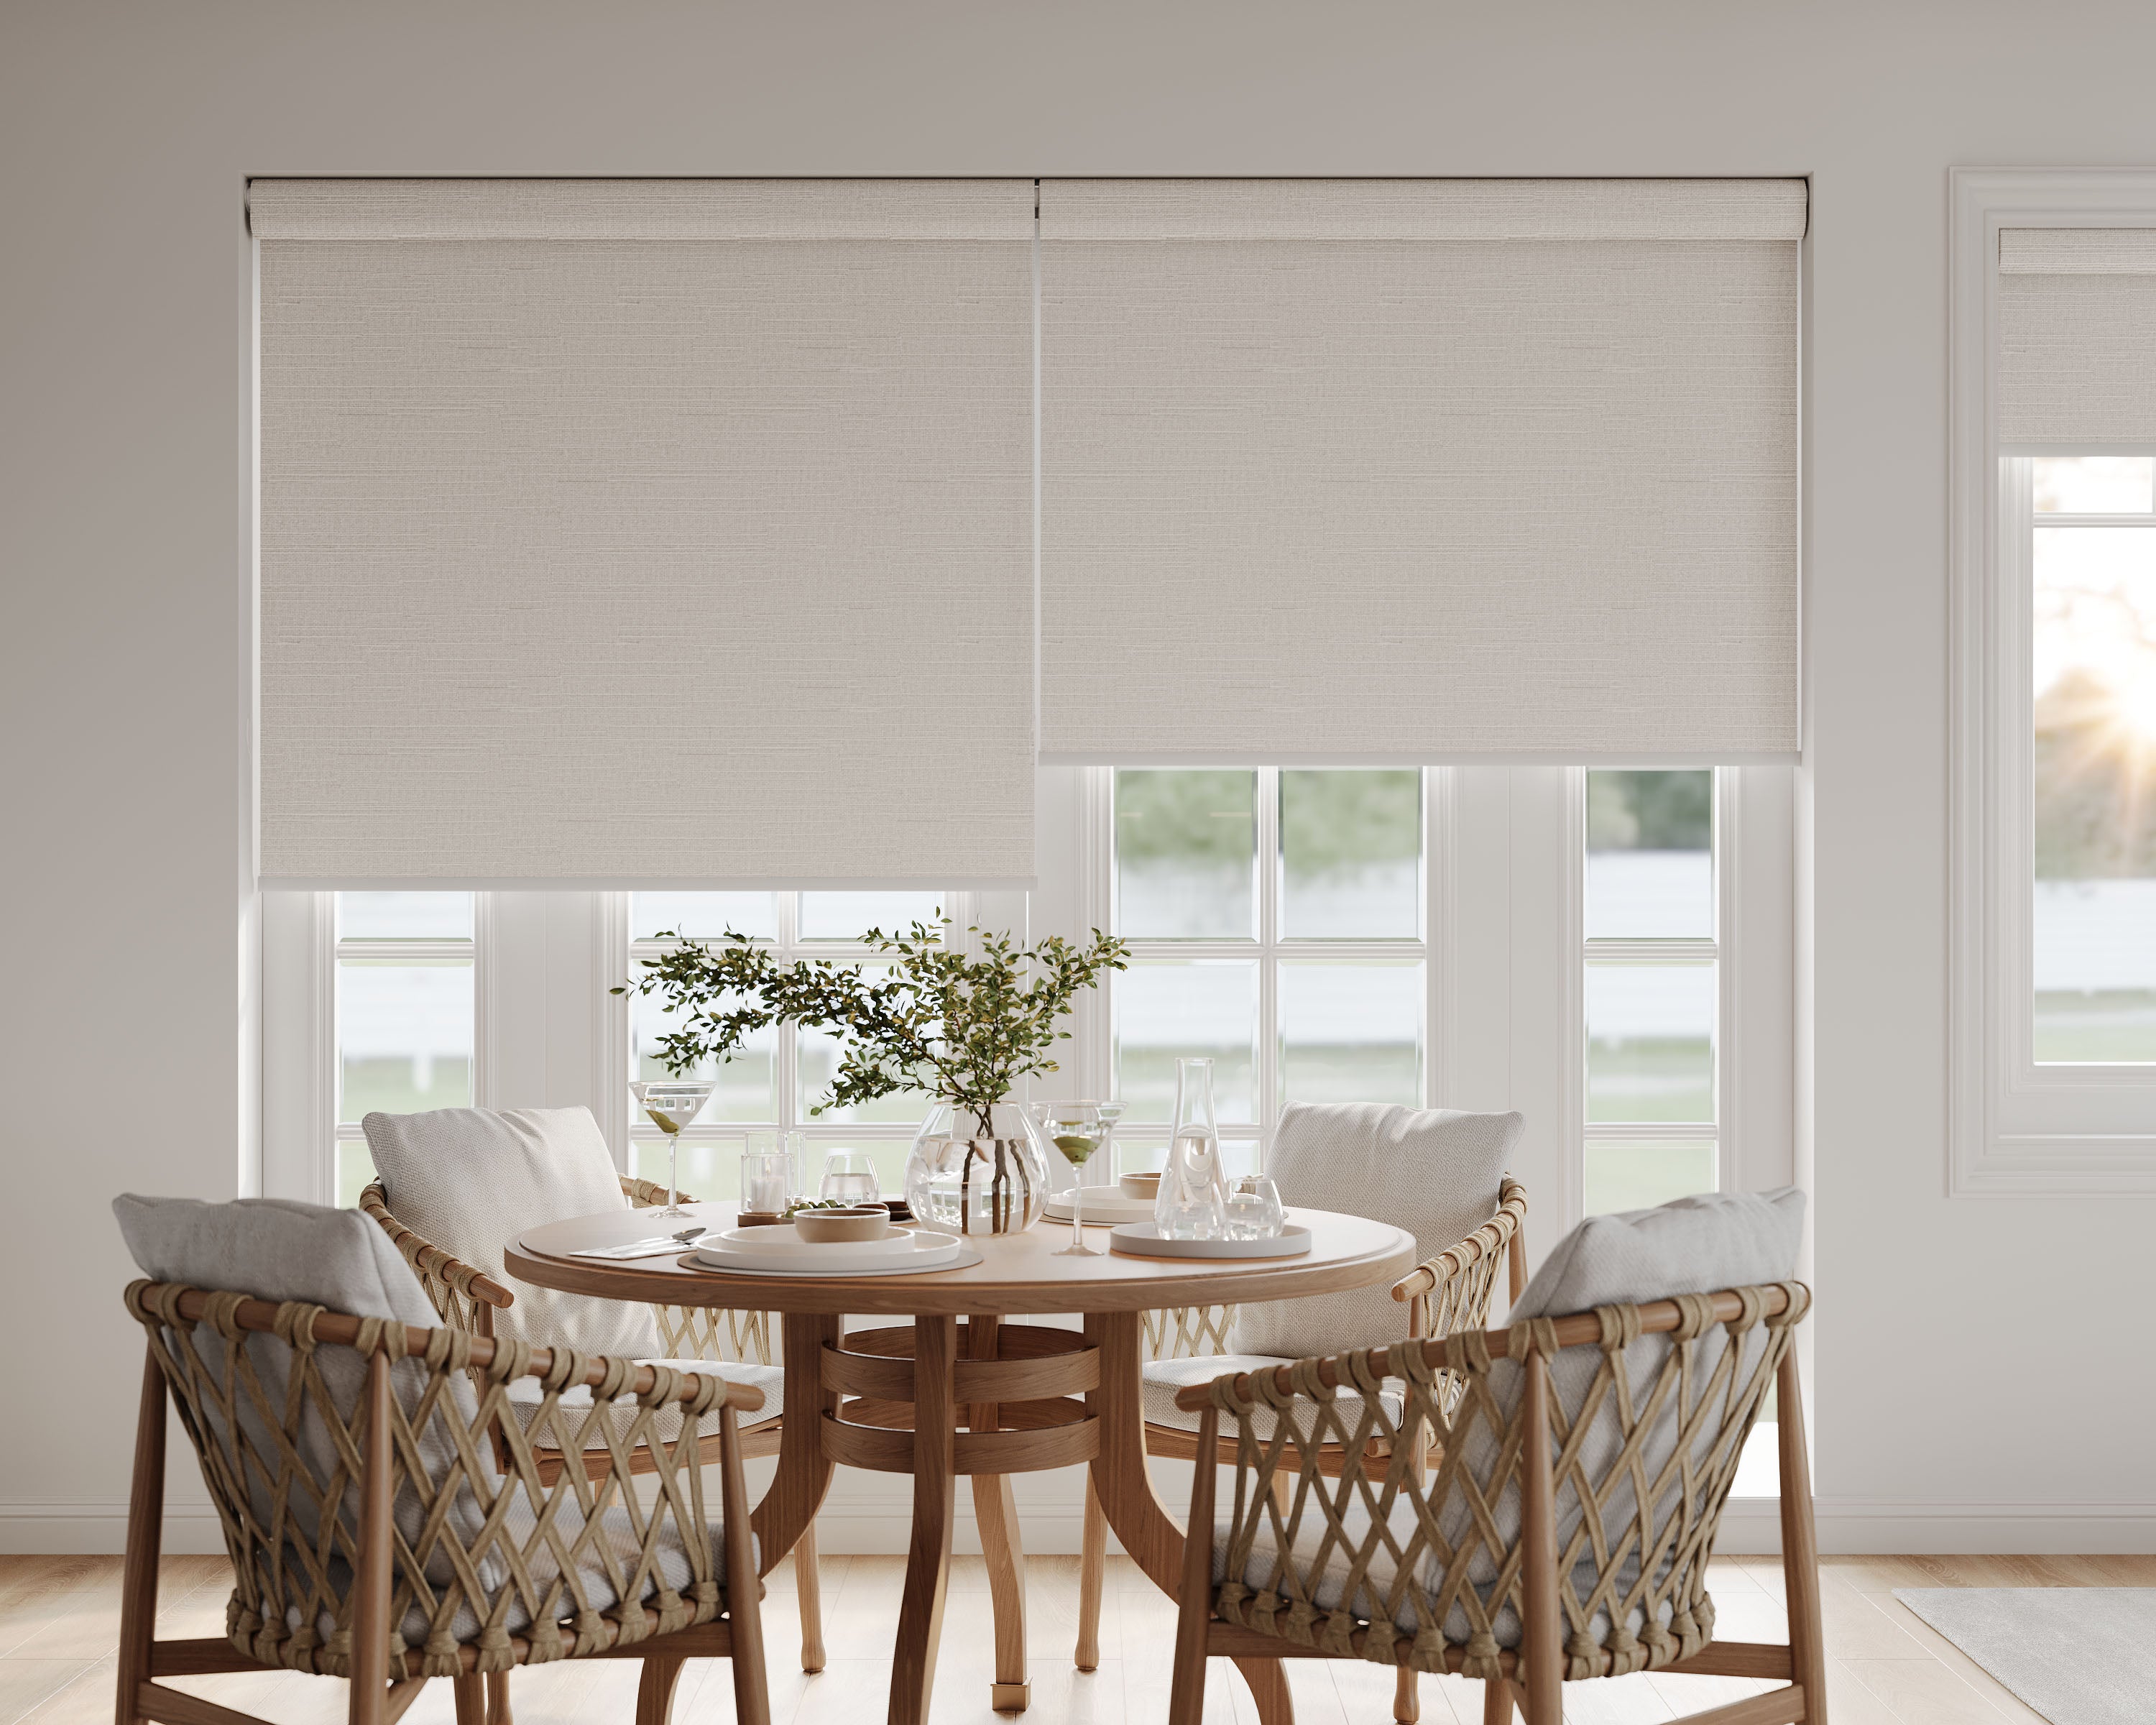
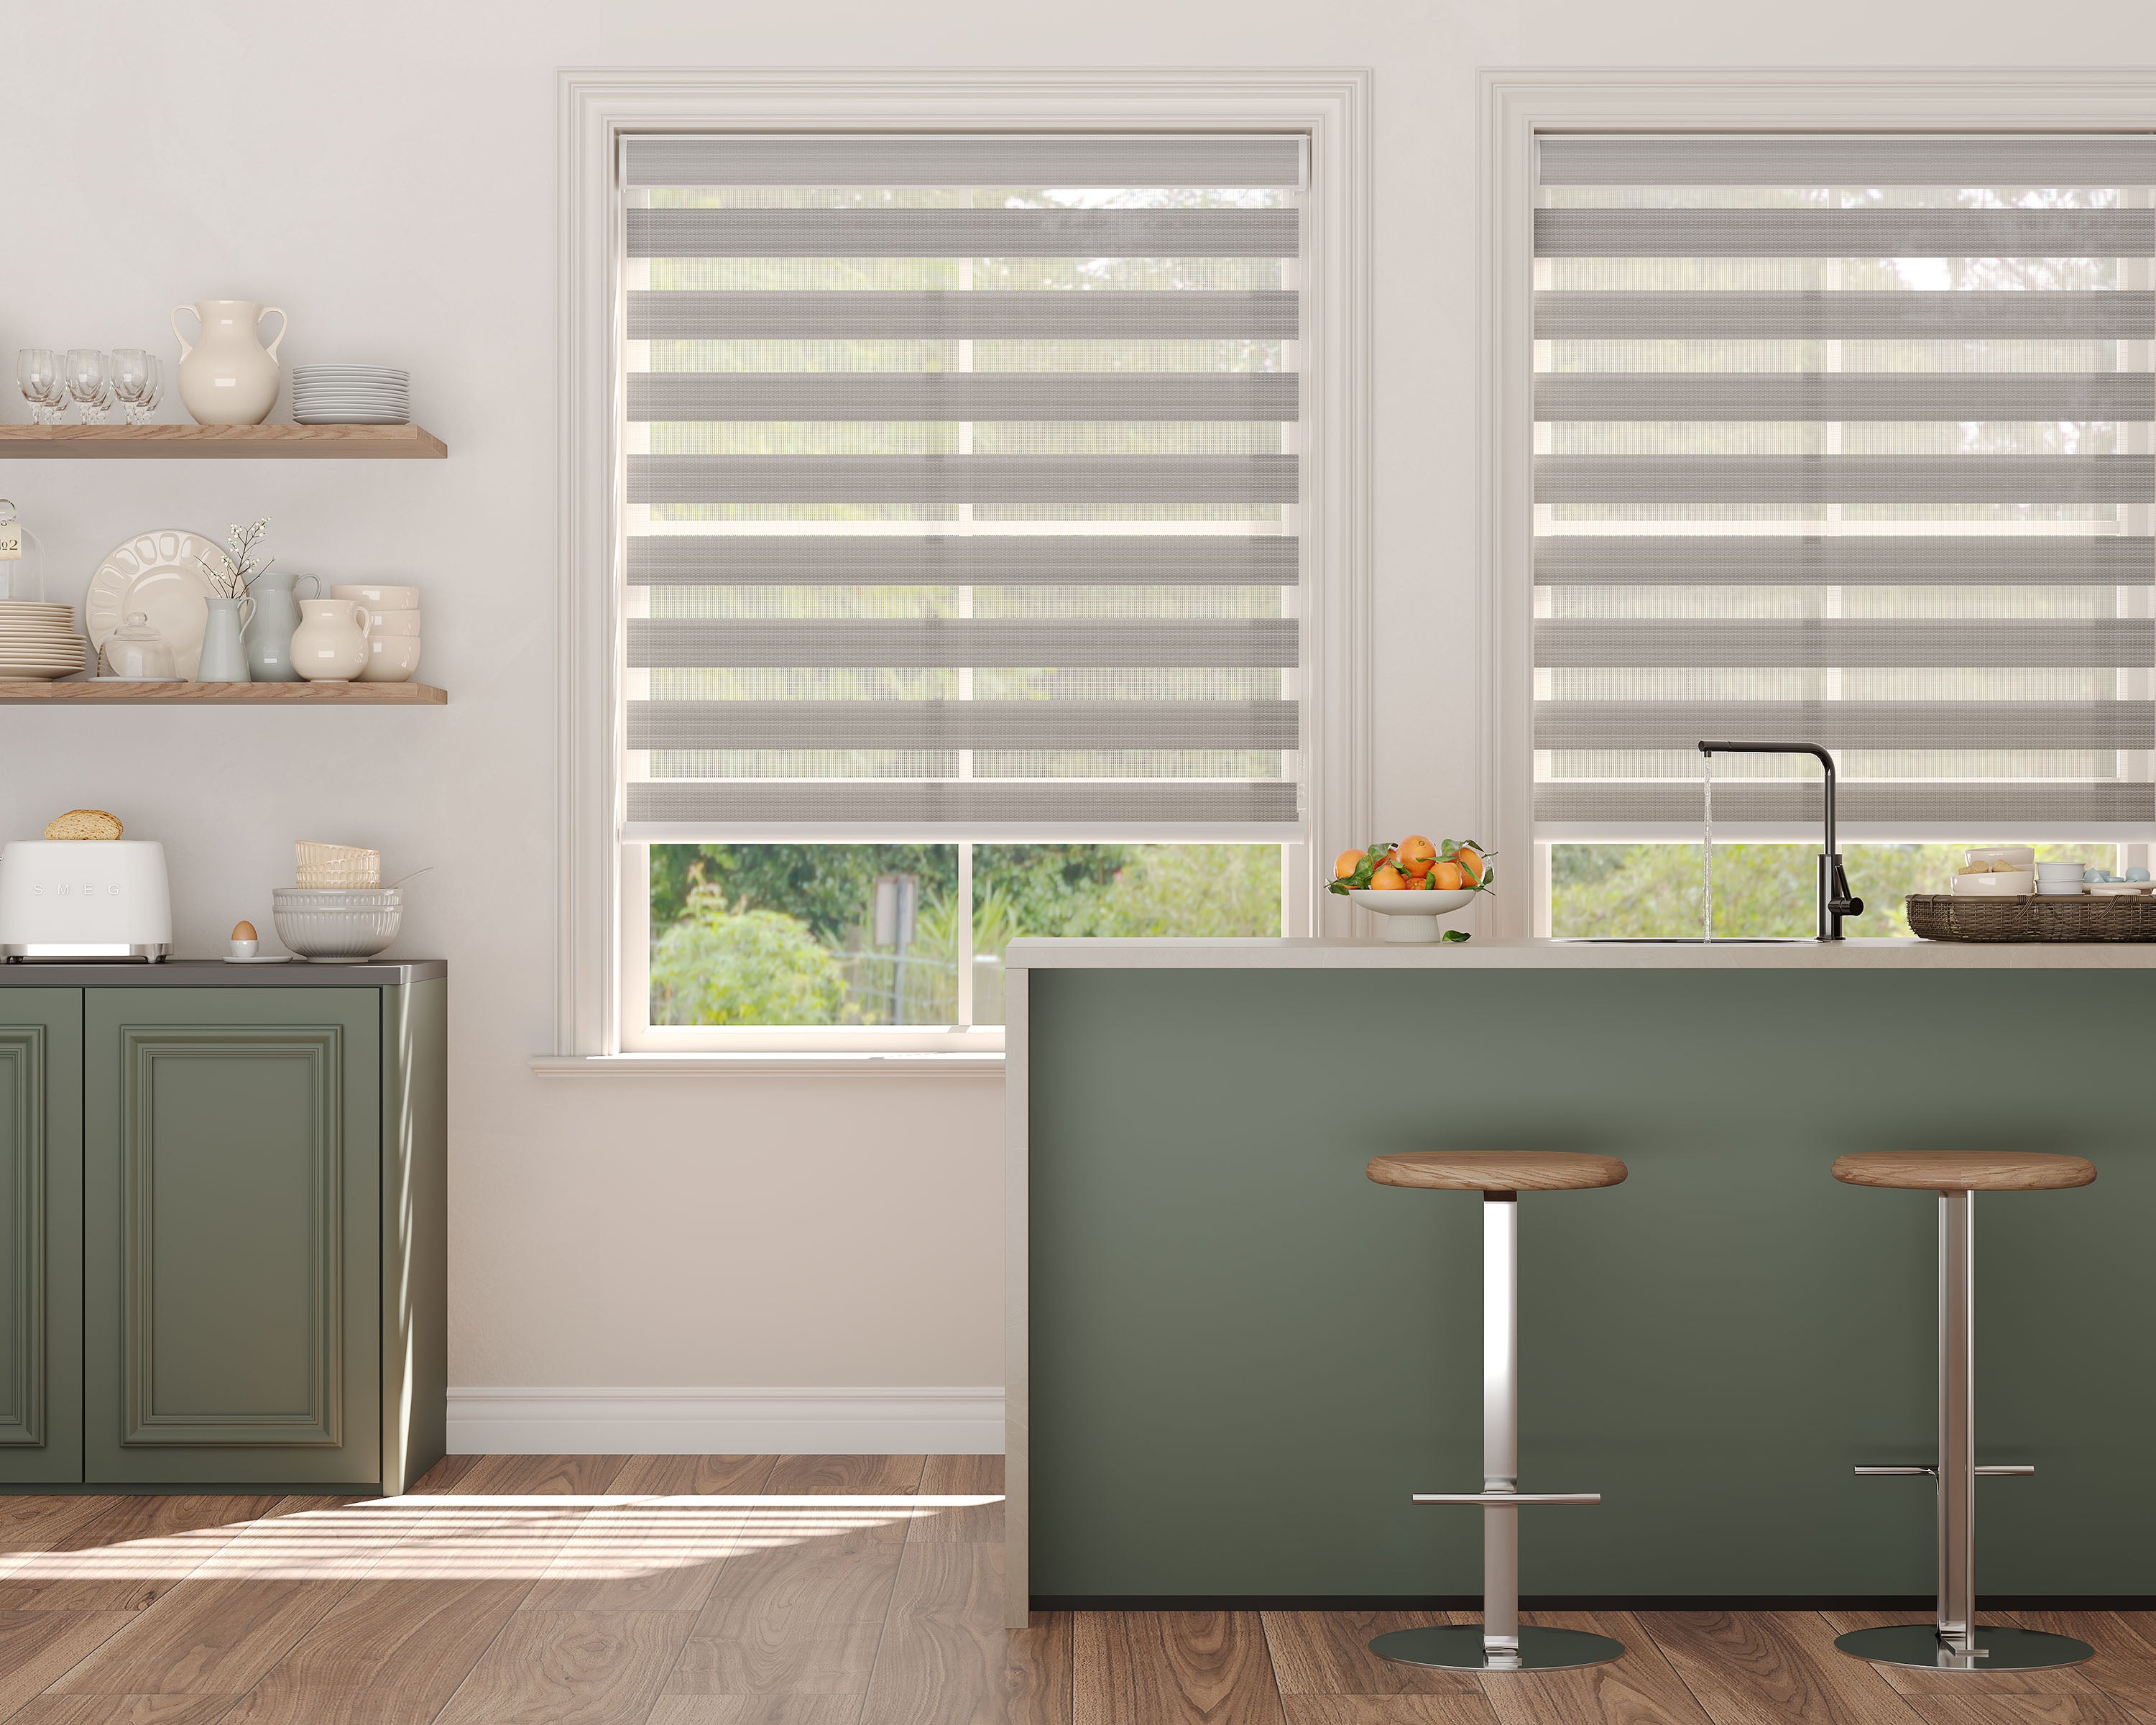
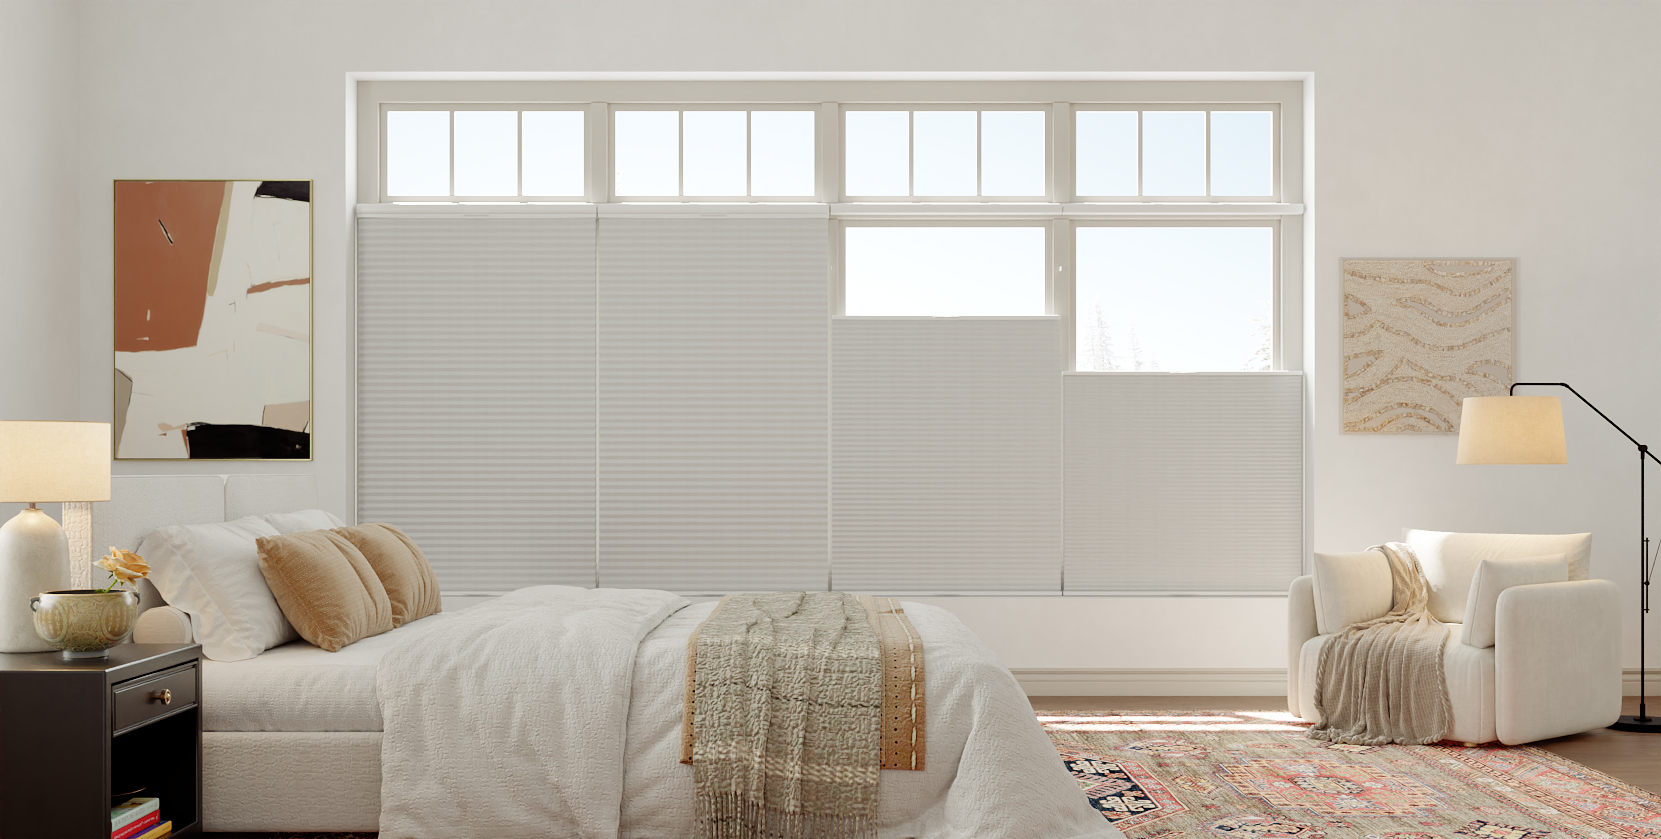
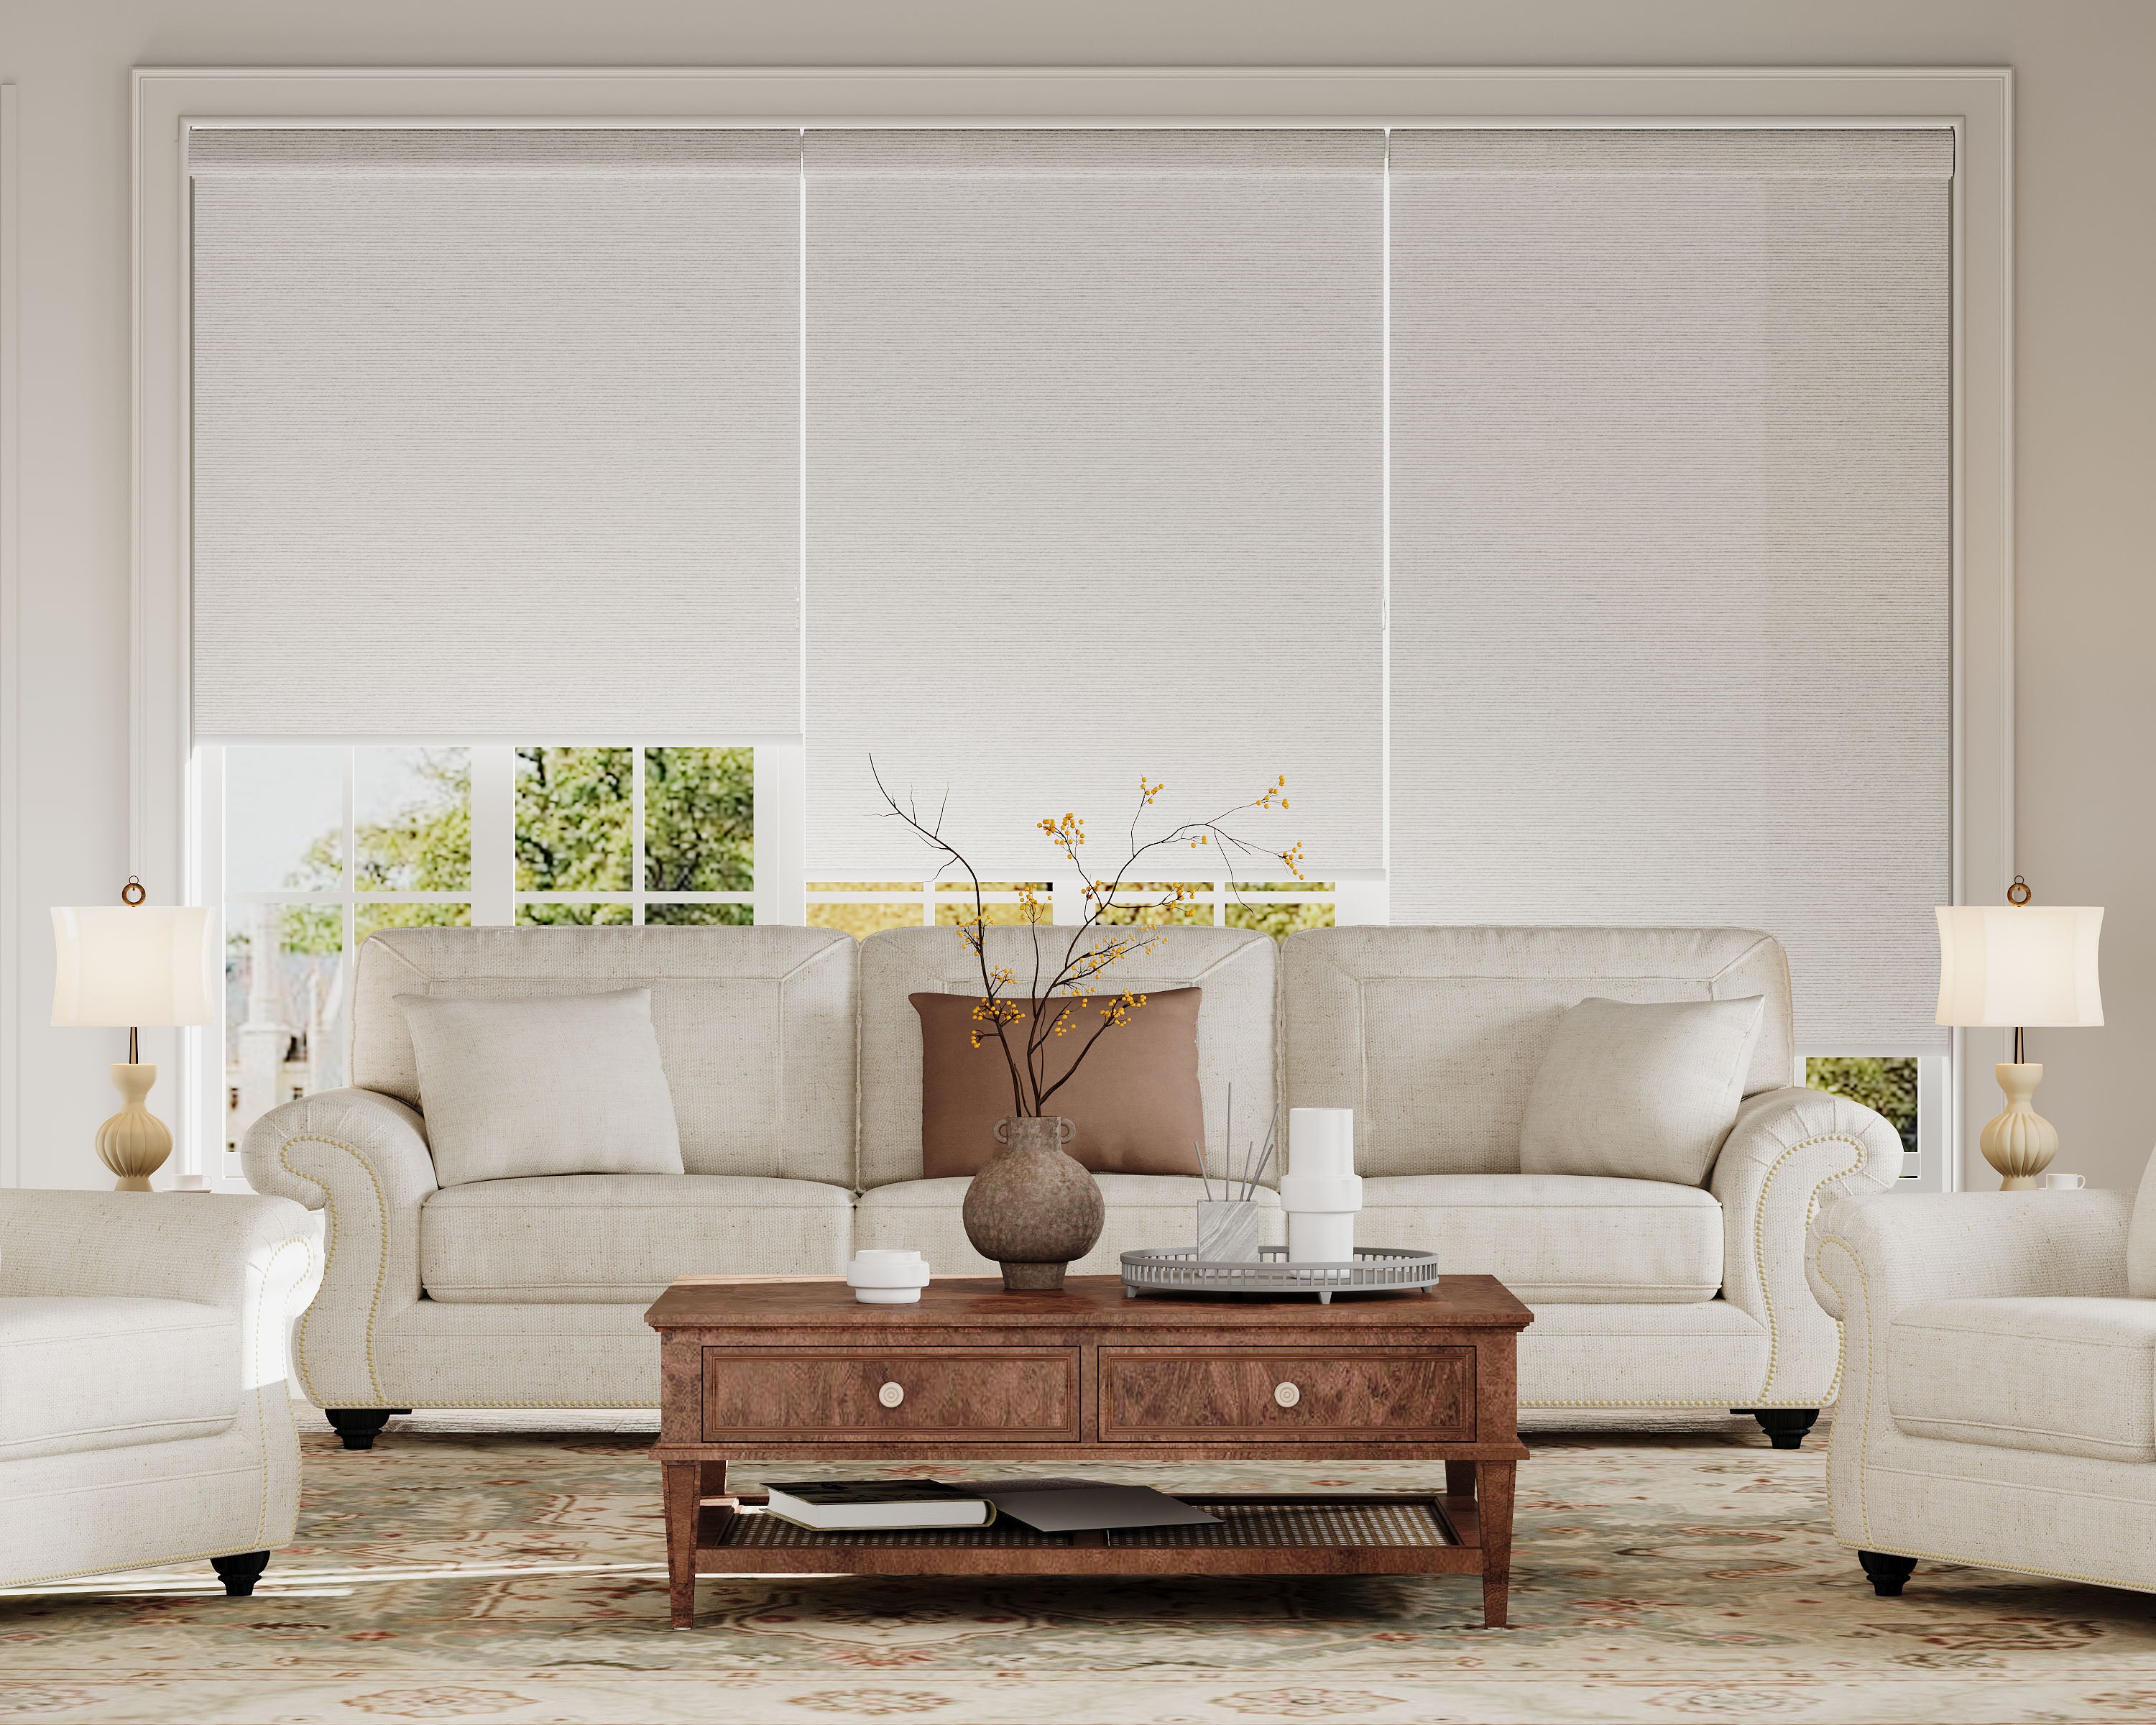
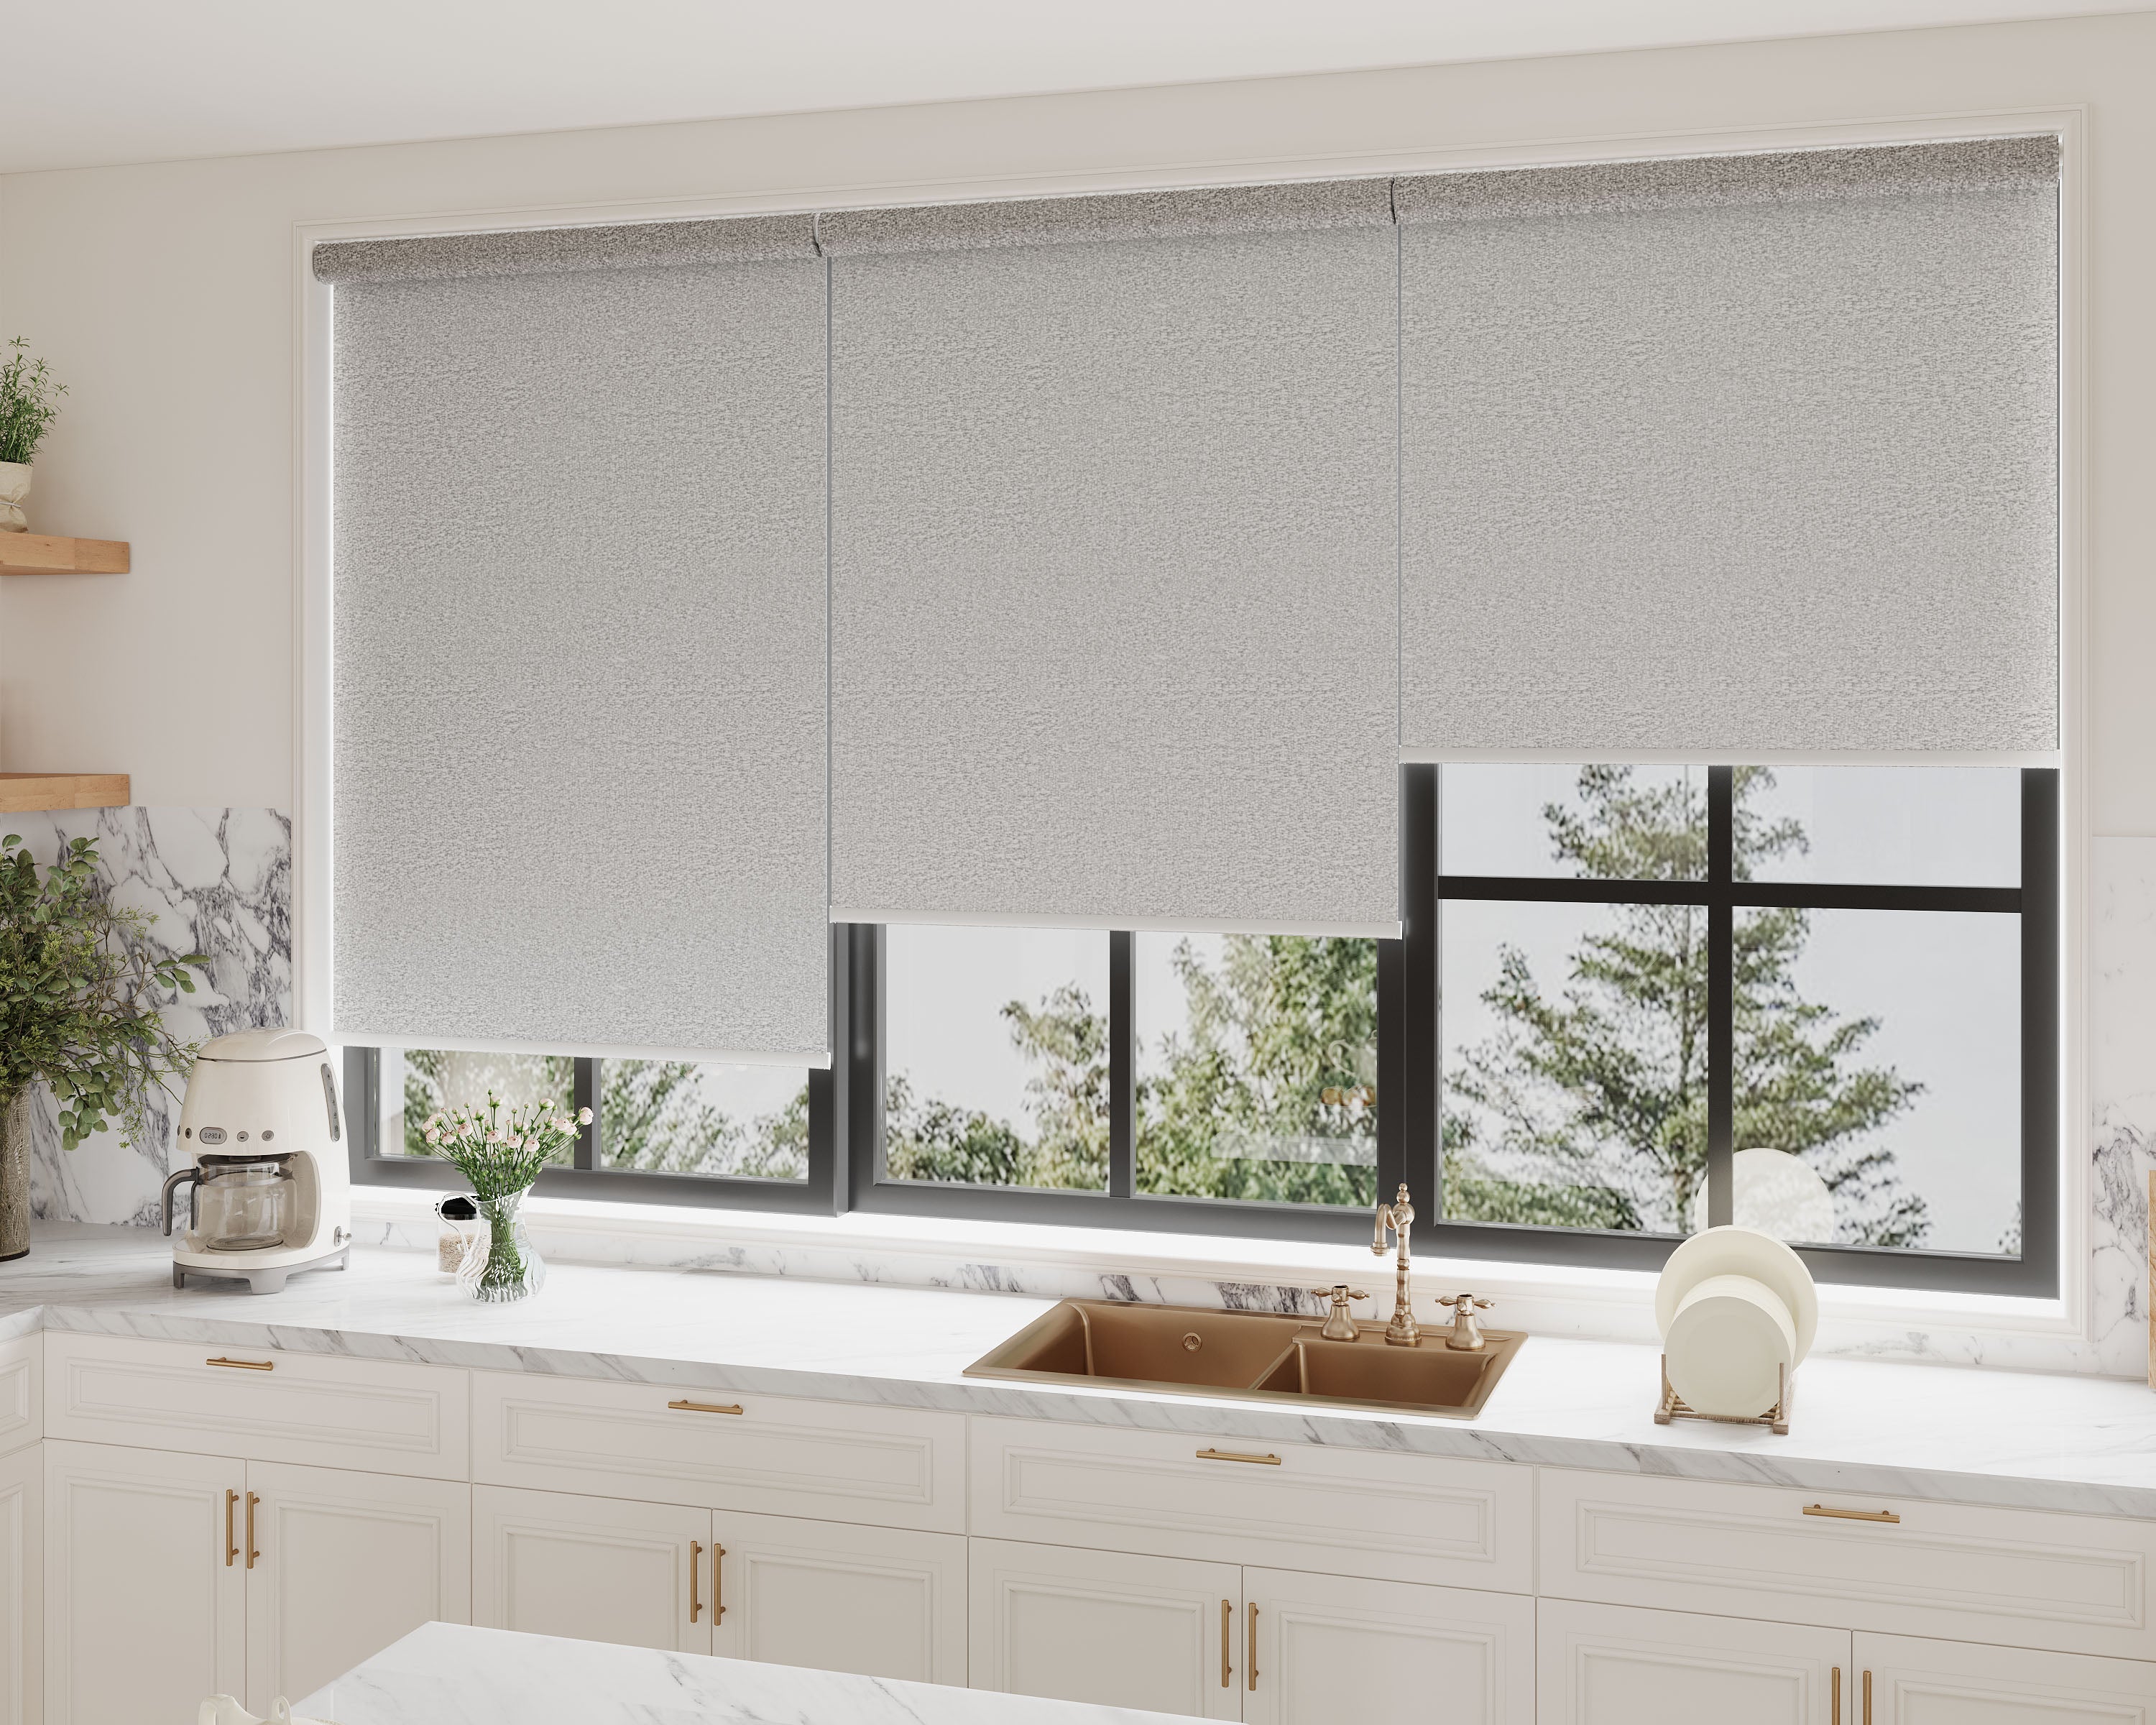
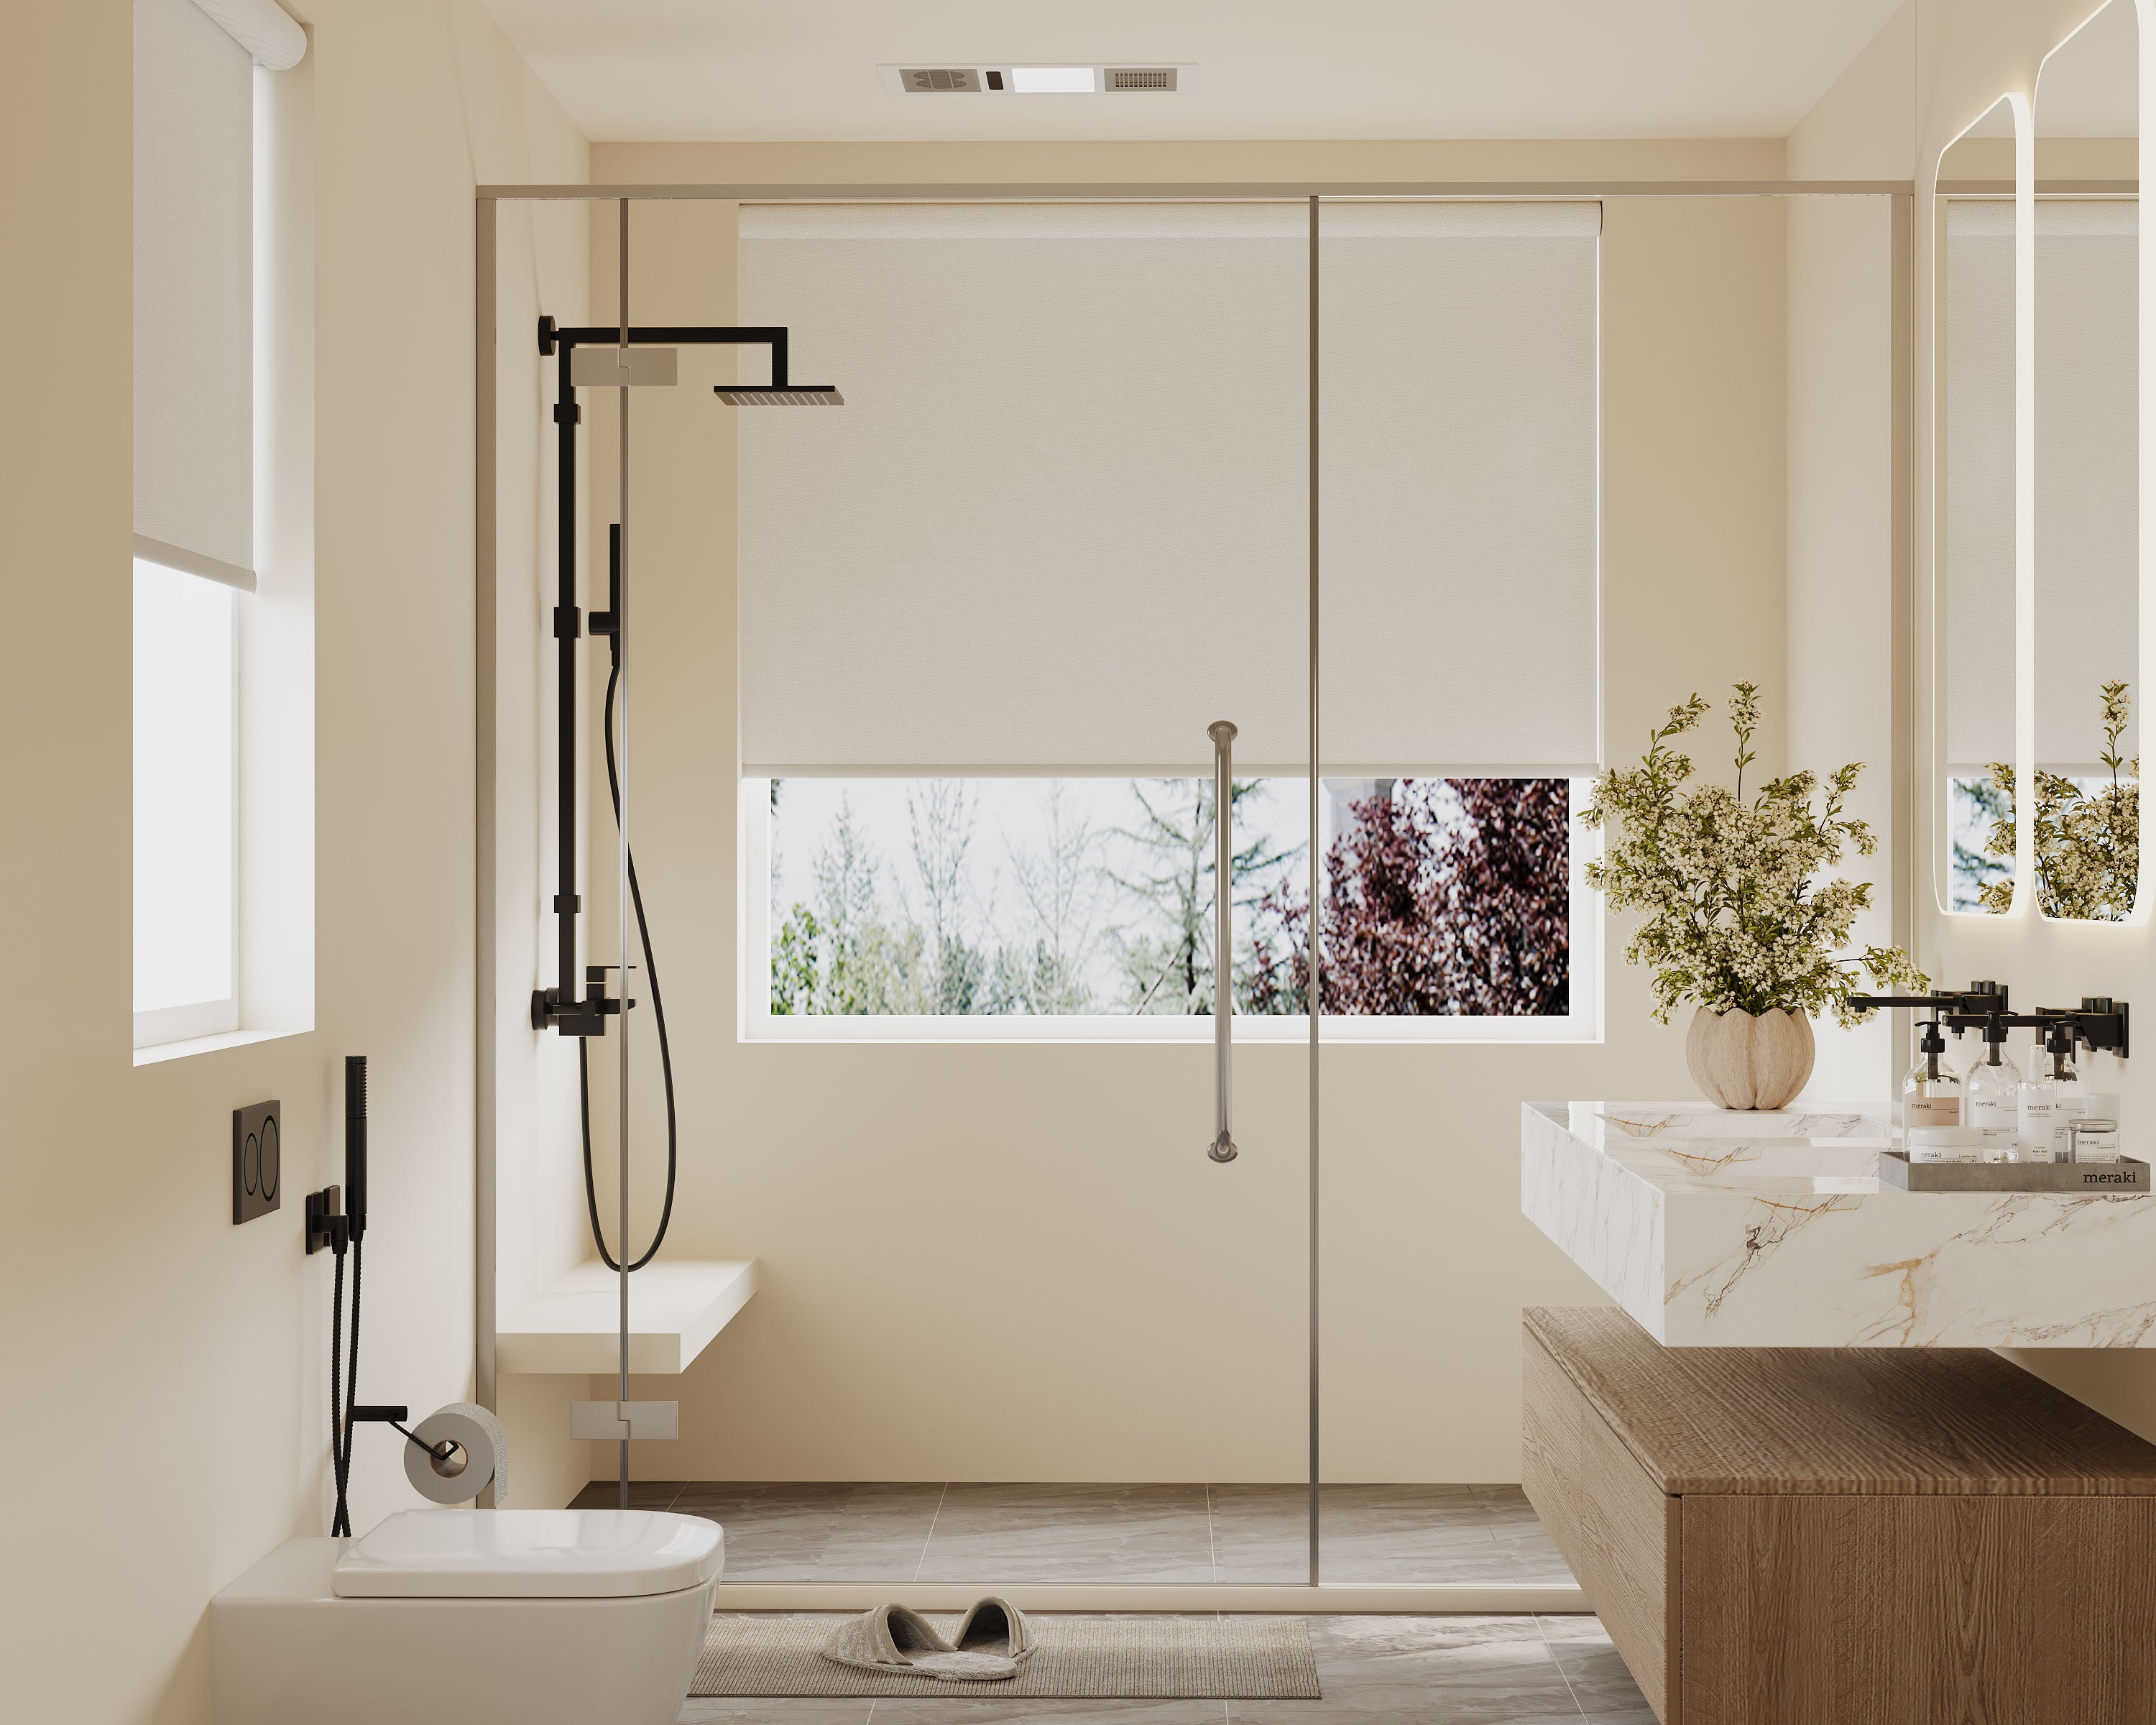
Ever stared at a big, beautiful window and thought, “There’s gotta be a better way to control light and privacy than just slapping up one giant shade”? Many homeowners solve this by using triple‑panel roller shades, which offer far more control and flexibility. If you want to manage light in sections, cover a wide window, or just add more flexibility, using three separate shades in one window might be the move. This trick works especially well for patio doors, extra-wide windows, or when everyone in the house has their own preferences.
Getting the sizing right is just as important as how many shades you use. Nobody wants weird gaps or shades that overlap in a way that just looks off. Plus, with so many shade styles out there, you can match your setup to your room’s vibe without much fuss.
Key Takeaways
- Three shades are super practical for wide or shared windows.
- Measuring precisely is absolutely essential.
- Style and installation should fit your room’s needs.
Why Use Three Shades in One Window?
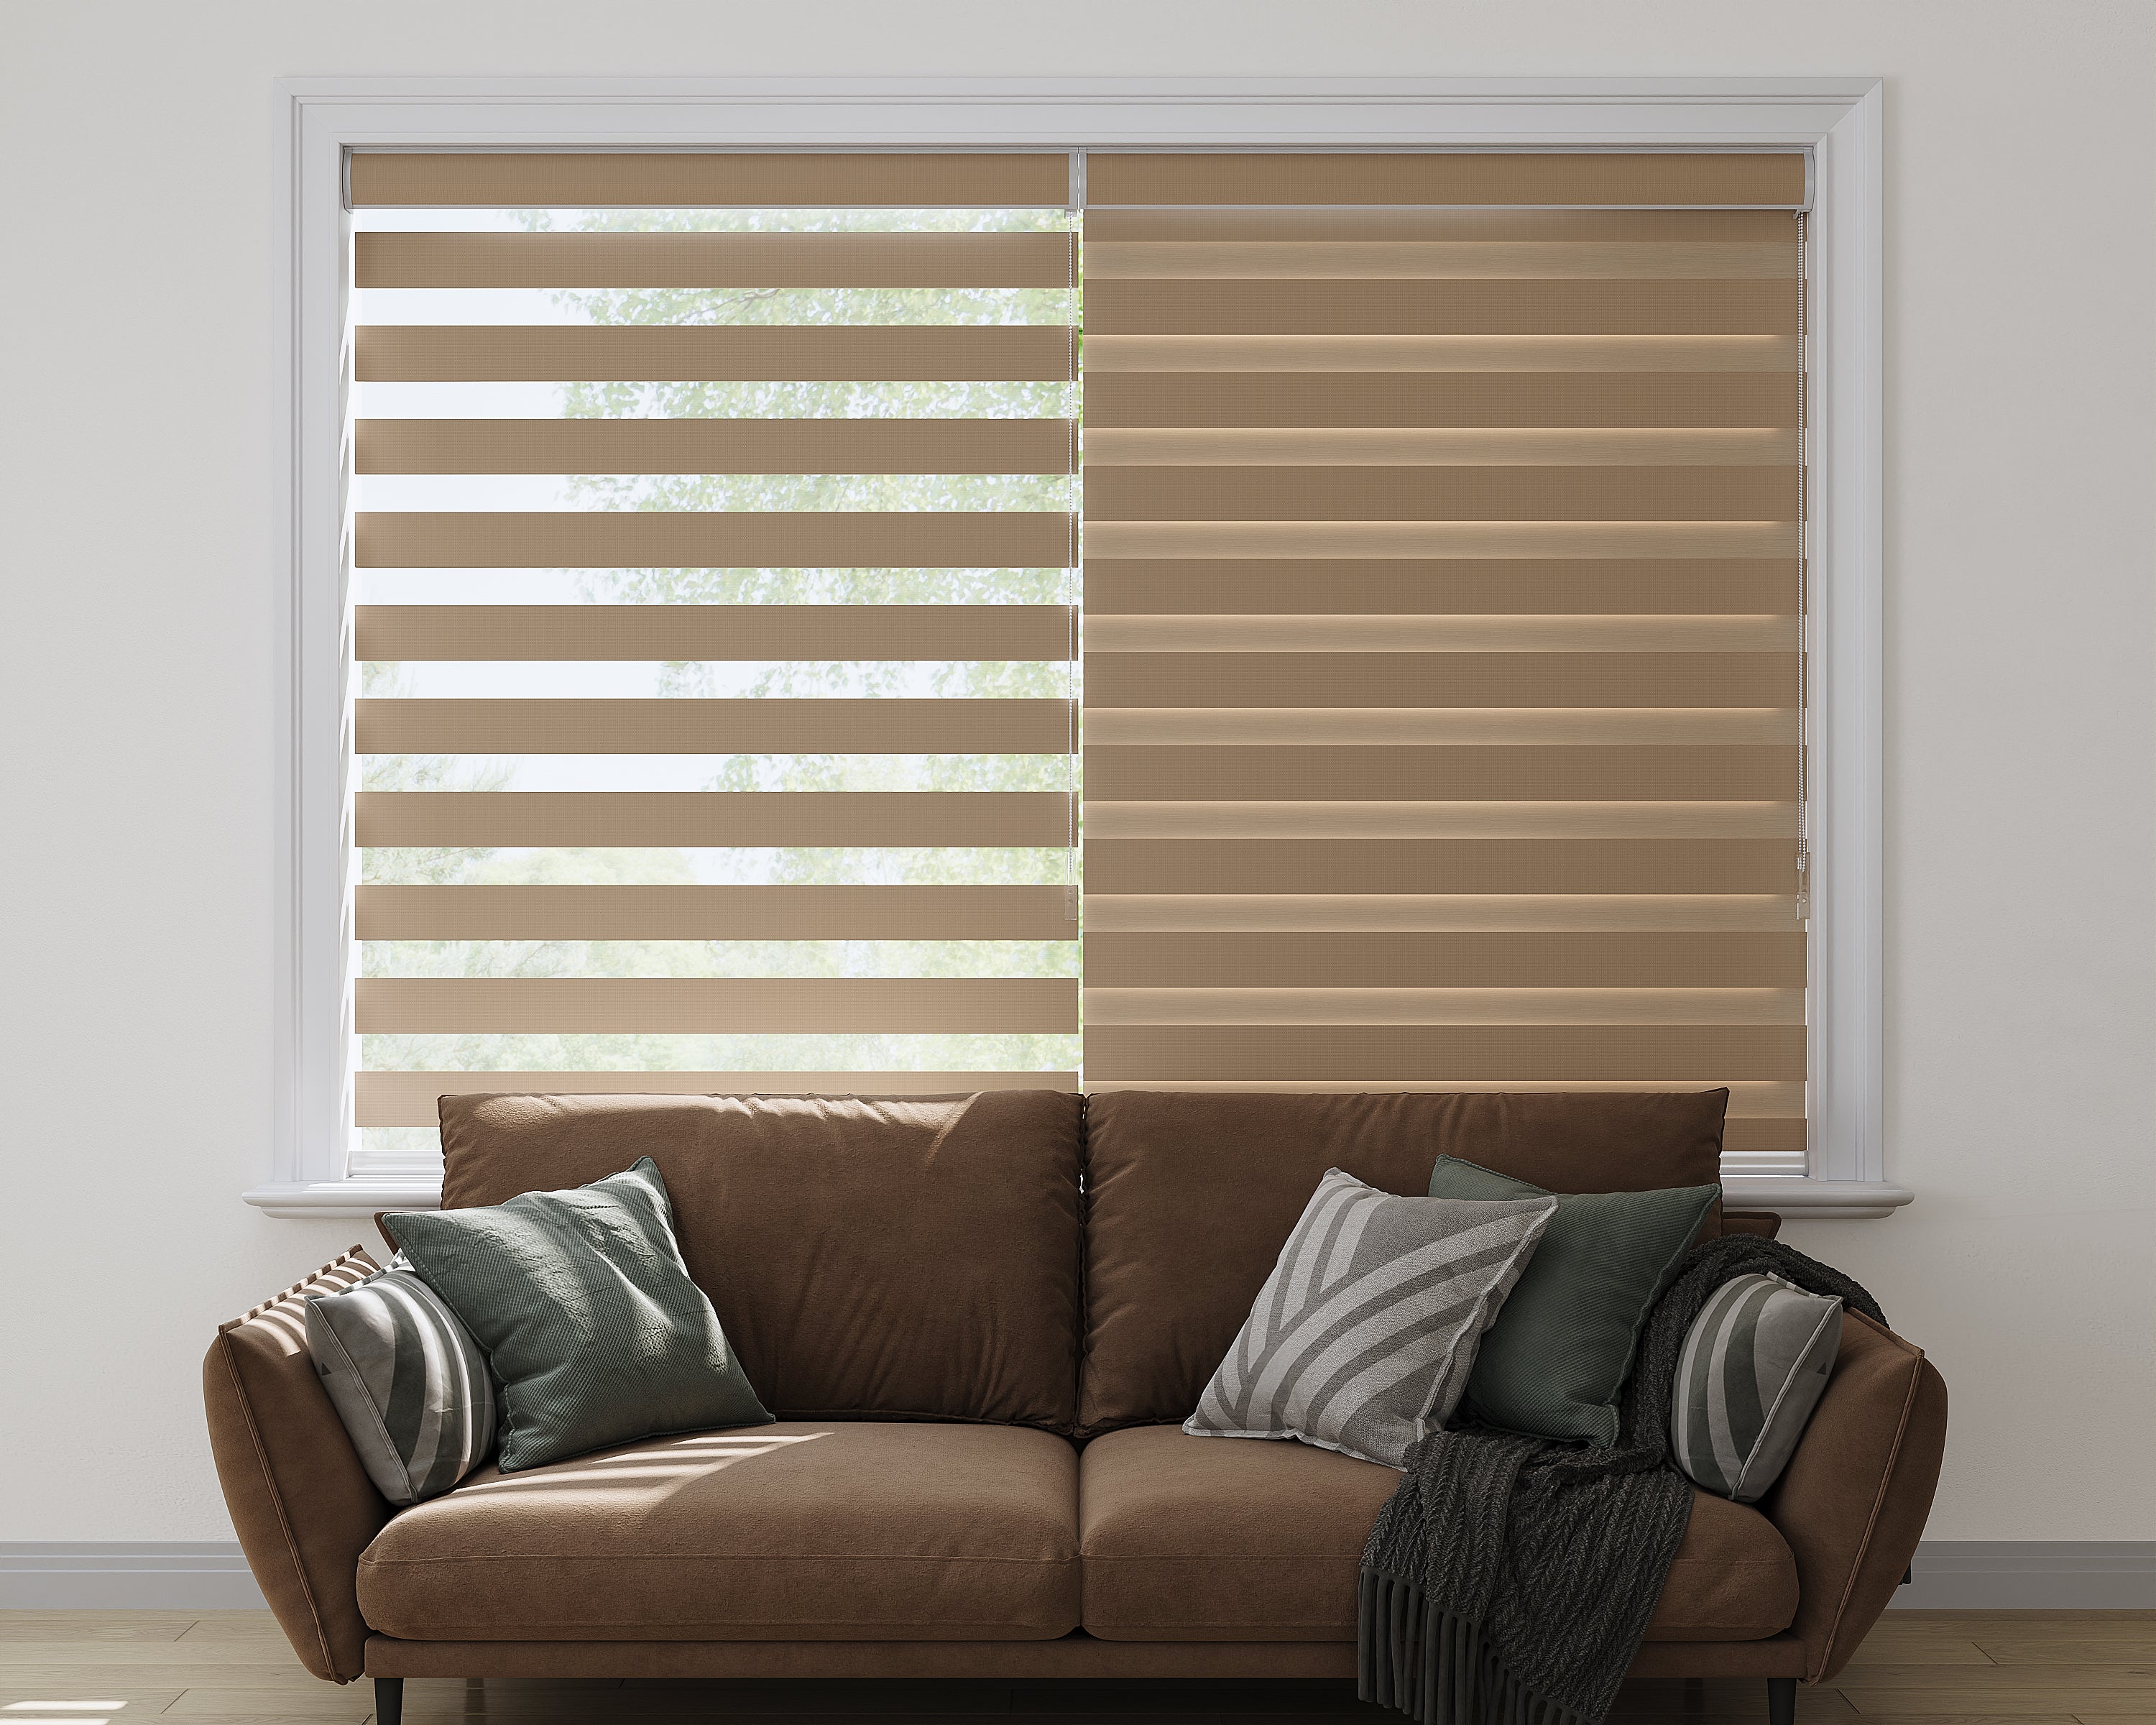
Three separate shades on a single window let you adjust light, privacy, and the whole mood in a way that one big shade just can’t. It’s a way to personalize each section, add some visual interest, and make your windows stand out.
Maximizing Light Control
With three shades, you’re in the driver’s seat when it comes to daylight. Instead of just raising or lowering one huge shade, you can tweak each section to match the sun or your daily routine.
Maybe you want the middle shade up for a bright workspace, but keep the sides down to cut glare or keep your view private. If your window faces a weird angle, splitting it into panels helps keep the light balanced.
You can lower just the leftmost shade in the morning, pop it up by noon, and drop the right-side panel in the late afternoon. It’s all about flexibility. For the cleanest results, choosing the right mounting style for multi‑panel shades makes a huge difference in how evenly the panels line up.
Achieving Flexible Privacy
Three shades give you more privacy options. If your window faces the street or a neighbor, you don’t have to block all the light just to get some peace.
You can keep the lower or side panels down for privacy and leave the rest open for some sunshine. This partial coverage is perfect if you want to work or chill without feeling like you’re on display.
A few privacy scenarios where three shades really help:
- Keeping the bottom panel down in a ground-floor room
- Covering only the side panels if someone’s walking by
- Letting pets look out without giving everyone a peek inside
It’s a practical way to stay comfortable without feeling boxed in. To size each panel correctly, start with the basics of how to measure windows accurately so your panels don’t bind or overlap.
Creating a Unique Design Statement
Breaking up a window into three panels isn’t just about function—it’s a design choice, too. It adds depth and makes a big expanse of glass more interesting.
You can mix materials or colors for a bold look. Maybe light-filtering fabric in the center, blackout on the sides, or a pop of color right in the middle. There’s a lot more room for creativity here than with one big shade.
It also brings a sense of order and symmetry, especially if you’ve got several windows in a row. It turns a basic window treatment into something that really shows off your style.
Ideal Room Scenarios for Triple Shade Installation
Triple shade setups aren’t just for looks—they’re practical for privacy, light control, and making sense of big, tricky windows. Matching the right layout to the right space is where these shades really come into their own.
Large Picture Windows
Big picture windows bring in tons of light, but also heat, glare, and maybe a little too much visibility from outside. Three shades let you adjust each section on its own, so you can filter sunlight and still enjoy the view.
A single shade on a wide window can feel clunky. Three panels break up the mass and are easier to use. If the couch is in front of the center panel, just close that one for TV time—no need to darken the whole room.
Measure carefully to avoid gaps between panels. Usually, making each panel equal or matching the window’s grid keeps things looking sharp.
Bay and Bow Windows
Bay and bow windows have loads of character, but they’re tricky to cover. Triple shades fit neatly into each section.
You can tilt or lift one shade at a time. Drop the east-facing one for morning sun, adjust the sides for privacy. No need to treat the whole thing as one giant window, so you keep that open, bright feeling.
With odd angles, follow the lines of the bay or bow for a snug fit. Inside mounts work well for a built-in look and keep the trim visible.
Sliding Glass Doors
Sliding glass doors get a lot of use, so you need shades that are easy to move. Three shades cover the whole door, but you can open just one or two panels when you need to go outside, leaving the rest for shade or privacy.
It’s handy when you’re entertaining or running in and out—no wrestling with a giant shade. For sliding doors, overlapping panels or setting shades right to the edge of the frame stops annoying light leaks, especially where the doors meet. Cordless or motorized controls make things even easier and safer for kids and pets.
How to Size Each Shade Panel Correctly
Sizing three shades for one window can be a bit of a puzzle, but with careful measuring and a plan, you’ll get a clean fit. Getting the width right, figuring out how to split things up, and dealing with overlaps will save you lots of hassle.
Measuring the Total Window Width
Grab your tape measure and check both the inside and outside frame widths. Measure at the top, middle, and bottom—windows are rarely perfectly square.
If the window trim or casing matters, include that. For inside mounts, use the narrowest width so nothing gets pinched. For outside mounts, add 2-4 inches to block light gaps.
Double-check your numbers. A mistake here means crooked shades, and nobody wants that. When installing multiple shades side‑by‑side, understanding preventing light gaps between shade panels helps you avoid slivers of sunlight sneaking through.
Dividing Panels Evenly vs. Custom Sizing
You’ll usually pick between splitting the window into three equal panels or making them custom widths. Equal panels look symmetrical and work well for most modern windows.
Custom sizing is better if the window has mullions, trim, or off-center stuff like handles in the way. In that case, measure each section and size each shade to fit.
If you’re going custom, a quick table helps:
| Panel | Measured Section Width | Panel Width (recommended) |
|---|---|---|
| Left | 24 inches | 24 inches |
| Center | 30 inches | 30 inches |
| Right | 22 inches | 22 inches |
Check that your widths add up to the total. Miscalculate here, and shades won’t line up—never fun. If your window has handles, mullions, or uneven spacing, these custom sizing for tricky window layouts tips can help you avoid alignment issues.
Allowing for Overlaps and Gaps
You want to avoid those slivers of sunlight sneaking through or awkward bumps where shades meet. If the shades are side-by-side, a small overlap (about half an inch per edge) helps block light.
For inside mounts, account for hardware spacing too. Subtract about 1/8 to 1/4 inch from each side to keep shades from sticking. A sticky shade is only amusing for about three seconds.
Try taping paper templates to the window to see how overlaps and gaps look. If you spot a gap or it looks crowded, adjust before cutting or ordering. And if your frame depth is tight or uneven, consider these solutions for shallow or uneven frames before finalizing your panel widths. Nobody wants to reorder because the gaps didn’t work out.
Selecting the Best Shade Types for a Triple Setup
Picking shades for three panels isn’t just about style. You want the right mix of function, looks, and ease of use, so your space works for you every day.
Roller Shades
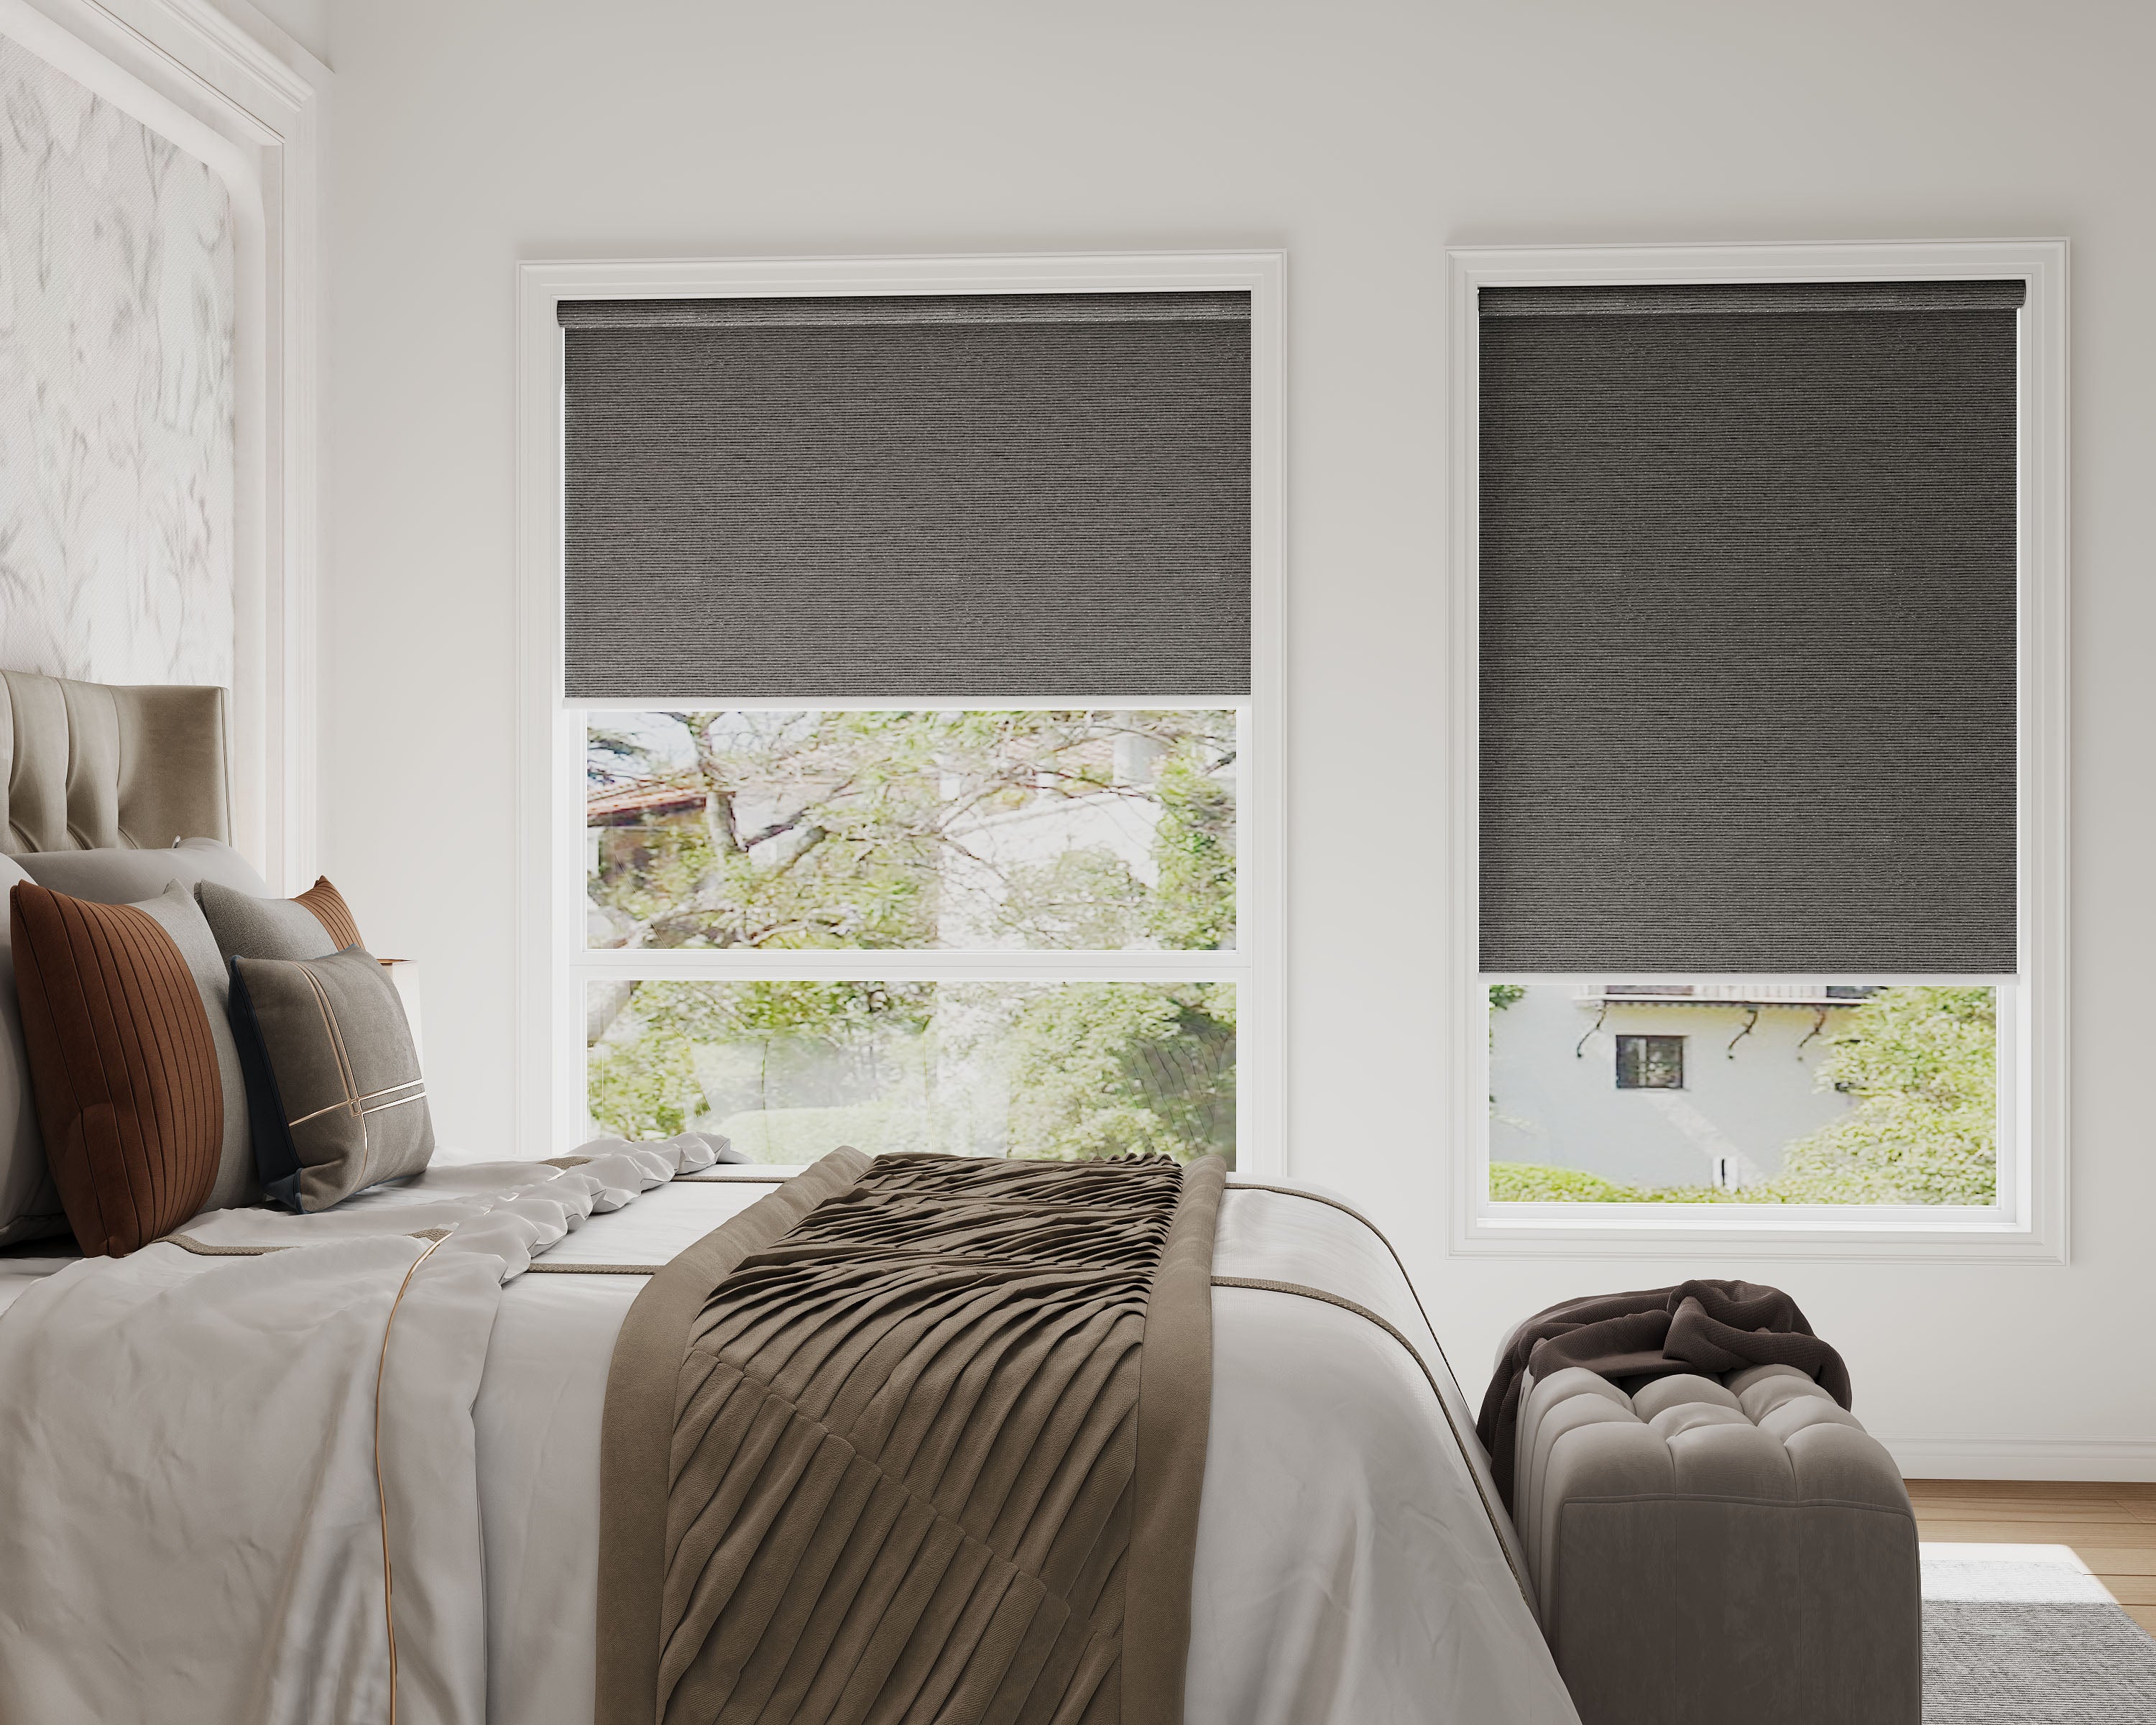
Roller shades are a great pick if you want a modern, low-profile look. They don’t fight with your window trim, and each panel can be sized to fit perfectly, so you get clean lines with barely any gap.
There’s a huge range of fabrics—sheer, blackout, even thermal. You can run three rollers independently, which is perfect if you want to control light in each panel. For a tidy look, line up the tops and use matching valances or cassette headers.
Roller shades are easy to clean—a quick dust or wipe does the trick. If you’re into automation, most have smart lift options that work with home systems.
Roman Shades
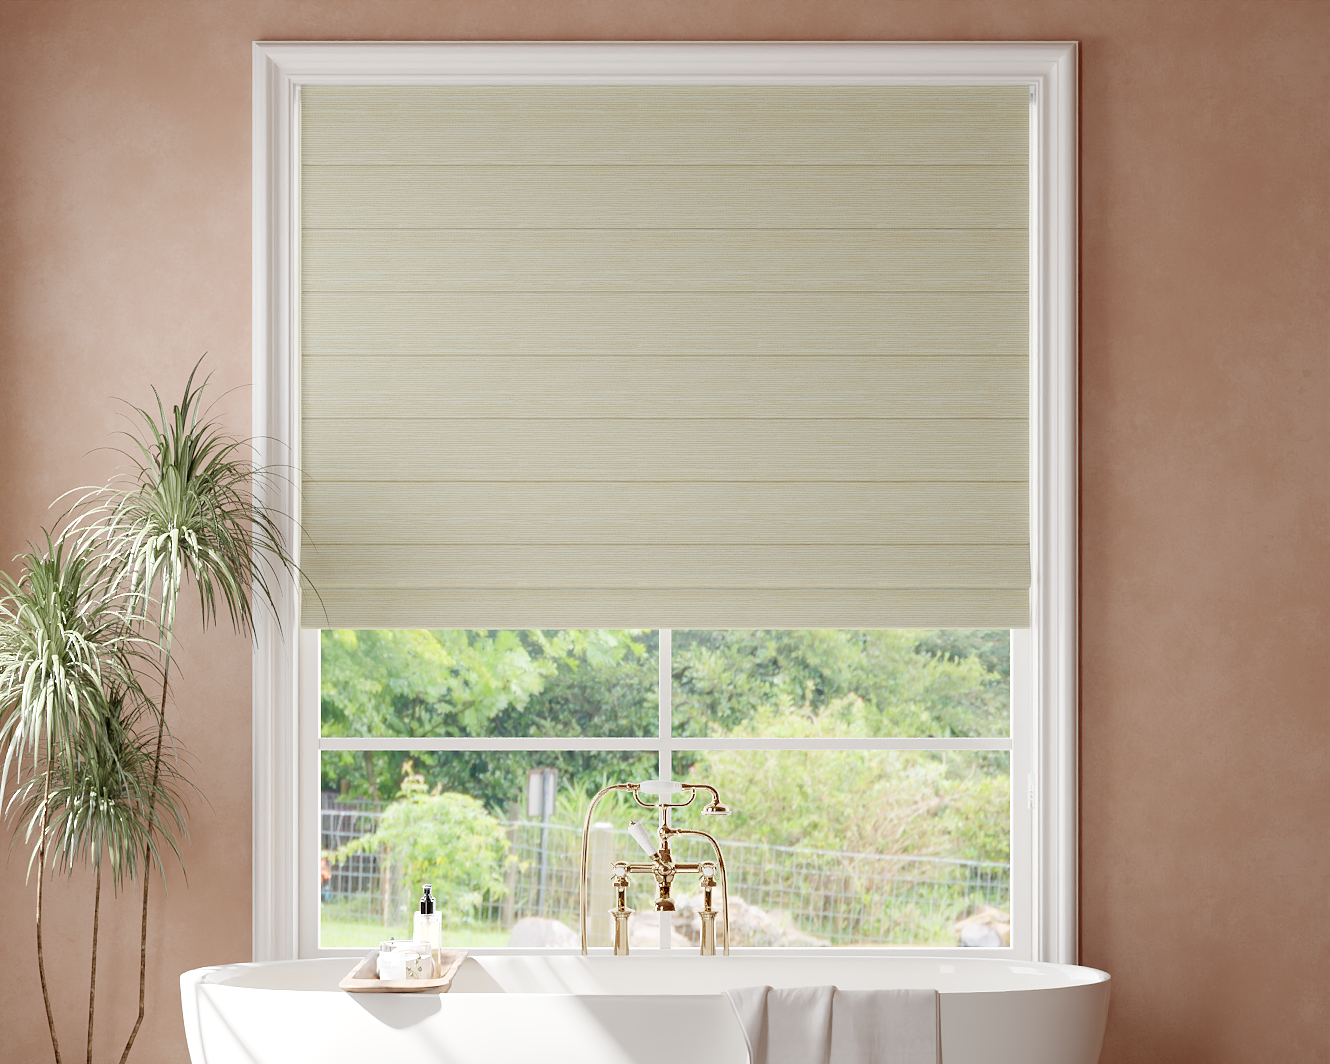
Roman shades bring softness and texture you just can’t get with other types. They’re great if your window is a focal point or you want to use patterned or fancy fabrics.
With three panels, pay attention to matching the folds across each section. If your panels aren’t the same size, custom shades are the way to go so everything lines up. Romans can be heavier, so cord management matters—cordless or continuous loop mechanisms are safer and easier.
The big draw here is design flexibility. You can match with pillows or upholstery for a pulled-together look. Romans insulate a bit but might not block as much light unless you add blackout lining.
Cellular and Honeycomb Shades
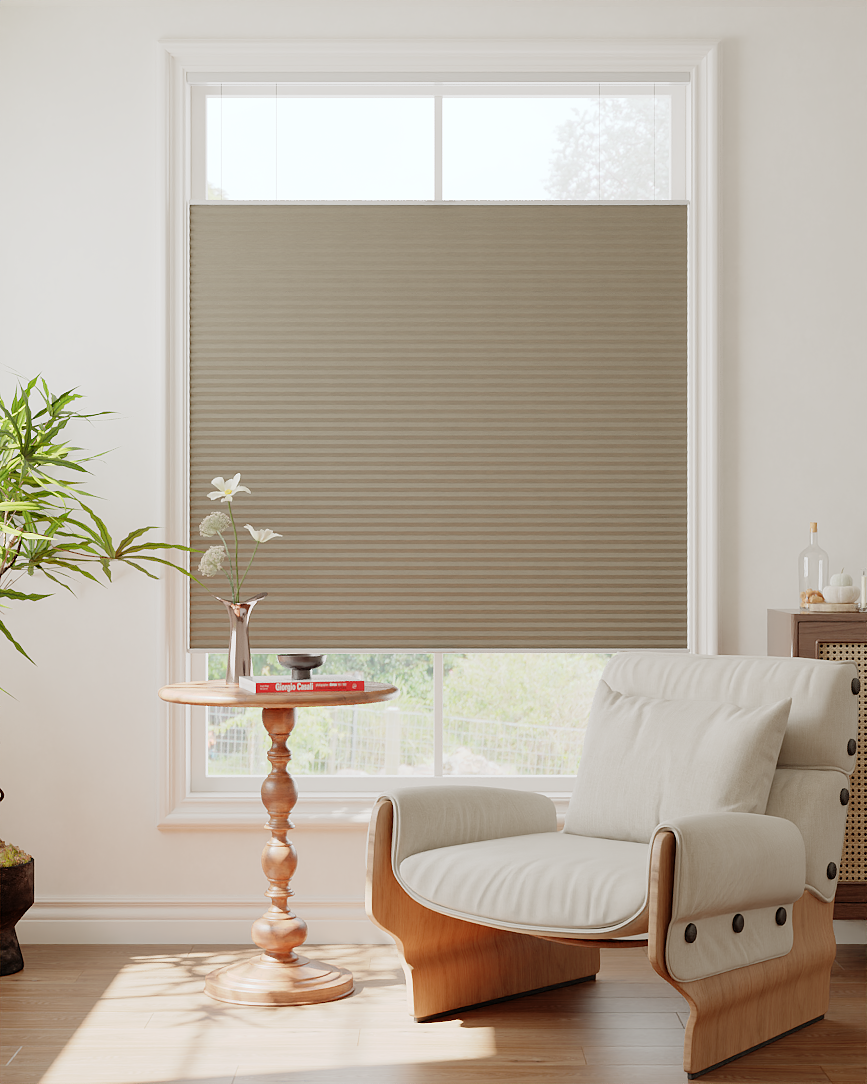
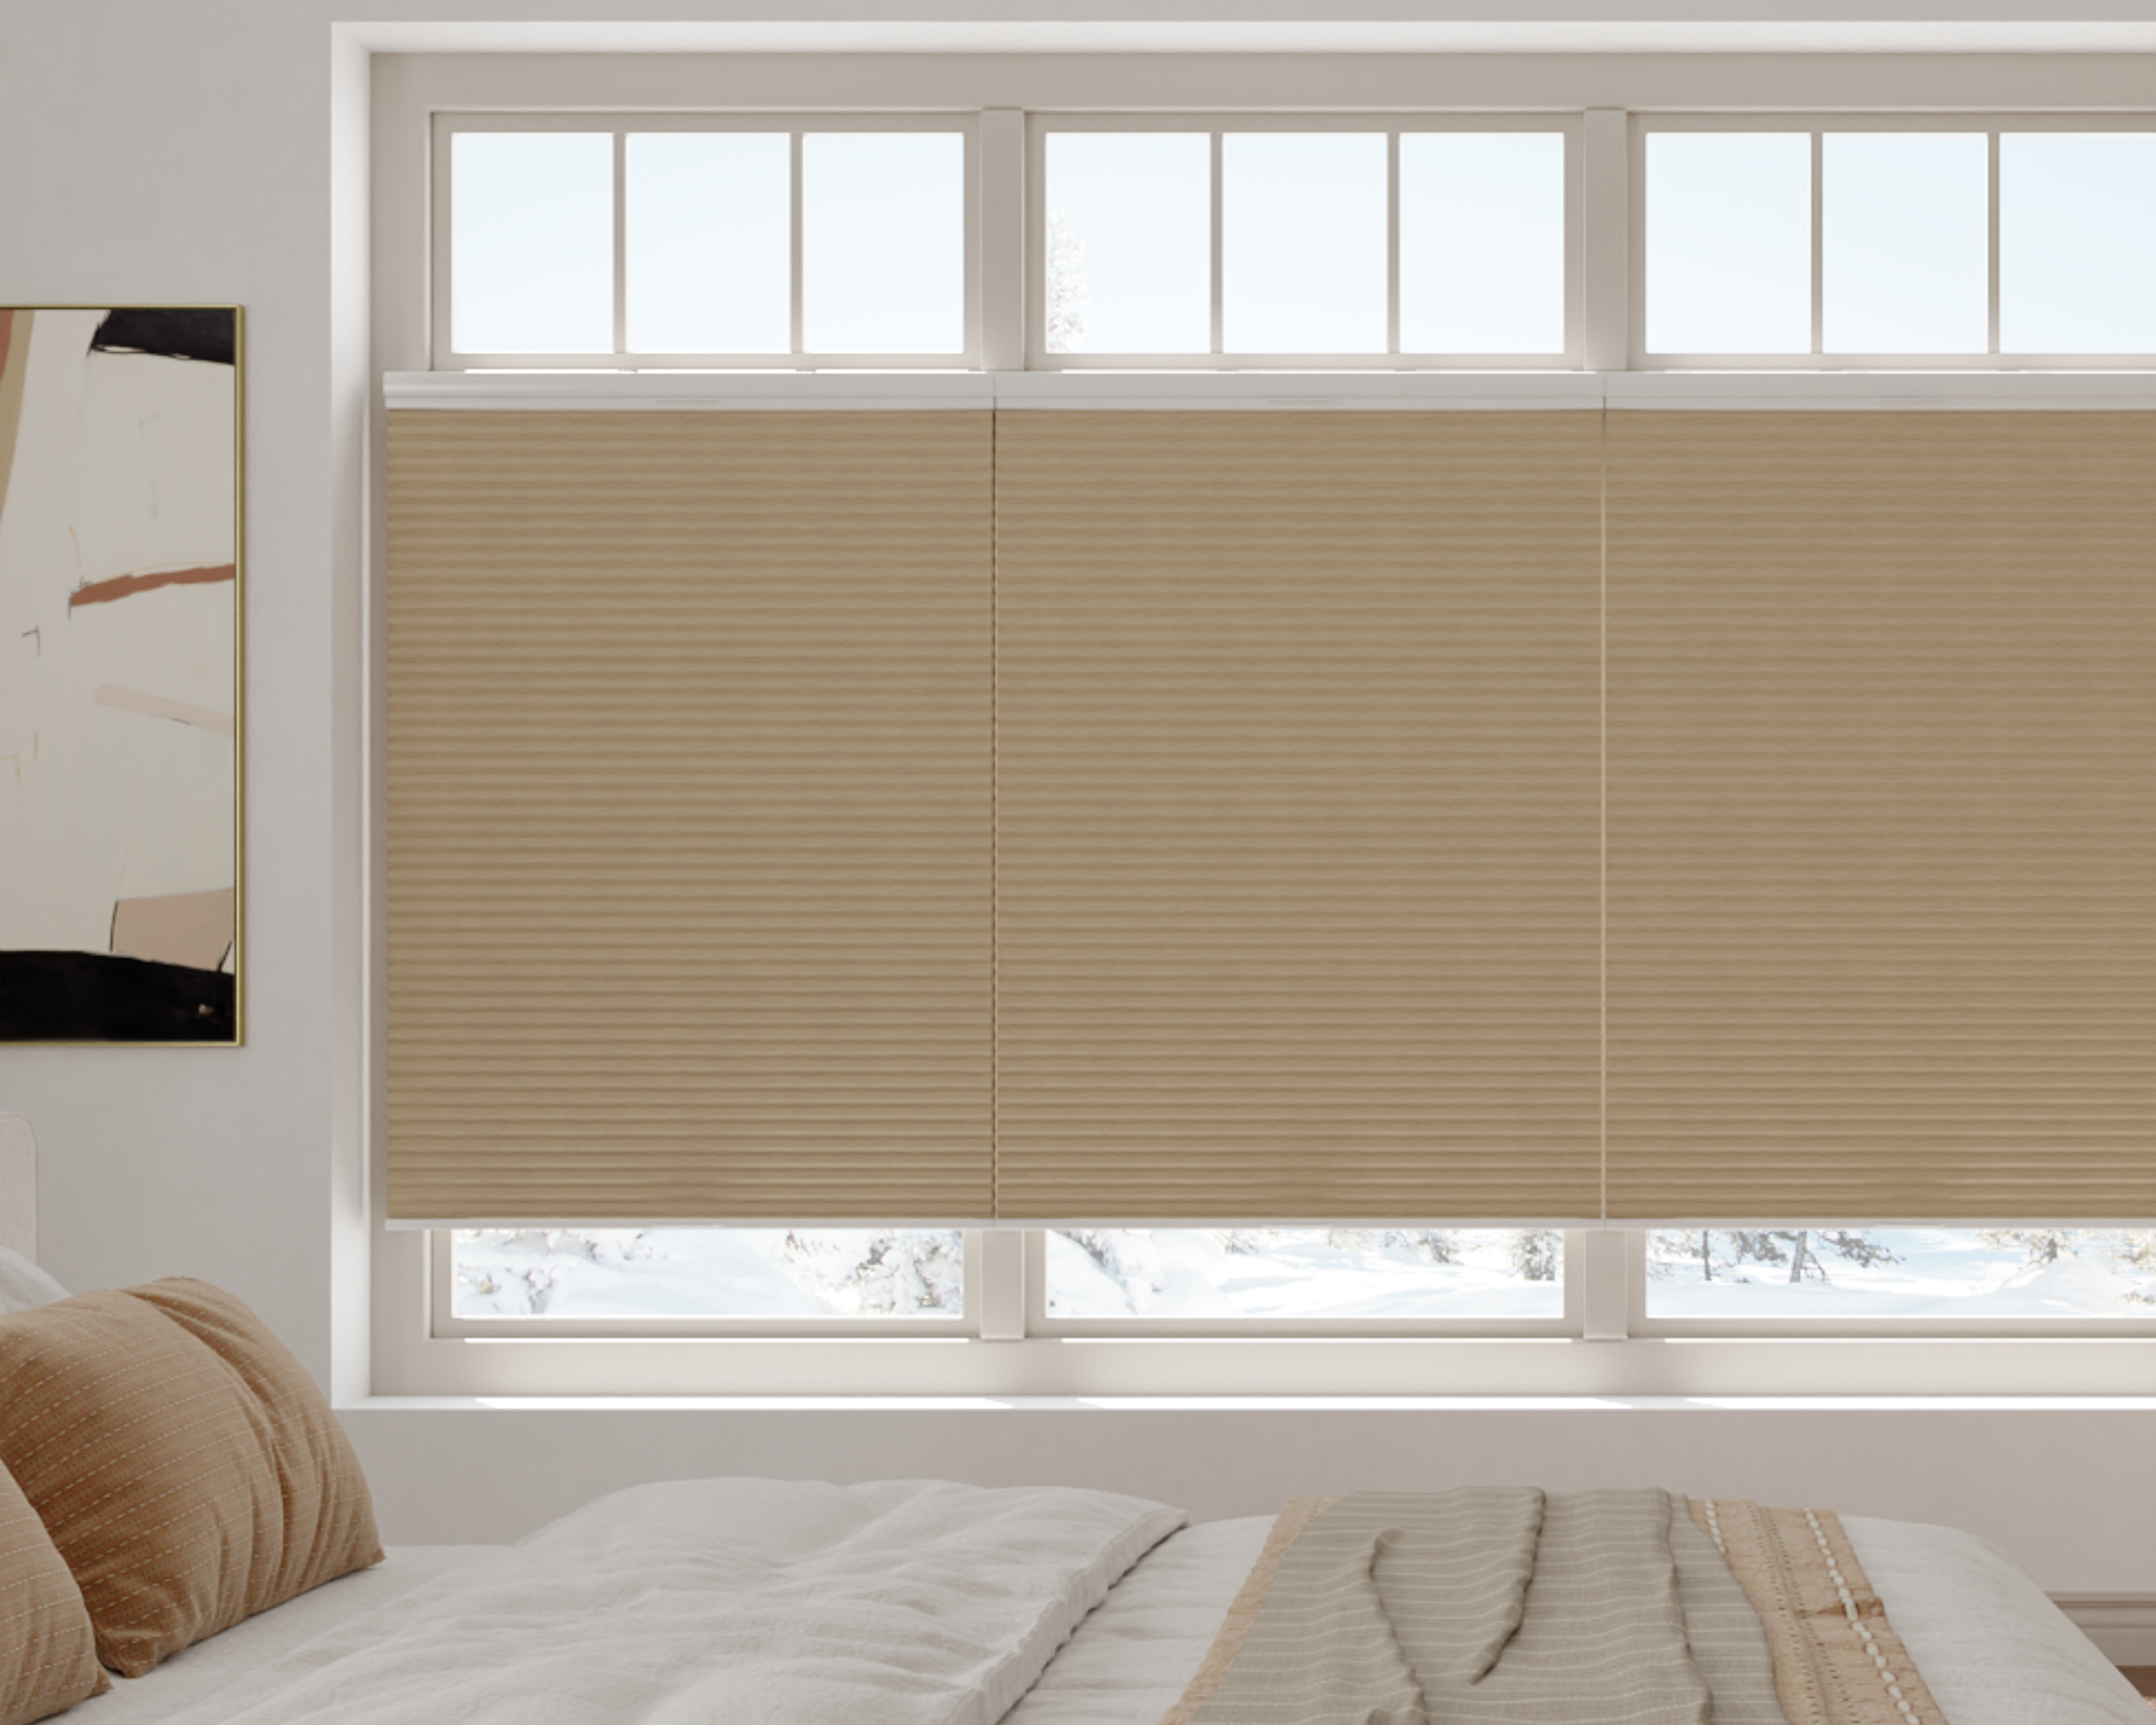
Cellular and honeycomb shades give you extra insulation, so they’re a solid pick if you want to save on energy bills. Their structure traps air, keeping rooms cooler or warmer as needed.
Measure each panel’s width carefully to keep the cells lined up. Since these shades fit close to the glass, you get privacy and a clean look. With single, double, or triple cell options, you can match your climate and your style.
They come in light-filtering or blackout fabrics, and it’s easy to get child-safe versions. Cellular shades are lightweight, so lifting three panels is no problem. They’re especially good for bedrooms, offices, or anywhere you want better temperature control.
Installation Tips and Common Mistakes
Getting three shades into one window isn’t just about picking cool fabrics. You need sharp measurements, careful mounting, and a bit of patience to get smooth lines and function.
Mounting Inside vs. Outside the Frame
Choosing between inside and outside mounting really changes the look and fit. Inside mounting puts shades right inside the frame for a clean, tailored feel. The most common mistake? Not leaving enough clearance—then the shades get stuck or rub and fray.
To get it right, measure the frame at the top, middle, and bottom. Use the narrowest measurement and subtract about 1/4 inch. That gives the panels room to move without jamming. Outside mounting is more forgiving. You can hide uneven frames and gaps, but make sure to extend the shades 1.5 to 3 inches past the window on each side to block light.
Here’s a quick comparison:
| Mounting Type | Pros | Cons |
|---|---|---|
| Inside Mount | Clean look, fits flush | Needs precise measurements |
| Outside Mount | Hides frame flaws, flexible | Takes up more wall space |
Ensuring Panel Alignment
When you’re installing three panels, keeping them lined up matters—a lot. If they’re off, you’ll spot uneven overlaps or weird gaps right away, and honestly, it’s not just about looks. Tangled cords or uneven wear? Nobody wants that.
Grab a level and a measuring tape for every mounting point. Mark your drill holes before you start with hardware. If your window frame’s a little wonky (which, let’s face it, most are), you’ll have to fudge things a bit so the tops of all three panels end up even.
For big windows, having a second set of eyes helps. One person can step back and squint at the alignment while the other nudges things into place. Always test how each shade moves before you tighten everything down. If you skip this, you’ll probably end up with shades that stick or just look off, and that’s a letdown after all that work.
Design Style Considerations with Multiple Shades
If you’re putting three separate shades on a window, your design choices can make the whole thing look seamless—or, well, like a patchwork. Materials, colors, and those little details can shift it from just functional to actually stylish.
Coordinating Fabrics and Colors
Mixing three shades on one window gives you a chance to get creative, but too much variety can make things look scattered. Using the same material and color for all three is a safe bet, especially for modern or minimalist rooms. But hey, if you’re in the mood to experiment, try a palette with light, medium, and dark shades of one color—it’s coordinated but not boring.
Patterns can work, sure, but stick to subtle or small-scale prints so the window doesn’t steal the whole show. Big windows look great with wide panels in soft neutrals—they sort of melt into the wall for a calm vibe. For smaller or funkier spaces, you might want to add a pop of color on the edge or hem. It’s a nice detail without going overboard.
Here’s a quick gut check:
- Consistent color: Always looks put together
- Subtle variation: Adds interest without chaos
- Simple patterns: Keeps it classy
- Accent edges: A little personality goes a long way
Hardware and Control Options
Hardware and controls can make or break the look, especially when you’ve got three shades on one window. If you match hardware finishes to what’s already in the room (matte black, brushed nickel, brass), it all feels intentional. Mixing finishes? Usually not worth the risk.
For controls, hidden or minimal options like slim clutch systems or discreet chains keep things tidy. Use the same control style for each panel—otherwise, it gets visually messy. Motorized shades are slick if you want to ditch cords, and you can sync all three panels or move them independently.
Here’s a quick look at your options:
| Option | Benefits | Considerations |
|---|---|---|
| Manual cords/chains | Affordable, simple | Visible cords can clutter |
| Cordless lift | Sleek, safer for kids/pets | Costs a bit more |
| Motorized | Super convenient, clean | Needs a power source |
Finding hardware that looks good and actually works in your space? That’s the sweet spot, especially if the window’s a main feature.
Maintenance and Cleaning Advice
Let’s be honest—keeping three shades looking nice isn’t rocket science, but it does take a little effort. Regular dusting helps a ton, and a gentle wipe now and then keeps things fresh.
A microfiber cloth or a small vacuum with a brush attachment works well for dust. It’s quick, doesn’t scratch, and gets into those corners that always seem to collect stuff.
For deeper cleaning, use a damp cloth with some mild soap. Don’t soak the fabric or let water drip into the hardware—unless you’re into replacing broken parts, which I doubt.
Reference guide:
| Material | Cleaning Method | How Often |
|---|---|---|
| Fabric Shades | Vacuum or Spot Clean | 1-2 weeks |
| Vinyl/Plastic | Damp Cloth | Monthly |
| Wood/Bamboo | Dry Cloth Only | 2-4 weeks |
Don’t skip the hardware. Wipe down headrails and cords, and if something squeaks, a tiny bit of silicone spray usually does the trick.
If a shade gets stuck or won’t line up, try resetting or gently adjusting the cord. And if that doesn’t work? Call a pro. No shame in it.
A little bit of regular care keeps everything looking crisp and working the way it should.
Frequently Asked Questions
Measuring and installing three blinds in one window can feel complicated, but with a few pointers, you’ll get a balanced, clean look. Stuff like slat size and headrail style really do affect both how it looks and how it works.
What's the trick to measuring for multiple blinds in a single window?
First, measure the full inside width of your window. Divide by the number of panels you want. Then, subtract about 0.25 to 0.5 inches from each panel for clearance—otherwise, they’ll rub or jam.
Triple-check your math before ordering. Mistakes here mean gaps or overlaps you’ll notice every day. Each panel needs its own deduction for a good fit.
Got any pro tips on installing multiple blinds for wide windows?
Lay the blinds out side by side and check that the headrails all line up before you start. Mark level lines across the window to keep things straight. If you can, get a friend to help—wide windows are a two-person job.
Make sure mounting hardware is spaced evenly, so the blinds move smoothly and look like they belong together.
Should I opt for one large or multiple blinds for expansive windows?
For really wide windows, splitting into two or three blinds is usually smarter. It’s easier to lift smaller sections, and you won’t stress the hardware as much. Plus, you get more control over light and privacy—raise one panel, leave the others down, whatever you need.
A single large blind can look sleek, but it’s heavy and can be a pain to operate.
Is there a secret size guide for slats when choosing blinds for different windows?
Wider slats (2.5 to 3 inches) look great on big picture windows—they let in more light and feel modern. For smaller windows, stick with standard 1 or 2-inch slats so things don’t look out of proportion.
There’s no perfect chart for every scenario, but matching slat width to window size usually just feels right.
How does the number of blinds per headrail impact my window styling?
Using multiple blinds on one headrail gives a smooth, unified look and makes installation easier. Separate headrails create clear breaks between shades, which can be cool if you want to highlight the divisions in a wide window.
It’s all about the vibe—seamless and streamlined, or a little more defined and dimensional.
How should I go about picking the correct width when looking at blinds for large windows?
First, measure the total width of your window. Next, decide how many blinds you want to use and divide that width by the number of blinds. But hold on—don’t just stop there. You’ll need to shave off a bit of width for each panel to make room for the hardware. If you don’t, the blinds might bump into each other or get stuck, and nobody wants to wrestle with their window treatments every morning. So, make each blind just a tad narrower than the math says. That way, you’re less likely to run into annoying snags when you open or close them.

