







No-drill cellular shades fit only when the actual opening can support the selected headrail. The useful first measurement is usable mounting space, not the overall width of the sill or the depth of decorative trim.
The current SenseBlinds No-Drill Cordless Cellular Shades use a tension-fit headrail for an inside mount only. The product requires more than 2 inches of usable window depth. That stated requirement is a screening check; it does not replace confirmation of the exact size, frame condition and hardware clearance.
Measure usable depth rather than total recess depth
Start at the top of the opening where the headrail will sit. Identify the uninterrupted area available to it, from the front edge to the first obstruction behind. A projecting handle, window stop, sloping liner or shallow top section can reduce usable depth even when the lower sill looks generous.
Measure at the left and right support positions and note any variation. Photograph a ruler in place so the supplier can see which surfaces you measured. Keep the raw readings. Do not subtract an allowance borrowed from another company's tension-fit system or assume a bracketed cellular shade uses the same dimensions.
If the usable depth is exactly 2 inches, it does not meet a requirement worded “more than 2 inches.” If the reading is close or a surface is uneven, ask for review before ordering. A small uncertainty matters when the final shade is custom made.
Check frame shape, surfaces and hardware movement
The left and right contact areas need assessment as well as depth. Record whether the recess sides are parallel, square, stepped, rounded or angled. Describe the surface material and any loose paint, flexible liner, damaged trim or visible gap. These observations help the supplier decide whether the tension mechanism is appropriate.
Do not assume that “no holes” means every finish will remain unaffected under every condition. A tension-fit mechanism still contacts the frame. Confirm approval for the actual surface, particularly a fragile finish, removable liner or unusual frame construction. Renters should also check their agreement before choosing a mounting method.
| Check | What to observe | Decision |
|---|---|---|
| Top mounting depth | Uninterrupted usable space at both support points | Must exceed the product's stated 2-inch requirement; confirm the whole fit |
| Side contact areas | Shape, material, condition and parallel surfaces | Request approval if irregular, flexible or fragile |
| Window operation | Handle rotation, sash opening and screen movement | All required movement must remain clear |
| Raised shade | Headrail and gathered fabric position | Confirm actual dimensions where access or glass clearance matters |
| Daily reach | Where your hand will meet the rail or handle | Choose a configuration you can operate comfortably |
Open the window through every mode you normally use, keeping it under control. Check the handle's complete sweep, not just its resting position. An inward-opening sash can conflict with a headrail even if the shade fabric is fully raised. A photo of the window closed cannot establish this clearance.
Compare model limits and light-filtering or blackout choice
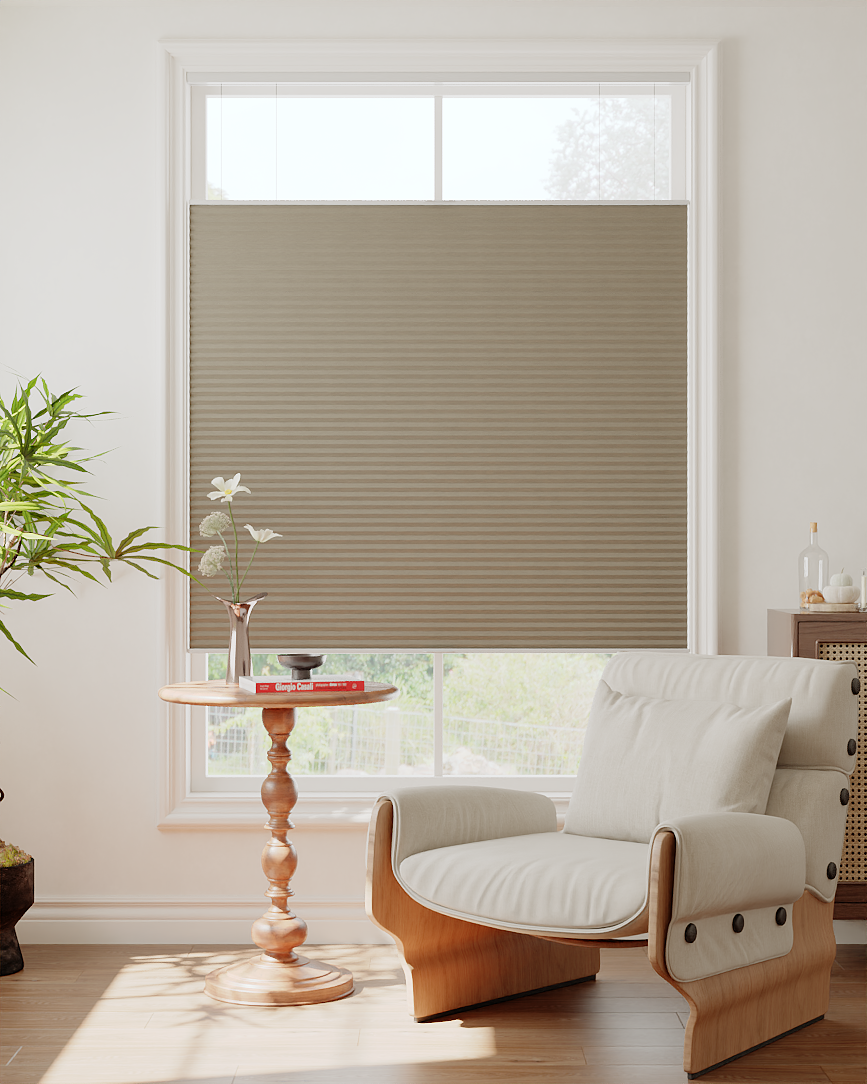
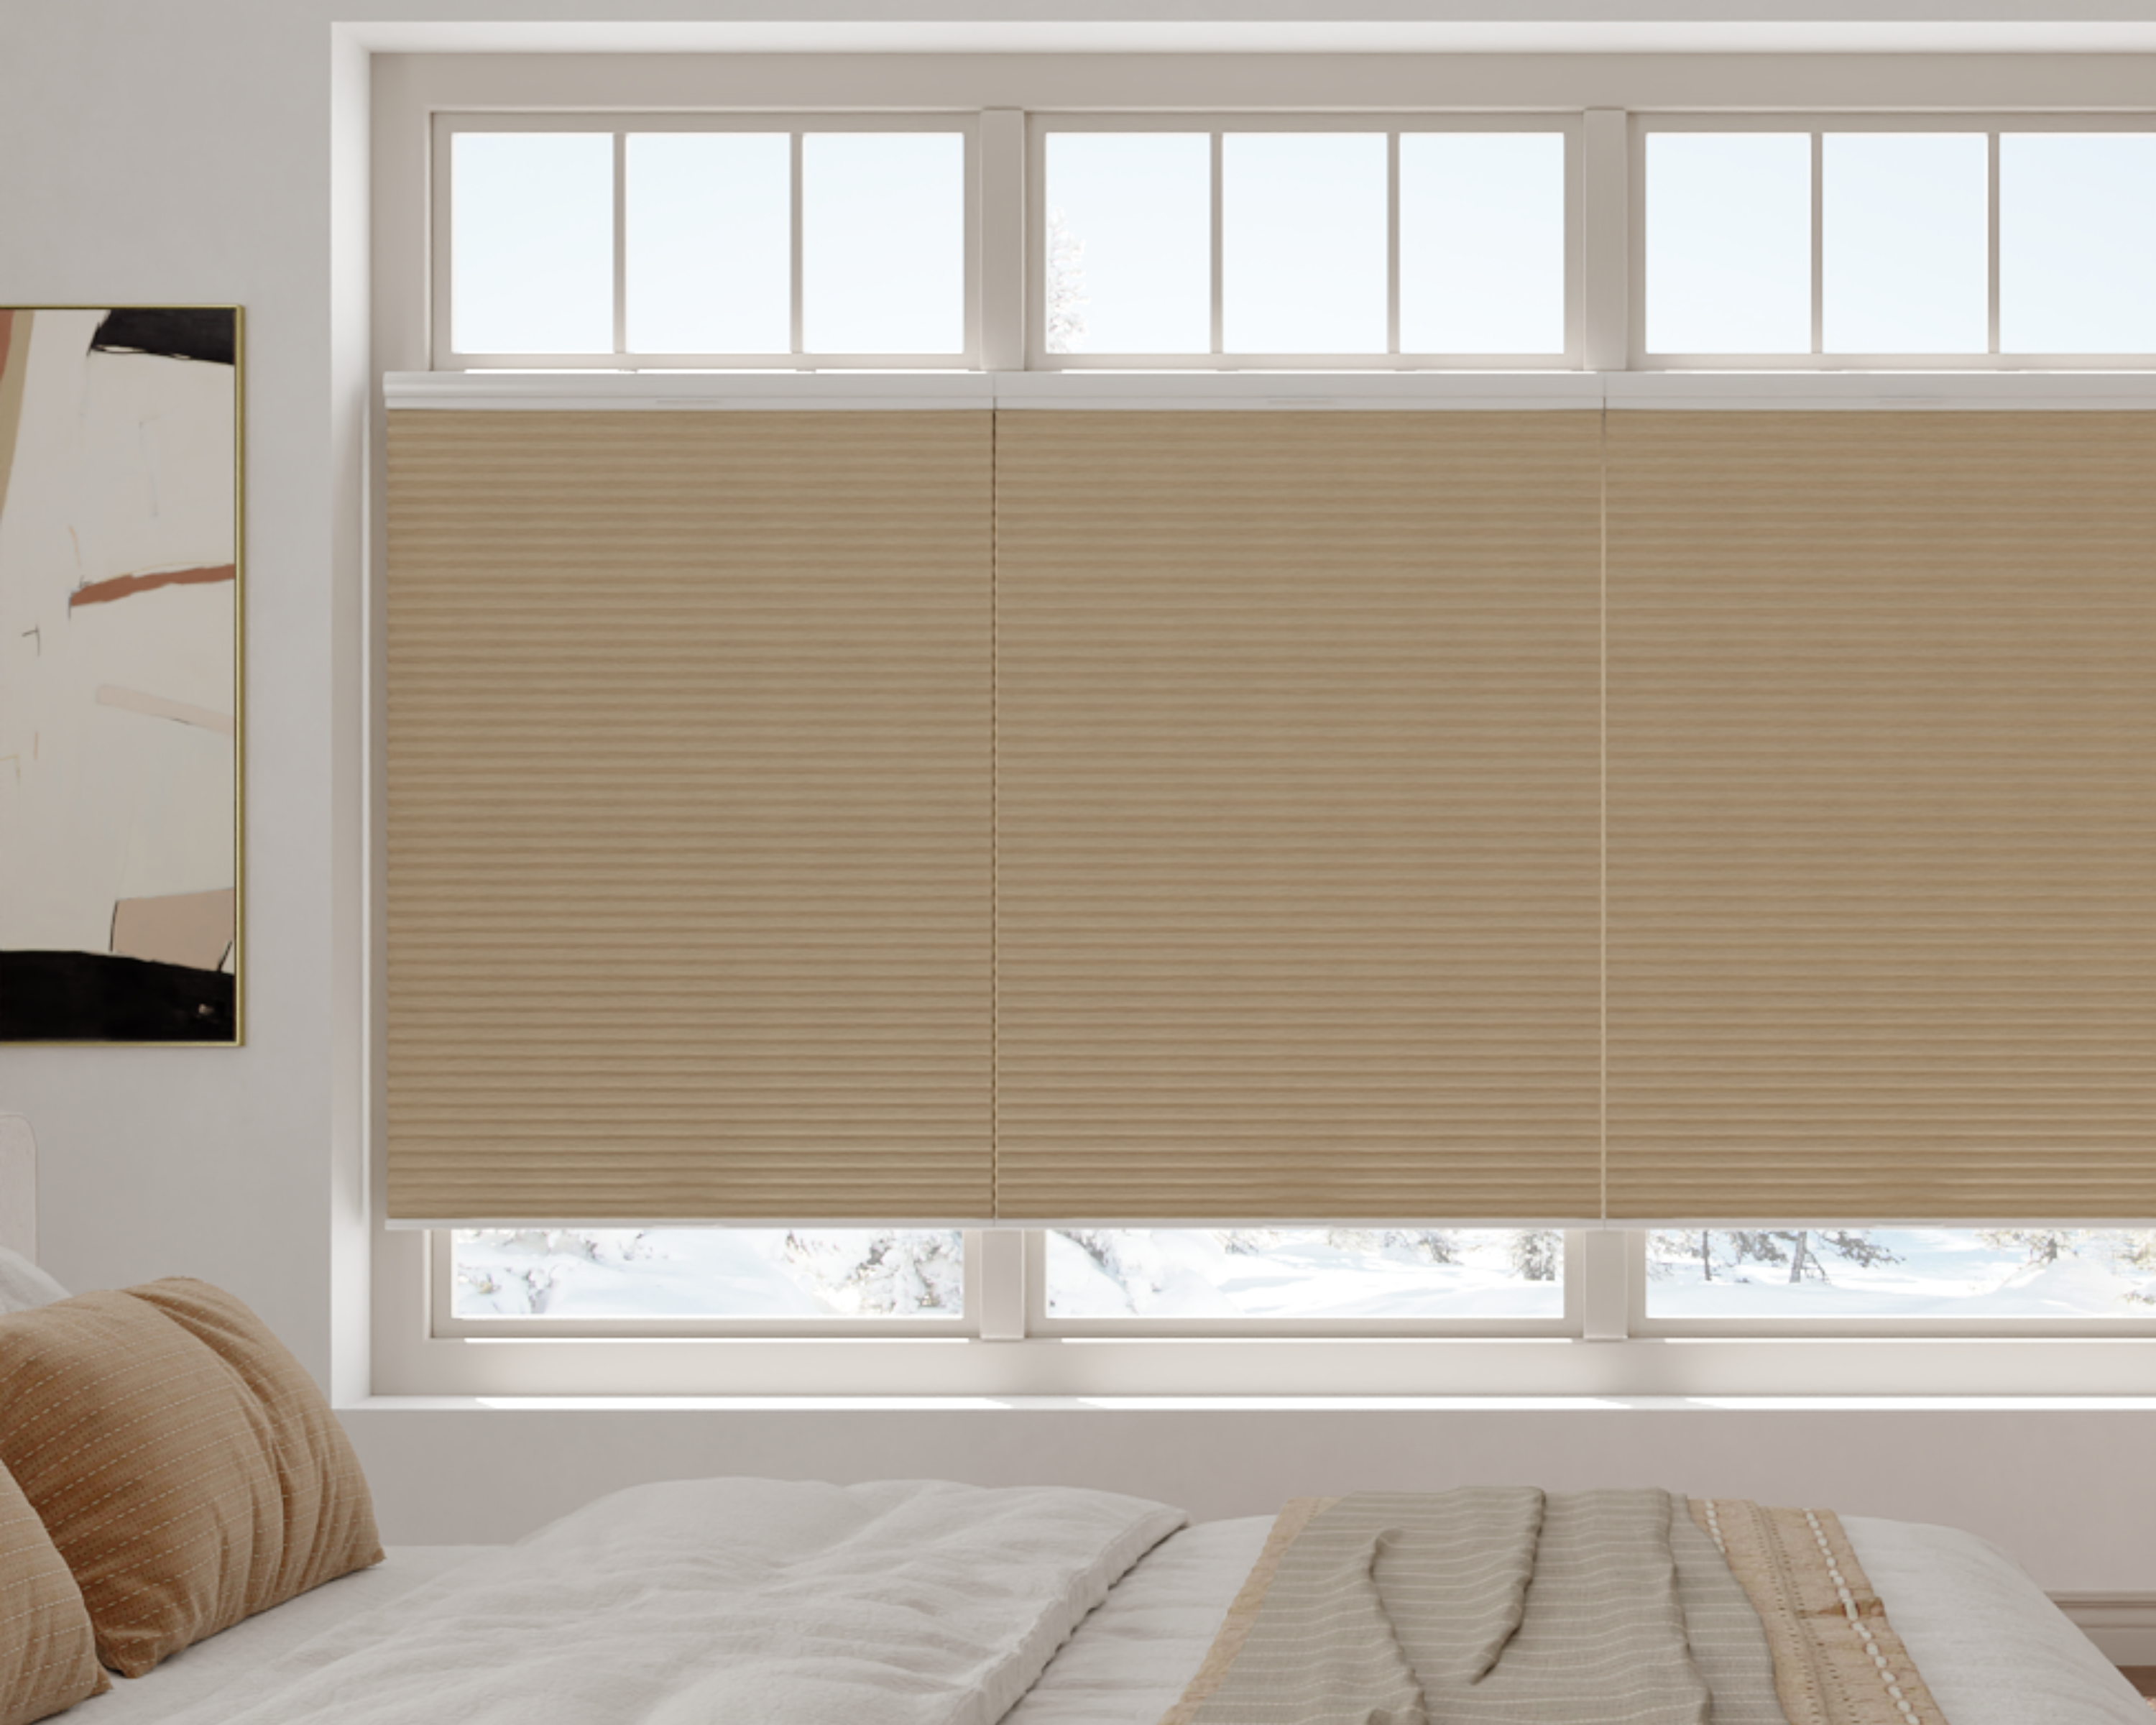
The current model offers light-filtering or blackout fabric, standard cordless operation and a Top Down Bottom Up upgrade. Choose the function before finalizing the fit request because the exact configuration must be approved as a whole.
Light-filtering fabric suits a room where softened daylight is the goal. Blackout fabric is the starting point when greater darkness and privacy matter, but the installed result also depends on edge gaps and the opening. A product's fabric opacity does not mean the entire room will become light sealed.
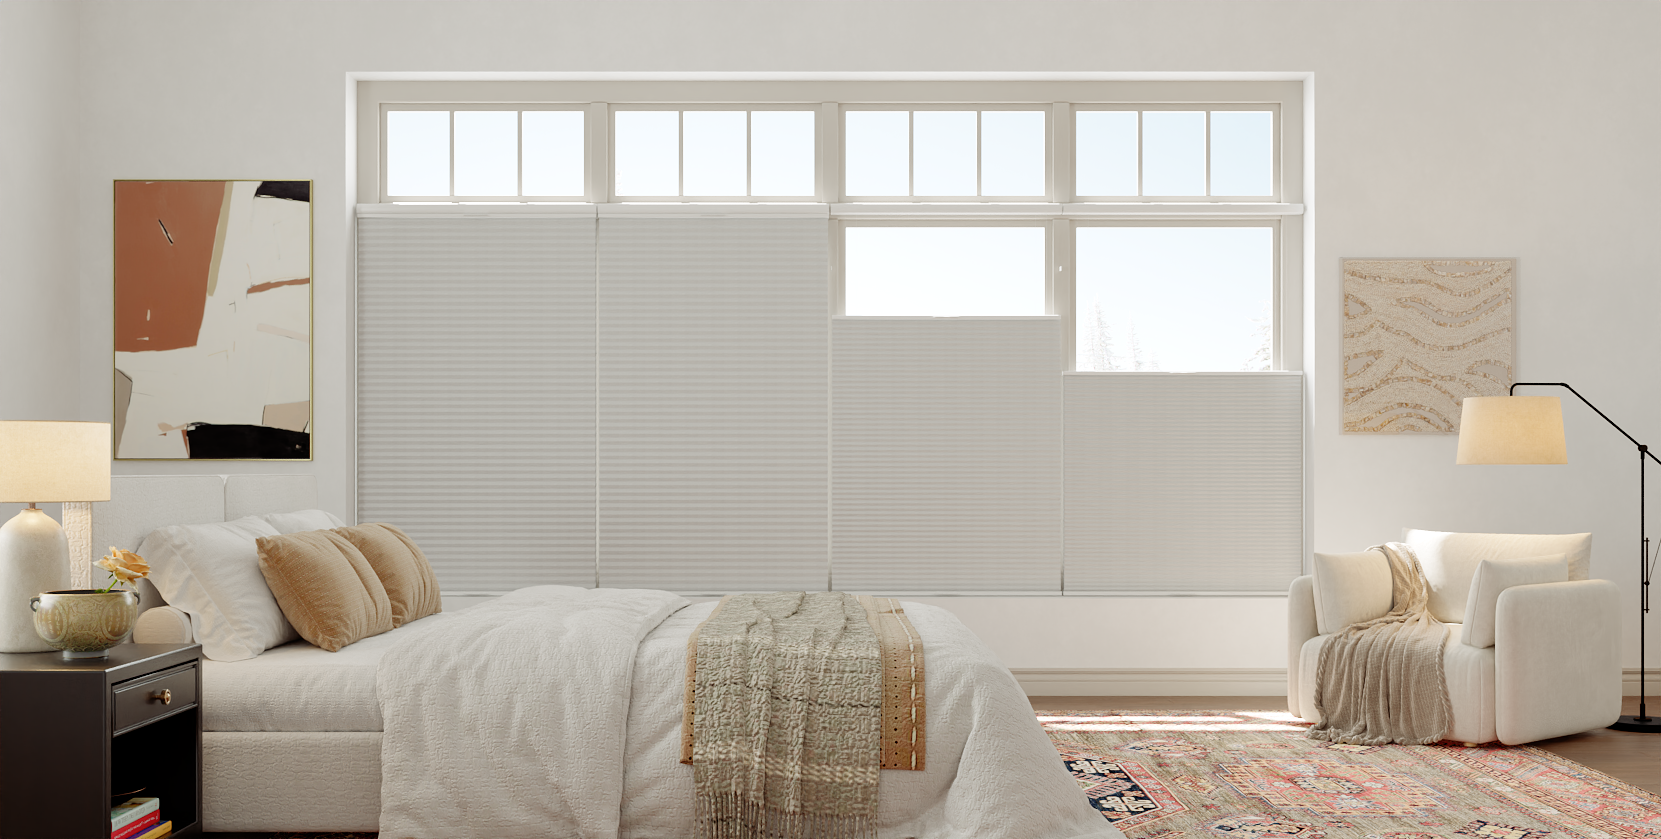
Top Down Bottom Up changes where daylight can enter. Think through which rail you will move and whether the resulting opening exposes a sightline from the street or a higher neighboring window. Ask for the corresponding hardware dimensions rather than assuming every lift has the same headrail or stack.
The product page outlines installation as positioning the left side, bringing the right side into place, engaging the lock and checking that the headrail is secure. Follow the supplied instructions for your ordered configuration. Do not improvise extra packing, force, adhesive or fasteners to make an uncertain opening fit.
Send a complete fit record before ordering
Give each opening a clear label, such as “Bedroom east.” Record its width and height at several points following the seller's measuring instructions, together with the usable top depth at both ends. Keep raw measurements separate from any final order dimensions the supplier confirms.
- Product and requested light-filtering or blackout configuration.
- Standard cordless or Top Down Bottom Up selection.
- Raw opening dimensions, units and measurement locations.
- Usable depth at each support position and the first obstruction.
- Frame material, contact-surface condition and recess shape.
- Photos closed, partly open and fully open, including handle and screen.
- Required privacy, daylight, access and operating reach.
Ask SenseBlinds to confirm the model's allowed size range, frame conditions, final ordering dimensions and fit for the chosen lift. The public overview does not provide a complete dimensioned drawing for every configuration; request the drawing when a tight clearance depends on it.
Make the fit decision before comparing finishes
A fit can be ready for ordering when the opening meets the stated screening requirement and the supplier confirms the remaining configuration details. An unresolved frame condition, uncertain usable depth or blocked sash is a reason to review another mounting option before you commit.
The broader no-drill mounting guide compares adhesive and tension approaches. Browse the cellular shade collection if this particular tension-fit model is unsuitable. Keep the fit record with the order so the selected fabric, lift and approved opening stay connected.
