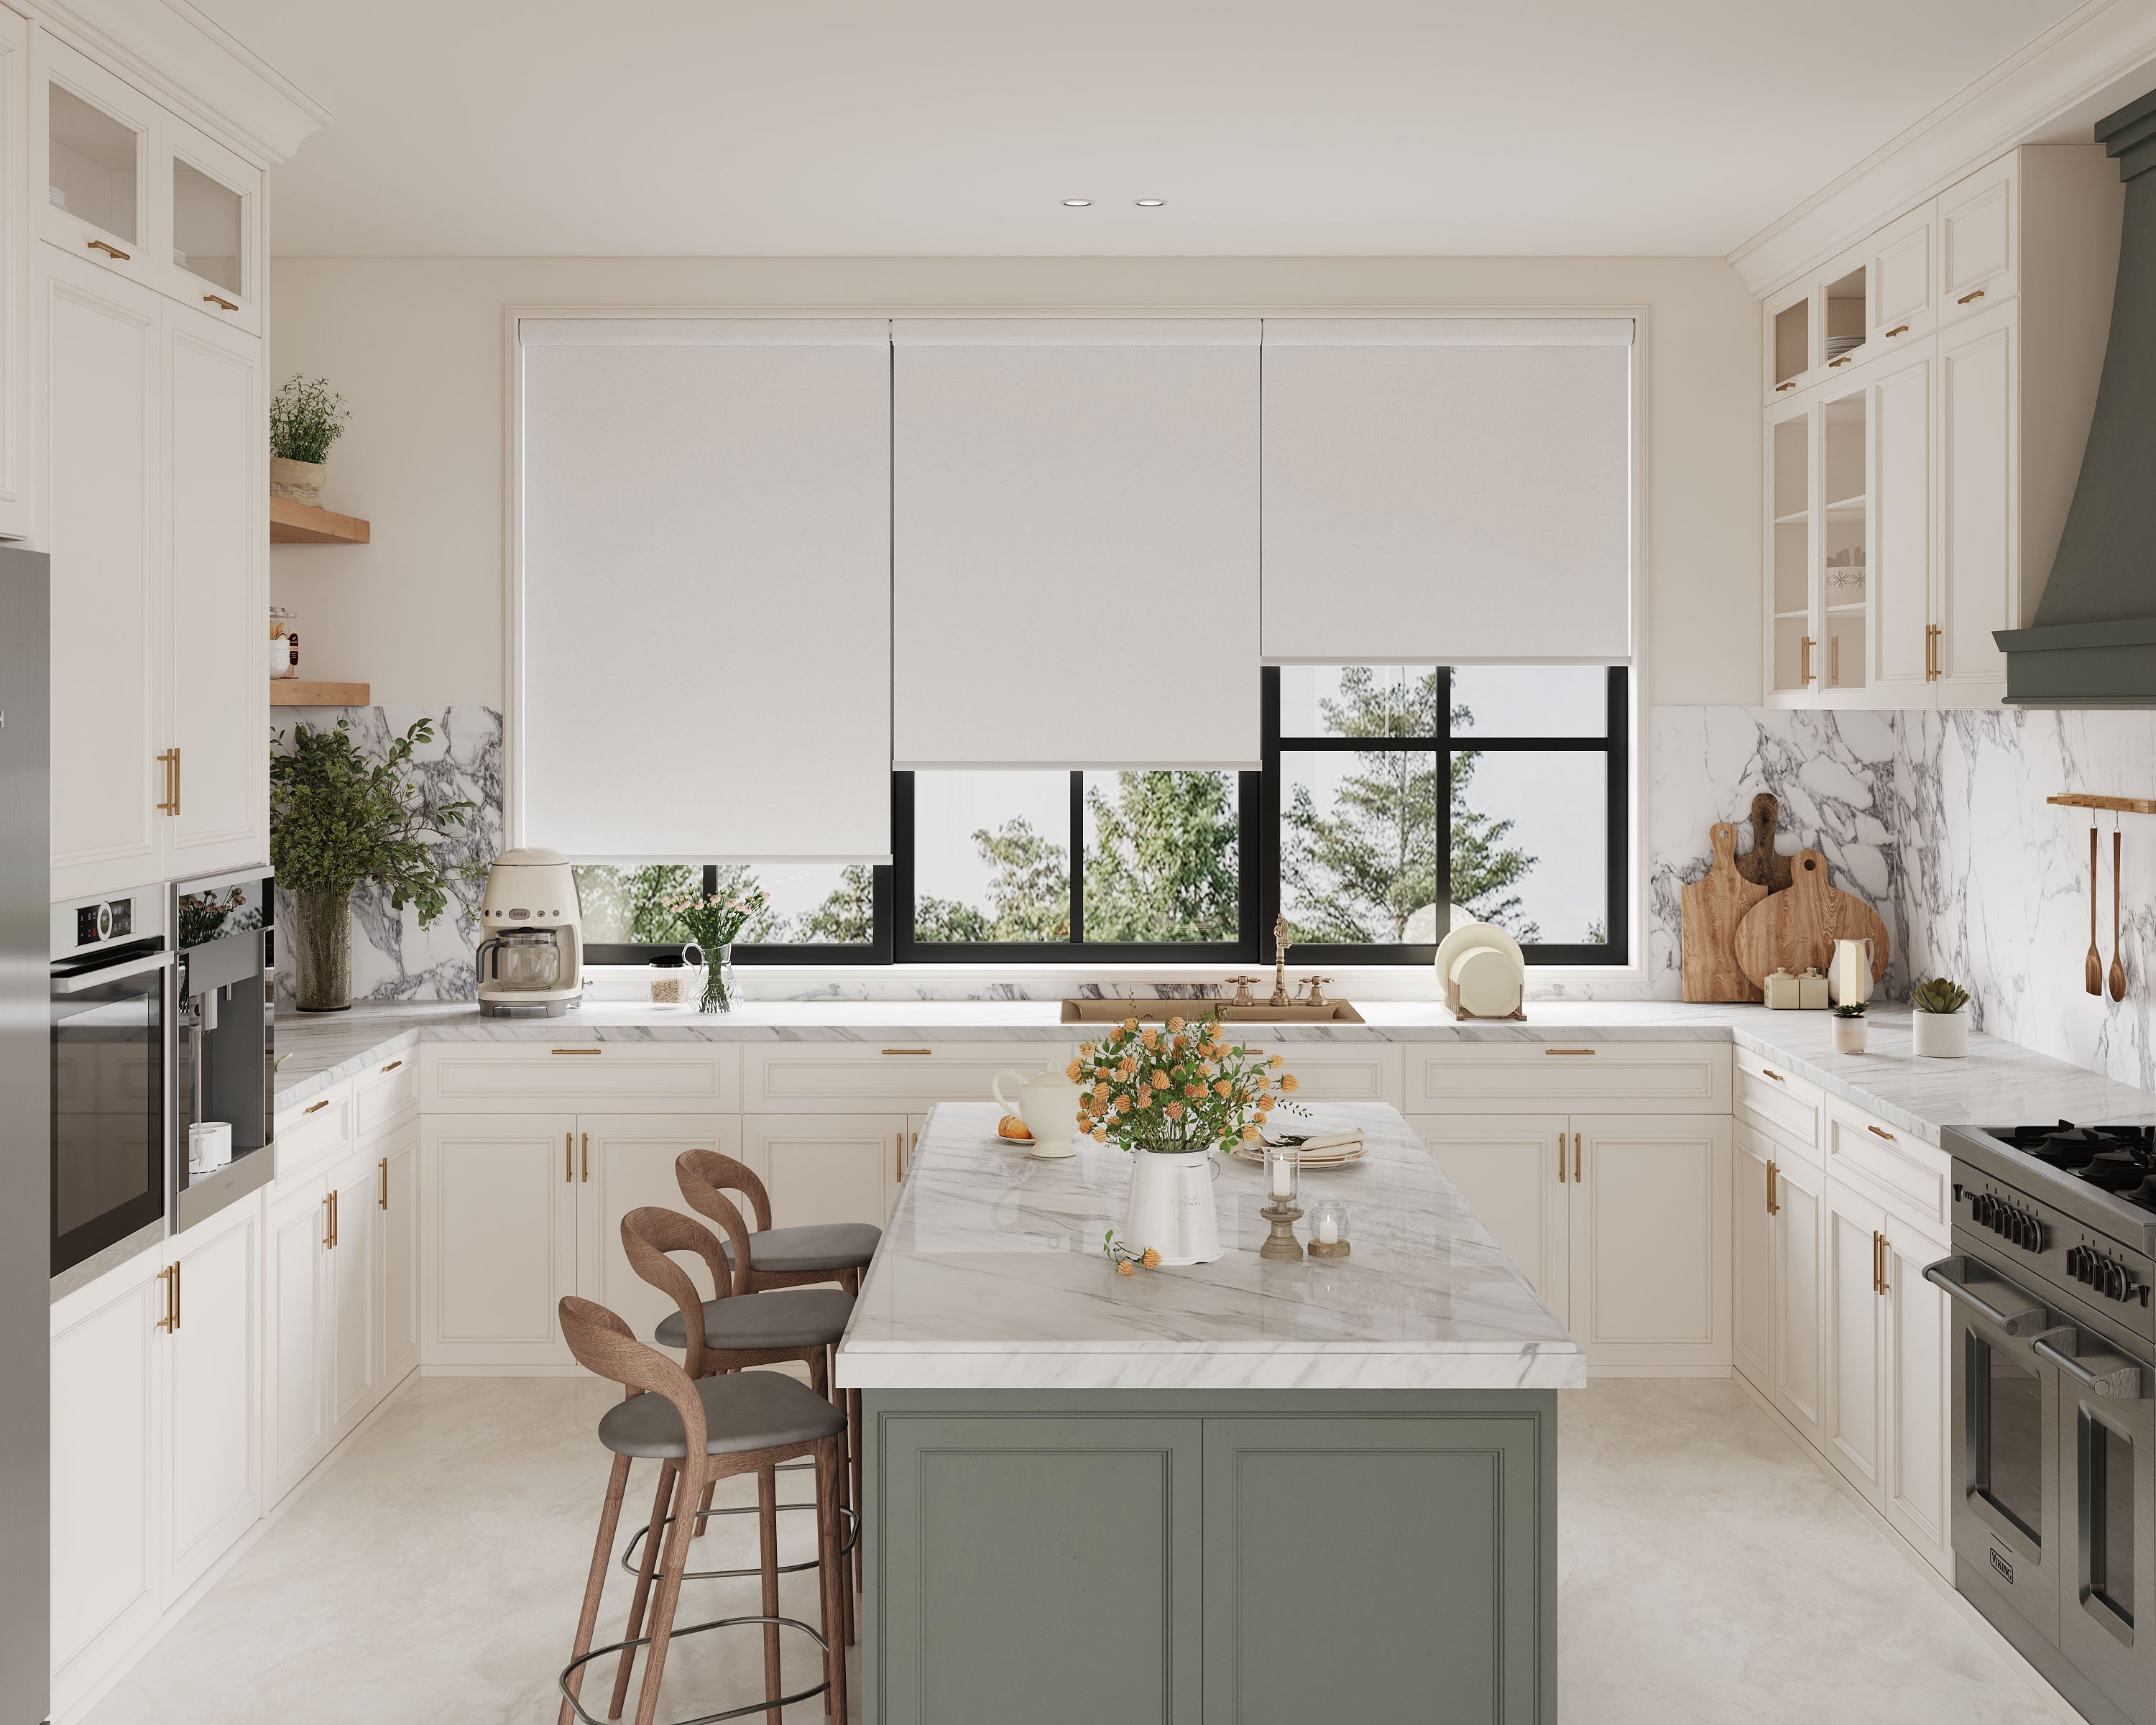
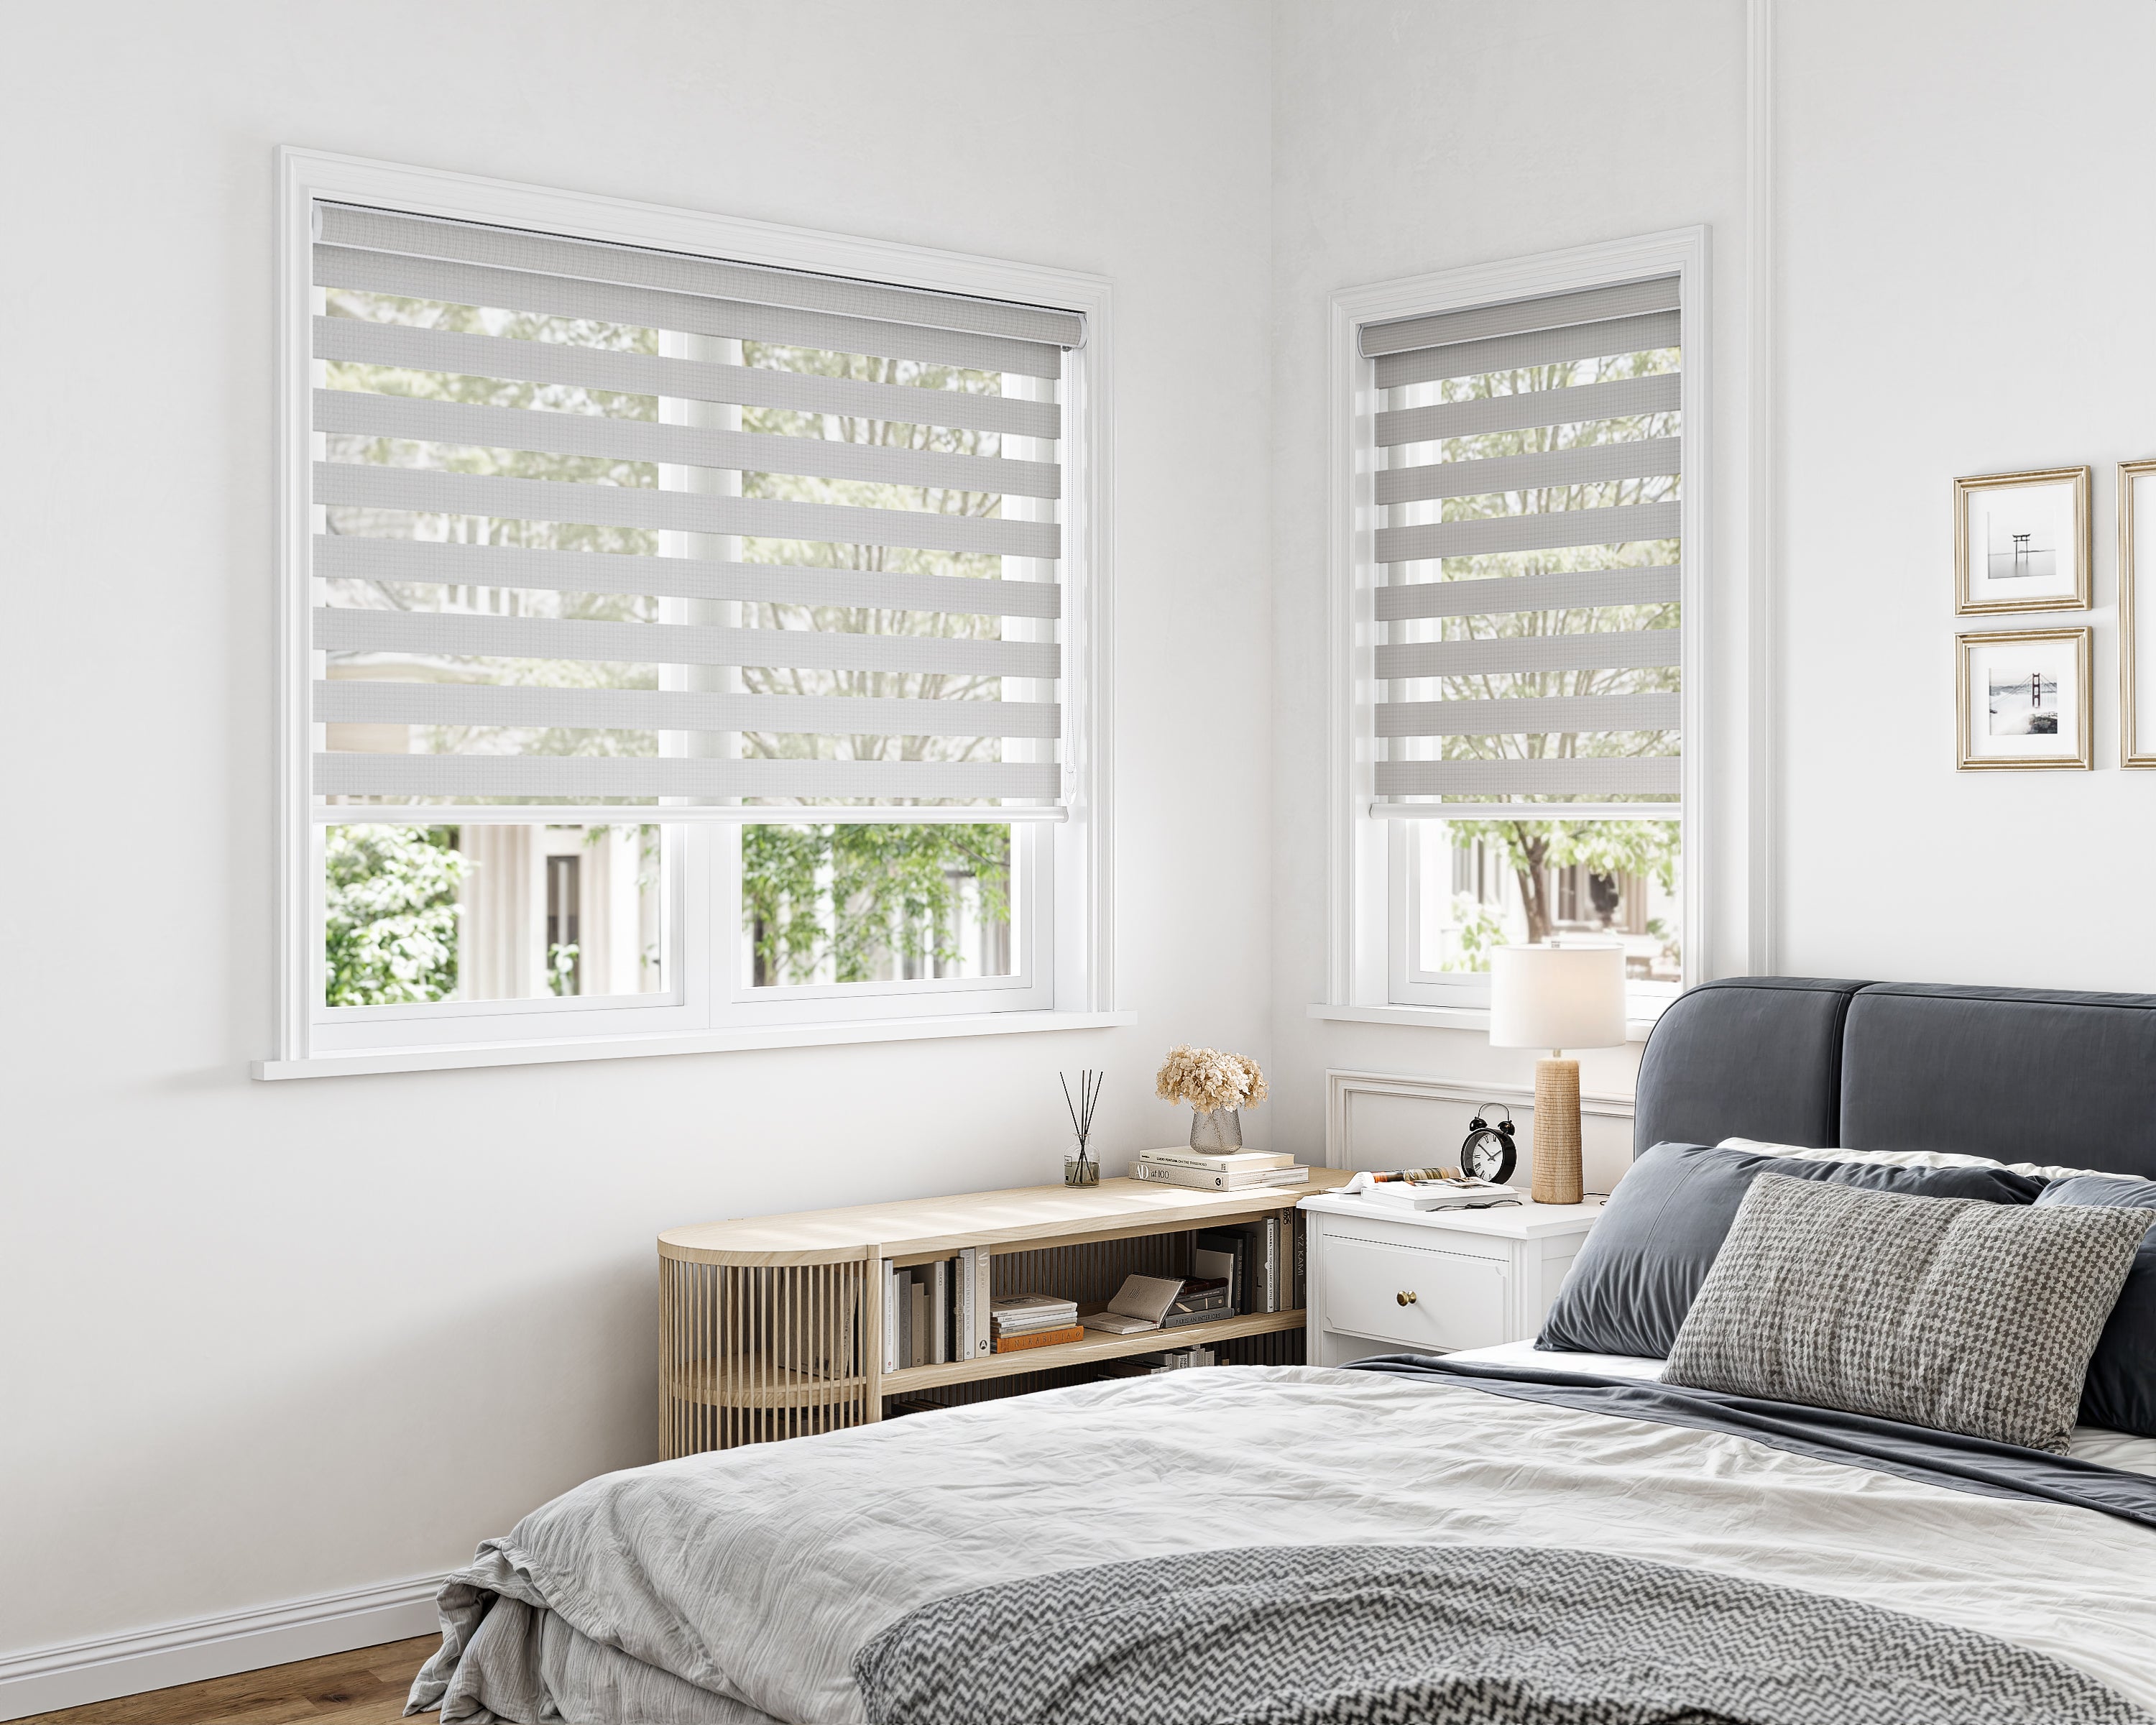
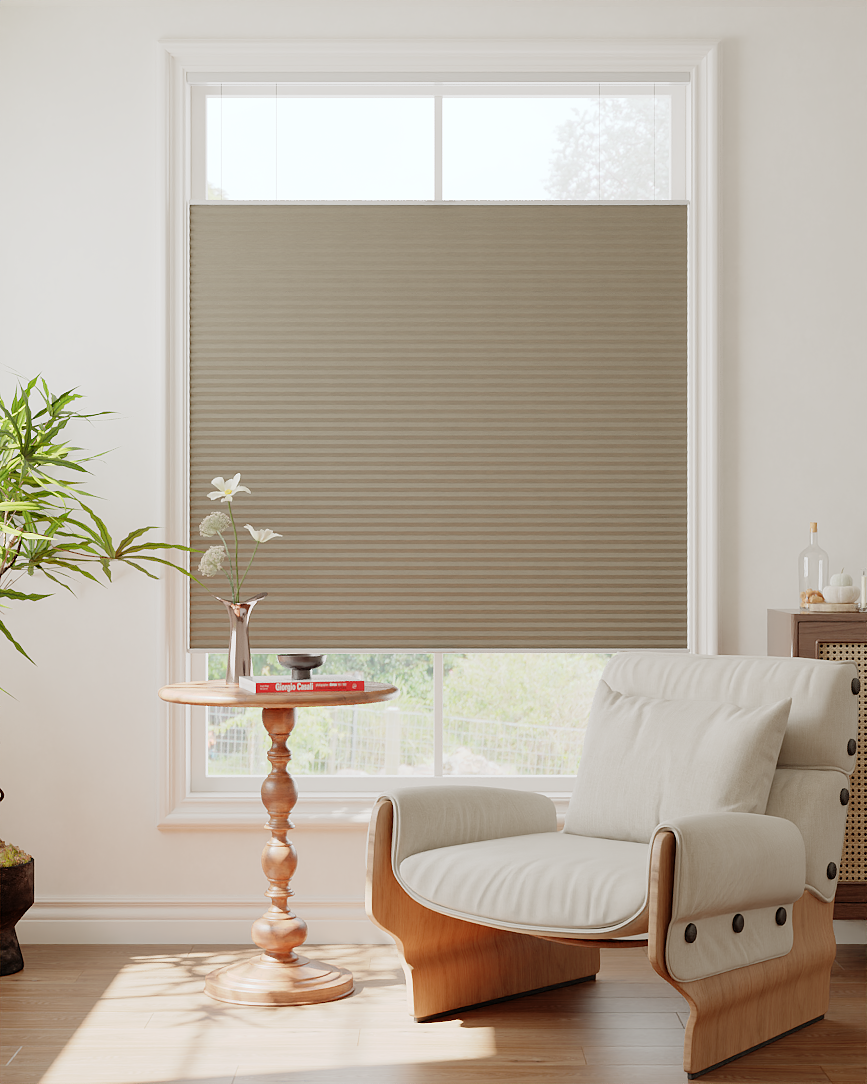
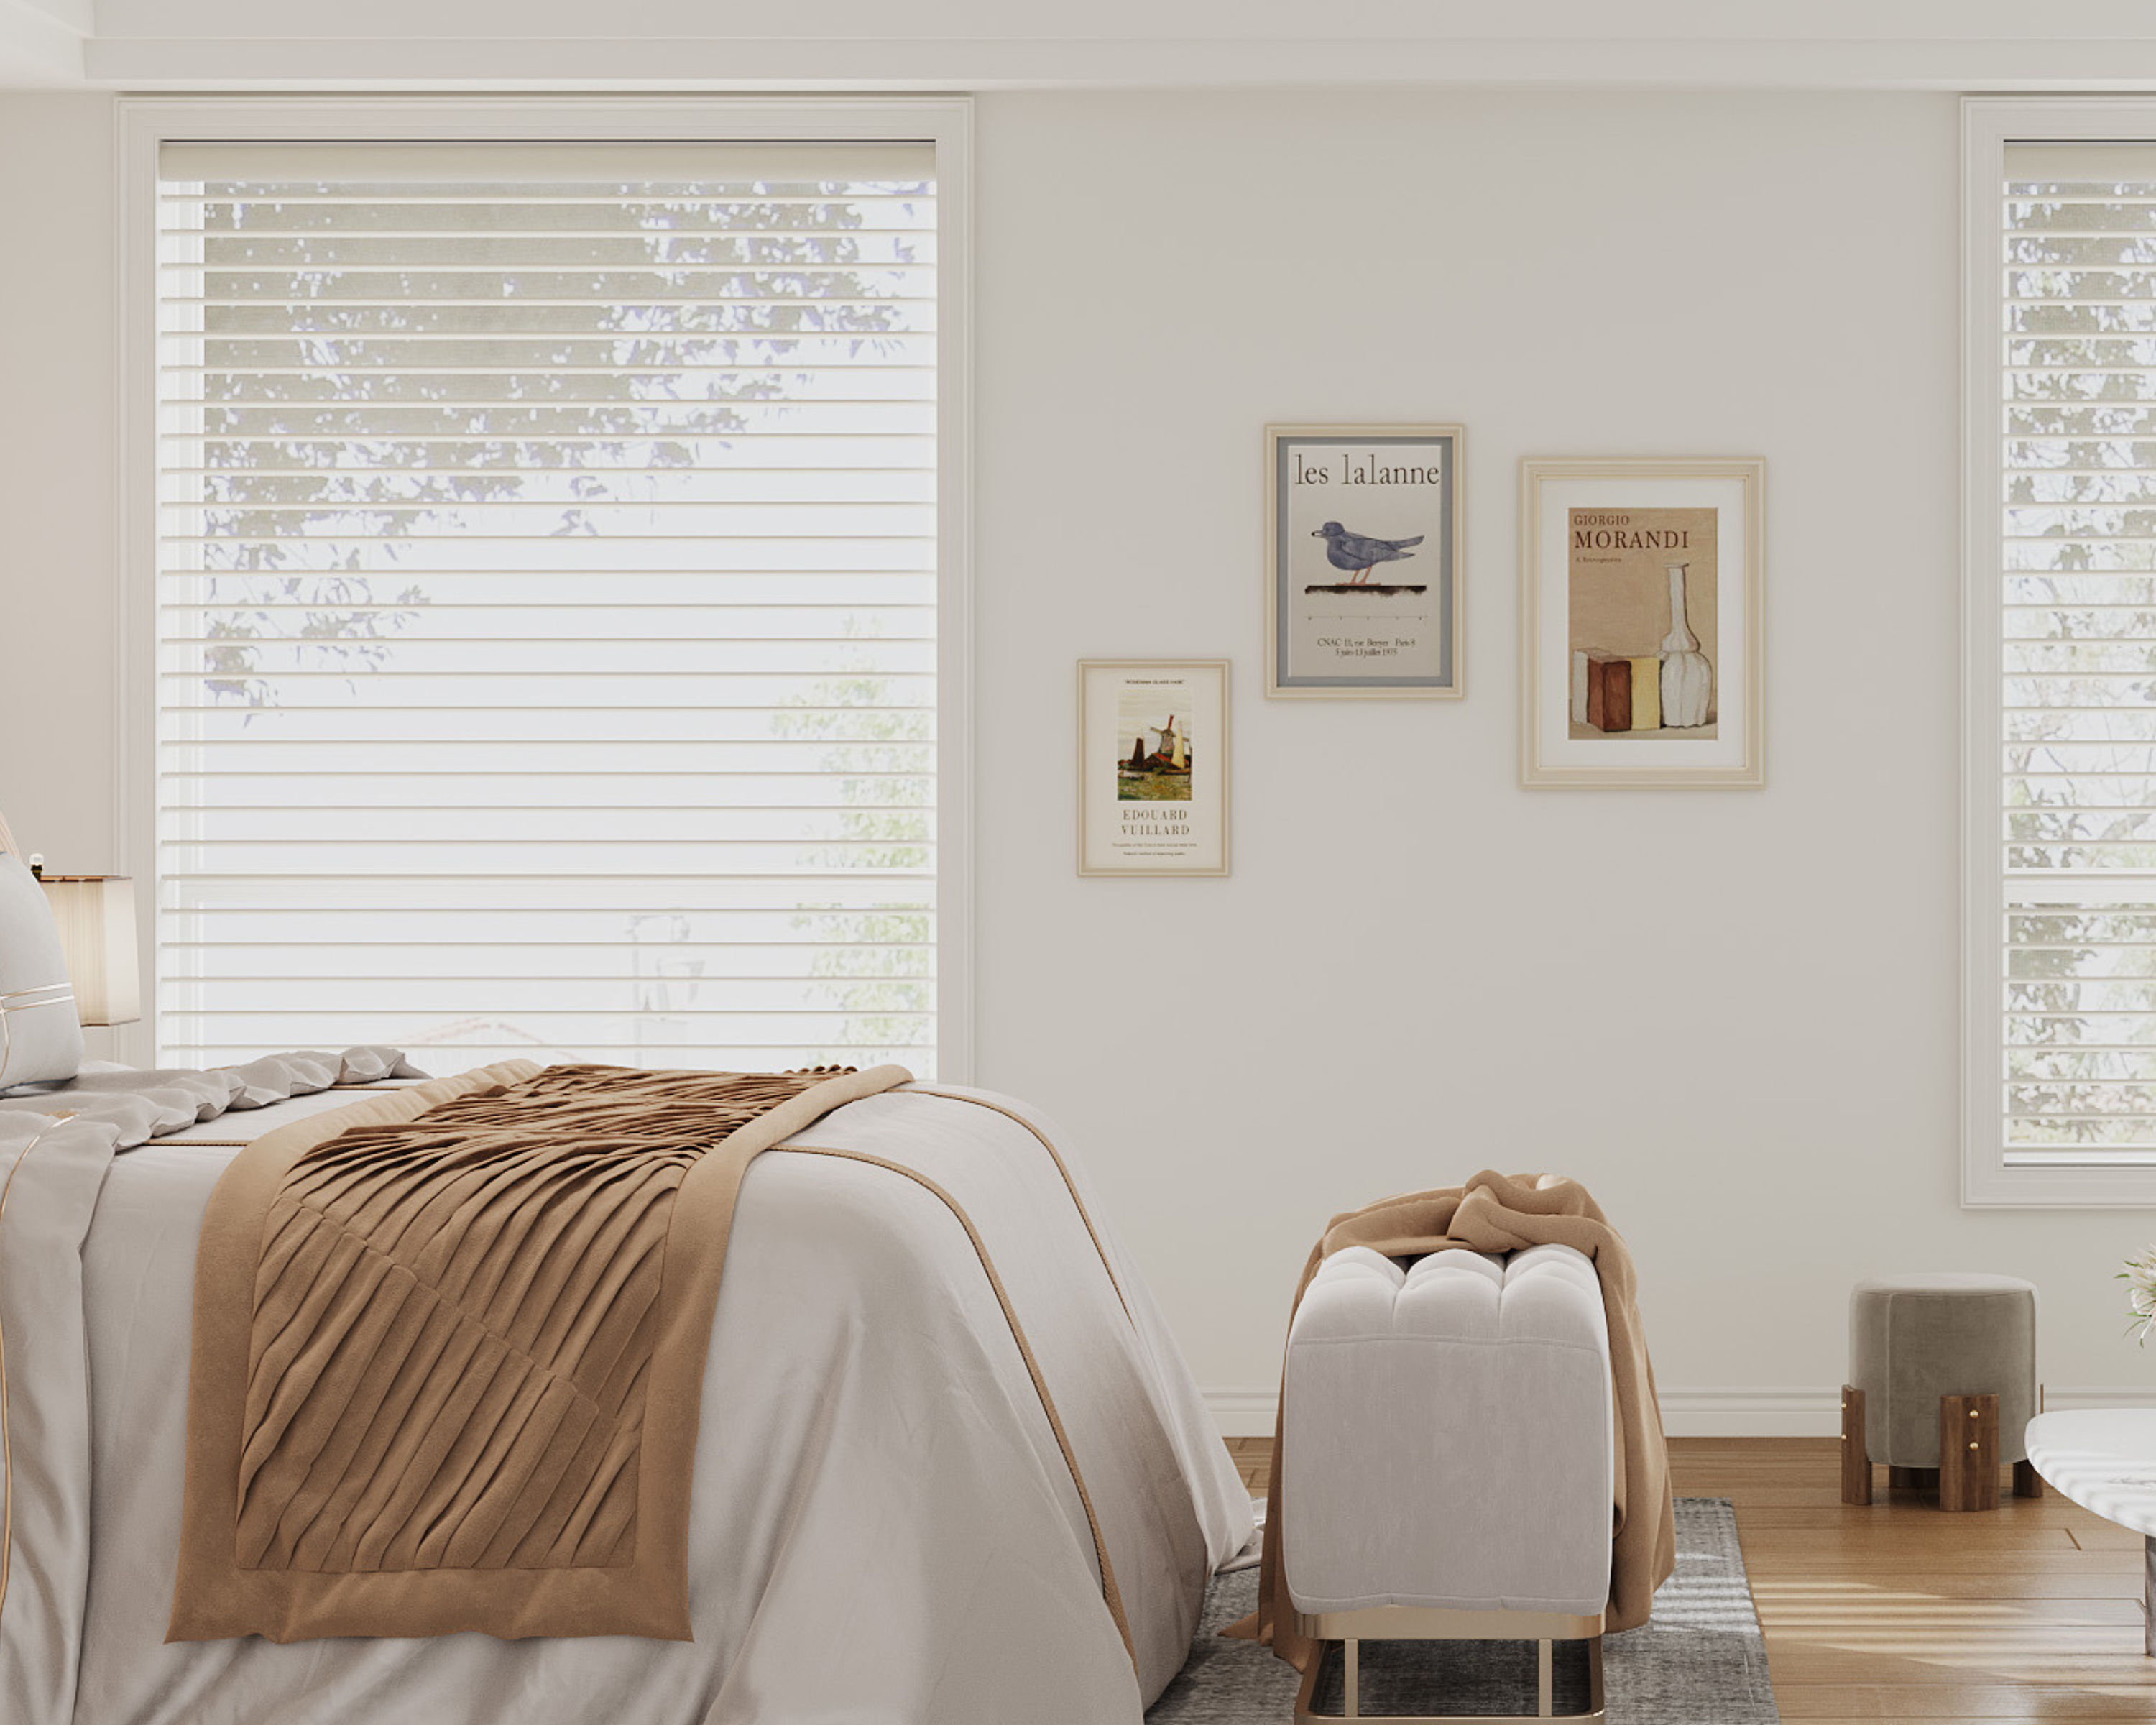
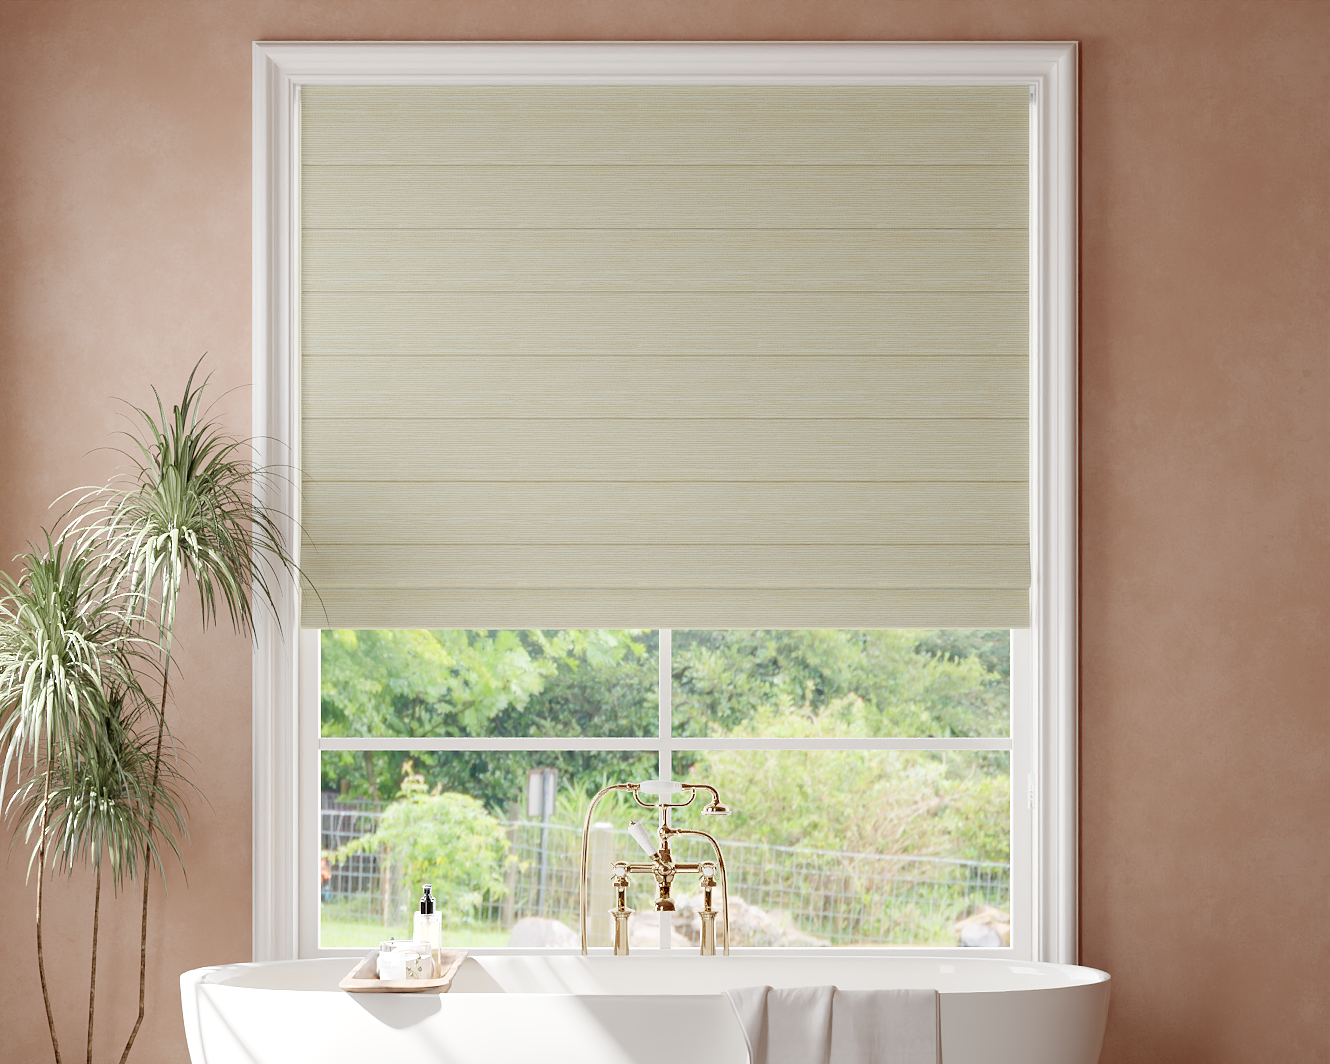
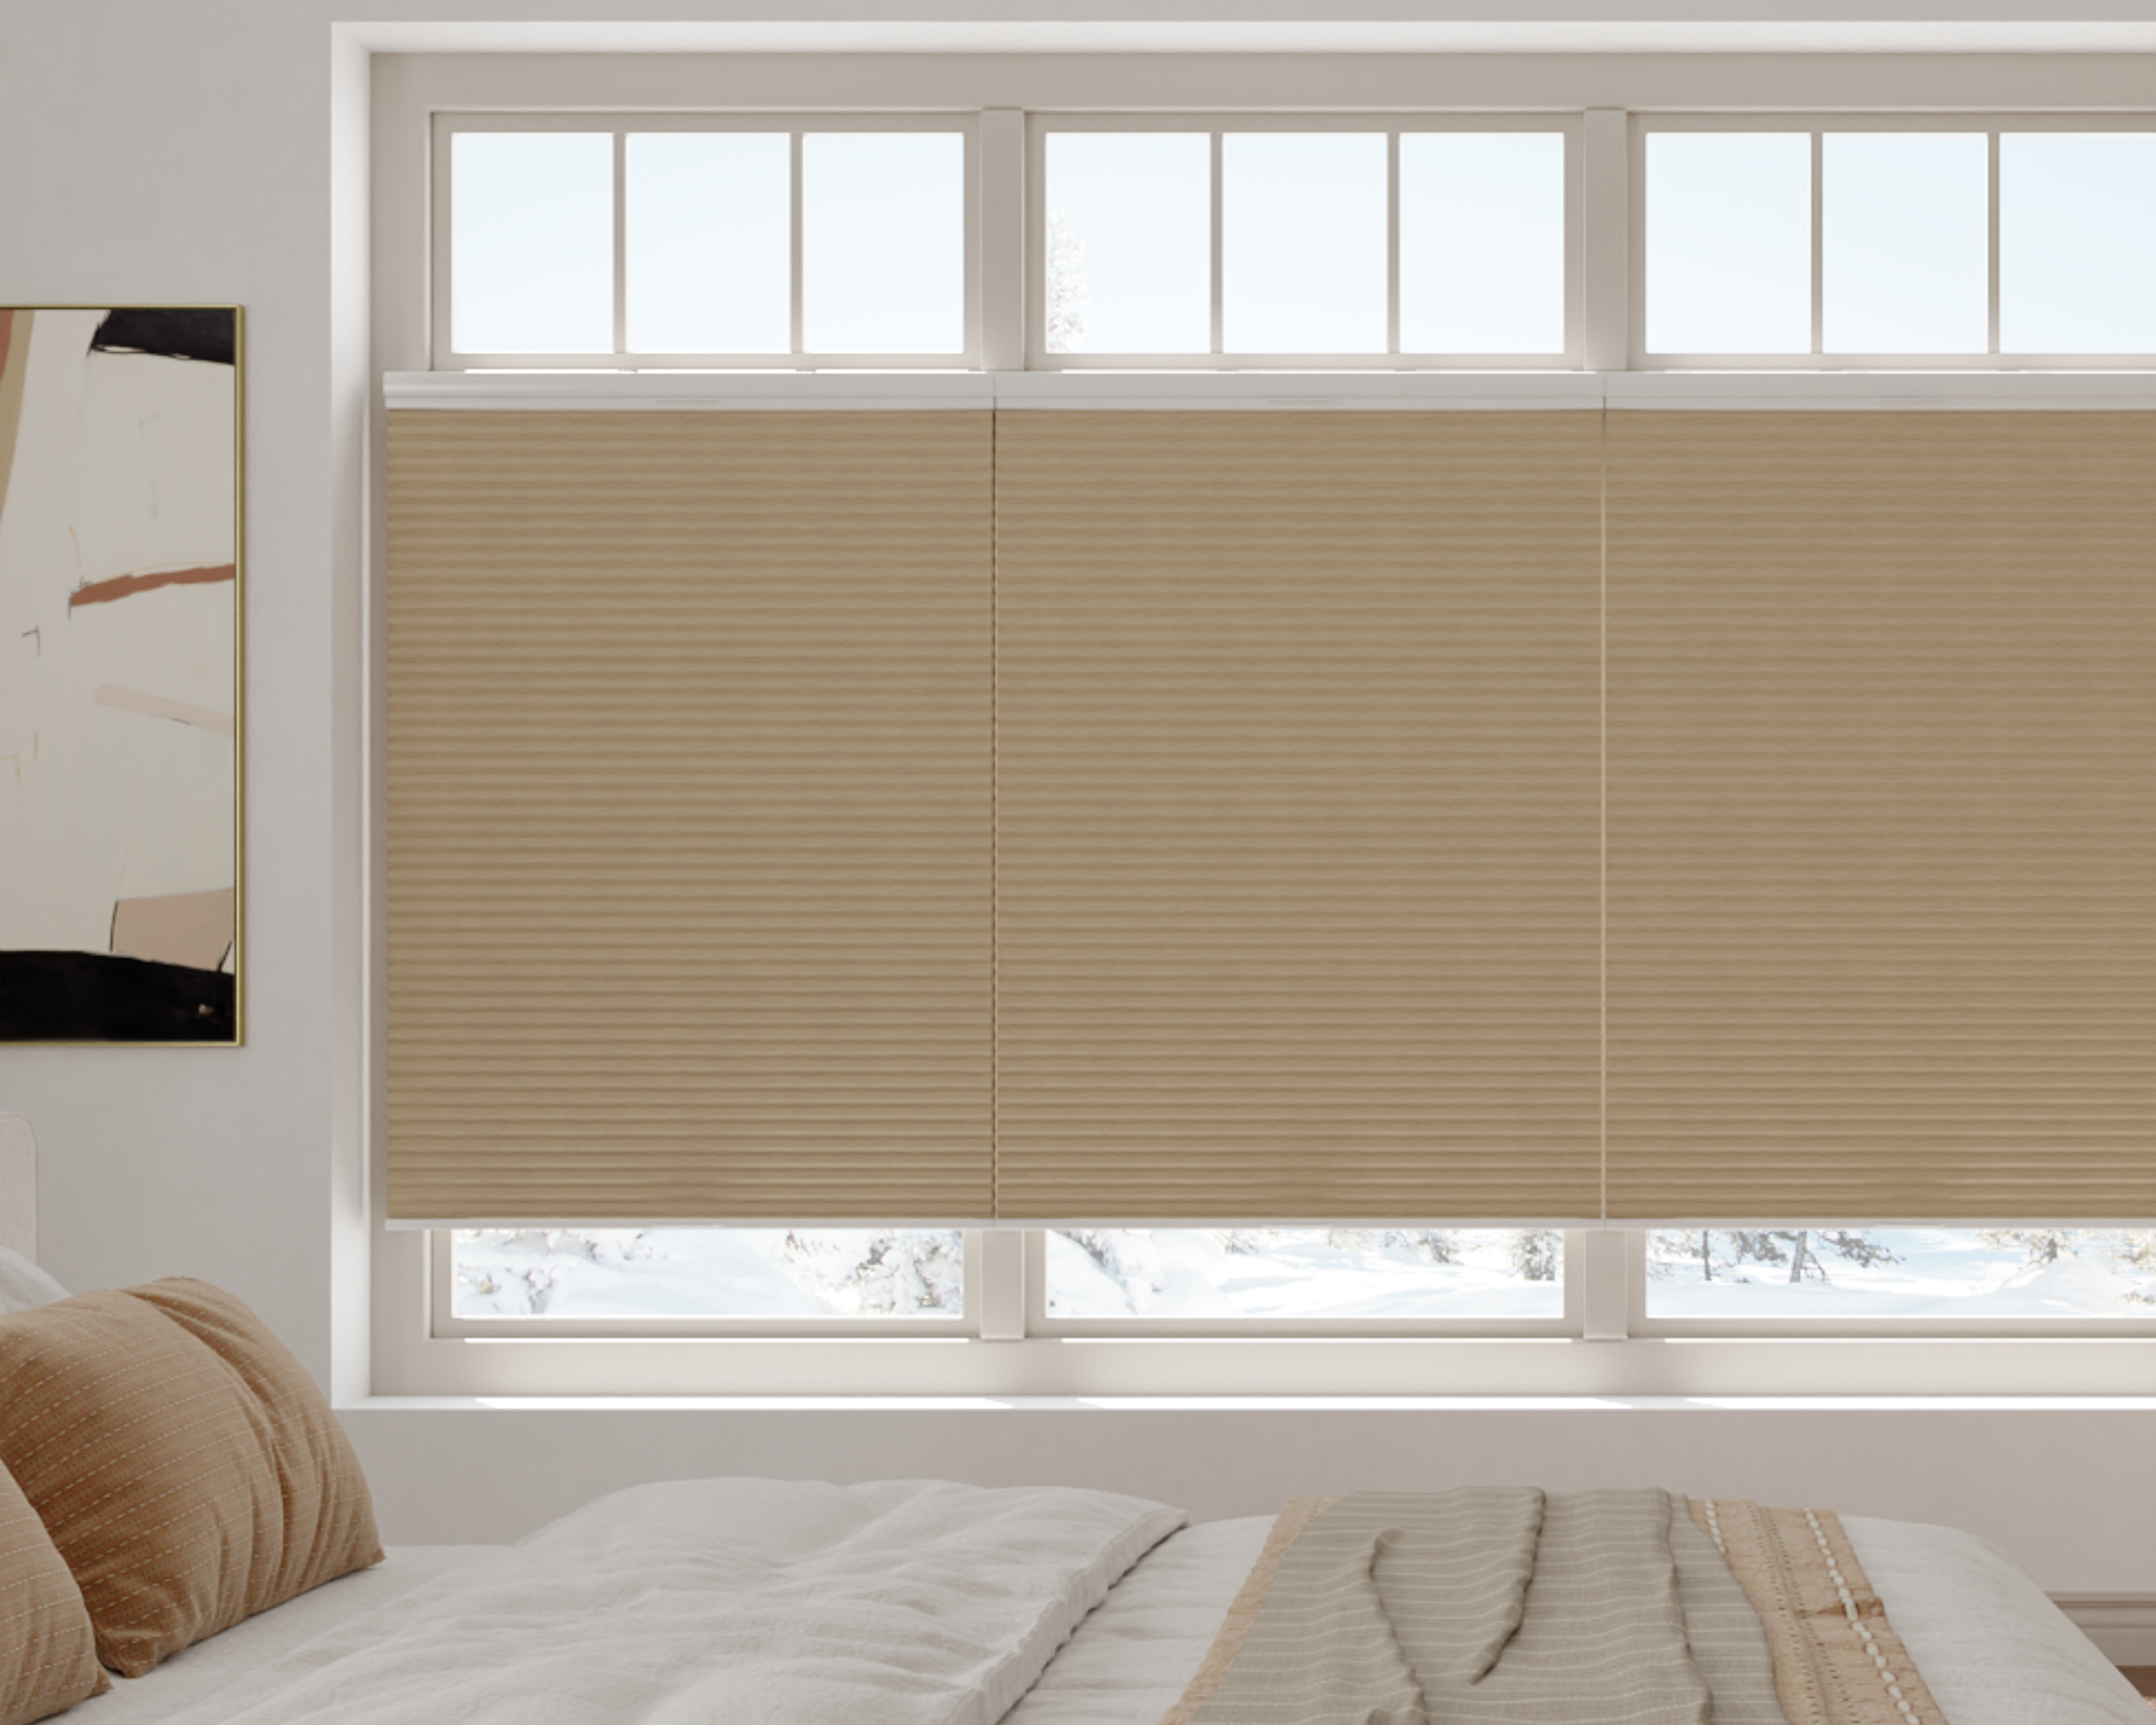
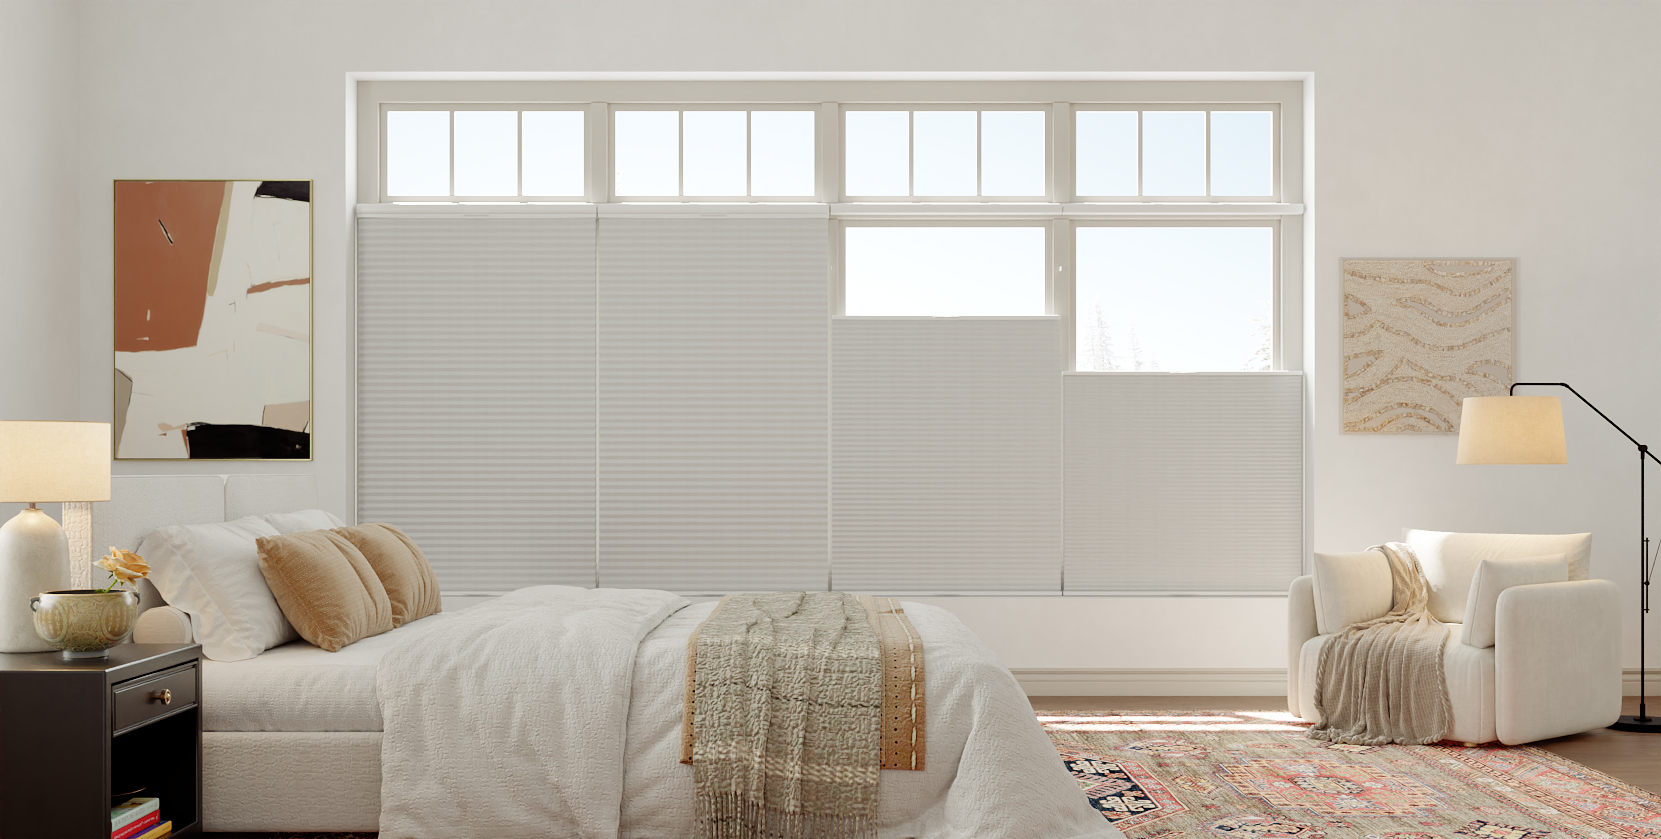
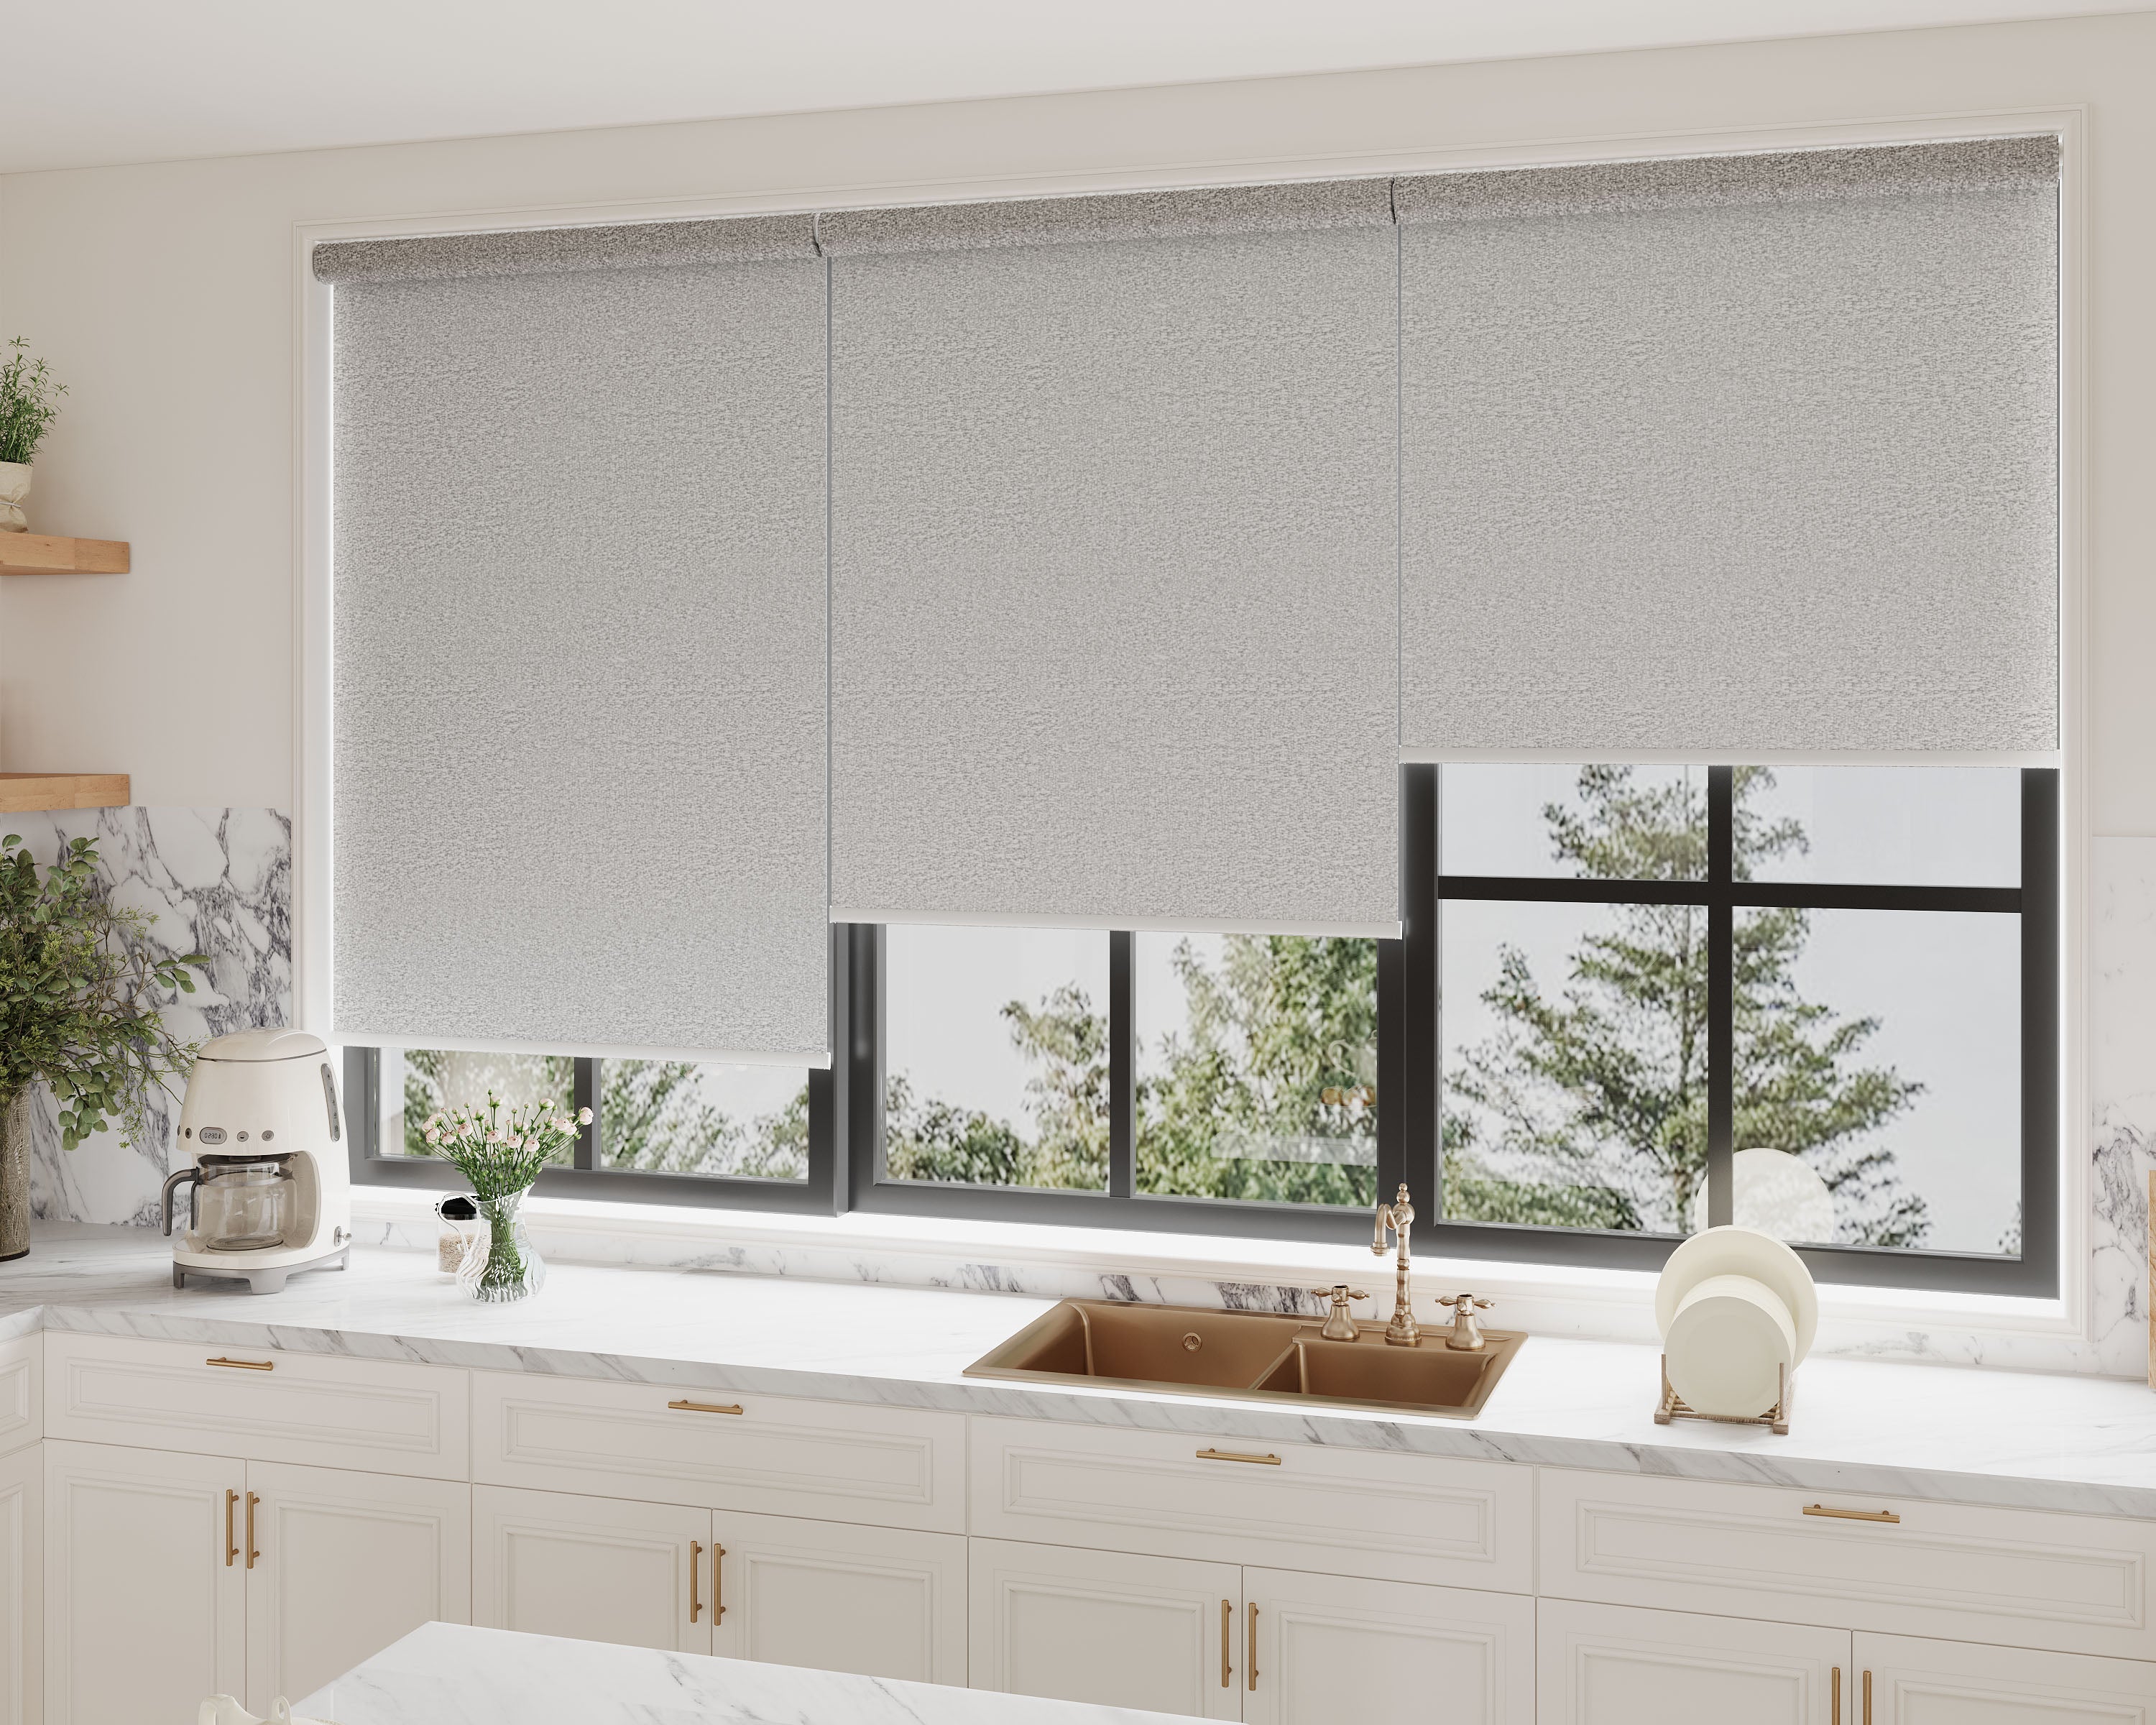
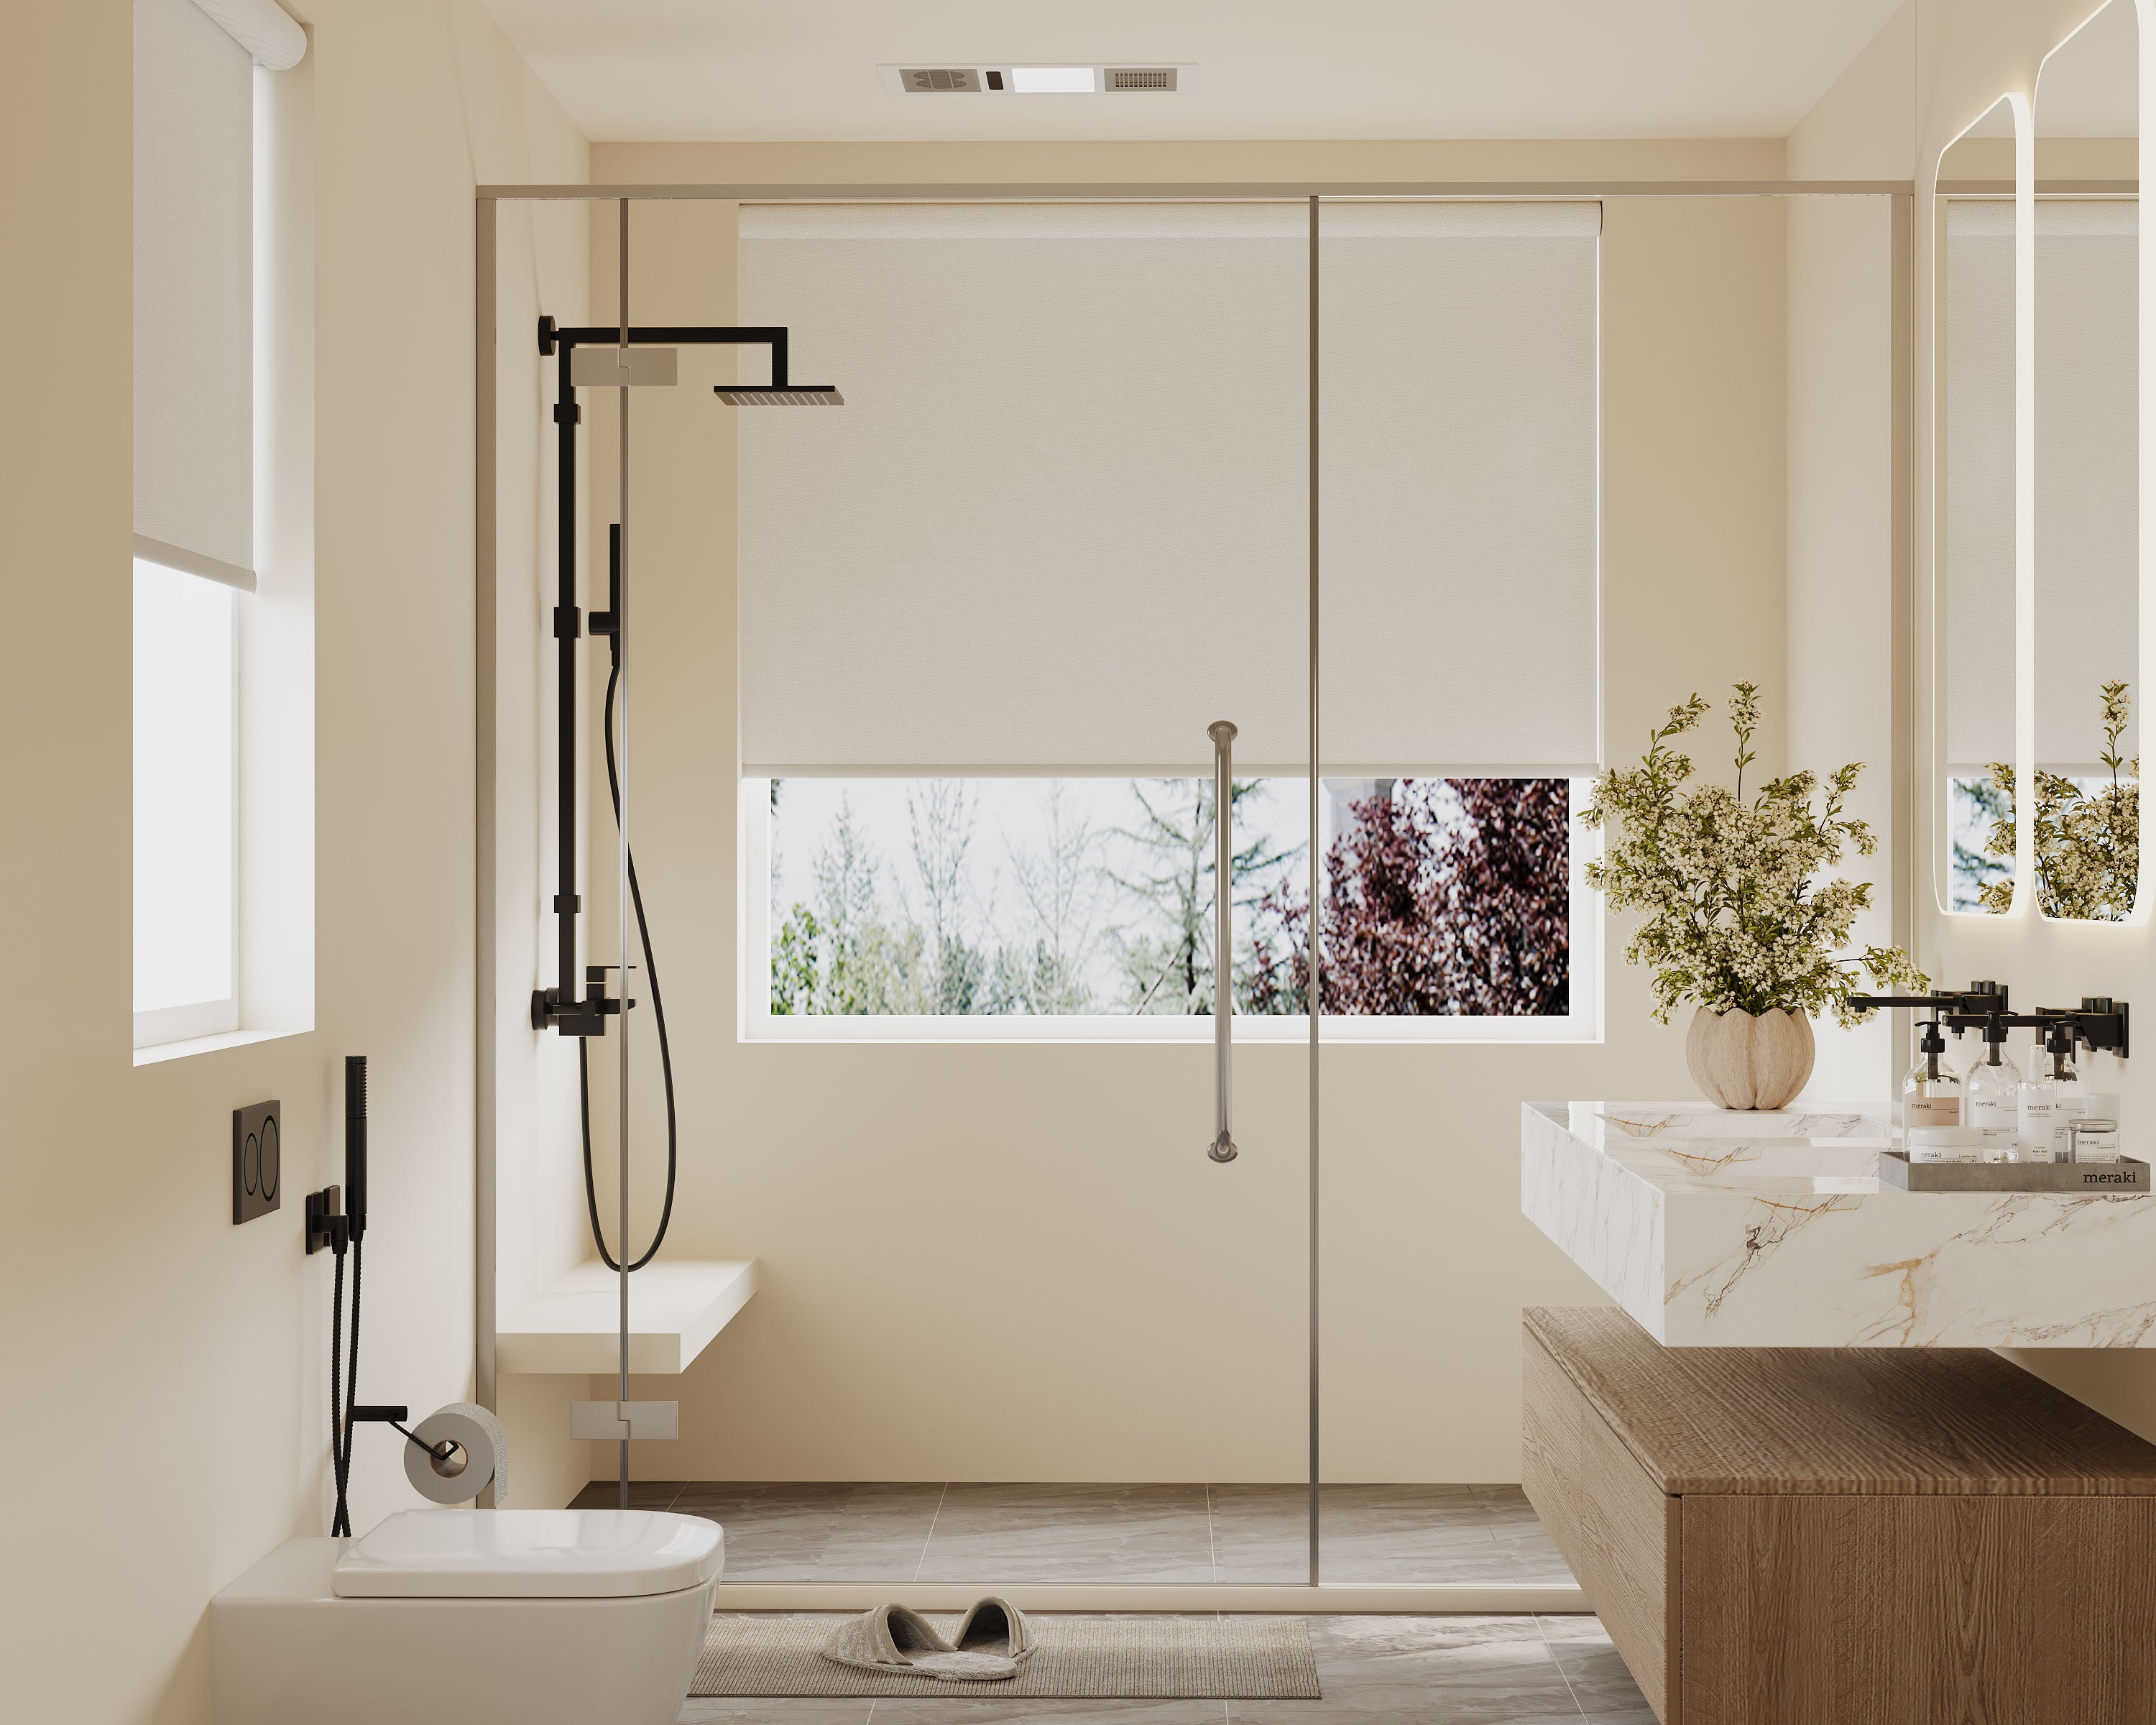
Ever wish you could boost privacy without blocking out all that gorgeous natural light? Top-down/bottom-up shades might be the answer. These shades let us adjust the covering from the top, the bottom, or both, so we can strike the perfect balance between sunlight and privacy in any room. For the most versatile version of this feature, explore top‑down/bottom‑up cellular shades, which offer excellent privacy control and insulation. They’re especially handy in spots where we crave light but want to keep nosy neighbors at bay—think bathrooms or street-facing windows.
Knowing when to use these shades can honestly save us some headaches later. Not every window calls for this feature, but for certain rooms and window placements, it just makes life easier. Plus, with so many fabric and style options, we don’t have to sacrifice style for practicality.
Key Takeaways
- Top-down/bottom-up shades allow customizable light and privacy.
- Best for rooms needing both natural light and discretion.
- Plenty of options for design, installation, and budget.
What Are Top-Down/Bottom-Up Shades?
Top-down/bottom-up shades give us more control over privacy and sunlight than standard window treatments. Their unique design means we can adjust them in multiple ways for different needs.
Core Functions and Features
We can raise these shades from the bottom up, lower them from the top down, or stop them anywhere in between. This is perfect for letting in natural light while keeping the lower part of the window covered—like in a shower or a room facing the street.
They usually come with two controls: cords, continuous loops, or cordless lift systems. Cordless is a safer pick for homes with kids or pets. Some brands throw in motorized options too, so we can adjust shades remotely—super useful for hard-to-reach windows.
The big draw? Flexibility. We can let in fresh air, reduce glare, or keep a view—all without fully opening the shade. Some perks:
- Customizable privacy
- Adjustable daylight
- Versatile for different layouts
Materials and Styles Available
Top-down/bottom-up shades come in a bunch of materials. Cellular (honeycomb) fabrics are popular for insulation and energy savings. They help keep things cooler in summer, warmer in winter.
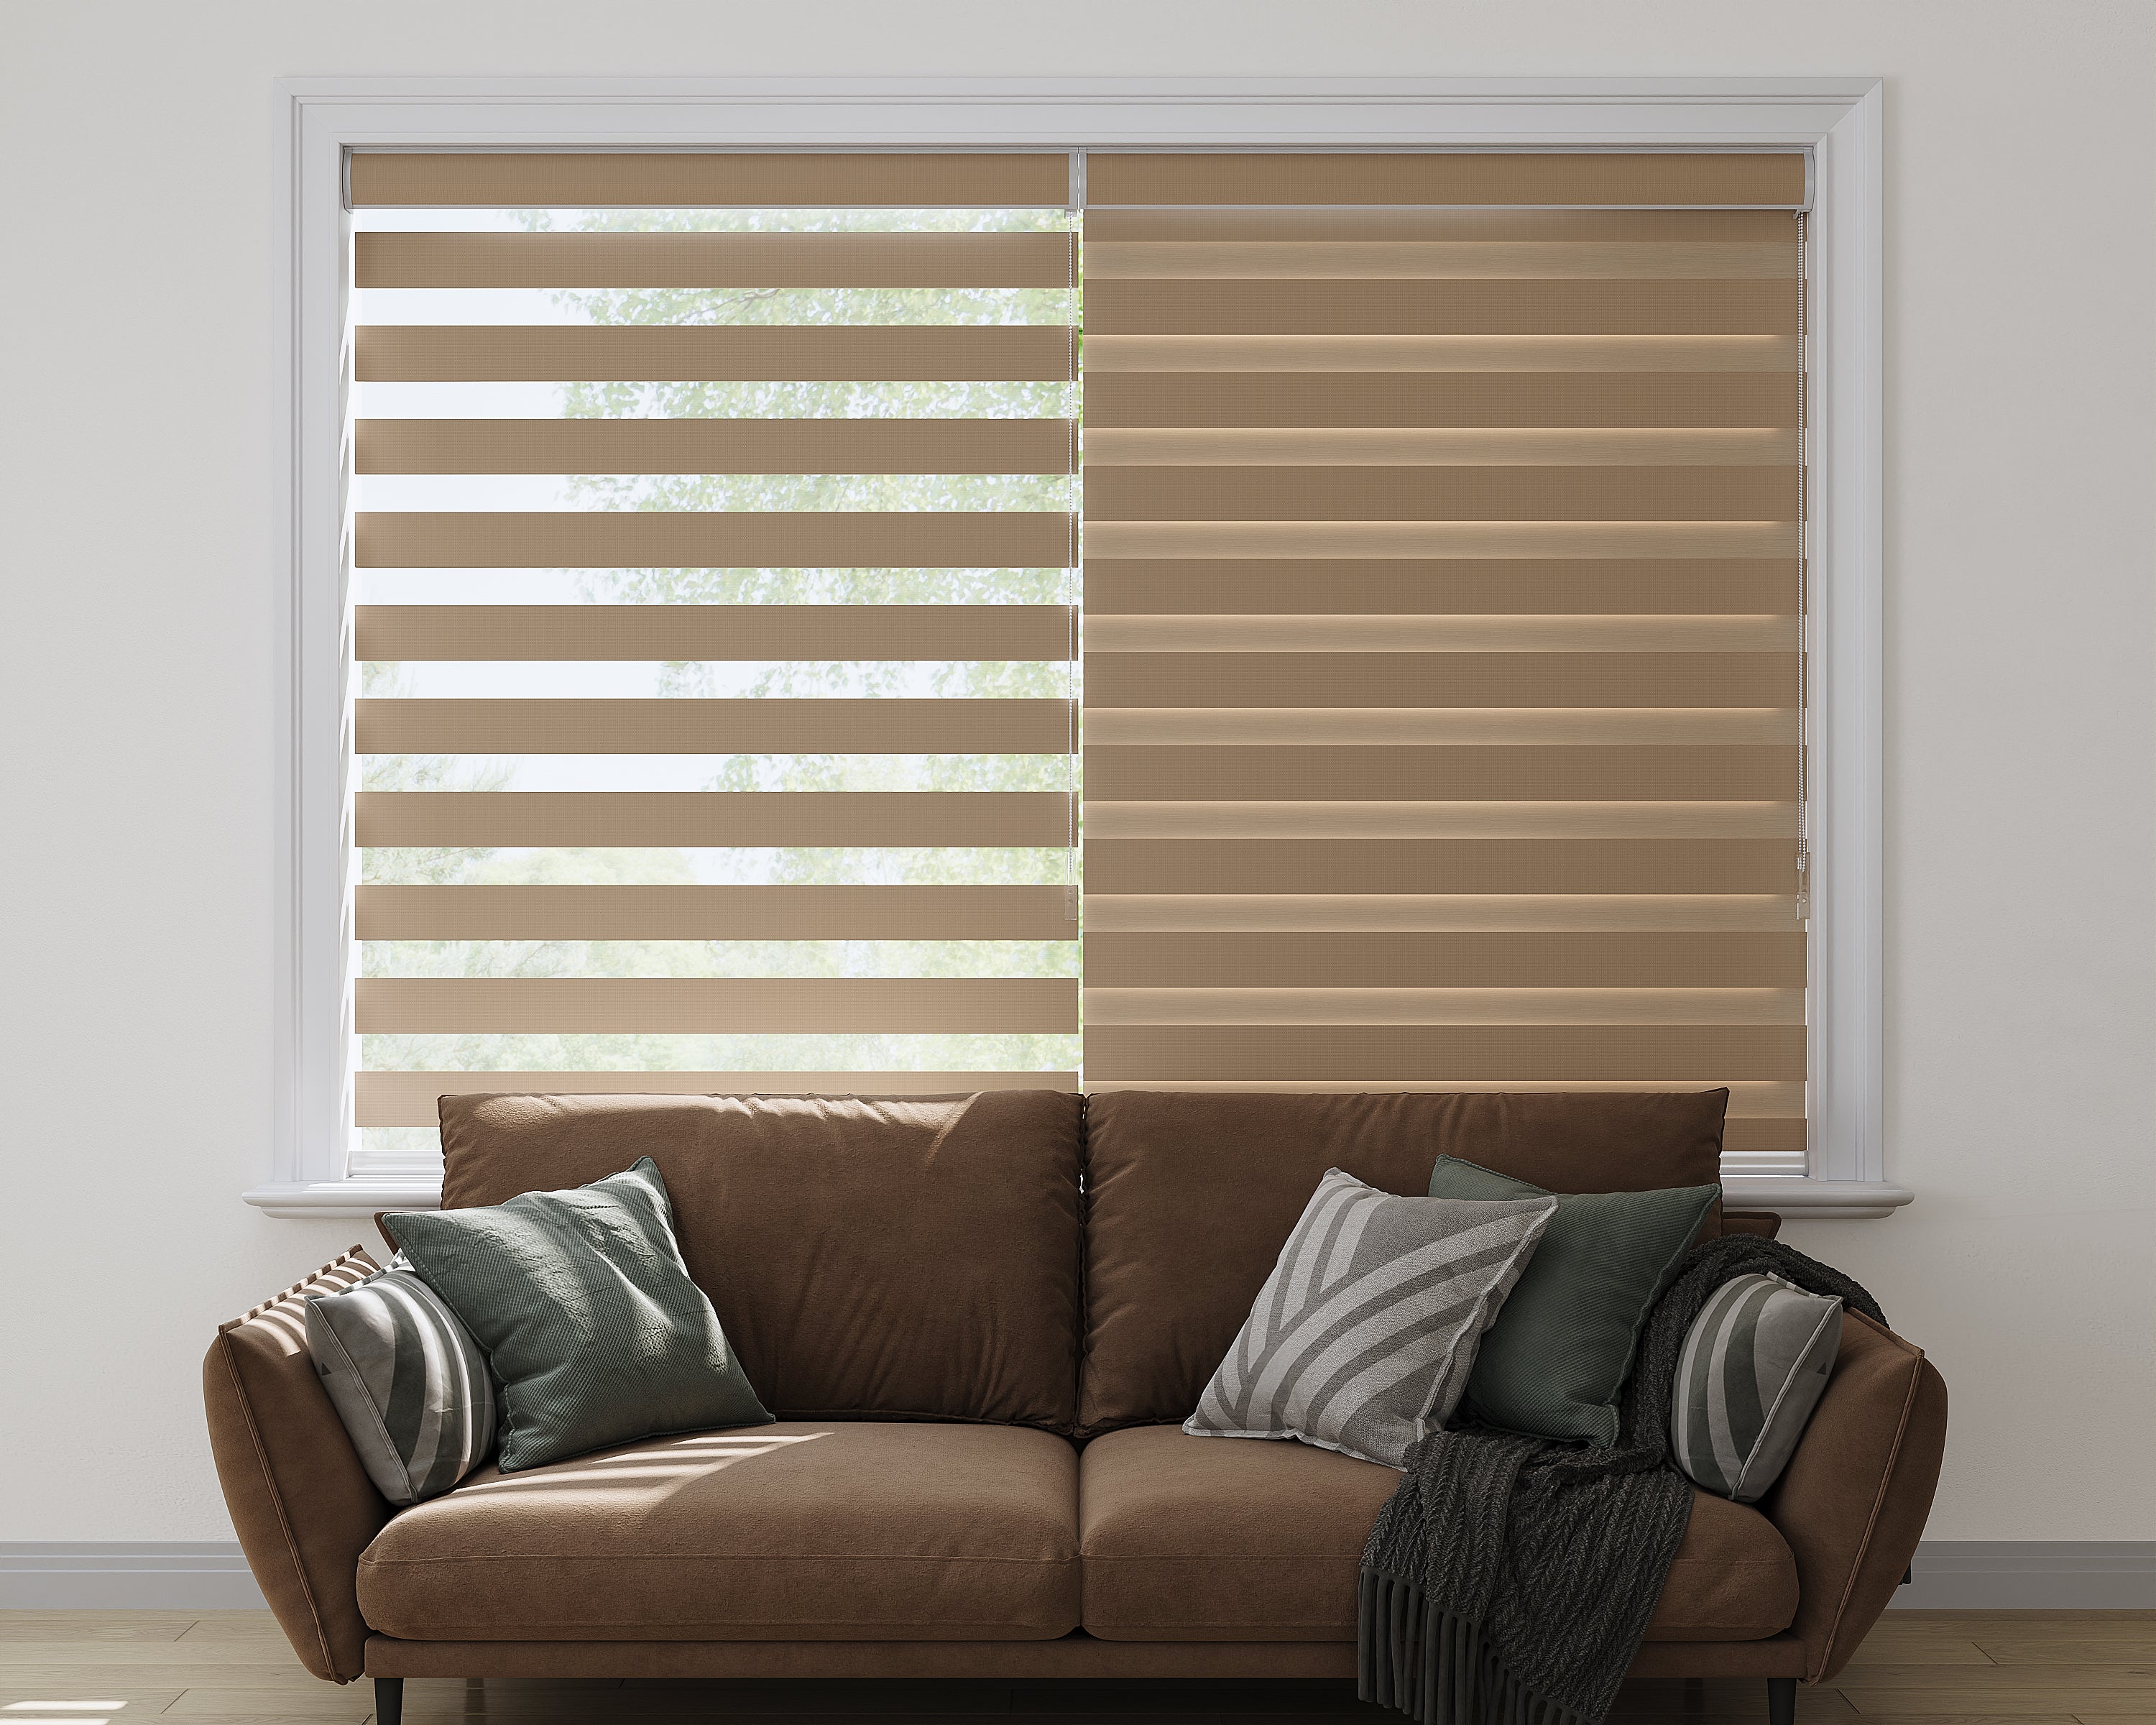
Other materials include woven woods, bamboo, sheers, and simple pleated shades. Each has its own vibe and function. Cellular shades block more light and insulate; woven woods let in filtered daylight and add texture.
Choices go beyond material. There are subtle neutrals, bold colors, and patterns to match almost any décor. Some fabrics block out light for bedrooms, while others just filter it—great for living spaces. With so many options, it’s easy to find something that fits the mood of each room.
How Top-Down/Bottom-Up Shades Work
Top-down/bottom-up shades give us more ways to adjust privacy and light compared to traditional shades. They rely on specific hardware and lifting systems that let us move the shade from the top, the bottom, or both.
Mechanism Basics
These shades have two rails—one at the top, one at the bottom. Both rails can move up and down independently, while the fabric is anchored at both ends. We can open the shade from the top for sunlight while keeping the bottom covered, or the other way around.
Key parts:
- Two sets of cords or tensioned tracks
- Movable top and bottom rails
- Guided channels (optional for extra stability)
Quick table for clarity:
| Feature | Top-Down/Bottom-Up Shades | Traditional Shades |
|---|---|---|
| Open from top? | Yes | No |
| Open from bottom? | Yes | Yes |
| Both at once? | Yes | No |
This setup lets us avoid the all-or-nothing light or privacy dilemma. To maximize this flexibility, reducing side light gaps for better privacy control helps the shades perform at their best.
Differences From Traditional Shades
Classic shades only lift from the bottom. Top-down/bottom-up designs let us pick which part of the window to cover. Want sunlight but not curious glances from the street? Open the top and keep the bottom closed.
The extra rail does mean a bit more hardware shows, but the usability boost is worth it. Some designs have slimmer profiles or matching rails so the mechanics don’t distract.
Corded vs. Cordless Options
Corded models use exposed cords or loops to move the rails. That gives us precise control, but cords can look messy and aren’t always safe for kids or pets.
Cordless models use internal springs or tension systems. We just grip the rail and move it—no cords dangling around. Cordless is cleaner, safer, and often smoother to use.
And for big or high windows, motorization is an option. One button, and the shades move—pretty nice if you ask me. If safety and convenience matter, cordless or motorized is probably the way to go. And whichever lift system you choose, choosing inside or outside mount for smoother operation affects how well the rails move
Benefits of Top-Down/Bottom-Up Shades
Top-down/bottom-up shades let us control sunlight in new ways, boost privacy, and add style to any room. Each feature makes these shades a practical choice for anyone who likes to balance light, privacy, and good design.
Light Control Flexibility
Most window treatments force us to pick: all the light or none. Top-down/bottom-up shades let us fine-tune how much sunlight comes in and exactly where it goes. We can lower the shade from the top to bring in daylight while keeping the lower part covered.
We get natural light without harsh glare or fading from direct sun. That’s a win for living rooms and home offices, where soft daylight really matters.
Example Table:
| Shade Position | Light Entering | Typical Use |
|---|---|---|
| Up | Full | Maximum daylight |
| Down | None | Full darkness, privacy |
| Middle | Partial | Light + privacy balance |
This flexibility helps us manage changing light throughout the day, making rooms more comfortable and, honestly, a bit more energy efficient.
Enhanced Privacy Options
Not every home faces a quiet backyard, so privacy matters. By adjusting these shades from either end, we can keep prying eyes out while still letting sunlight in. Lowering from the top while covering the bottom means we can read, relax, or work without worrying about street-level views.
If you live in a city or your windows face the street, these are a lifesaver for bedrooms, bathrooms, and apartments. We get privacy where we need it, without shutting ourselves in.
It’s a simple fix for layered privacy that basic blinds just can’t match.
Aesthetic Appeal
Function’s good, but let’s be real—looks matter. Top-down/bottom-up shades have clean lines and a tidy appearance at any position. Depending on fabric and style, they can blend in or stand out.
They work with modern, classic, or minimalist décor. With tons of colors, textiles, and lift systems, it’s not hard to find a style that fits.
We can use them to highlight a favorite plant or art piece near the sill by letting in light from above. Layering with drapes adds texture and depth. The versatility means we don’t have to pick between style and practicality.
When to Specify Top-Down/Bottom-Up Shades
Deciding when to install these shades really depends on the rooms and windows we’re dealing with. They offer a nice mix of privacy and light, but they shine in certain situations.
Ideal Room Applications
Top-down/bottom-up shades are a smart pick for street-facing rooms—living rooms, bedrooms, and bathrooms where privacy is a big deal. We can lower the shade from the top to let in sunlight without putting everything on display.
They’re also great for nurseries and home offices. In nurseries, we get gentle daylight while kids nap. In home offices, we can ditch glare without closing off the outside world. These shades let us control exactly where the sunlight lands, which can be a game-changer for mood and productivity.
If you’ve got plants on the sill or want to keep a view without exposing the whole room, these work well. For oversized windows, using multiple shades on wide windows for better alignment keeps the top‑down/bottom‑up function consistent across the span. For closets or hallways? Probably overkill.
Architectural Considerations
Window type and size matter. These shades fit best on standard double-hung or casement windows. Odd shapes or huge windows can be tricky—sometimes custom fabrication is needed, which can get pricey.
Deep window frames or recessed boxes might affect how the mechanism works. For windows behind furniture, make sure you can reach both controls. Also check that your frame is deep enough — understanding frame depth for top‑down/bottom‑up compatibility prevents hardware from binding or tilting.
Be mindful of mounting depth. Some thin frames or shallow sills just can’t handle the hardware. Checking the manufacturer’s guidelines before buying is a good move. And if you want cordless or motorized, double-check compatibility with your setup.
Customization Choices
Specifying top-down/bottom-up shades means we get a surprising amount of flexibility. From material types to visual appeal, a few key choices let us really tailor the look and function to our space and needs.
Fabric Selections
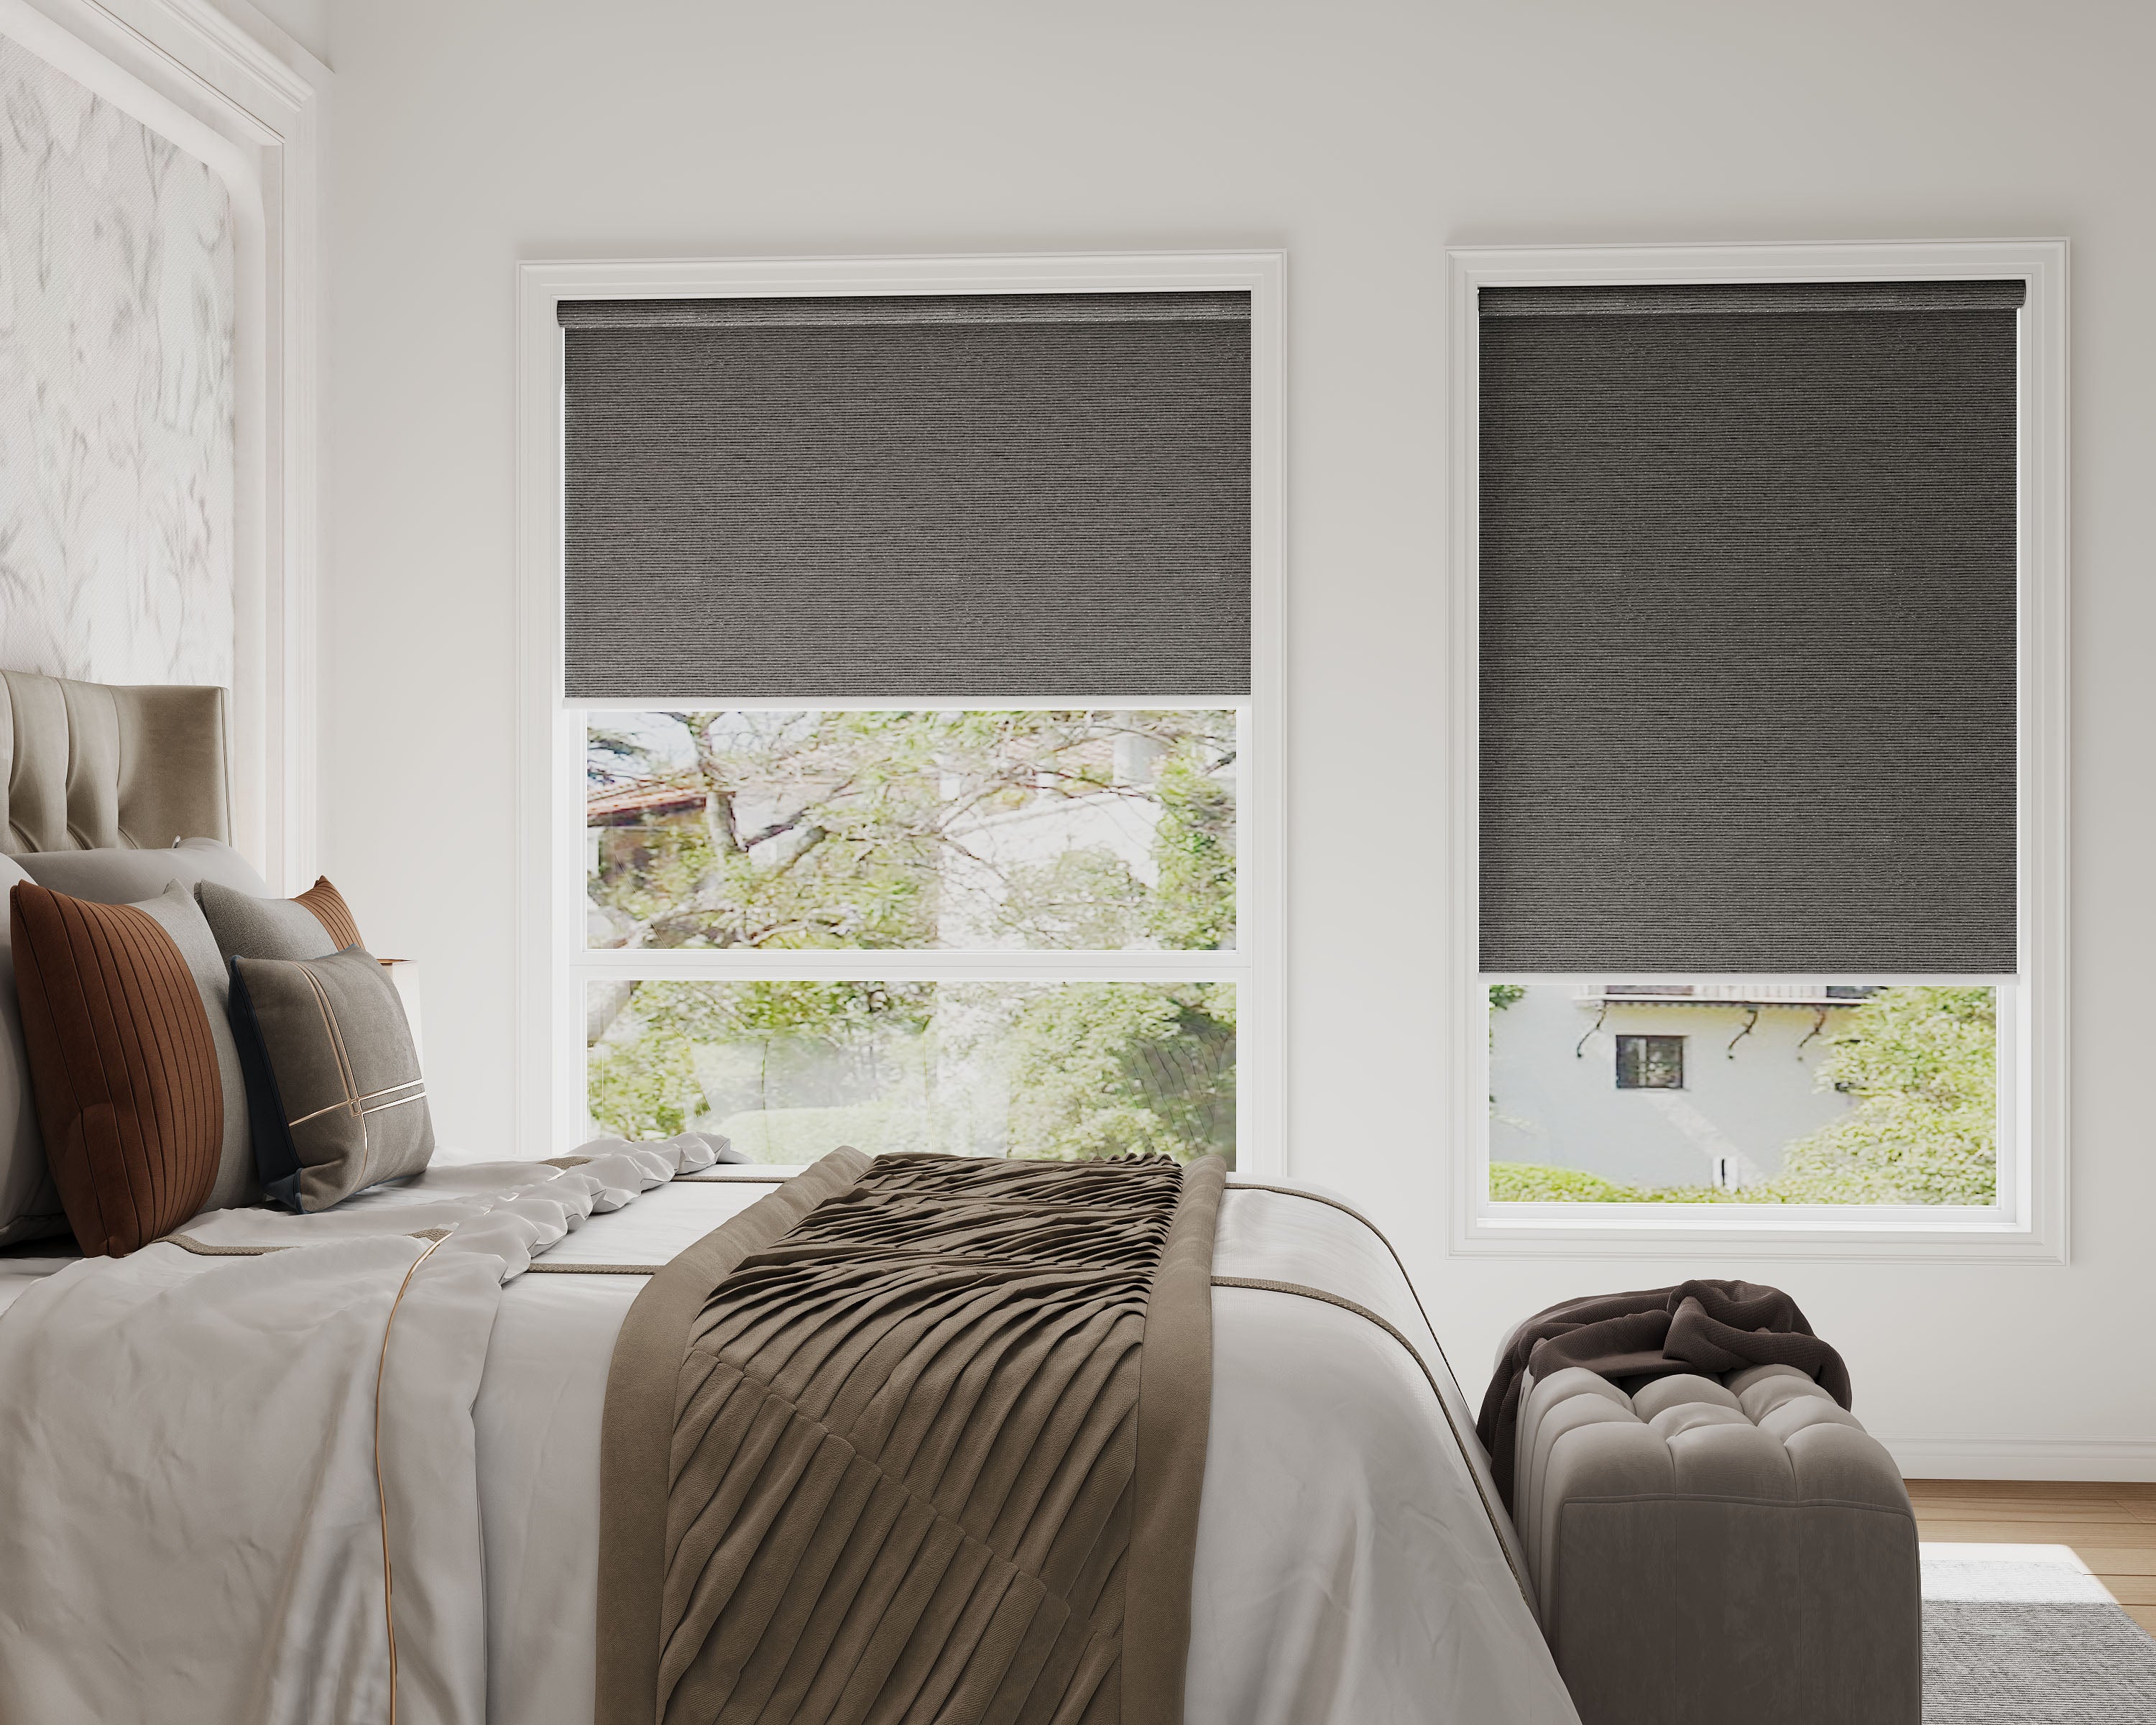
Fabric choice seriously impacts how these shades work and look. First, figure out how much light you want. Blackout fabrics are perfect for bedrooms or media rooms where darkness is key. Light-filtering fabrics soften daylight and give privacy, ideal for living rooms or kitchens.
Some fabrics have coatings for energy efficiency or sun-fade resistance. Others are easy to wipe clean—handy with kids or pets. Hypoallergenic options are out there too, if dust is a concern.
Here’s a quick comparison:
| Fabric Type | Light Control | Privacy | Maintenance | Best For |
|---|---|---|---|---|
| Blackout | High | High | Easy | Bedrooms, media |
| Light Filtering | Moderate | Medium | Easy | Living spaces |
| Sheer | Low | Low | Very easy | Dining rooms |
Color and Finish Options
Picking the color and finish can be the fun part. Match shades to wall colors, coordinate with wood, or go bold with a custom hue. Whites and neutrals are safe bets—they work almost everywhere and help rooms feel bigger.
Some systems have decorative tapes or trims for extra flair. If your windows get a lot of sun, lighter colors reflect heat better and help with cooling.
Textured finishes like linen or woven patterns make shades feel less plain. Hardware matters too—brushed nickel, matte black, or soft gold brackets can add a subtle touch.
Installation and Compatibility
Let’s be real—making sure top-down/bottom-up shades actually fit your windows saves a ton of hassle. A little planning upfront goes a long way.
Window Types Supported
Top-down/bottom-up shades are pretty adaptable. Most standard rectangular windows—single-hung, double-hung, casement, and even some bay windows—work fine. Odd shapes or arches? Not so much. You’ll need a flat mounting surface inside or around the frame, so super shallow frames might be a dealbreaker.
Here’s a quick rundown:
| Window Type | Supported? | Notes |
|---|---|---|
| Single/Double-Hung | Yes | Very common for these shades |
| Casement | Yes | Must have enough frame depth |
| Bay/Bow | Sometimes | May need custom sizing |
| Arched/Circle | Rarely | Usually not compatible |
| Sliding (Horizontal) | Sometimes | Measure carefully for fit |
Before you hit “buy,” check for anything in the way—window cranks, handles, or weird trim can mess with installation.
Retrofit vs. New Construction
You can use top-down/bottom-up shades in both renovations and new builds. For retrofits, we usually mount them inside the window frame. Just make sure the frame’s deep enough for the hardware.
In new builds, planning ahead lets you get the perfect depth for a sleek, built-in look. If you’re renovating, expect a little patching or touch-up after installation, but nothing major.
DIYers can usually handle the job with a drill, screwdriver, and measuring tape. Not feeling confident? There’s no shame in calling a pro, especially for tricky windows or if you want it just right.
Maintenance and Durability
Keeping these shades in good shape isn’t rocket science, but a few habits help them last longer. Regular cleaning and gentle use go a long way.
Cleaning Tips
You don’t need fancy tools. Most fabric shades just need a weekly run-over with a vacuum’s soft brush. Sometimes a quick swipe with a microfiber cloth does the trick for dust on the rails and cords.
Spot clean stains, but always check the care label first—some fabrics don’t love water or strong cleaners. Skip the harsh stuff; a little mild soap and water usually works for fabric spots. In kitchens or bathrooms, a gentle wipe-down handles humidity grime.
For wood and faux-wood, use a barely damp cloth, then dry right away—no one wants warped shades. Dirty cords? A damp sponge is usually enough. The key is gentle, regular cleaning to keep them looking sharp without damage.
Longevity Factors
How long these shades last comes down to build quality, how they’re installed, and how you treat them. Good hardware and UV-resistant fabrics are worth the extra bucks—they don’t snag or fade as easily. Careful installation means less strain, so everything glides better.
A few things that help shades last:
- Quality materials: Aluminum or tough synthetics hold up
- Gentle use: Don’t yank; use handles or cords as intended
- UV protection: Fade-resistant fabrics keep their color
- Routine checks: Tighten loose parts before they become a problem
Kids or pets hanging on the shades? Big no. Tugging on cords is a fast track to repairs. Treat them well and you probably won’t need replacements for ages.
Cost Considerations
Let’s be honest—top-down/bottom-up shades usually cost more than basic blinds. You’re paying for that extra flexibility and mechanism, but for a lot of folks, it’s worth it.
Here’s a ballpark:
| Type | Estimated Price Range (per window) |
|---|---|
| Standard roller/blinds | $30 – $100 |
| Top-down/bottom-up cellular | $80 – $250 |
| Top-down/bottom-up Roman shades | $150 – $400 |
Install costs add up, too. Doing it yourself saves money, but pros might charge $30 to $100 per window depending on how tricky it is.
Customization bumps the price, especially for weird sizes, fancy fabrics, or automation. Motorized options? Super cool, but expect to pay at least $100 extra per shade.
Maintenance is usually easy, but repairs can be pricier if something inside the mechanism breaks. Most of us get by with regular, gentle cleaning.
Eco-Friendly and Smart Home Integrations
If you care about the planet (and who doesn’t at least a little?), top-down/bottom-up shades have some nice green features. Many use recycled or sustainable materials—think bamboo or energy-saving fabrics.
Cellular shades are especially clever. That honeycomb shape traps air, keeping rooms cooler in summer and warmer in winter. It might not slash your energy bill in half, but every bit helps.
Smart home integration? That’s taking off, too. You can hook these shades up to voice assistants or automation systems and control them from your phone or with a quick voice command. No more racing around to chase the sun.
Some handy integrations:
| Integration Type | Benefit |
|---|---|
| Scheduled Controls | Automate sun/heat/block |
| Remote Operation | Adjust anytime, anywhere |
| Voice Activation | Hands-free, ultra-easy |
| Sun Sensors | Reacts to sunlight |
When you combine eco-friendly materials with smart tech, top-down/bottom-up shades just fit right into a modern, sustainable lifestyle. They’re not just about privacy—they’re about making life a bit easier and greener.
Frequently Asked Questions
People ask a lot about how these shades work in different rooms, how they play with smart home setups, and the best way to measure for a good fit. Materials, installation, and design options come up a lot, too.
What makes top down bottom up shades a versatile choice for privacy and light control?
Honestly, it’s the flexibility. You can lower them from the top for daylight while blocking the bottom for privacy, or do the reverse. It’s a great way to get light without giving up privacy—especially for street-facing rooms or bathrooms.
Can top down bottom up shades be motorized for smart home integration?
Yep! Many models offer motorization and work with smart home platforms. You can use remotes, apps, or voice assistants—super handy if your hands are full or you’re just feeling lazy.
Just double-check that the shades you pick work with your system (Alexa, Google, Apple, etc.).
What's the trick to measuring your windows correctly for top down bottom up shades?
Measure width and height in several spots—windows love to be slightly off. Use the smallest width and longest height for the best fit.
Also, know if you’re mounting inside or outside the frame. That changes the measurements and install process.
What are the pros and cons of different materials used in top down bottom up shades?
Cellular (honeycomb) shades insulate well and save energy, but they’re a bit tougher to clean. Woven wood or bamboo add texture and a natural vibe but may not block as much light.
Fabrics come in all kinds of opacities, from sheer to blackout, and are easy to match to your decor. Downside? They can collect dust and sometimes fade in strong sun.
How can you incorporate top down bottom up shades into various design aesthetics?
Modern rooms usually go for solid colors and clean lines. Textured or patterned shades can make eclectic or boho spaces pop. Match your shade’s hardware and fabric to other finishes—like metal fixtures or wood tones.
Want a cozier feel or extra light blocking? Layer with curtains or drapes. That adds depth and softness, especially in bedrooms.
Are there DIY options for installing top down bottom up shades, or should you call in the pros?
Plenty of kits out there are made for DIY, and most include clear instructions plus all the hardware. You’ll usually need a drill, measuring tape, and level—maybe a friend for those bigger windows.
But if your windows are odd-sized, or you just don’t want to mess with drilling, bringing in a pro can save a lot of stress and probably looks better in the end. Sometimes it’s just not worth the headache, you know?

