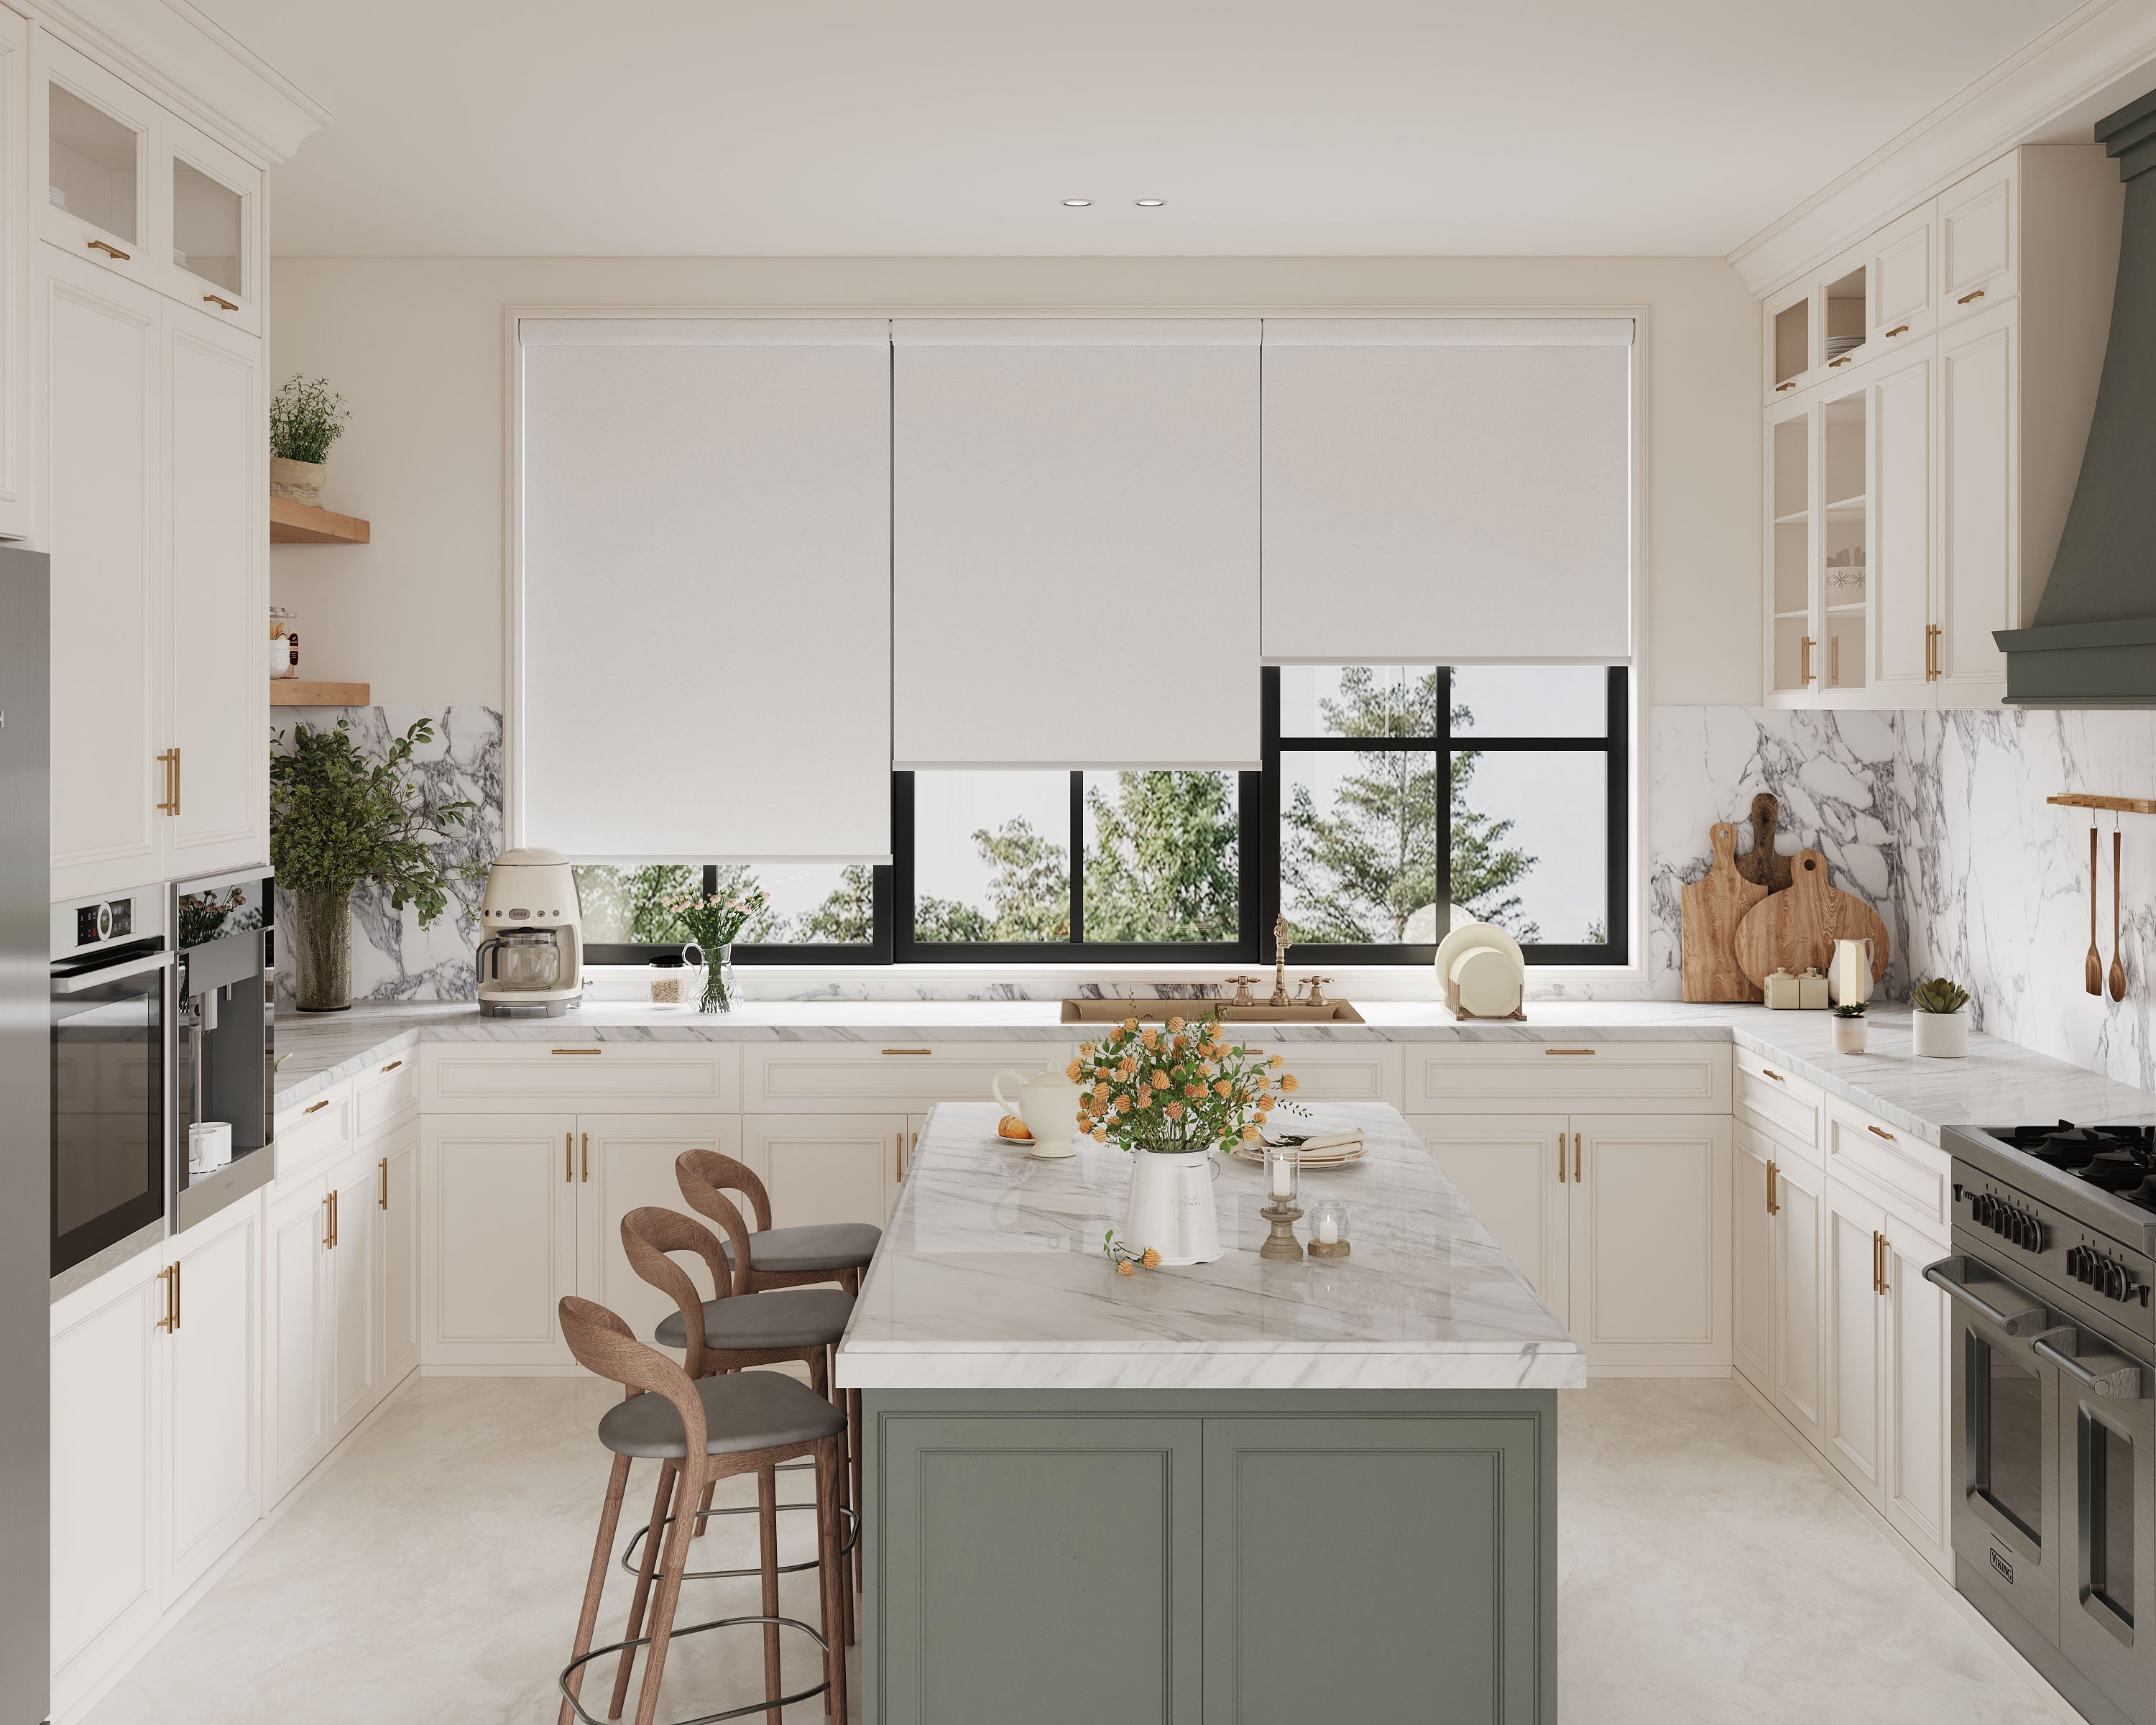
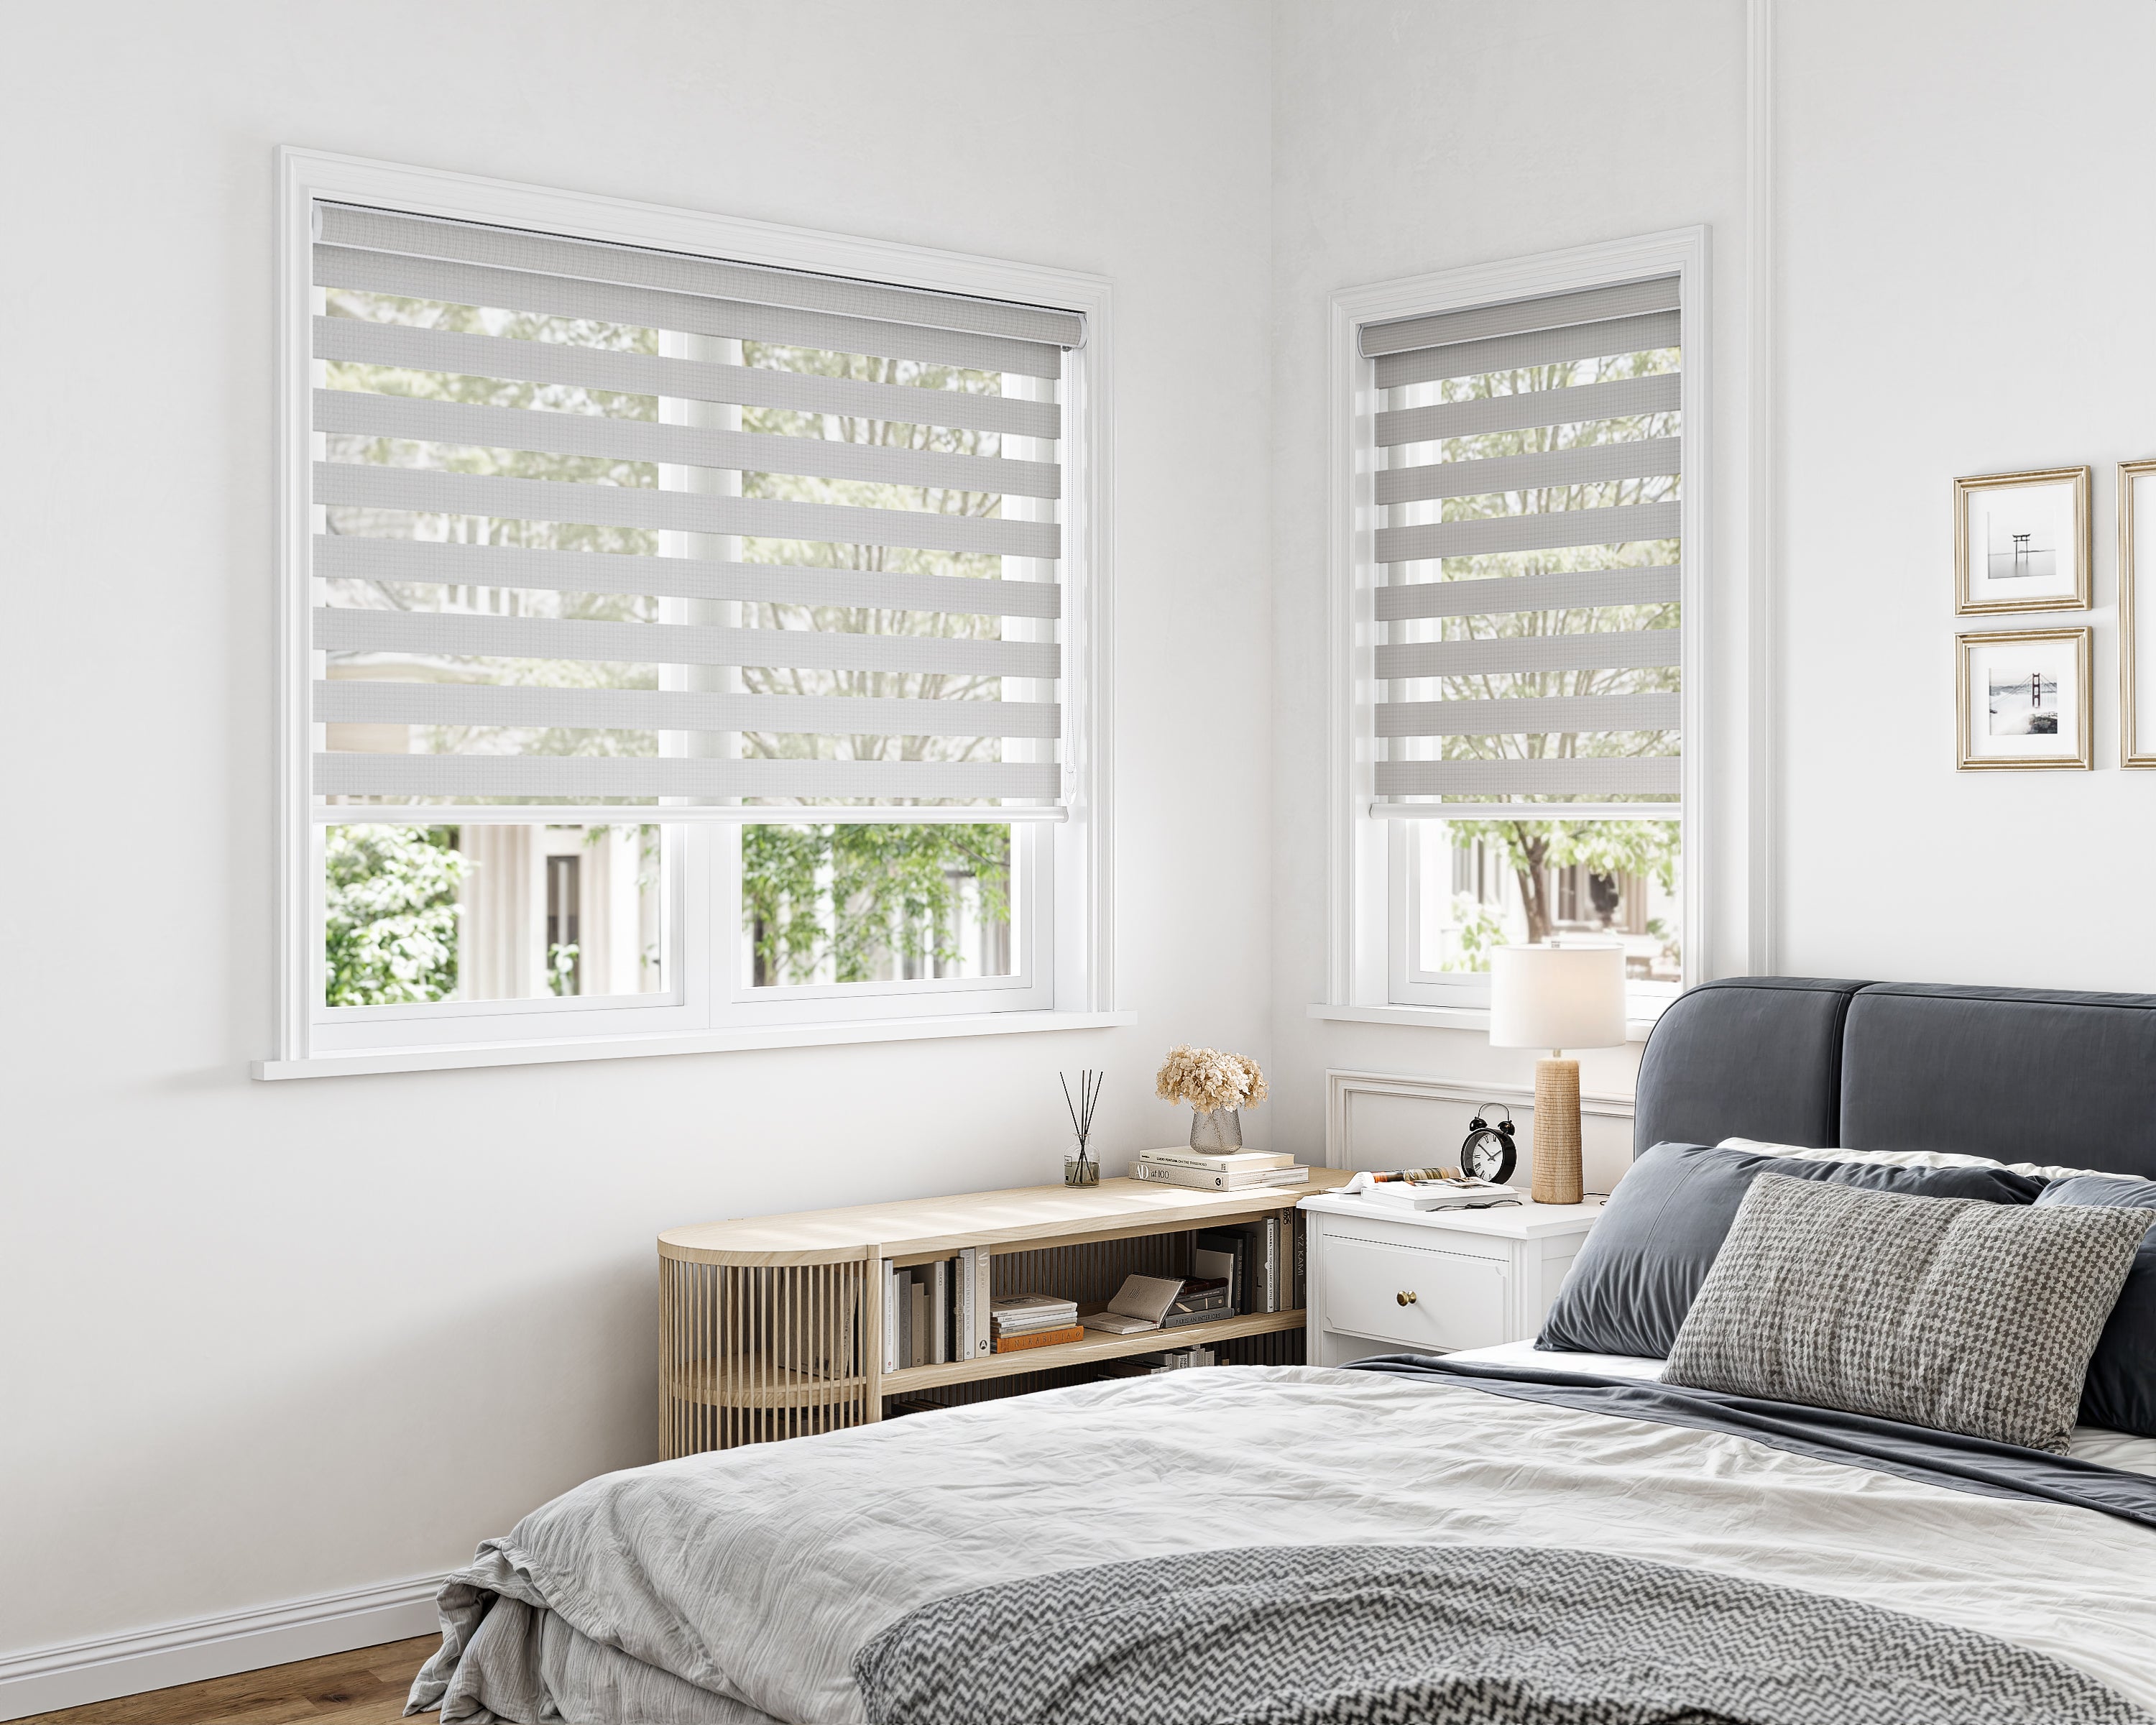
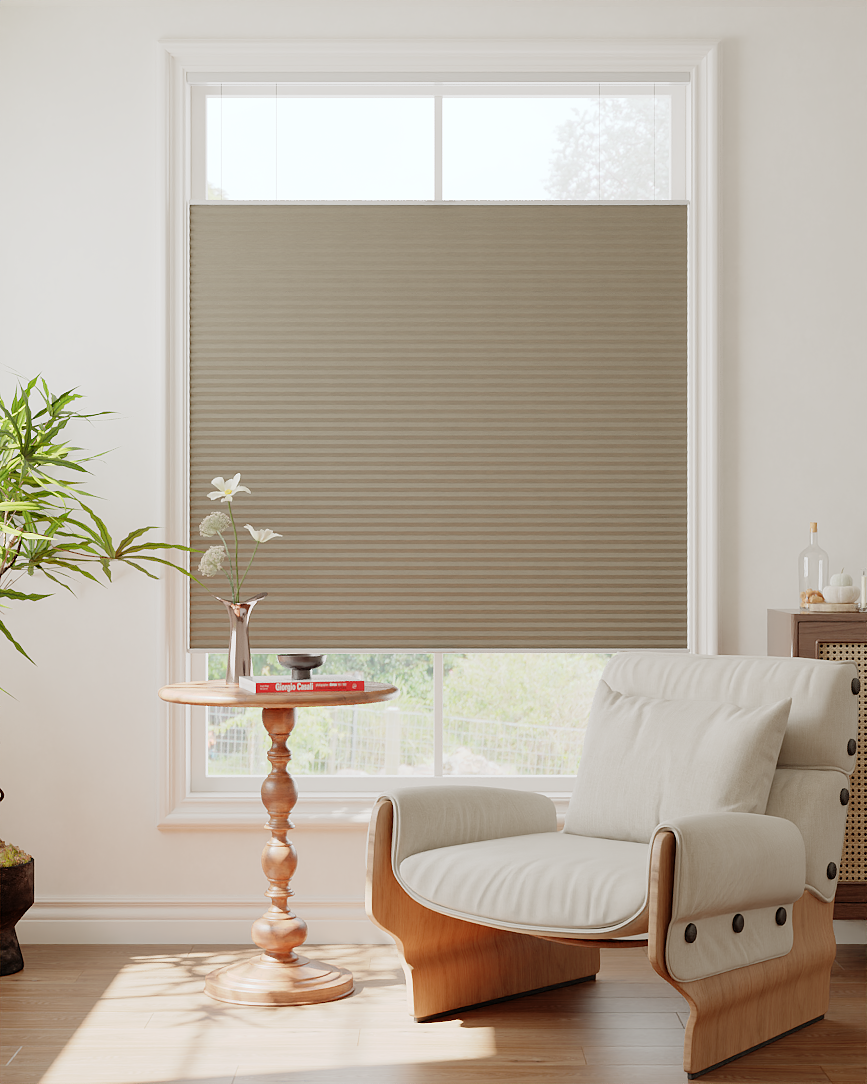
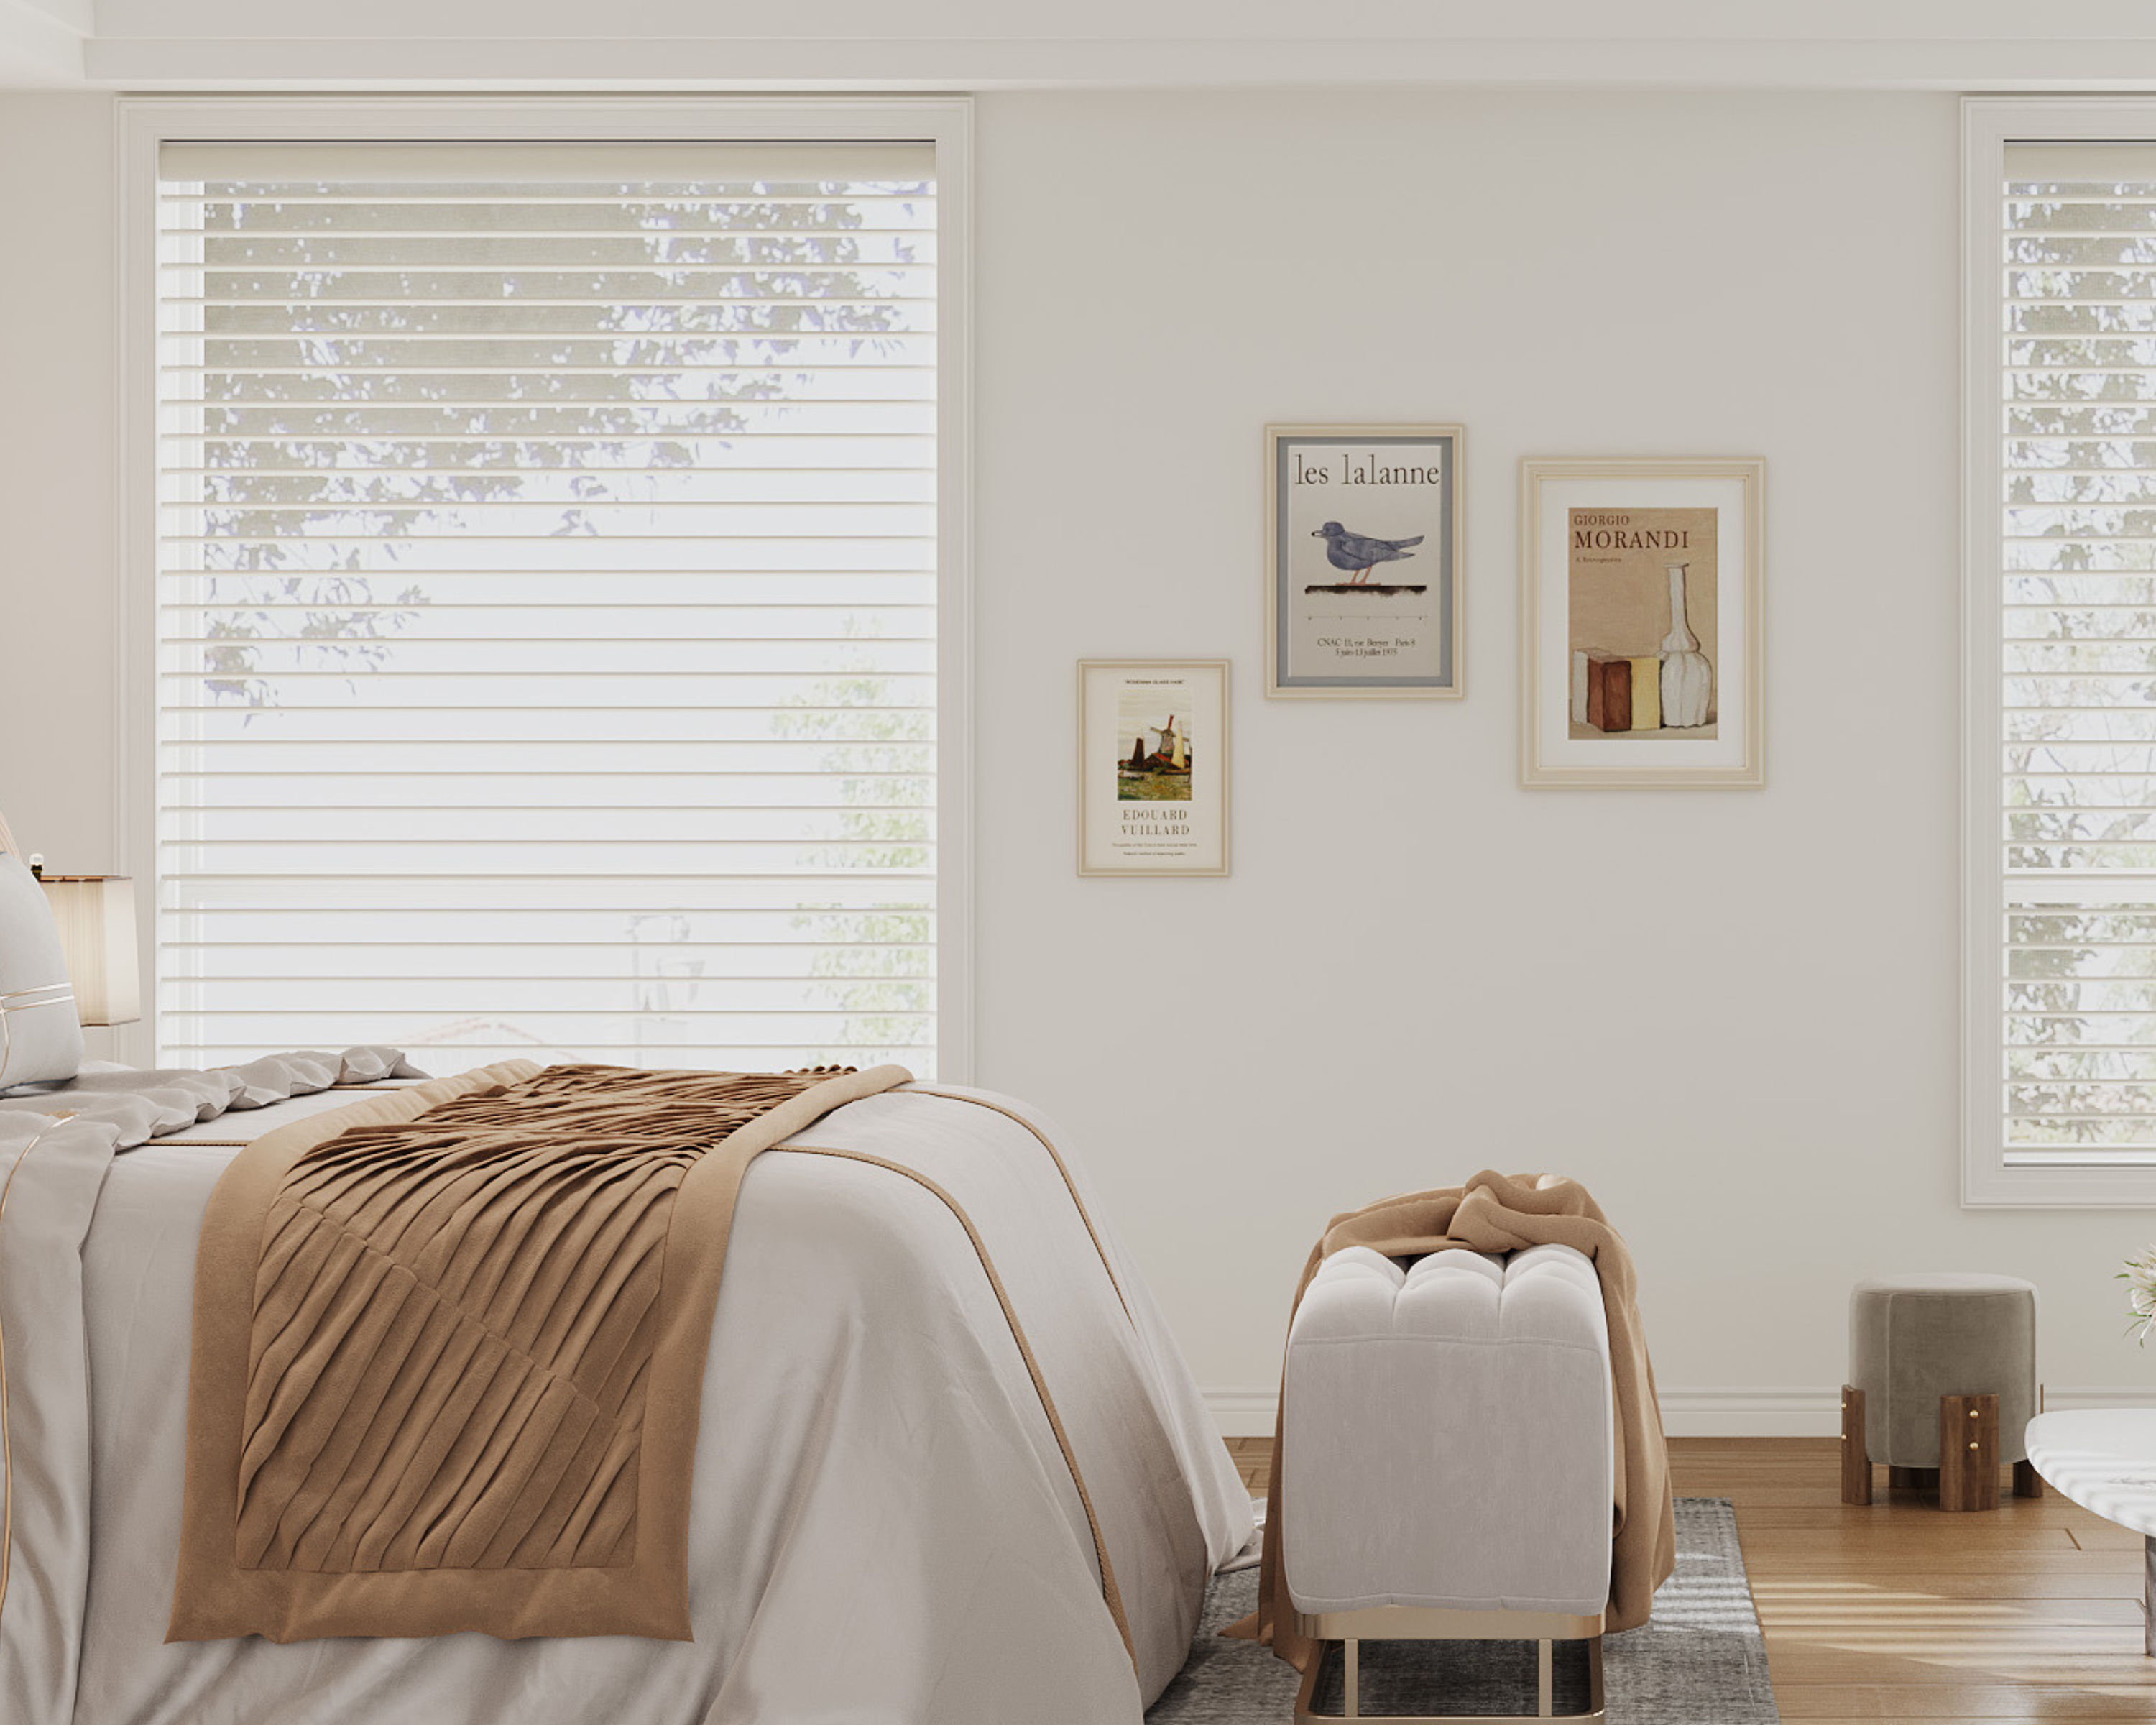
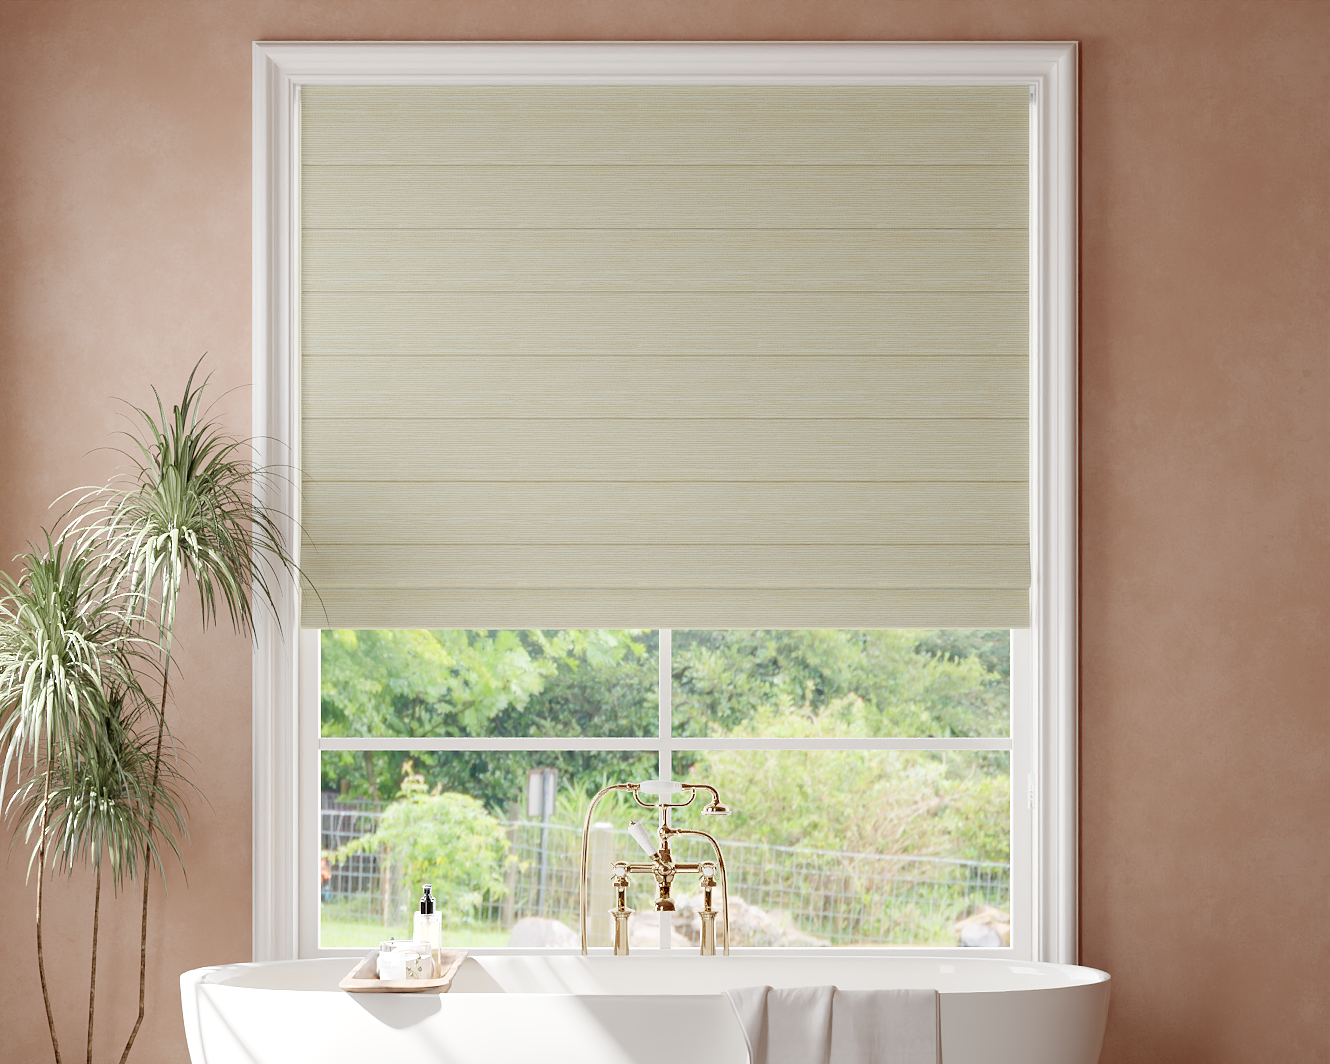
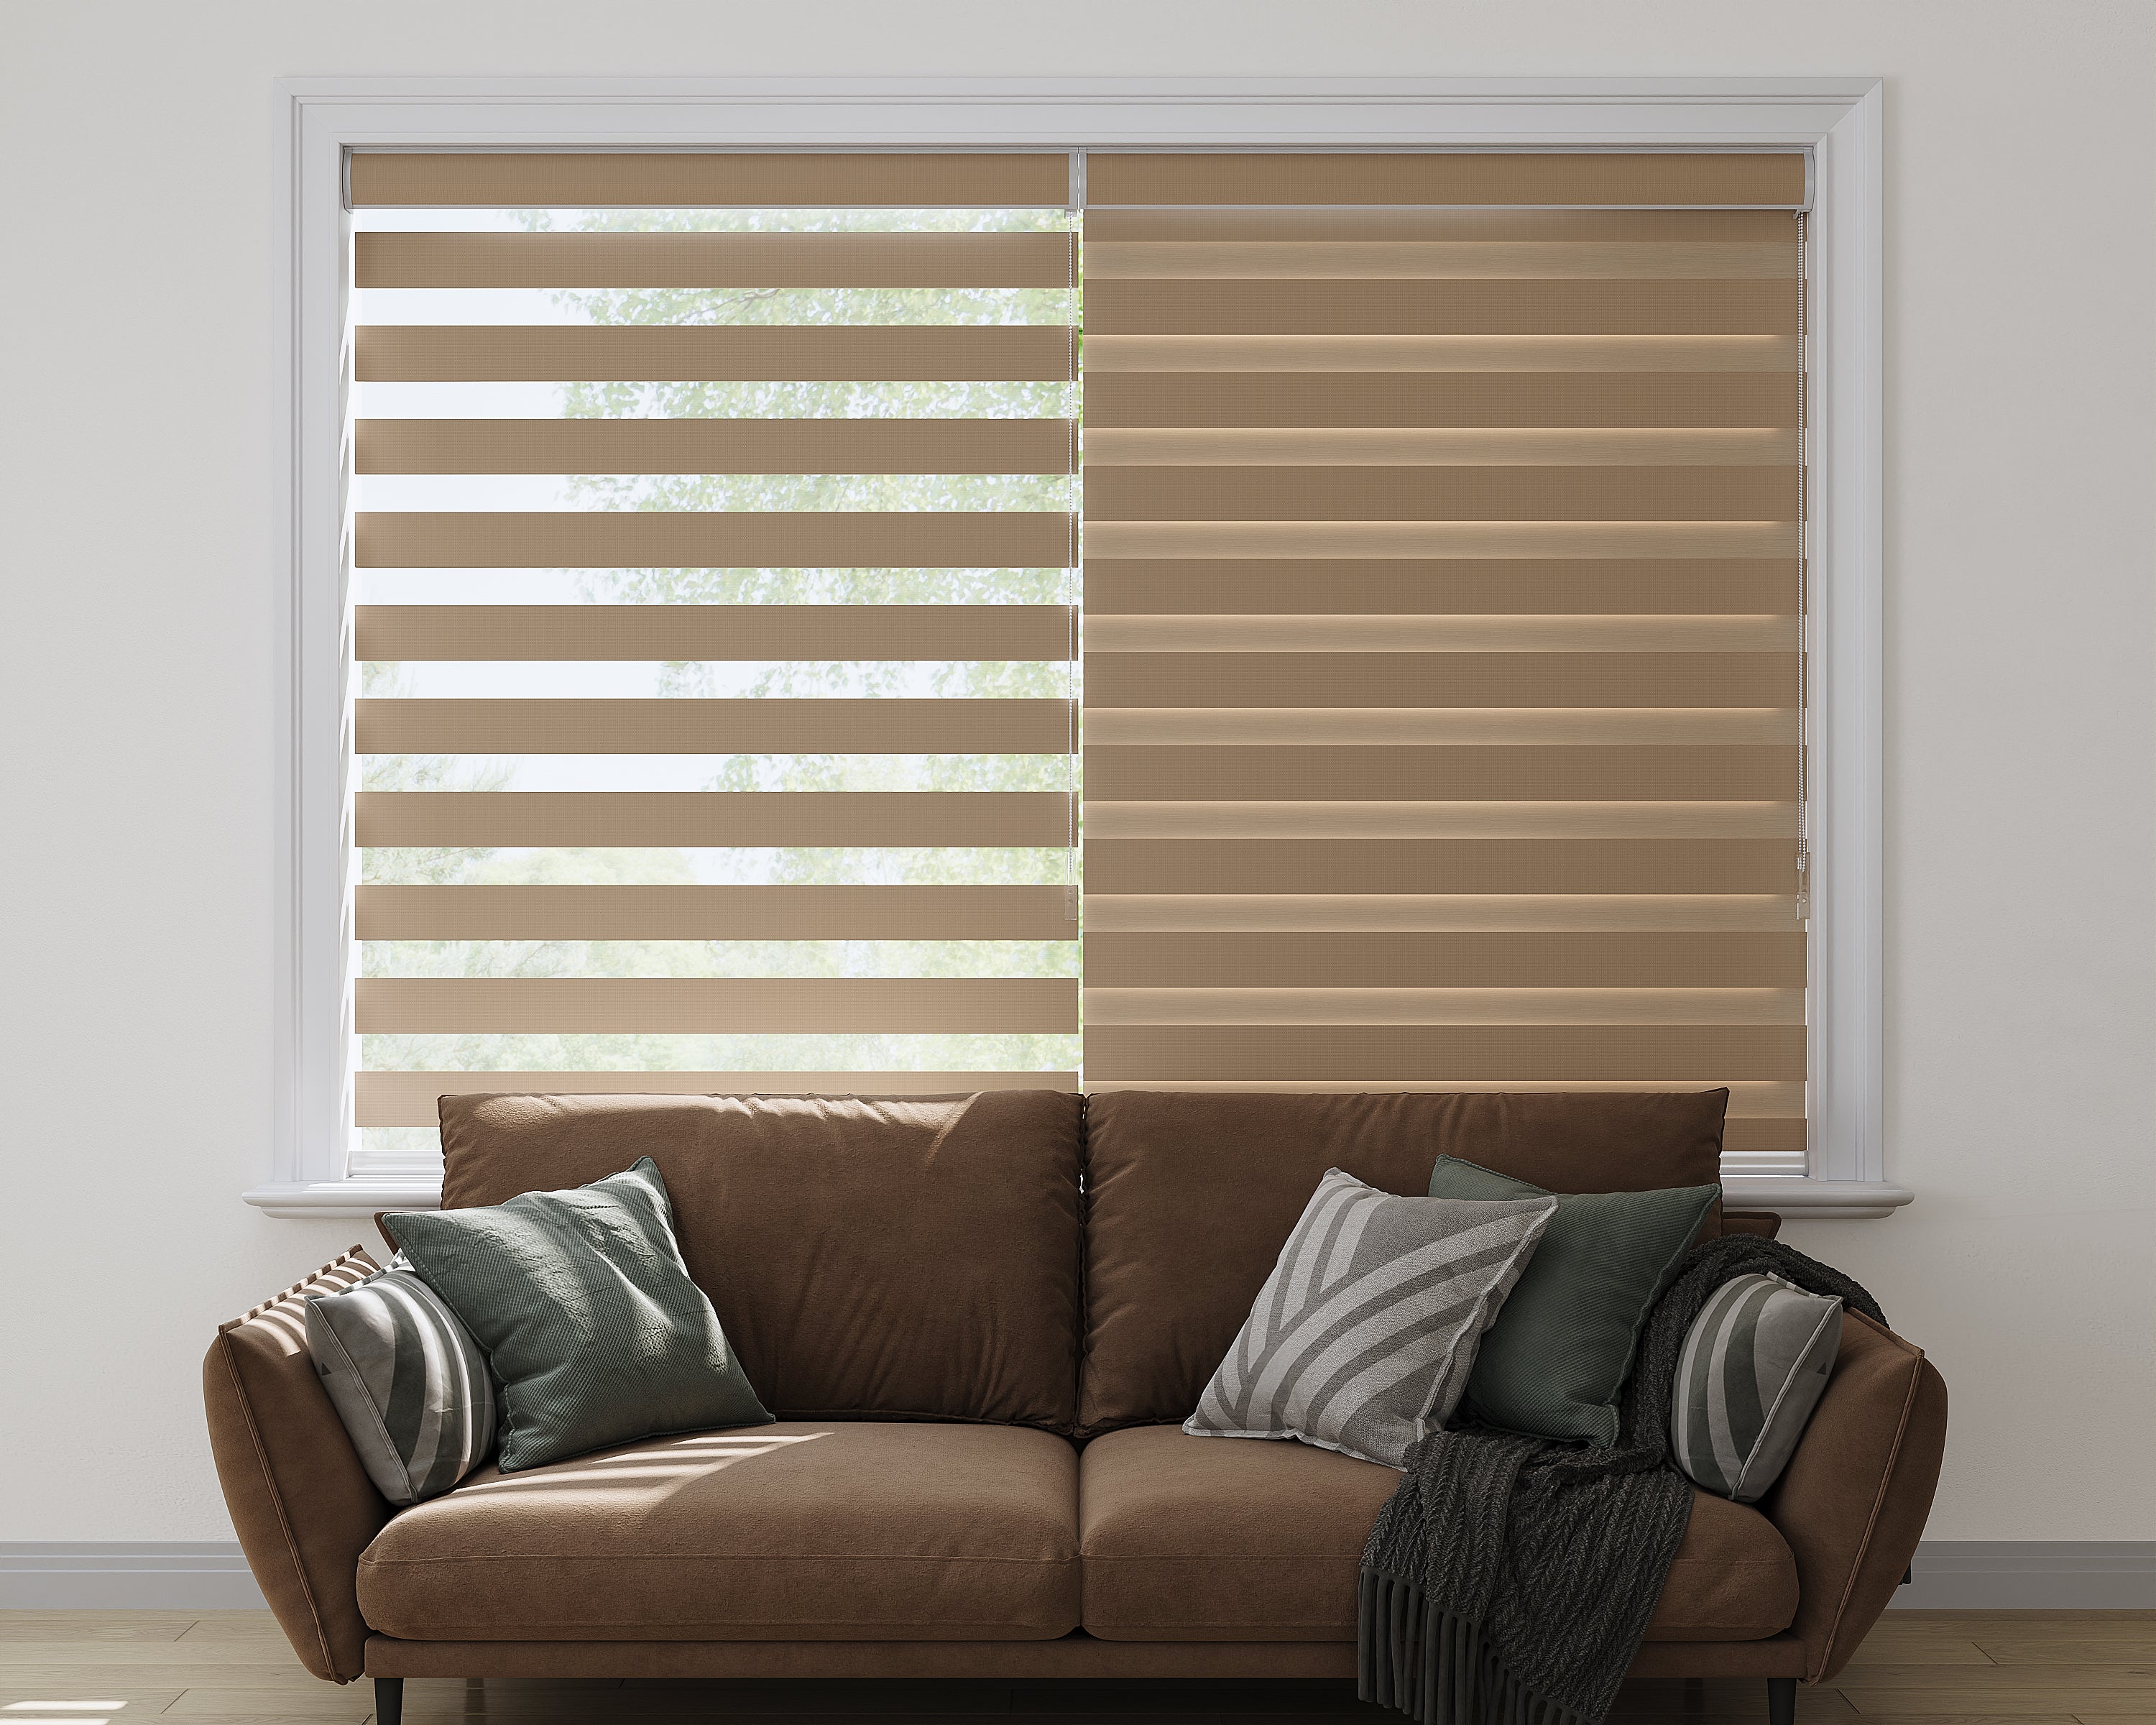
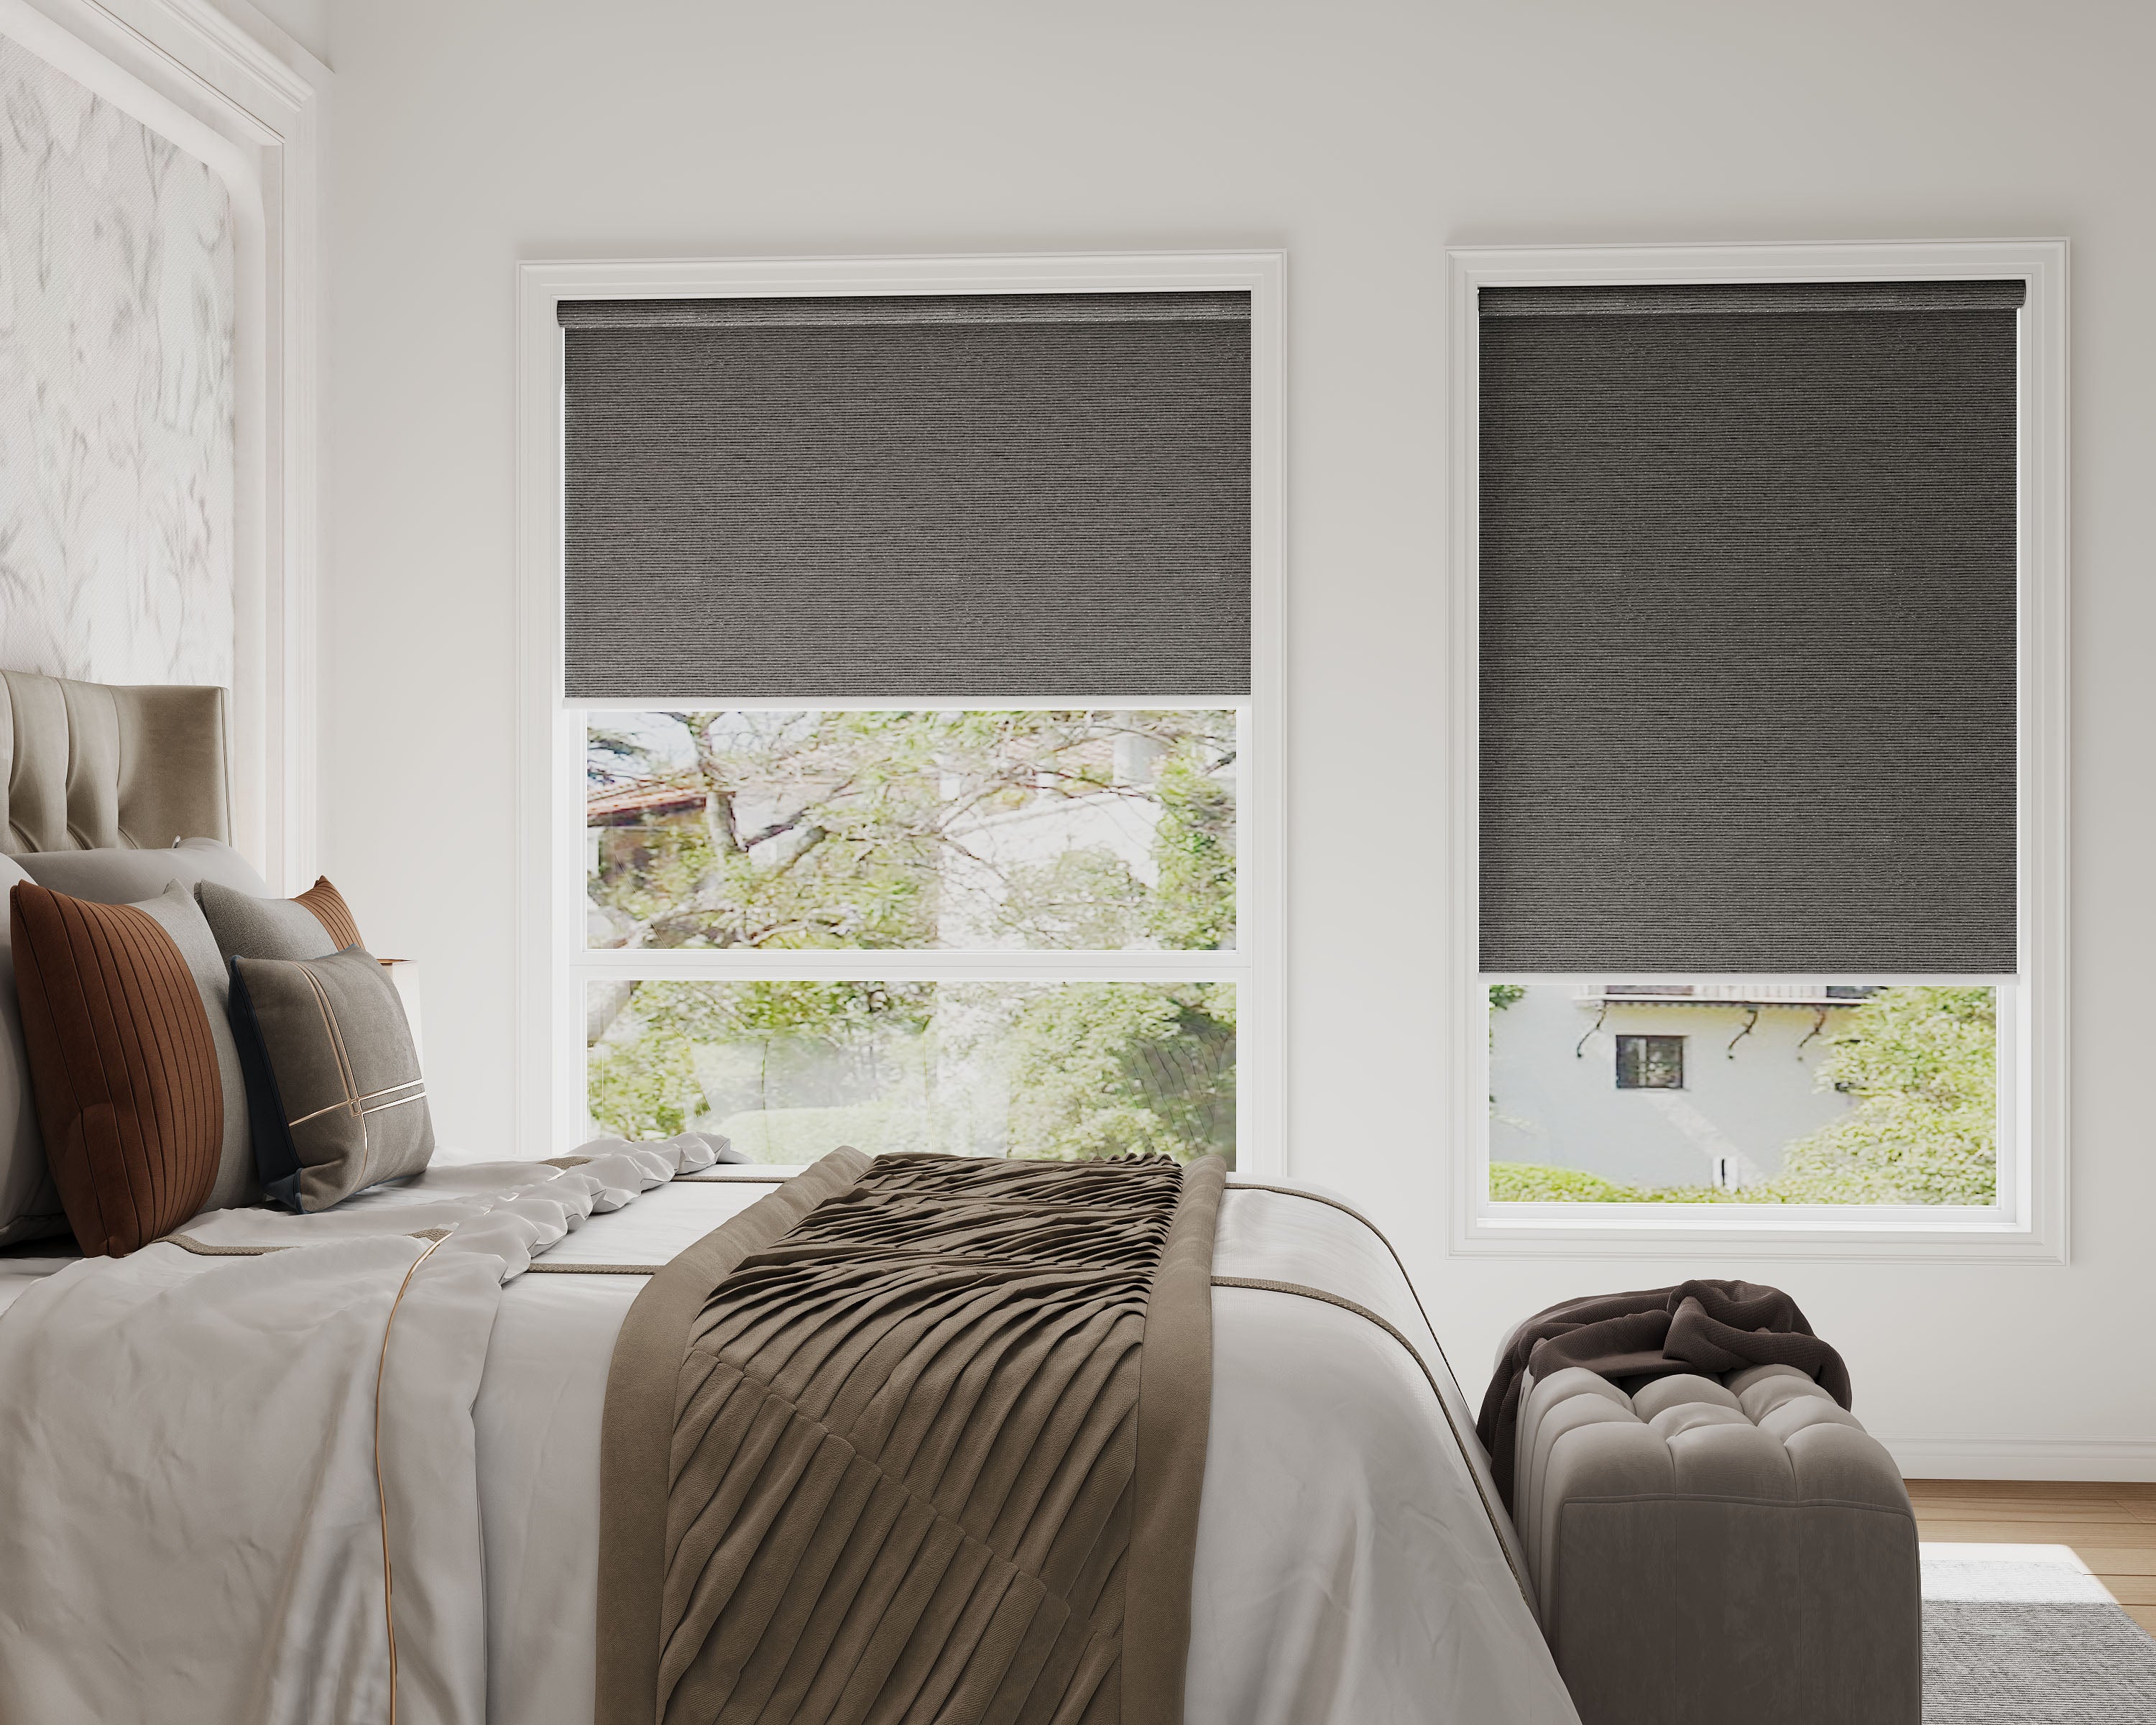
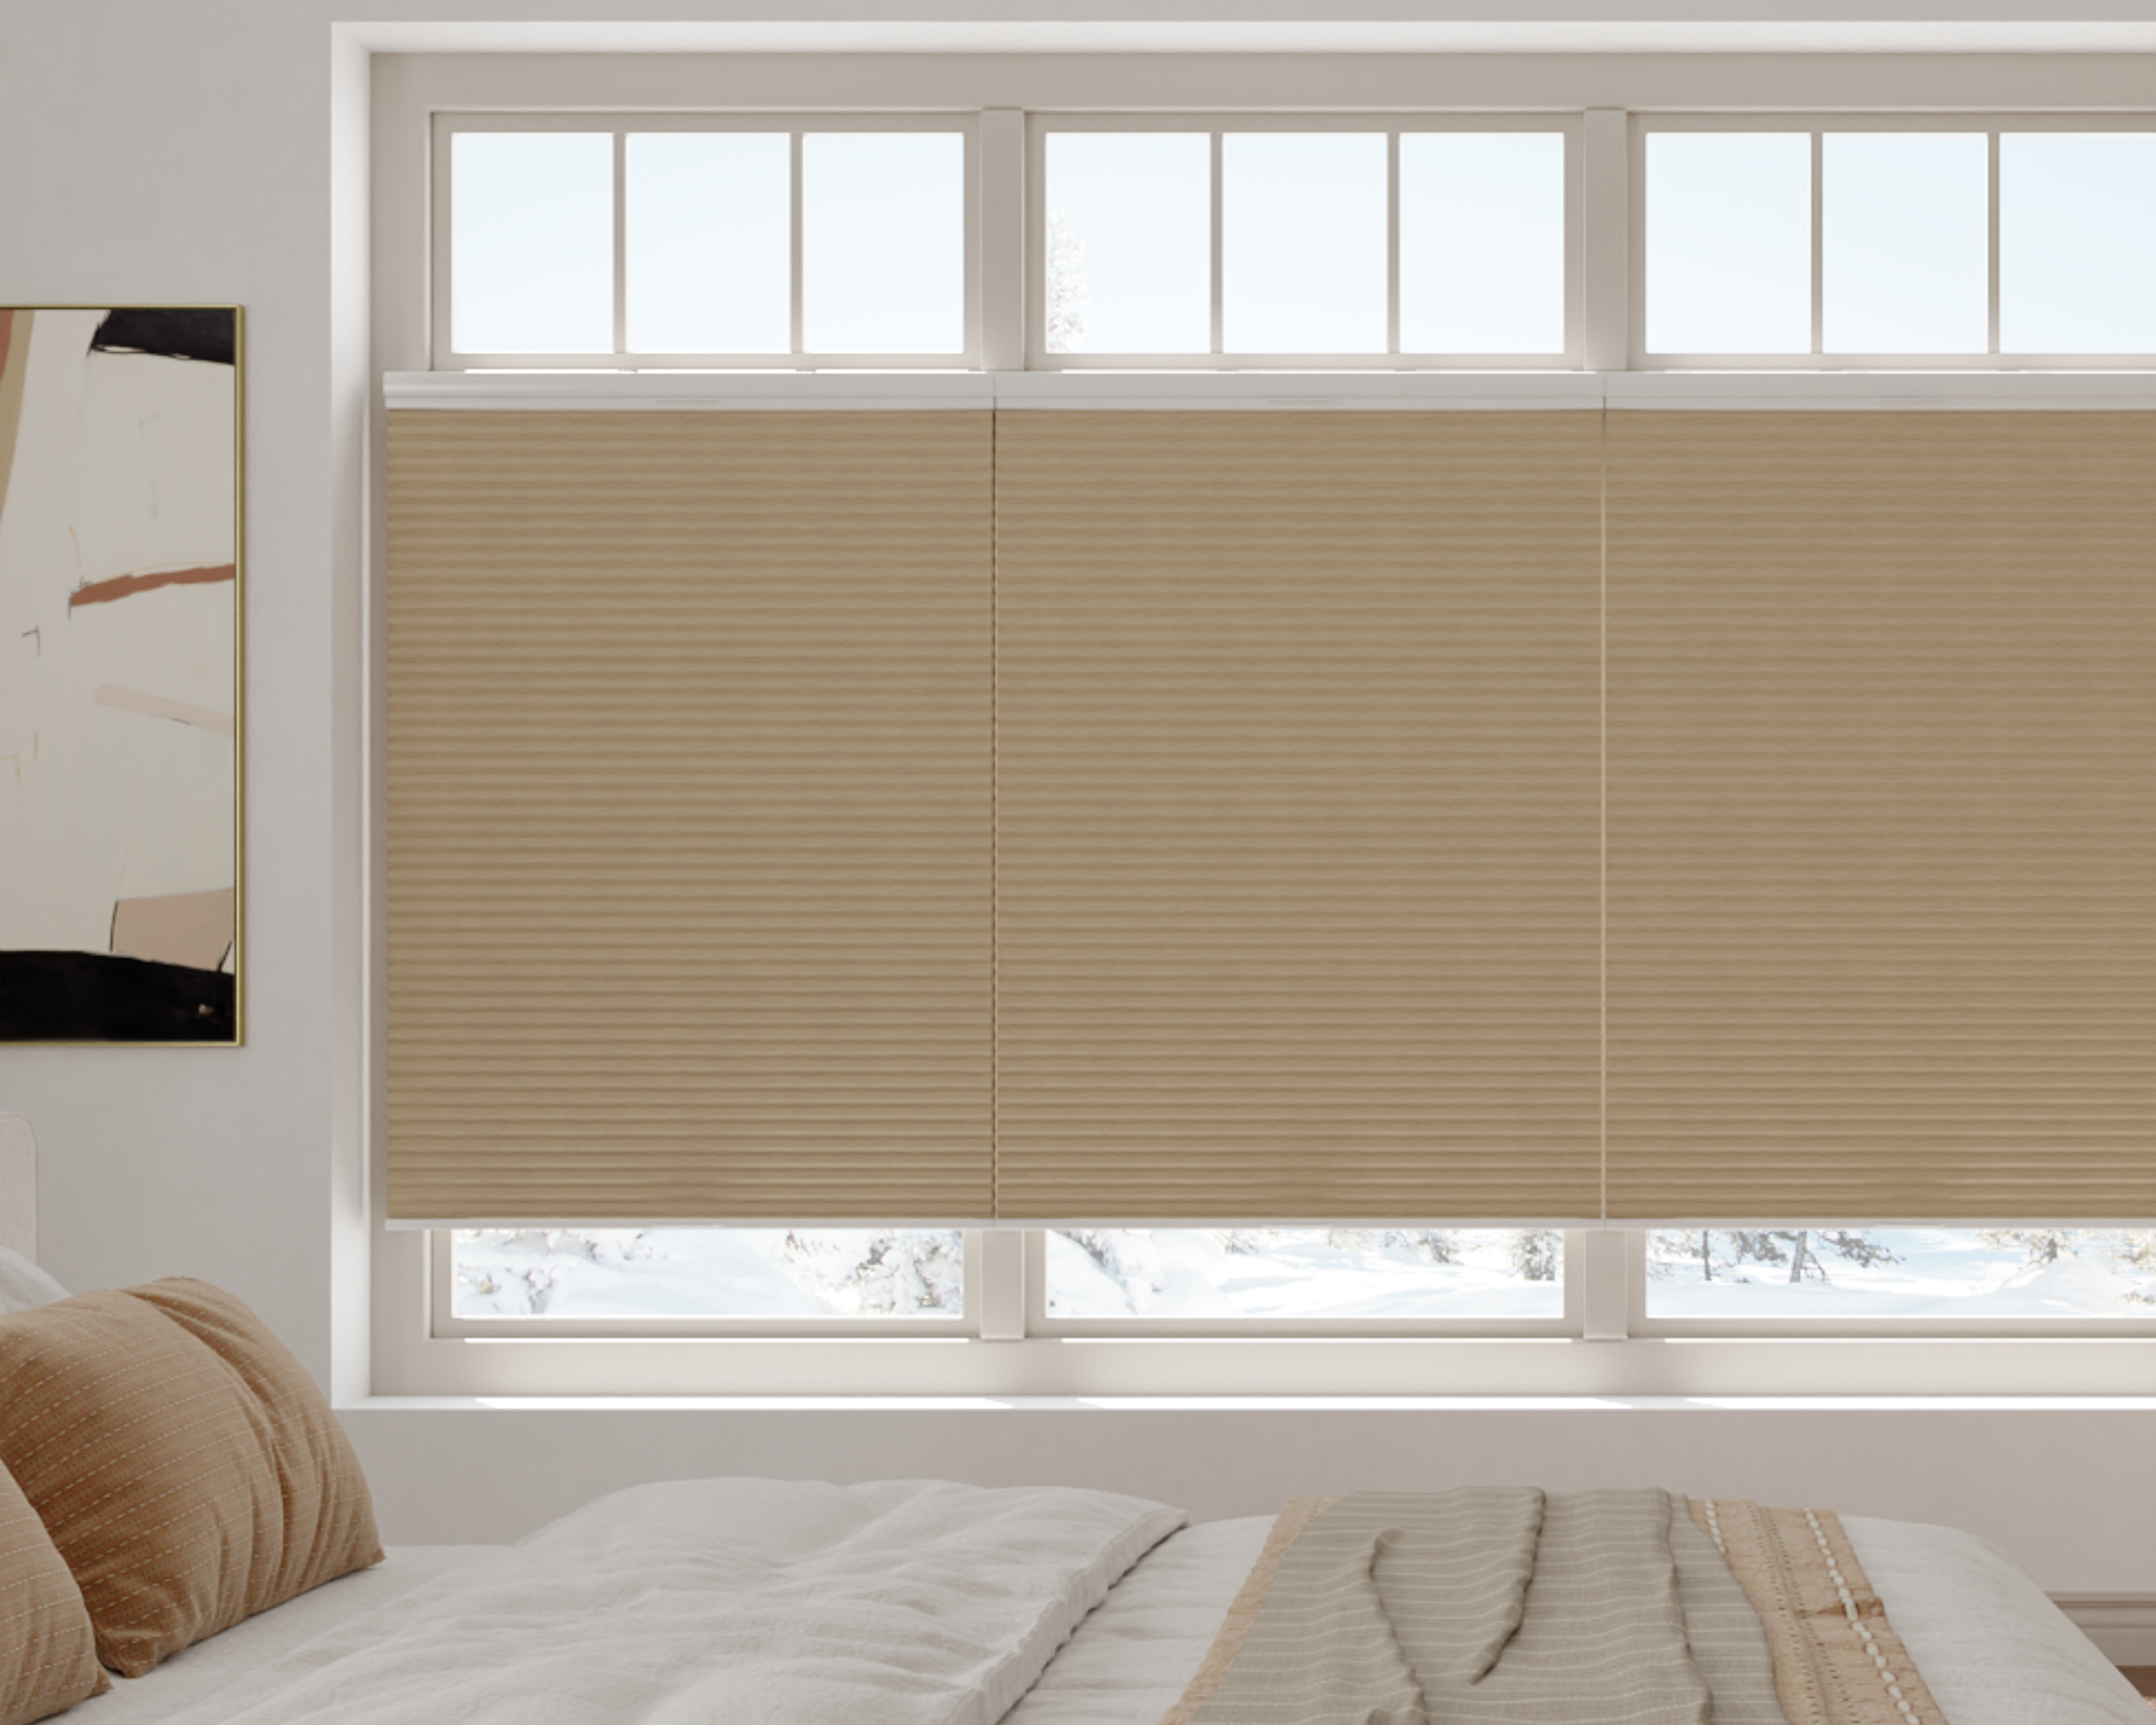
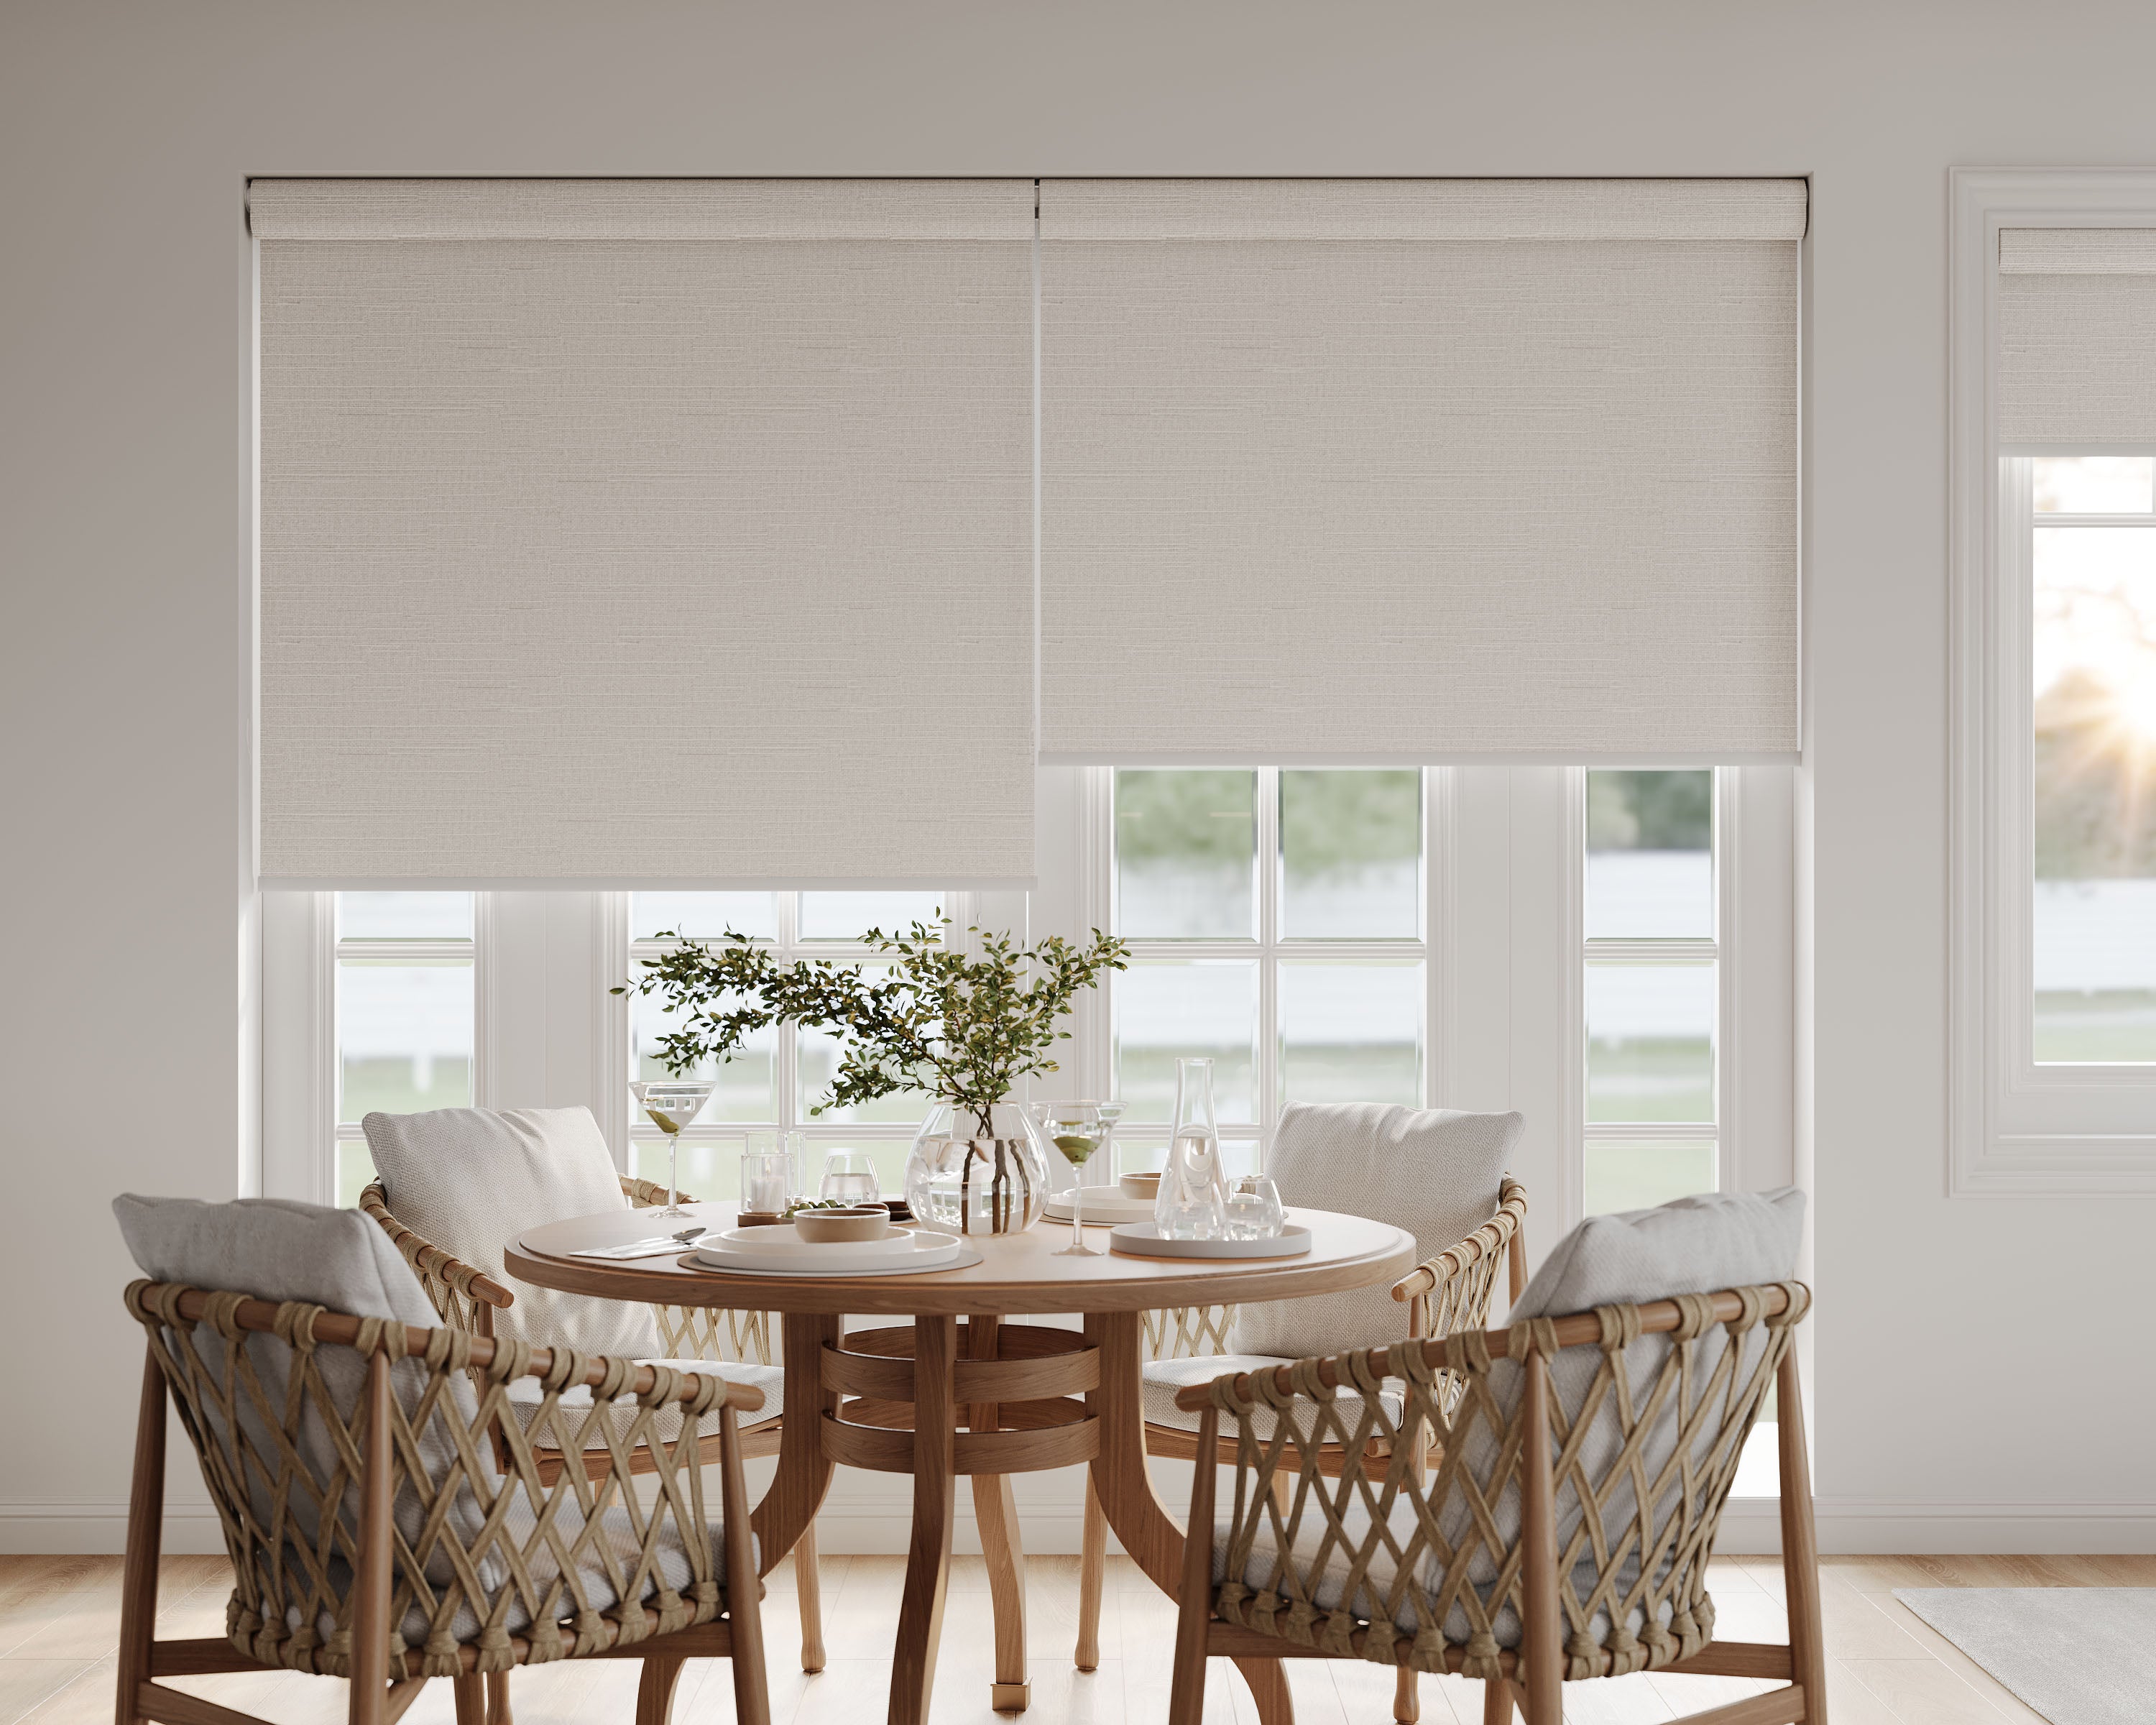
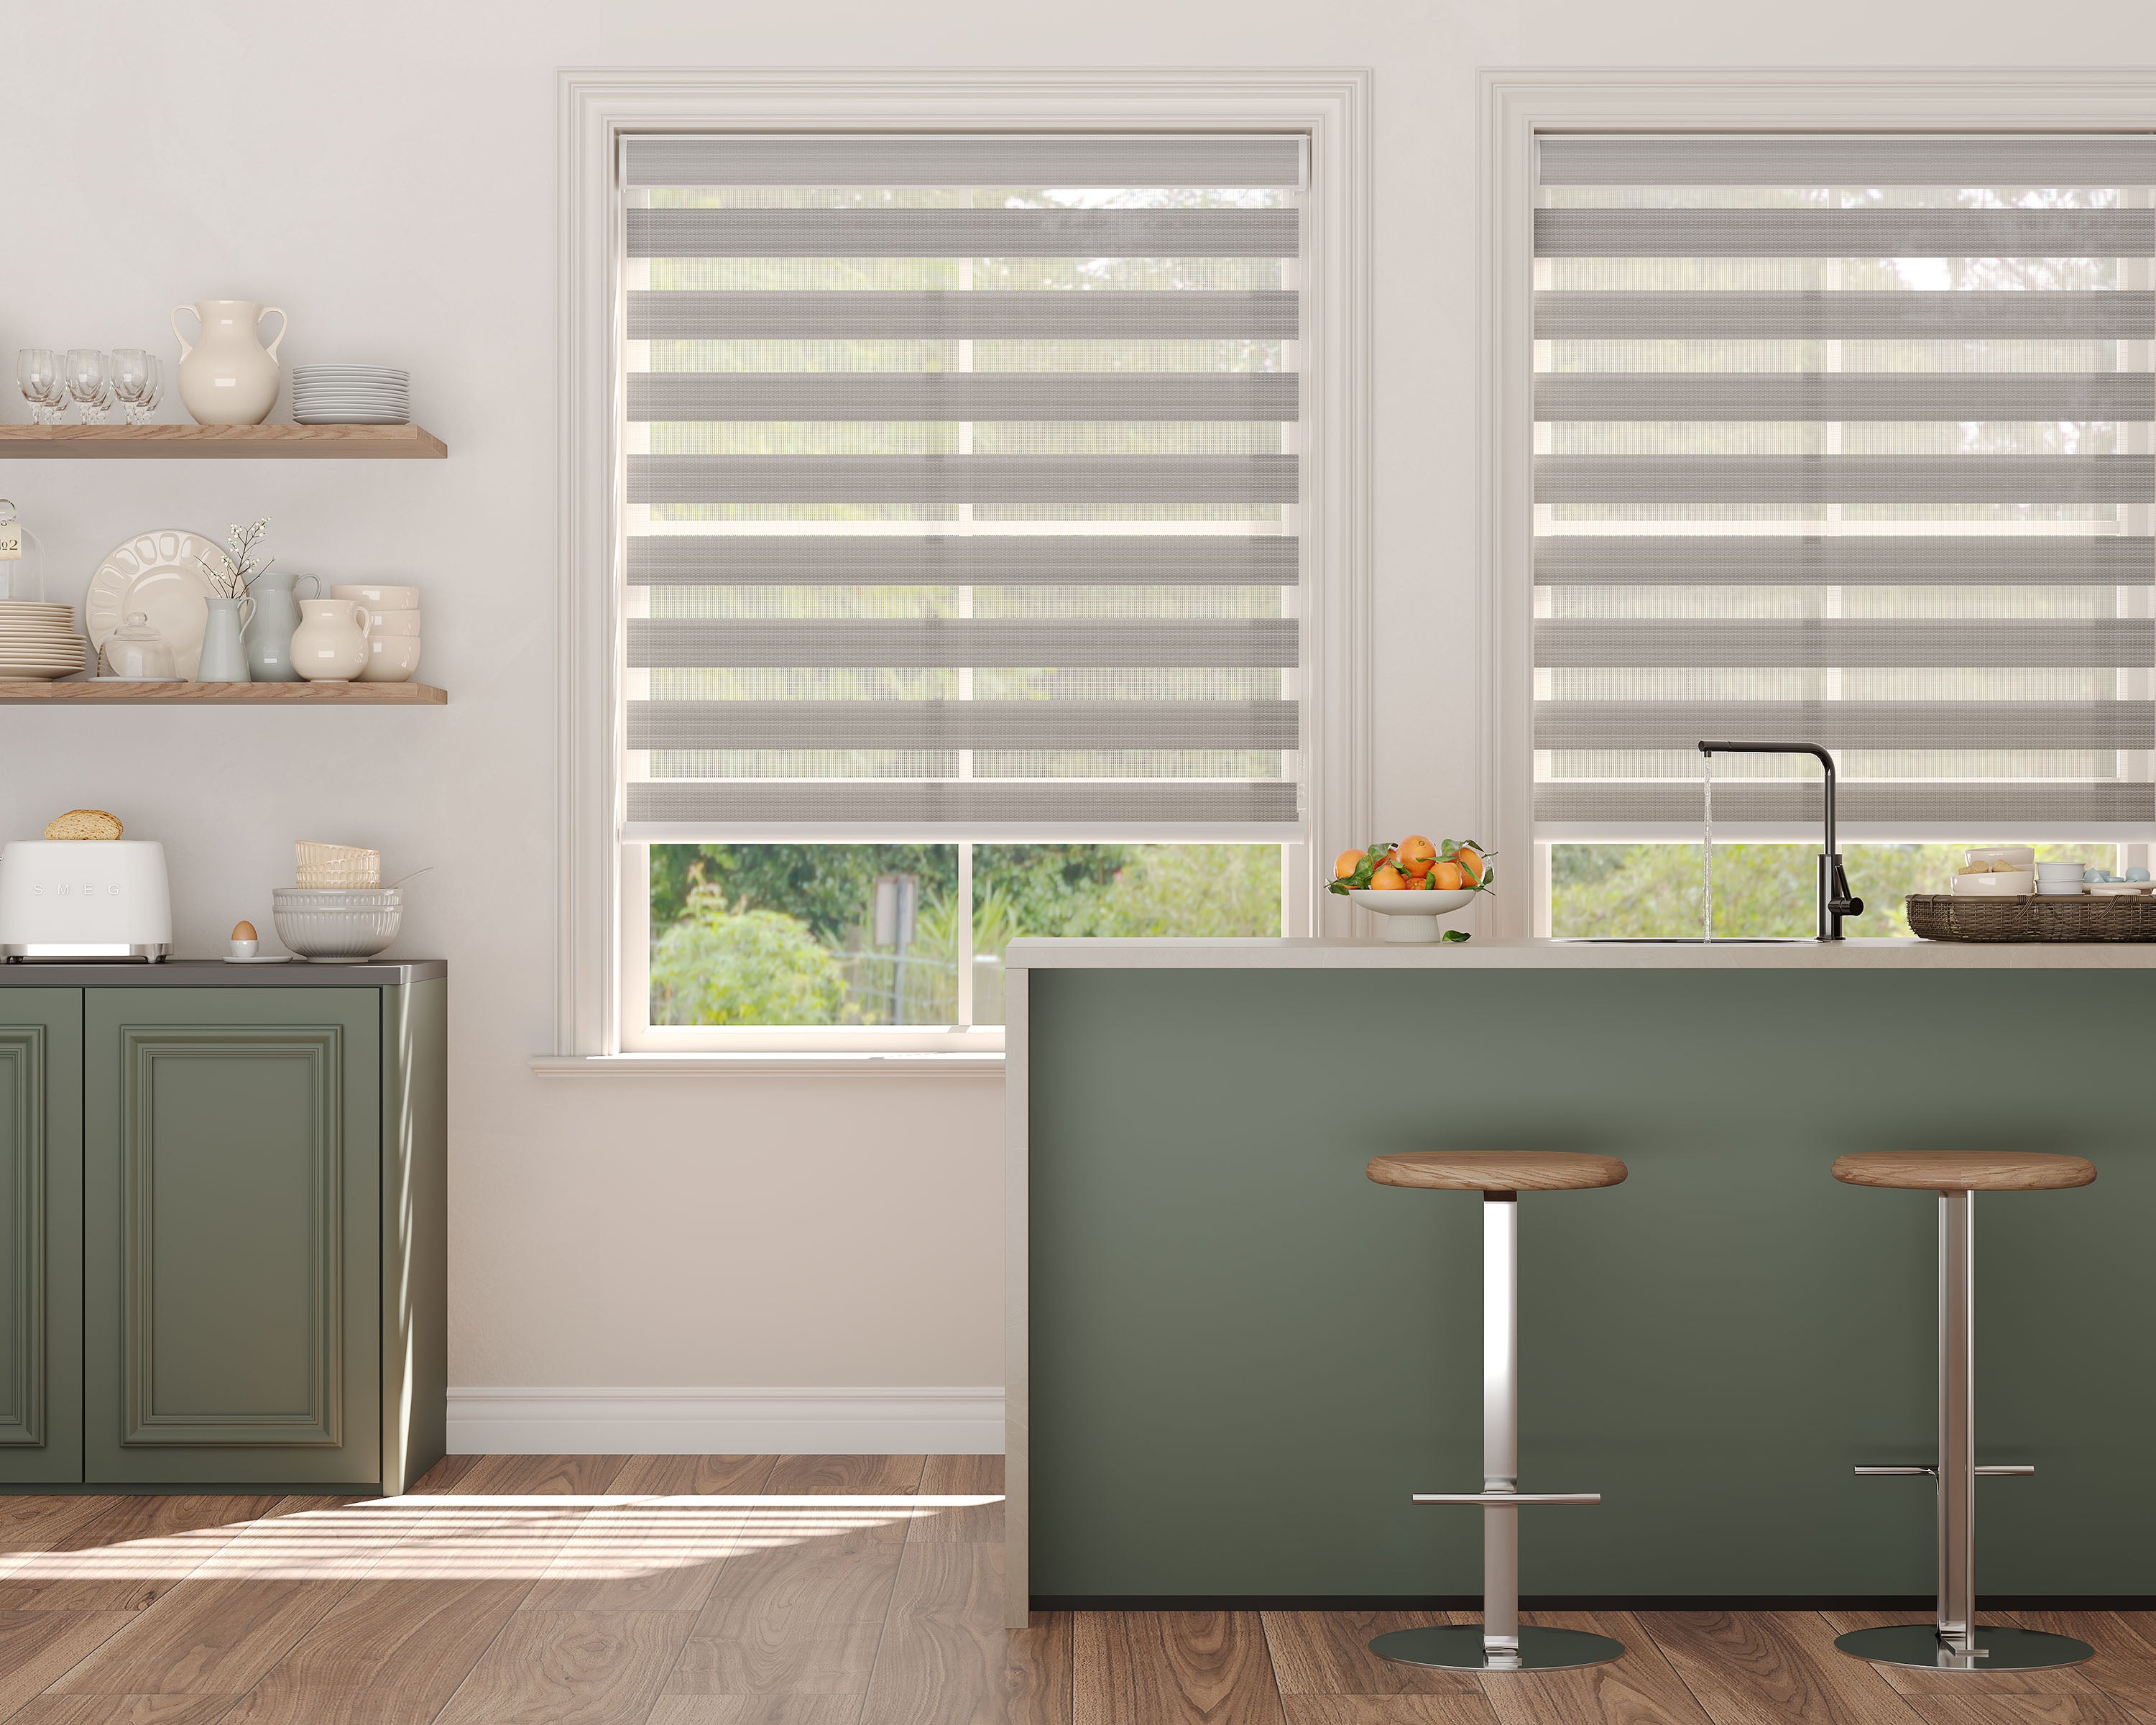
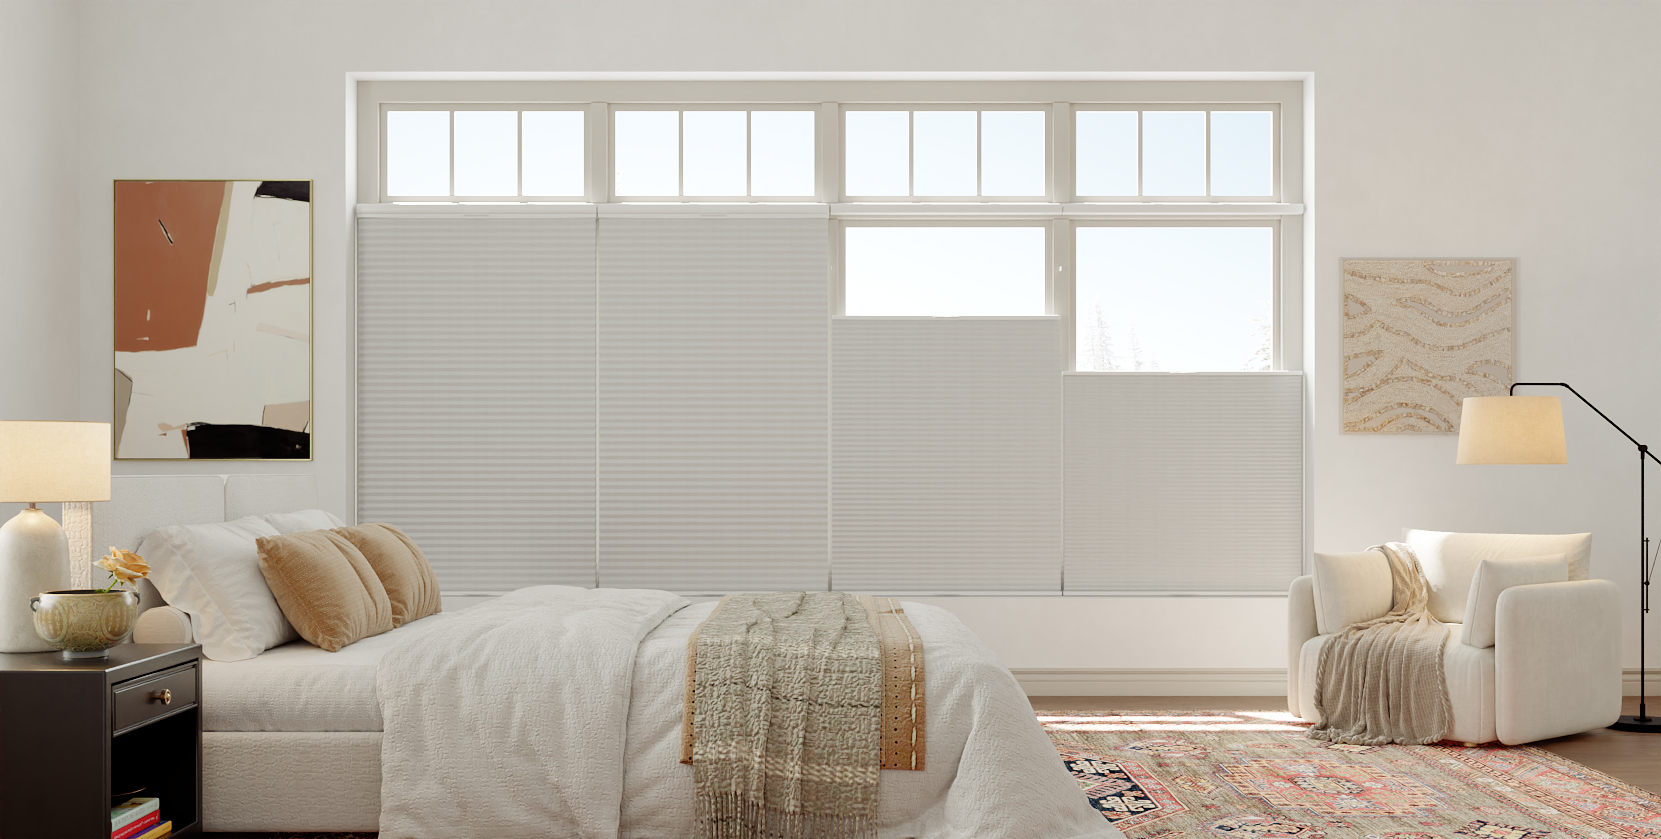
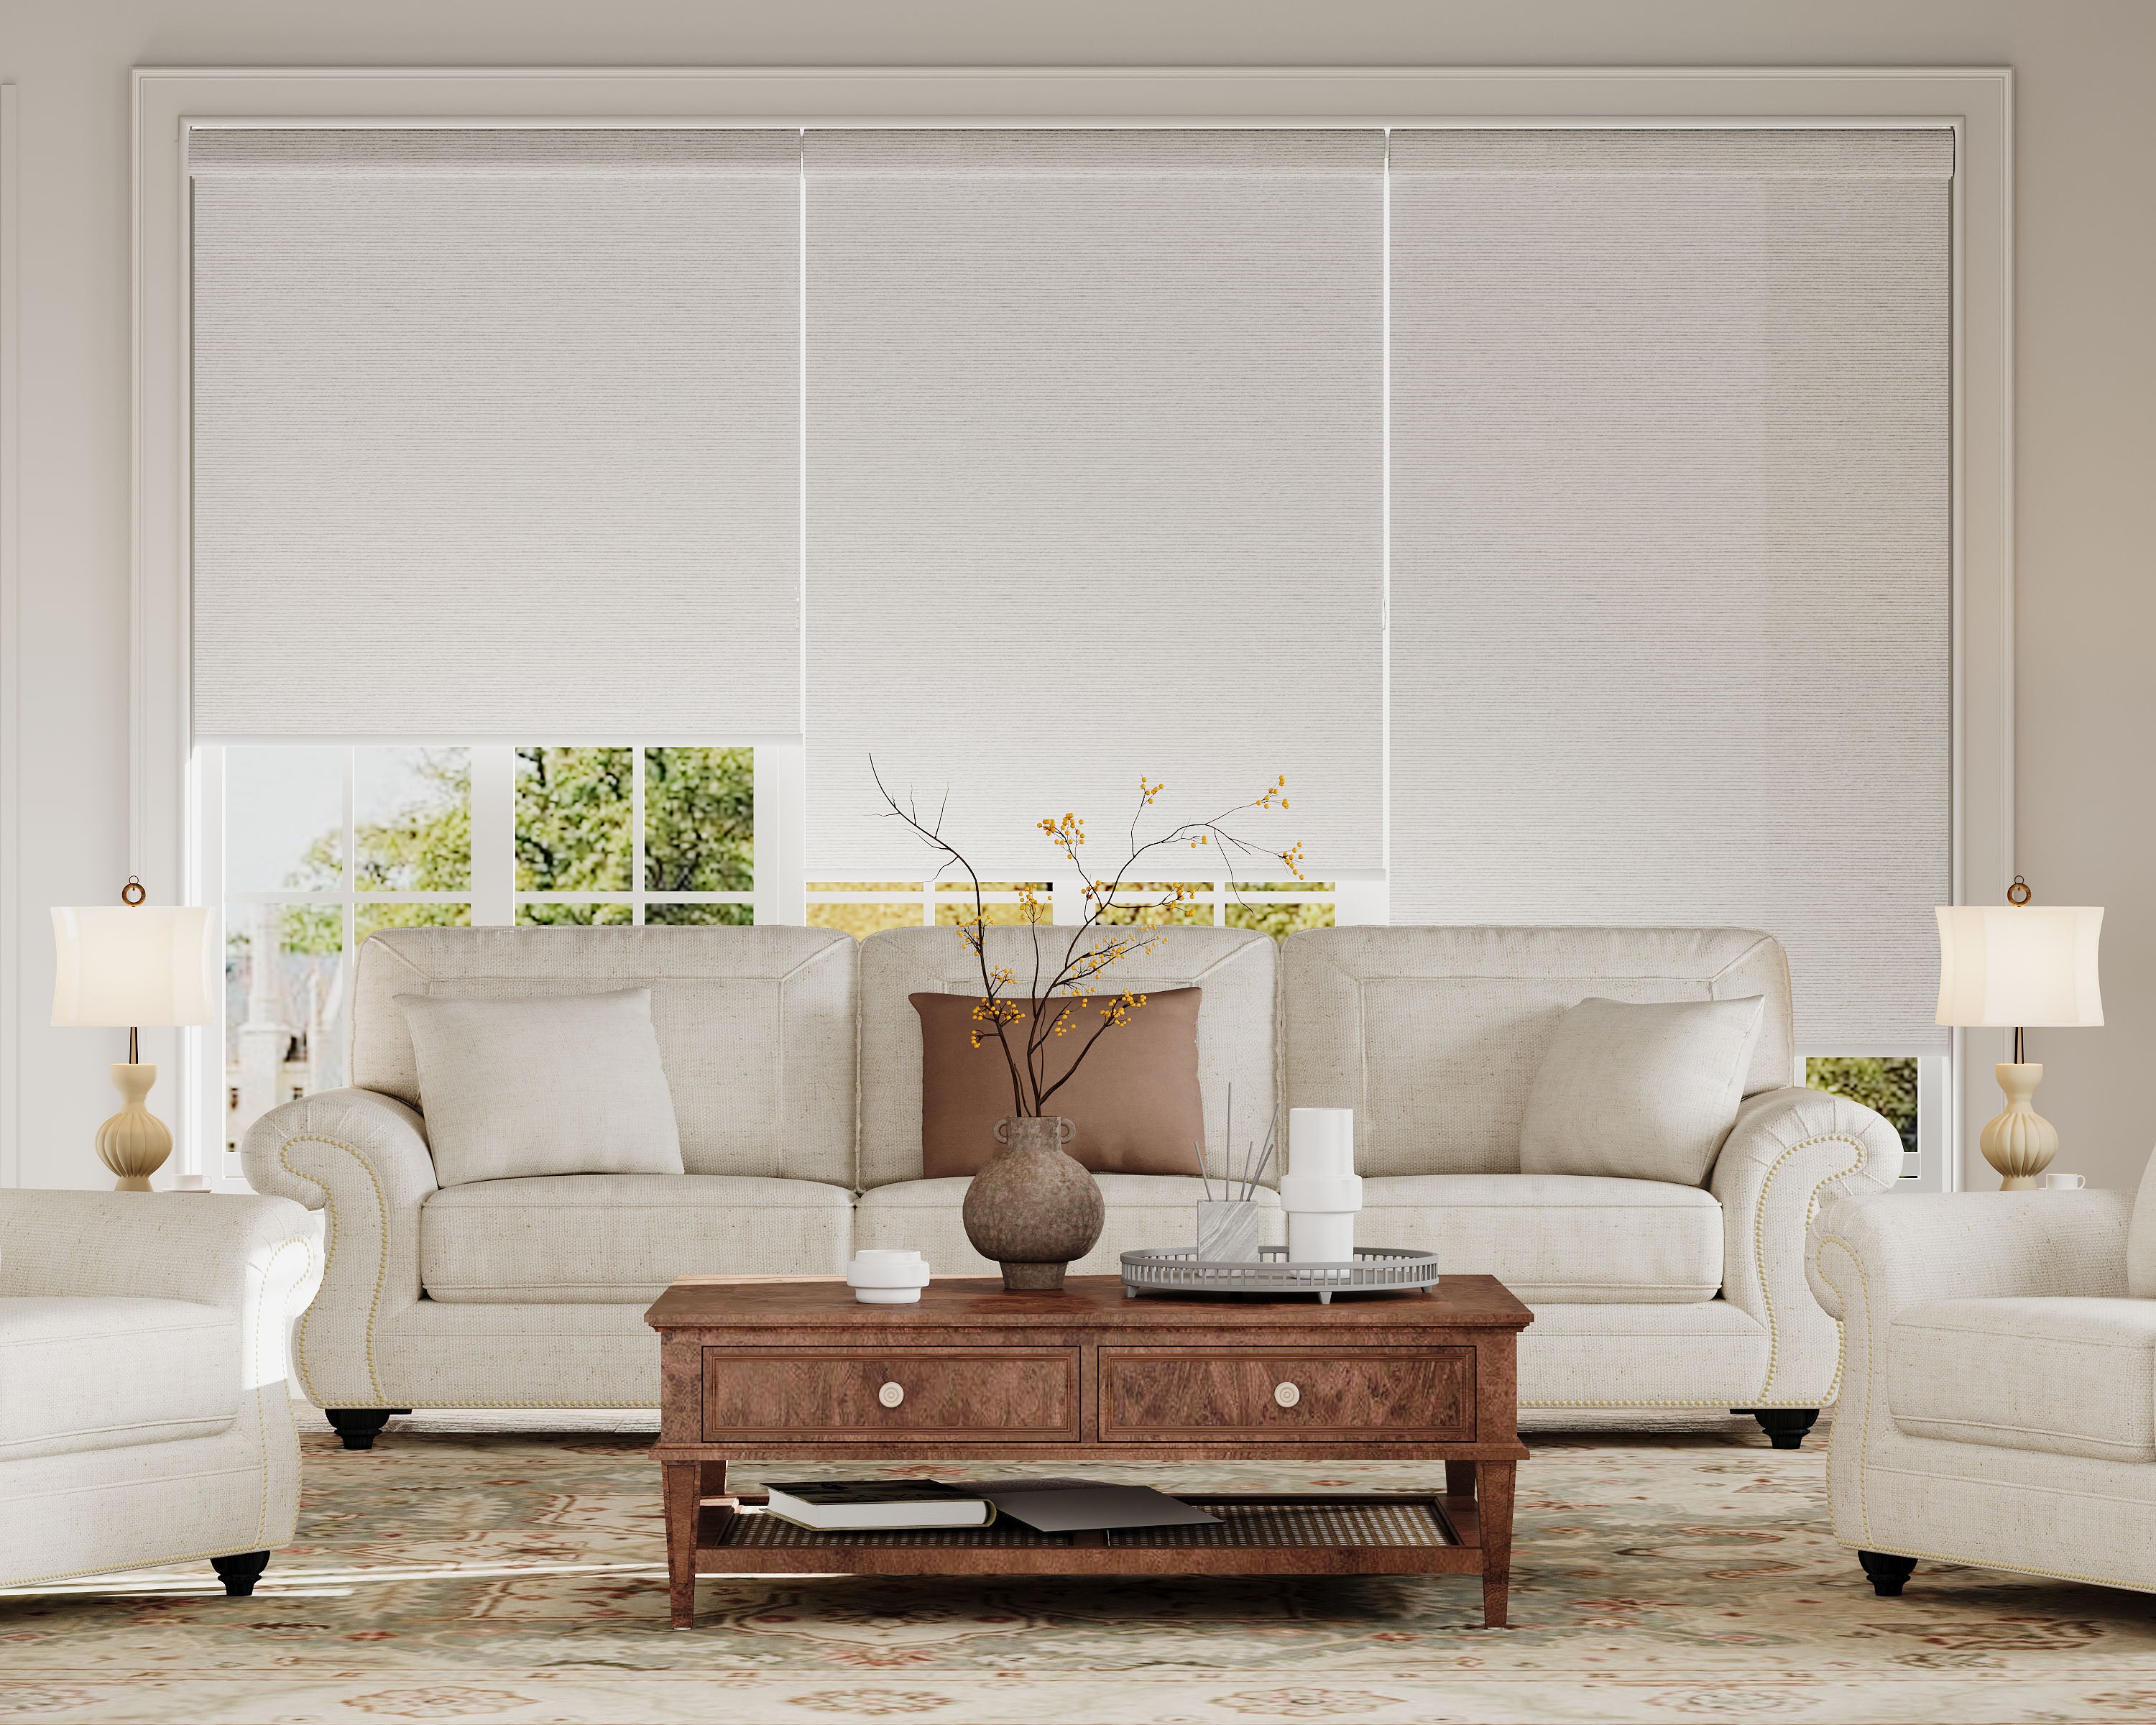
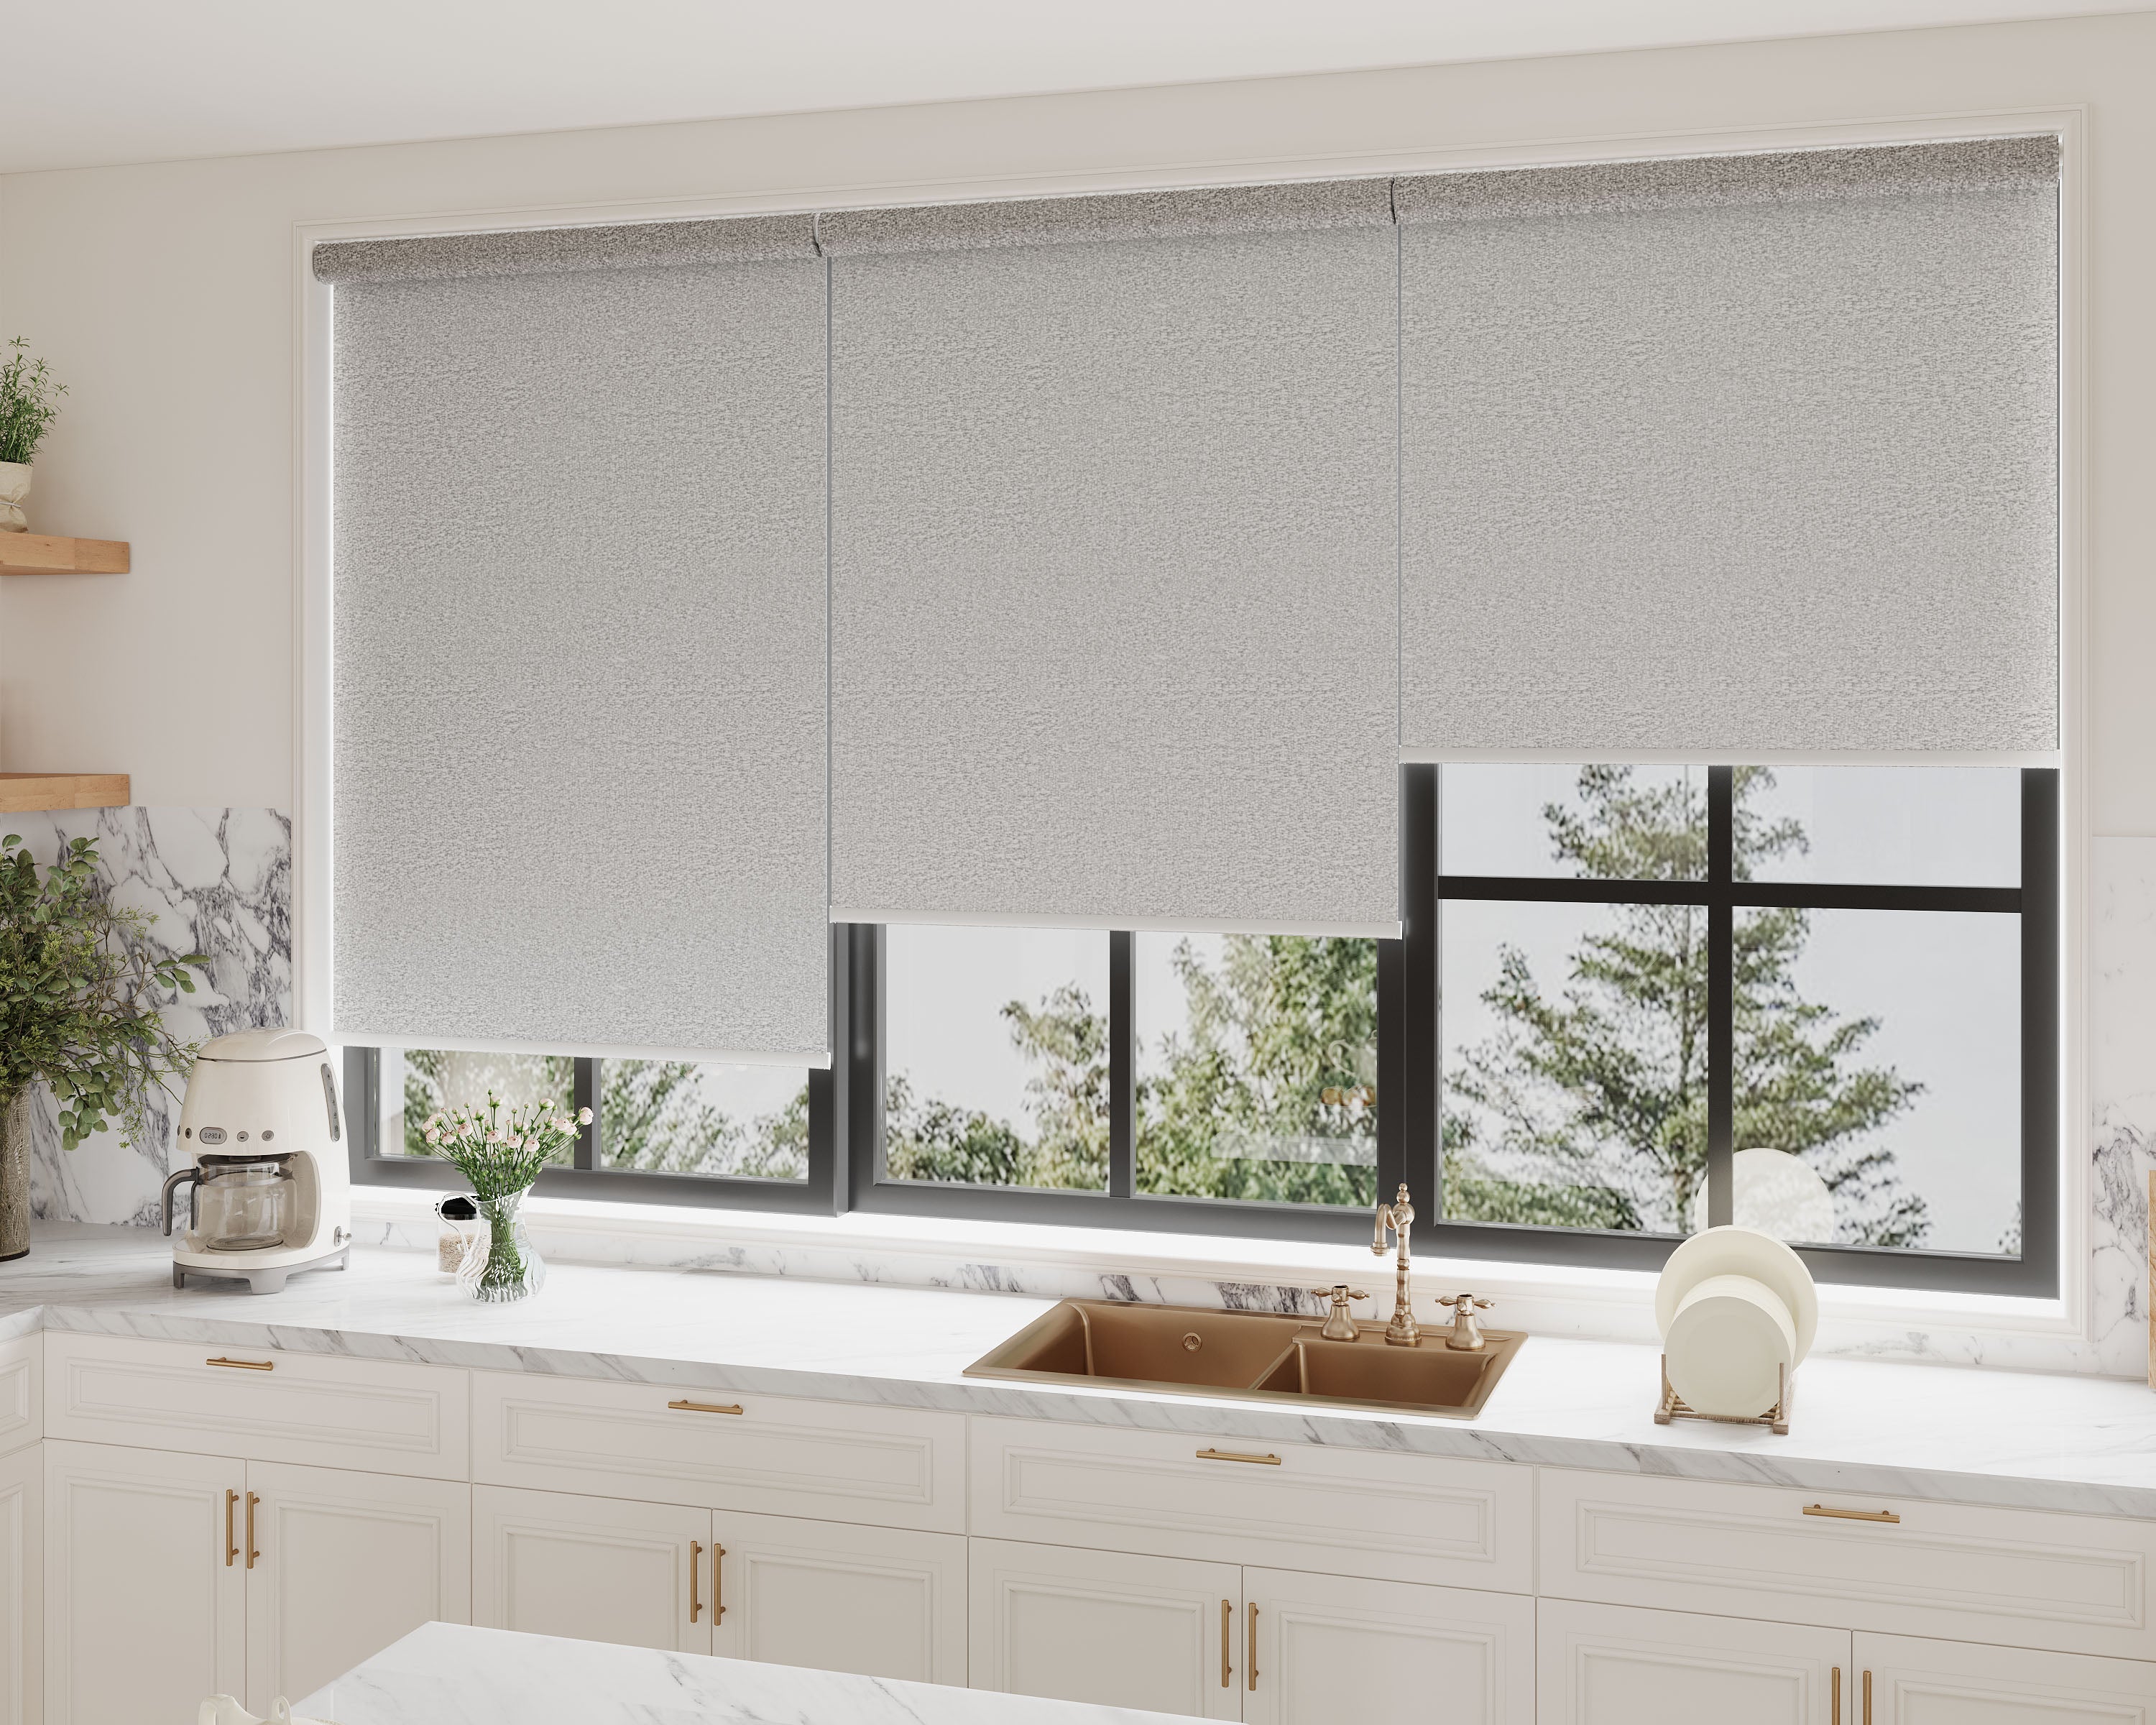
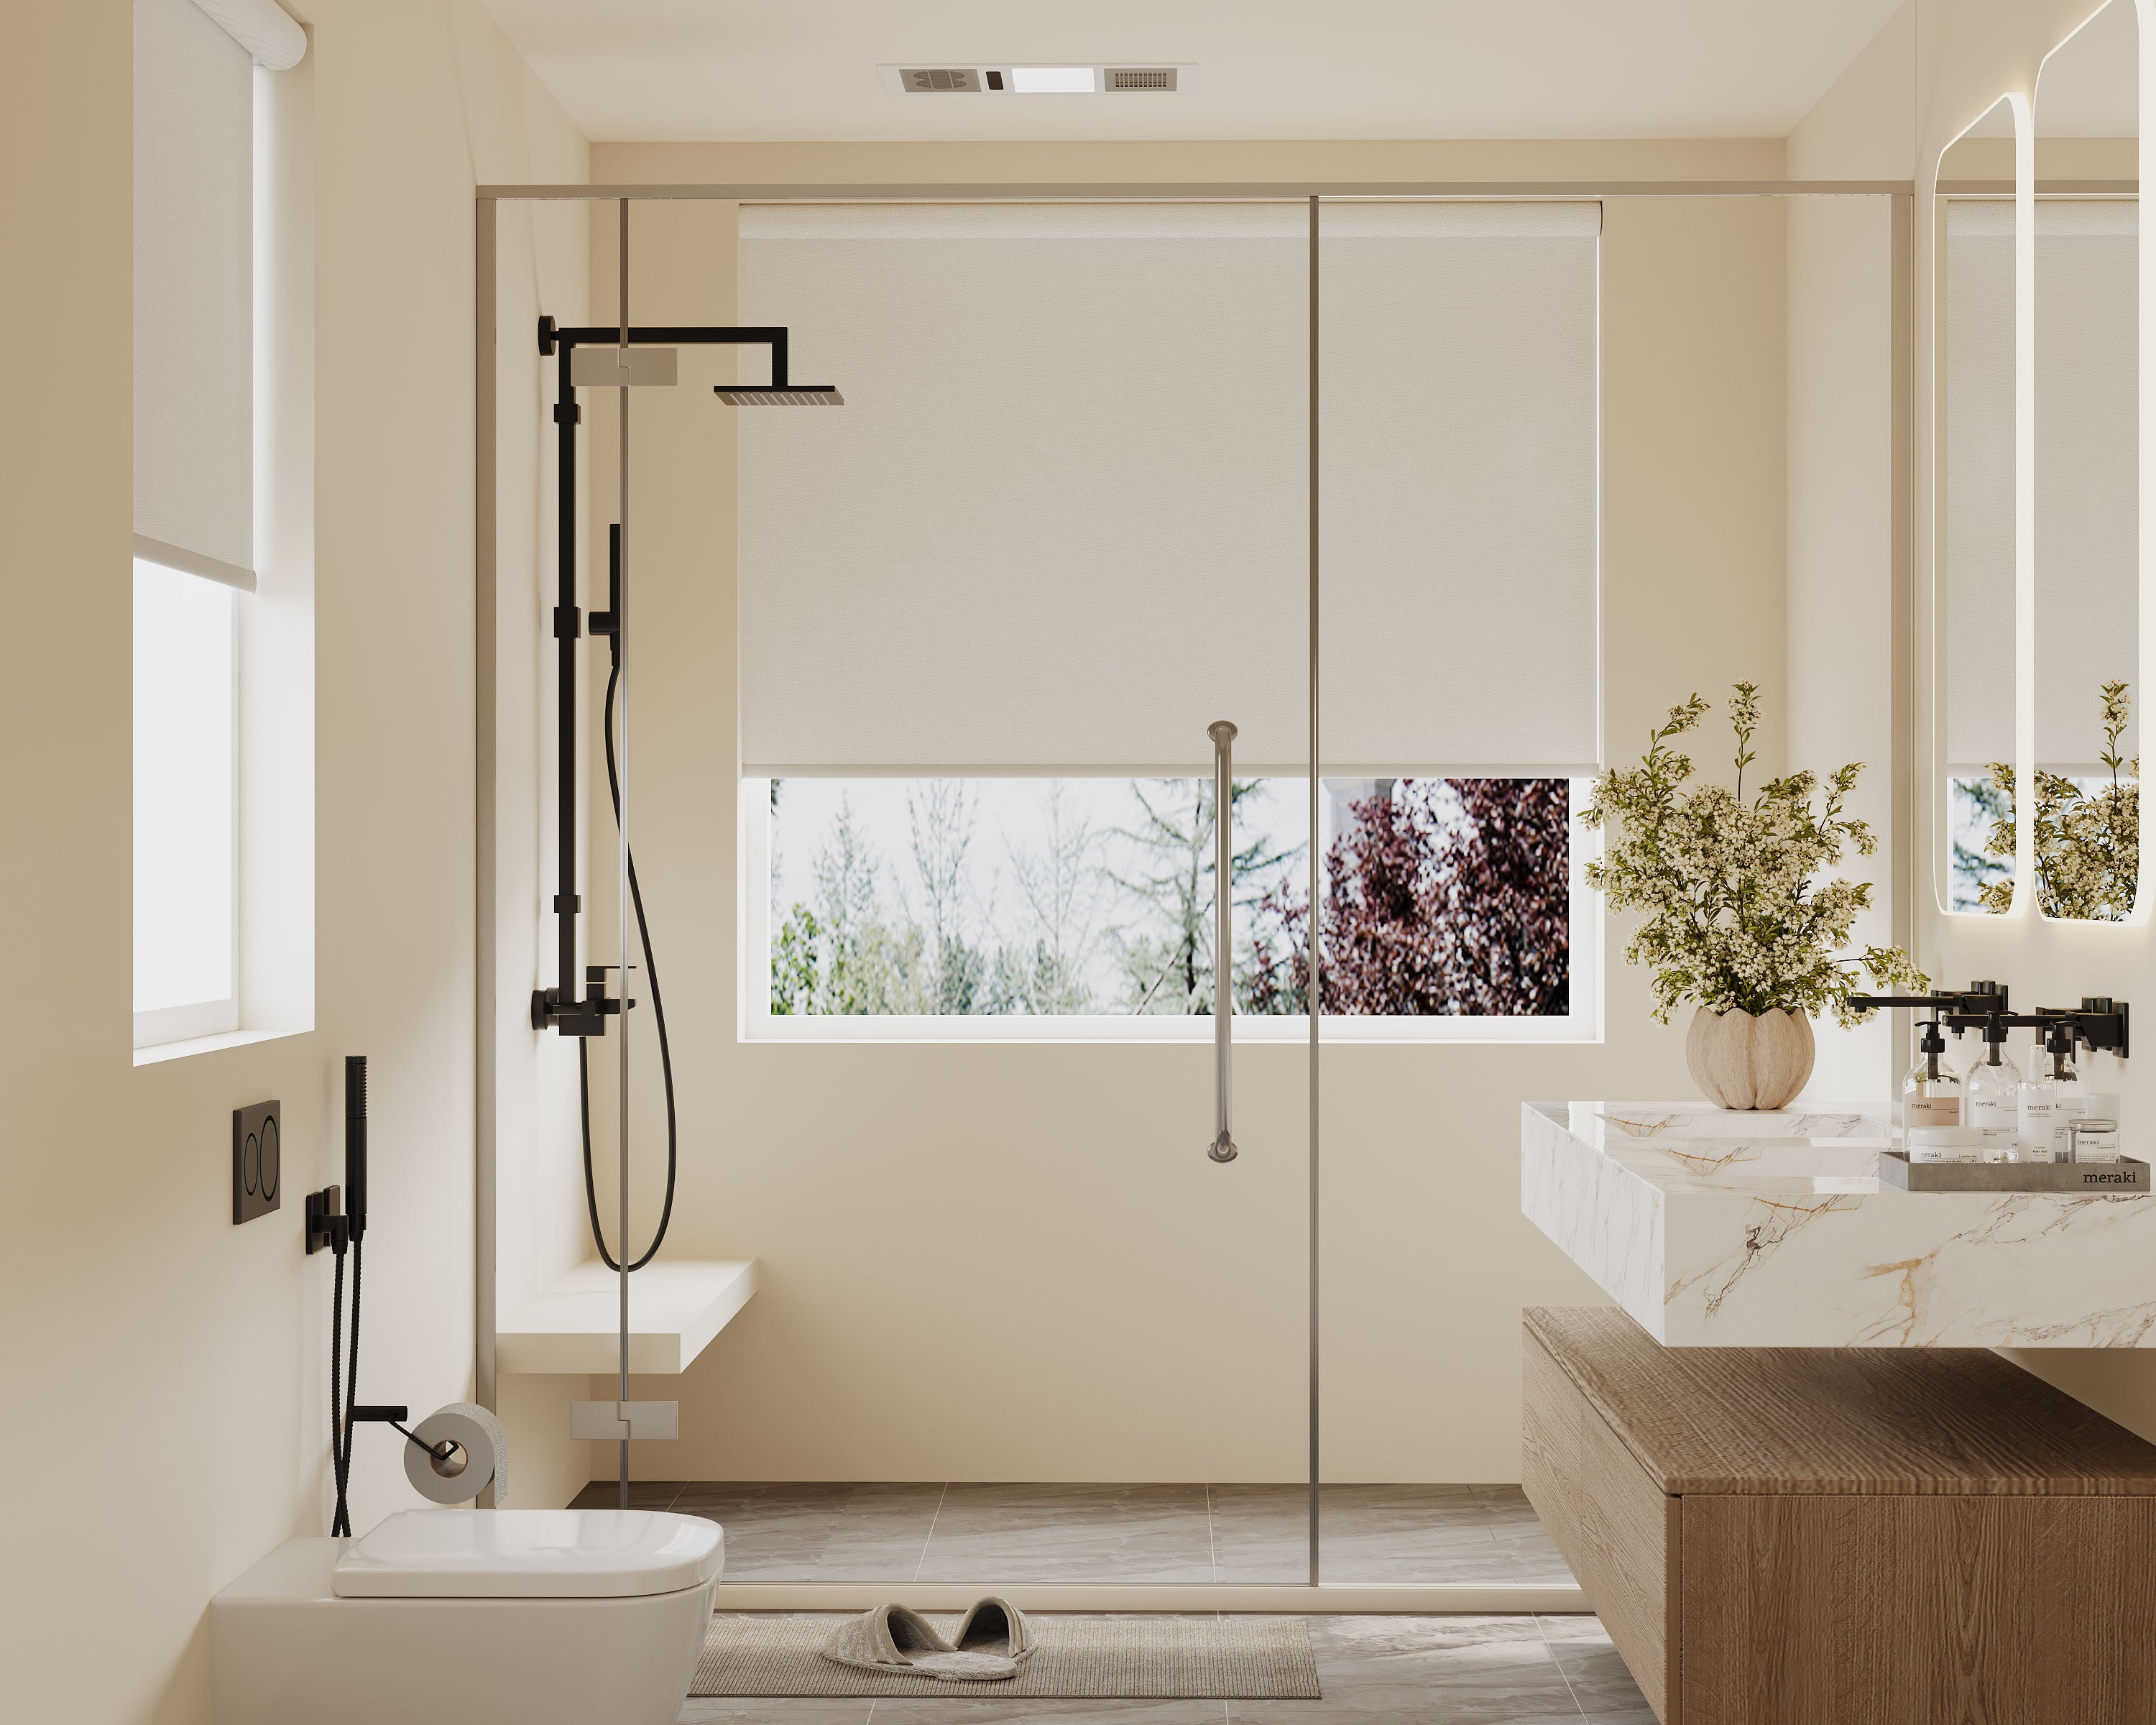
Tired of worn or outdated window coverings but dread buying all-new blinds? We can replace the fabric on our existing mechanisms and refresh our décor without the cost and hassle of new hardware. This clever solution saves money, keeps good parts out of the landfill, and lets us play with new colors, textures, and patterns that actually fit our style.
It’s honestly easier than it sounds. There are so many fabric choices out there, you’ll probably find something for any room. With a few steps and a bit of inspiration, we can give our windows a real makeover—no drills or full replacements needed. For those who appreciate a soft, elegant look that can be refreshed over time, explore the enduring appeal of our fabric-centric Roman shades.
Key Takeaways
- Fabric-only replacement updates décor without new mechanisms
- The right fabric and simple steps make it pretty easy
- Swapping fabric is a creative, budget-friendly home fix
What Is Fabric-Only Replacement?
Fabric-only replacement means we just change the fabric on something like roller blinds, shades, or even some furniture. We keep the working mechanism, cut down on waste, and get to refresh our style without blowing the budget.
How Fabric Swaps Work
Fabric swaps are just what they sound like: we take off the old textile from a décor piece—say, a blind or chair—and attach new material. The frame, rails, and guts stay put. For roller blinds, we pull off the old fabric and fit in a new one, cut and finished to the same size.
Basic steps:
- Measure the old fabric or mechanism
- Pick and buy your new fabric
- Remove the old fabric
- Attach the new fabric securely
Usually, you’ll just need a screwdriver, scissors, and a little patience. No fancy tools or calling in the pros for most stuff.
Advantages Over Full Mechanism Replacement
Swapping just the fabric saves a ton compared to buying a whole new blind, shade, or chair. The cost is usually 30–60% less, and we don’t have to trash perfectly good parts.
| Advantage | Description |
|---|---|
| Cost-Effective | Only pay for fabric, not new hardware |
| Less Waste | Reuse existing mechanisms and frames |
| Style Flexibility | Update fabric as trends or needs change |
| Minimal Disruption | No need to uninstall entire fitting |
It’s also a lot less messy. No drilling, no patching up walls, way fewer trips to the store.
Ideal Applications in Home Decor
Fabric-only replacement works best when the mechanism or frame still works, but the look feels tired. We especially like it for roller blinds, Roman shades, and lampshades. Some chairs and sofas with slipcovers are perfect for this too.
For busy homes, it’s a lifesaver when you want a quick style refresh—maybe for a season or a party. There are endless fabric choices for every mood. If you’re renting, fabric swaps let you freshen up without big investments or permanent changes.
Popular Items for Fabric Swapping:
- Window blinds and shades
- Dining chair slipcovers
- Lampshades
- Headboards with fabric panels
This philosophy of upgrading rather than replacing extends to technology as well; modernize old blinds with our step-by-step DIY guide to retrofitting existing shades with smart controllers.
It keeps things affordable and flexible for anyone whose taste changes (and whose doesn’t?).
Benefits of Refreshing Décor Without Rebuying the Mechanism
Swapping out just the fabric on blinds and shades is a practical way to keep our homes looking current. We can stick to a budget, make eco-friendly choices, and try out new styles all at once.
Cost Savings and Budget Appeal
When we change only the fabric, we skip paying for expensive new hardware every time trends or our taste changes. Full mechanisms are usually the priciest part of any window treatment.
Here's a quick comparison:
| Option | Average Cost |
|---|---|
| New blind mechanism | $80-$150 per window |
| Fabric-only replacement | $20-$40 per window |
That’s a big difference, especially across a whole house. Plus, it’s less hassle—no pro install, just a fabric swap you can handle yourself. The money saved can go straight into other updates (or, let’s be honest, coffee).
Eco-Friendly and Sustainable Choice
Reusing our existing blind mechanisms and just swapping out the fabric keeps extra hardware out of the landfill. Most blind mechanisms are made from stuff that doesn’t break down easily, so this actually helps.
By reusing hardware, we also cut down on the need for new products to be made and shipped. If we grab fabric from local shops, that shrinks our carbon footprint even more. It’s a small step, but it lines up with eco-friendly goals and cuts waste.
And hey, if the old fabric’s still okay, we can turn it into shopping bags, crafts, or even a pet bed. It’s a little greener, and honestly, it feels good.
Style Flexibility in Home Design
Being able to change just the fabric means we can follow trends—or our moods—without a full window overhaul every time. Try bold colors, seasonal prints, or go classic and neutral, and refresh the room whenever we want.
It’s easy to mix and match fabrics in different rooms or experiment with blackout, sheer, or textured styles. Since the basics stay the same, we don’t have to worry about mismatched mechanism styles. The core characteristics of your chosen textile define the final result; learn how different materials like linen, vinyl, and bamboo affect light filtration, cost, and product lifespan. This flexibility keeps our décor looking intentional, not accidental.
Swapping in festive fabrics for holidays or parties is a breeze. If our tastes shift, it’s quick and affordable to update again.
Choosing the Right Replacement Fabric
We want our window treatments to fit with our décor and hold up to daily life. Picking the right fabric means thinking about style, durability, and what works in each space.
Matching Patterns and Colors
When we’re just updating the fabric, matching or complementing the room’s colors and patterns really matters. It’s not just about holding up a swatch to the wall—grab samples or photos of the floor, furniture, and paint so you can see how it all plays together.
If our room’s pretty neutral, a patterned or textured fabric can add some energy without going overboard. For bolder spaces, solids or subtle textures help balance things. Mixing patterns can work too if you keep the color palette tight—stripes with florals or geometrics, for example.
Lighting changes everything. Daylight brightens colors, while artificial light can soften or shift them, so check swatches at different times. If you’re not sure, classic shades like white, cream, or gray are always safe bets.
Considering Fabric Durability
Not every fabric stands up to real life, especially in sunny or high-traffic rooms. Kitchens or kids’ rooms do better with tougher, easy-clean materials.
Here’s a quick rundown of common types:
| Fabric Type | Durability | Ease of Cleaning | Best For |
|---|---|---|---|
| Cotton | Moderate | Easy | Living rooms, bedrooms |
| Polyester | High | Very easy | Kitchens, kids’ areas |
| Linen | Low | Moderate | Low-traffic areas |
Your choice of material directly impacts both the initial feel and long-term satisfaction; our analysis of why linen costs more than polyester and when it's worth the investment helps inform this key decision.
Make sure your fabric is UV-resistant for sun-facing windows. Faux silk and blends usually hold color longer than pure natural fibers. If you can, go for machine-washable—it saves time and stress.
Specialty Fabrics for Unique Spaces
Some rooms need special stuff. Bathrooms or humid spots? Go for synthetics like polyester or nylon—they resist mold and dry fast.
If you want blackout for a bedroom or media room, look for layered or lined options. Flame-retardant fabrics are smart for kitchens or anywhere near heaters.
Don’t forget outdoor spaces. Patio or sunroom shades need weather-resistant fabrics. Some brands make lines that fight fading, moisture, and mildew, so you’re not swapping them out every season.
Step-by-Step Guide to Fabric-Only Replacement
Swapping out the fabric on window coverings is usually simpler than you’d expect. Focus on careful removal, accurate measuring, and a steady hand, and you’ll get it done with minimal fuss.
Removing the Existing Fabric
Start by making sure your workspace is clear and safe. Open the blinds or shades fully. Unclip or unscrew the mechanism holding the fabric—most roller or Roman shades just need a gentle release from the brackets.
Take a minute to check how the old fabric is attached—it could be adhesive strips, sewn pockets, or snap-in rods. Snap a quick photo before you start, just in case.
Carefully peel, unclip, or remove any hardware from the fabric, being gentle so you don’t wreck the mechanism or bend the frame. Stash any reusable parts in a tray or cup.
Prepping and Measuring for a Perfect Fit
Lay the old fabric flat and use it as a template if you can. If not, measure the window itself (width and drop) with a metal tape measure.
Quick checklist:
- Width: Measure from edge to edge of the mechanism, not the window frame.
- Drop: From the very top to the bottom where the fabric hangs.
- Seam Allowance: Add 1-2 cm to each edge if you’ll hem or tuck.
Double-check your numbers before cutting. Use sharp fabric scissors or a rotary cutter—don’t reach for the kitchen shears! Iron the new fabric first for a smooth, pro finish.
Installing the New Fabric
Attach the new fabric the same way as the old. For roller shades, that’s usually double-sided adhesive or a sleeve that slides onto a rod. Roman shades might need rods threaded through sewn pockets or hook-and-loop tape.
Keep the pattern or fabric grain straight before locking it down. Insert weights or dowels if needed.
Snap or screw the mechanism back in, making sure it’s straight.
Test it with a few rolls or pulls. If it’s tight, don’t force it—stop and adjust.
Troubleshooting Common Mistakes
Things don’t always go perfectly. If the new fabric hangs unevenly, check the attachment points for twists or tucks. Misaligned brackets can skew things, so adjust them carefully.
If the mechanism’s sticky or the fabric won’t roll smoothly, look for excess slack or bunching. Trim or reseat if you need to. If adhesives aren’t sticking, clean the surfaces with rubbing alcohol and try again.
Keep extra hardware and a couple spare adhesive strips nearby. Mistakes happen, but most are easy fixes with a little patience.
Before starting your project, it’s wise to consider the broader scope of DIY work; our comparison explores the real savings and hidden risks of do-it-yourself versus professional installation.
Creative Ideas for Transforming Spaces
Refreshing our décor with new fabrics lets us play with different looks, textures, and color schemes. Even small changes—a fresh pattern, a new textile—can shift the whole vibe of a room, and it gives us a bit more control over our home’s style.
Seasonal Style Swaps
Seasonal fabric changes keep a space feeling up-to-date without much fuss. In spring and summer, linen or cotton with light, breezy prints just feels right. As the air gets colder, heavier materials like velvet or wool in richer colors create a cozier vibe.
Some folks enjoy keeping a few covers or panels for blinds and shades, swapping them out every few months. It’s a small effort, but it really does make things feel new—no need to overhaul everything. Changing out textiles often goes hand-in-hand with updating throw pillow covers or table linens for a pulled-together look.
Here’s a quick chart for seasonal go-tos:
| Season | Fabrics | Colors/Patterns |
|---|---|---|
| Spring | Linen, Cotton | Pastels, Florals |
| Summer | Sheer, Cotton | Brights, Stripes |
| Autumn | Velvet, Wool | Earth Tones, Plaids |
| Winter | Velvet, Fleece | Deep Reds, Patterns |
Mixing Textures for Depth
Layering different textures adds interest and comfort, and honestly, it’s fun to experiment. Mixing smooth and nubby fabrics stops a room from looking flat. Try pairing a crisp cotton blind with a plush chenille throw, or linen panels with a bit of velvet trim—suddenly, the space feels more inviting.
It’s easy to go overboard, though. Two or three textures in one area usually hits the sweet spot. If you’ve got a linen shade, toss in a knit throw and maybe a leather chair. That’s enough to make things pop without turning chaotic.
Texture can also draw attention to neat architectural details. Sheer fabrics let in light and keep things soft, while heavier textures frame windows or doorways and make them stand out.
Color Blocking and Bold Choices
Why stick to safe neutrals? Color blocking with fabric is a straight-up way to inject personality. Grab two or three solid colors, arrange them in big, geometric chunks on your shades or curtains, and suddenly you’ve got a focal point.
It’s a good chance to try bolder shades or offbeat combos—navy and coral, mustard and teal, even something wild if you’re in the mood. And if you’re feeling crafty, fabric paints and dyes let you customize store-bought stuff even more.
Some quick tips for jumping into bold colors:
- If you’re unsure, keep bright colors to smaller areas.
- Repeat accent colors in pillows or art so things feel intentional.
- Take a look at your wall and furniture colors first—no one wants a clash.
Sometimes you just have to trust your gut. Even if it feels bold, that’s often what makes a room feel like yours.
Care and Maintenance of Newly Replaced Fabrics
Keeping new fabrics looking good isn’t rocket science, but a few habits help. A little effort goes far to keep things vibrant and clean.
Routine Cleaning Tips
Dust and grime build up fast, so regular cleaning is key. For most fabrics, a gentle weekly vacuum with a brush attachment lifts dirt without roughing up the material. Microfiber cloths are great for dusting, especially in tricky folds and corners.
Skip the harsh stuff—mild soap and lukewarm water on a soft sponge usually does the trick. Here’s a quick cheat sheet:
| Fabric Type | Best Cleaning Tool | Recommended Frequency |
|---|---|---|
| Cotton, Linen | Vacuum or Damp Cloth | Every 1-2 weeks |
| Synthetic Blends | Microfiber Cloth | Weekly |
| Velvet, Suede | Lint Roller | Every 2-3 weeks |
Always check for a care label—sometimes they’re tucked away pretty well.
Proper care extends the life of your new fabric; follow best practices for safe cleaning methods for delicate cellular fabrics, from vacuuming to spot washing.
Handling Stains and Spills
Spills happen—kids, pets, or just plain clumsy moments. The faster you act, the better. Blot, don’t rub, with a dry cloth to soak up as much as possible. For sticky messes, a little dish soap mixed with cool water and a clean cloth usually sorts it out. Don’t soak the fabric, just dab gently.
It’s smart to stash a small spot-cleaning kit somewhere:
- White cotton cloths or paper towels
- Mild dish soap
- Spray bottle with water
- Soft-bristled brush
Bleach is risky unless the label says it’s okay. Always test cleaners on a hidden spot first—no one wants surprise stains.
Extending Lifespan of Your Investment
Rotating cushions and shifting the orientation of blinds or shades helps fabrics wear evenly. Think of it like rotating your favorite seat so the sun doesn’t always hit the same spot.
Draw curtains or use UV-blocking film to slow down fading, especially in sunny rooms. Keep pets’ nails trimmed and steer clear of sharp objects near your window treatments or upholstery.
A deep clean now and then—by hand or with a pro—makes a difference. Check hardware too, just in case something’s snagging or pulling. Small steps keep fabrics looking sharp and mean you won’t have to replace them as often.
When to Repair vs. When to Replace
Sometimes a quick fix revives a piece, other times, you just have to start over. How do you decide? Let’s break it down.
Assessing Wear and Tear
You spot frayed edges or faded patches on your favorite curtains or cushions. If the fabric still feels strong—no holes, no serious thinning, no stains that just won’t quit—a repair usually does the trick. Stitching, patching, or reinforcing seams can buy you years, especially if the rods, zippers, or cushion foam are still solid.
But when the fabric’s brittle, the color’s gone, or there’s a smell that won’t budge, it’s probably time to move on. Here’s a quick guide:
| Condition | Repair | Replace |
|---|---|---|
| Minor tear | ✅ | |
| Faded color | ✅ | |
| Structural damage | ✅ | |
| Loose seams | ✅ | |
| Stubborn stains | ✅ |
Repairs are great for small issues. If things are too far gone, replacement is the way.
Upgrading for Modern Looks
Sometimes, it’s not about damage—it’s about wanting a change. If your fabric looks like it belongs in a time capsule or just doesn’t fit your current style, a swap can make a room feel brand new. Switching out, say, busy florals for sleek neutrals updates a space faster than moving all the furniture around.
There’s also the function side. Newer fabrics are often easier to clean, block UV rays, or resist stains. Here’s when to consider upgrading:
- The design clashes with your latest décor.
- You’re craving a new texture or a trendier weave.
- You need features the old fabric can’t give you (blackout, moisture-resistant, hypoallergenic).
If you’re wishing your fabric looked or worked differently, a change might be overdue.
Frequently Asked Questions
Swapping in new fabrics is a smart way to save money, cut waste, and put your own spin on things. You can update blinds, mix and match materials, and pick stuff that’s both practical and stylish.
How can I update my existing roller blinds with new fabric?
Start by gently taking the old fabric off the roller. Most mechanisms let you slide the fabric out once you pop off the end caps or brackets.
Cut your new fabric to match the size of the old one, then reattach with double-sided tape or fabric adhesive. A measuring tape and scissors are all you really need.
What are some effective natural methods to make my home smell wonderful?
Open the windows for some fresh air and set out bowls of baking soda to soak up odors. Simmering citrus peels, cinnamon sticks, or herbs on the stove fills the house with a cozy scent—no chemicals needed.
A few drops of essential oil on cotton balls, tucked around the house, work too.
Is it possible to easily replace fabric on home decor without buying new mechanisms?
Usually, yes. Roller blinds, plain lampshades, and many throw pillows have removable covers or simple frames, so swapping just the fabric is pretty straightforward.
Just be sure your new fabric fits and works with the way the fixture attaches.
Can you fuse different types of fabrics together for home projects?
You can, but pay attention to weight and how each fabric handles heat or glue. Fusible webbing bonds light fabrics easily.
For heavier or tricky combos, sewing is more reliable—a zigzag stitch often does the job.
What's the best way to select fabric for my DIY decor refresh?
Think about how you’ll use the item—durability matters for things like cushions, while lighter fabrics soften up accents. Look for home décor fabrics; they hold up better with regular use.
Color and texture count too, so it’s worth bringing home some swatches before buying a bunch of yardage. Sometimes, you just have to see it in your space first.
Are there any tips for sewing decor fabrics on a machine like the Brother CS7000X?
Absolutely—grab a fresh, sharp needle (size 14 or 16 works best for those bulky fabrics). If you notice the thread bunching up or skipping, try nudging the tension a bit.
I’m a fan of using plenty of pins to keep those slippery home décor fabrics from shifting around. Oh, and don’t forget to run a quick test on some scrap before diving into your main project.

