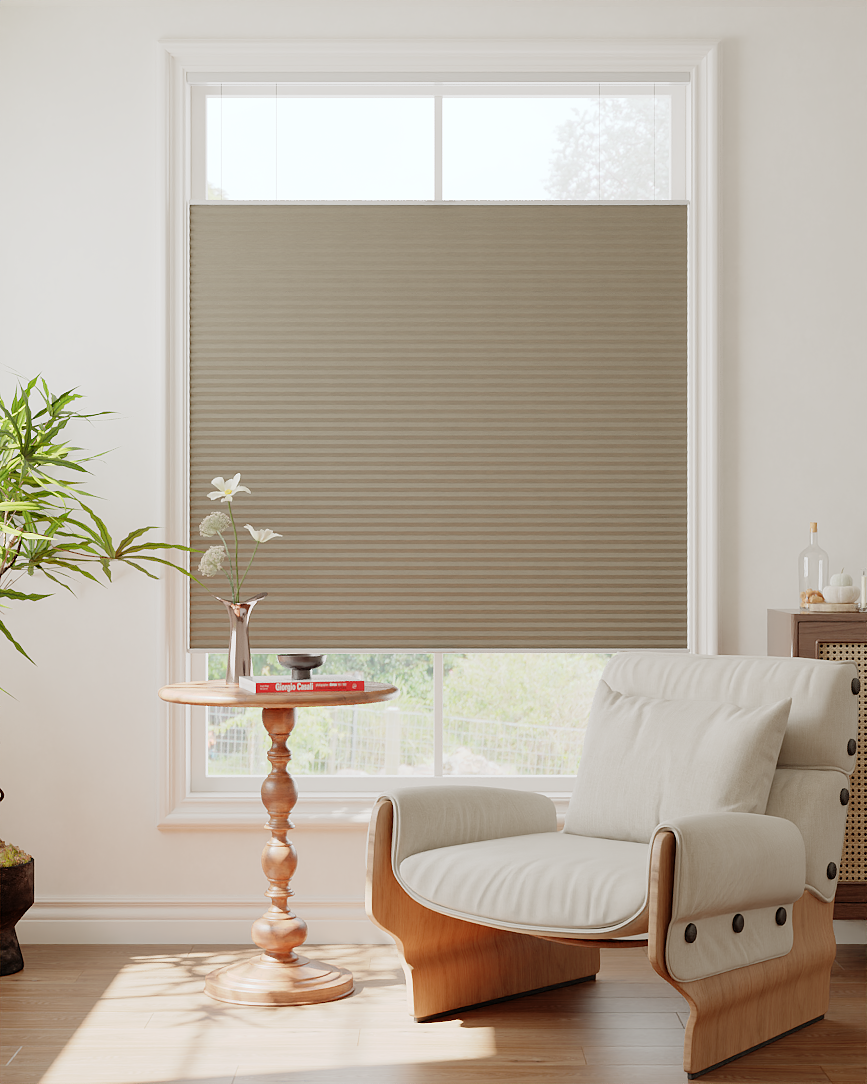
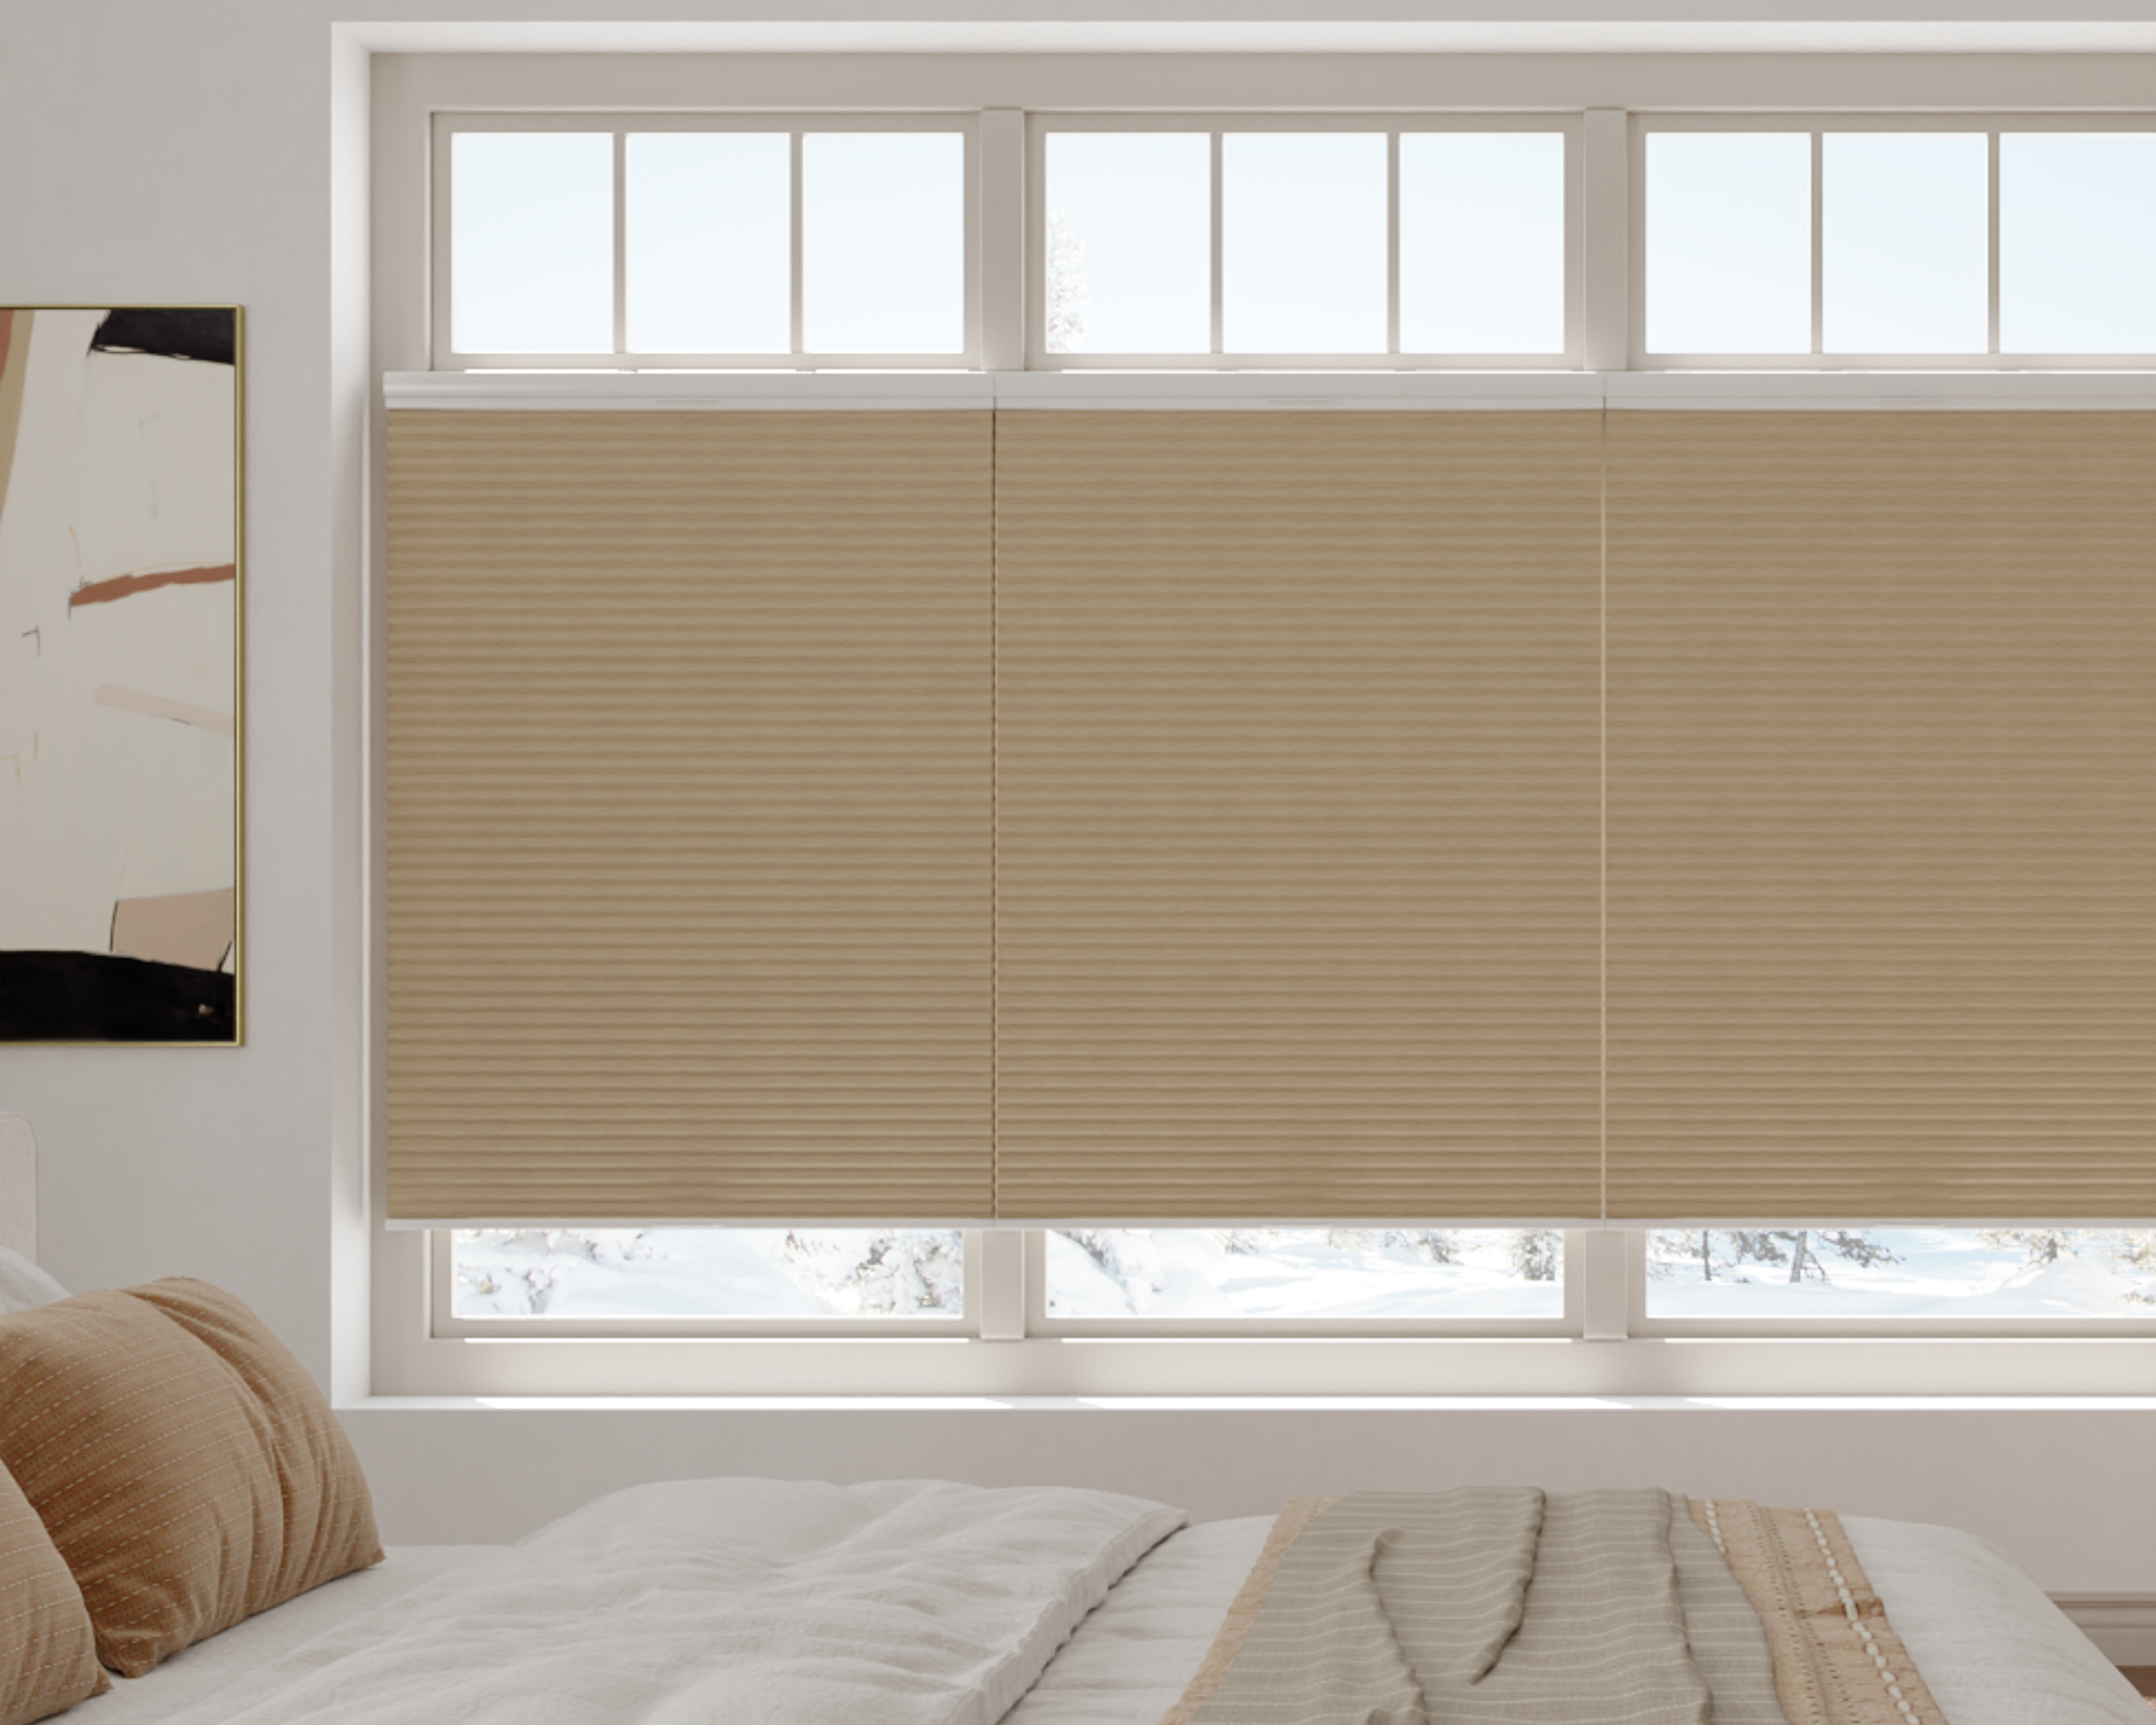
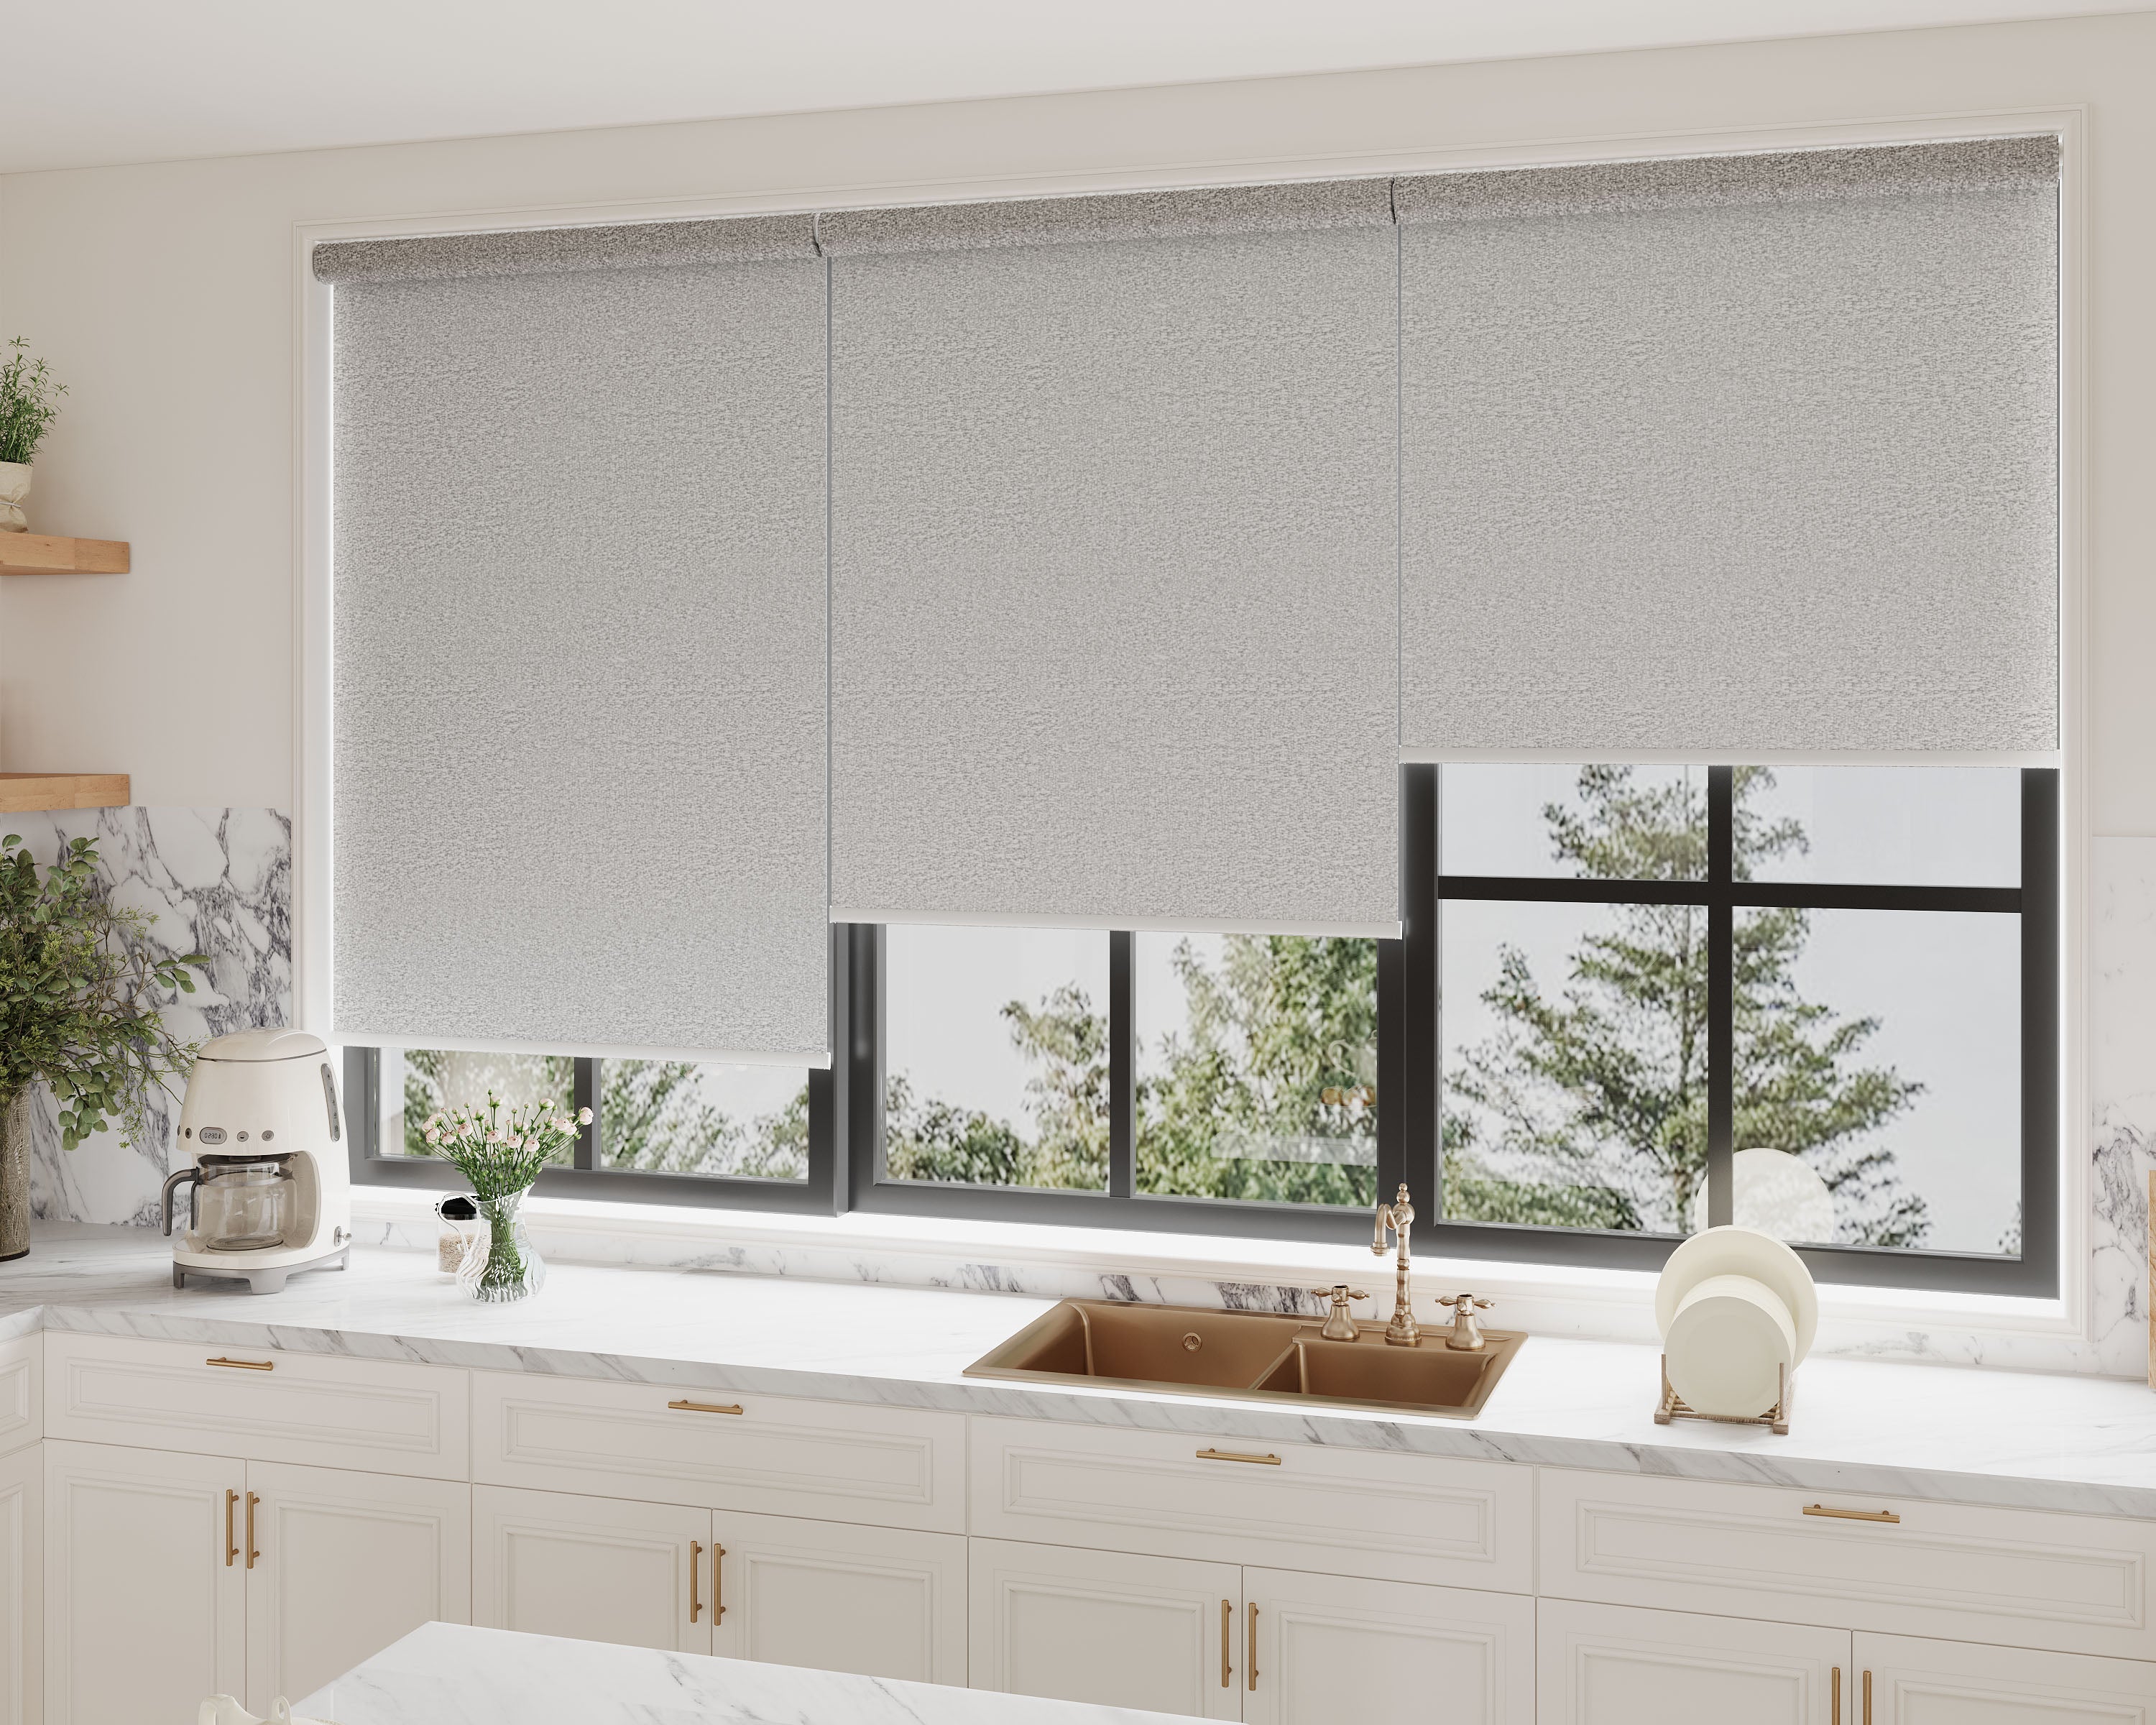
Drafty old windows are more than just annoying; they can mess with our style, comfort, and energy bills. If we weather-seal our windows before putting up new shades, we make our homes cozier and our window treatments way more effective right from the get-go. It’s a clever way to block out drafts and make sure those new shades really pop and do their job.
We don’t have to hire a pro for this, either. A few basic DIY weather-sealing tricks can make a noticeable difference, and they don’t cost much. Plus, we get to call the shots on how everything looks when we’re finished. To pair your sealed windows with top performers in draft resistance, browse our cellular shade collection for insulating designs that maximize efficiency.
Key Takeaways
- Weather-sealing boosts comfort and saves energy.
- A bit of prep and the right DIY tools make sealing simpler.
- Sealed windows help our new shades do their job and look great.
Why Address Drafty Old Windows First?
Drafty windows can quietly sabotage our efforts to keep a home comfortable and stylish. Tackling drafts early saves trouble and gets the most out of our energy spend and window treatments.
The Hidden Costs of Window Drafts
A drafty window isn’t just about a little cool breeze sneaking in. It’s raising our energy bills every month. Cool air escapes in summer and heat slips out in winter, so our heating and cooling systems work overtime.
That constant leak means uneven room temps, so we end up cranking up the heat or AC for comfort. Extra energy use isn’t just about money—it wears down our HVAC equipment too.
Drafts create cold spots near windows, making cozy spaces feel chilly. Condensation can gather, sometimes leading to warped window sills or, worse, mold. It’s not dramatic, but it’s a slow drain on our wallet and comfort.
How Drafts Undermine New Window Shades
Putting up nice shades on an unsealed window can be a letdown. If cold or hot air keeps sneaking past old, leaky panes, our new window treatments can’t insulate properly.
Drafts slip through gaps before our shades even get a shot at blocking light or adding insulation. So the benefits we expect from thermal or blackout shades just don’t measure up.
Condensation from drafts can also cause fabric shades or wooden blinds to warp, discolor, or even get mildew. If we’re investing in window upgrades, we want them to actually perform and last, right?
Energy Efficiency Perks
Sealing drafts turns our windows into real assets for home efficiency. A properly sealed window helps keep indoor temps steady so our HVAC system isn’t always playing catch-up.
Here’s how DIY weather-sealing helps:
- Lower energy bills: Less heat escapes, so bills drop.
- Better comfort: Rooms stay at the temp we like, without cold zones.
- Longer-lasting upgrades: New shades and windows themselves last longer when protected from temperature swings and moisture.
For a deeper dive into how certain shades amplify these perks, this explanation of how cellular shades trap air and cut winter heating bills shows the mechanics behind added insulation.
With sealed windows, every upgrade—from trendy blinds to classic drapes—works harder for us.
Prepping Windows For a DIY Weather-Sealing Project
Before we start sealing, let’s set ourselves up for a smooth project. The right tools, a careful inspection, and a clean surface make the job easier and help the weather sealing last.
Essential Tools and Materials
Getting supplies ahead of time really pays off. We’ll want a caulk gun, utility knife, and weatherstripping—adhesive-backed foam, silicone, or felt strips all work. For cracks, go with exterior-grade caulk. Big drafts? Rope caulk or a shrink-film insulation kit might be the move.
Other handy things: a putty knife, flathead screwdriver, tape measure, gloves, and safety goggles. Paper towels and rubbing alcohol help with cleaning. Here’s a quick checklist:
| Tool/Material | Use |
|---|---|
| Caulk gun | Applying caulk |
| Weatherstripping | Sealing sashes and frames |
| Utility knife | Trimming materials |
| Tape measure | Measuring cuts/fits |
| Putty knife | Removing old sealant/paint |
A good setup means fewer trips to the hardware store mid-project.
How to Inspect for Leaks and Gaps
Finding every draft is half the battle. We can run a hand along window frames, especially on windy days—if we feel cold air, that’s a leak. A lit incense stick or candle near the edges works too—if the smoke drifts, there’s a draft.
Check inside and outside—look for cracked caulk, gaps around trim, and loose weatherstripping. Don’t forget locks, latch areas, and sills. For a deeper check, some folks use a flashlight at night: shine it from outside and have a partner look for leaks inside.
Tiny cracks are easy to miss, so go slow. Mark drafts with painter’s tape so we don’t miss anything when we’re sealing. For handling unique drafts in non-standard shapes, this resource on insulating bay windows offers custom solutions for tricky angles and projections.
Cleaning Up Surfaces Like a Pro
A good seal starts with a clean surface. Strip off old caulk, flaky paint, or leftover adhesive using a putty knife or scraper. Even new windows can have dust, so wipe them down with a damp microfiber cloth.
After getting rid of debris, use rubbing alcohol or a basic cleaner to remove grease and dry the area well. Any dirt or oil left behind keeps caulk and weatherstripping from sticking. A small brush helps get into crevices.
If paint chips or caulk won’t budge, gently pry them loose. Clean frames let our weatherproofing stick better and last longer.
Step-By-Step Weather-Sealing Techniques for Drafty Windows
We can fix drafty windows with simple solutions that keep the cold out, boost comfort, and get our space ready for new window treatments. Even if we’re not DIY pros, a few low-cost methods can make a real difference.
Applying Weatherstripping Alternatives
Weatherstripping is our main defense against sneaky drafts. There’s foam tape, V-strip (tension seal), and felt rolls at any home improvement store. Foam tape sticks easily to clean, dry surfaces and seals gaps where the sash meets the frame.
The table below shows popular weatherstripping types and where they work best:
| Type | Best For | Durability | Cost |
|---|---|---|---|
| Foam Tape | Double-hung windows | Moderate | $ |
| V-Strip | Sides/top of window sash | High | $ |
| Felt | Casement windows | Low | $ |
All we need are scissors, a tape measure, and maybe 30 minutes per window. Measure twice, cut once, and press the strips in for a snug fit.
Using Caulk on Frame Gaps
If air sneaks through gaps where the frame meets the wall, caulk is a must. For most windows, silicone or latex caulk does the trick, depending on whether the frame is painted or not.
Start by scraping away old, crumbly caulk and cleaning the surface. Run a steady bead of new caulk and smooth it out with a finger or tool.
Tip: Painter’s tape helps keep the edge tidy. Let caulk cure—usually 24 hours. For bigger gaps, use a backer rod (flexible foam) under the caulk for a secure fill.
DIY Window Film Insulation
Window film is clear, cheap, and almost invisible—a solid DIY fix for renters and owners. Kits come with double-sided tape and film sheets you cut to size.
To install:
- Clean the window glass and frame.
- Apply tape around the window trim.
- Stick on the film—leave it a bit loose.
- Use a hair dryer to shrink the film and smooth out wrinkles.
The film keeps out drafts without blocking the view. When it’s time to take it down, it peels off easily—no sticky mess.
Easy Fixes for Sash and Seal Issues
Sometimes the real draft culprit is a loose sash or a worn-out seal. If windows rattle or won’t close tight, a bit of maintenance helps.
Tighten hardware with a screwdriver, add a sash lock for a firmer seal, or use rope caulk (like putty) to fill gaps weatherstripping missed. Draft stoppers—those fabric tubes on sills—block cold air for a quick, cheap fix.
Little tasks like these help us spot bigger repair needs and keep us from cranking the thermostat when it’s chilly.
Creative Weather-Sealing Solutions for Home Design Lovers
If we’re sealing drafty windows but want to keep things stylish, there are plenty of ways to add weather-sealing without sacrificing looks. It’s about mixing comfort with our personal taste and keeping winter outside.
Decor-Friendly Draft Stoppers and Seals
Let’s be honest, those old fabric draft snakes aren’t winning any style awards. But now, we can find (or make) chic draft stoppers in velvet, tweed, leather, or even geometric prints. For a custom look, DIY covers to match our curtains or wall colors using leftover fabric.
There are also upgraded silicone or rubber seals in black, white, or clear. Pick a color that blends with our window frames, so they’re barely noticeable. Some brands offer low-profile seals that tuck into sash joints, keeping the look of vintage moldings while stopping leaks.
Quick ideas for decor-friendly options:
- Weighted velvet tube draft stoppers for floor sills
- Magnetic adhesive seals in custom lengths
- Paintable weatherstripping for a seamless fit
Concealing Weatherizing Materials with Style
It’s pretty easy to hide foam tape and shrink film. With some creative curtain layering, we can put film or tape on the window and cover it up with thick, floor-length drapes or modern Roman shades. Heavier fabrics do a better job hiding anything underneath.
If we love woodwork, decorative molding or trim can hide where weatherstripping meets the frame. For minimalists, clear shrink film blends in better than frosted and is less likely to catch the eye. Keeping seams crisp and trimming materials so nothing peeks out from behind the window treatments helps too.
Tips for concealing with style:
- Double-layer curtains to hide plastic film edges
- Attach trim pieces over foam tape for a hidden finish
- Use neutral or matching colors for weatherizing material to reduce visibility
To build on these ideas, this guide to layering shades and curtains explores designing a high-performance thermal barrier for even more draft protection.
Timing Your Weather-Sealing with New Shades Installation
To get the best results, it helps to plan the order of our window upgrades. Weather-sealing first blocks drafts, and it makes installing shades a lot smoother.
Why Weather-Sealing Comes Before the Shades
We need to weather-seal before installing new shades. Sealing up the window frame gives us access to all the nooks and crannies. If shades are up first, bracket mounts and hardware can block parts of the sill or frame, making it awkward to apply weather-stripping or caulk. That leads to gaps and unnecessary frustration.
Weather-sealing first also keeps dust, debris, or sealant residue from getting on our new shades. Cleaning caulk off fabric or blinds is a hassle no one needs. Plus, sealant needs time to cure, and with shades out of the way, we get every angle—no risk of scratching hardware or smudging new blinds.
Tips for Smoother Shade Install After Sealing
Once we’ve finished weather-sealing, it’s smart to double-check that the surface is clean, dry, and fully cured. Here’s a quick checklist to help the shade install go smoothly:
- Make sure new weather-strip or caulk isn’t tacky
- Wipe away any stray sealant or leftover adhesive
- Measure the window again—sometimes sealant changes the fit just a bit
Once everything is in place, this post-install checklist covers final adjustments for smooth, silent operation to ensure your seals and shades work seamlessly.
If we’ve used thick foam tape or sealant, there’s a chance we’ll need to nudge the brackets over a hair. Laying out the hardware ahead of time keeps us from accidentally drilling through fresh sealant. And honestly, using a cordless drill beats wrestling with a screwdriver in a tight window frame any day.
Let’s keep the shade instructions nearby, and take a moment to check each bracket for a snug fit. That means fewer do-overs and more time to sit back and appreciate the results.
Maintaining Your Weather-Sealed Windows
Keeping weather-sealed windows in good shape means stopping new drafts and swapping out worn materials when needed. Reliable weather-stripping saves us money on energy bills and keeps the house feeling a bit cozier—who doesn’t want that?
Checking for New Drafts Each Season
It’s a good idea to add a quick draft check to our seasonal chores. Windows and their seals get battered by temperature swings, moisture, and sunlight. That’s how cracks and gaps form, letting cold air sneak in.
A super simple way to check for leaks: hold a lit incense stick or candle near the window edges. If the smoke or flame flickers or pulls, there’s probably a draft. We can also press gently around the frames and watch for movement or peeling in the weather-stripping. Noting these spots now helps dodge bigger headaches down the road.
Doing these checks before fall’s chill or summer’s heat makes a difference. Catching those sneaky drafts early keeps things efficient and comfy—no more blaming the cat for random cold spots.
When to Update Weather-Stripping
Weather-stripping doesn’t last forever, especially on older windows. Look for signs like cracked rubber, peeling adhesive, flaking felt, or foam that’s squished flat and won’t bounce back. If windows suddenly stick or you hear whistling on windy days, the seals might be toast.
Here’s a quick reference:
| Sign | Action Needed |
|---|---|
| Cracked rubber | Replace immediately |
| Peeling adhesive | Reapply or replace |
| Visible gaps | Reinstall stripping |
| Loss of flexibility | Replace, may let in air |
To measure the ongoing value of these efforts, this breakdown on energy savings payback guides calculating ROI on insulating cellular shades over time.
If we’re patching the same spot every year, it’s probably time to switch to a more durable product. It’s worth it—fewer drafts, more comfort, and those new shades will hang better, too.
Common Mistakes to Avoid with DIY Weather-Sealing
DIY weather-sealing projects can trip us up in a few ways. Some mistakes are obvious, others sneak in and make all our hard work less effective.
Skipping Prep Steps
If we skip cleaning the window frame before sealing, the results won’t last. Dust, dirt, or old caulk keeps new material from sticking. We need to scrub the frames, dry them, and get rid of any peeling paint or gunk before starting.
Ignoring damage is another pitfall. Sealing won’t help if the frame’s cracked or the wood is rotting. It’s worth fixing these issues first—maybe a little sanding or patching. Painter’s tape helps us get crisp lines and avoid that gluey, messy look.
A lot of us forget to test-fit the weather-stripping. Dry-fitting foam or strips before peeling the backing helps avoid bunching and misaligned strips. Those little gaps are exactly where the cold sneaks in.
Choosing the Wrong Materials
Using the wrong weatherstripping wastes time and patience. Not all materials work everywhere—some are better for doors, others for windows, and some just don’t last. Foam tape is easy to use, but not great for windows that get opened a lot.
Here’s a quick rundown:
| Material | Best Use | Lifespan |
|---|---|---|
| Foam tape | Sashes, frames | 1-3 years |
| Vinyl strips | Sliding windows | 2-5 years |
| Silicone caulk | Masonry, trim | 20+ years |
It’s tempting to just use what’s on hand, but picking the right material for our window and climate saves hassle later. Flexible stuff works for moving parts; tougher options suit fixed edges. Glancing at the label for weather resistance? Definitely worth it.
Frequently Asked Questions
Dealing with old, drafty windows doesn’t mean we’re doomed to freezing living rooms or expensive replacements. Smarter weather sealing can really boost comfort, cut energy bills, and keep those vintage frames looking sharp.
What's the best way to tackle drafts in old windows without professional help?
A good starting point is rope caulk or removable weatherstripping pressed into the gaps around the sash and frame. These need almost no tools—just your hands.
Foam tape works well for bigger gaps. For tiny cracks, a dab of clear nail polish or silicone sealant does the trick and keeps things looking tidy.
Any tips for sealing up drafty windows if I'm just renting the place?
Temporary fixes are lifesavers here. Removable caulk, draft snakes, and clear window insulation film all go up in fall and peel off easily in spring—no landlord drama.
Tension rod thermal curtains and self-adhesive foam are easy to install and don’t leave marks. Keep your receipts for move-out, just in case.
Can you recommend a good DIY draft stopper for my leaky windows?
Absolutely. Roll up an old towel or sew a tube from scrap fabric, fill it with rice or beans, and you’ve got a classic draft snake.
If you want something a little more polished, a door draft stopper kit from the hardware store can be trimmed to fit a window ledge. Simple, but surprisingly effective.
What are the steps to winter-proofing old windows on a budget?
Start by cleaning—dusty frames won’t hold weatherstripping. Press foam tape or rope caulk into the gaps, then stretch clear plastic shrink film over the panes and use a hairdryer to seal it.
If you need a totally free fix, rolled towels block drafts at the bottom. Thermal curtains are another budget-friendly upgrade and make a real difference.
How can I effectively seal my windows to keep out the chilly breezes at home?
Layering works best. Tight-fitting weatherstripping around sashes, plastic window insulation kits for the glass, and even magnetic secondary glazing panels can help.
Mixing solutions like draft snakes and heavy drapes lets us block those sneaky drafts without giving up style or access.
What's the trick to adding weather stripping to vintage windows and still keep the charm?
If you want to keep those original details front and center, try clear silicone weatherstripping or felt strips tucked right into the movable parts. These seal out drafts, but don’t smother the character that makes old windows so great.
Grab some measurements before you head out, so you don’t accidentally cover up the custom bits you love. I usually go for detachable seals, since it’s a breeze to take them off once spring finally rolls around.


