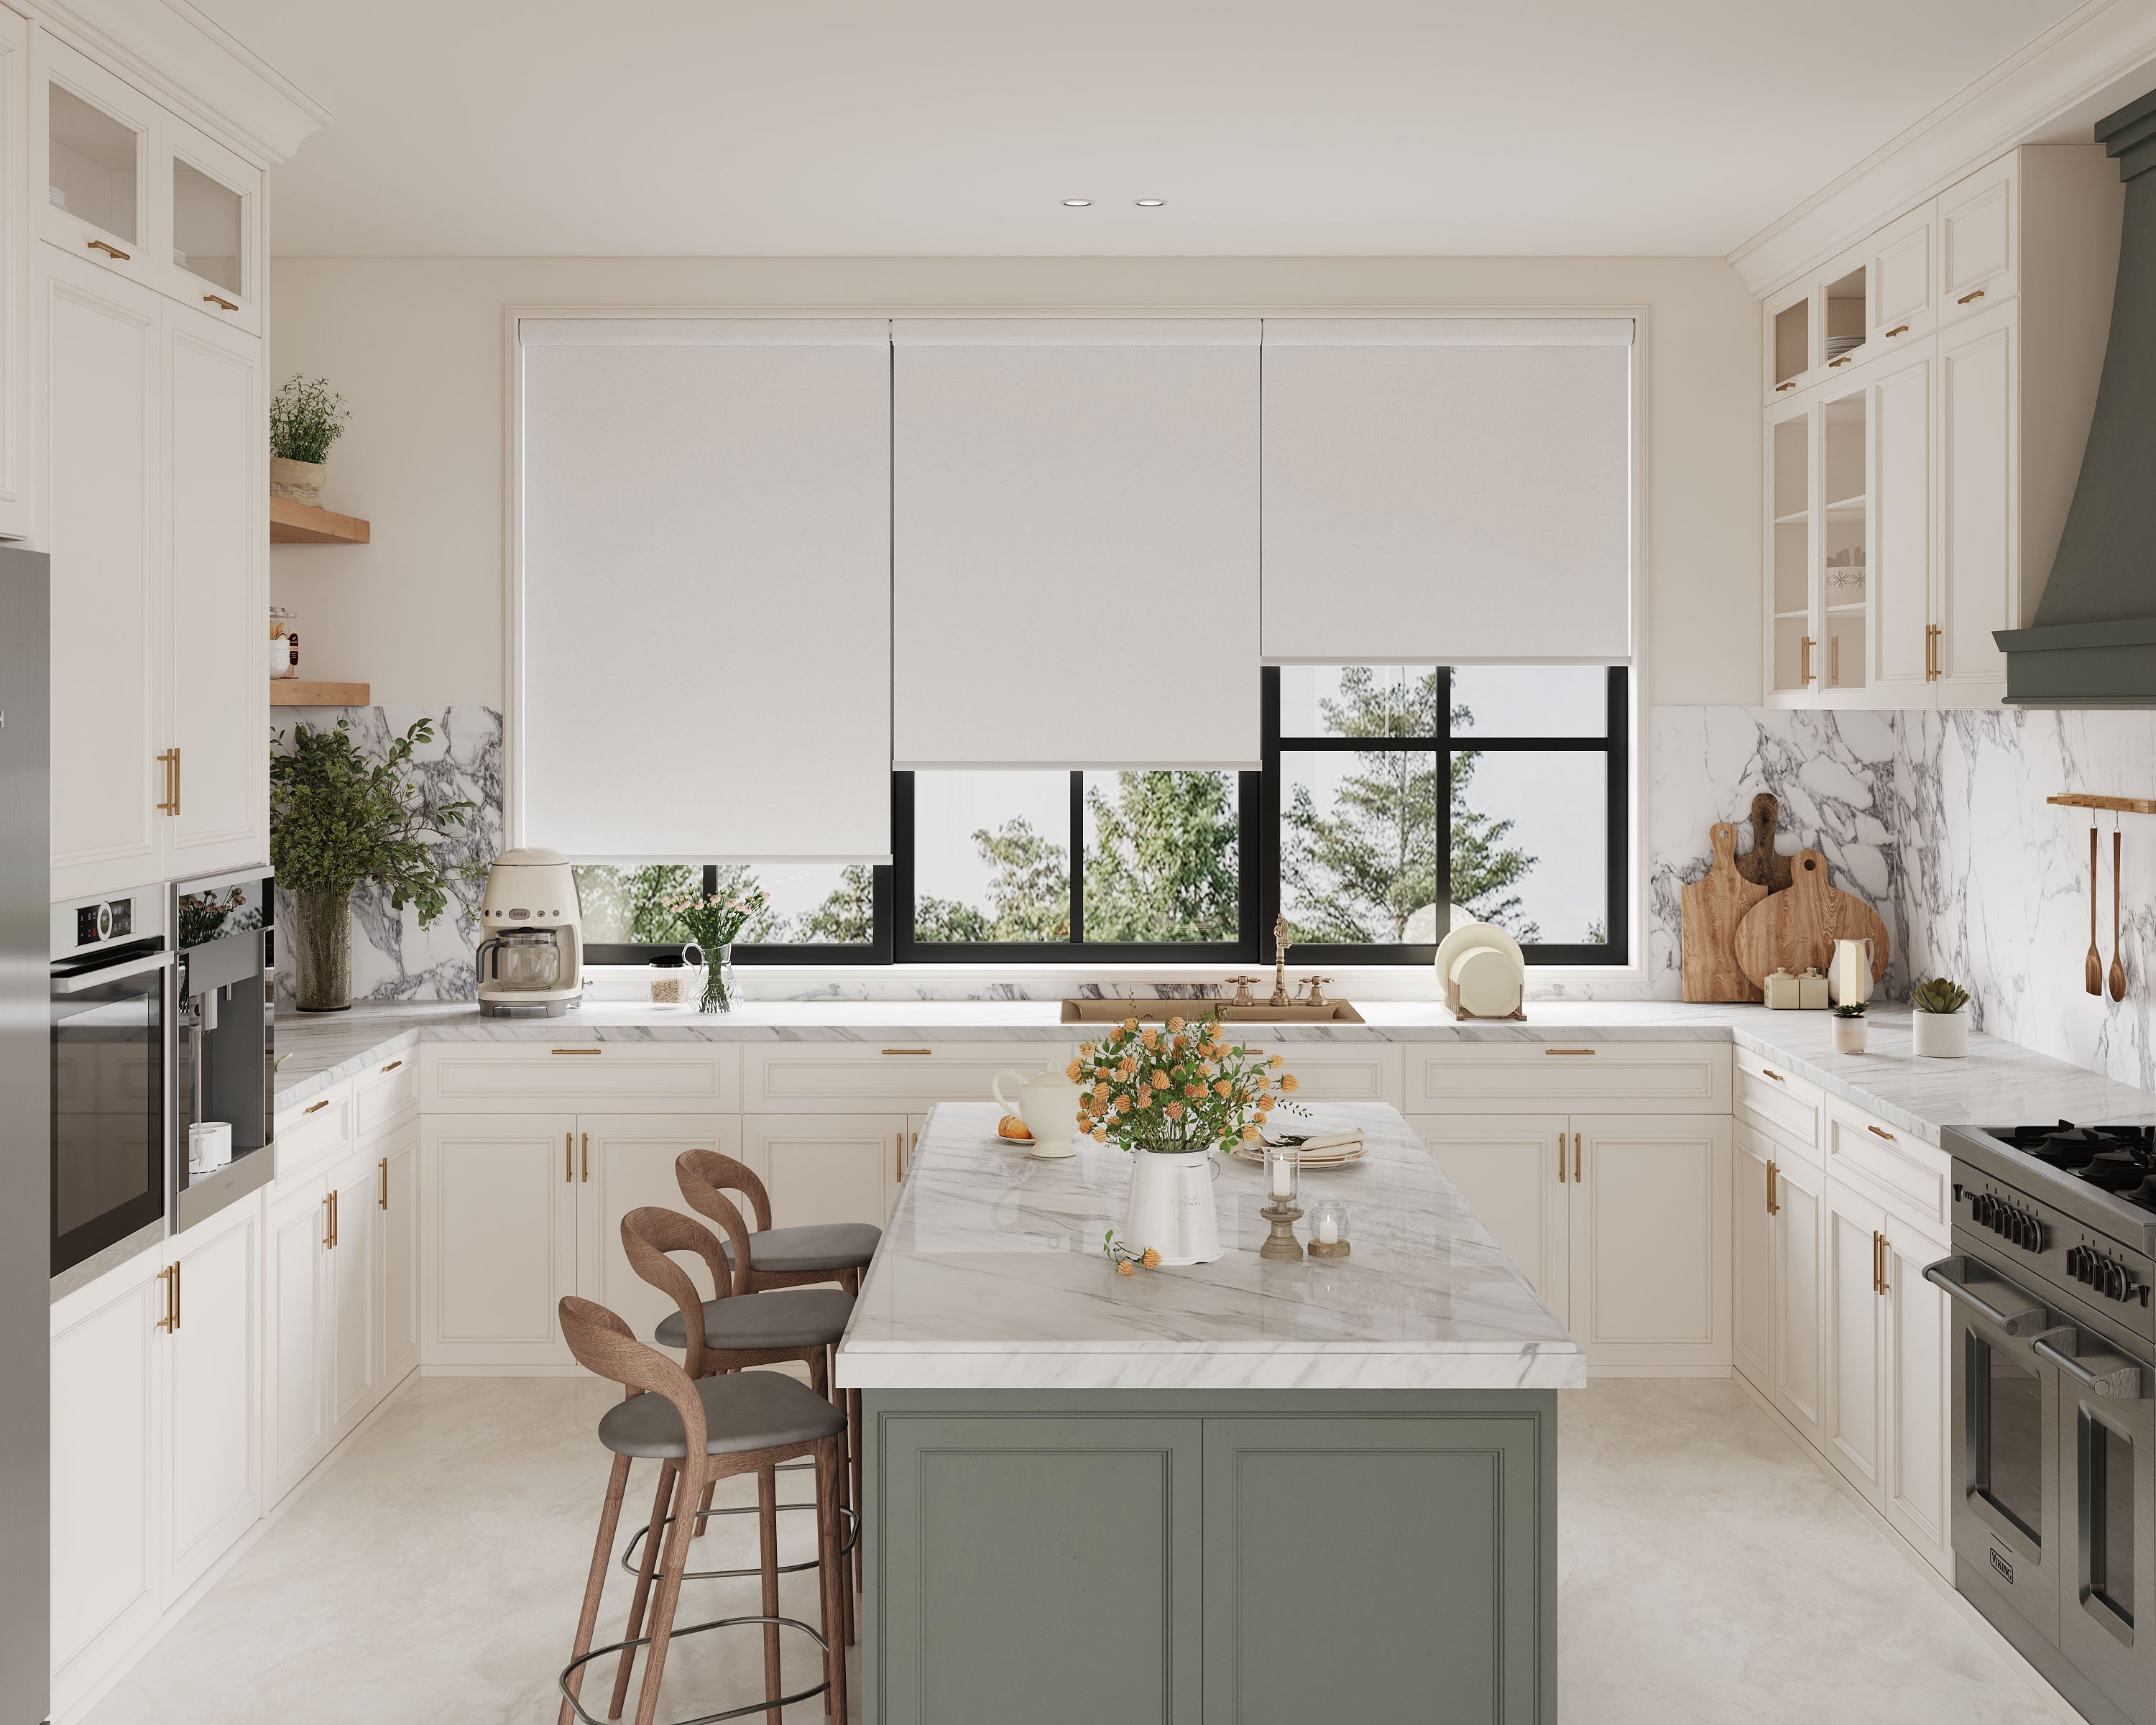
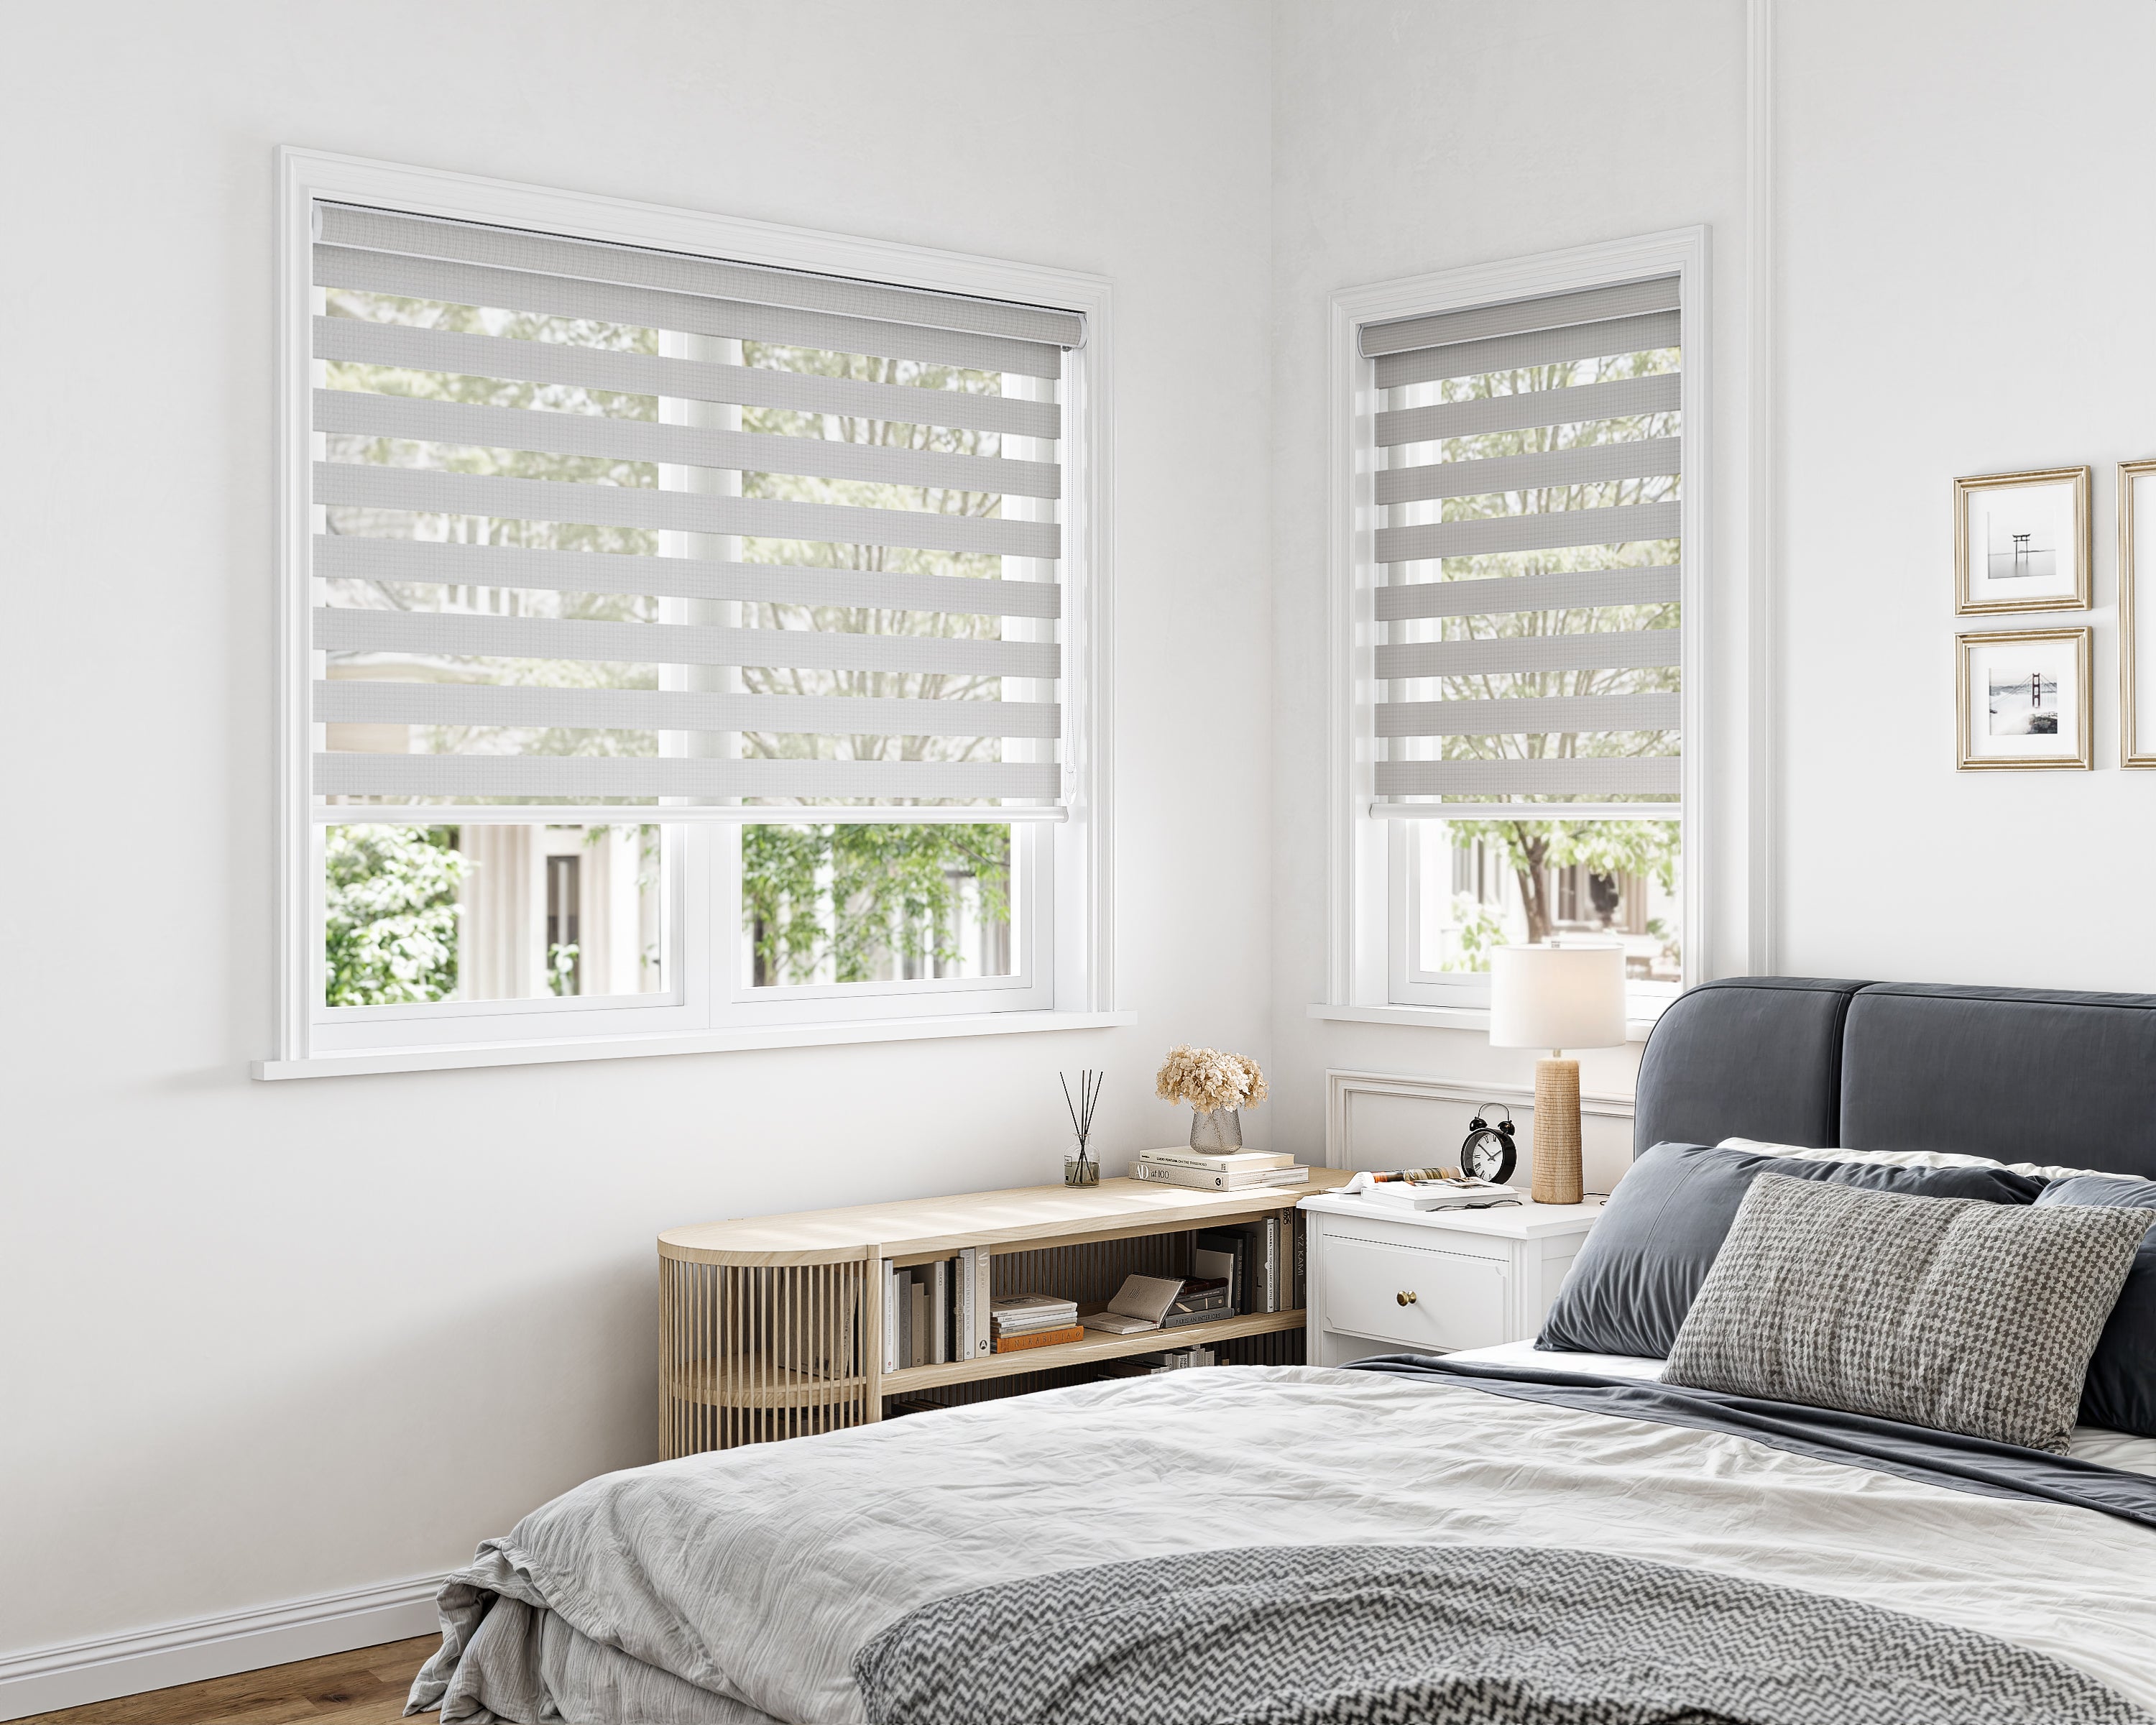
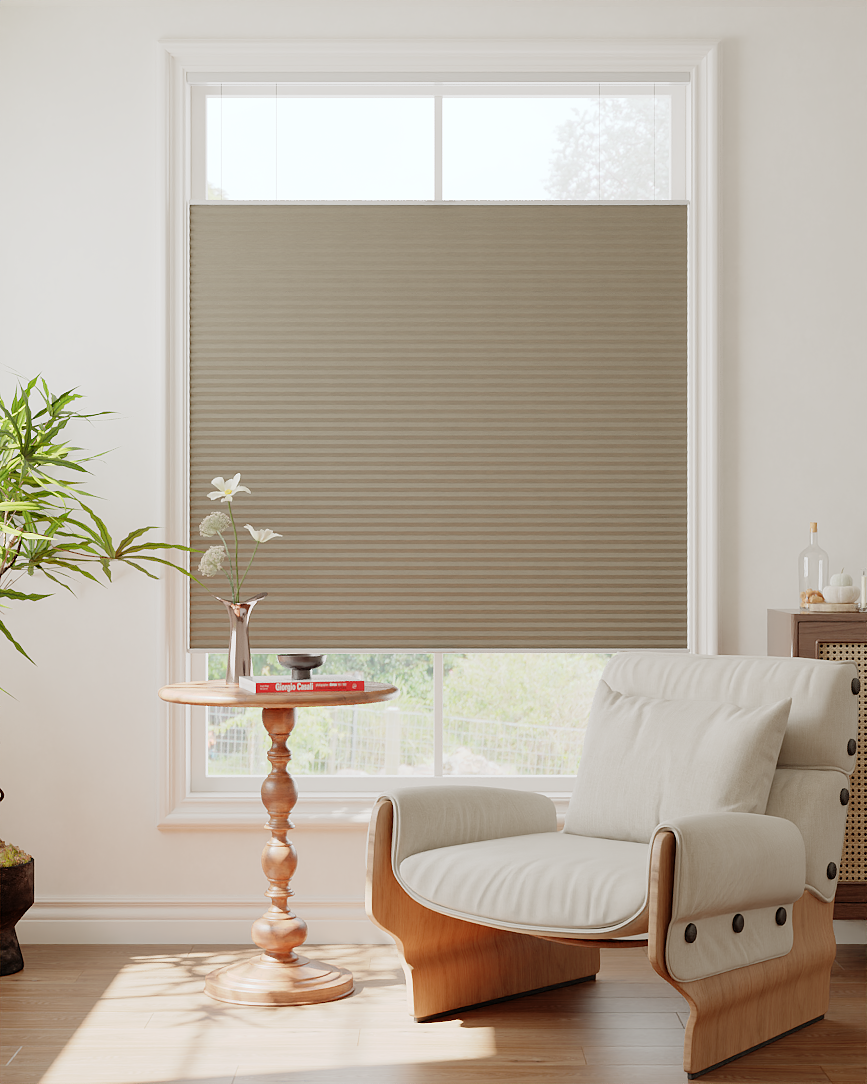
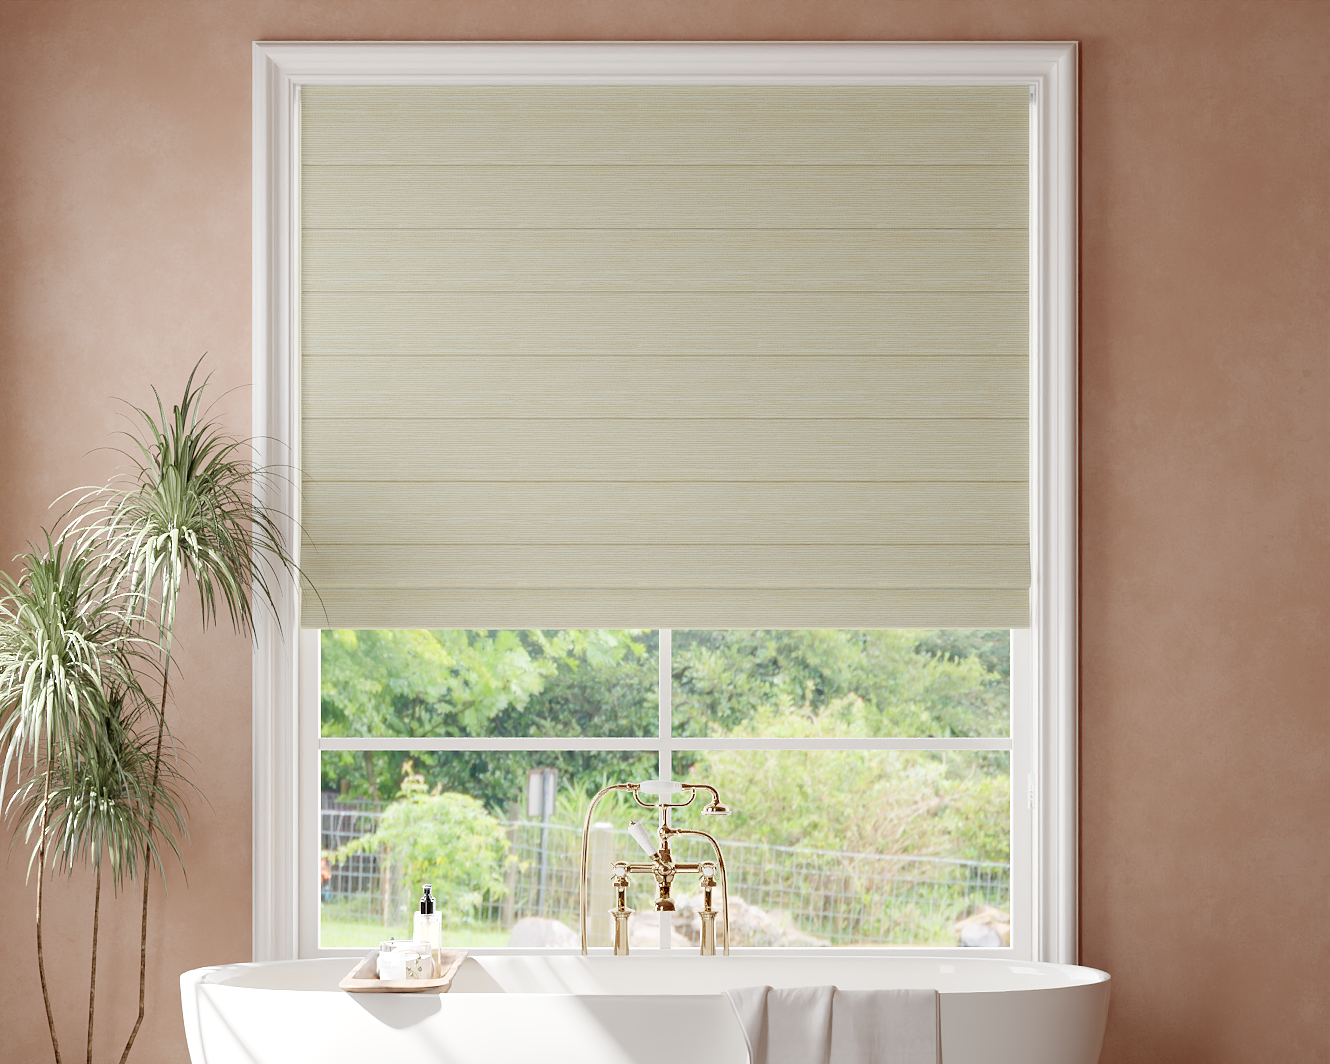
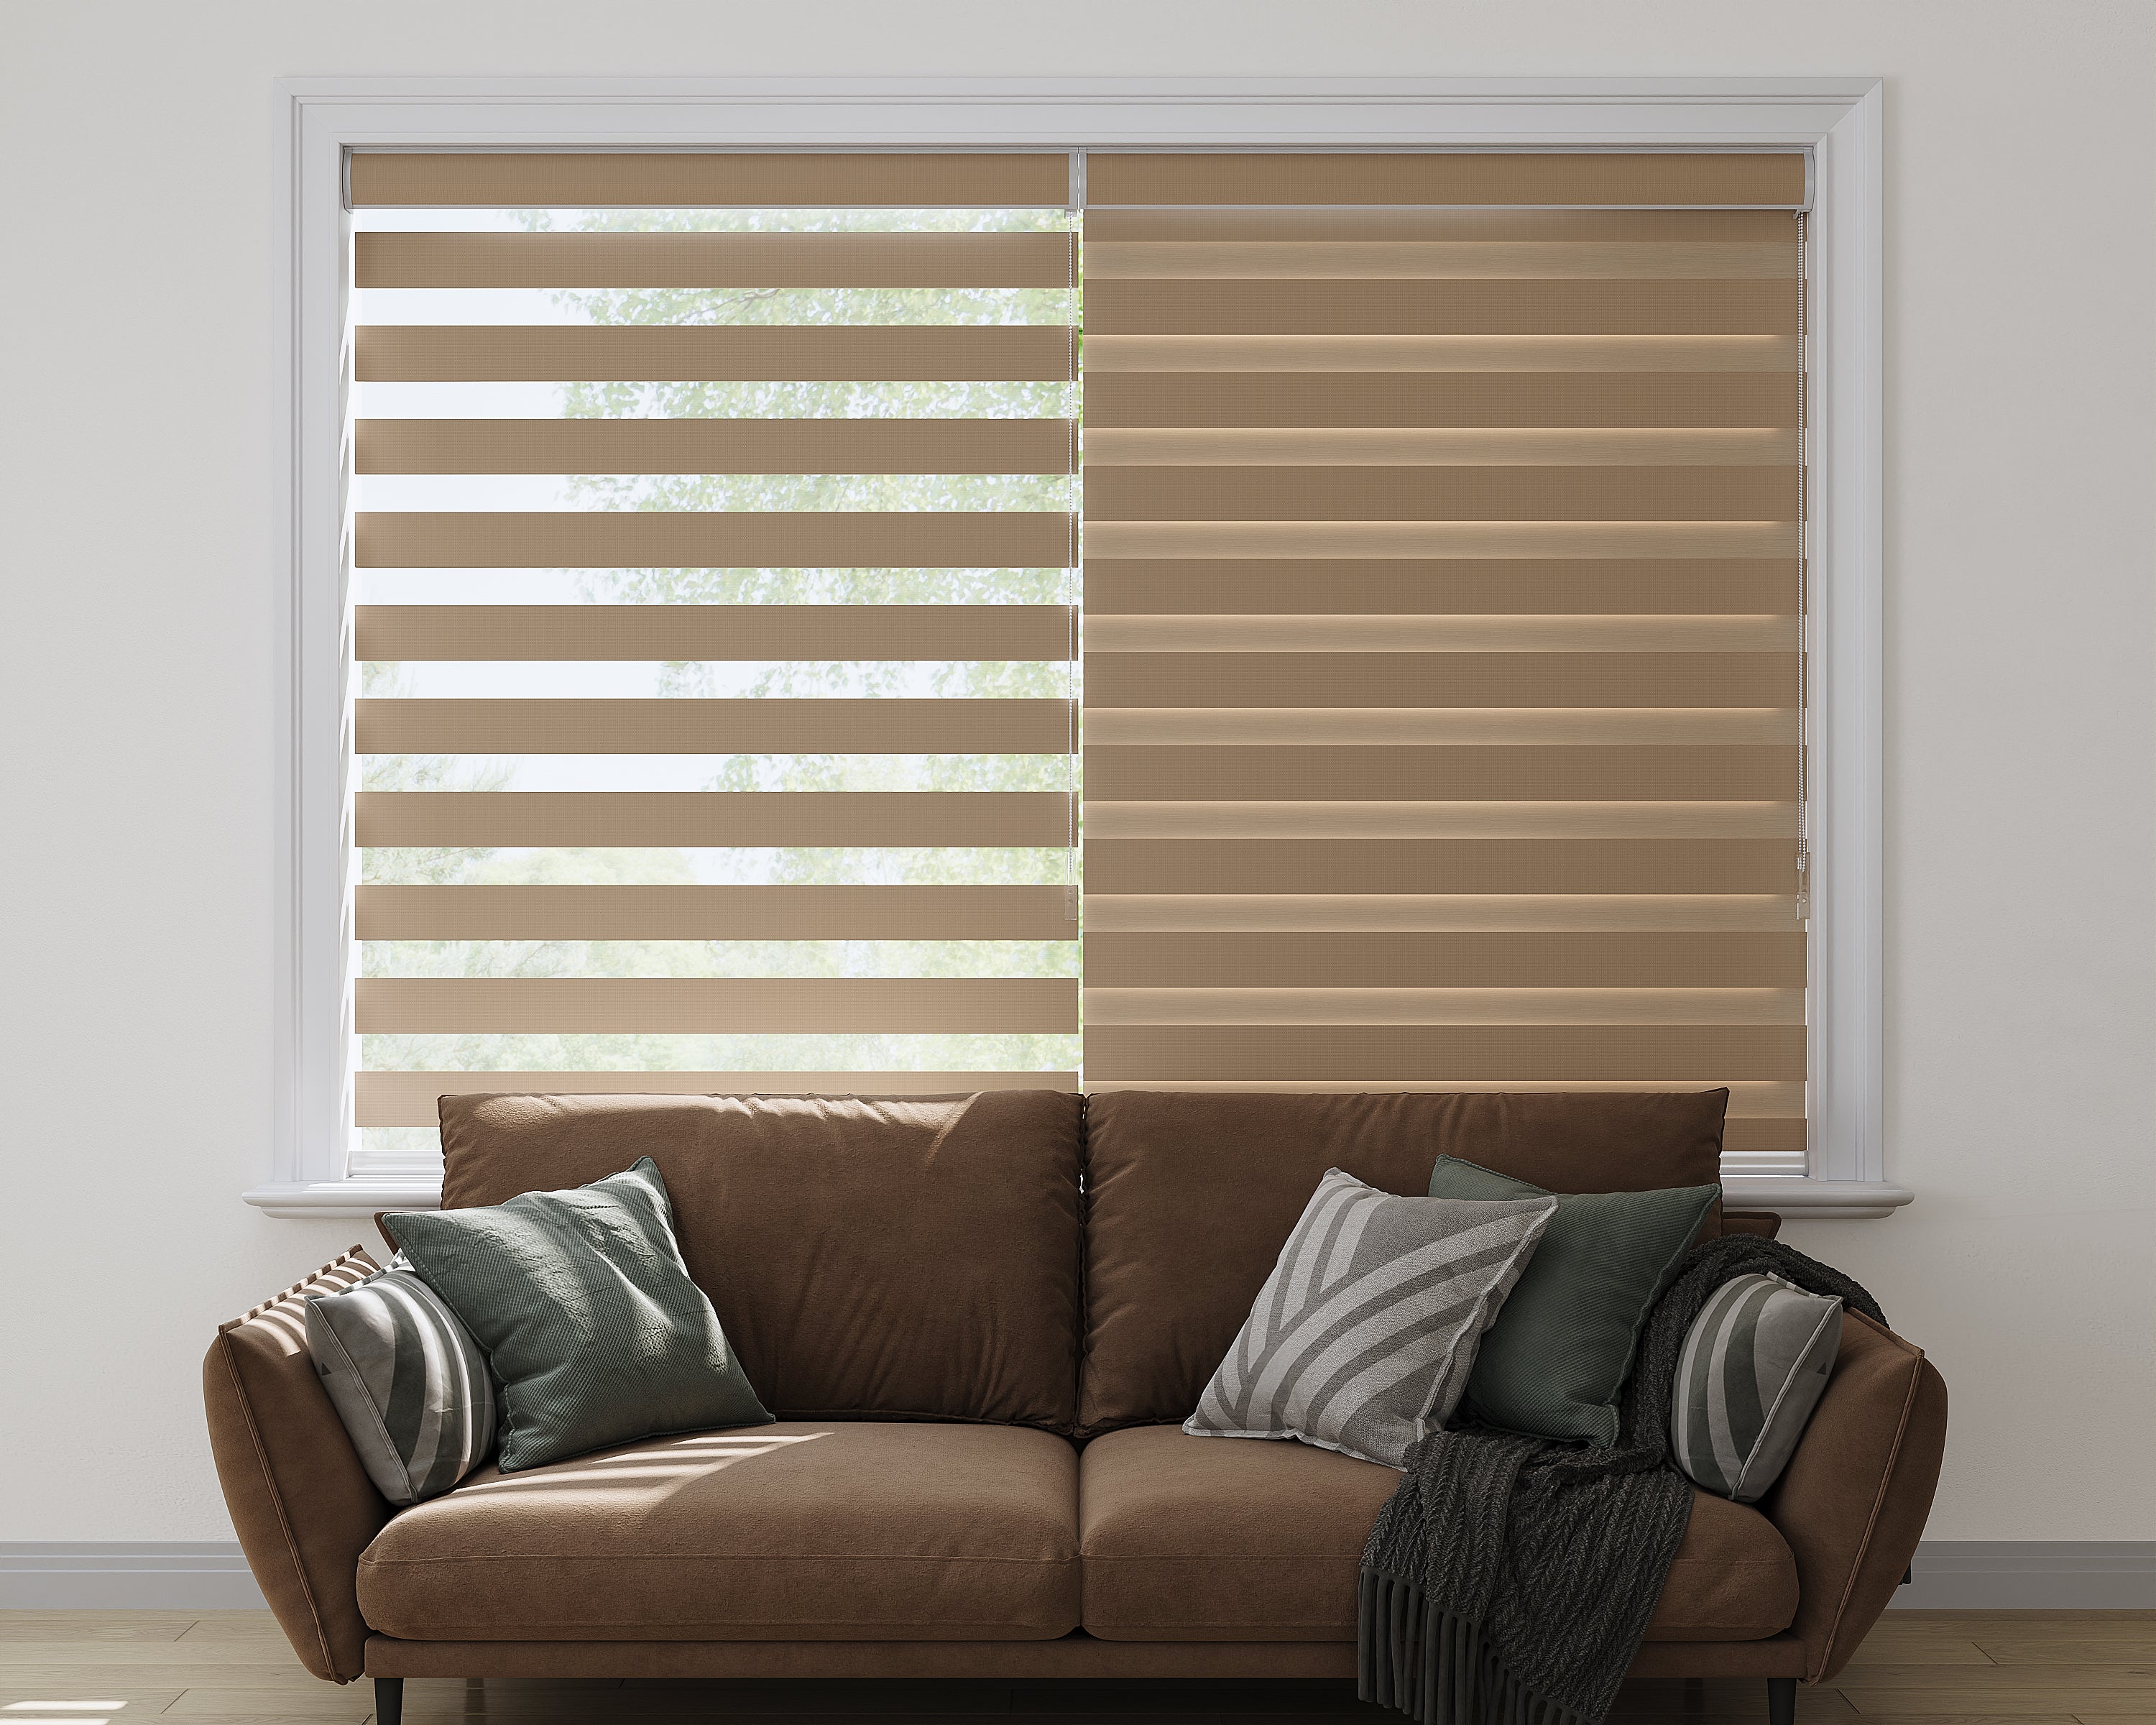
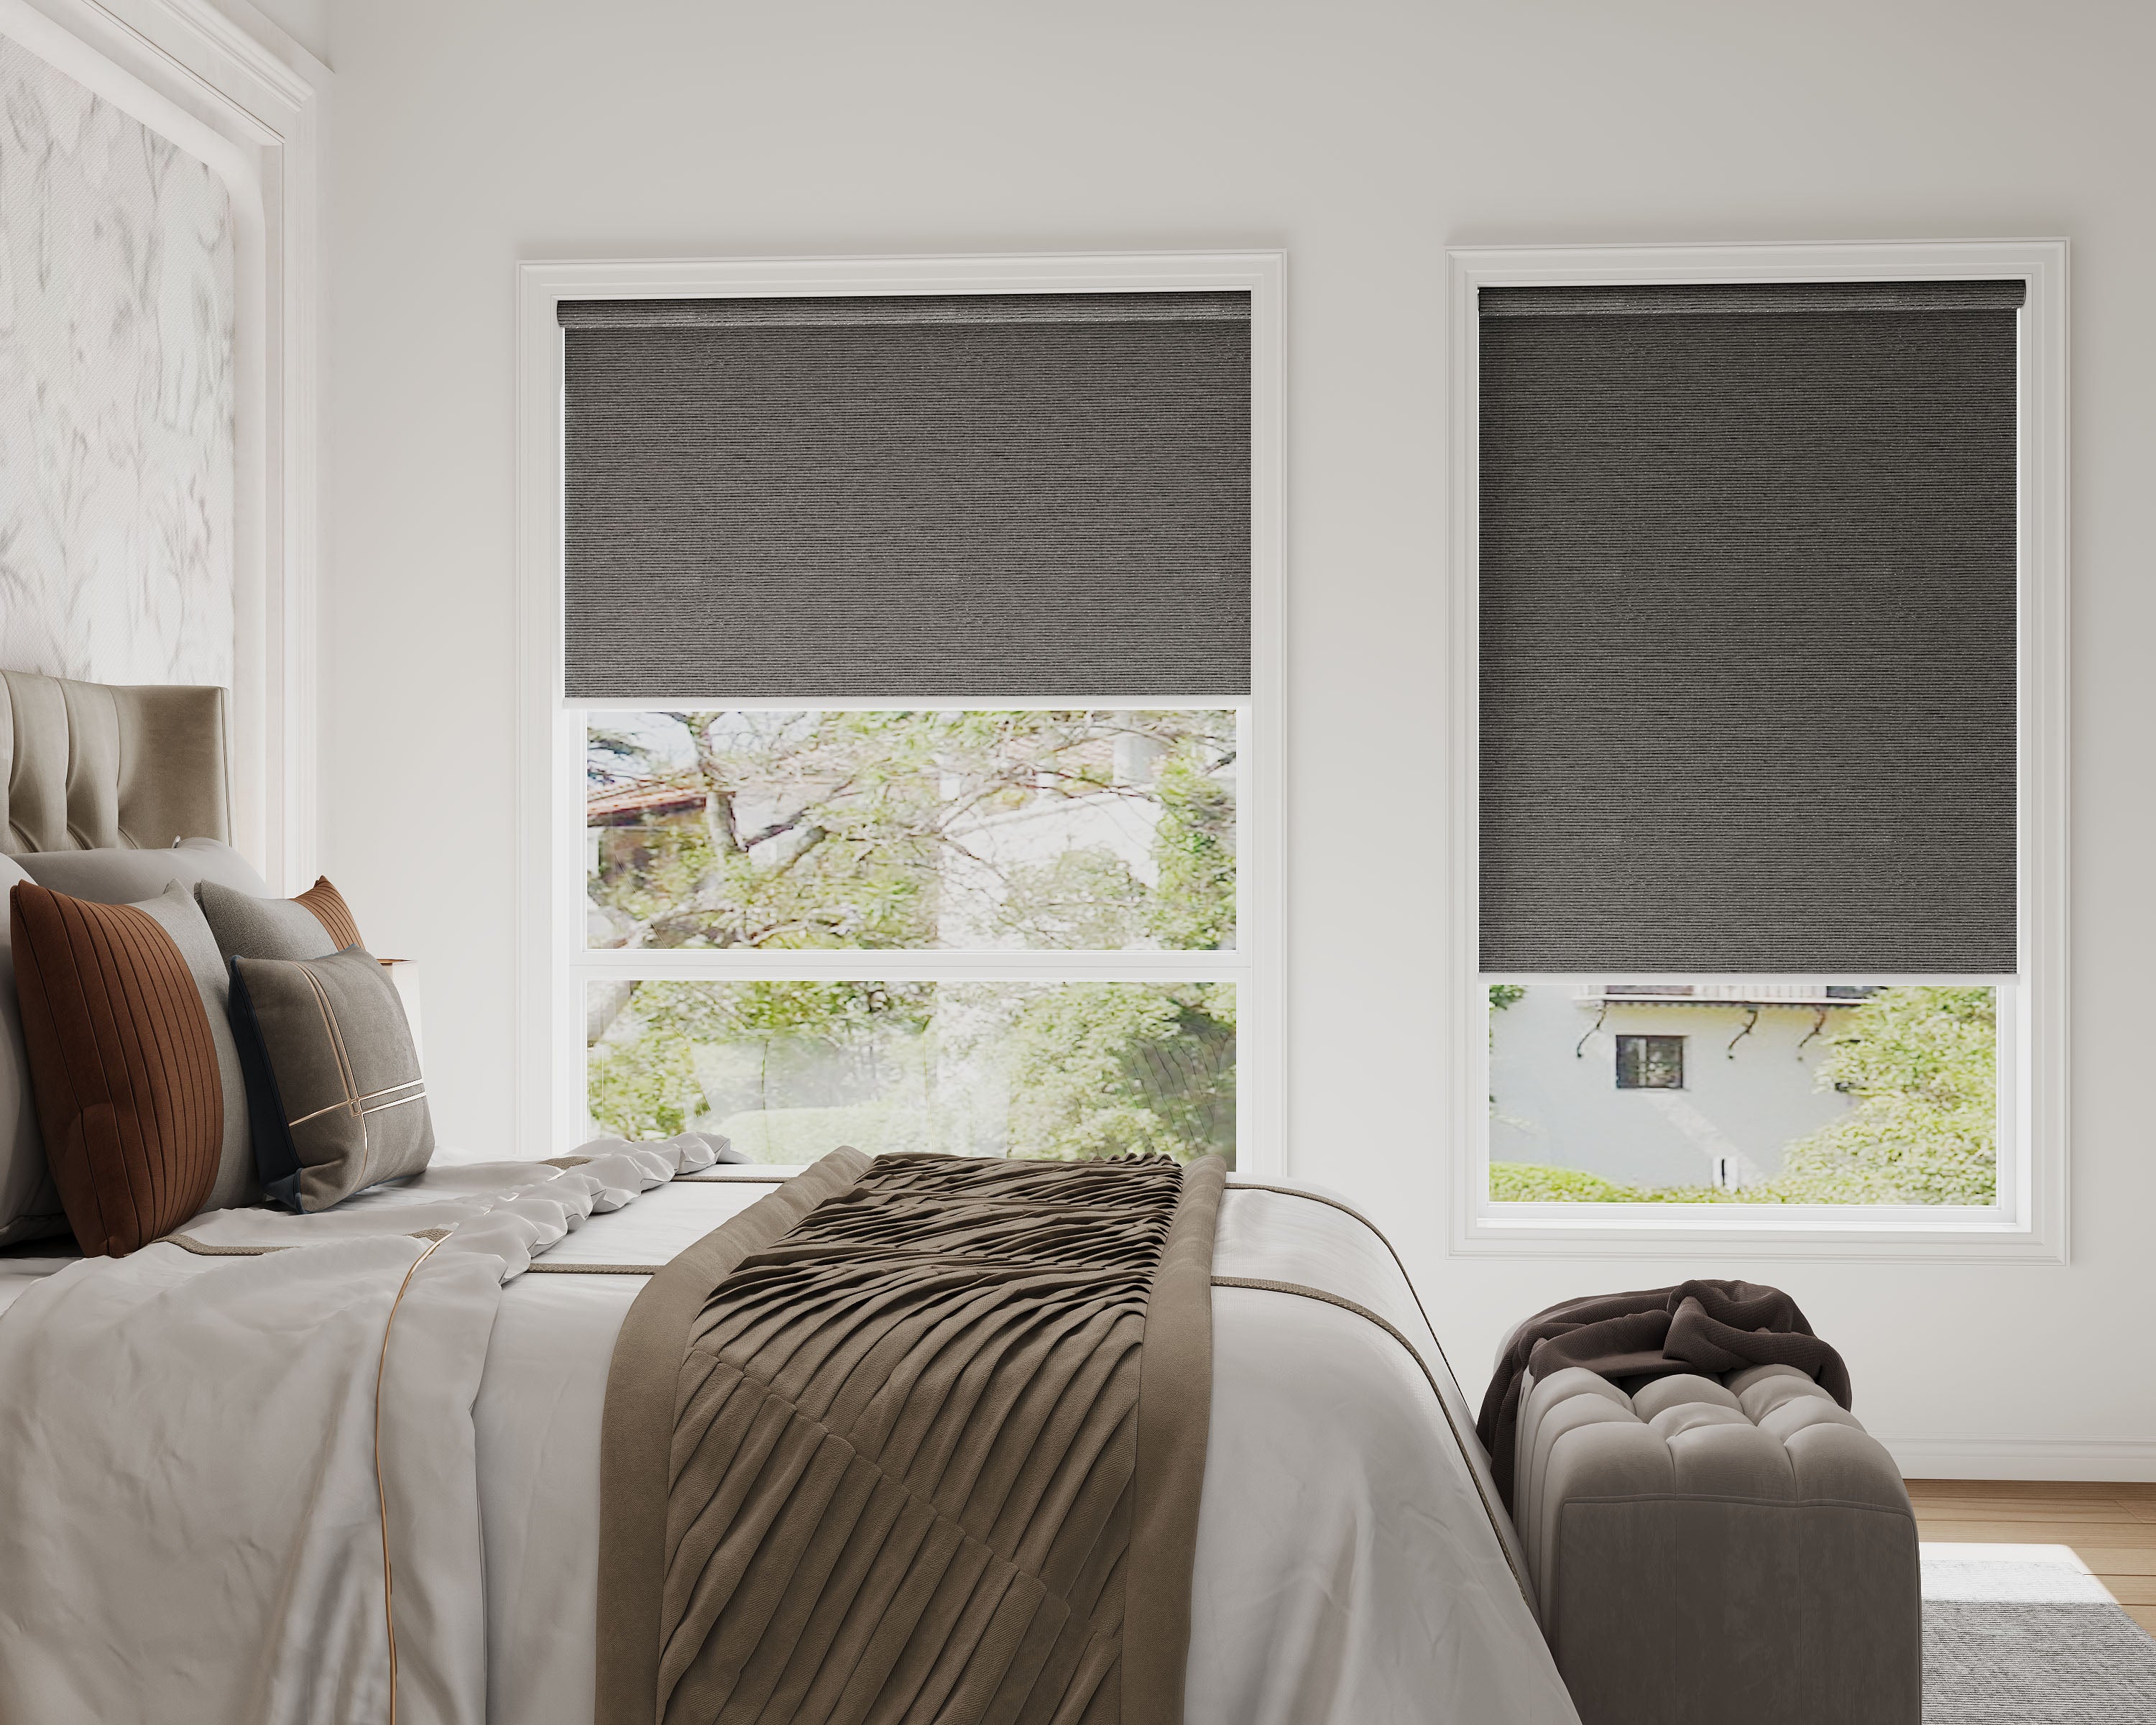
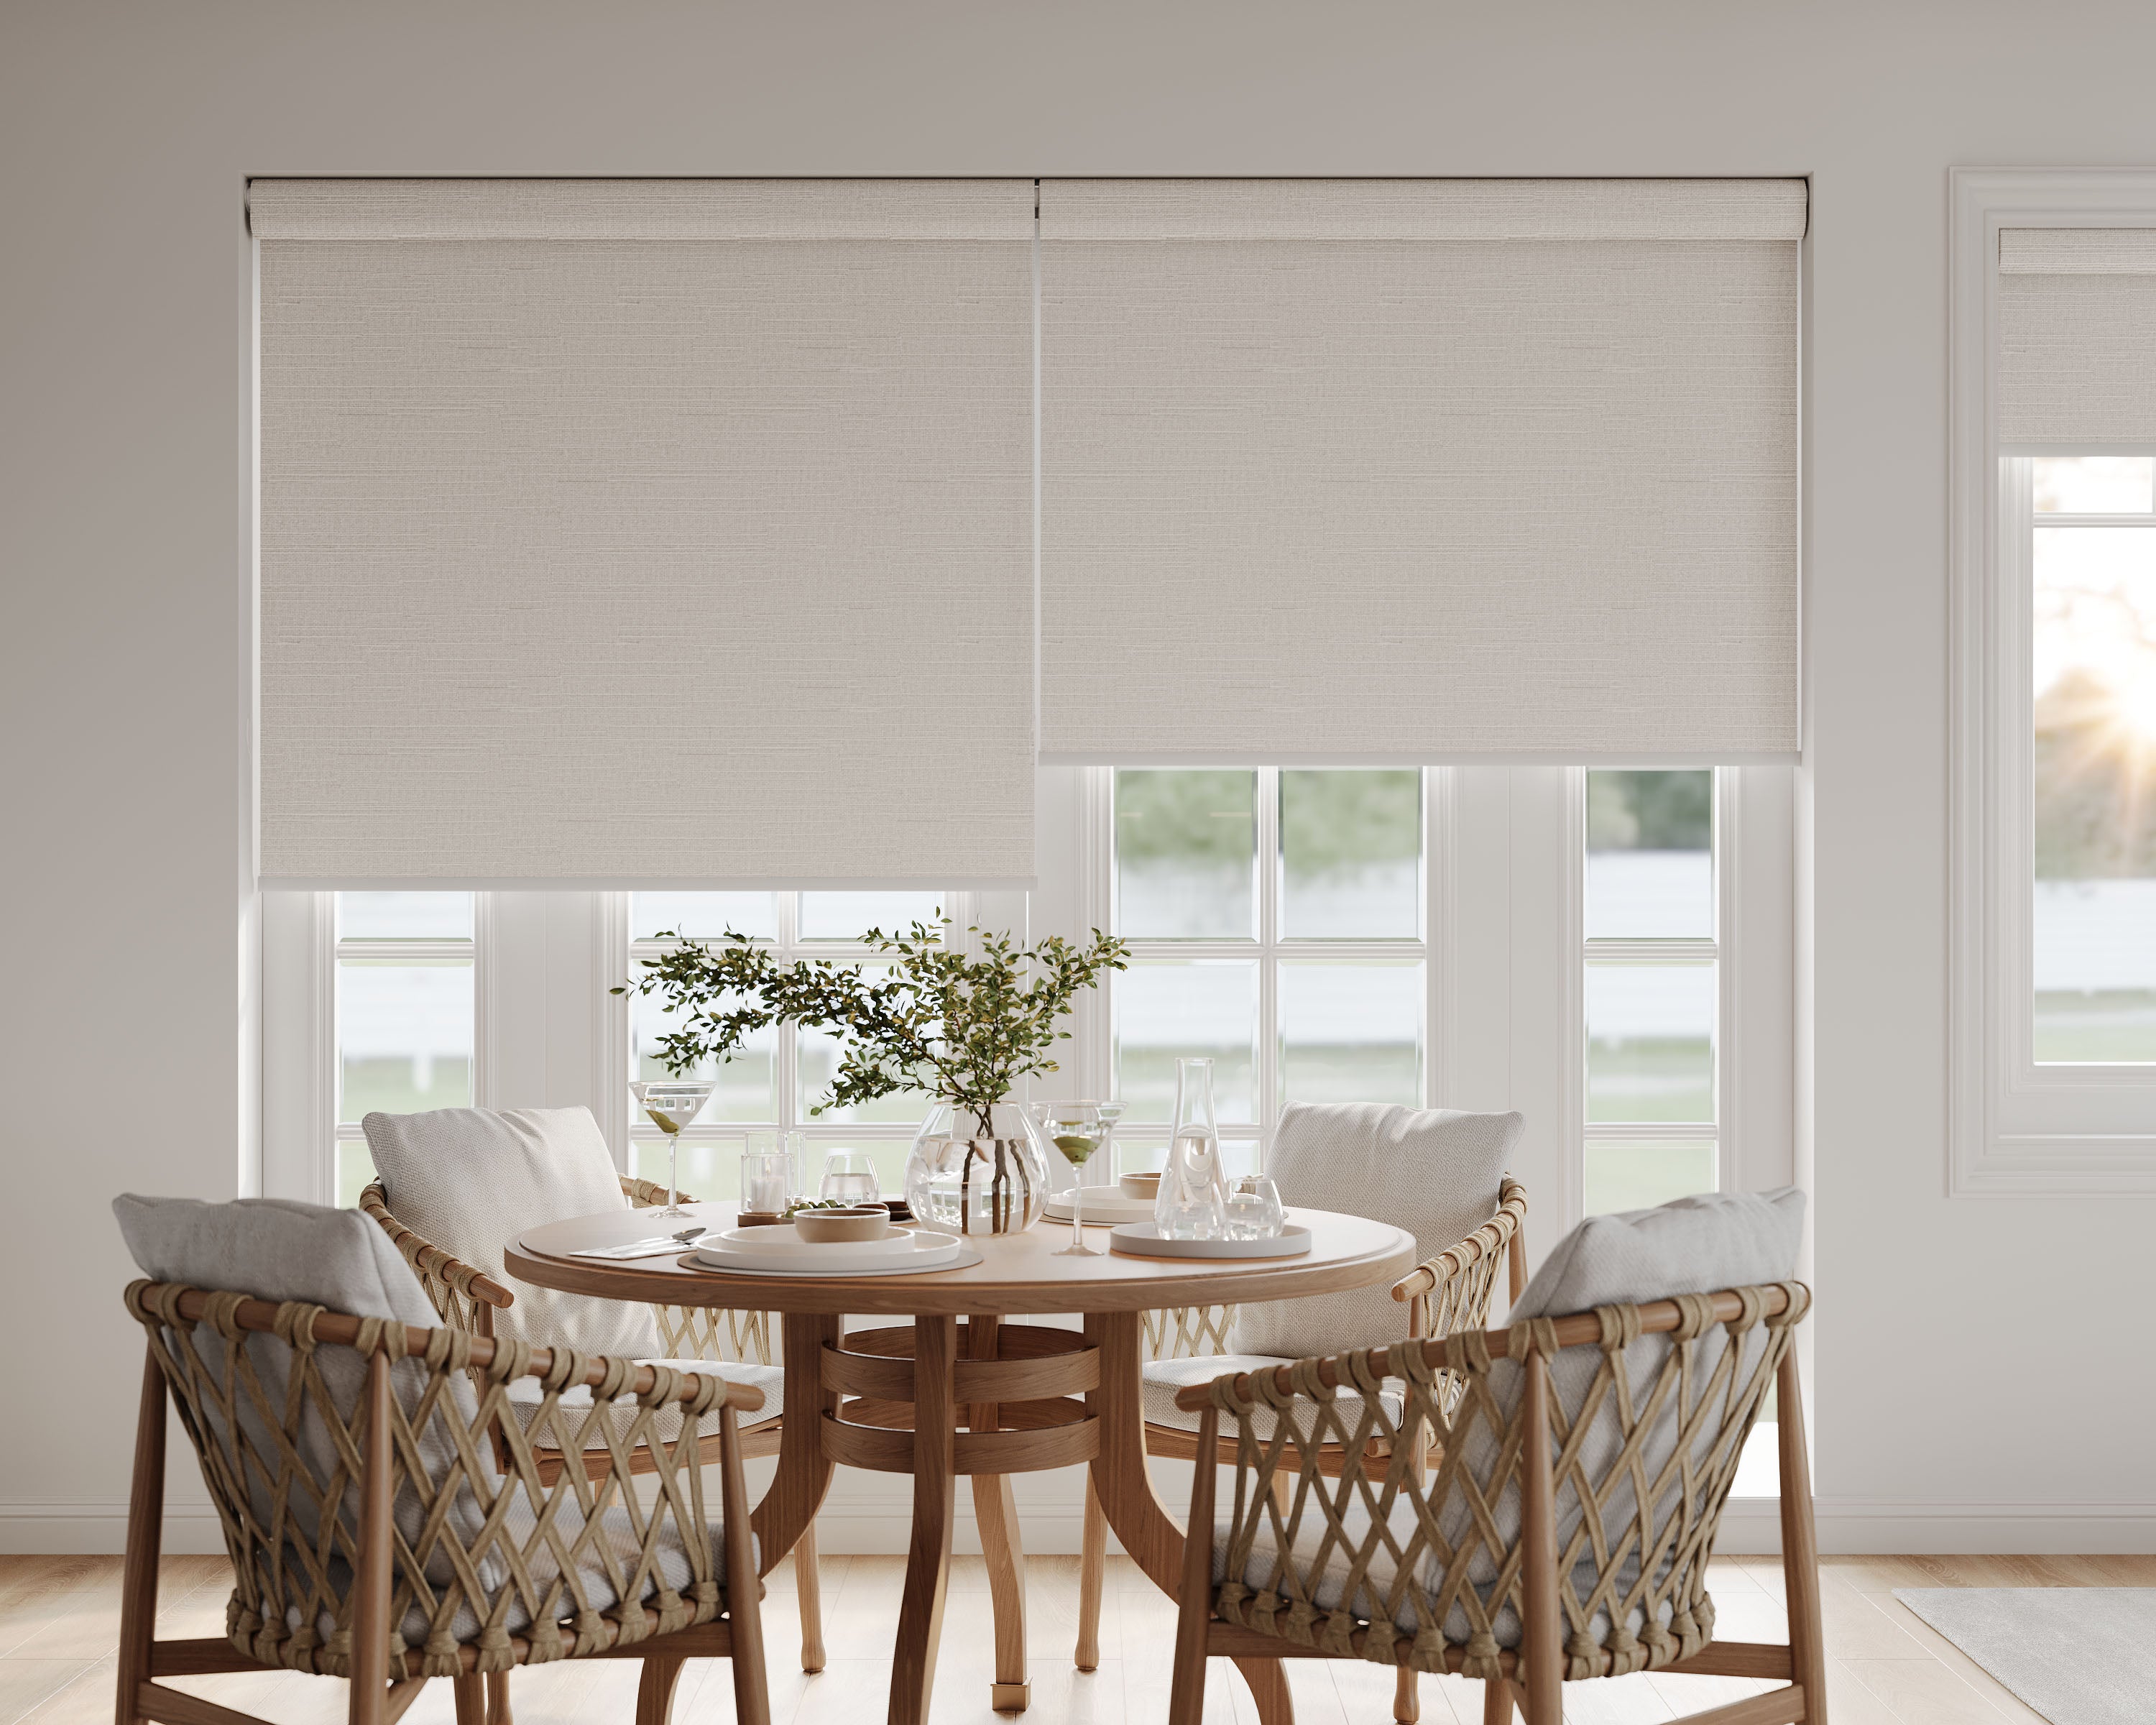
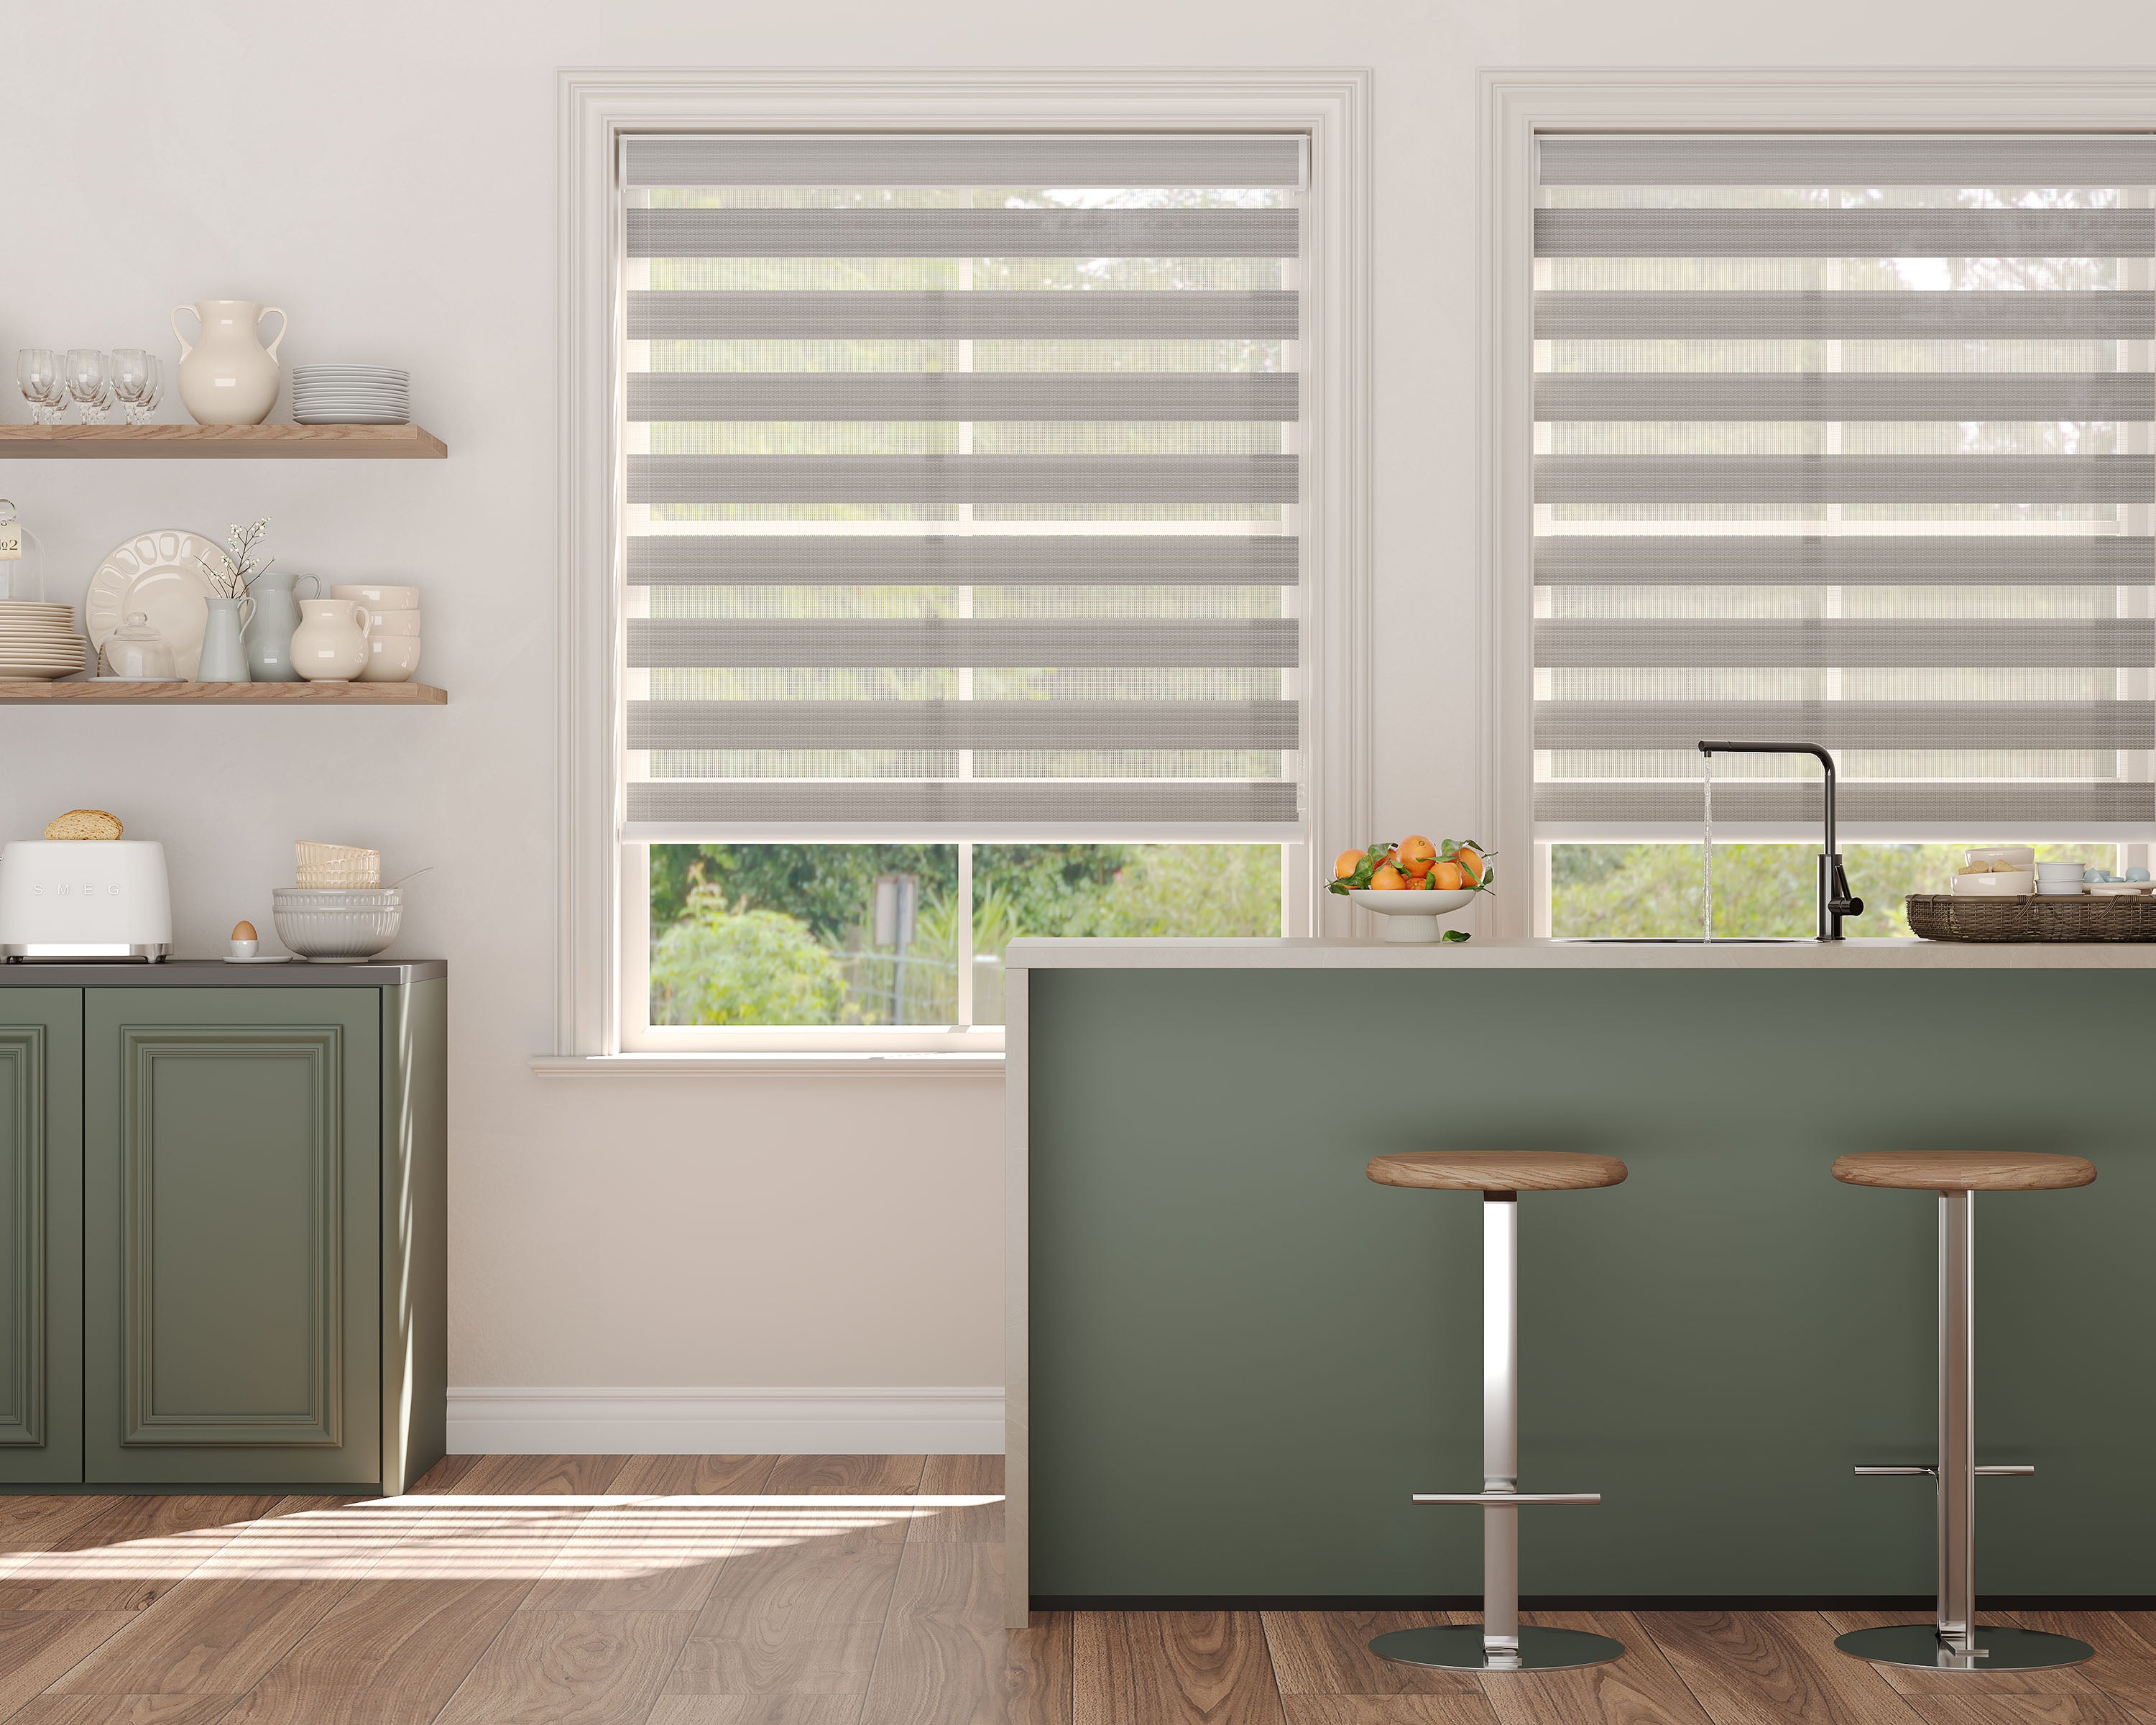
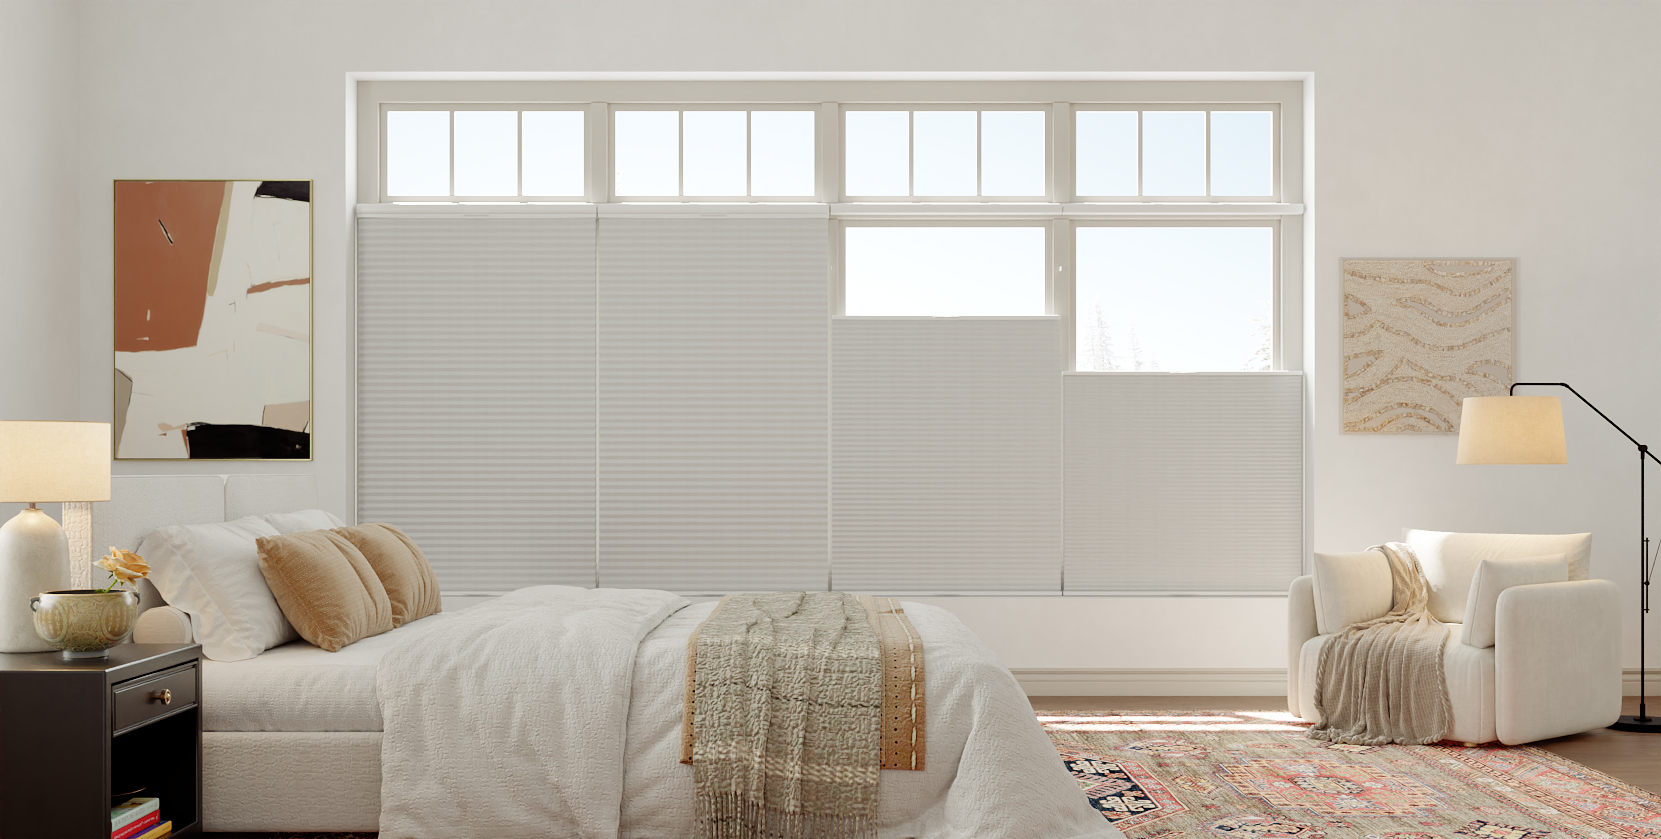
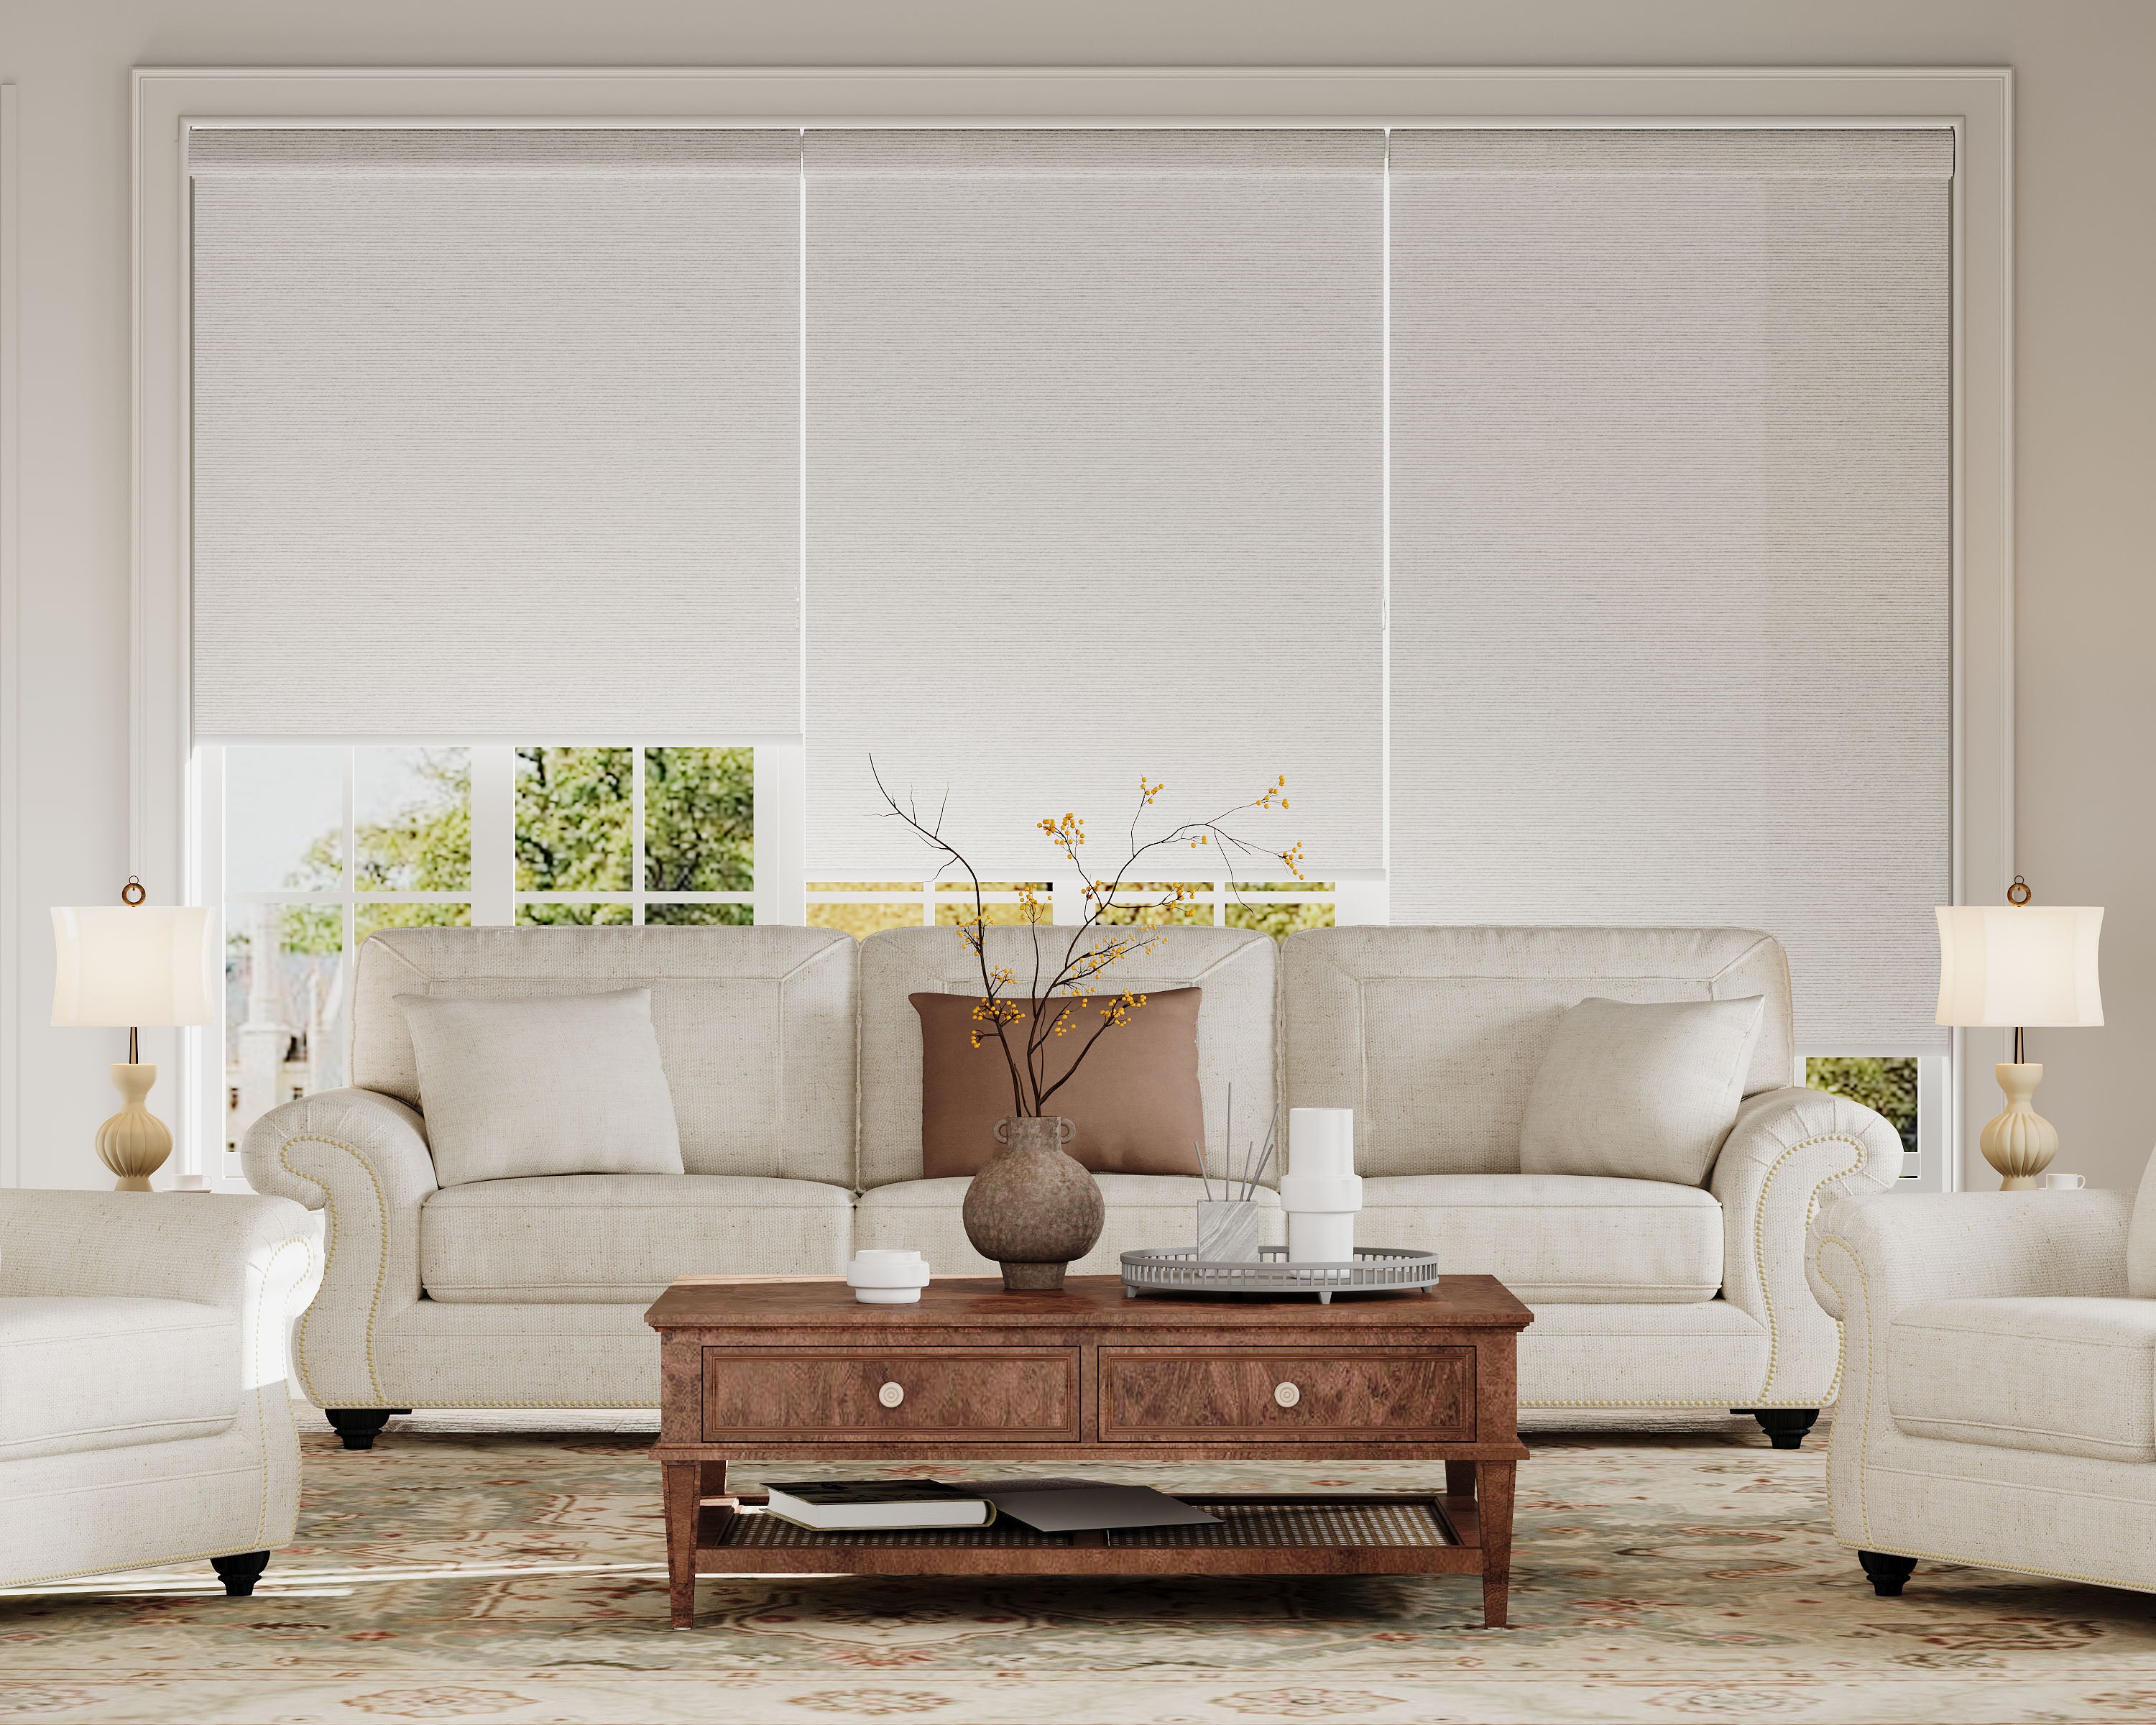
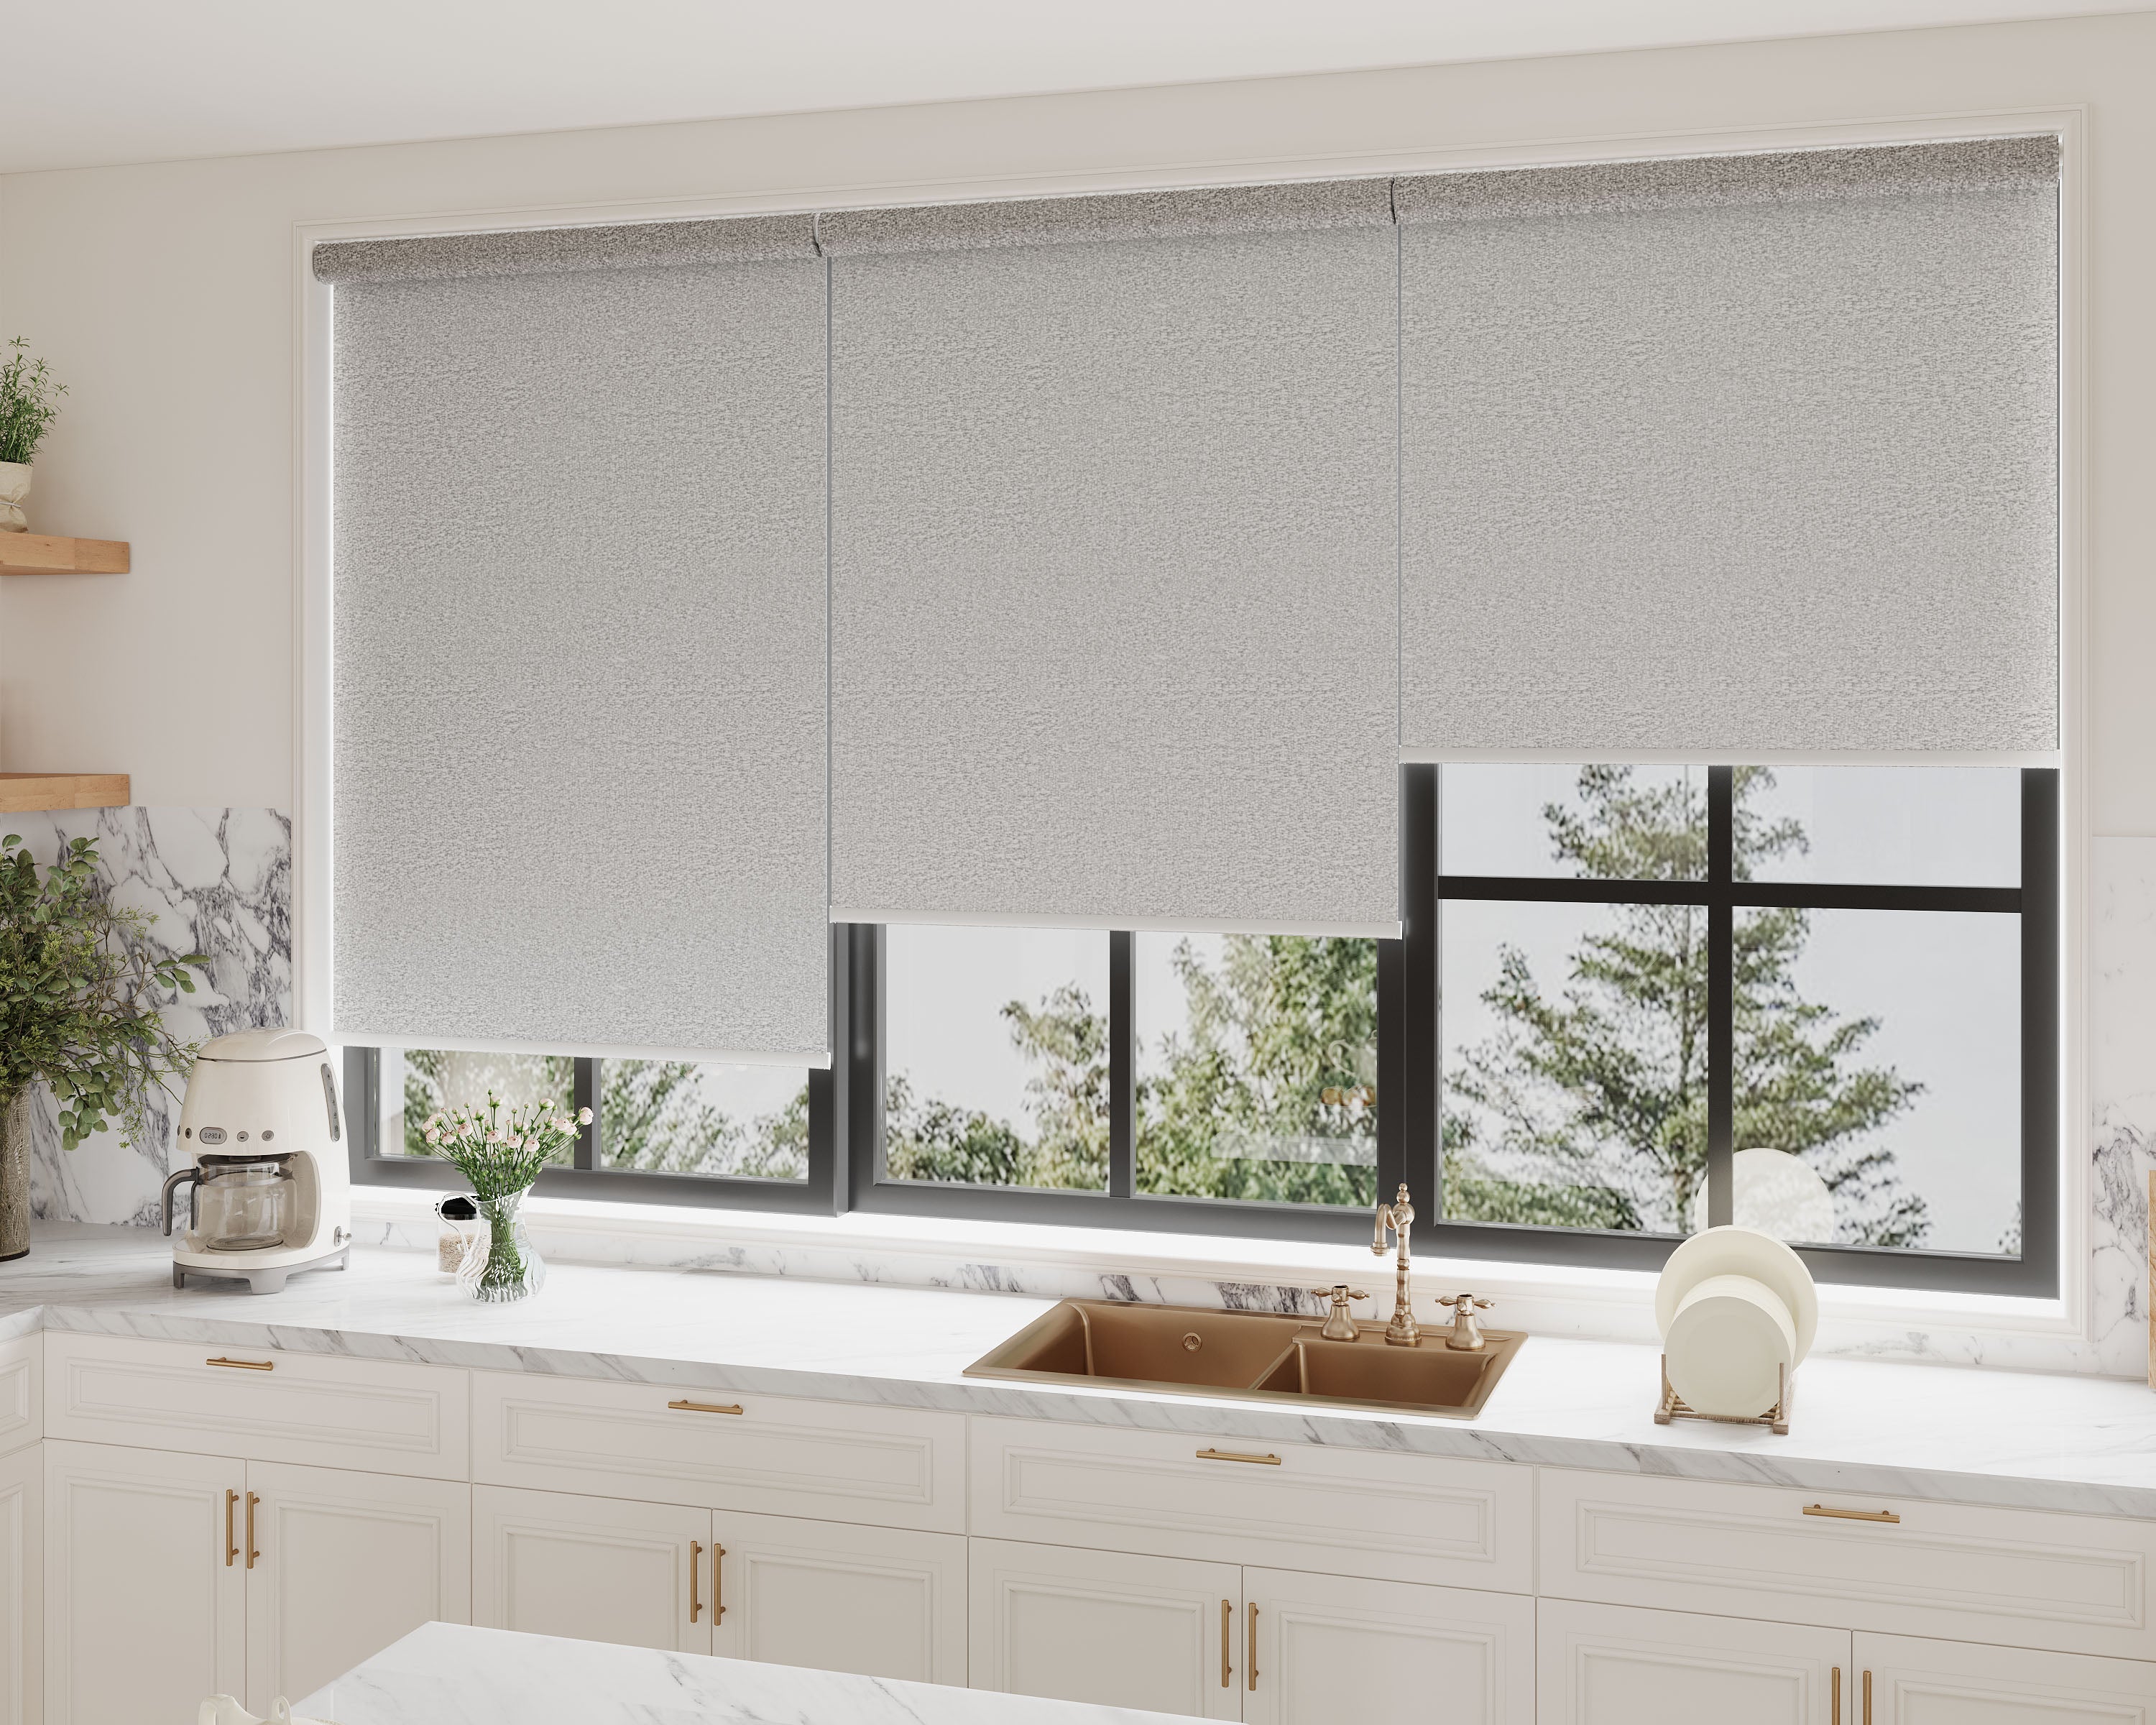
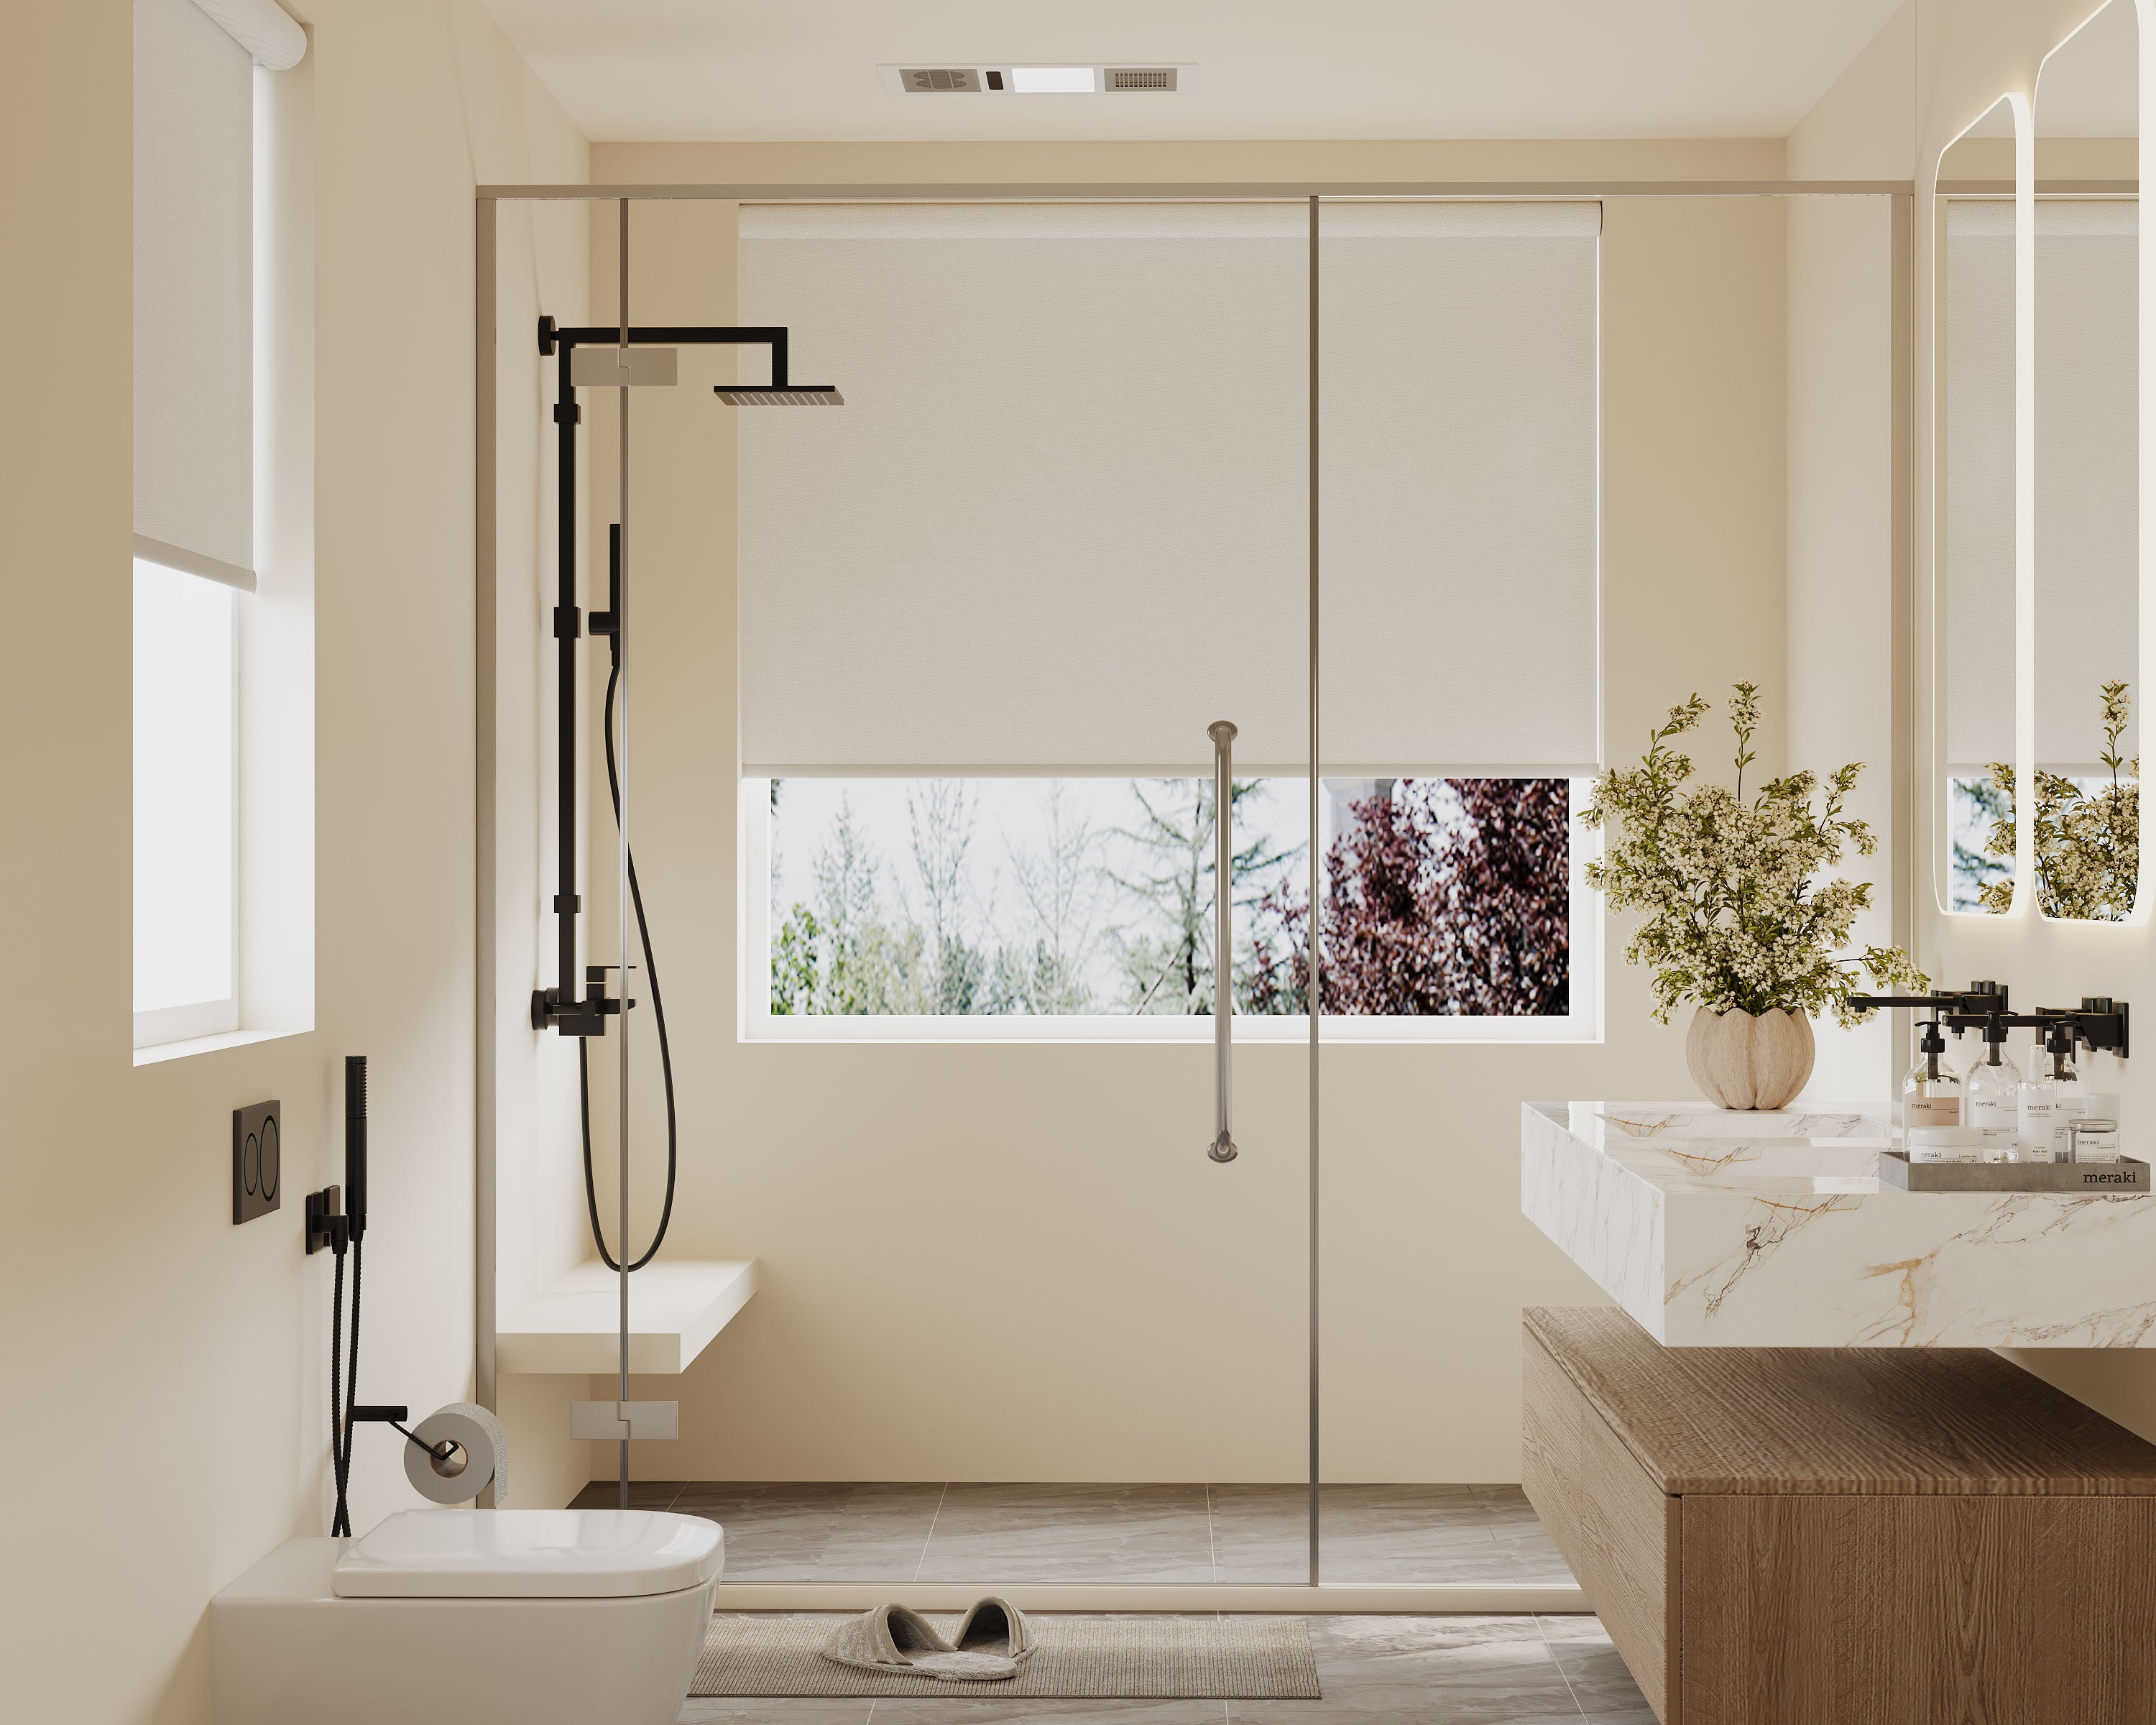
Explore our top collections, including Roller Shades, Zebra Shades, and Blackout Shades.
Renovating a whole house? It’s exciting, sure, but wow—budgeting every detail can get overwhelming, especially when it comes to finishing touches like window treatments. Flooring, paint, lighting—they grab all the attention. Then, windows? Sometimes they’re an afterthought, left bare or given a quick fix. But honestly, setting aside the right amount for good window treatments from day one can make the place more comfortable, save on energy, and just pull everything together.
Let’s break down how to budget for window coverings in a way that’s realistic and doesn’t sacrifice style. We’ll look at options, typical costs, when to go DIY, and which upgrades are actually worth it.
Key Takeaways
- Figure out what you need for each space and set a budget that fits.
- Decide if you’re up for DIY or want to hire pros.
- Focus on upgrades that make your home more comfortable and efficient.
Setting a Realistic Window Treatment Budget
Choosing the right window treatments isn’t just about picking what looks good. You’ve got to consider your budget, where to spend a little more, and what’s actually necessary for each room.
Evaluating Your Home’s Needs and Priorities
Every room’s different. Bedrooms usually need blackout shades for privacy and sleep, while living rooms might do better with something that lets in light but blocks heat. Kitchens and baths? Go for moisture-resistant stuff like faux wood blinds or vinyl shutters.
It helps to list out each room—window size, how much sun it gets, privacy needs, and the vibe you’re after. Even a quick chart like this can make things clearer:
| Room | Type Needed | Size | Priority |
|---|---|---|---|
| Bedroom | Blackout Shade | Medium | High |
| Living Room | Sheer Curtains | Large | Medium |
| Kitchen | Faux Wood Blinds | Small | Medium |
| Bathroom | Vinyl Shutters | Small | High |
Getting specific early keeps you from overspending on the wrong thing—or forgetting a window altogether. It’s like making a grocery list so you don’t end up with five jars of mustard and no bread.
Determining A Budget Percentage for Window Treatments
With all the moving pieces in a renovation, it’s easy to lose track. A good rule of thumb: set aside about 3% to 7% of your total renovation budget for window treatments. That number goes up if you’ve got huge or oddly shaped windows, or if you want high-end materials.
So, for a $75,000 renovation, you’re looking at $2,250 to $5,250 for window coverings. That’s enough for some off-the-shelf stuff in low-key rooms and a few splurges in main spaces. Focus on high-traffic or visible areas for nicer treatments, and keep it simple elsewhere.
Here’s a quick table for reference:
| Total Reno Budget | 3% Window Budget | 7% Window Budget |
|---|---|---|
| $50,000 | $1,500 | $3,500 |
| $75,000 | $2,250 | $5,250 |
| $100,000 | $3,000 | $7,000 |
Don’t forget to factor in installation and hardware—those extras add up fast.
Balancing Quality and Cost
Window treatments can get expensive, fast. It’s worth spending a bit more on the stuff you’ll use every day—like blackout shades in bedrooms or sturdy blinds in humid rooms. They’ll last longer and save you headaches later.
For rooms you barely use, ready-made curtains or budget blinds usually do the trick. Local stores, online shops, even warehouse clubs can have solid options. Custom drapes or special shutters? They’re worth it if they’re in a spot everyone sees, or if they really finish the room.
Mixing and matching works. Go big in the rooms that matter and keep things practical elsewhere. That way, you still get style and function without blowing your budget across the board.
Window Treatment Options and Their Costs
Window treatments really run the gamut—different styles, prices, and materials. What you pick can totally affect how your renovation looks and what you end up spending.
Comparing Blinds, Shades, Drapes, and Shutters
Blinds, shades, drapes, shutters—they’re all different animals. Blinds are usually the cheapest. Basic vinyl or aluminum? $10–$50 per window. Step up to wood or faux wood, and you’re at $80–$200.
Shades (roller, Roman, cellular) start at $25–$100 for standard stuff, but premium fabrics or big sizes can push $300 and up. Drapes? You can find panels for $30 at big-box stores, or pay $500+ per window for designer fabrics and fancy hardware.
Shutters are the priciest—especially plantation styles. Expect $200–$350 per window, and real wood can go way higher. Here’s a rough breakdown:
| Type | Low End | High End |
|---|---|---|
| Blinds | $10 | $200 |
| Shades | $25 | $300+ |
| Drapes | $30 | $500+ |
| Shutters | $200 | $700+ |
Pricing Custom vs. Ready-Made Window Treatments
Ready-made treatments are faster and cheaper, but don’t always fit perfectly or match your vision. Standard blinds or drapes? Usually $20–$80.
Custom lets you pick everything—fabric, fit, hardware, details. But it’s pricey, often two or three times more than off-the-shelf. Custom drapes can easily be $250–$1,000 per window.
Sometimes a mix is best: custom for main rooms, ready-made elsewhere. That keeps costs and expectations in check.
Material Choices and Cost Impact
Material matters—a lot. It affects price, durability, and even energy efficiency.
- Blinds: Vinyl is cheapest. Faux wood costs a bit more and handles moisture. Real wood? Most expensive, but classic.
- Shades: Polyester and paper are least expensive. Natural fibers and designer blends cost more and give unique texture.
- Drapes: Cotton and polyester are budget-friendly. Linen, velvet, silk—those are pricier and need special care.
- Shutters: Faux wood’s affordable and easy to clean. Real hardwood? More expensive, but looks great.
Sometimes, spending more for premium materials is worth it, but there are plenty of practical, stylish alternatives that don’t break the bank. It’s all about what fits your budget and feels right for your space.
Maximizing Value for Your Investment
When you’re renovating the whole house, every dollar counts. Window treatments might seem small, but they can make a huge difference in how a room looks and feels. It’s worth putting your money where it’ll make the most impact, both now and later.
Prioritizing High-Impact Rooms
Some rooms just matter more—living rooms, kitchens, primary bedrooms. Upgrading window treatments here changes the look right away and gives you better light, privacy, and insulation where it counts.
It’s smart to list out which rooms need the best stuff:
| Room | High Impact? | Needs |
|---|---|---|
| Living Room | Yes | Stylish, light control, privacy |
| Kitchen | Yes | Easy to clean, durable |
| Guest Bathroom | No | Basic privacy |
| Primary Bedroom | Yes | Blackout, insulation, style |
Don’t waste your budget on rooms you barely use if it means skimping where you spend the most time. You can always upgrade the rest later.
Choosing Timeless Styles
Trendy is fun, but classic styles last. Picking neutral colors and simple designs means your treatments won’t look dated in a year or two.
Go for materials and finishes that don’t fade fast and are easy to clean. Linen, cotton blends, wood or faux wood blinds—they’re safe bets. Sure, bold looks are tempting, but understated styles give you more flexibility down the road.
A simple checklist helps:
- Neutral colors (white, beige, gray)
- Simple lines, not too fussy
- Durable, easy-care materials
Usually, less is more. You’ll thank yourself later.
Long-Term Savings vs. Upfront Costs
It’s tempting to go cheap, but bargain window treatments often don’t last and need replacing sooner. Spending a bit more up front on good blinds, shades, or drapes will save you time and money long-term. They’re more durable and usually do a better job with insulation and light-blocking.
Some options even help with energy bills—think cellular shades, lined curtains, or double-glazed treatments. If comfort and savings matter, these are worth a look.
Here’s a quick comparison:
| Option | Initial Cost | Lifespan | Savings Potential |
|---|---|---|---|
| Basic Vinyl Blinds | Low | 2-5 years | Minimal |
| Cellular Shades | Medium-High | 7-10 years | Energy bills |
| Custom Draperies | High | 10+ years | Insulation, style |
Spending a little more now can mean fewer headaches and more comfort down the road.
Project Planning and Timeline for Installations
Good timing keeps a renovation on track, and window treatments need to fit into the plan. Let’s talk about how to schedule these installations so nothing gets held up or missed.
Coordinating with Other Renovation Elements
Window treatments have to wait their turn. Painting, trim, or new windows should come first. Install treatments too early and you risk stains, damage, or having to take them down for other work.
Here’s the usual order:
| Step | Task |
|---|---|
| 1 | Finish wall/trim painting |
| 2 | Complete window installation |
| 3 | Install flooring, baseboards |
| 4 | Add window treatments |
Talk to your contractor about when to schedule the window treatments. Sharing your timeline helps everyone stay on the same page and avoids unnecessary rework.
Scheduling Orders and Deliveries
Custom window treatments aren’t sitting in a warehouse ready to go. Lead times can be longer than you think—sometimes 4 to 8 weeks from order to delivery. Place your order as soon as you have the final window measurements, ideally after new frames or trim are in.
Here’s a checklist:
- Double-check window measurements.
- Place orders early to avoid delays.
- Schedule delivery for after major work is done.
Ask vendors about current lead times—they can change depending on the season. Ordering ahead keeps you from being stuck with bare windows when everything else is finished.
DIY and Professional Installation Considerations
When it comes to installing window treatments, how you do it matters just as much as what you pick. You’ve got to weigh cost, time, and how much you care about the end result. Sometimes it’s worth rolling up your sleeves. Other times? Maybe just call in the pros.
Weighing DIY Versus Hiring Experts
Some window treatments—like tension rods or basic blinds—are pretty easy to install if you’ve got a screwdriver and a decent level. Tackling these ourselves means we only pay for the materials and can fit the project into our own schedule, which definitely helps the budget. If you’re handy and have reliable tools, these simple jobs can feel pretty rewarding.
But specialty treatments? Motorized shades, layered drapery, plantation shutters, or anything custom—those are a different beast. They often need precise measuring, anchors, or even electrical work. Mess up here, and it’s not just annoying; it can get pricey fast. Crooked blinds or loose brackets lead to sagging and all sorts of headaches.
Here’s a quick comparison:
| Type | DIY-Friendly | Professional Recommended |
|---|---|---|
| Cordless blinds | Yes | Optional |
| Motorized shades | No | Yes |
| Layered drapery | Possibly (complex) | Often |
| Plantation shutters | No | Yes |
If you want a really polished look or have a tricky window, pros usually save you time and frustration.
Labor Costs and Quality Guarantees
Labor for window treatment installation usually runs $50 to $100 per window, depending on how tricky the job is and where you live. If you’re outfitting a whole house or have a giant feature window, you might get a package deal or a volume discount—especially if you ask around.
A big perk of hiring pros is the service guarantees or warranties they include. Most offer at least a year’s coverage for things like misalignment or hardware pulling out of the wall. DIY doesn’t really come with a safety net, so if something goes wrong, it’s all on you.
Some quality guarantees worth checking for:
- Free re-adjustments in the first month or two
- Warranty on installation hardware
- Coverage for accidental damage during install
Sure, hiring experts costs more upfront, but you get peace of mind knowing it’s done right.
Smart Upgrades and Energy Efficiency
Smart window upgrades aren’t just about adding gadgets—they can really affect your comfort and utility bills. Picking the right treatments and features means you get both style and savings.
Energy-Saving Window Treatments
The window coverings we pick can seriously change our home’s heating and cooling. Cellular shades (aka honeycomb shades) trap air and insulate, so rooms stay cooler in summer and warmer in winter.
Thermal curtains and solar shades do a great job blocking heat and UV rays, which saves on A/C and helps keep furniture from fading. Blackout curtains help too, especially for bedrooms or windows that get blasted by the sun.
Here’s a quick look:
| Treatment Type | Energy Benefit | Style Note |
|---|---|---|
| Cellular Shades | Good for insulation | Modern, clean look |
| Thermal Curtains | Reduces heat loss | Traditional to modern |
| Solar Shades | Controls glare, UV protection | Sleek and minimal |
Mounting these close to the window frame boosts energy savings even more.
Automation and Smart Home Integration
Want to take it further? Automated or smart window treatments make it easy. With motorized shades or blinds, you can set schedules—let the sunshine in when you want warmth, block it out when things heat up.
If you’re into smart home tech (Alexa, Google Home, Apple HomeKit), you can control shades with your voice or phone. Some even adjust on their own based on sunlight or temperature, thanks to sensors.
Some main perks:
- Convenience: No need to get up just to close the blinds.
- Consistency: Never forget to close them again.
- Energy savings: Less human error, more efficiency.
Yes, smart treatments cost more upfront, but honestly, the comfort and savings make it pretty tempting.
Avoiding Common Pitfalls in Window Treatment Budgets
Window treatment costs can sneak up on you. Planning ahead is the only way to dodge surprise expenses and keep things on track.
Hidden Fees and Installation Surprises
It’s easy to just look at the sticker price, but the real bill can climb if you’re not careful. Some companies charge extra for measuring, delivery, or special hardware. “Free installation” sometimes hides trip charges or disposal fees that pop up once the job’s started.
Always ask for a fully itemized estimate in writing. Here’s a breakdown of common hidden costs:
| Potential Fee | Typical Cost (USD) | Notes |
|---|---|---|
| Measurement | $50-150 per visit | Sometimes waived with purchase |
| Delivery | $25-100 per order | Larger items may be more |
| Installation | $75-200 per window | Complex jobs increase price |
| Old Treatment Removal | $20-50 per window | Not always included |
| Custom Trim/Alterations | Varies | Especially for shaped or large windows |
Know what’s included before you sign anything, or you might get blindsided.
Mistakes that Can Bust Your Budget
During a renovation, it’s weirdly easy to miss small details that add up. Ordering the wrong size or skipping safety checks can mean starting over—and that’s never cheap.
Jumping into custom orders without double-checking measurements with a pro is risky. If even one window is off, you could be stuck reordering everything. And skipping fabric swatches? Colors and textures rarely look the same in person as they do online.
Watch out for these:
- Forgetting window orientation (south-facing windows might need UV protection)
- Not budgeting for blackout options in bedrooms
- Assuming your new treatments work with your old hardware
Double-check everything before placing orders. It’s a pain, but mistakes here are expensive to fix.
Frequently Asked Questions
Renovating every room means juggling costs between structure, style, and practical upgrades like window coverings. Let’s dig into how to make smart window treatment choices that look good, fit your budget, and actually last.
What are the essential considerations when budgeting for new window treatments during a home renovation?
Start with window sizes, number of windows, and your top design priorities. Think about privacy, light control, and energy savings—these guide your material choices. Add in installation fees and any custom needs early, so you’re not surprised later.
How can I determine a realistic allocation for quality window treatments in my overall home renovation budget?
Aiming for 5 to 10 percent of your decorating budget for window treatments is usually pretty reasonable. Research average prices per window and list your must-haves. Getting quotes from several vendors helps you balance cost and quality.
When planning a major home makeover, what's the best approach to ensure window treatments are properly funded?
Set aside a budget line for window treatments from the start—not as an afterthought. Prioritize rooms with lots of use or street-facing windows, and focus spending there. Save the premium stuff for a few showcase spaces.
Can you break down the 30% home renovation rule as it applies to window treatment expenses?
The 30 percent rule means not spending more than 30 percent of your home’s value on the whole renovation. Window treatments are a tiny slice—usually 2 to 7 percent of the total. Only go higher if you’re splurging on specialty materials or motorization.
What are some tips for homeowners to save on window treatments without compromising style during a renovation?
Mix ready-made blinds with custom drapes to save money and still get a high-end look. Shop off-season sales, use coupons, or check local fabric stores for remnant deals. Layering simple shades with statement curtains gives you big style without a big bill.
In what stage of a home renovation should window treatments be prioritized to stay within budget?
Honestly, it makes sense to think about window treatments once you’ve nailed down window sizes—so, right after drywall goes up but before you get to painting or flooring. At that point, you can measure everything properly and start hunting for deals without the pressure of a looming deadline. If you wait until the very end, you might find yourself stuck with limited options or paying extra just to get things finished on time.

