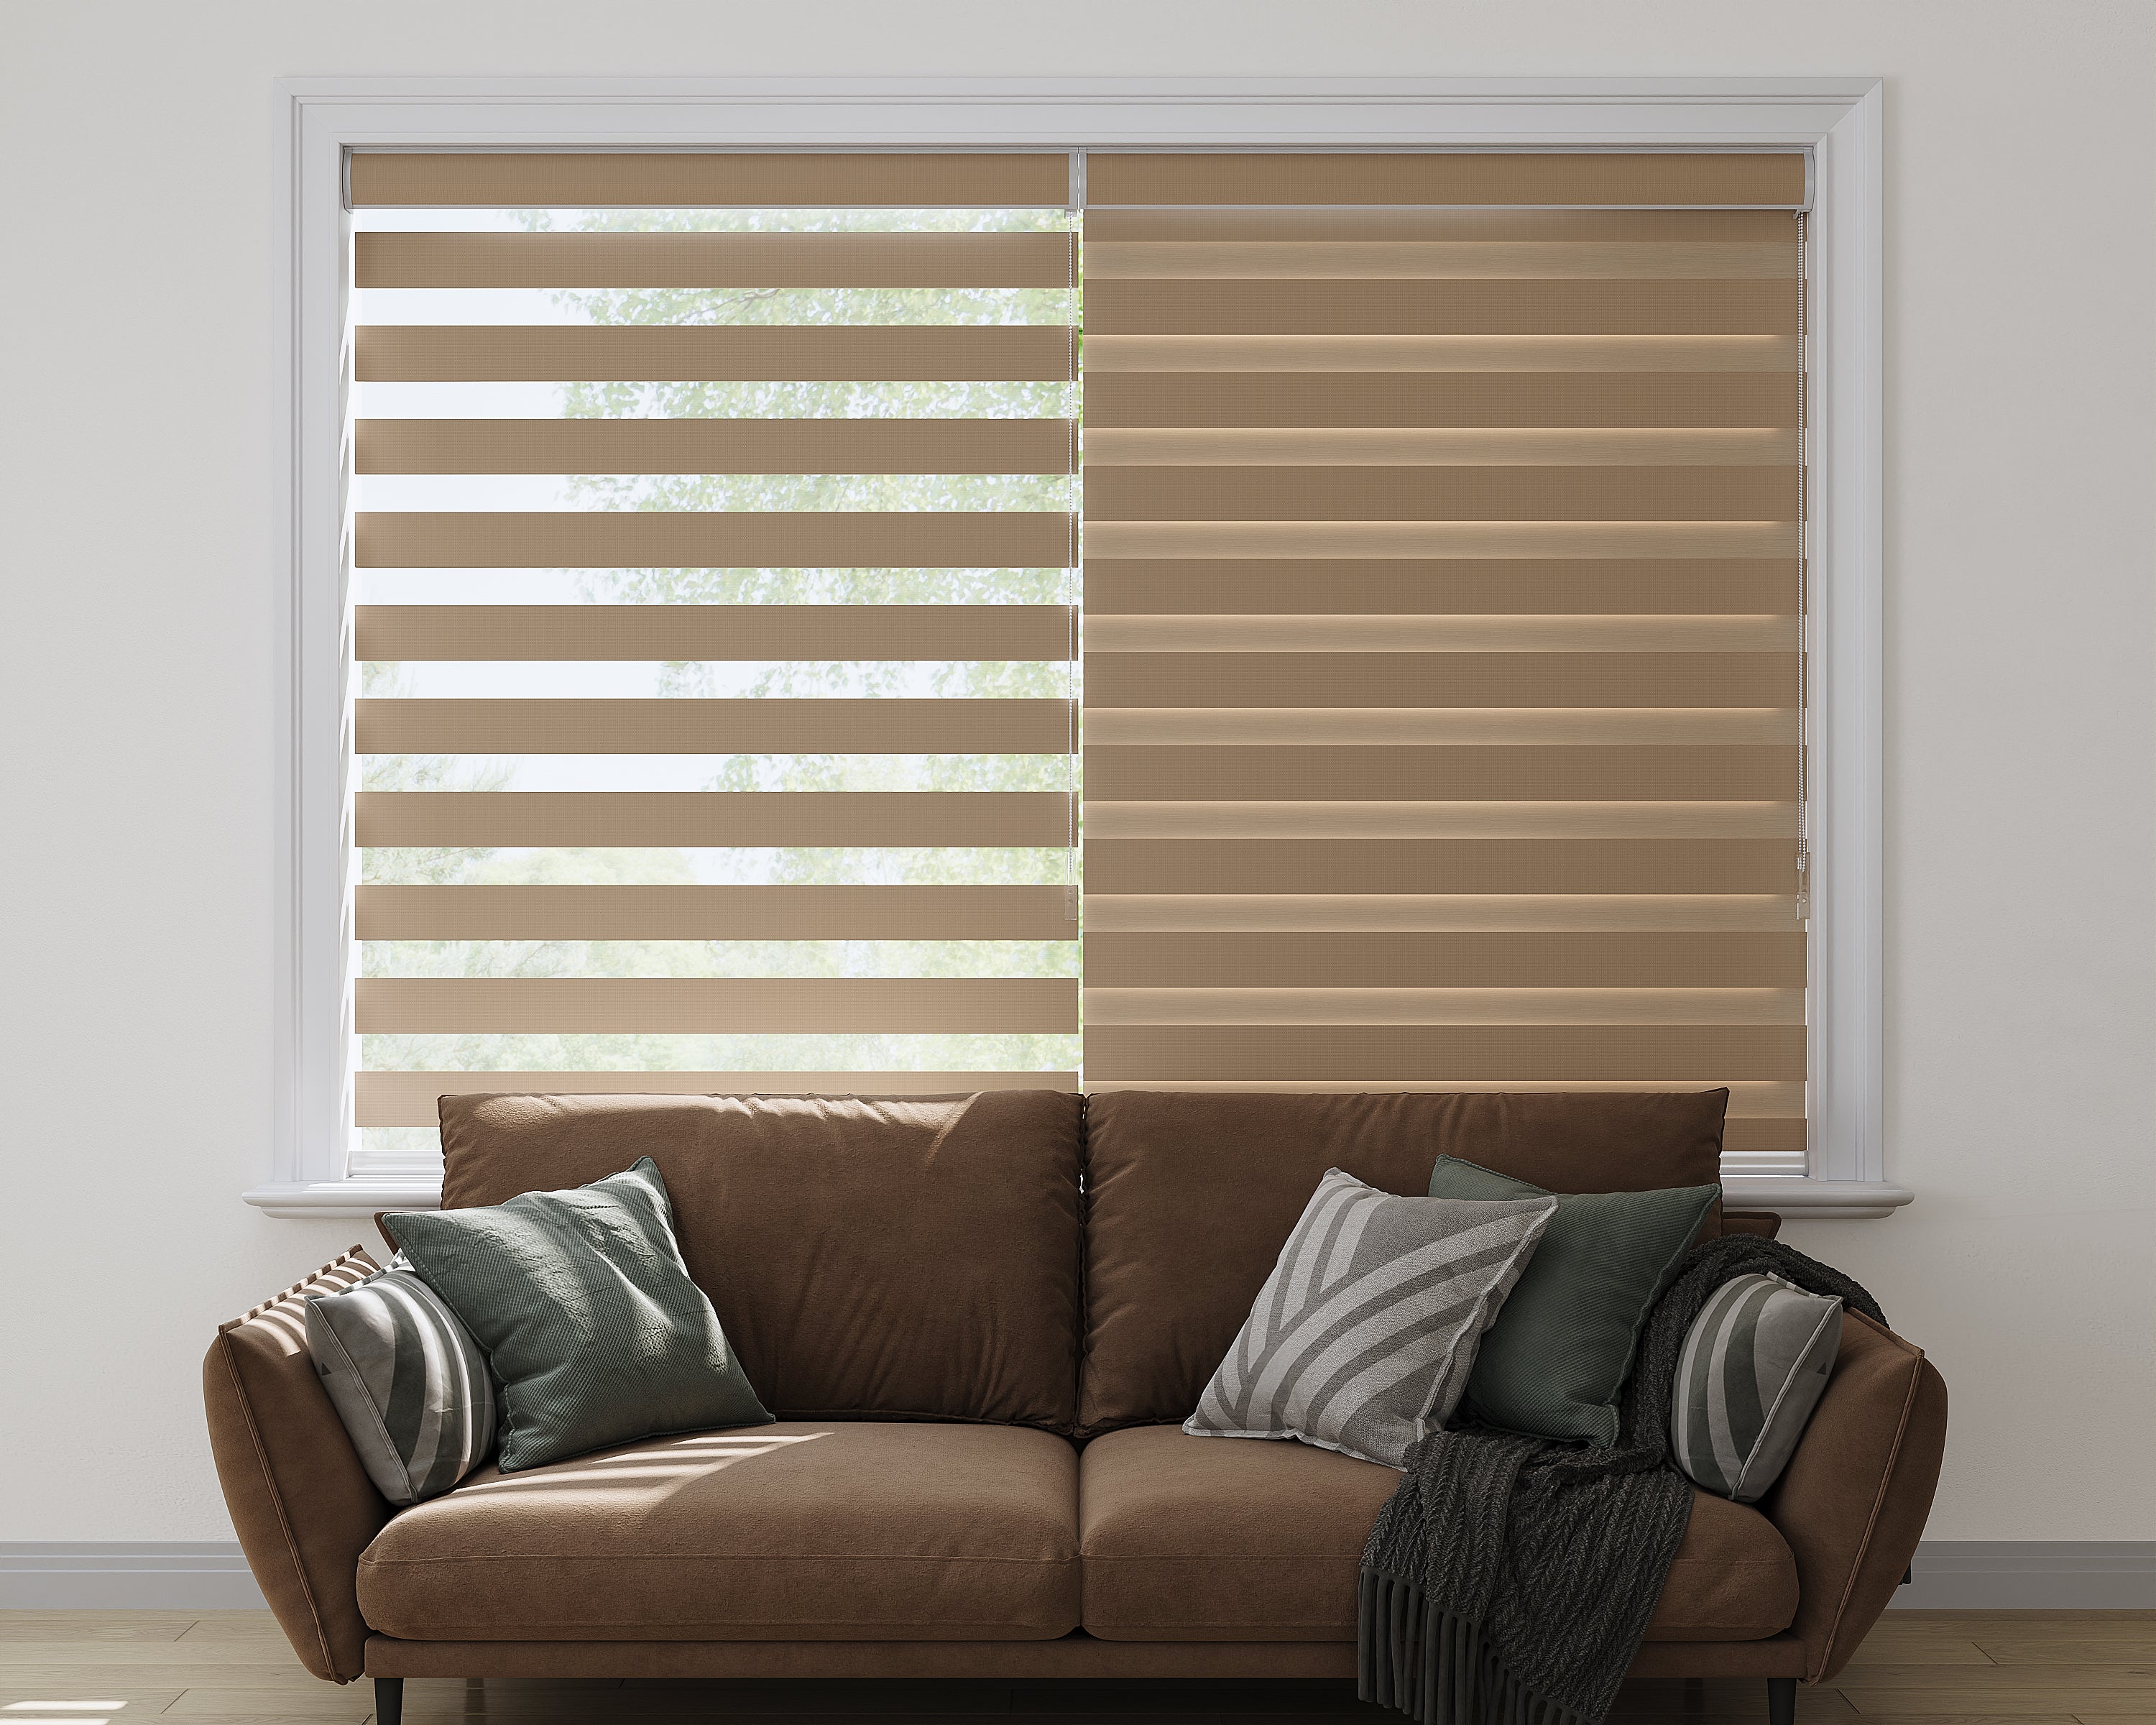
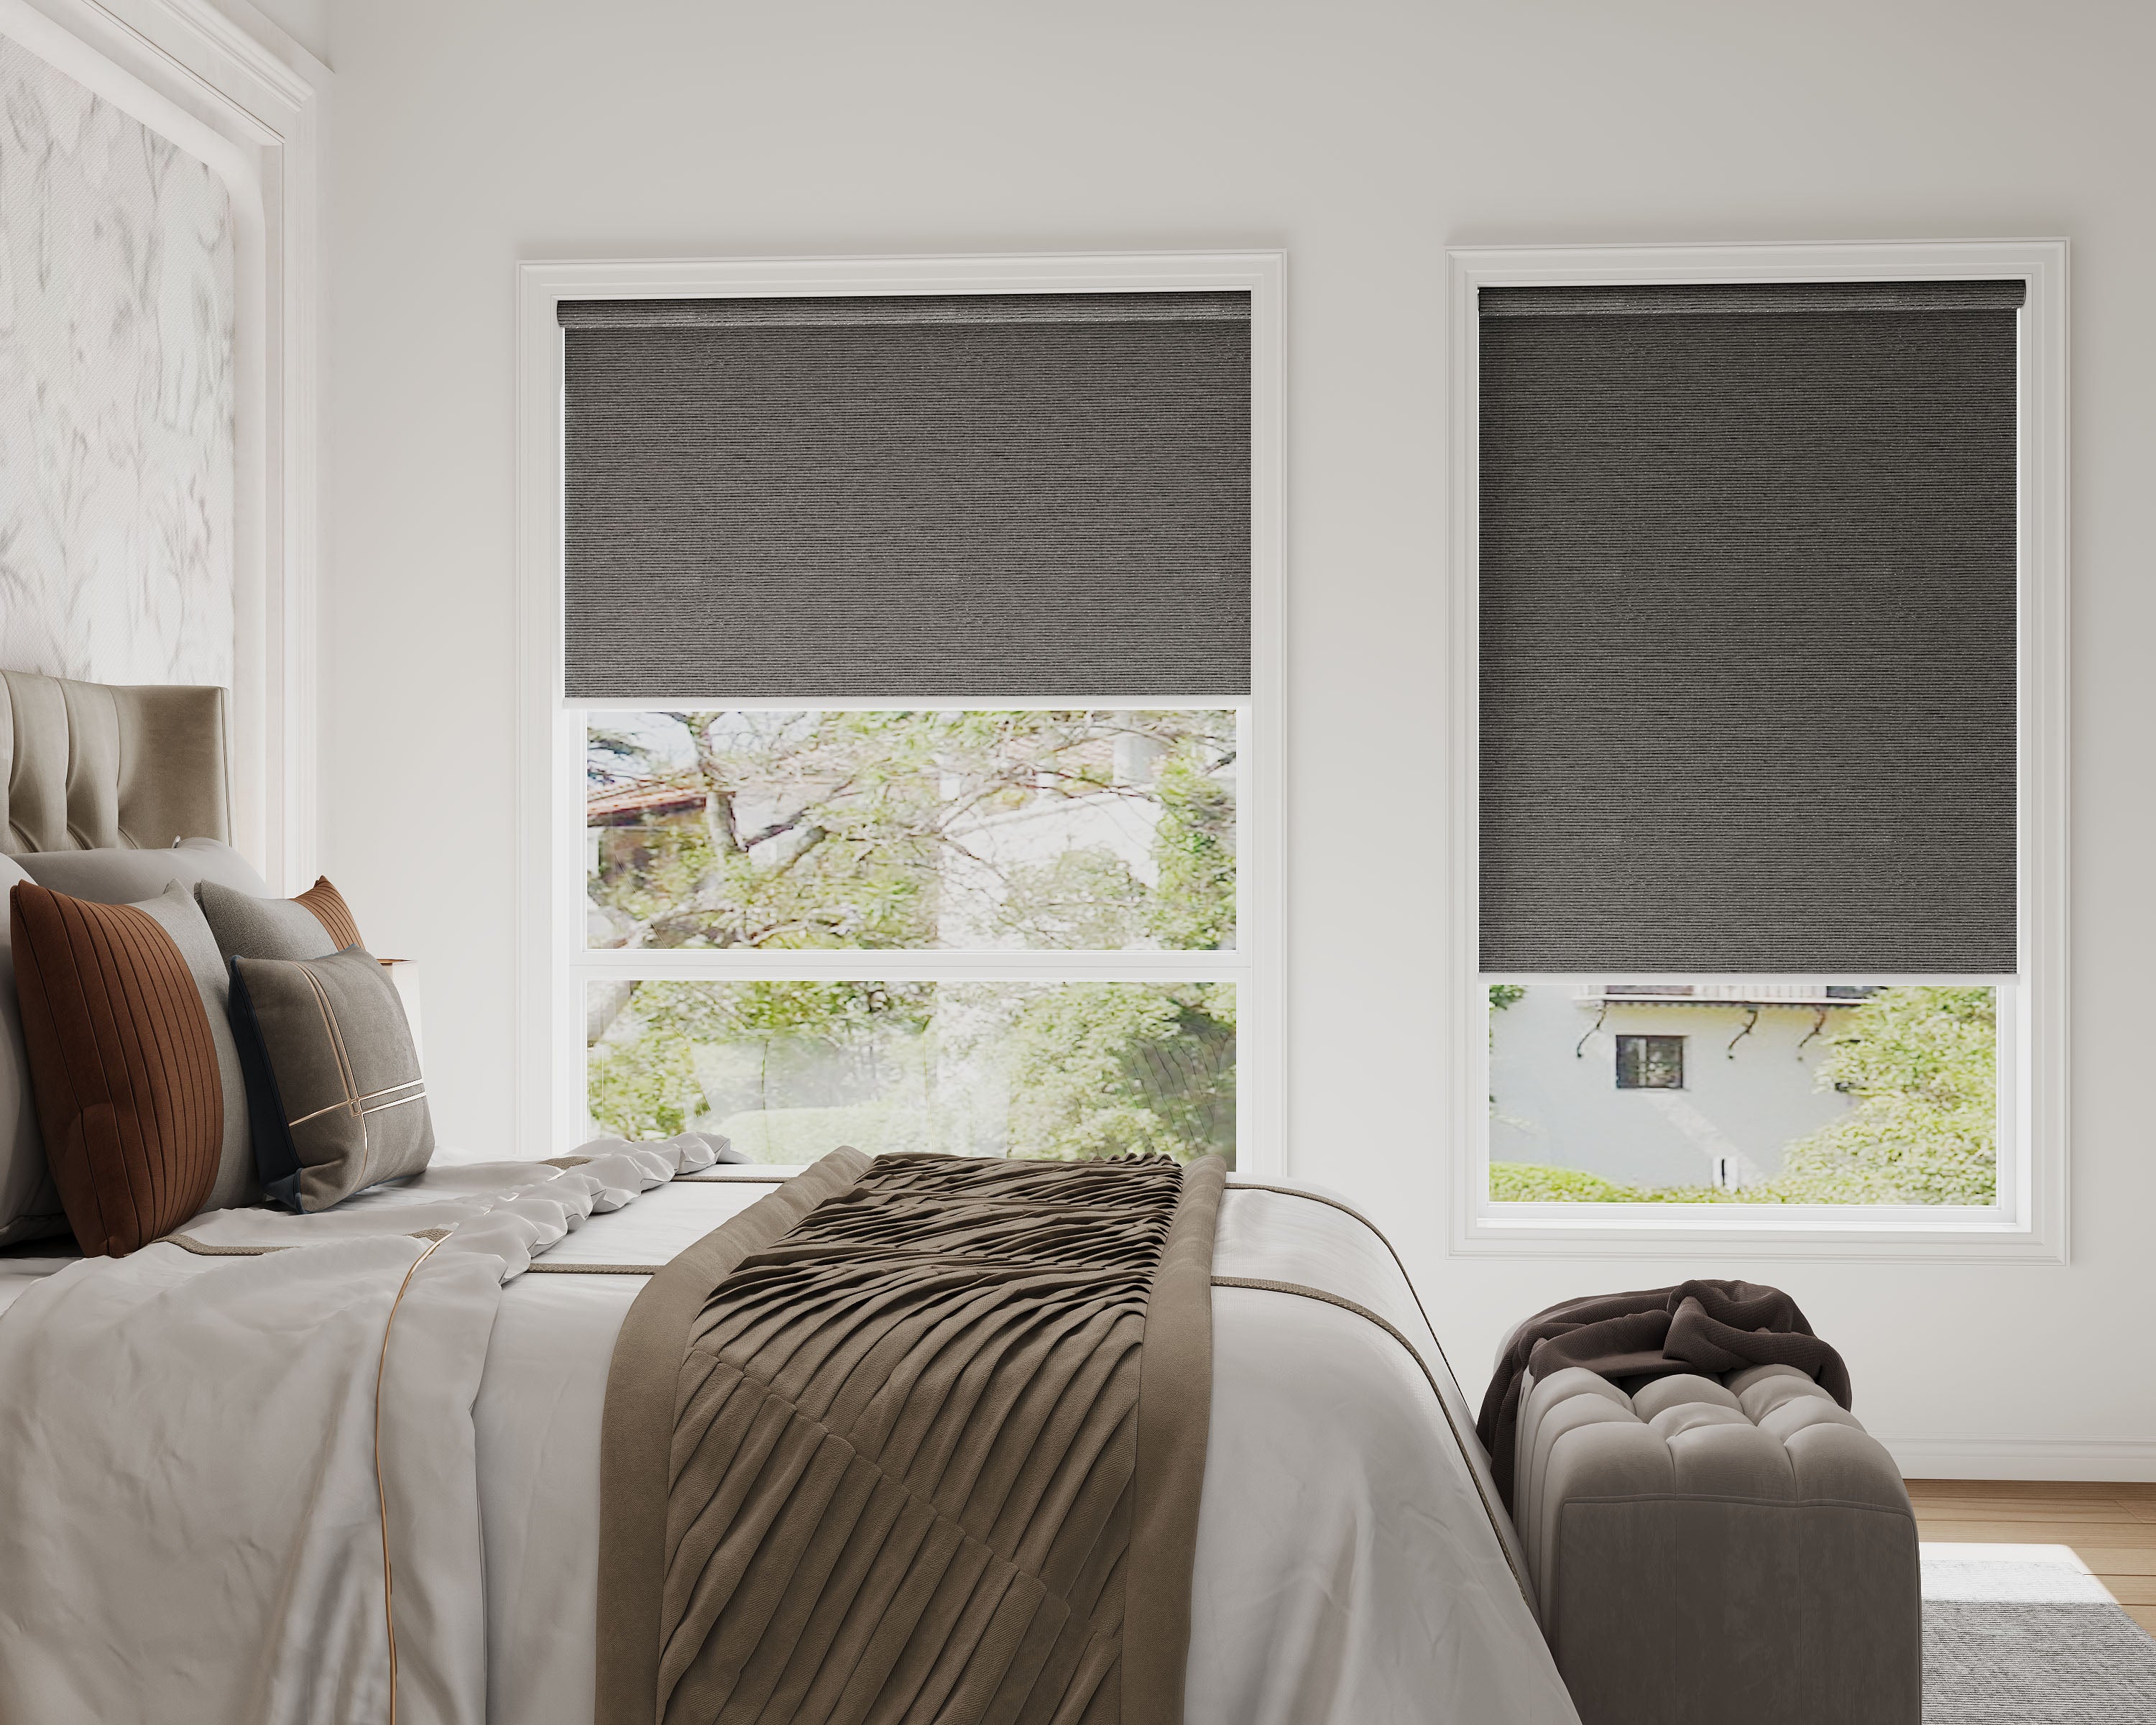
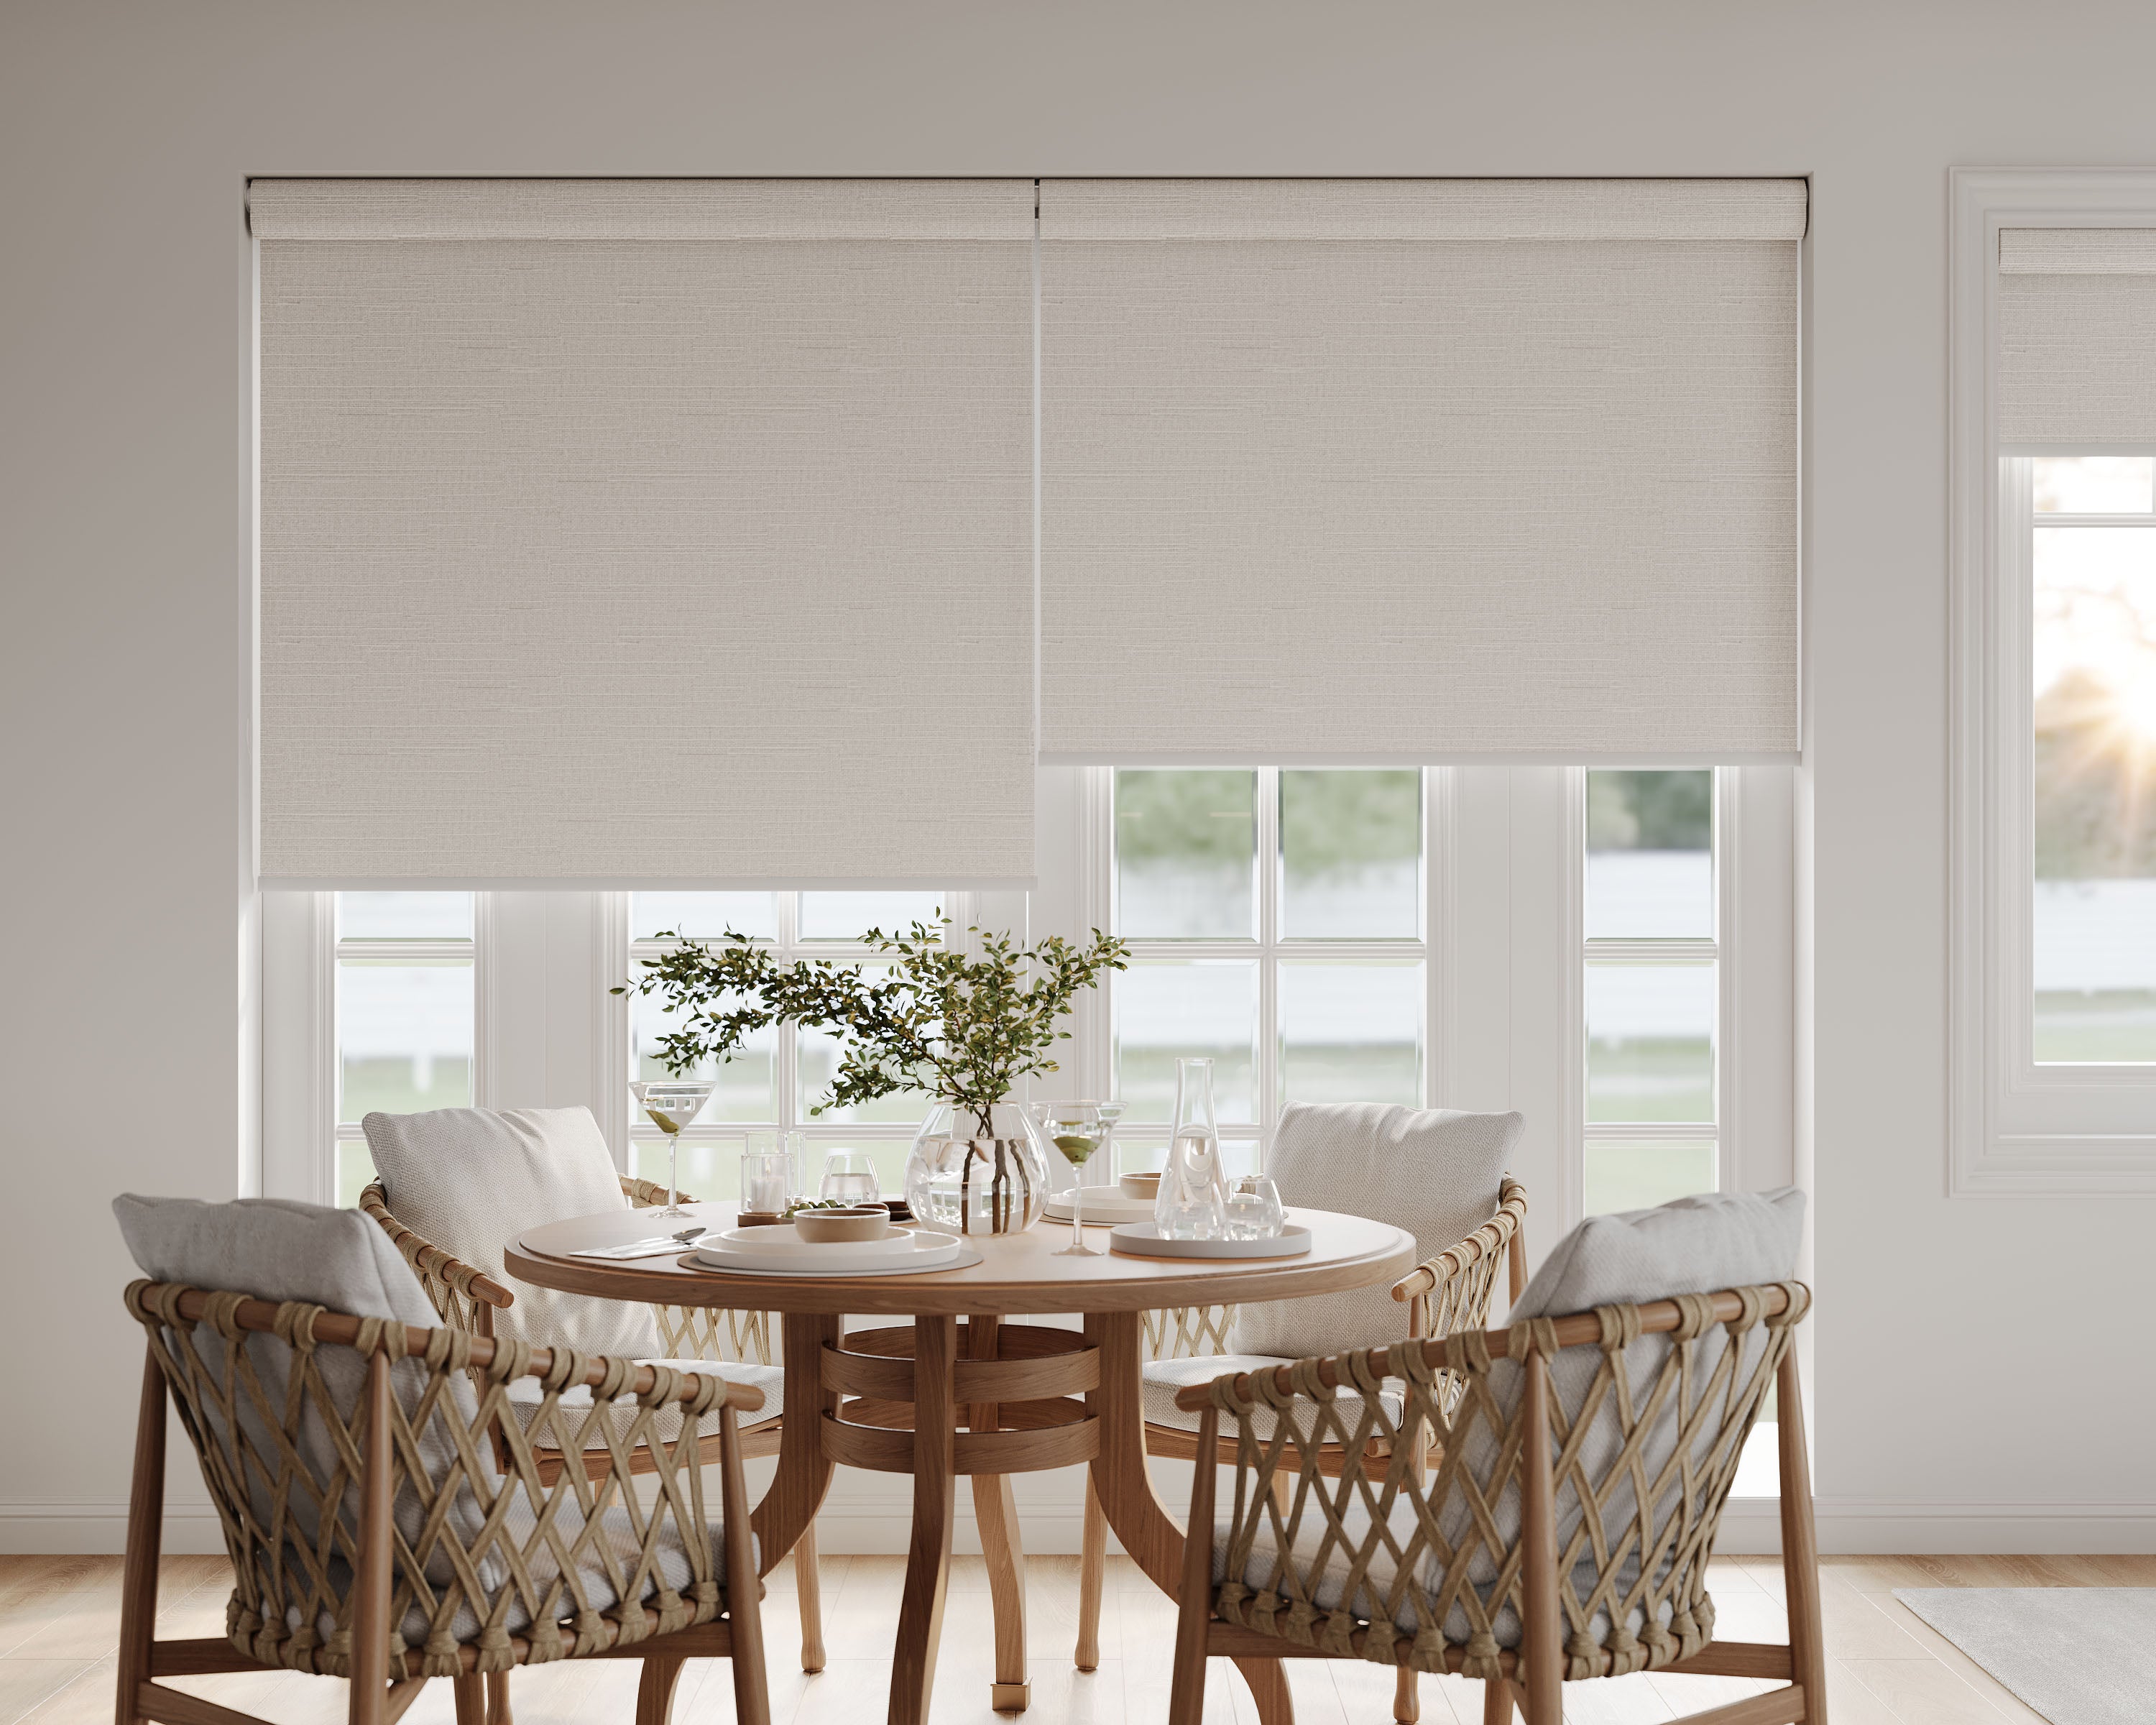
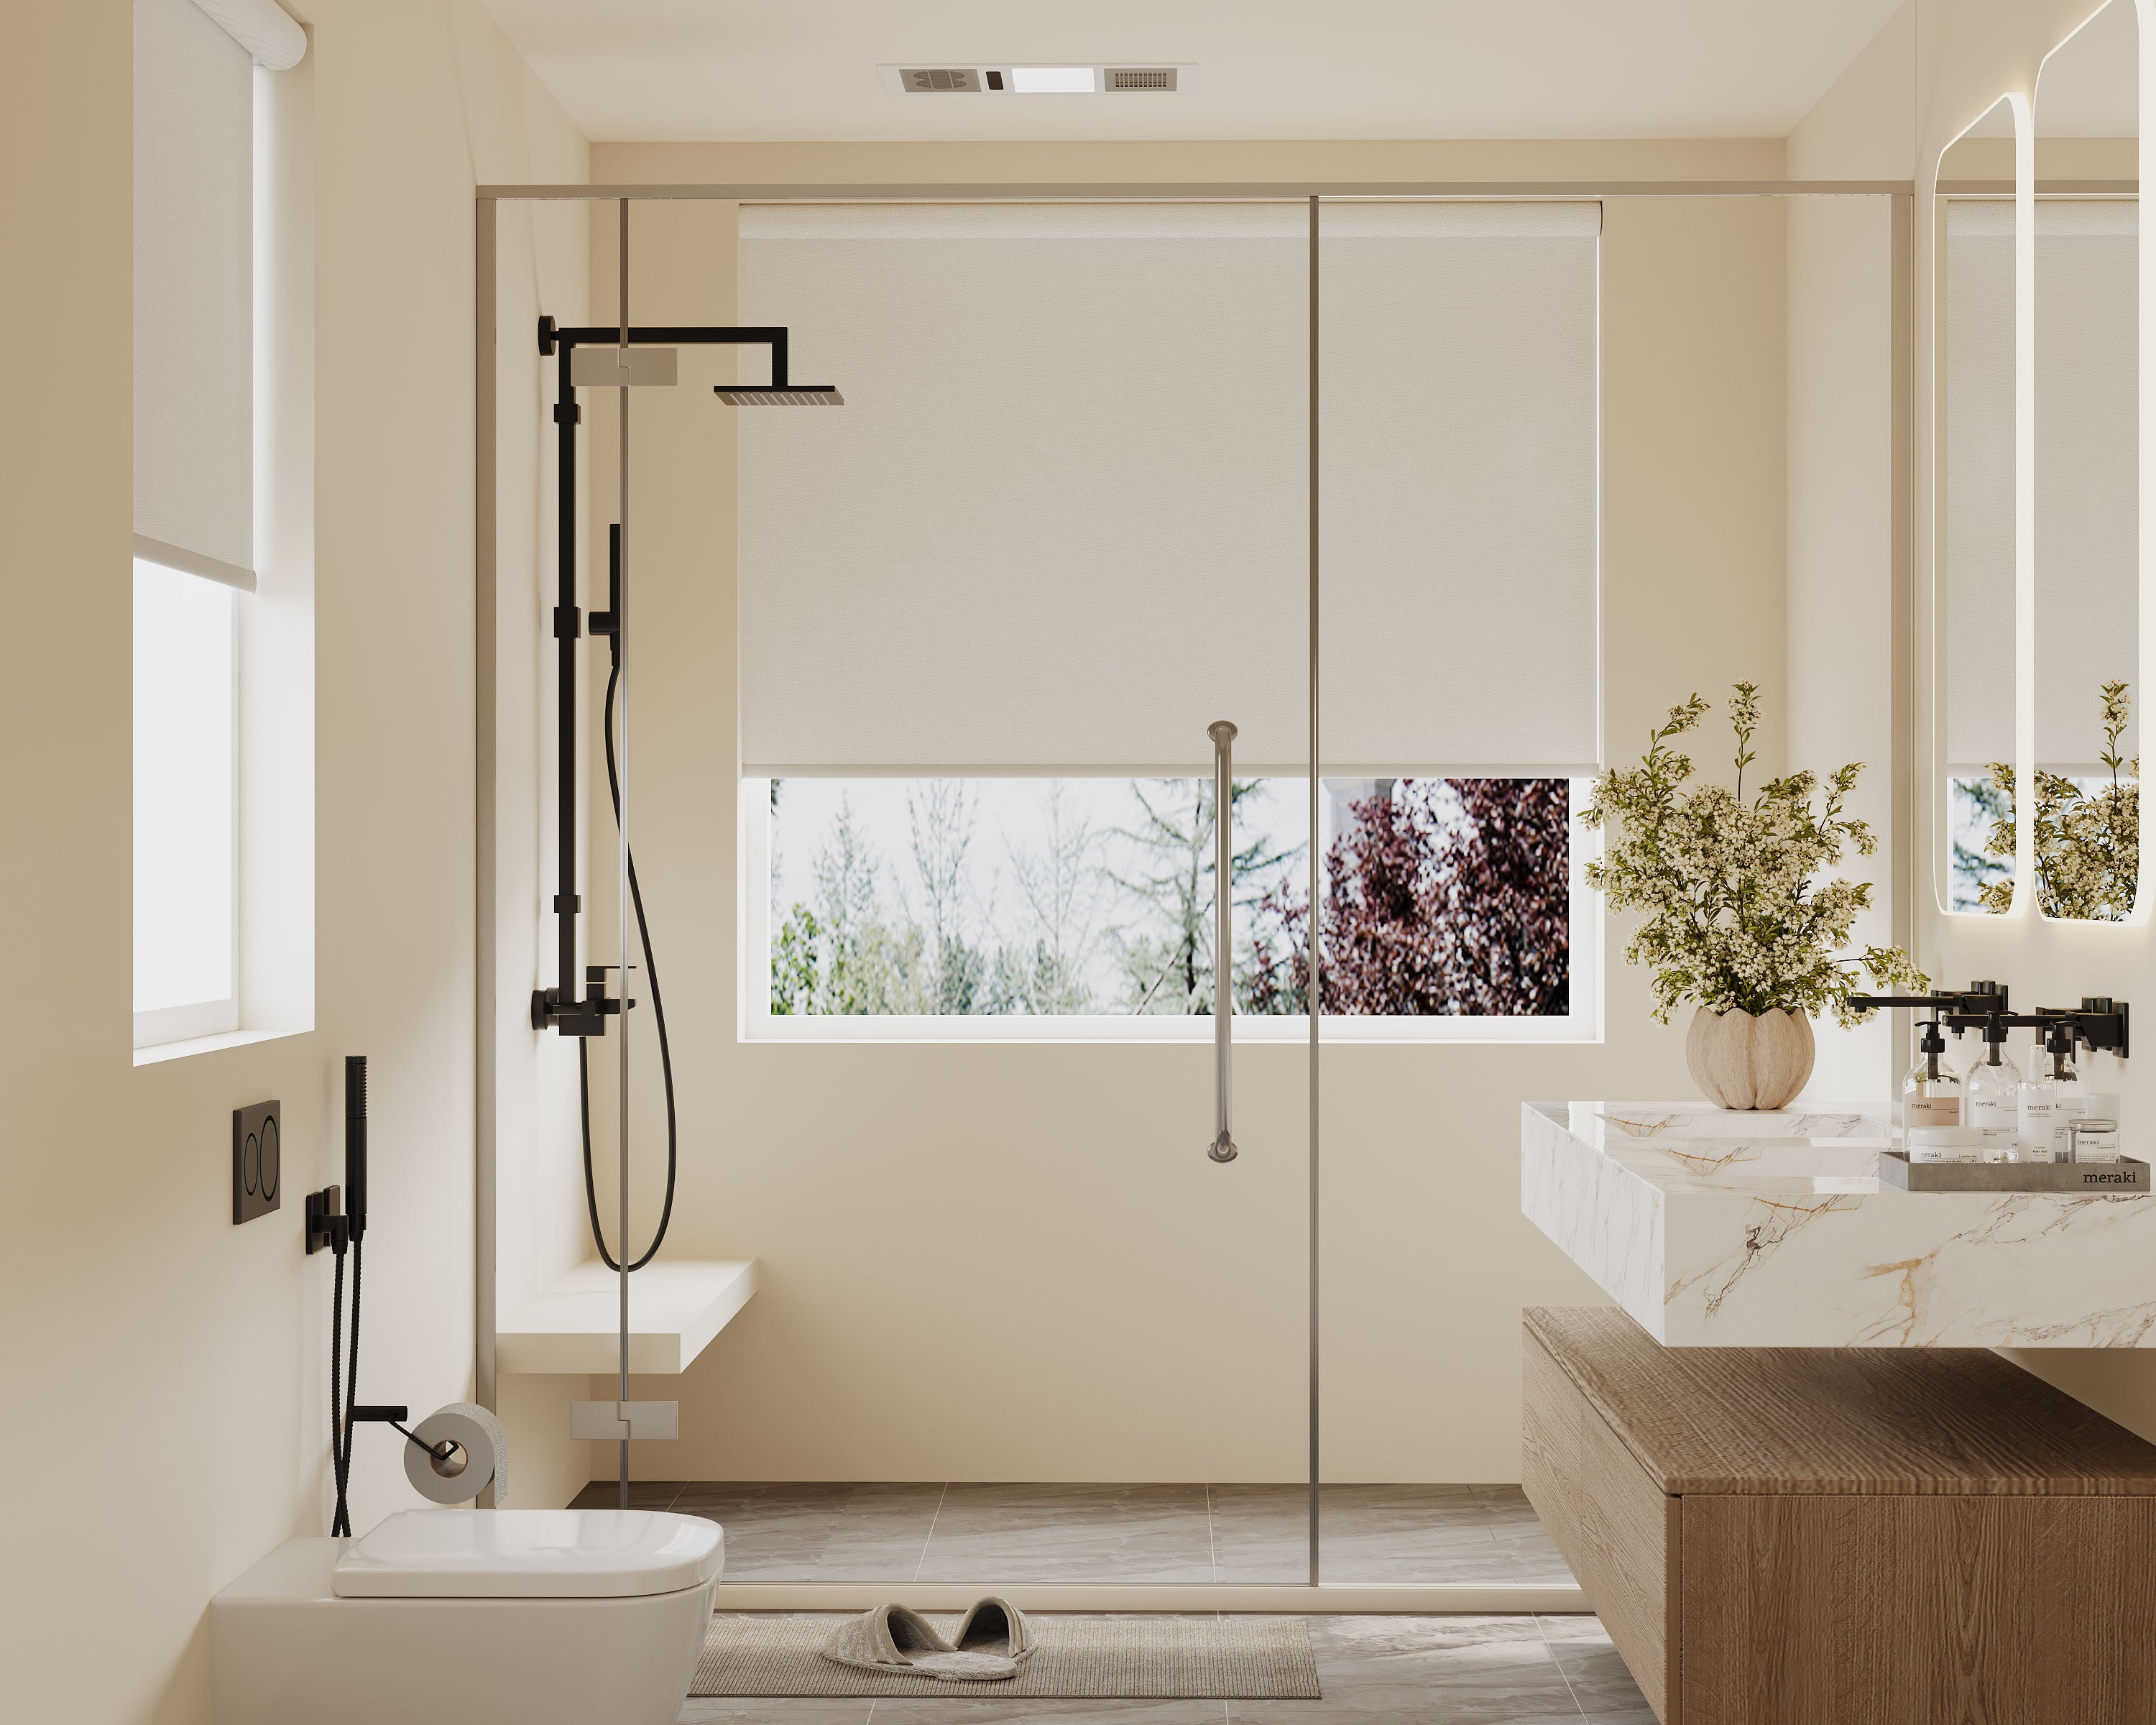
Explore our top collections, including Roller Shades, Zebra Shades, and Blackout Shades.
If you’ve ever noticed your shades tilting off to one side or refusing to line up, you’re definitely not alone. Most uneven shades happen because cords slip, mechanisms shift, or just from daily use. The upside? We can fix most of these in less than 10 minutes—no more crooked windows making the whole room look wonky.
Let’s look at why shades slide out of level, how to spot the right fix for your shade, and which easy tools you’ll want nearby. With a little patience (and maybe a playlist), you can tackle uneven shades without much hassle and keep them looking sharp for the long haul.
Key Takeaways
- Most uneven shades get fixed quickly once you know the cause.
- Different shade types need their own re-leveling steps.
- A little upkeep keeps shades hanging straight.
Why Do Shades Get Uneven?
Shades that sag, tilt, or won’t line up are way more common than you’d think. Usually, it’s parts wearing down, constant pulling, or tiny internal failures you don’t even see.
Common Causes of Uneven Shades
Uneven shades usually boil down to a few repeat offenders. Sometimes, the mounting brackets get installed a bit crooked and throw off the whole alignment. Or maybe one side of the cord frays or gets tangled from daily use, so one end lifts higher.
Don’t ignore dust and dirt—they build up inside the shade’s guts and make one edge stick or drag. And, let’s be honest, pets or kids tug on the chain, or maybe you bumped it with the vacuum. That can twist the fabric and skew things even more.
It’s smart to check for old, stretched, or slipped cords too. Here’s a quick checklist:
- Crooked brackets
- Tangled or uneven cords
- Dust buildup inside
- Accidental tugs or bumps
Impact of Frequent Use
Raising and lowering shades a lot? Those movements add up. Every pull stretches the cords a bit, and over time, the tension gets out of whack. The internal parts take a beating too.
If you yank the cords quickly, or don’t use even pressure, the spools inside wind up the cords unevenly. Suddenly, one side sits higher and you’re left with that lopsided look.
Grooves or worn spots on lift cords or bead chains sneak up over time. Even tiny changes can mess with the balance. With pets, kids, and just life, it’s no wonder shades lose their straightness.
Issues with Shade Mechanisms
The internal bits—clutch, cord lock, roller tube—do the heavy lifting. If the clutch loses grip, it might let one side drop a little at a time.
Some shades have plastic gears in the headrail that get brittle or crack after a few years. Then, no matter how much you adjust, they just won’t stay level. Even motorized shades have their quirks; old batteries or a misaligned motor can throw things off.
Loose or slipping parts usually mean one side droops more and more. Here’s a table of common mechanical parts and what can go wrong:
| Component | Problem | Result |
|---|---|---|
| Cord lock | Slipping/jamming | Shade won’t stay put |
| Roller tube | Bent/worn out | Shade sags unevenly |
| Clutch or gears | Worn or cracked | Lopsided movement |
Identifying the Type of Shade Mechanism
Getting shades even starts with knowing what you’re dealing with. Different types use different parts, so troubleshooting depends on the design.
Corded Shades
Corded shades are super common. You pull visible cords to raise or lower the shade. Inside the headrail, there’s usually a spring or clutch that sometimes slips or gets out of sync.
What to look for:
- Cords on one side or the other
- Pulling straight down moves the shade; pulling at an angle locks or releases
- Rope, pulley, and a track inside
If the shade’s uneven, it’s usually tangled cords or uneven cord length. Opening the headrail and gently untangling or rethreading often does the trick. Worn or fraying cords? Probably time to swap them out.
Cordless Shades
Cordless shades have no visible cords. You just push or pull the bottom rail. These use a spring or friction system inside the headrail, which is tidier and safer for kids and pets.
How to spot them:
- No hanging cords or chains
- Bottom rail moves up and down with a touch
- Moves smooth or sometimes with a little click
If cordless shades go uneven, the spring inside probably slipped. Usually, you can gently tug down on the lower side or reset by collapsing and extending the shade a few times. Still no luck? Check for bent or blocked parts inside.
Motorized Shades
Motorized shades are all about convenience. You use a remote, app, or wall switch, and a little motor in the headrail does the work. They run on batteries, plug in, or sometimes solar.
How to tell:
- No manual cords or levers
- Remote or wall switch nearby
- Maybe a faint whirring sound when they move
Uneven motorized shades usually mean the motor and shade are out of sync. You’ll want to recalibrate or reset the motor, following your model’s instructions. Low batteries or interference mess with movement too, so check the power first.
Here’s a quick table:
| Shade Type | How to Identify | Common Fix for Unevenness |
|---|---|---|
| Corded | Visible cords, manual pull | Untangle cords, realign |
| Cordless | No cords, hand-tensioned rail | Reset spring, check rails |
| Motorized | Remote/app, no manual controls | Recalibrate/re-sync motor |
Quick Tools and Supplies You’ll Need
You don’t need a full workshop to fix shades. Just a few basics and some cleaning supplies, and you’re set.
Must-Have Tools for DIY Repair
A basic toolkit is all you need. Grab a sturdy step ladder—please, not a wobbly chair—and a small Phillips or flathead screwdriver, depending on your shade’s hardware. A tape measure helps you check that both sides are the same height.
Pliers are handy if you need to pull or adjust stuck cords. For cordless shades, a tension adjustment tool might be necessary (sometimes it comes with the shade). Having these nearby saves you a trip mid-project.
Quick must-haves:
| Tool | Why We Need It |
|---|---|
| Step ladder | Reach shades safely |
| Screwdriver (Phillips/Flat) | Remove/adjust mounting hardware |
| Tape measure | Check shade height |
| Pliers | Adjust stuck cords |
| Tension tool (if needed) | Fix cordless mechanisms |
Cleaning and Maintenance Extras
Before you call it done, give the shades a quick clean. A soft microfiber cloth works for dusting fabric or vinyl without scratching. For stubborn spots, a mild dish soap and damp cloth usually does the trick.
Compressed air is great for blasting dust out of brackets or the headrail. A small dry paintbrush sweeps debris out of corners.
Checklist:
- Microfiber cloth
- Mild soap and water
- Compressed air
- Small dry paintbrush
A little cleaning keeps shades moving smoothly and looking good.
How to Re-Level Corded Shades Under 10 Minutes
Re-leveling corded shades is a quick win for your room’s look and your sanity. Here’s how to do it fast.
Resetting Cords for Evenness
Start by raising the shade all the way up with both cords, keeping the tension even. You’ll see right away if one side still hangs lower.
Use both hands to gently tug down on the lower side’s cord until the bottom rail lines up. If you have cord cleats, secure the cords at the same length. For continuous loop cords, slowly rotate the mechanism to adjust each side.
Step back and eyeball the bottom line of the shade. Make small adjustments—overdoing it can make things worse. If the shade keeps slipping out of alignment, the cord lock might need attention.
Quick steps:
- Raise the shade fully.
- Adjust cords evenly.
- Lock or tie cords at the same length.
- Check from a few feet back.
Troubleshooting Cord Locks
Cord locks can mess up all your work. If one side sinks after lowering, the lock might be slipping or clogged with dust.
Try raising and lowering the shade a few times to clear little jams. Sometimes pressing the lock’s pin or button resets it. For older shades, dabbing a bit of silicone spray (on a cloth, not directly) can help sticky locks.
If it still won’t hold cords evenly, untie and re-tie the cords at the same length. Most cords tie off behind the headrail—peek inside for loose knots or tangles.
For stubborn cord locks:
- Clean out dust or debris.
- Work the lock several times to check for sticking.
- Adjust or retie cords if needed.
- If it’s broken, you might need to replace the lock.
A small screwdriver and flashlight are handy here. Sometimes it’s just a hidden knot or a bit of lint causing the trouble.
Speedy Fixes for Cordless Shades
Cordless shades look sleek, but they can fall out of alignment or rise unevenly. Most minor problems are quick to fix and don’t need special tools.
Adjusting the Tension
If cordless shades won’t stay up, sag on one side, or retract unevenly, the spring tension is usually off. First, gently pull the shade down as far as it goes, then let it rise back up slowly. This often resets the spring and brings back even movement.
Still not moving smoothly? Take the shade out of the brackets. Hold it level, give the tube a firm but gentle twist in the direction that adds tension (usually away from the window), then pop it back in. Always double-check the instructions for your shade before twisting.
Tension Troubleshooting Table:
| Problem | Quick Fix |
|---|---|
| Shade won’t stay up | Pull all the way down, then up |
| Shade rises unevenly | Remove, twist, and rehang |
| Shade is too tight | Twist in loosening direction |
A couple tries usually do it. If not, it might be time to check for damage.
Manual Leveling Techniques
If one side sits higher than the other, a quick hands-on correction can help. Pull the shade to the halfway point, then guide each end with both hands, raising or lowering until both sides look even. Sometimes just tugging the lower side until it lines up works well enough.
Many cordless shades use a spring and cord system inside the rail. If simple leveling isn’t cutting it, try sliding the bottom rail gently left and right to align the internal cords. Some shades have a small plastic lever or button—press it to unlock, adjust the alignment, then let go to lock it back down.
Manual Leveling Checklist:
- Pull shade halfway down
- Gently adjust both ends until level
- Slide bottom rail if needed
- Use lock buttons if present
If things still won’t line up, give it another shot or check for anything stuck inside the cassette. Sometimes, a gentle tap and a little patience are all you need.
Simple Solutions for Motorized Shades
Motorized shades can lose their evenness, but don’t panic or call in the pros just yet. Most fixes take just a few minutes, and you probably have the tools or remote already.
Using Remote Controls
Most motorized shades come with a remote or wall control. These remotes let us fine-tune the position of each shade, adjust the top and bottom limits, and realign shades that drift out of sync.
To re-level, start by bringing all shades fully up or down. Then, use the remote’s directional buttons—usually arrows—to nudge an uneven shade into place. If you’re controlling multiple shades, there’s often a “channel select.” Double-check you’ve picked the right shade before you start poking buttons.
If the remote has a programmable memory button, save new upper and lower limits once you’re happy with the alignment. The manufacturer’s instructions—often in the manual or even printed on the remote—are worth following. If the remote seems unresponsive, try swapping the batteries; a weak signal can throw off precise movement.
Resetting the Shade System
If the shade stays uneven no matter what you do with the remote, a system reset usually solves it. Resetting returns the shade motor to factory defaults, wiping out any settings causing the problem.
Most shades enter reset mode when you hold a specific button on the remote (often “stop” or “program”) for about 10 seconds. Some have a pinhole button on the motor casing—press that with a paperclip. Look for flashing lights on the shade or remote to confirm the reset.
After restarting, recalibrate the up and down limits. Use the remote to move the shade all the way up and down, then save these as the new limits if your shade allows. Double-check for obstructions or tangled cords before you start, so the reset doesn’t run into physical problems.
Tips to Keep Shades Even Over Time
A bit of attention goes a long way when it comes to keeping shades hanging straight. Tackling dust and preventing cords from getting tangled are two simple habits that really pay off.
Regular Cleaning Routines
Dust piles up fast on window shades, and that can cause uneven weight and sticky movement. Try to dust your shades with a microfiber cloth or soft brush once a week. For fabric shades, a handheld vacuum with a brush attachment can get deeper dust.
When cleaning, keep the shades lowered and even so the weight stays balanced. If you spot stains or sticky spots, a gentle cleaner and a damp cloth usually do the trick.
Tip: Wipe down the cords and hardware too. Clean parts make the mechanism work smoothly and keep the alignment from drifting.
Preventing Tangling and Snags
Twisted cords or caught fabric are big culprits behind crooked shades. Raise and lower shades slowly and evenly with both hands, especially with wide or heavy ones. That way, cords don’t pull unevenly and cause tilting or jams.
Check regularly that cords hang straight and aren’t bunched up. If cords look worn or kinked, replacing them is usually easier than dealing with constant snags. For homes with kids or pets, cordless or motorized options are a safer bet—less mess, less worry.
A quick prevention checklist:
- Use smooth, gentle movements
- Untangle cords after each use
- Inspect for snags during weekly cleaning
- Replace worn cords promptly
When to Call a Pro for Shade Repair
Sometimes our DIY spirit just isn’t enough. If shades don’t move at all, or you hear grinding and clicking that sounds off, it’s probably time to pause.
Consider professional help when:
- Strings are tangled inside and won’t budge.
- The roller mechanism feels stuck or unbalanced.
- Slats are broken or warped.
- Pieces fall off, or cables snap.
Messing with tension springs inside some shades can be risky. If you’re not sure how to adjust them safely, it’s better for both you and your shades to leave it to a trained tech.
Cost and time estimates from pros can vary, but at least you’ll get a real diagnosis—and a fix—without extra frustration. Plus, you keep your warranty intact if it’s still valid, since some brands void coverage if you tinker too much.
If the shade is high up, large, or awkwardly installed, a pro’s ladder and steady hands are just what you need. No design inspiration is worth an emergency room visit.
Frequently Asked Questions
Fixing uneven window shades usually just takes some basic tools and a bit of know-how. Here are answers to a few common problems.
What's the trick to quickly leveling wonky window blinds?
Start by making sure both cords or lift mechanisms are pulling evenly. If one side sits higher, gently tug the lower side’s cord while tilting the blind a bit.
Sometimes, raising the whole blind up and then lowering it resets the balance. It’s often faster than fussing with each side.
Any quick tips on adjusting shades that won't stay straight?
First, check if the mounting brackets are secure and level. Loose hardware can cause shades to tilt.
Look at the lift cord or chain for tangles. A quick untwist or re-threading usually fixes the drift.
How do you correct roller shades that refuse to roll up evenly?
If roller shades are crooked, pull them down fully then roll them up slowly, guiding the fabric so it winds evenly on the tube.
For persistent tilting, adjust the tension on either side by pulling the shade diagonally downward. That helps re-center the fabric on the roller.
Can uneven Venetian blinds be easily fixed at home?
Absolutely. Check that the cords aren’t caught or tangled inside the headrail.
It can help to raise the blinds all the way up, then lower them in one smooth motion. If that doesn’t work, adjusting the cord knots inside the rail often brings each side back in line.
Why do my window coverings seem to have a mind of their own?
Usually, shades get fussy because of uneven tension in the cords, bent slats, or misaligned brackets.
Regular cleaning and gentle handling help avoid most of these problems. A quick checkup every few months really does make a difference.
What causes window shades to hang improperly and how can I fix it?
Shades tend to hang crooked if the brackets aren’t level, the cords get twisted, or gunk builds up inside the mechanism.
Usually, I’ll start by tightening the hardware, straightening out the cords, and giving the moving bits a quick wipe. Funny how often a tiny adjustment gets things working again.


