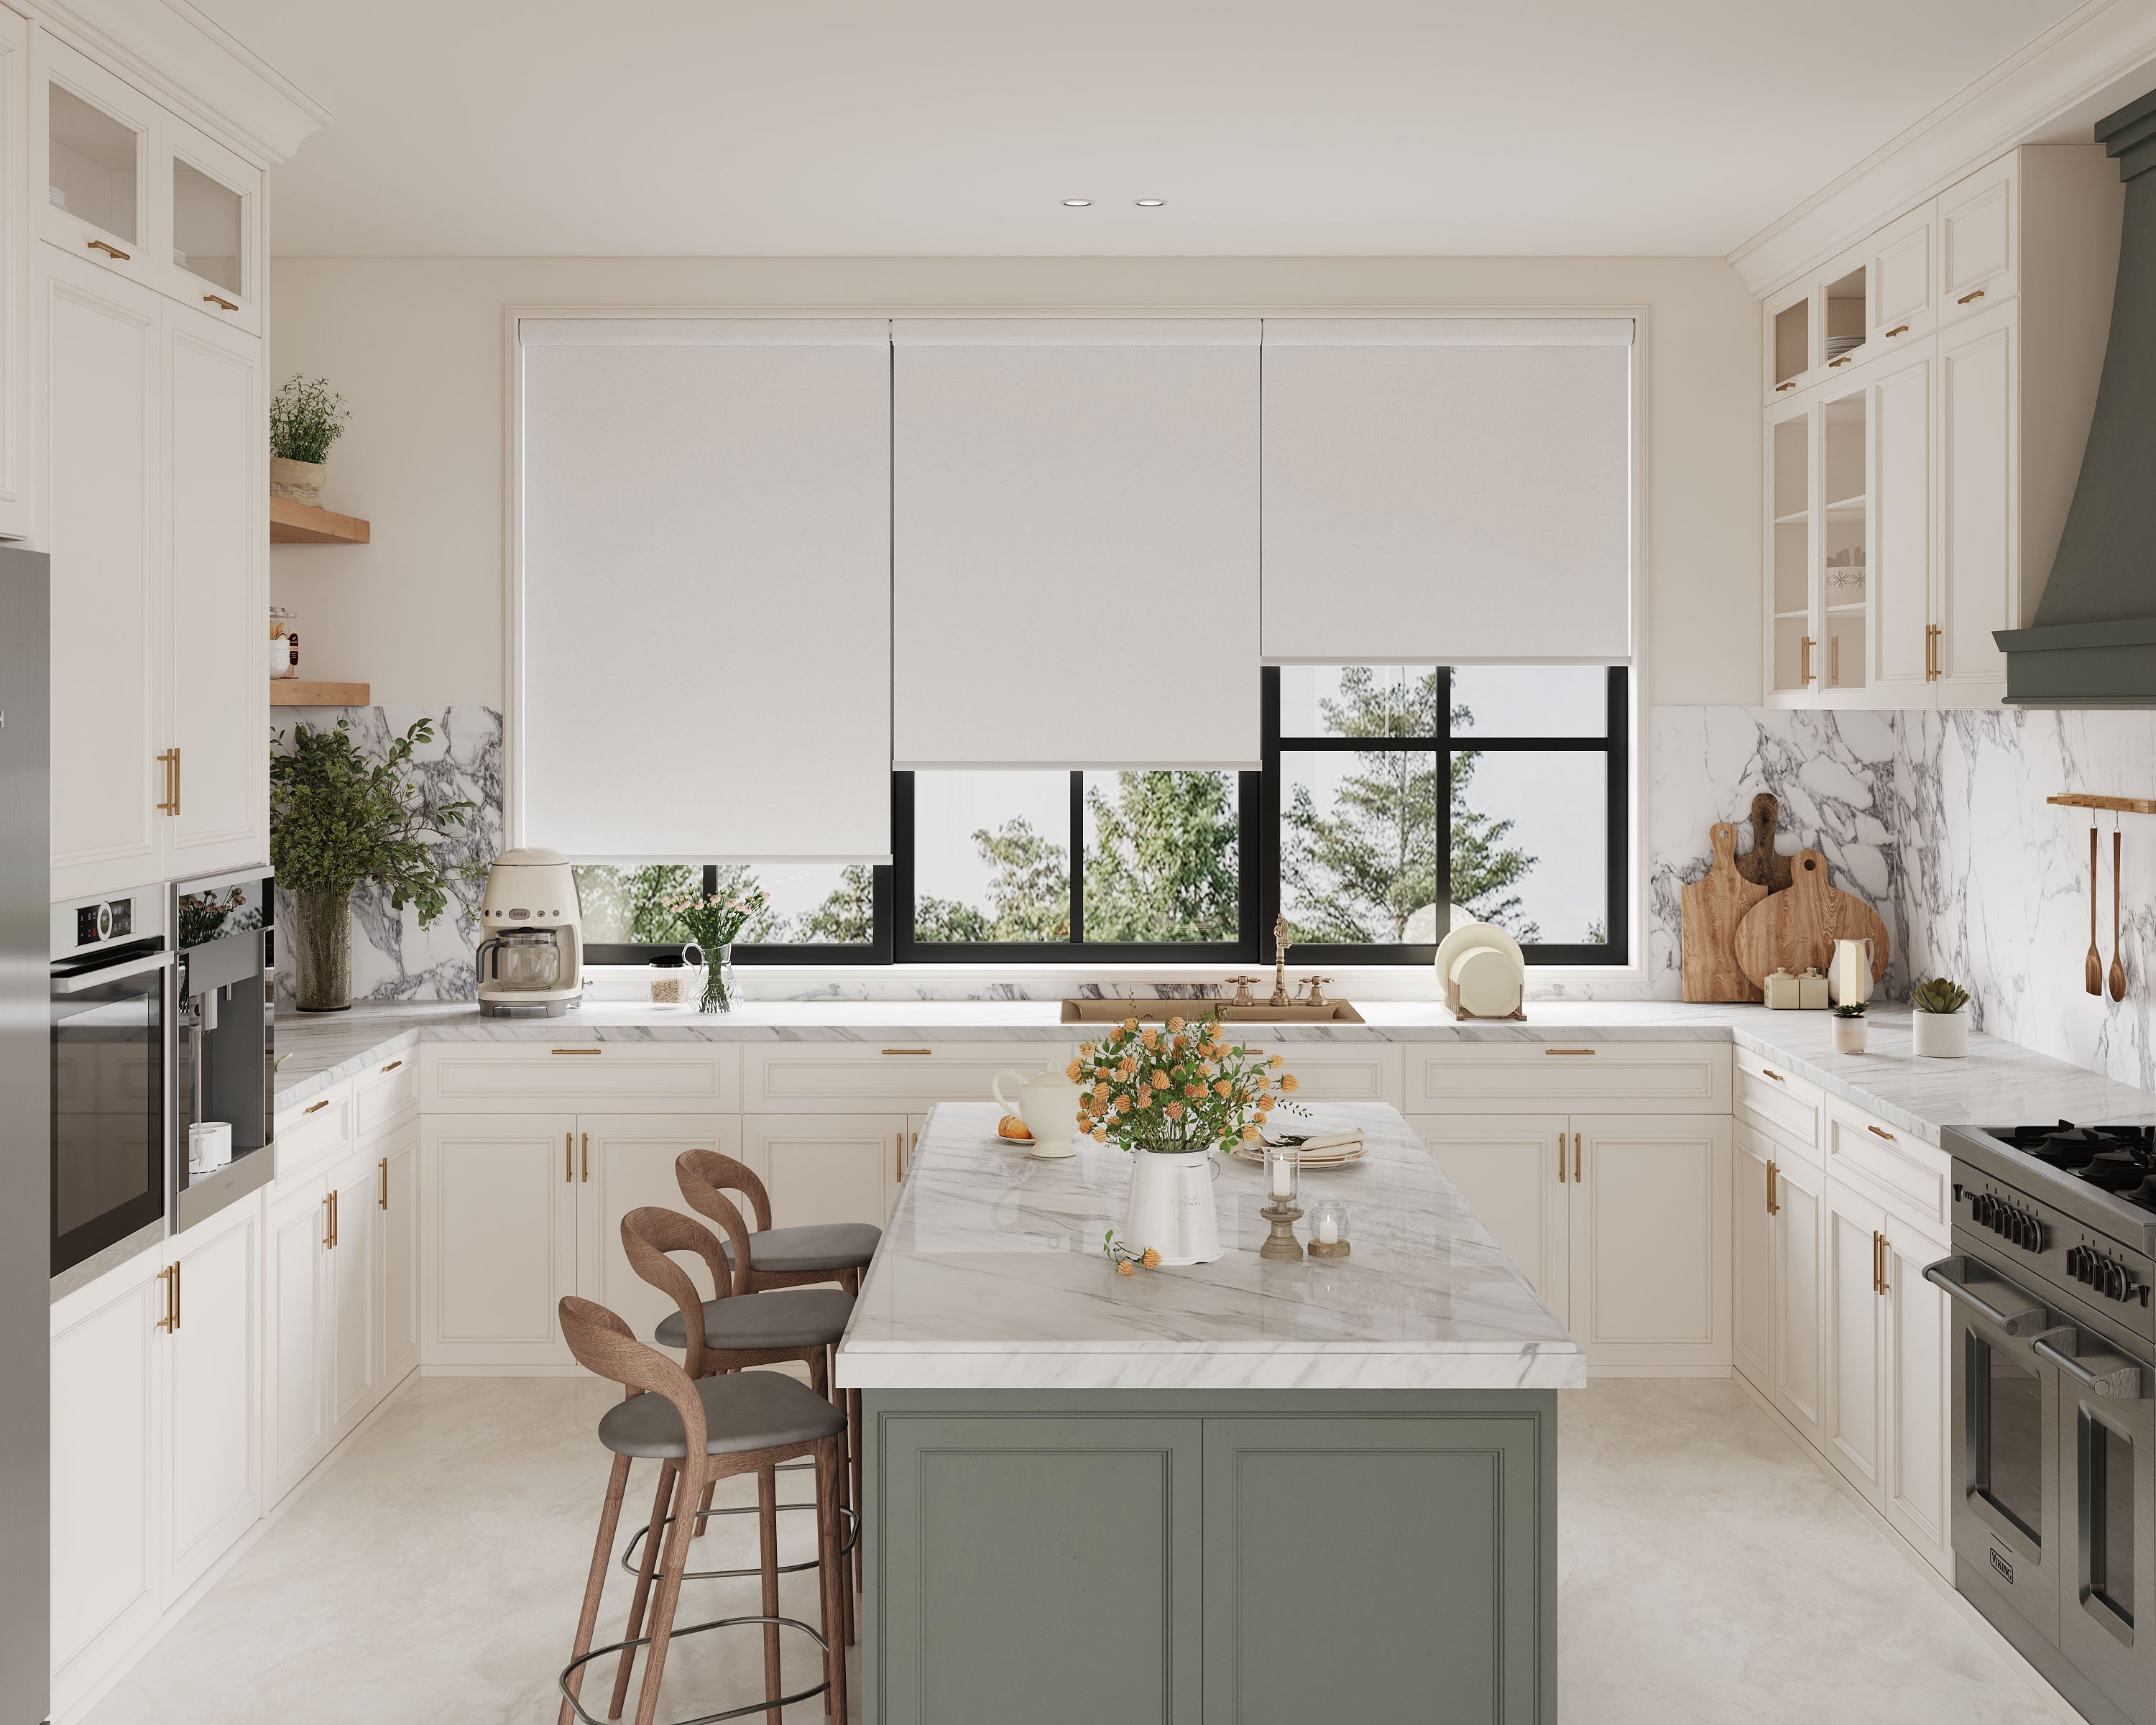
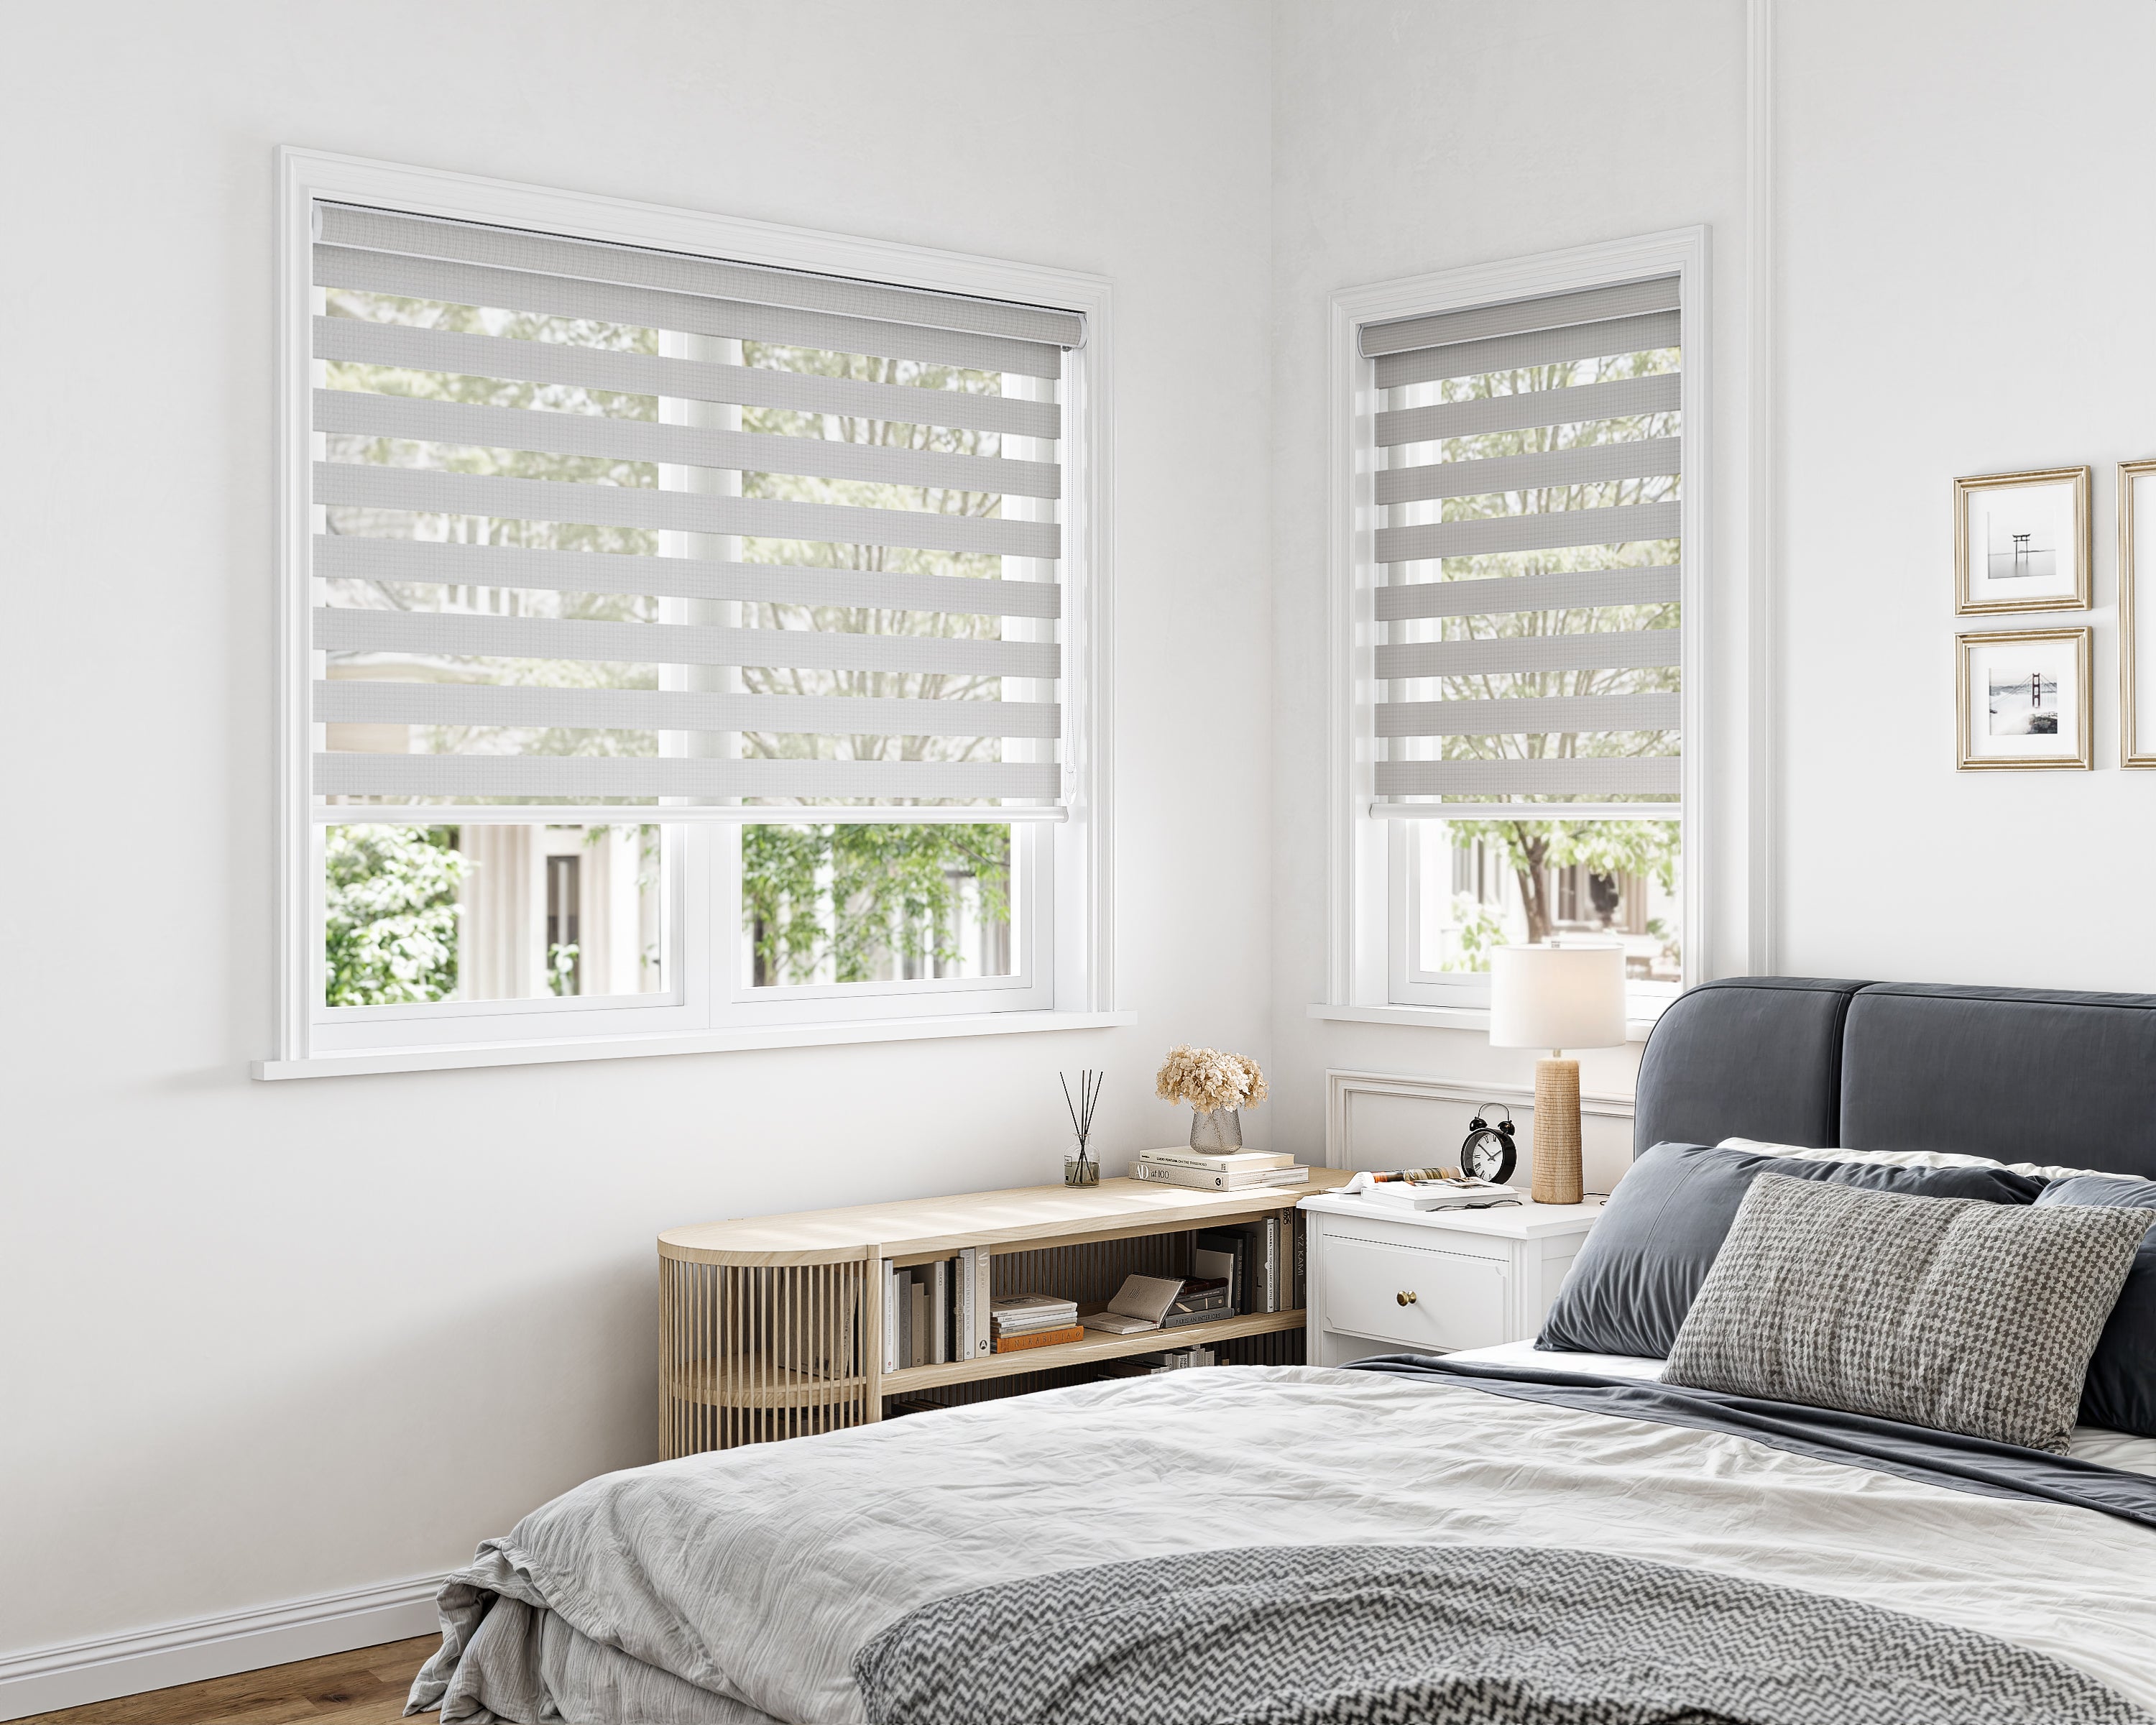
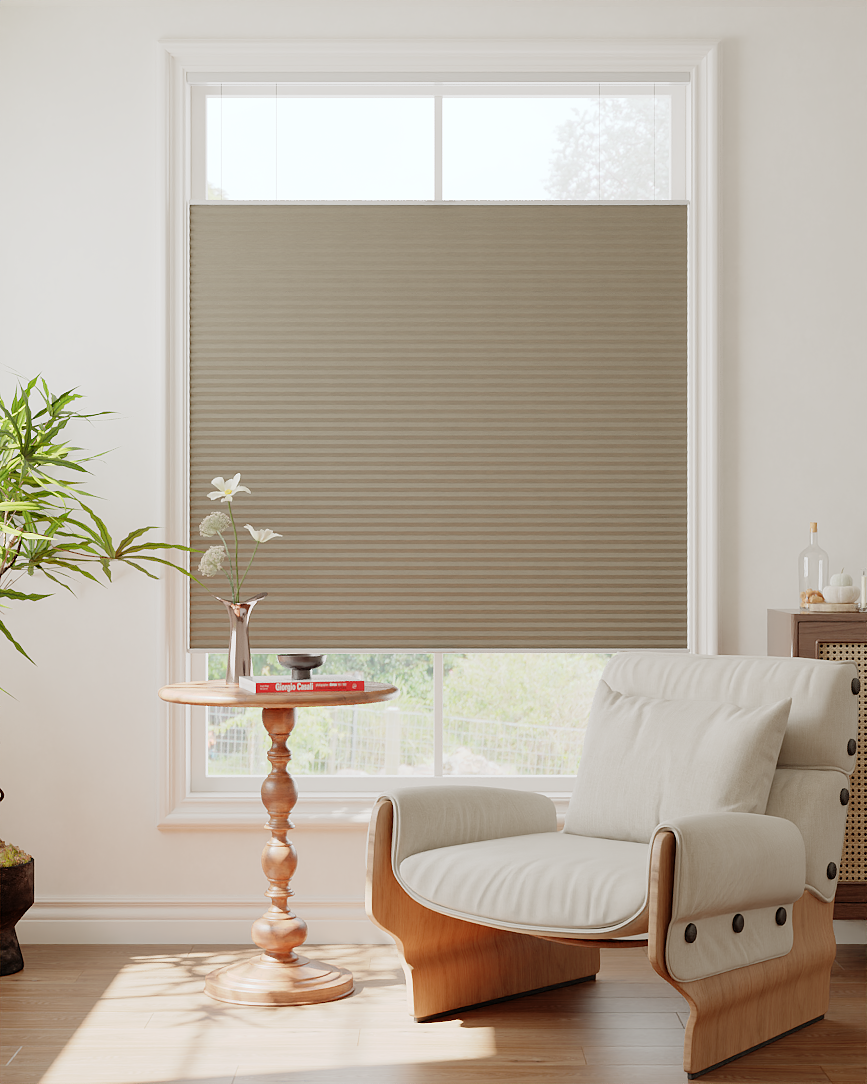
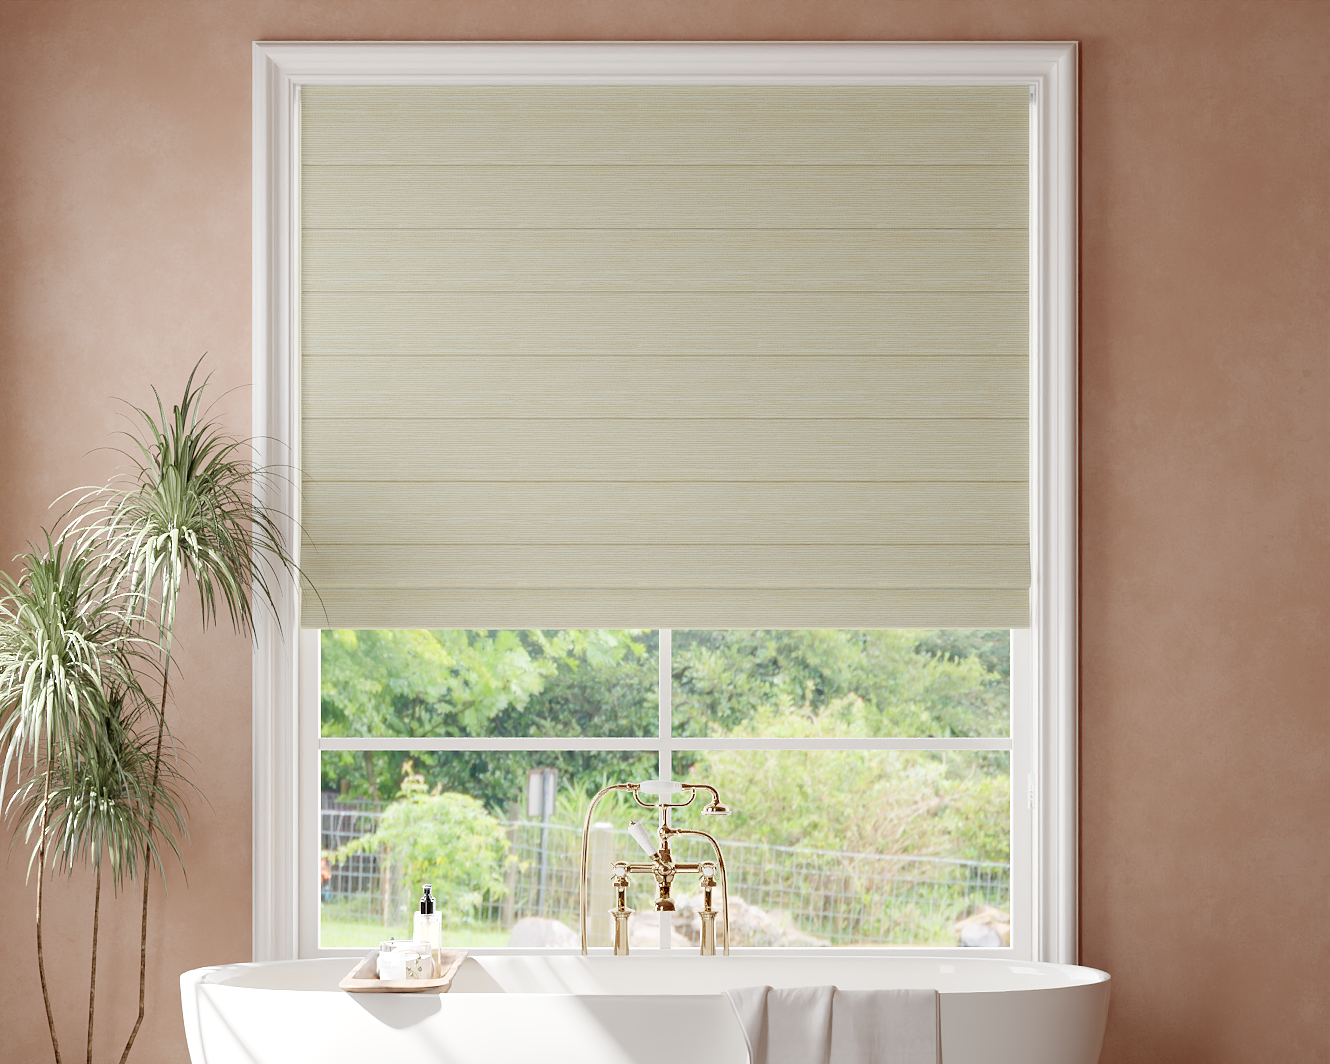
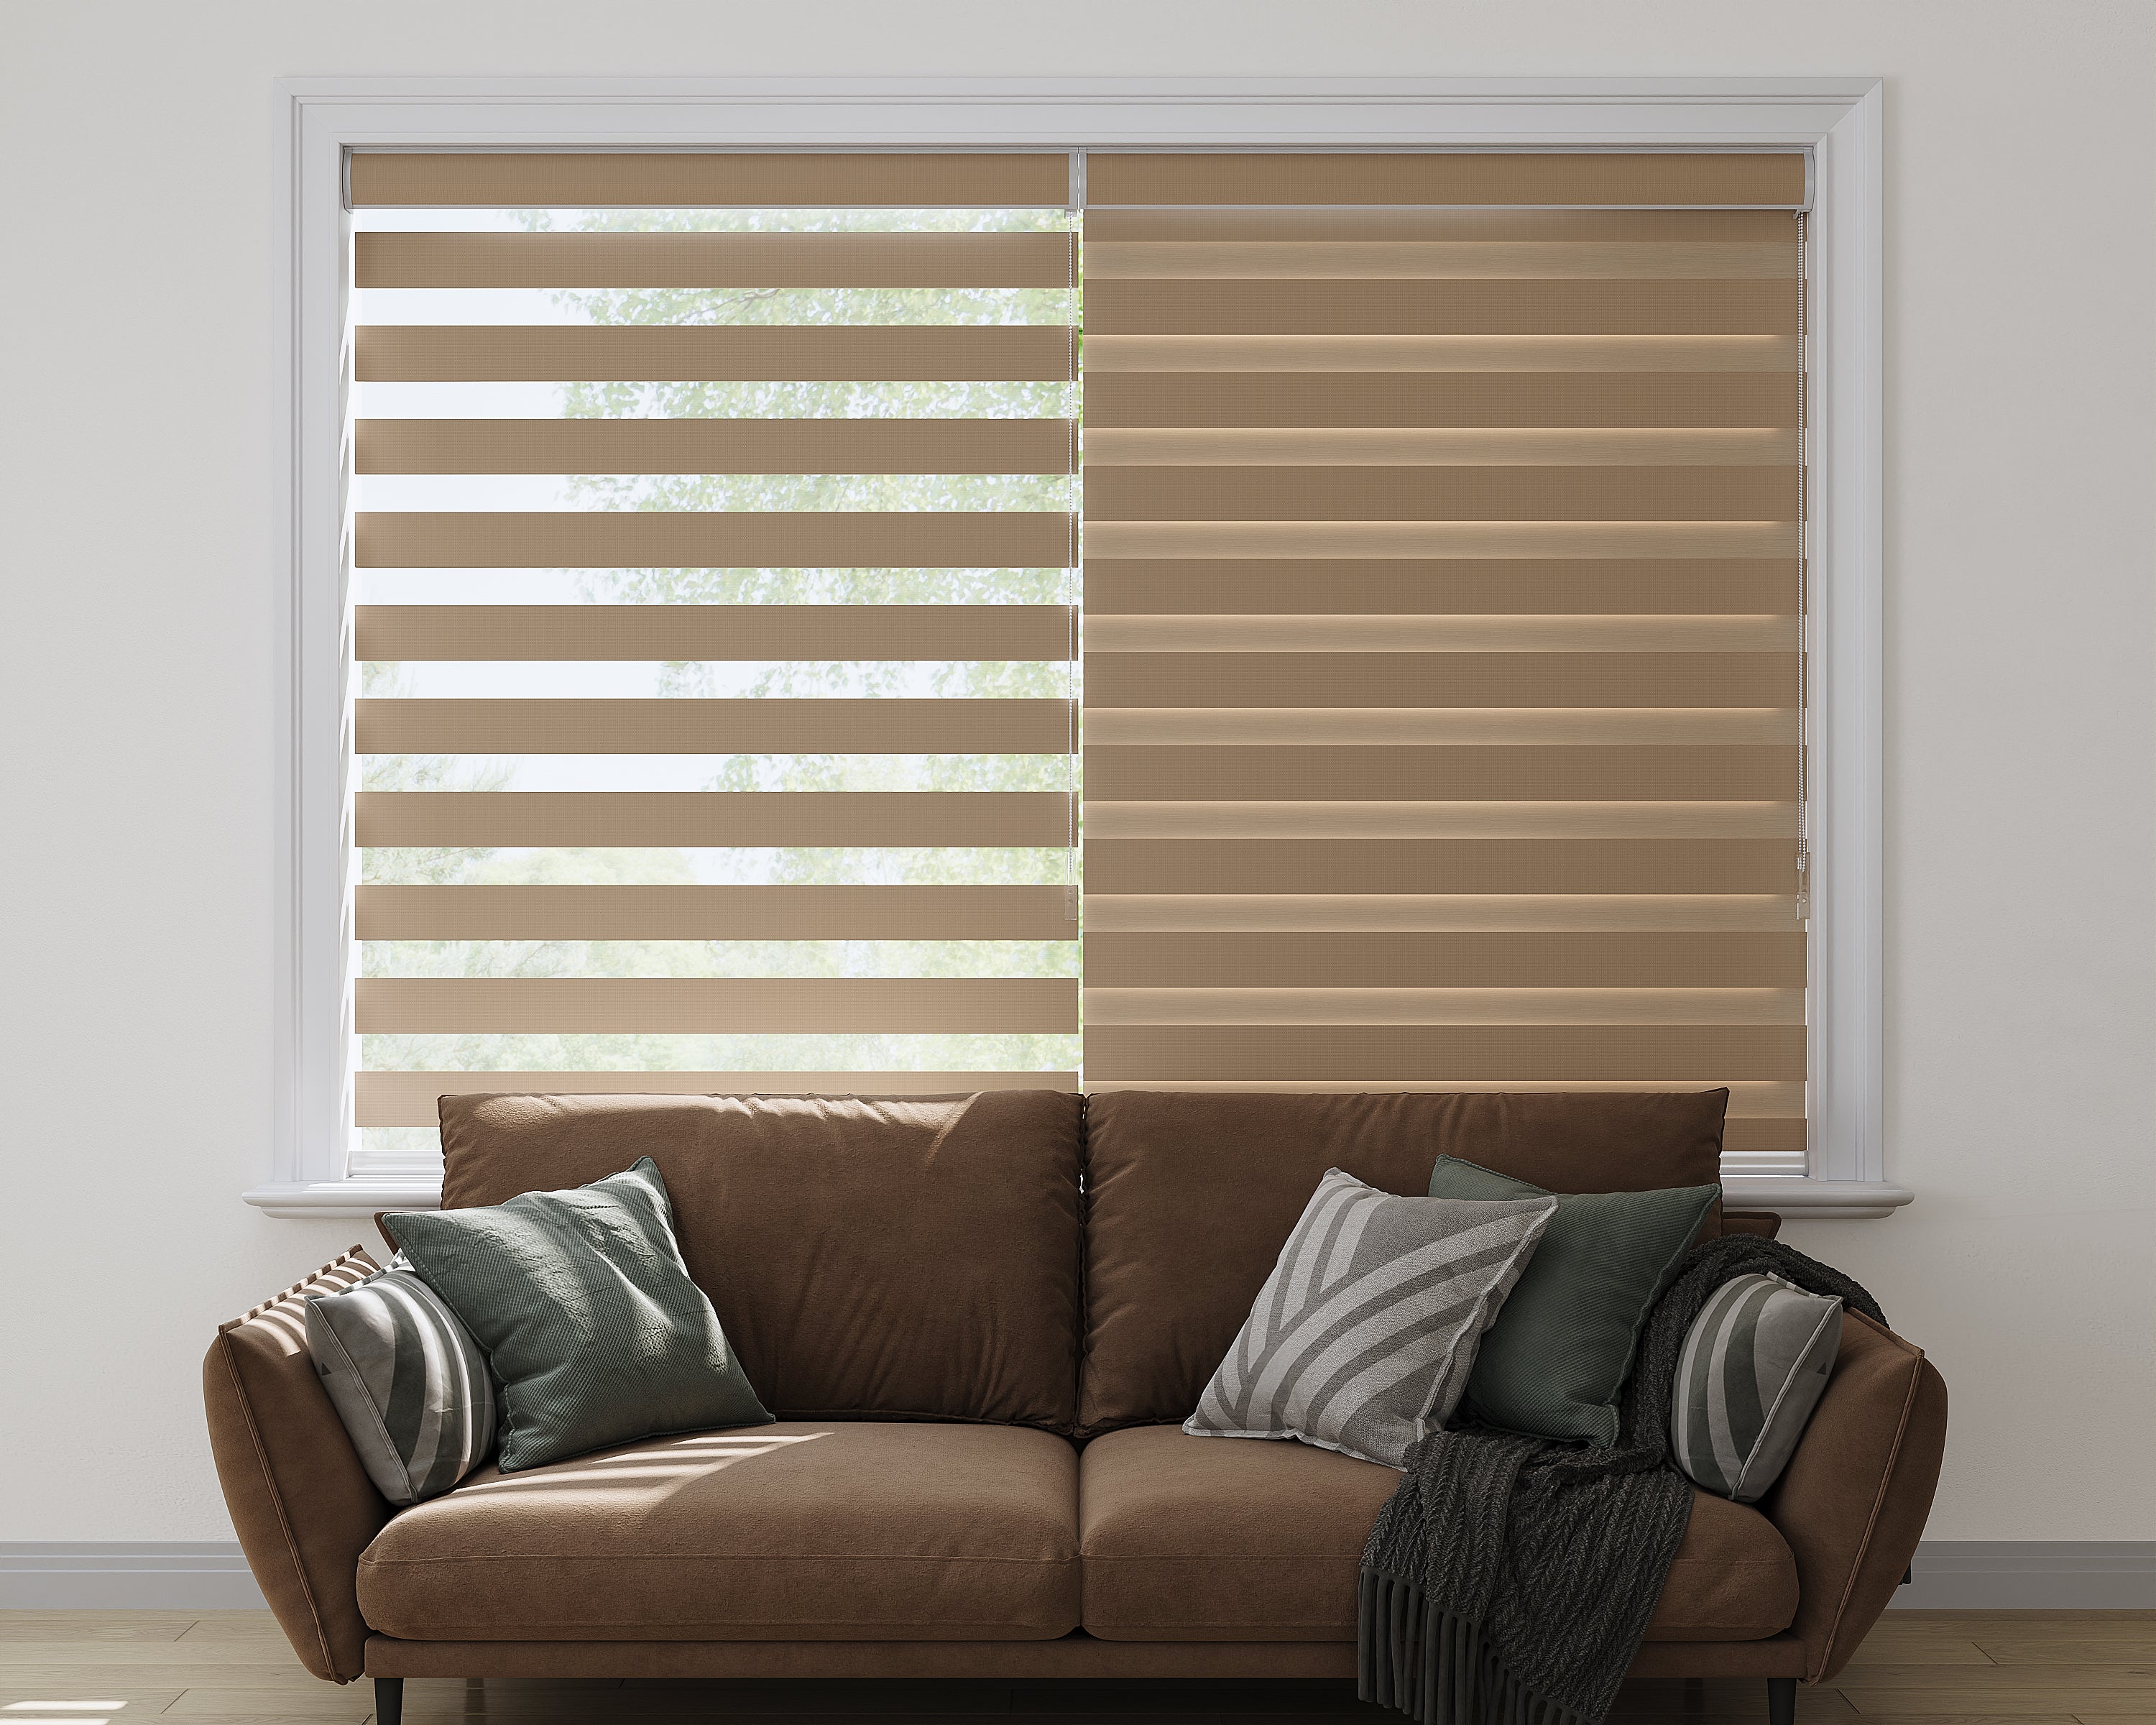
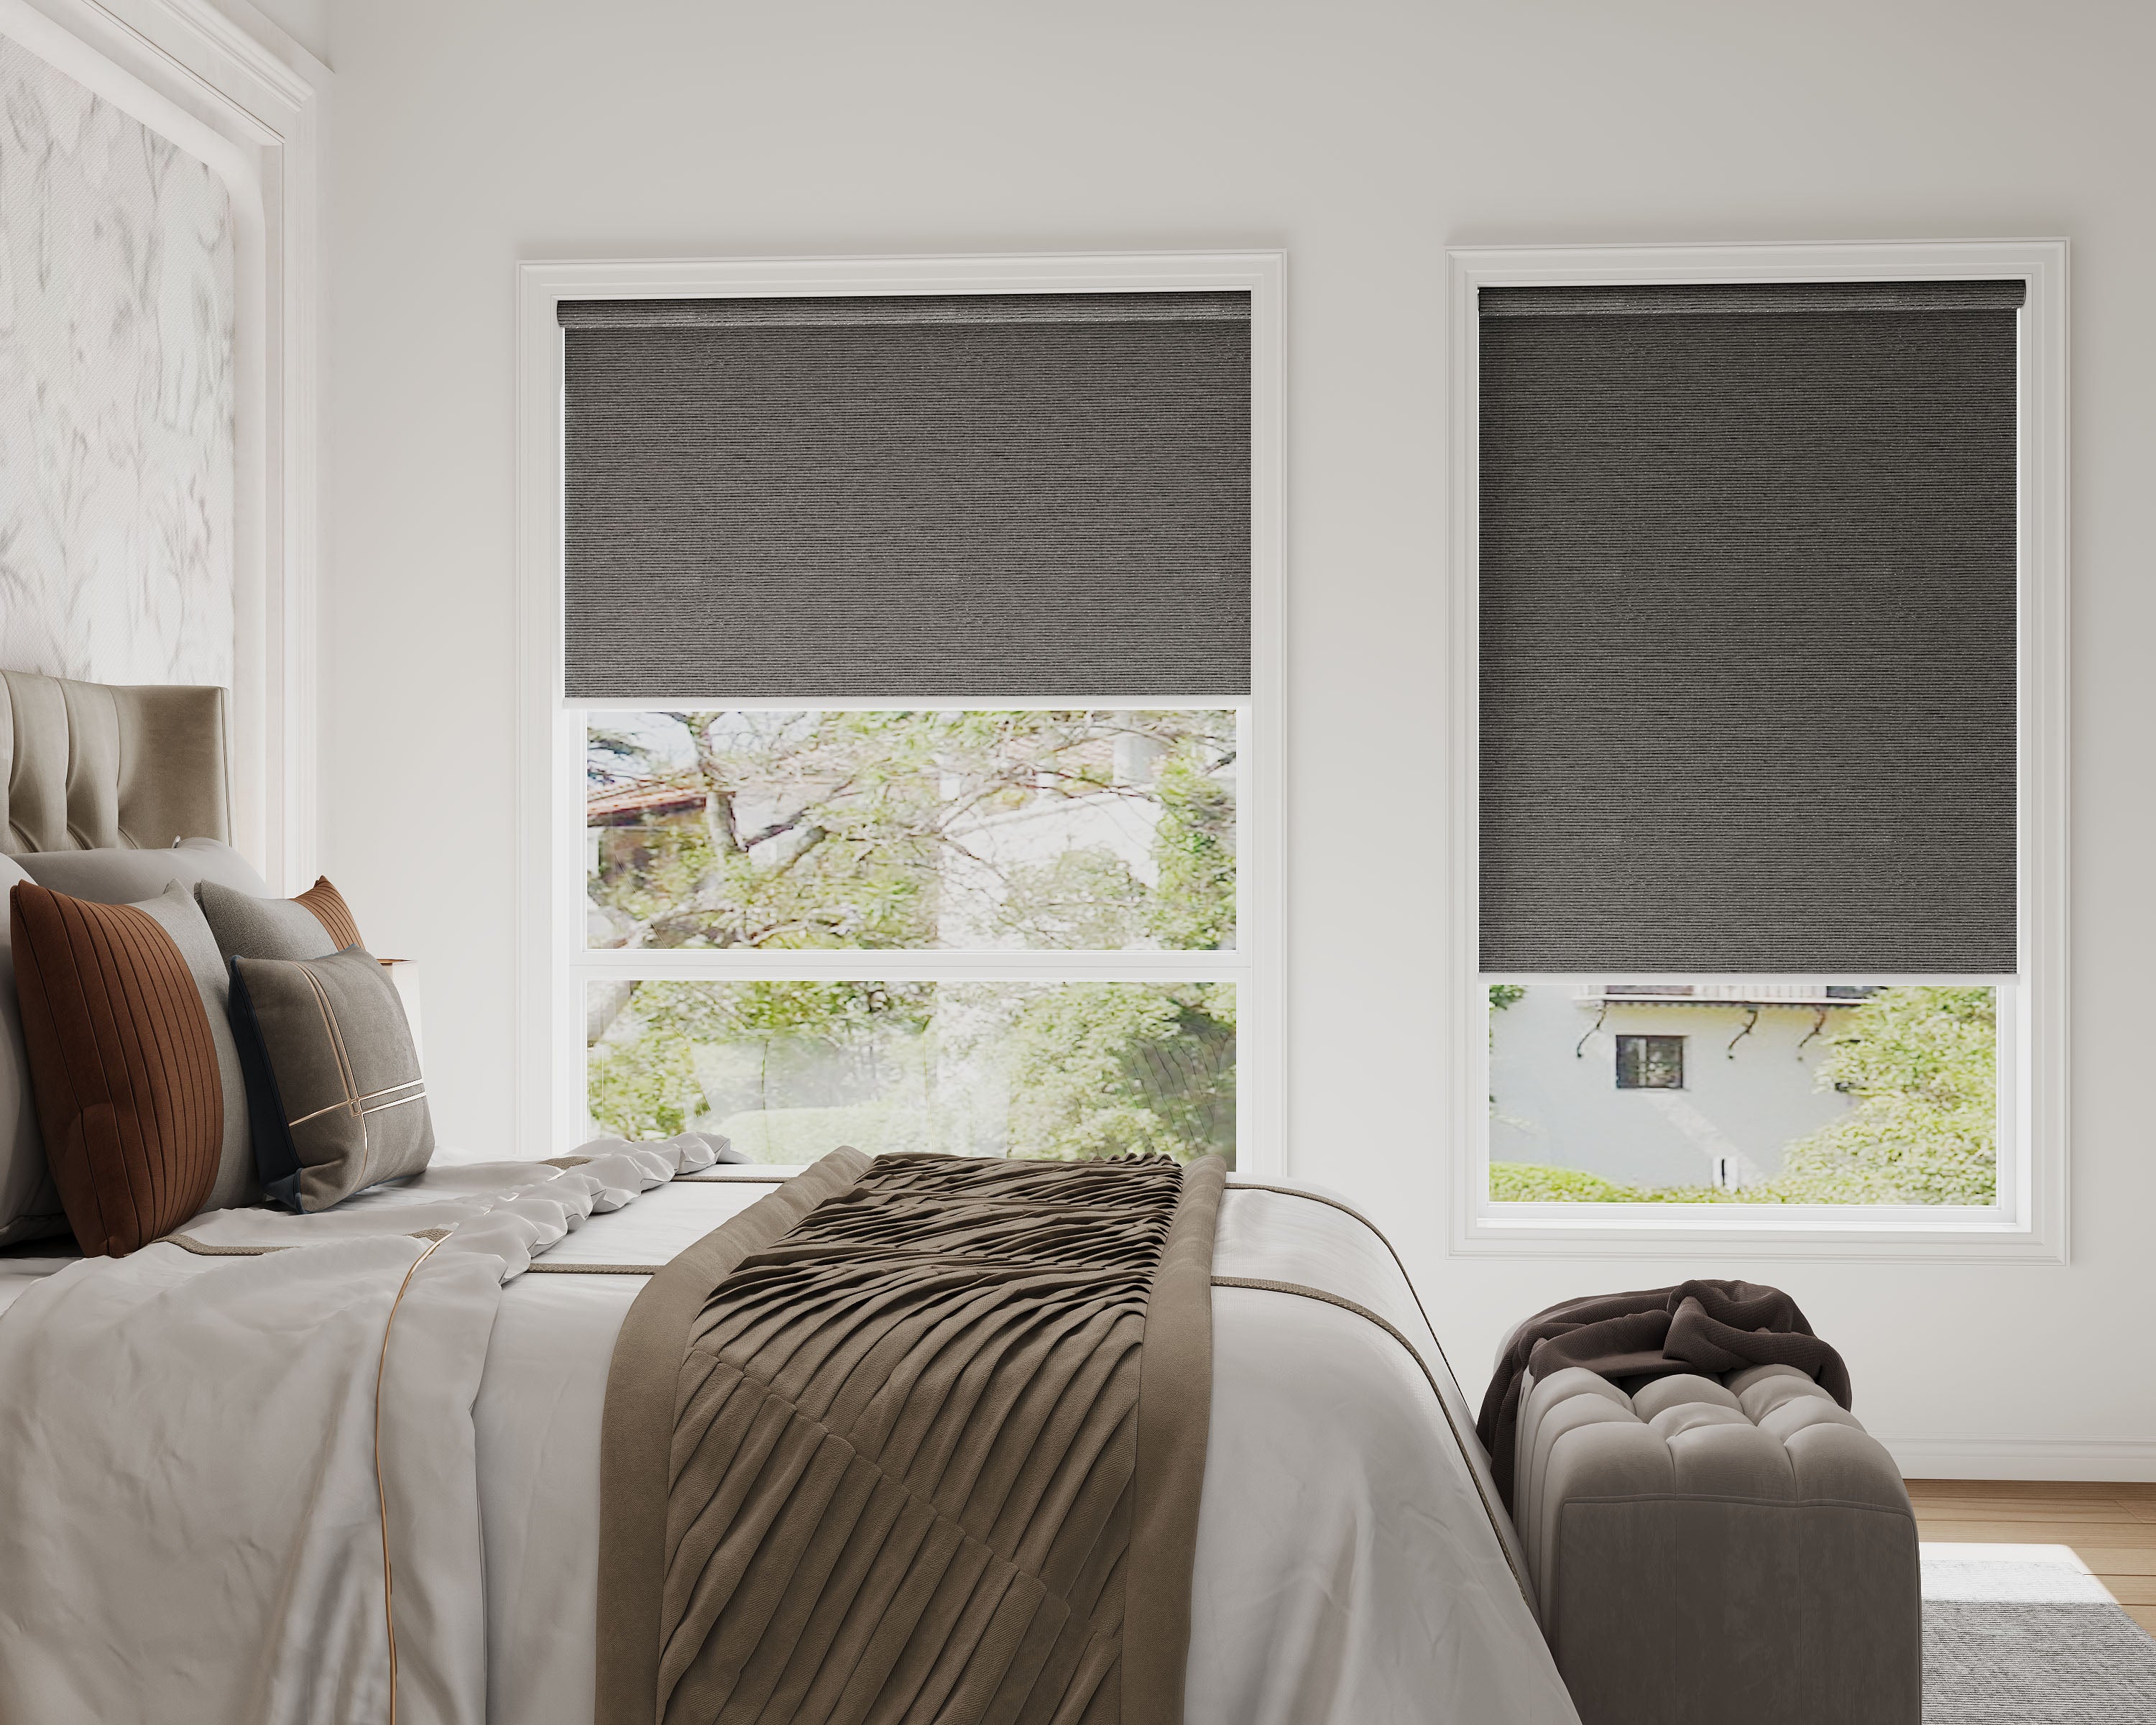
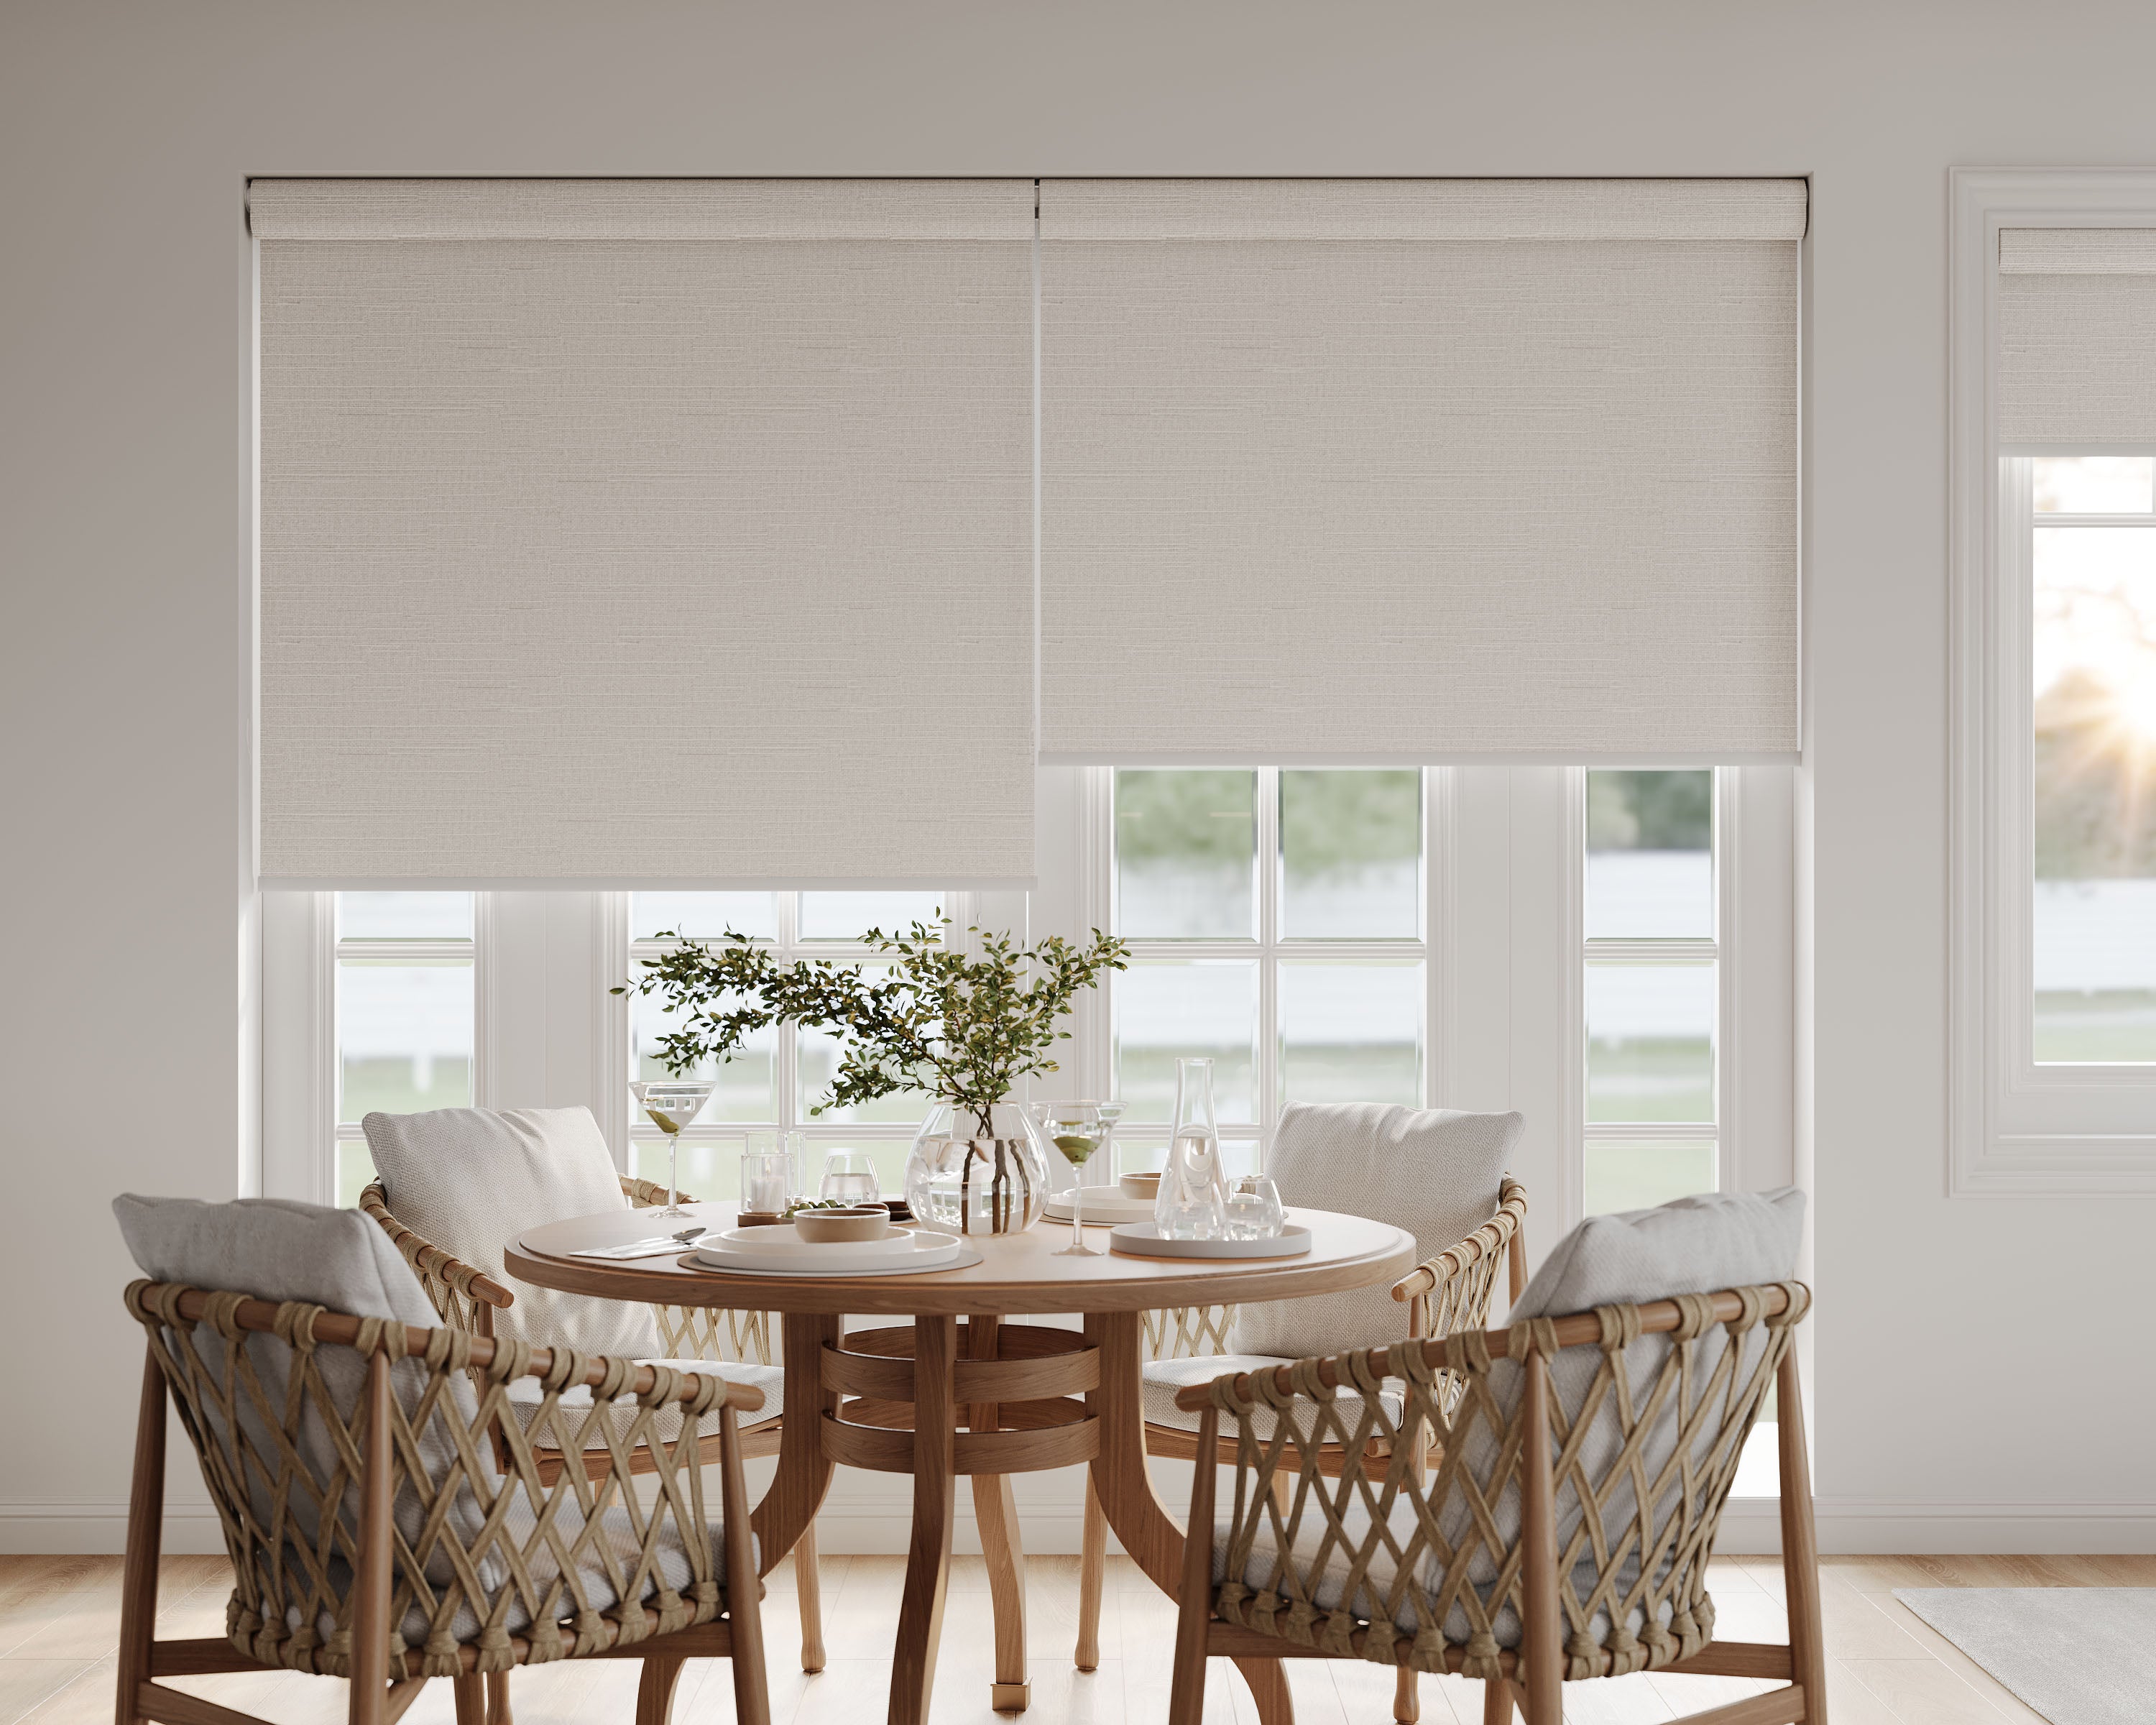
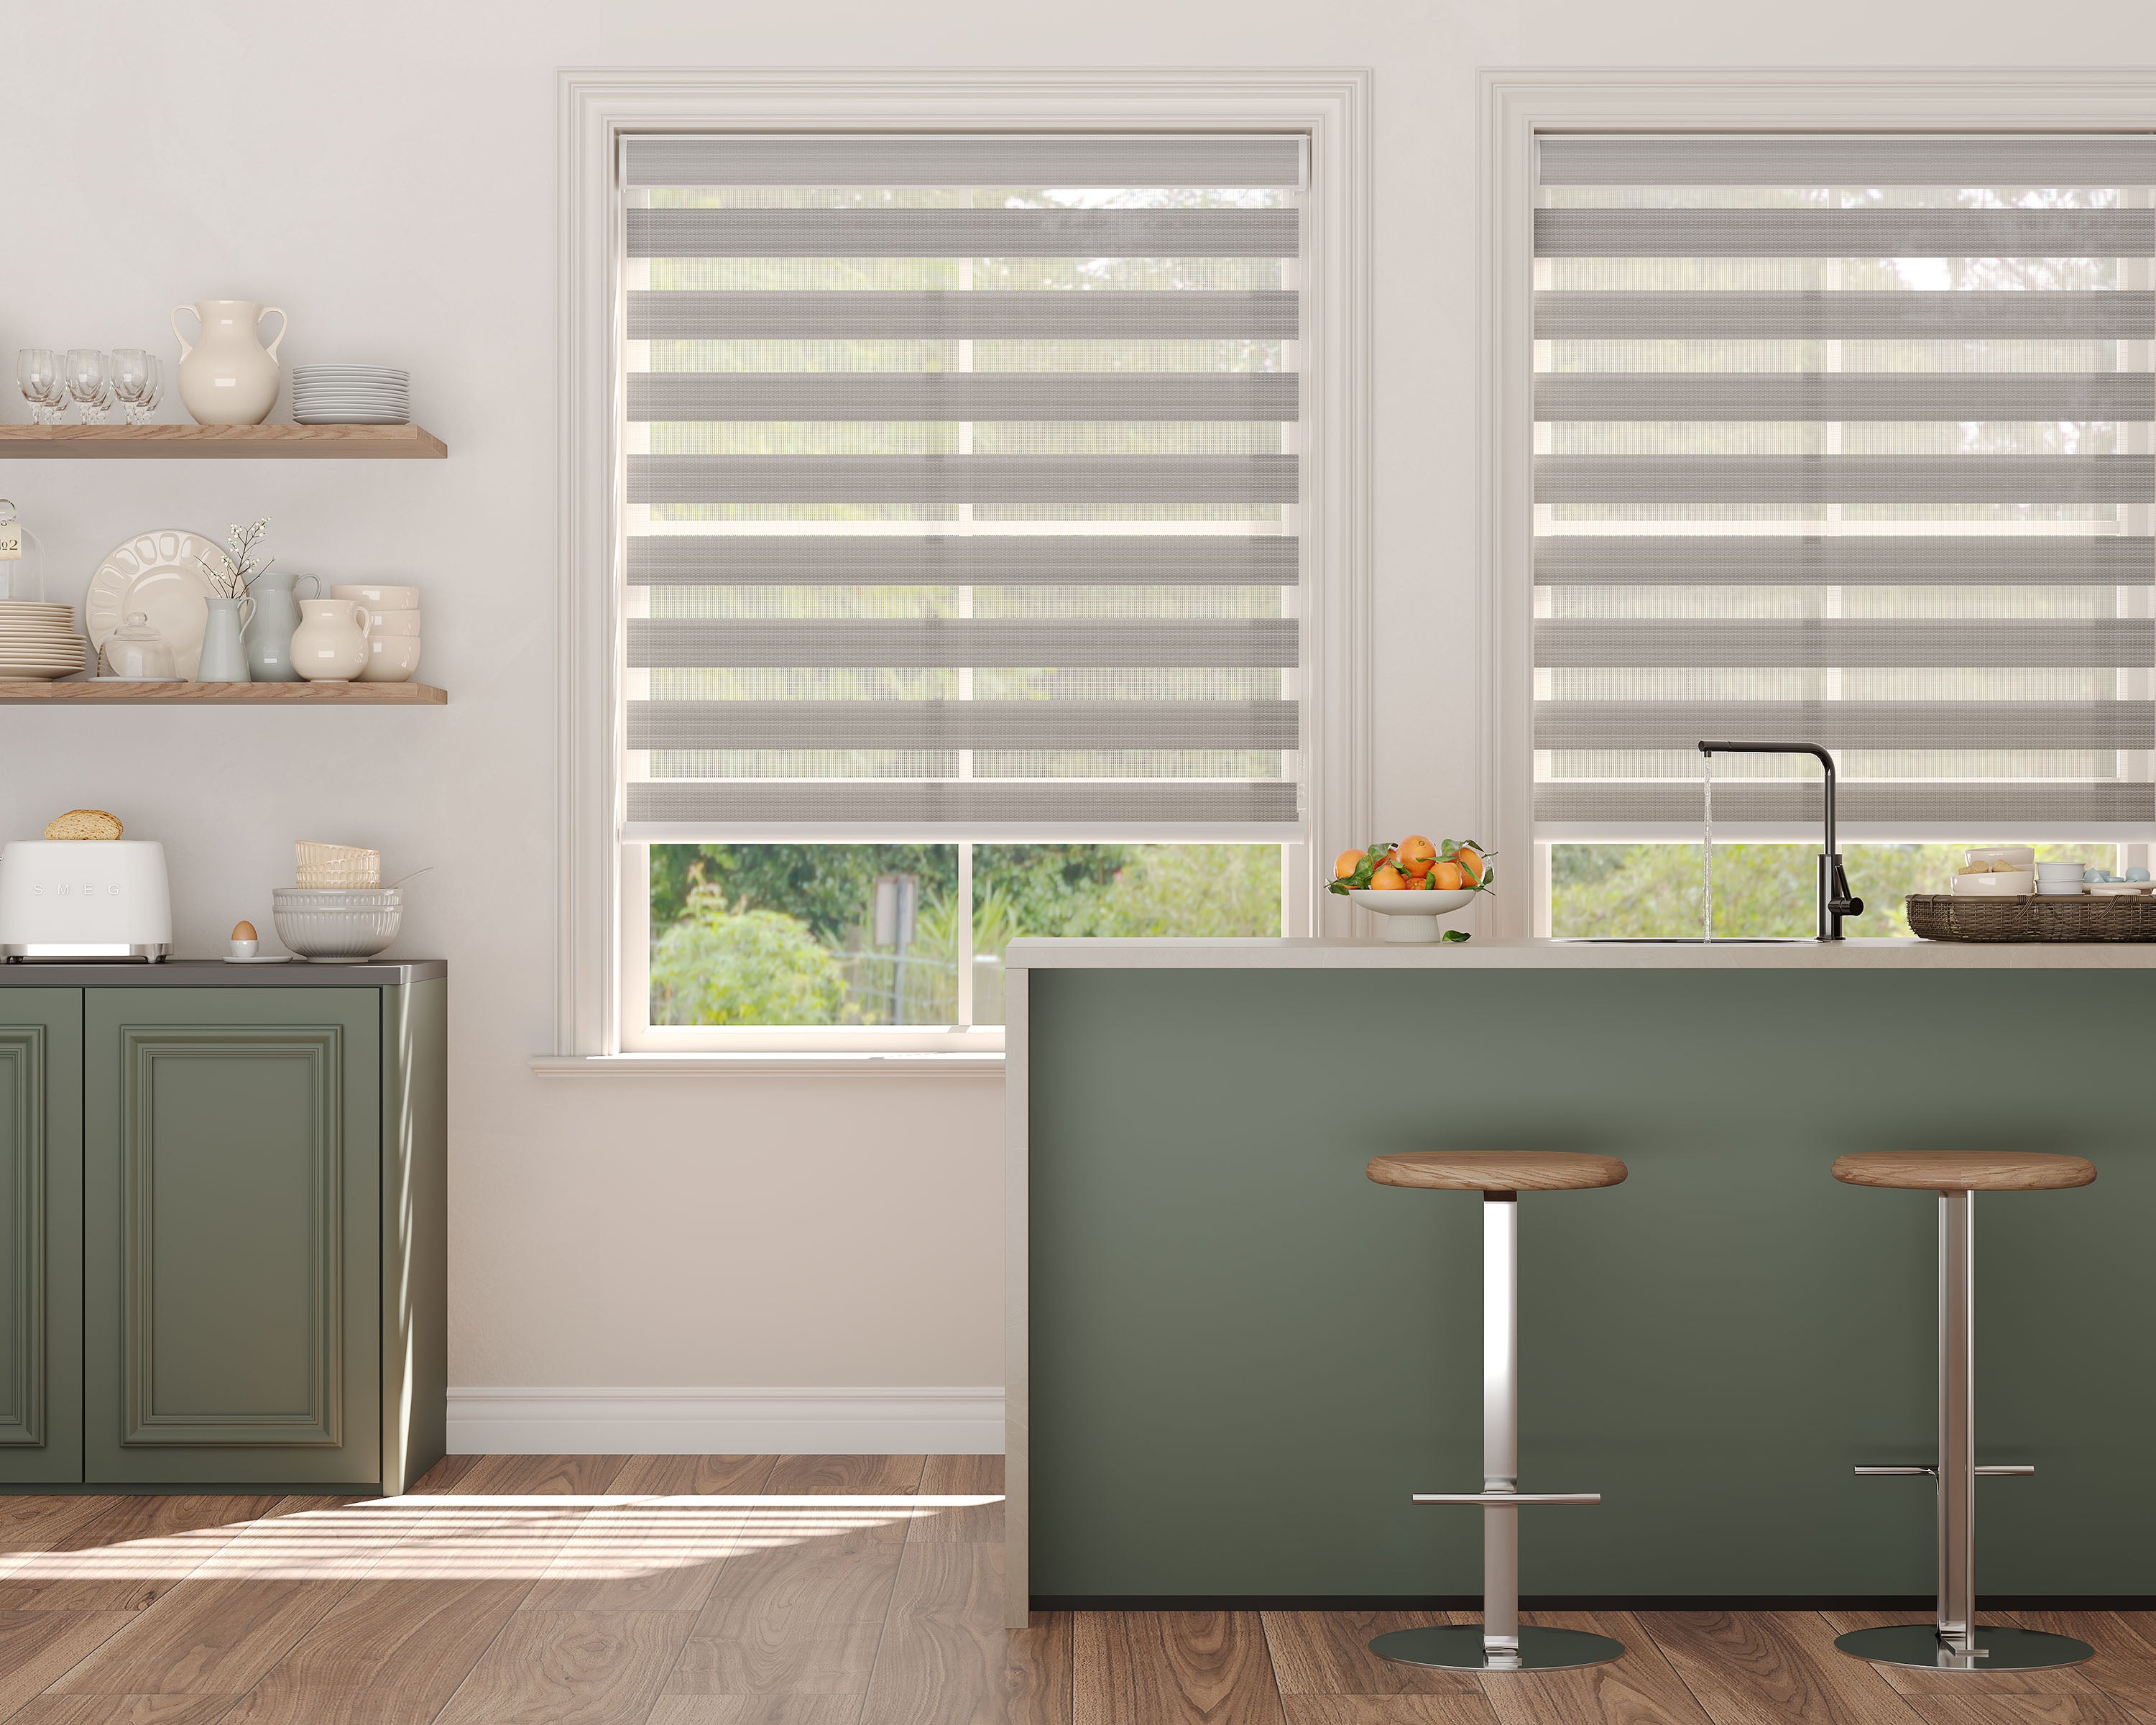
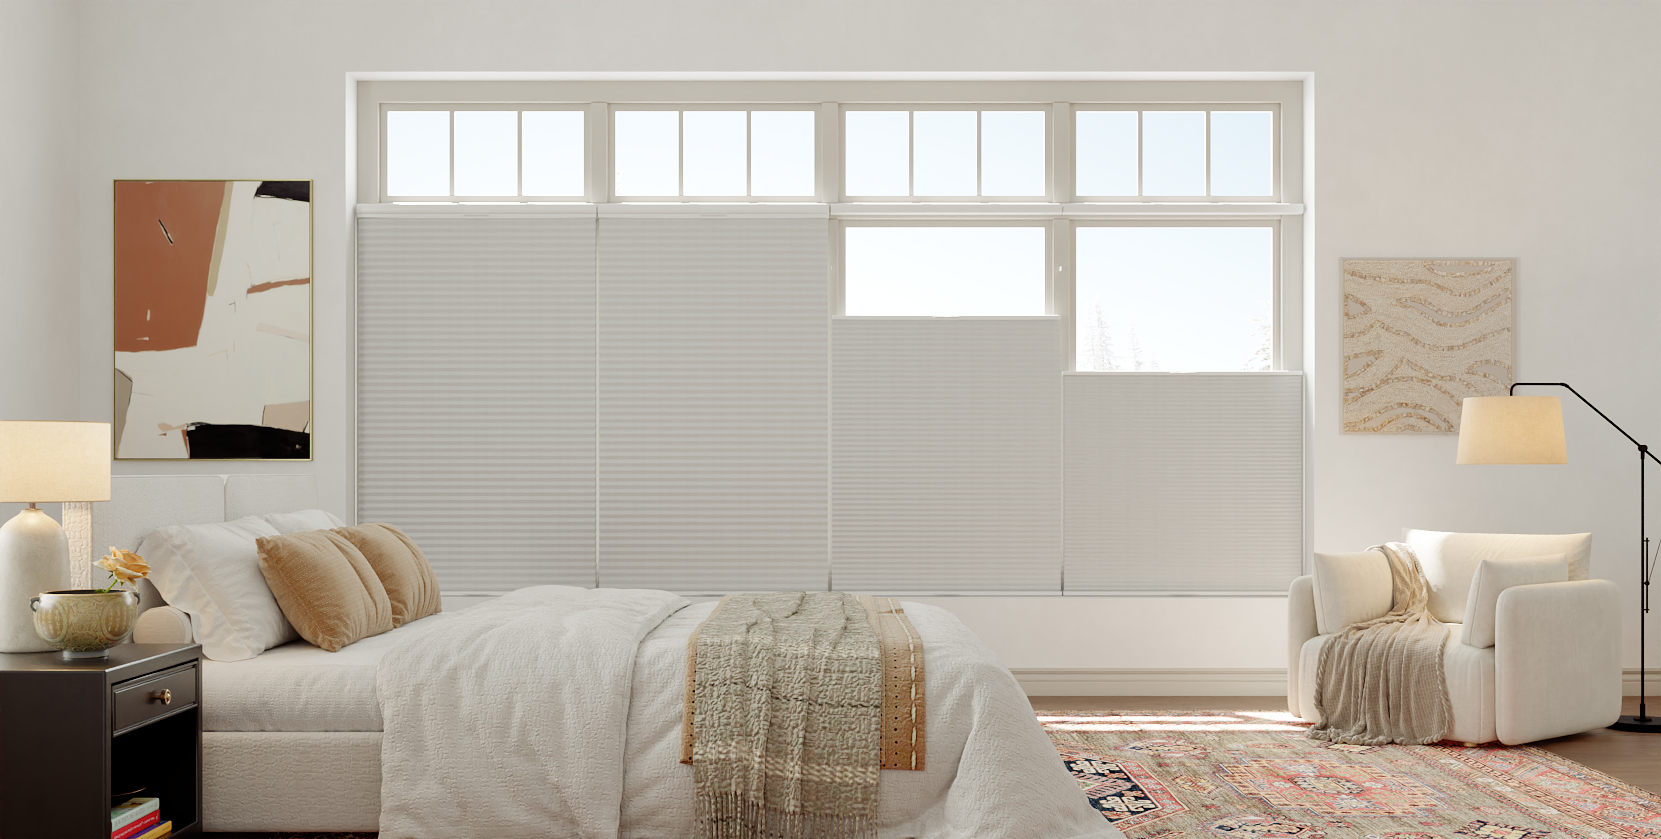
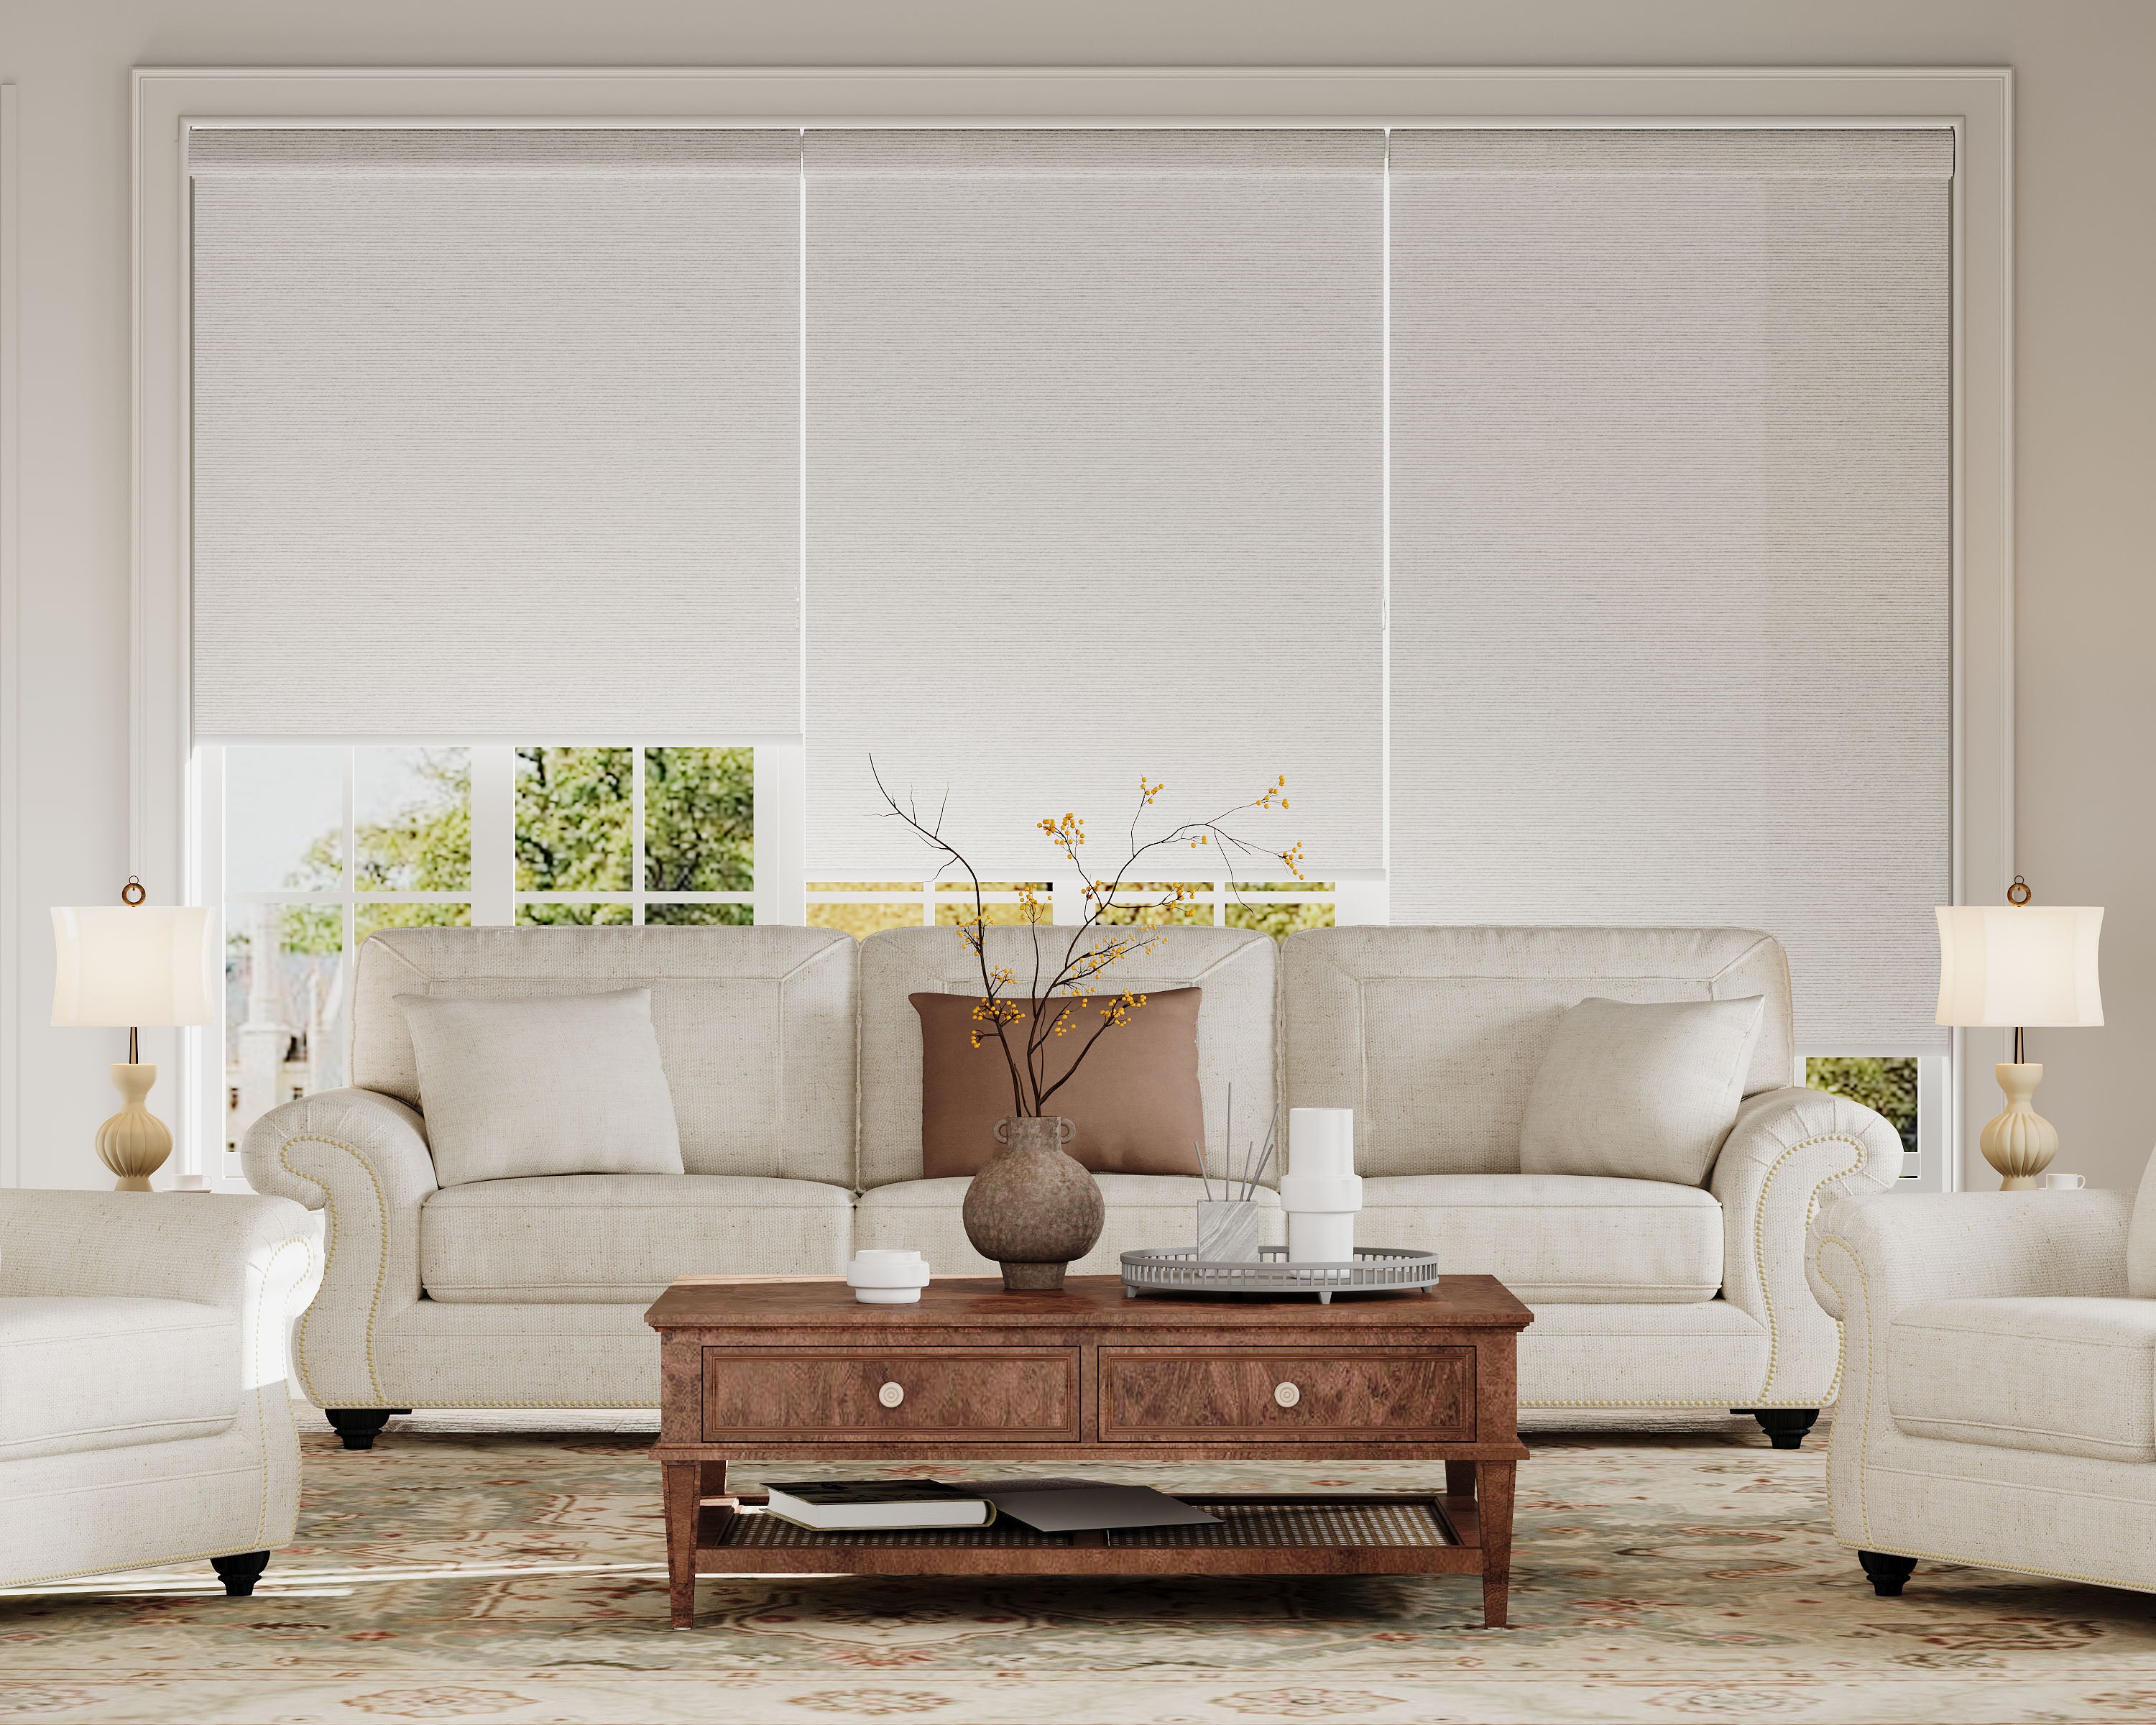
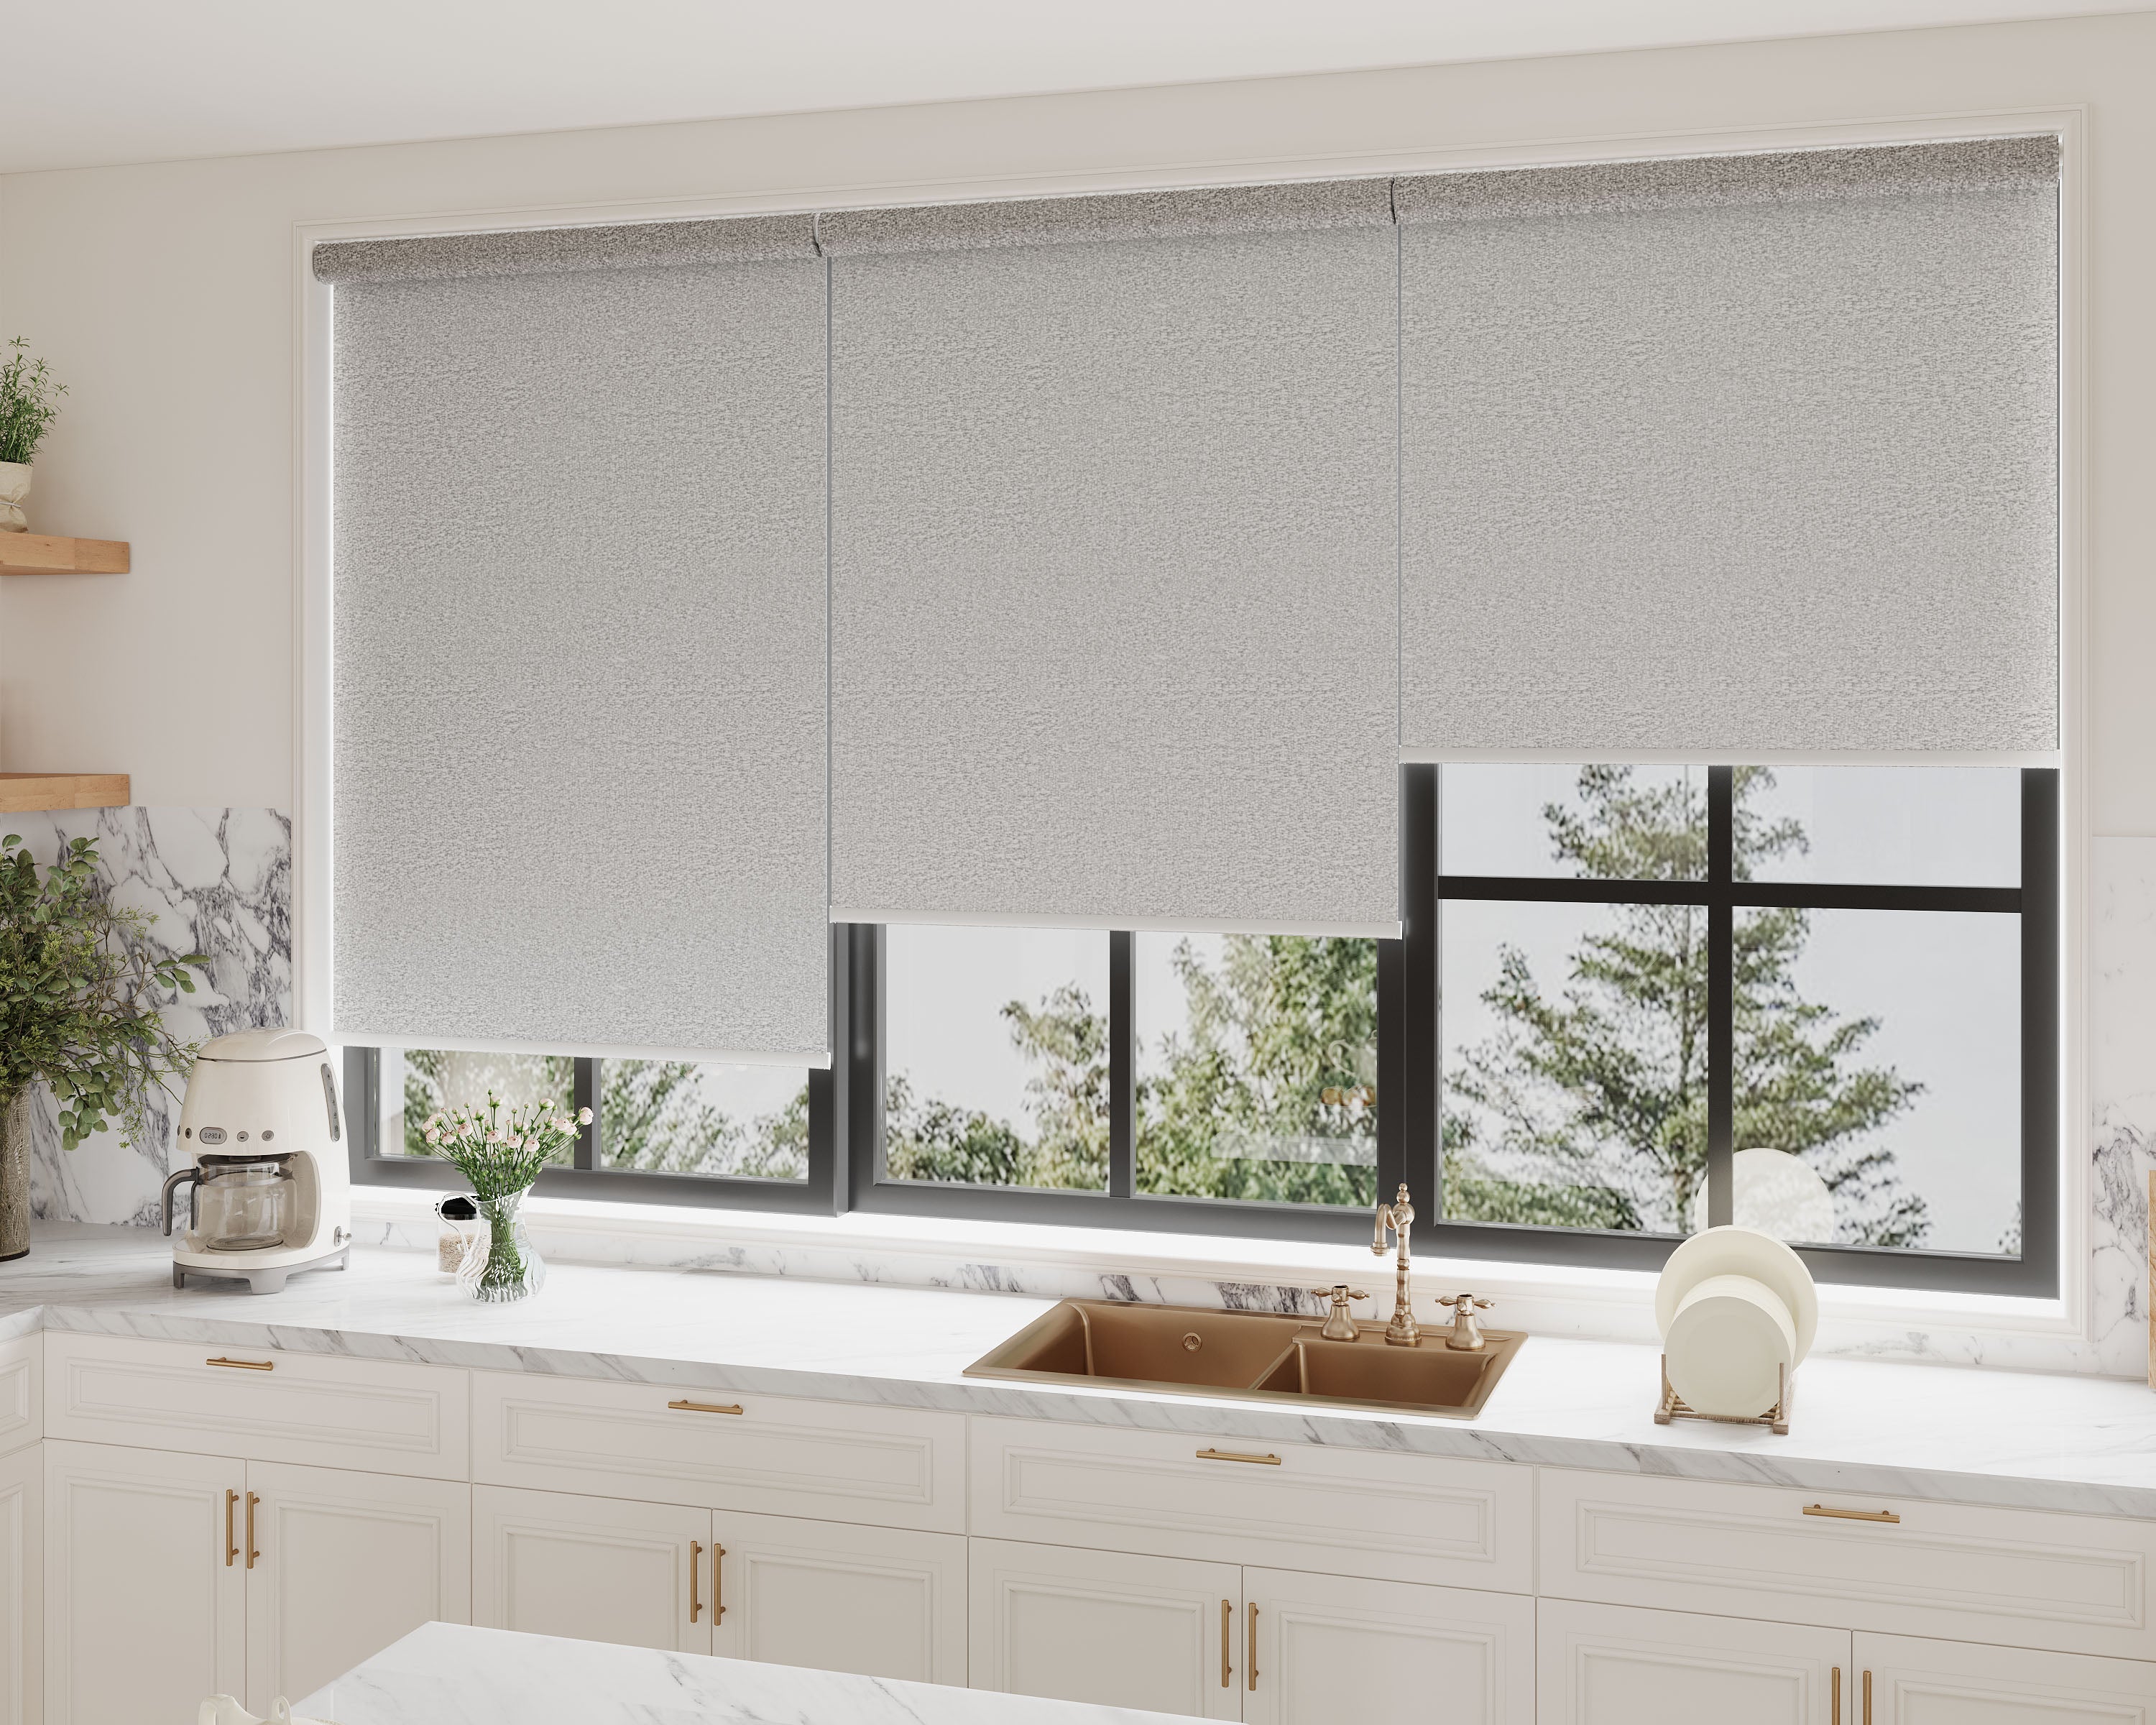
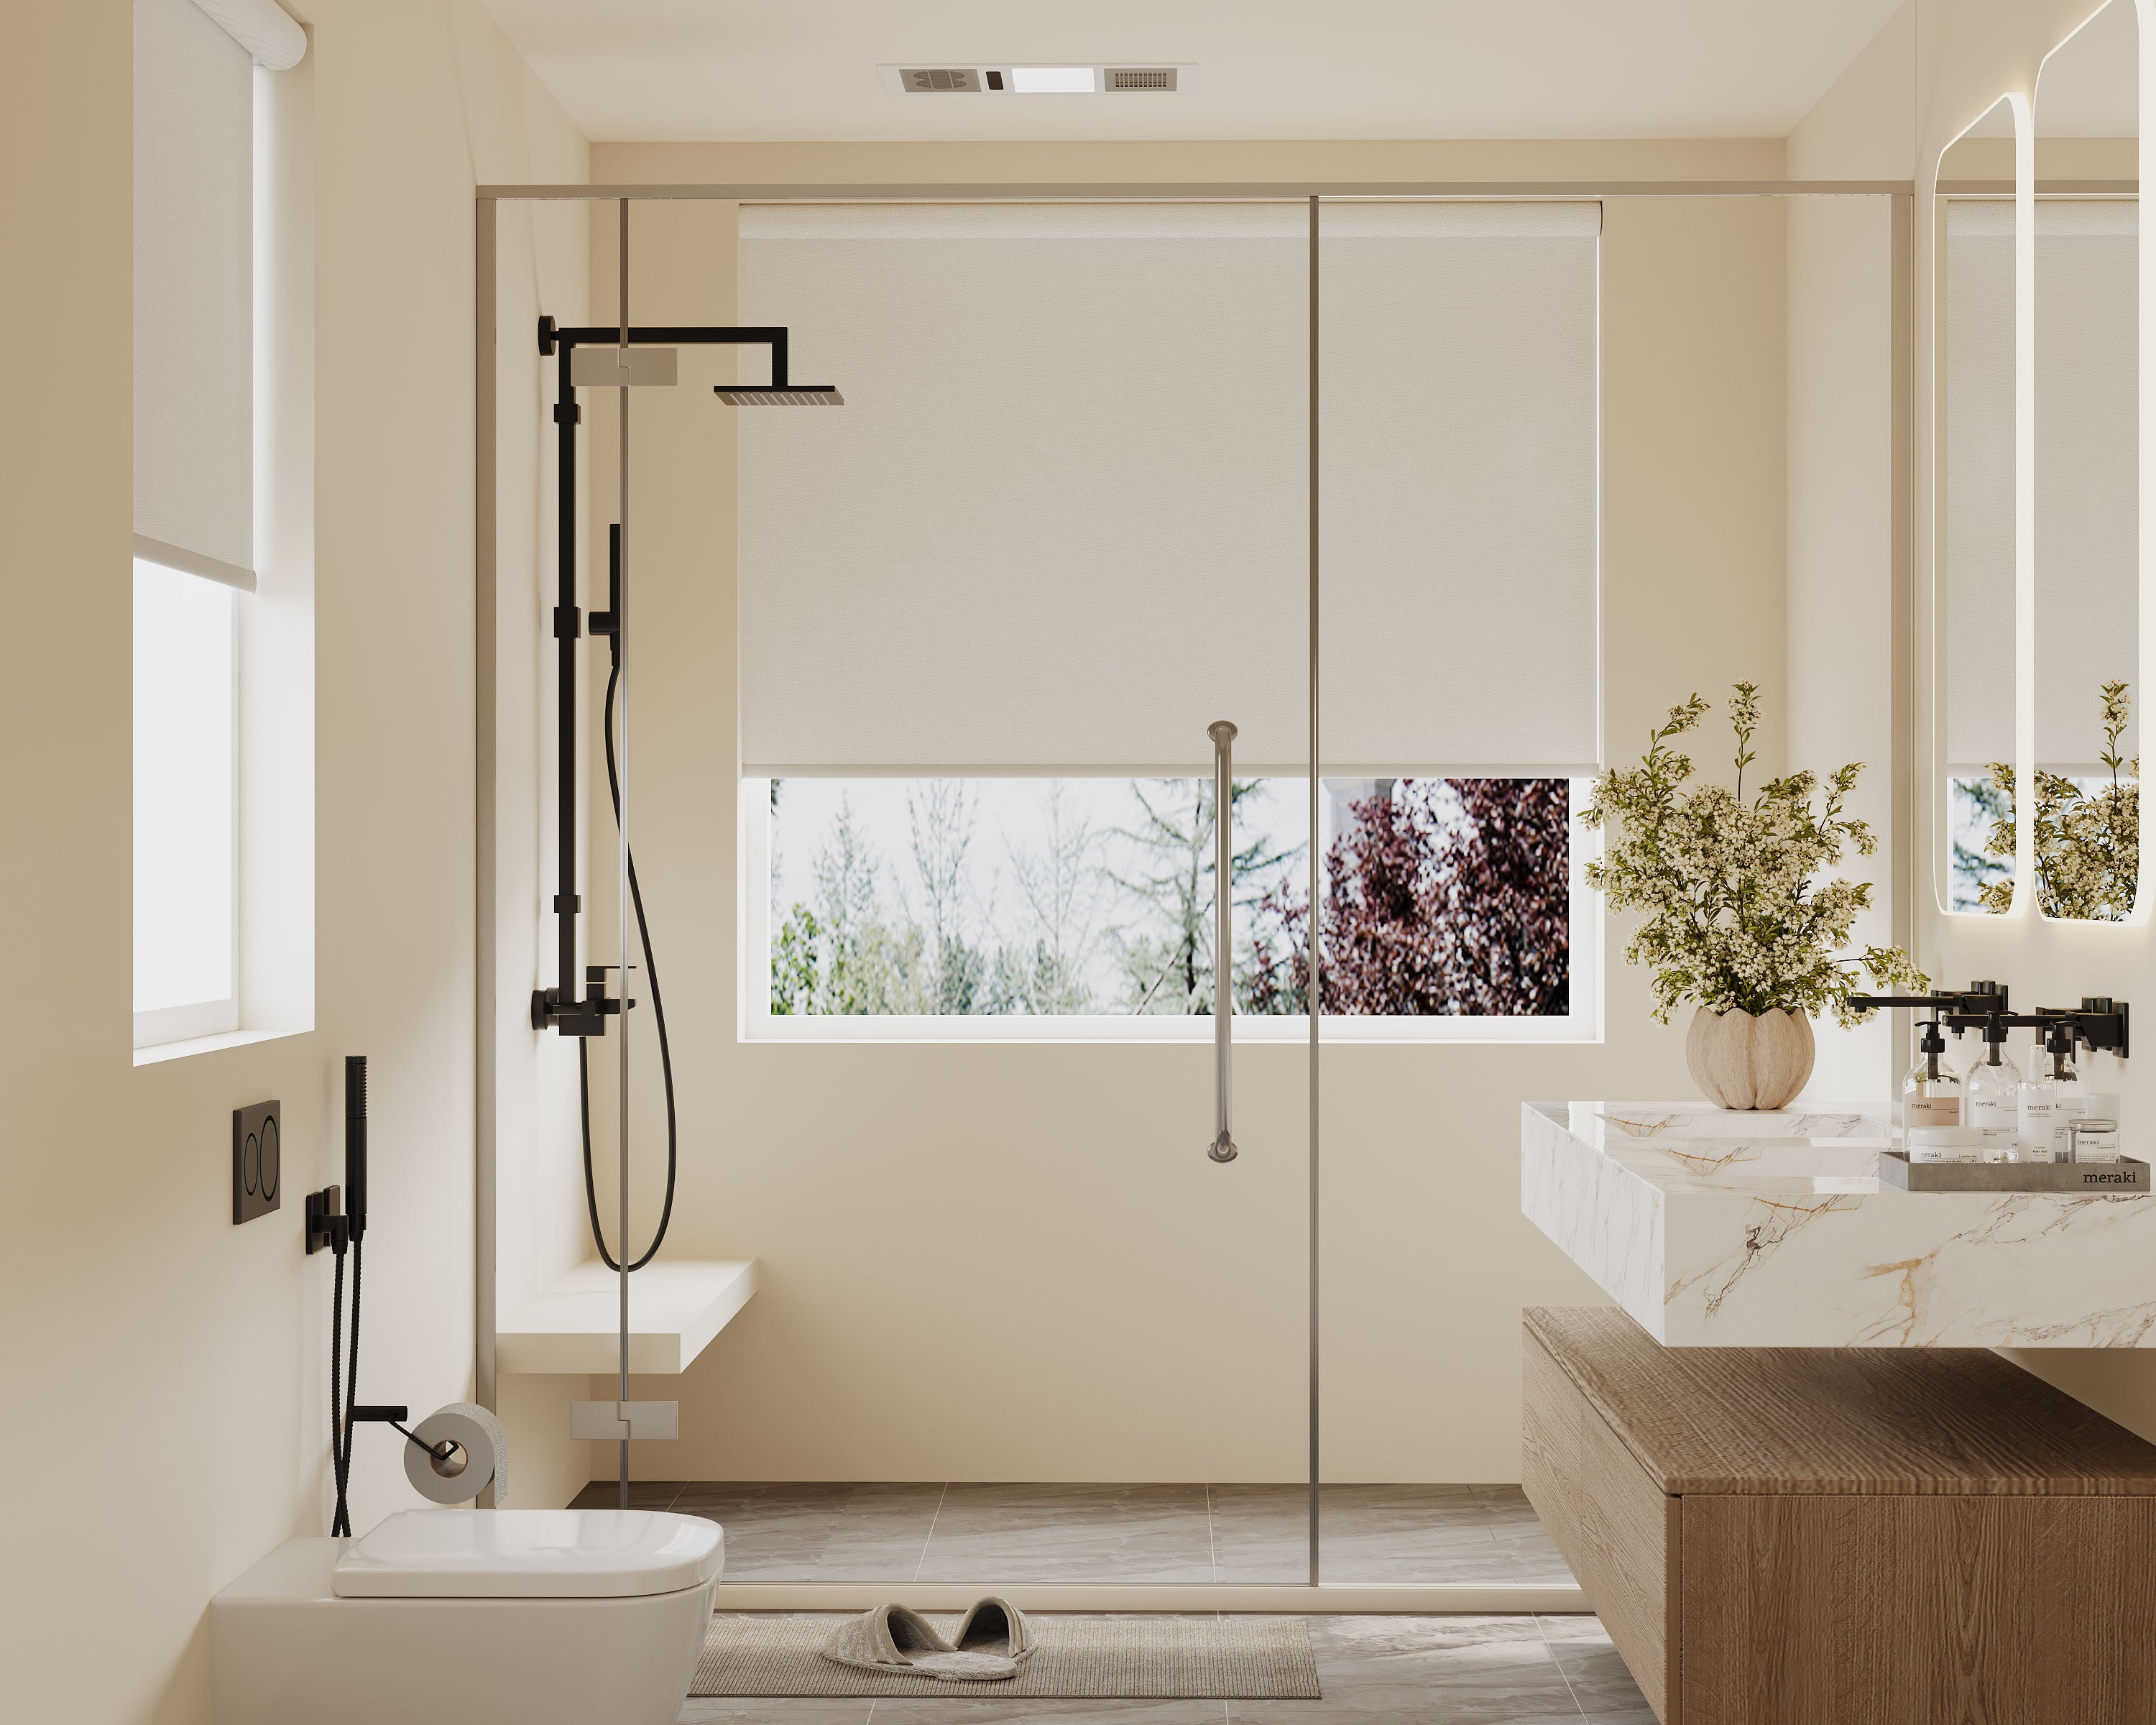
Explore our top collections, including Roller Shades, Zebra Shades, and Blackout Shades.
Managing sunlight at home doesn’t have to mean wrestling with blinds all day. With outdoor temperature sensors, we can trigger our shade positions automatically and keep things comfortable—no effort required. Imagine just hanging out while the shades quietly move on their own when it gets too hot outside.
We get better indoor temperatures, shield our furniture from harsh sun, and add a modern touch to our spaces. With a few practical tips and some clever tech, automating shade positions is more doable than it might seem.
Key Takeaways
- Automated shades react to real-time outdoor temperatures.
- Integration means more comfort and energy savings.
- Smart shade systems aren’t hard to set up or maintain.
How Outdoor Temperature Sensors Work
Outdoor temperature sensors grab real-time data for our smart home systems, which then decide when to adjust the shades. The accuracy really depends on the sensor’s type, where we put it, and whether we go wired or wireless.
Types of Outdoor Temperature Sensors
Most of us run into three main types: thermistors, thermocouples, and resistance temperature detectors (RTDs).
- Thermistors are the go-to for home setups—small, sensitive, and don’t cost much.
- Thermocouples react quickly but are usually found in industrial gear.
- RTDs are super accurate and stable, but you’ll pay more for that.
For shade projects, thermistors hit the sweet spot between price and performance. You’ll find them as stand-alone sensors or in weather station kits.
Sensor Placement for Accurate Readings
Where we put the sensor matters a lot. If it’s in direct sun or near something hot, the readings will be off.
For best results:
- Mount at about eye level (5–6 feet up)
- Pick a shaded spot, but not under a hot roof overhang
- Make sure air moves freely around it
If the sensor bakes in the sun, it’ll read too high and the shades will close when we don’t want them to. Also, keep it away from sprinklers and vents—water and hot air mess up the data.
Wireless vs Wired Sensor Options
Wireless sensors are a breeze to install—no drilling or snaking wires. They run on batteries, so we’ll need to swap those out every so often.
Wired sensors never need batteries and usually give more stable readings, but installation can be a pain, especially in older homes.
Here’s a quick look:
| Feature | Wireless | Wired |
|---|---|---|
| Installation | Easy, no drilling | Needs wiring |
| Maintenance | Replace batteries | Minimal |
| Reliability | Possible signal issues | Less interference |
| Cost | Usually higher | Lower sensor price |
Most folks lean wireless for the convenience, especially in smaller spaces. If you want a “set it and forget it” system and don’t mind the hassle, wired might be worth it.
Integrating Sensors with Automatic Shade Systems
Pairing outdoor temperature sensors with motorized shades can make any window a smart climate-control tool. To really get this working, we need to check which technologies play nice together and how to set up the automation.
Compatible Smart Shade Technologies
Not all smart shades work with sensor triggers, so it’s worth checking before you buy. Some top brands—Lutron Serena, IKEA FYRTUR, Soma Smart Shades—support temperature and weather sensors right out of the box or with easy add-ons.
Here’s a quick comparison:
| Shade Brand | Works with Sensors? | Required Hub/Bridge |
|---|---|---|
| Lutron Serena | Yes | Lutron Caséta Bridge |
| IKEA FYRTUR | With Zigbee sensors | Zigbee Gateway |
| Soma Smart Shades | Yes | Soma Connect |
| Hunter Douglas | Yes | PowerView Hub |
It’s smart to look for shades with open APIs, Zigbee or Z-Wave, or built-in support for HomeKit, SmartThings, or Alexa.
Connectivity and Communication Protocols
Getting sensors and shades to talk comes down to the protocol. Most outdoor sensors use Zigbee, Z-Wave, Wi-Fi, or Bluetooth.
Zigbee and Z-Wave are favorites—they’re reliable and don’t use much power. They build mesh networks, so the more devices, the better. Wi-Fi sensors are easy to add but can hog bandwidth and need more juice. Bluetooth is simple but doesn’t reach far and sometimes struggles through walls. Some brands use their own protocols, so double-check compatibility before you buy.
Here’s how the protocols compare:
| Protocol | Range | Power Usage | Mesh Network | Common Uses |
|---|---|---|---|---|
| Zigbee | 10-100m | Low | Yes | Sensors, Lighting |
| Z-Wave | 30-100m | Low | Yes | Shades, Security |
| Wi-Fi | 30-50m | Moderate | No | Cameras, Hubs |
| Bluetooth | 5-10m | Low | No | Short-Range Sensors |
Setting Up Sensor-to-Shade Automation
Hooking up sensors to shades usually means creating rules or “scenes” in your smart home hub or app. For example: If outdoor temp goes above 85°F, close the shades.
Modern hubs like SmartThings, Home Assistant, or Apple’s HomeKit have user-friendly tools for this. We pair both devices to the hub, then use the automation tools to set triggers and actions. Some platforms even let us get fancy—like closing shades only if it’s both hot and sunny.
A quick tip: test your automations at different times and weather. Real life always throws a curveball—clouds, weird sensor spots, or sudden heat can mess with routines.
Triggering Shade Positions Based on Temperature
Automating shade positions with outdoor temperature sensors keeps rooms cooler and the light just right. This all depends on picking the right temperature thresholds and setting up zones in the home.
Configuring Temperature Thresholds
We need to decide what temperature triggers the shades. It helps to look at daily patterns and how each room’s used. Maybe the living room closes at 28°C, but the bedroom waits until it’s hotter since it’s mostly used at night.
Most smart hubs let us set these numbers for each room or group. A basic setup might look like:
| Area | Close Shade (°C) | Open Shade (°C) |
|---|---|---|
| Living Room | 28 | 22 |
| Kitchen | 30 | 24 |
| Bedroom | 26 | 20 |
Tweaking these values with the seasons usually gets the best results.
Programming Shade Responses
Once we set the thresholds, we program the system to react. Most platforms offer simple “if temp exceeds X, do Y” logic. We can use their apps, built-in controls, or third-party platforms like Home Assistant or SmartThings.
Some shades let us set partial openings—so we’re not stuck with all or nothing. For example, close halfway when it’s warm, and all the way if it’s blazing. Scheduling helps too, so shades only move during certain hours.
Always test the automation on regular days before expecting it to handle a heatwave. Otherwise, you might end up living in a cave at noon.
Multi-Zone Shade Control
Temperature jumps around the house, especially if the sun hits some windows harder. Multi-zone control lets us move shades by room or group, so east windows don’t close just because the west side’s roasting.
This saves wear on motors and keeps plants happy in the morning sun. Usually, we set up zones based on where the sensors are, either by physical spot or logical group in the app.
Zones can be simple or as complicated as you want:
- Zone 1: East windows (morning sun)
- Zone 2: South-facing living room (all-day sun)
- Zone 3: West bedrooms (afternoon heat)
Zoning keeps shade movements relevant and smooth for each space.
Benefits of Automated Shade Adjustment
Automating shade positions with outdoor temperature sensors gives us more control and comfort. It cuts energy use, protects our stuff, and honestly just makes life easier.
Energy Efficiency and Cost Savings
When shades move automatically in response to the weather, our heating and cooling don’t have to work as hard. That means lower utility bills—especially if you live somewhere with wild seasons.
Closing shades during hot afternoons blocks solar heat. In winter, opening them when it’s sunny lets us use free warmth instead of cranking the heater. The U.S. Department of Energy says smart shade management can cut cooling costs by up to 30 percent.
Here’s what it looks like:
| Shade Position | Season | Benefit |
|---|---|---|
| Closed midday | Summer | Reduces cooling demand |
| Open on sunny days | Winter | Captures solar heating |
| Timed adjustments | All year | Steadier temps indoors |
Enhanced Comfort and Lifestyle Perks
Automated shading keeps living spaces comfy, no matter what the weather’s doing. We don’t have to mess with cords or twist blinds every time the sun moves.
We can program shades for different times or personal preferences. Maybe the office needs shade in the afternoon, while the living room could use morning light.
It’s a small daily luxury that takes a chore off our list. The house feels smarter, more modern, and honestly, just more chill with these details handled for us.
Sun Protection for Interiors
Sunlight’s great, but over time, it’ll wreck your stuff. UV rays fade furniture, art, and floors faster than you’d think.
Automated shades protect valuables while still letting us enjoy sunlight when we want it. We can set things up to limit exposure during peak hours or when it’s hottest—whatever needs the most protection.
Being proactive here helps everything last longer and look better. It matters if you’ve invested in nice materials or have something one-of-a-kind.
Advanced Features for Shade Automation
We can take our shade automation up a notch with smart integrations and more user-friendly controls. These extras help us squeeze even more comfort and efficiency out of the system.
Weather Forecast Integration
Tapping into local weather data lets our automated shades make smarter, more proactive decisions. Instead of just reacting to what’s happening outside right now, they can look ahead—anticipating heatwaves or storms by pulling in real-time forecasts.
Say tomorrow’s supposed to be blazing hot. The system can lower the shades ahead of time, keeping rooms cooler and cutting down on air conditioning. Some practical perks:
| Forecast Feature | Practical Benefit |
|---|---|
| Rain alerts | Prevents outdoor blinds damage |
| UV index | Protects floors and furniture |
| Wind warnings | Avoids shade deployment in strong winds |
We get more protection for our interiors and save on energy, without having to constantly fiddle with the shades.
Mobile App and Voice Assistant Control
Mobile apps make it ridiculously easy to control our shades from anywhere—on the couch, at work, wherever. Most of these apps show us the current status, send notifications, and let us set up custom routines.
And if we’re into voice control, connecting to Alexa, Google Assistant, or Siri means we can just say, “Lower the dining room shades,” and it’s done. No remote, no hunting for our phone.
Some features worth mentioning:
- Scene settings: Move multiple shades with one tap.
- Real-time tweaks: Adjust to sudden weather changes.
- Voice controls: Handy when our hands are full or the phone’s missing.
This kind of convenience slides right into the smart home routines we already use for lights or thermostats.
Scheduling and Manual Override Options
Scheduling tools let us set shades to open and close at set times every day, so we don’t have to think about it. Rooms stay comfy, routines stay easy.
Manual override is a lifesaver. We can pause a routine, tweak things for guests, or handle weird weather—no digging through menus.
Some common options:
- Preset routines: Open at sunrise, close at noon, etc.
- Temporary overrides: Skip the schedule for holidays or parties.
- Easy reset: Get back to normal with a tap or button.
It’s straightforward, so everyone in the house can get comfortable, whether they’re into gadgets or not.
Practical Tips for DIY Setup
Setting up outdoor temperature sensors to control our shades? Totally doable, as long as we’ve got the right tools and a bit of patience. A little troubleshooting after setup keeps the headaches away.
Essential Tools and Materials
Let’s gather what we need before we start. Quick checklist:
- Outdoor-rated temperature sensor (Wi-Fi or Zigbee/Z-Wave, depending on our smart home setup)
- Smart shade controller that works with our motorized shades
- Wires, connectors, mounting hardware
- Screwdriver set, drill, level
- Smartphone or tablet for setup
Zip ties or cable clips keep things tidy. Make sure everything’s weatherproof if it’ll be outside. If we’re using a hub, double-check the network range. Best to pick a spot with decent airflow and some shade for accurate readings.
Step-by-Step Installation Guidance
First up, mount the temperature sensor on an outside wall—not in direct sun or near sprinklers. Use anchors and screws, about four feet off the ground.
Next, connect the sensor to our smart home network using the manufacturer’s app. Once it’s online, link it to the shade controller and set up an automation rule—like, “If it gets above 80°F, lower the shades.”
Most controllers make programming easy in their apps. Test things by warming or cooling the sensor (a hair dryer or ice pack works) and watch if the shades respond. If not, double-check Wi-Fi, hub connections, and automation rules.
Troubleshooting Common Problems
Sometimes sensors read wrong or drop their connection. If the temperature seems off, maybe the sensor’s in the sun or too close to a heat source—try moving it.
Losing connection? Could be a range issue. Maybe shift the router or add a mesh node. If the shades don’t move, check if the automation rule is active and the controller’s paired.
If things really won’t cooperate, reboot the devices and app. As a last resort, a factory reset can work wonders. Honestly, sometimes just taking a break and coming back with fresh eyes (and coffee) helps.
Design Considerations for Stylish Automation
Adding smart stuff like temp-triggered shades shouldn’t mean sacrificing style. We want tech that blends in and still does the job.
Matching Sensors with Modern Decor
Sensors don’t have to look clunky. Lots of brands now make them in matte finishes, soft colors, and sleek shapes that fit right in with modern interiors. You can find them in white, black, even brushed metal to match fixtures and hardware.
Here’s a quick look:
| Finish | Works Well With |
|---|---|
| Matte White | Minimalist, Scandinavian |
| Brushed Nickel | Modern Industrial |
| Matte Black | Loft, Urban, Art Deco |
Picking a sensor that matches (or tastefully contrasts) our decor keeps things cohesive. Got wood accents? Some sensors have wood casings or skins. Subtle indicator lights or touch surfaces give a techy vibe without being in-your-face.
Discreet Installation Ideas
We don’t want sensors sticking out like a sore thumb. Mounting them high, above door frames, or hiding them behind plants helps them disappear while still working right.
A few tricks:
- Recess mounts sink the sensor into drywall.
- Tuck sensors under eaves or awnings for a shadowed, low-profile look.
- Paint the casing (carefully!) to match the wall.
Surface-mounted sensors can look like minimal wall accents if you get the placement right. Renters can use adhesive mounts—no drills, no damage, still out of sight.
Maintenance and Long-Term Reliability
A little maintenance keeps outdoor temperature sensors working right and our shades running smoothly. Regular upkeep helps them last longer, even in tough weather.
Cleaning and Upkeep Tips
Just wipe the sensor’s housing with a soft, damp cloth every month or so. For stubborn grime, use a mild soap solution—skip harsh cleaners to avoid damage.
Watch for cobwebs, leaves, or bird droppings that might block the sensor. Check mounting brackets to make sure nothing’s come loose, especially after storms or gardening. Glance at the wiring now and then for cracks or damage.
A basic checklist:
- Wipe the housing
- Check sensor alignment
- Make sure it’s mounted tight
- Inspect wires and connections
- Clear away debris
Clean sensors mean accurate readings—if we want the shades to move when they should, this step’s not optional.
Handling Extreme Weather
Outdoor sensors really get tested by wild weather—rain, snow, heat, you name it. If we’re buying new, go for a weather-resistant (ideally IP65-rated) model.
After a big storm or heatwave, check for water inside the housing, condensation, or cracks from hail. In cold climates, insulation pads or covers help prevent freezing.
For hot climates, keep sensors shaded but ventilated—they’ll overheat in direct sun. If lightning’s common, ground the mount and use surge-protected wiring.
And don’t forget to swap out batteries before winter hits, so wireless sensors don’t quit on us when we need them most.
Future Trends in Smart Shade Technology
Smart homes are getting cleverer, and our shades aren’t falling behind. The latest tech is all about adapting to us—adjusting in real time, often before we even think about it.
Deeper integration with Alexa, Google Home, and Apple HomeKit is big. We can set up routines like “Good Morning” or “Movie Night” that move the shades, tweak the lights, and adjust the thermostat together.
Machine learning is popping up too. Some systems watch our habits and adjust shade timing to keep things comfy and efficient—closing earlier on hot days, opening later in winter, that sort of thing.
Cool features on the horizon:
- Sensors for glare and UV, not just temperature
- Solar-powered, battery-free shades
- Seamless weather forecast integration
- Shades that learn our routines and suggest tweaks
Manufacturers are finally paying attention to looks, too. More fabrics, more colors, and sleeker hardware are showing up—so we don’t have to pick between tech and style.
| Feature | Today | Coming Soon |
|---|---|---|
| Sensor Types | Temperature | UV, Light, Air Quality |
| Power | Wired, Battery | Solar-Powered |
| Integration | Basic Smart Home Platforms | Deeper Scene Automation |
| Design Choice | Limited | Wide Fabrics, Minimalist Design |
Frequently Asked Questions
Outdoor temperature sensors can automate shade positioning and help us save energy at home. Pairing smart tech with blinds gives us better climate control and keeps our spaces comfortable.
What's the smartest way to integrate temp sensors with my automatic blinds?
Best bet: use a hub or smart home controller that talks to both your sensors and blinds. Platforms like Home Assistant, SmartThings, and Hubitat let us set up rules so shades move automatically when the sensor hits a certain temperature.
Can I use my smartphone to adjust my shades based on outdoor temps?
Absolutely. Most smart blind and sensor setups have mobile apps. We can check readings, set schedules, or trigger shade moves right from our phone. Some apps even offer notifications or voice control with Alexa or Google Assistant.
Are there weather-resistant temperature sensors for my smart home setup?
Definitely go for outdoor-rated models. Look for sensors labeled waterproof or made for outdoor use, like the Aqara Weather Sensor or Fibaro Z-Wave sensor. These handle rain, sun, and wild temperature swings much better than indoor ones.
Which systems pair best for energy-efficient, temperature-driven shade adjustments?
Systems like Lutron Serena, Somfy, and IKEA Fyrtur often play nicely with smart home hubs. Pair those with compatible sensors (Zigbee or Z-Wave, for example) and you’ll get solid, responsive automation. Tight integration is what really makes shades react quickly to weather changes.
How do I ensure privacy with automated shades while taking temperature into account?
Set up automation rules that consider both outdoor temperature and time of day—for example, shades down during the hottest hours and after dark. Some platforms also let us add motion sensors, so shades close when someone’s home, even if the weather says otherwise.
Looking for a DIY guide: setting up temp sensors for shade automation, got any tips?
First off, grab an outdoor temperature sensor that actually works with your motorized shades—compatibility saves a ton of headaches. You’ll need a hub that lets you make your own rules, otherwise automation gets frustrating fast. Make sure the sensor’s close enough to the hub; wireless range can be sneaky. Keep the firmware updated—annoying, but worth it. I’d recommend doing your initial setup on a clear, predictable day. That way, you’ll spot any weird issues before the weather gets wild.

