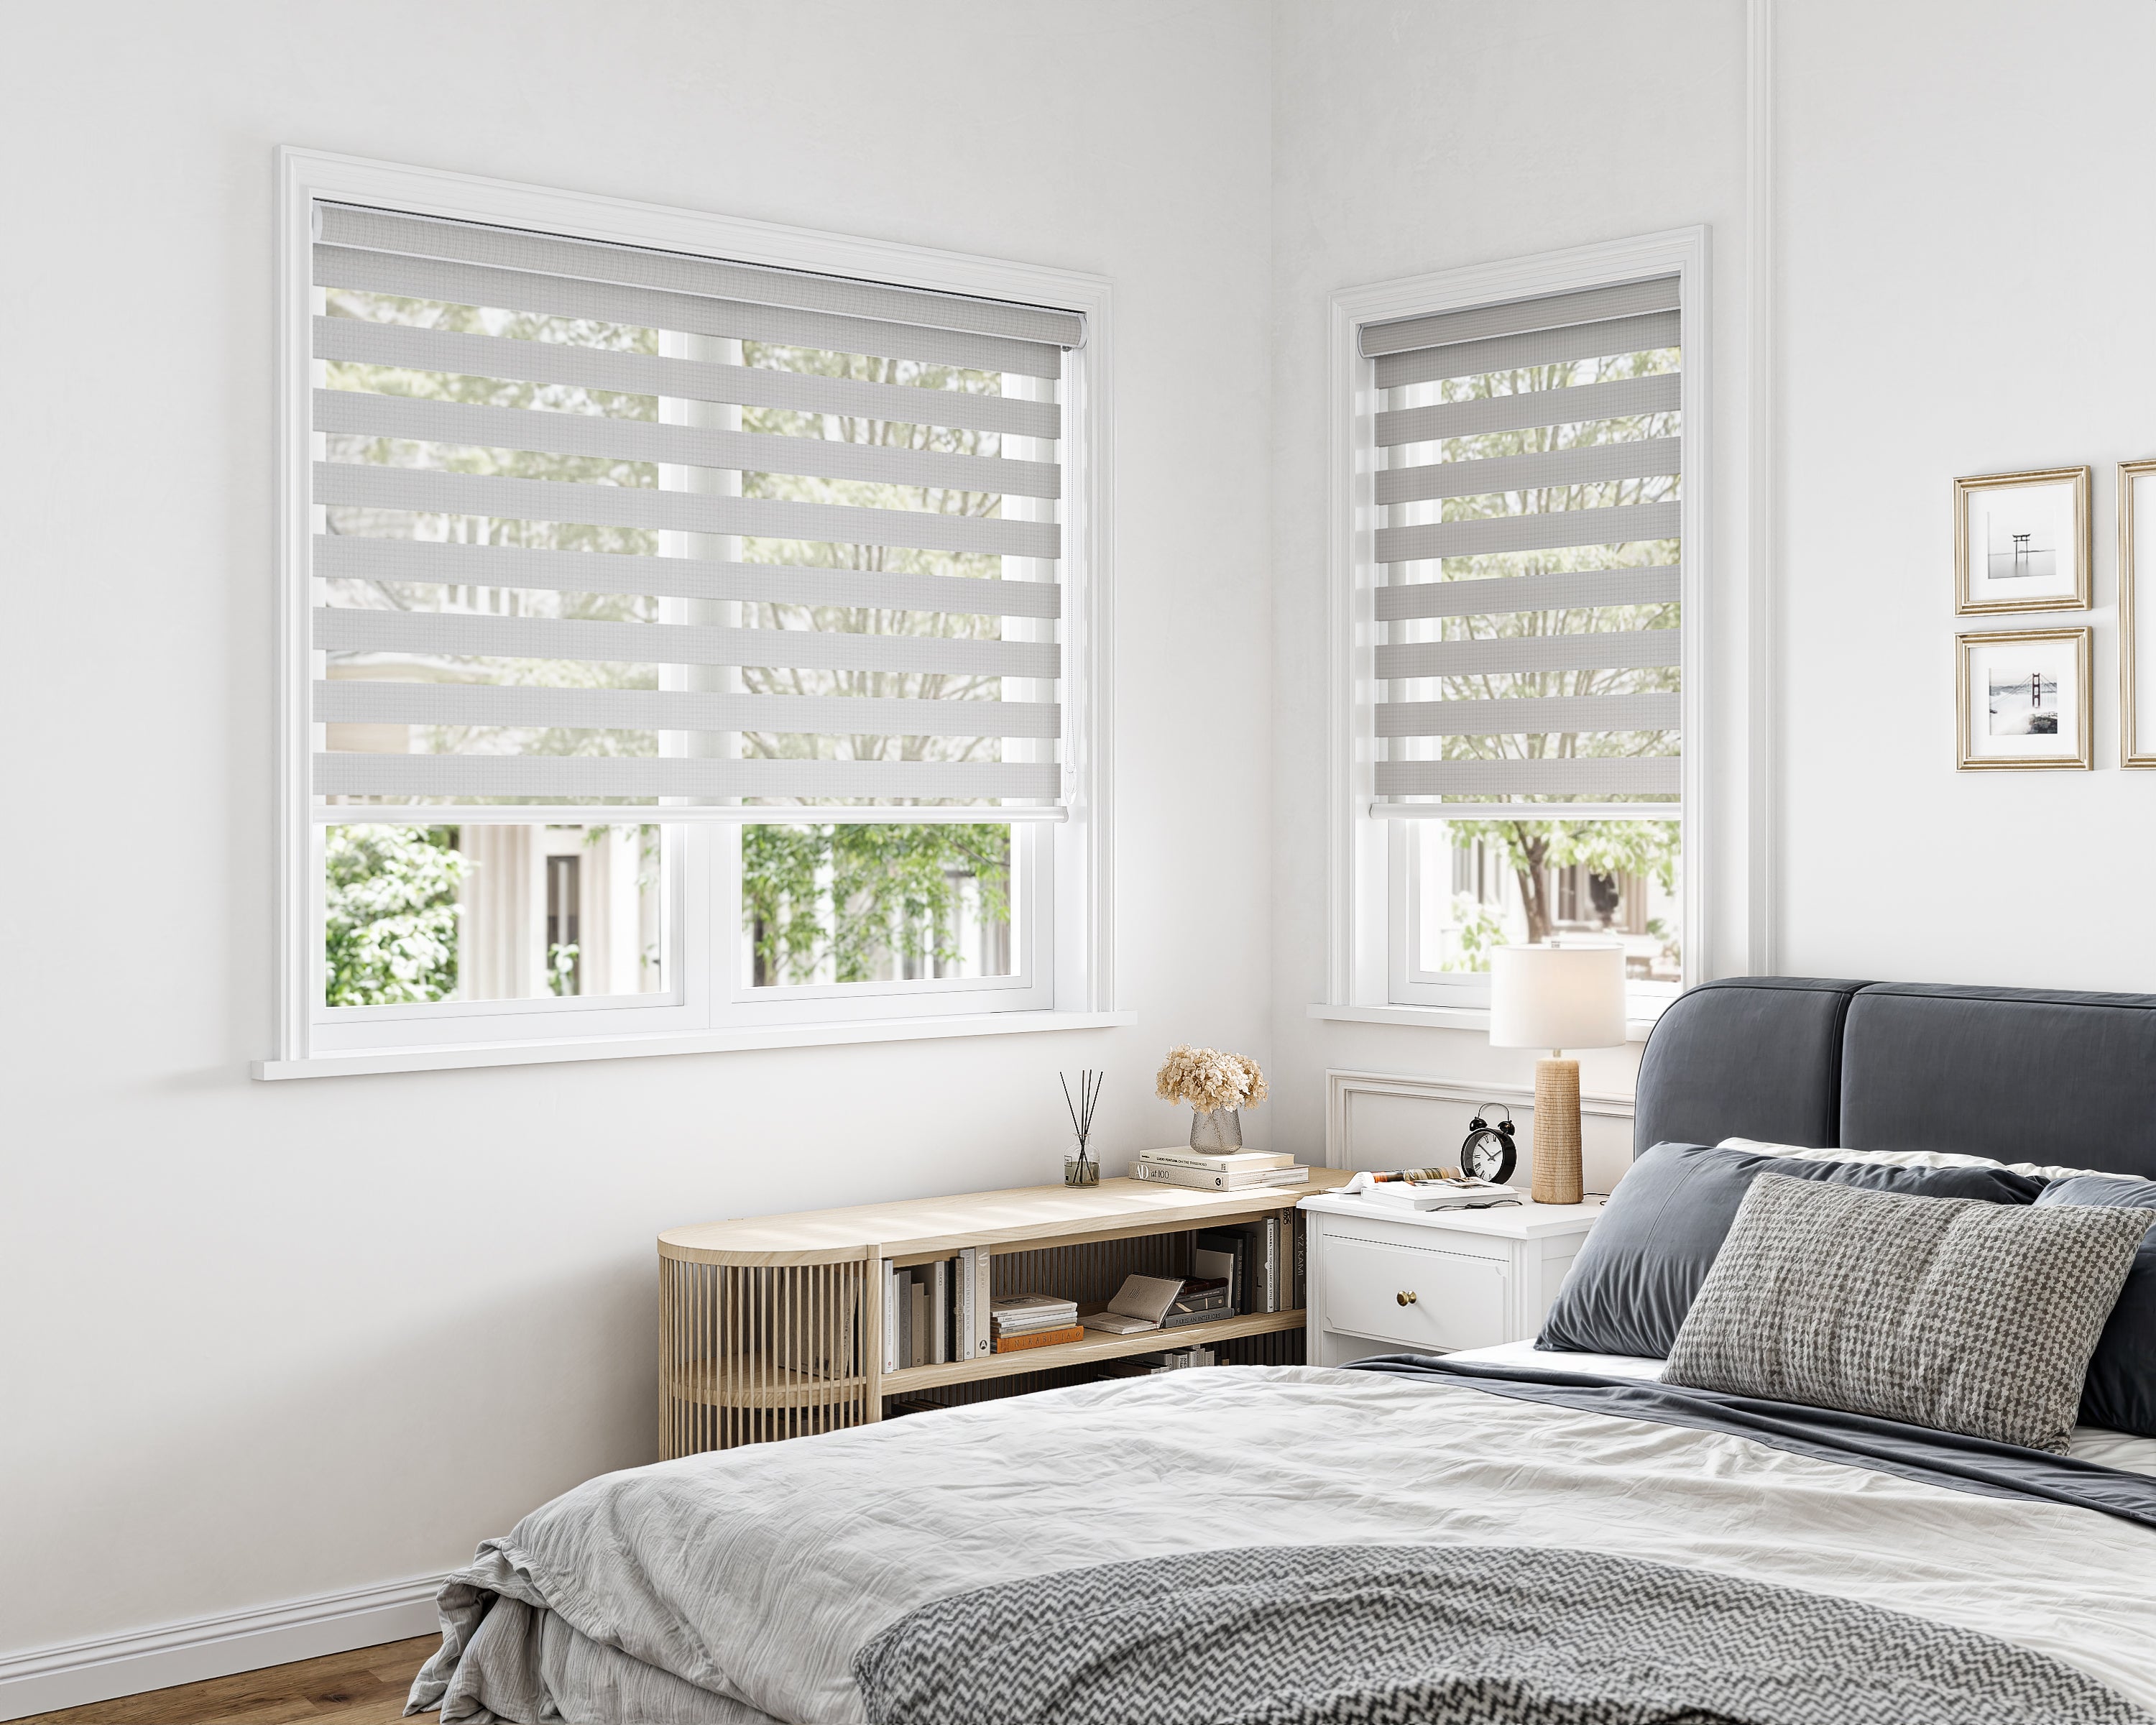
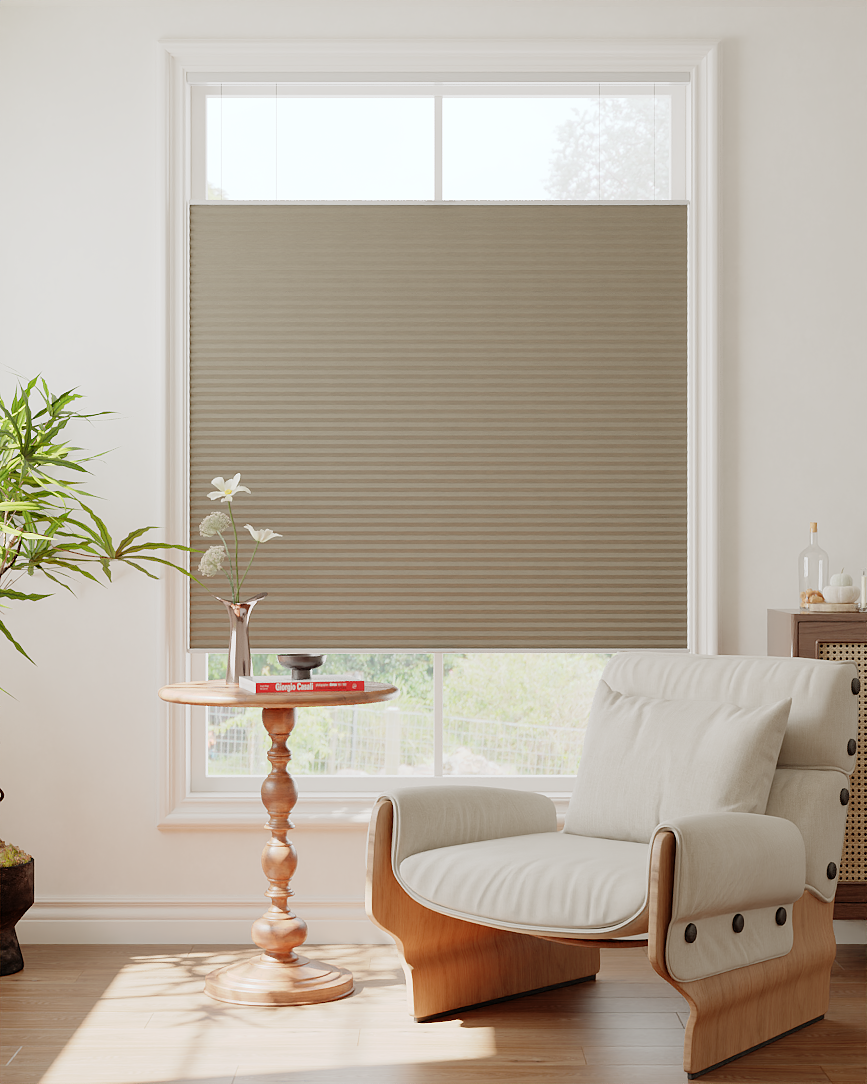
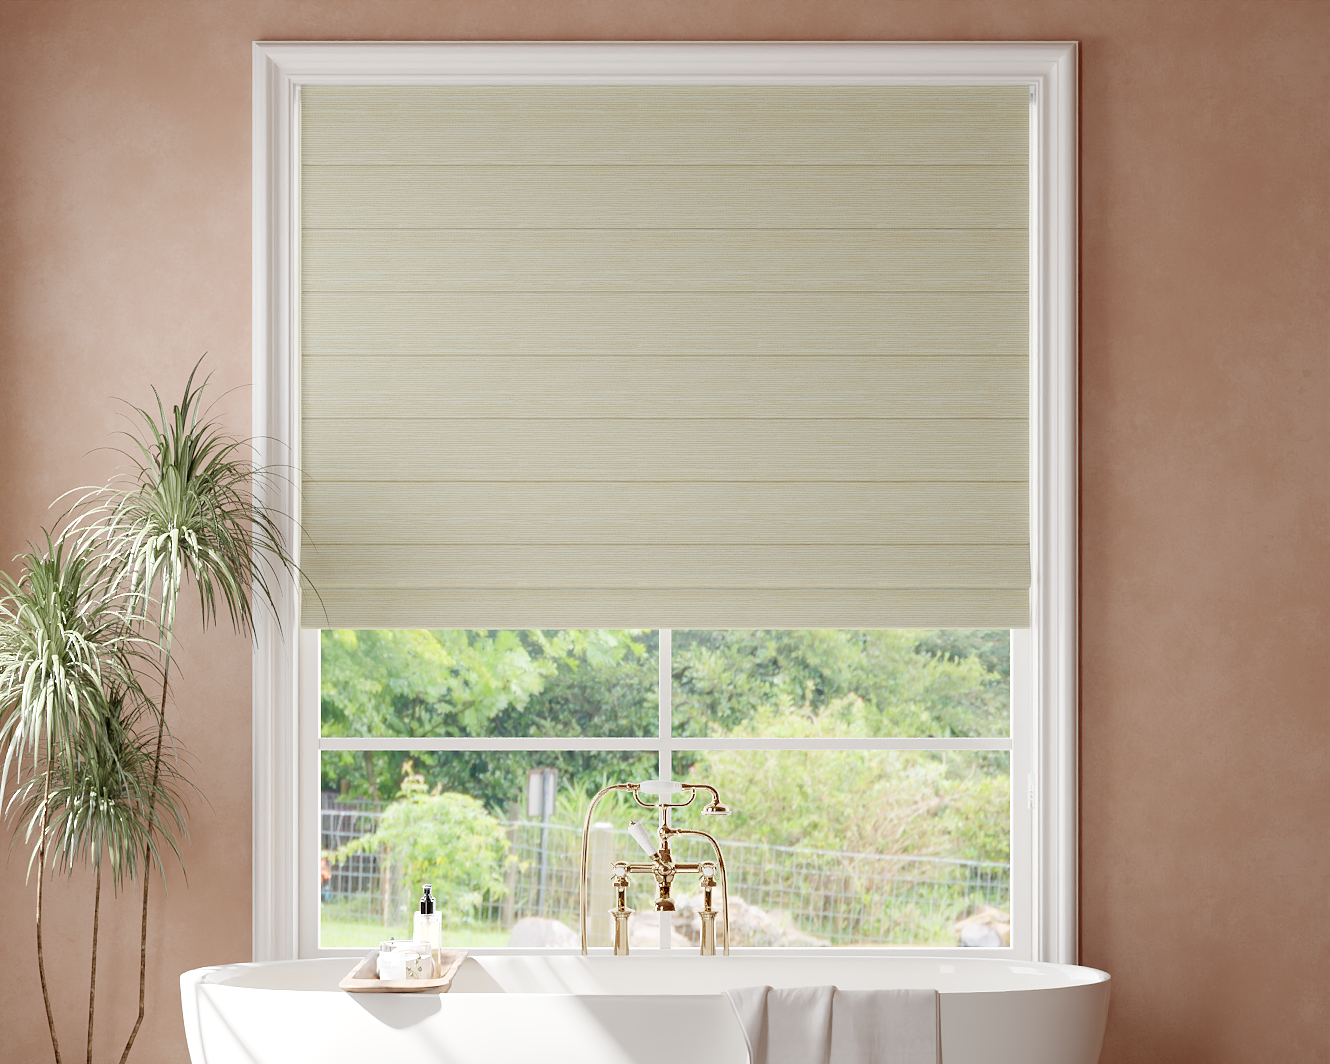
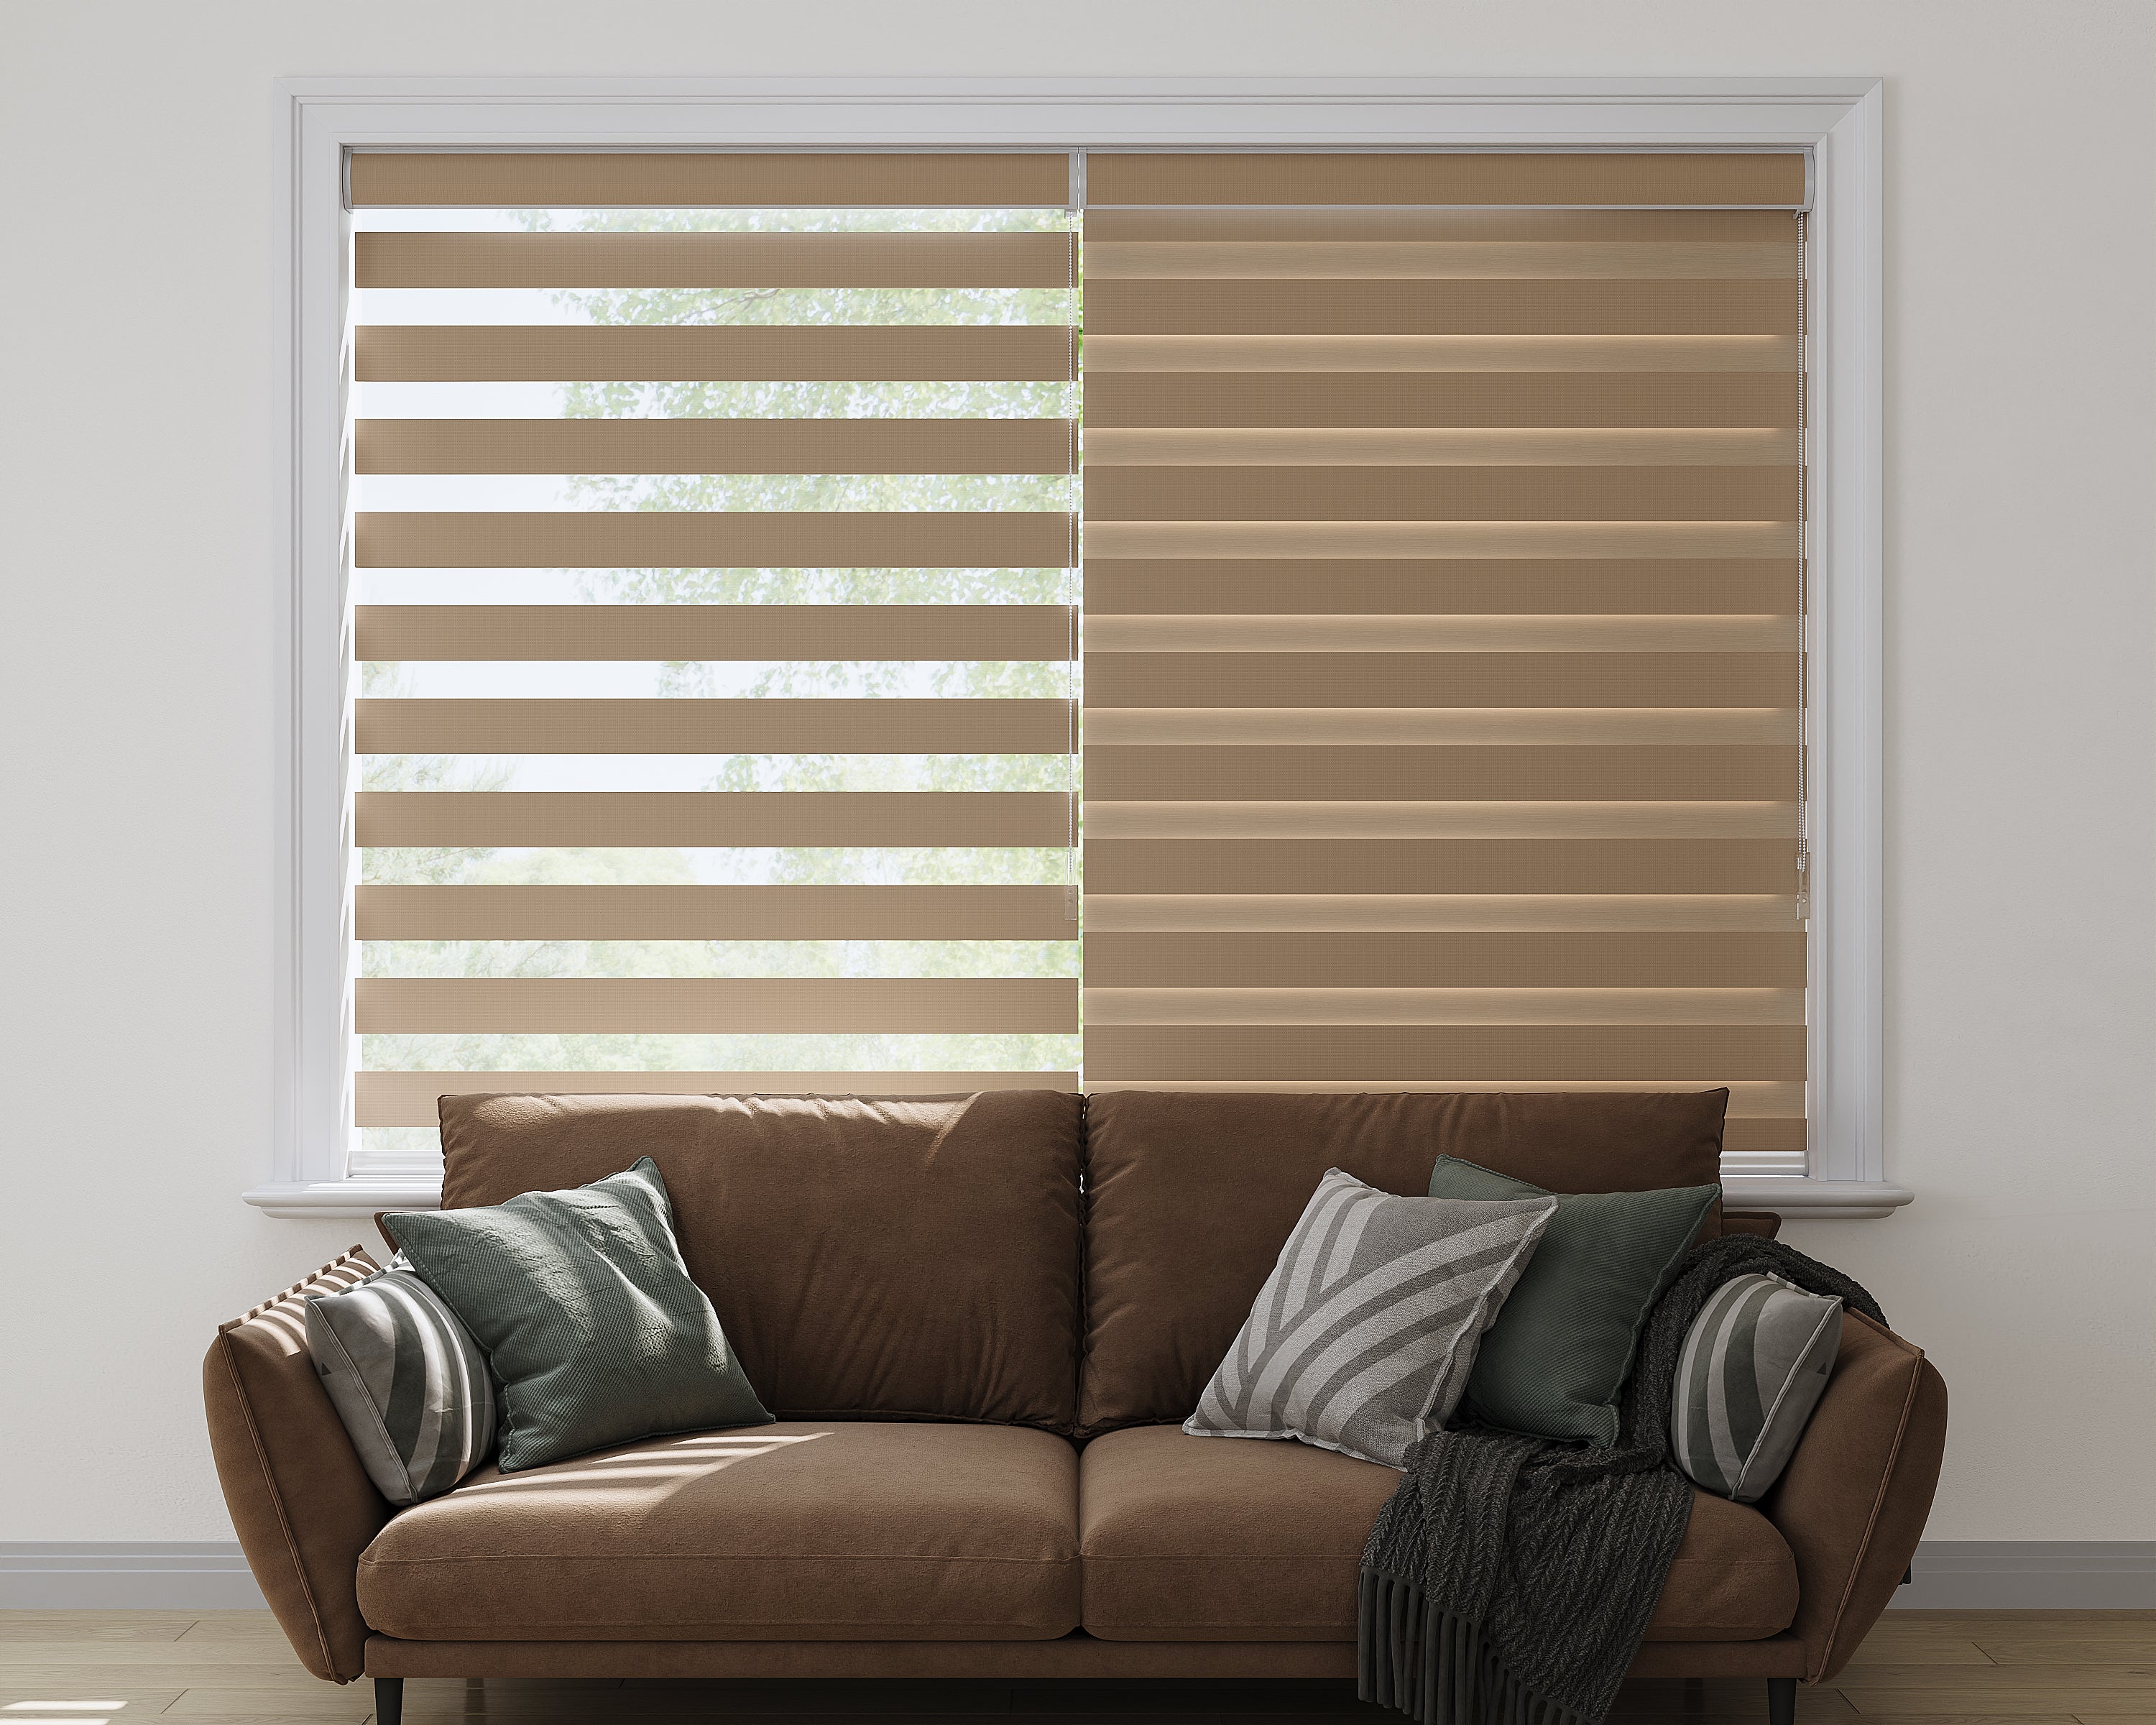
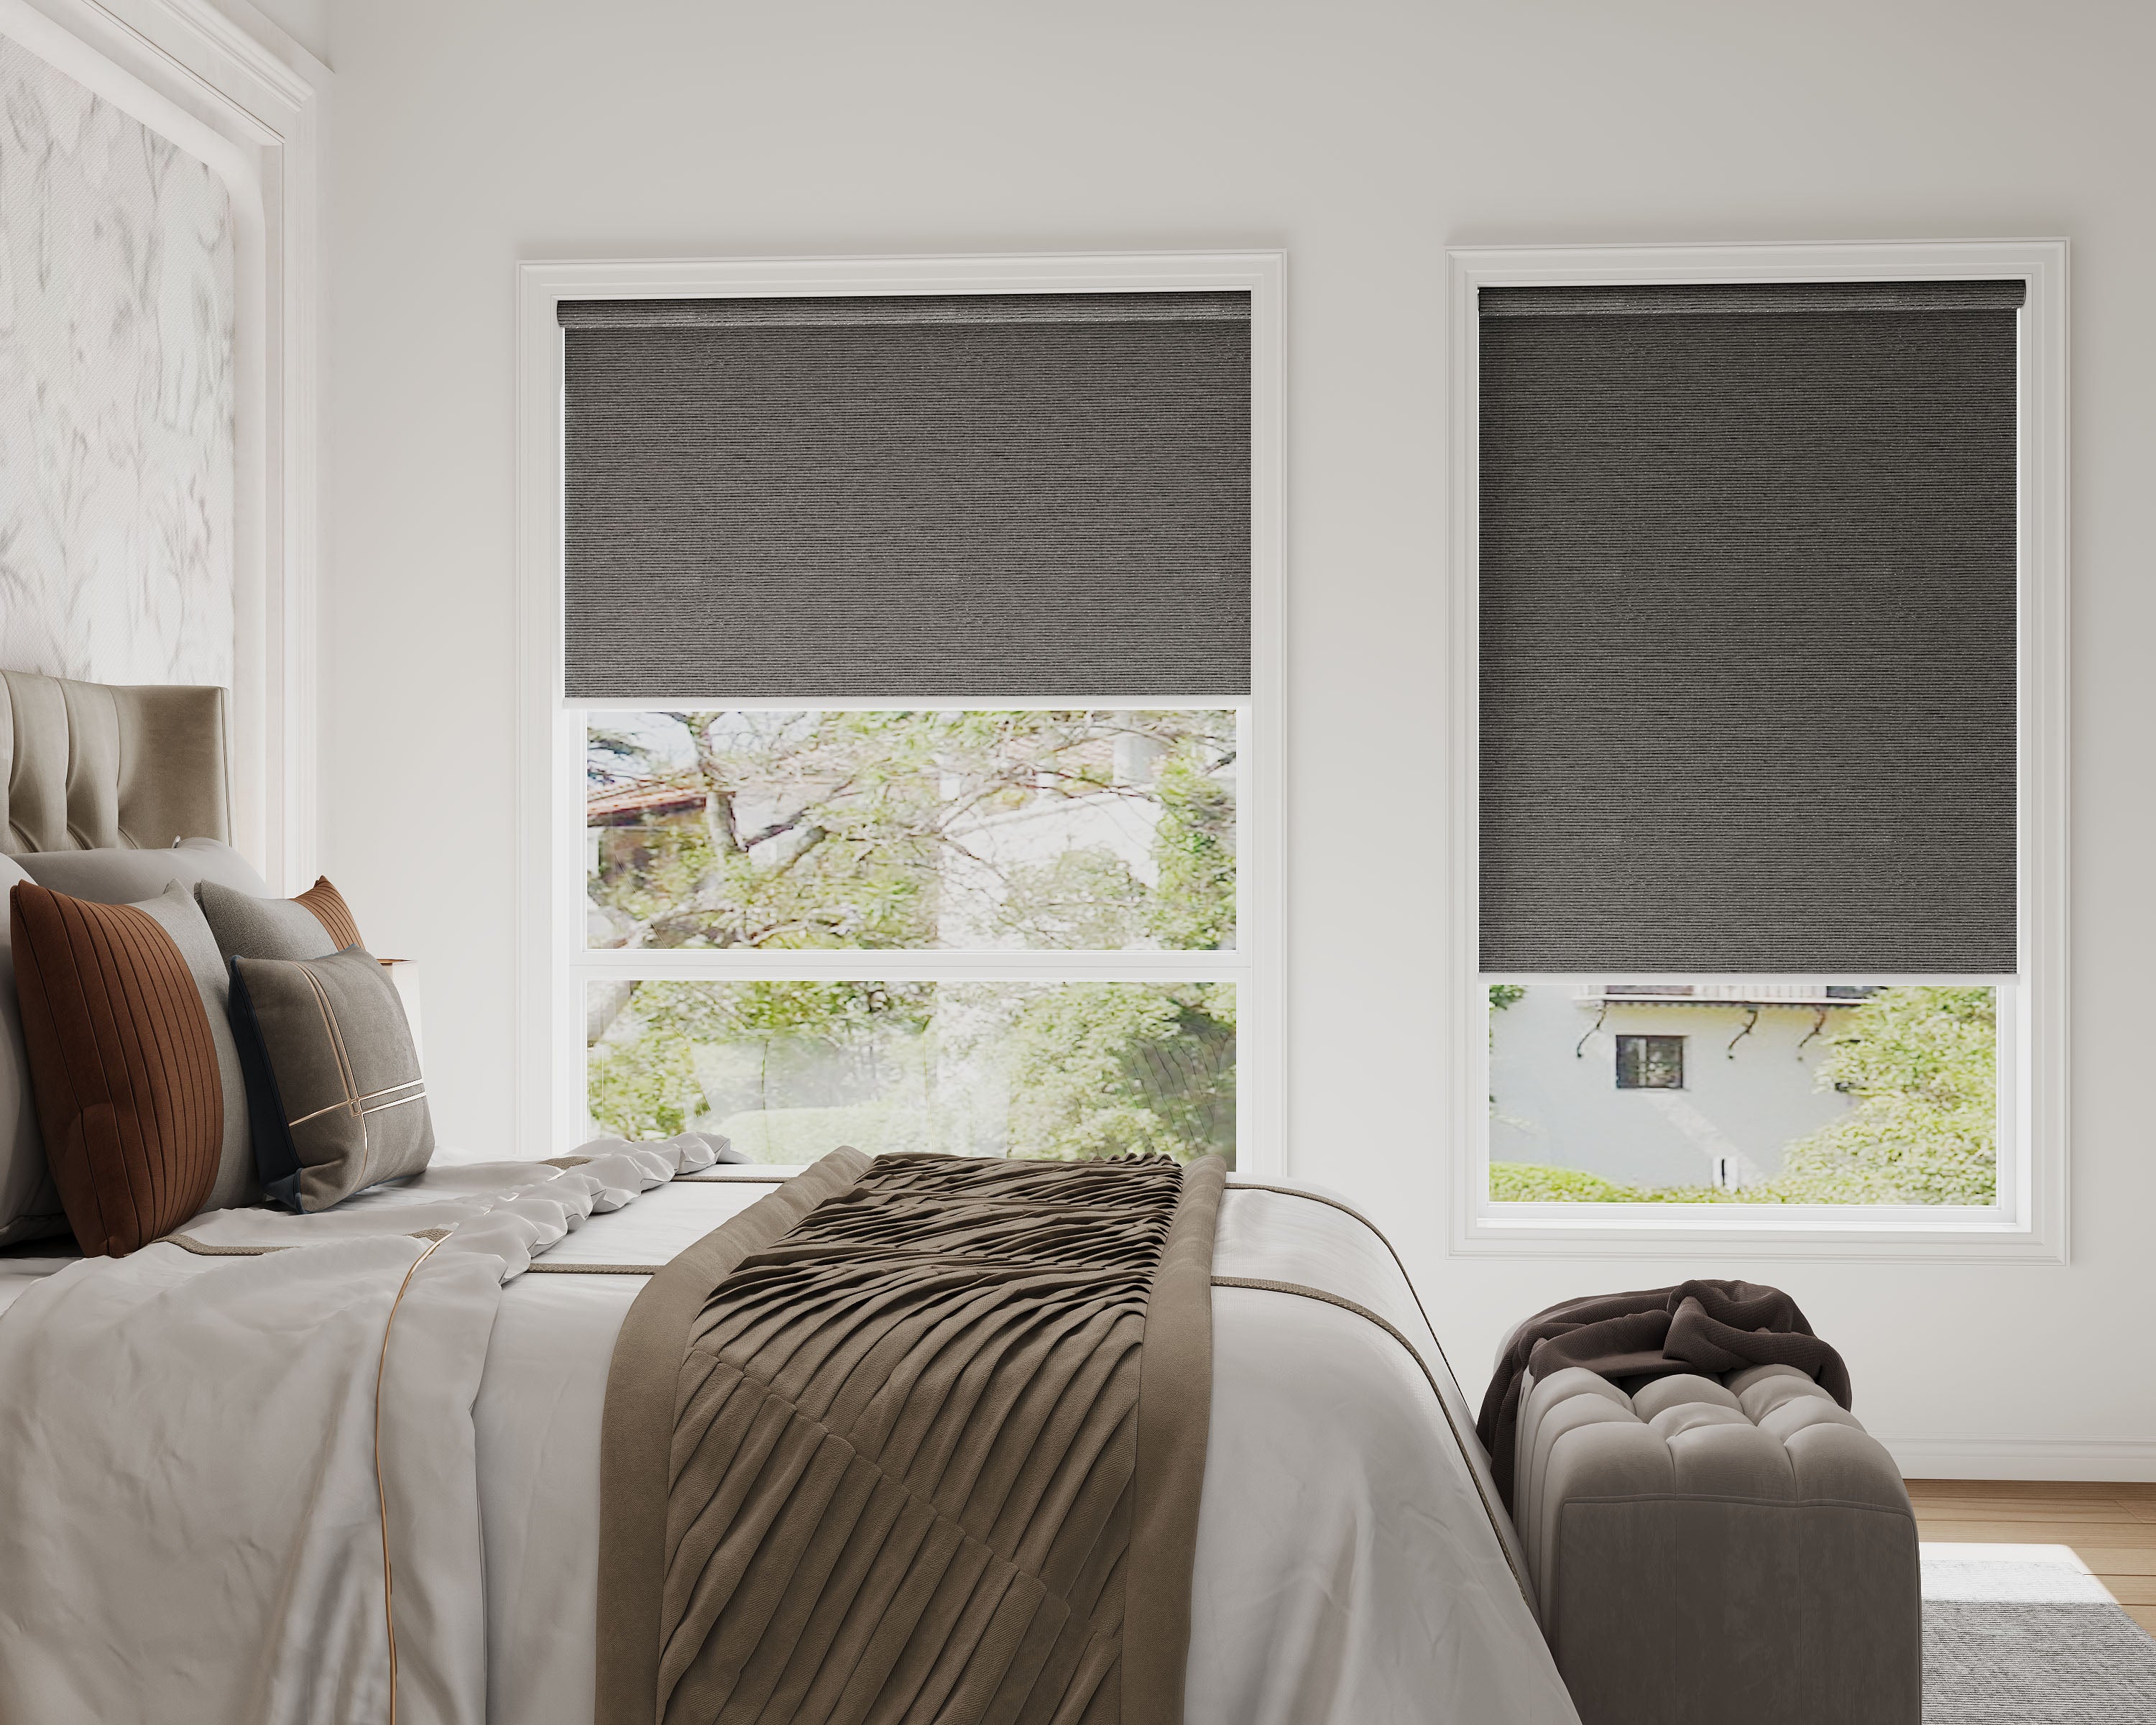
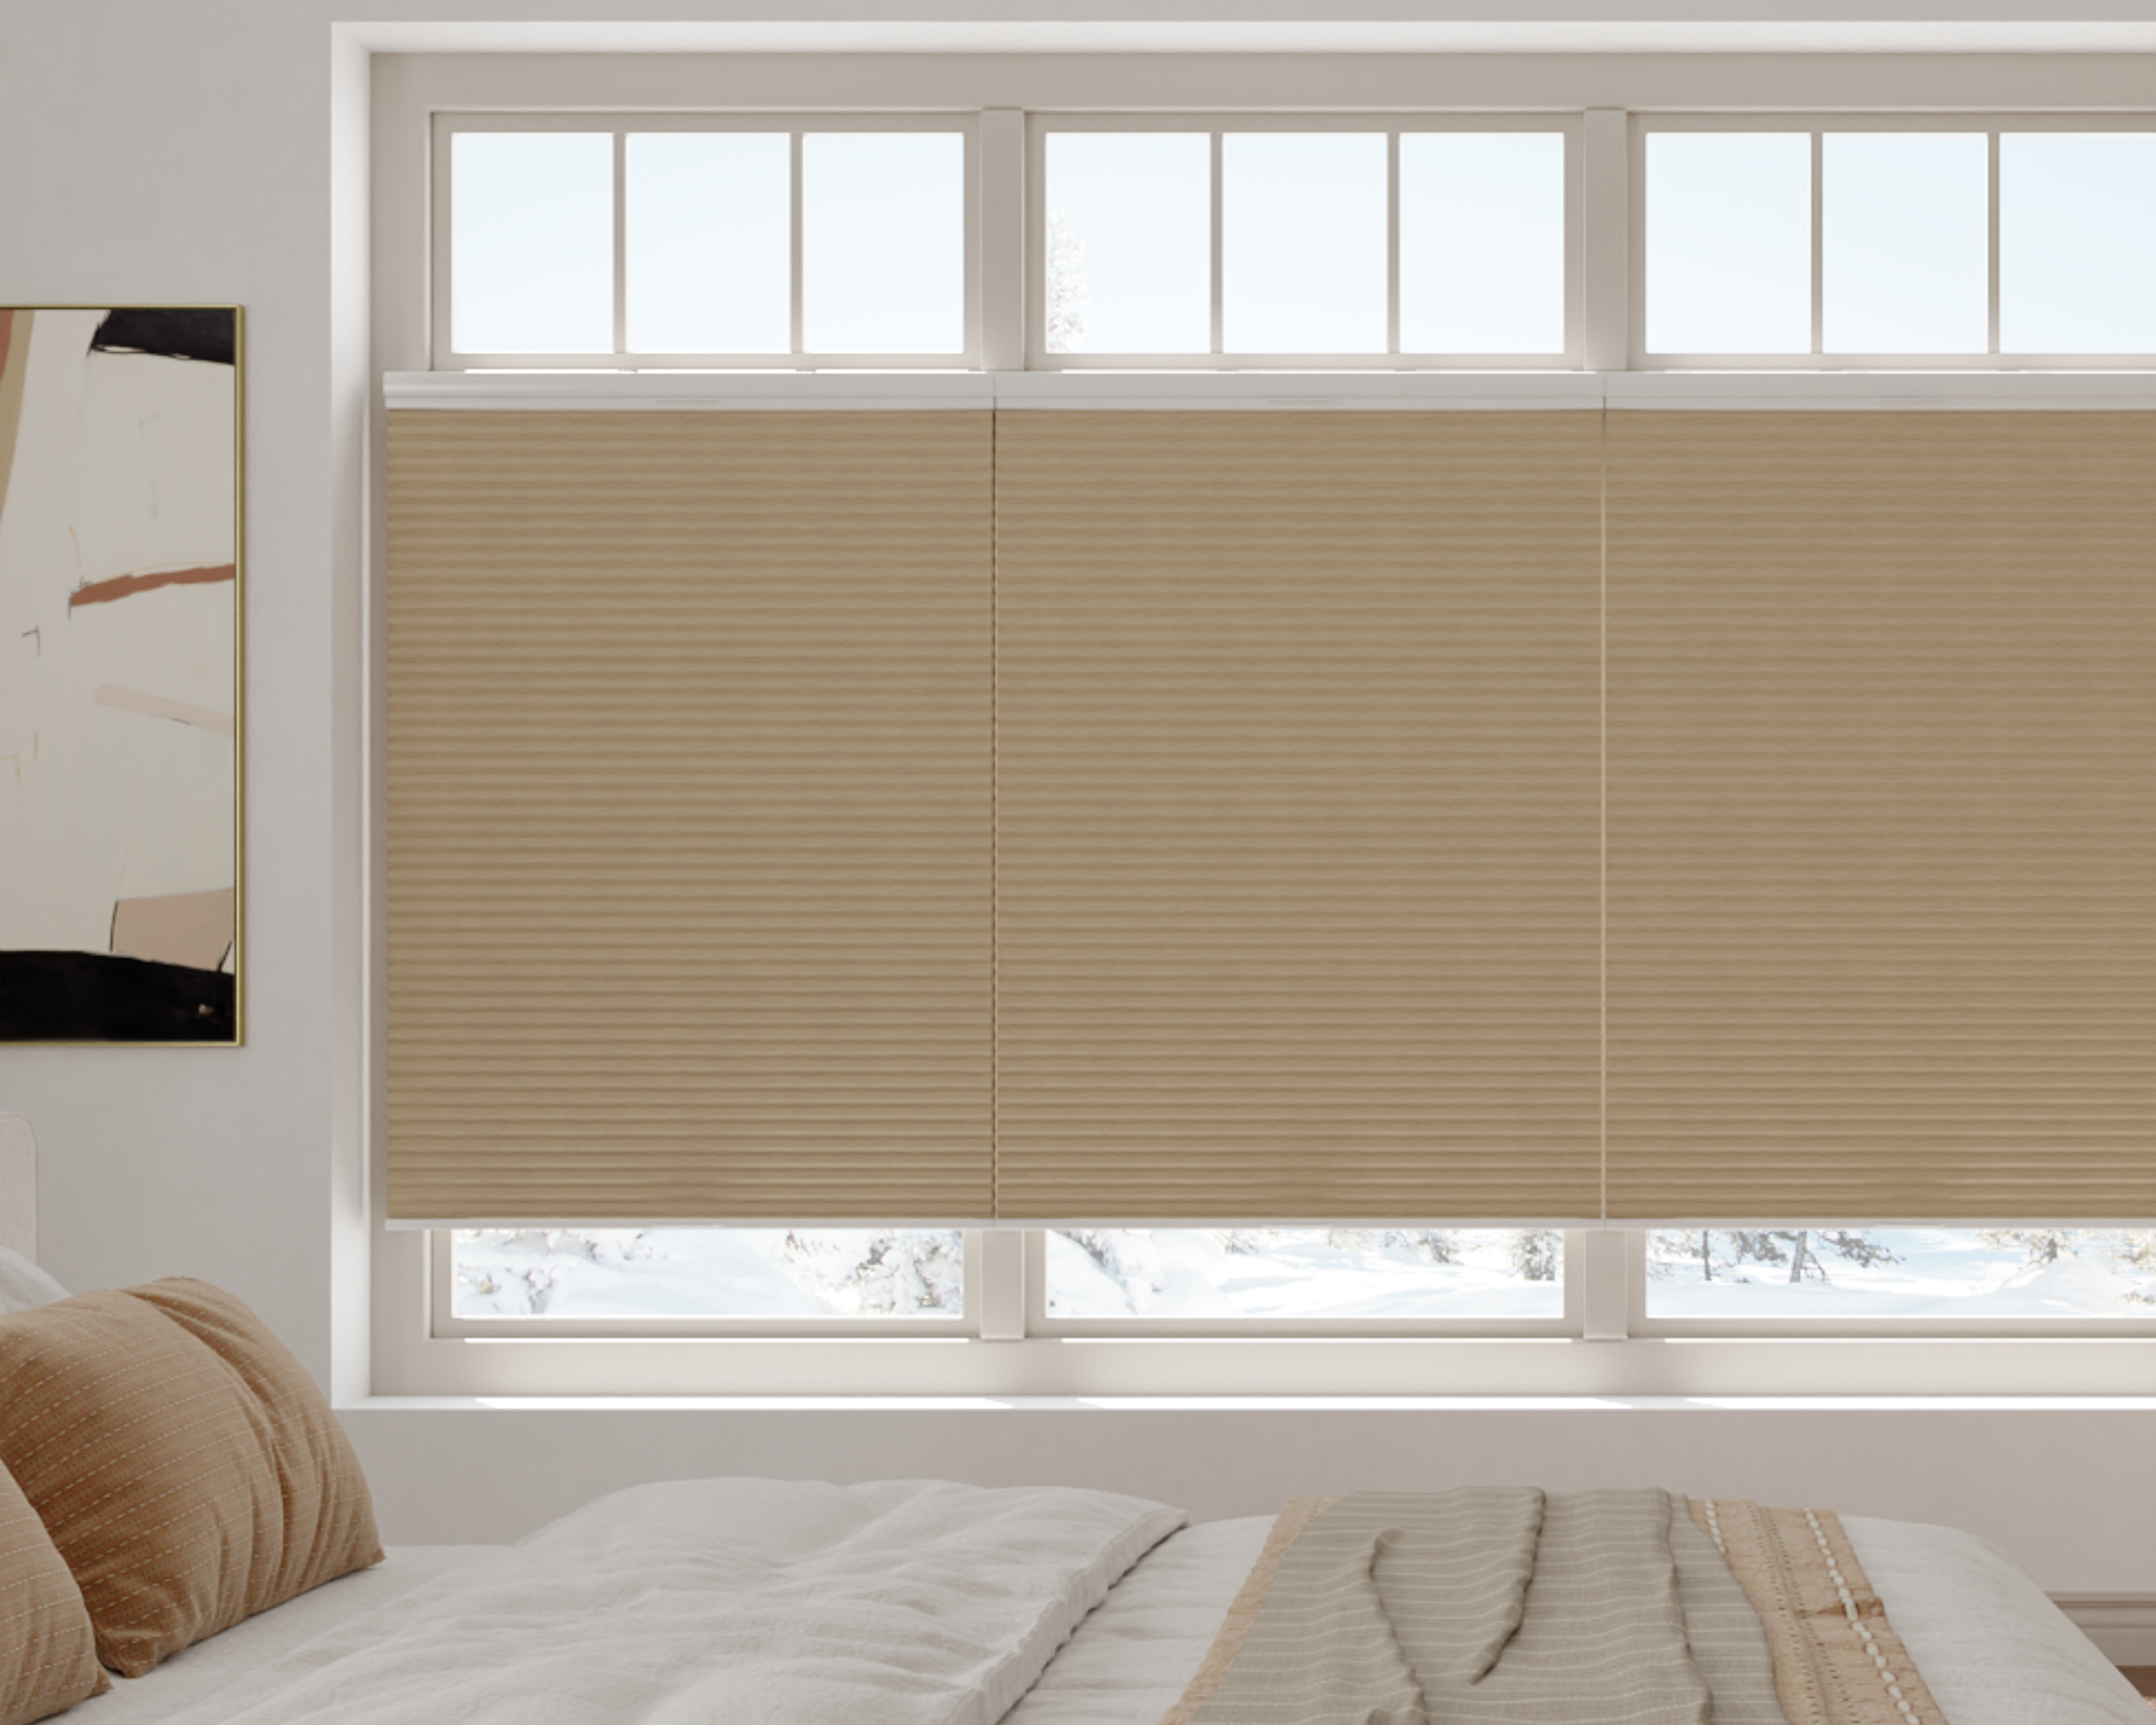
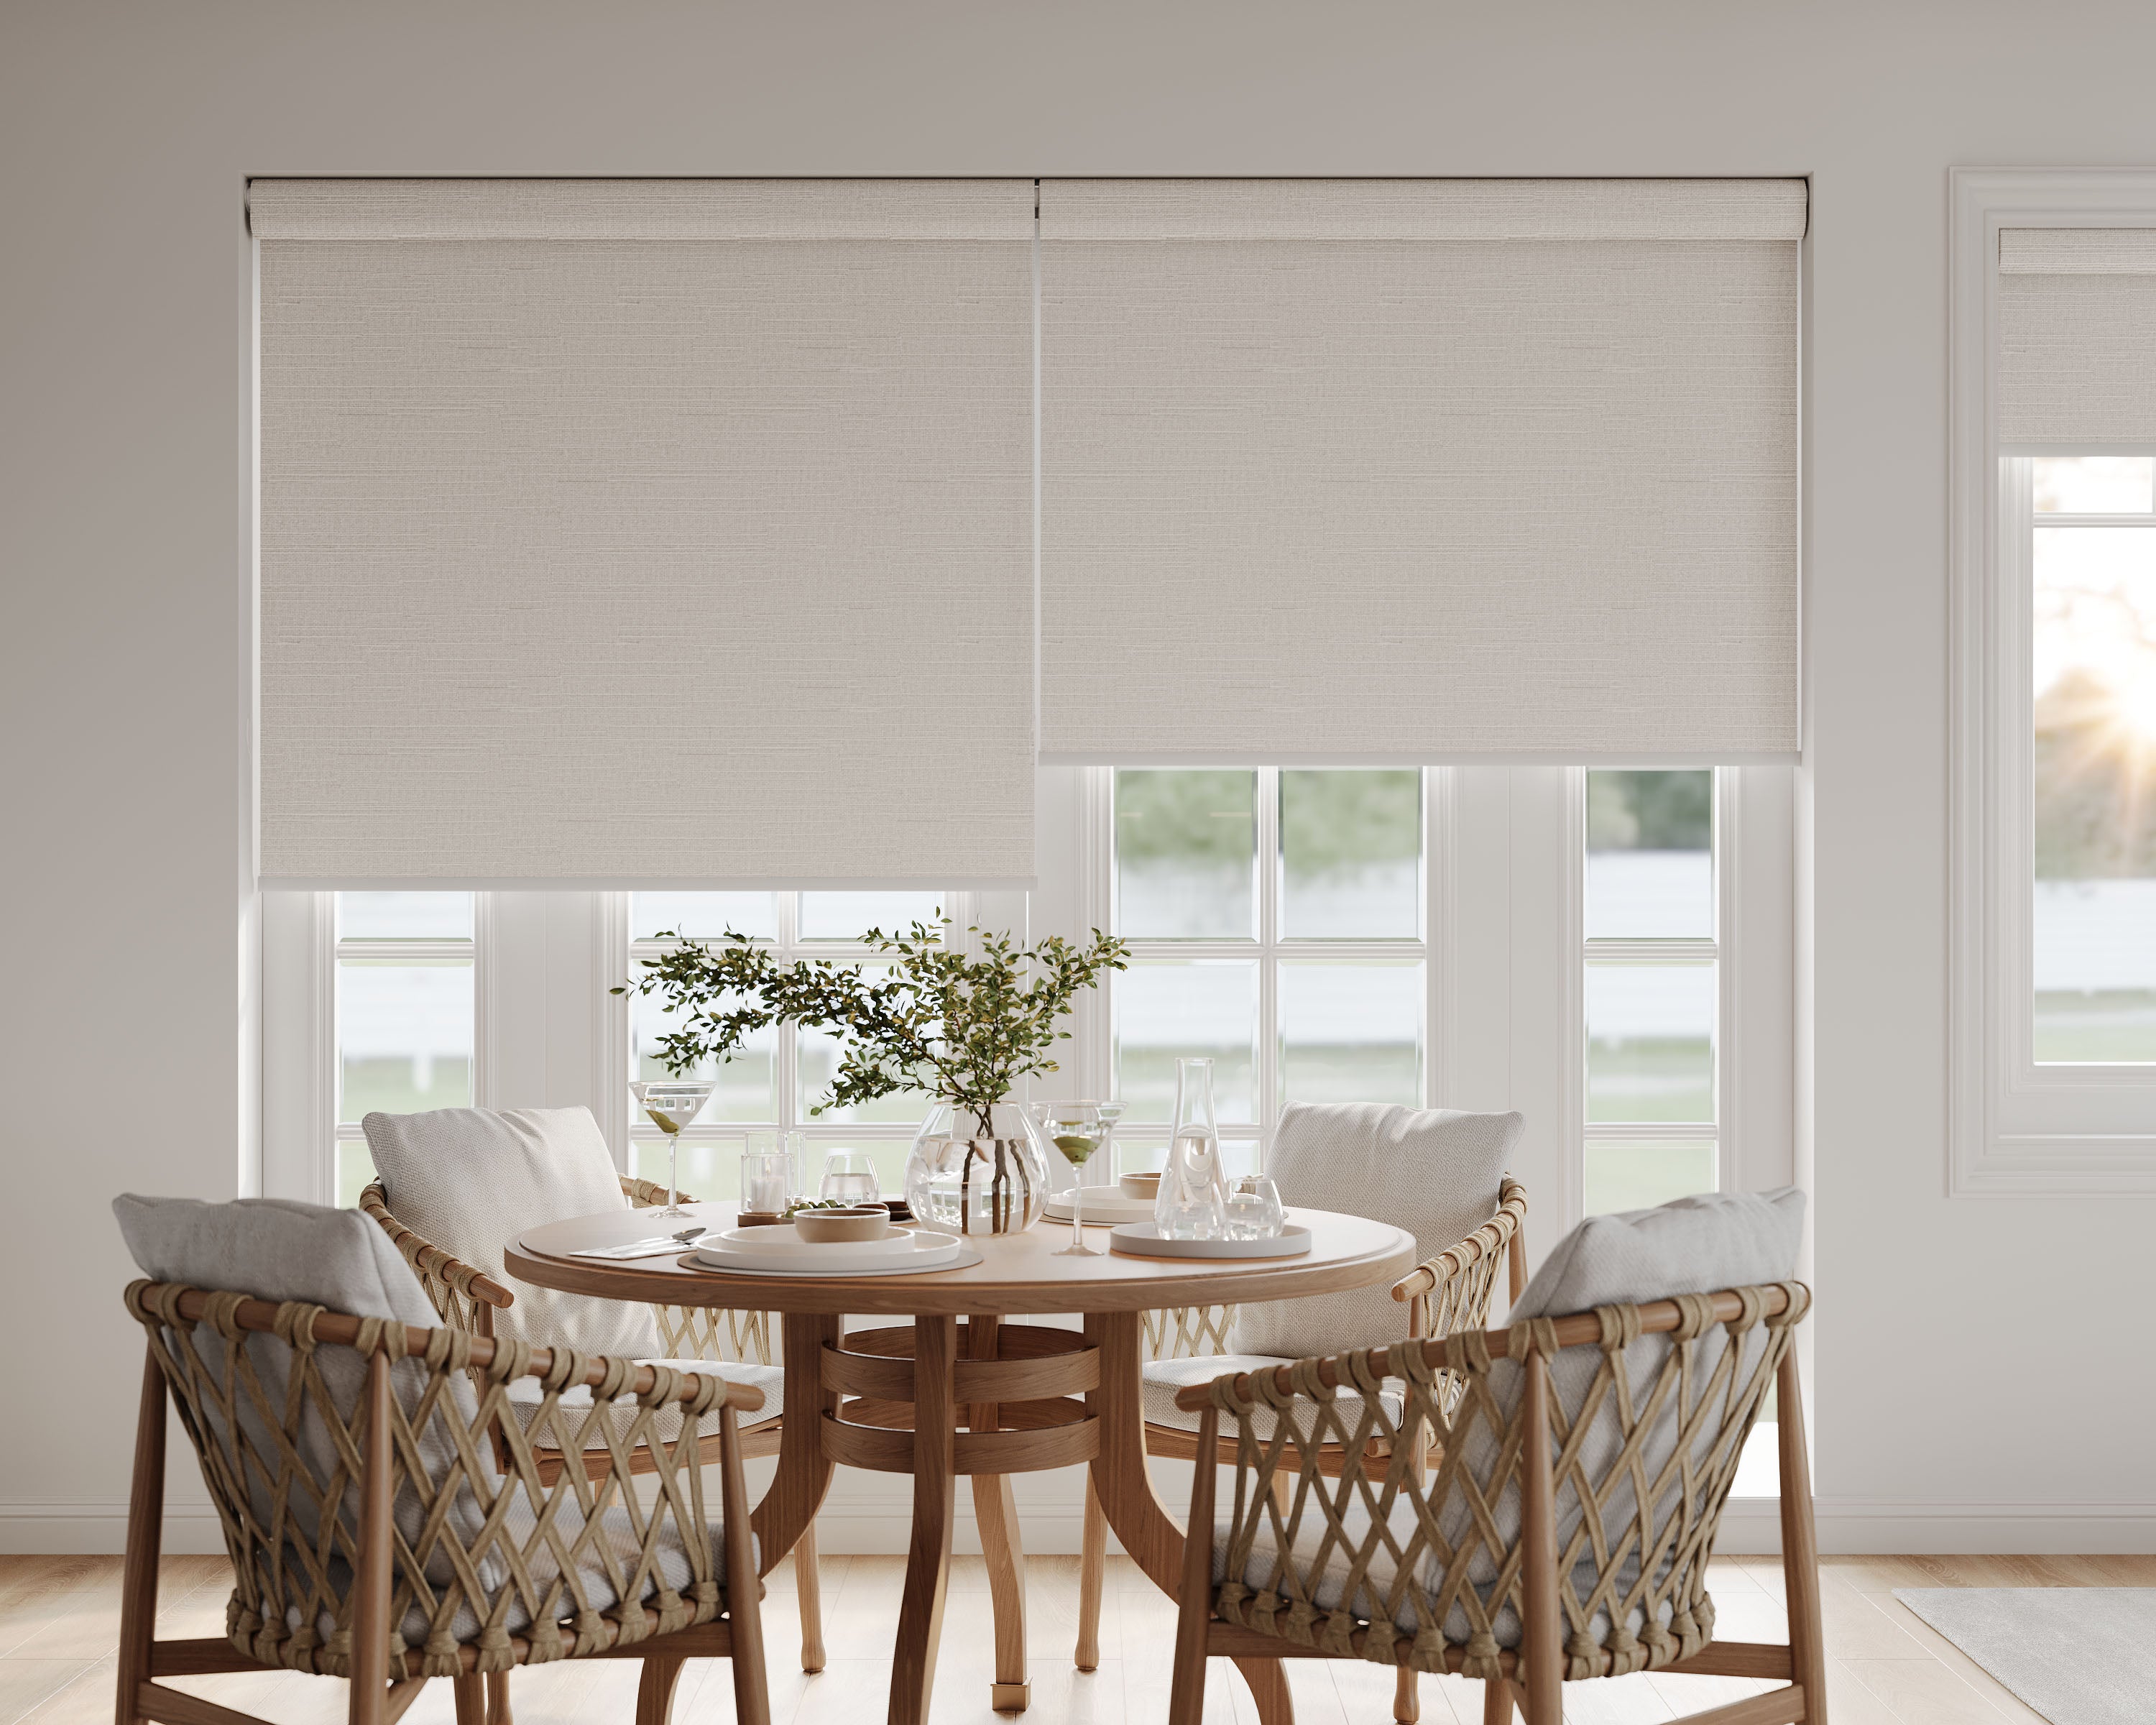
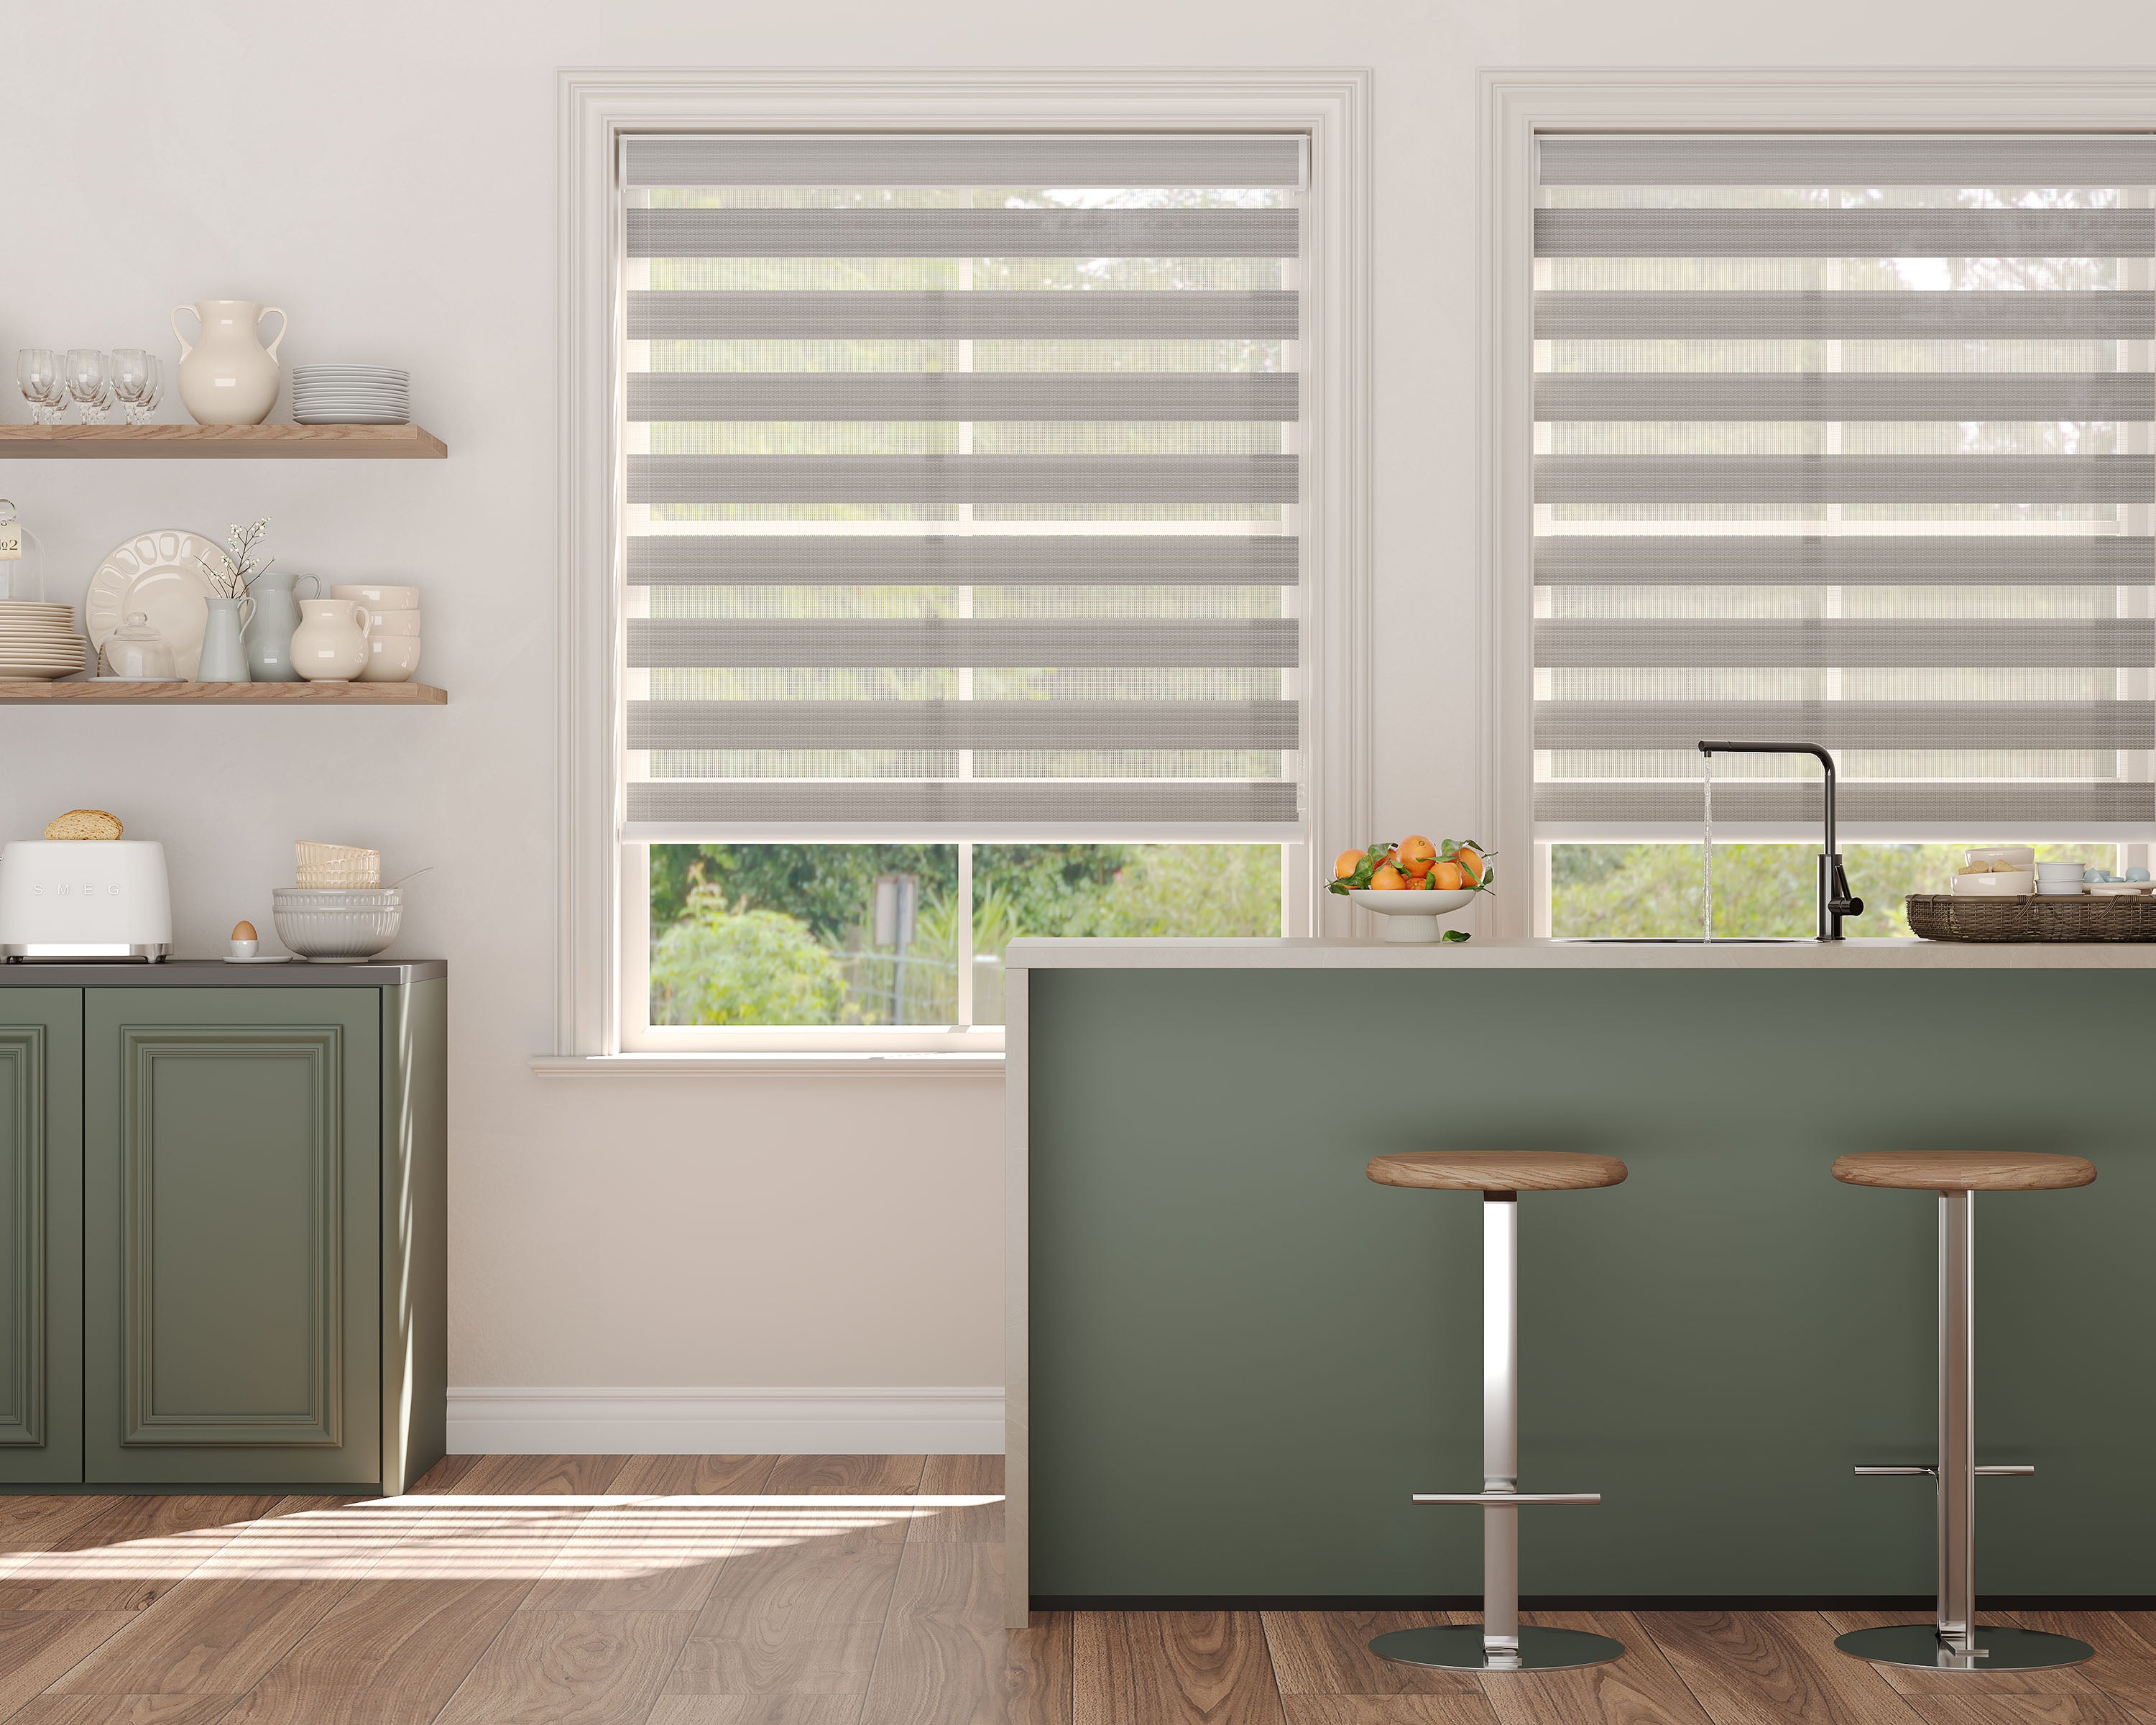
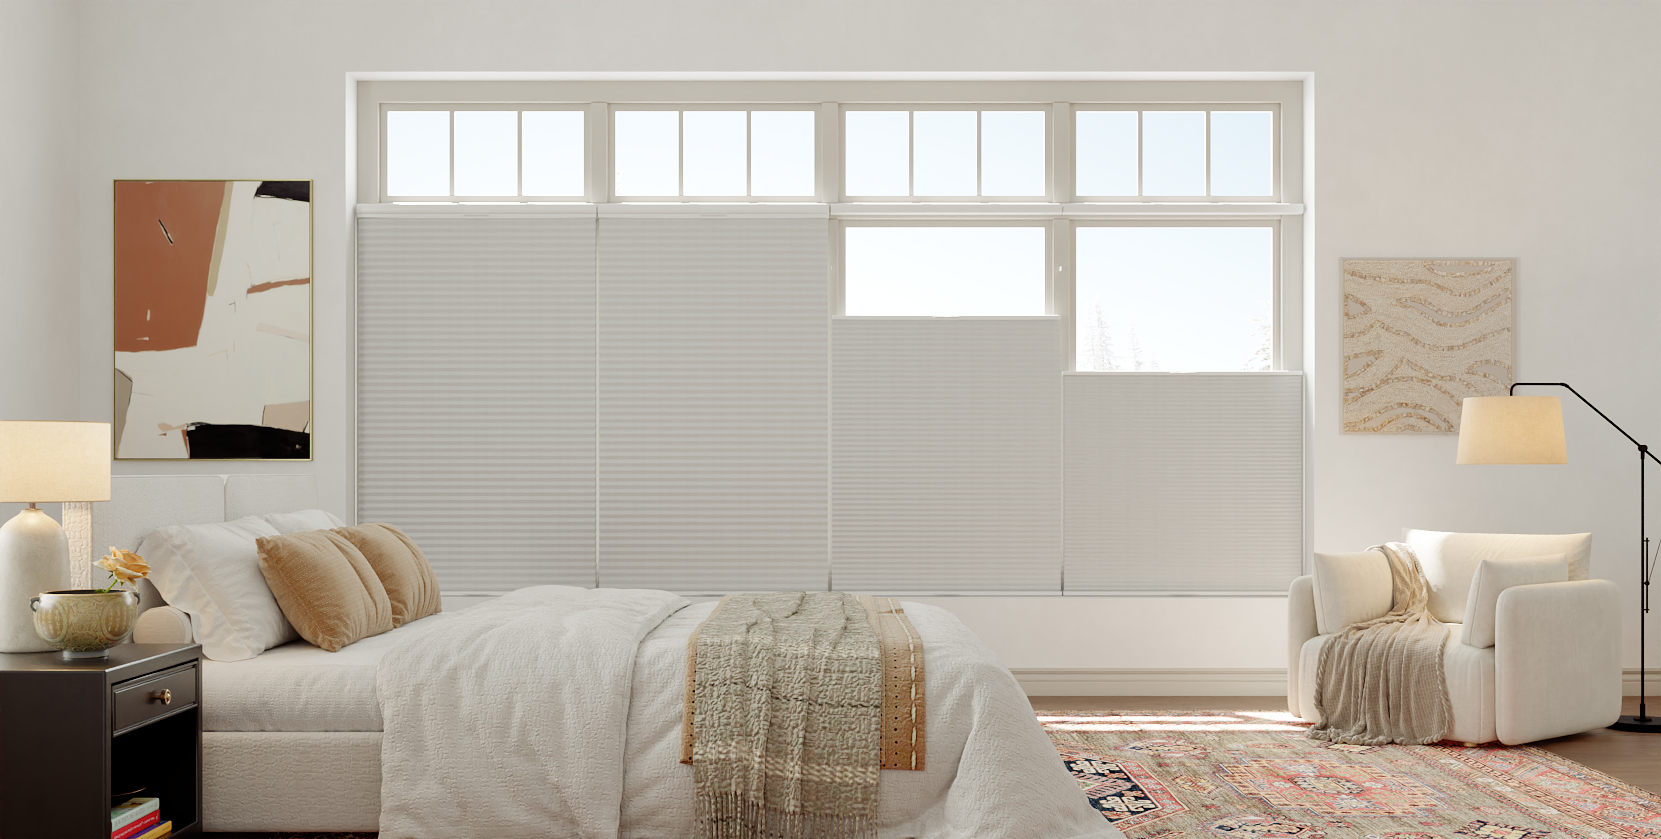
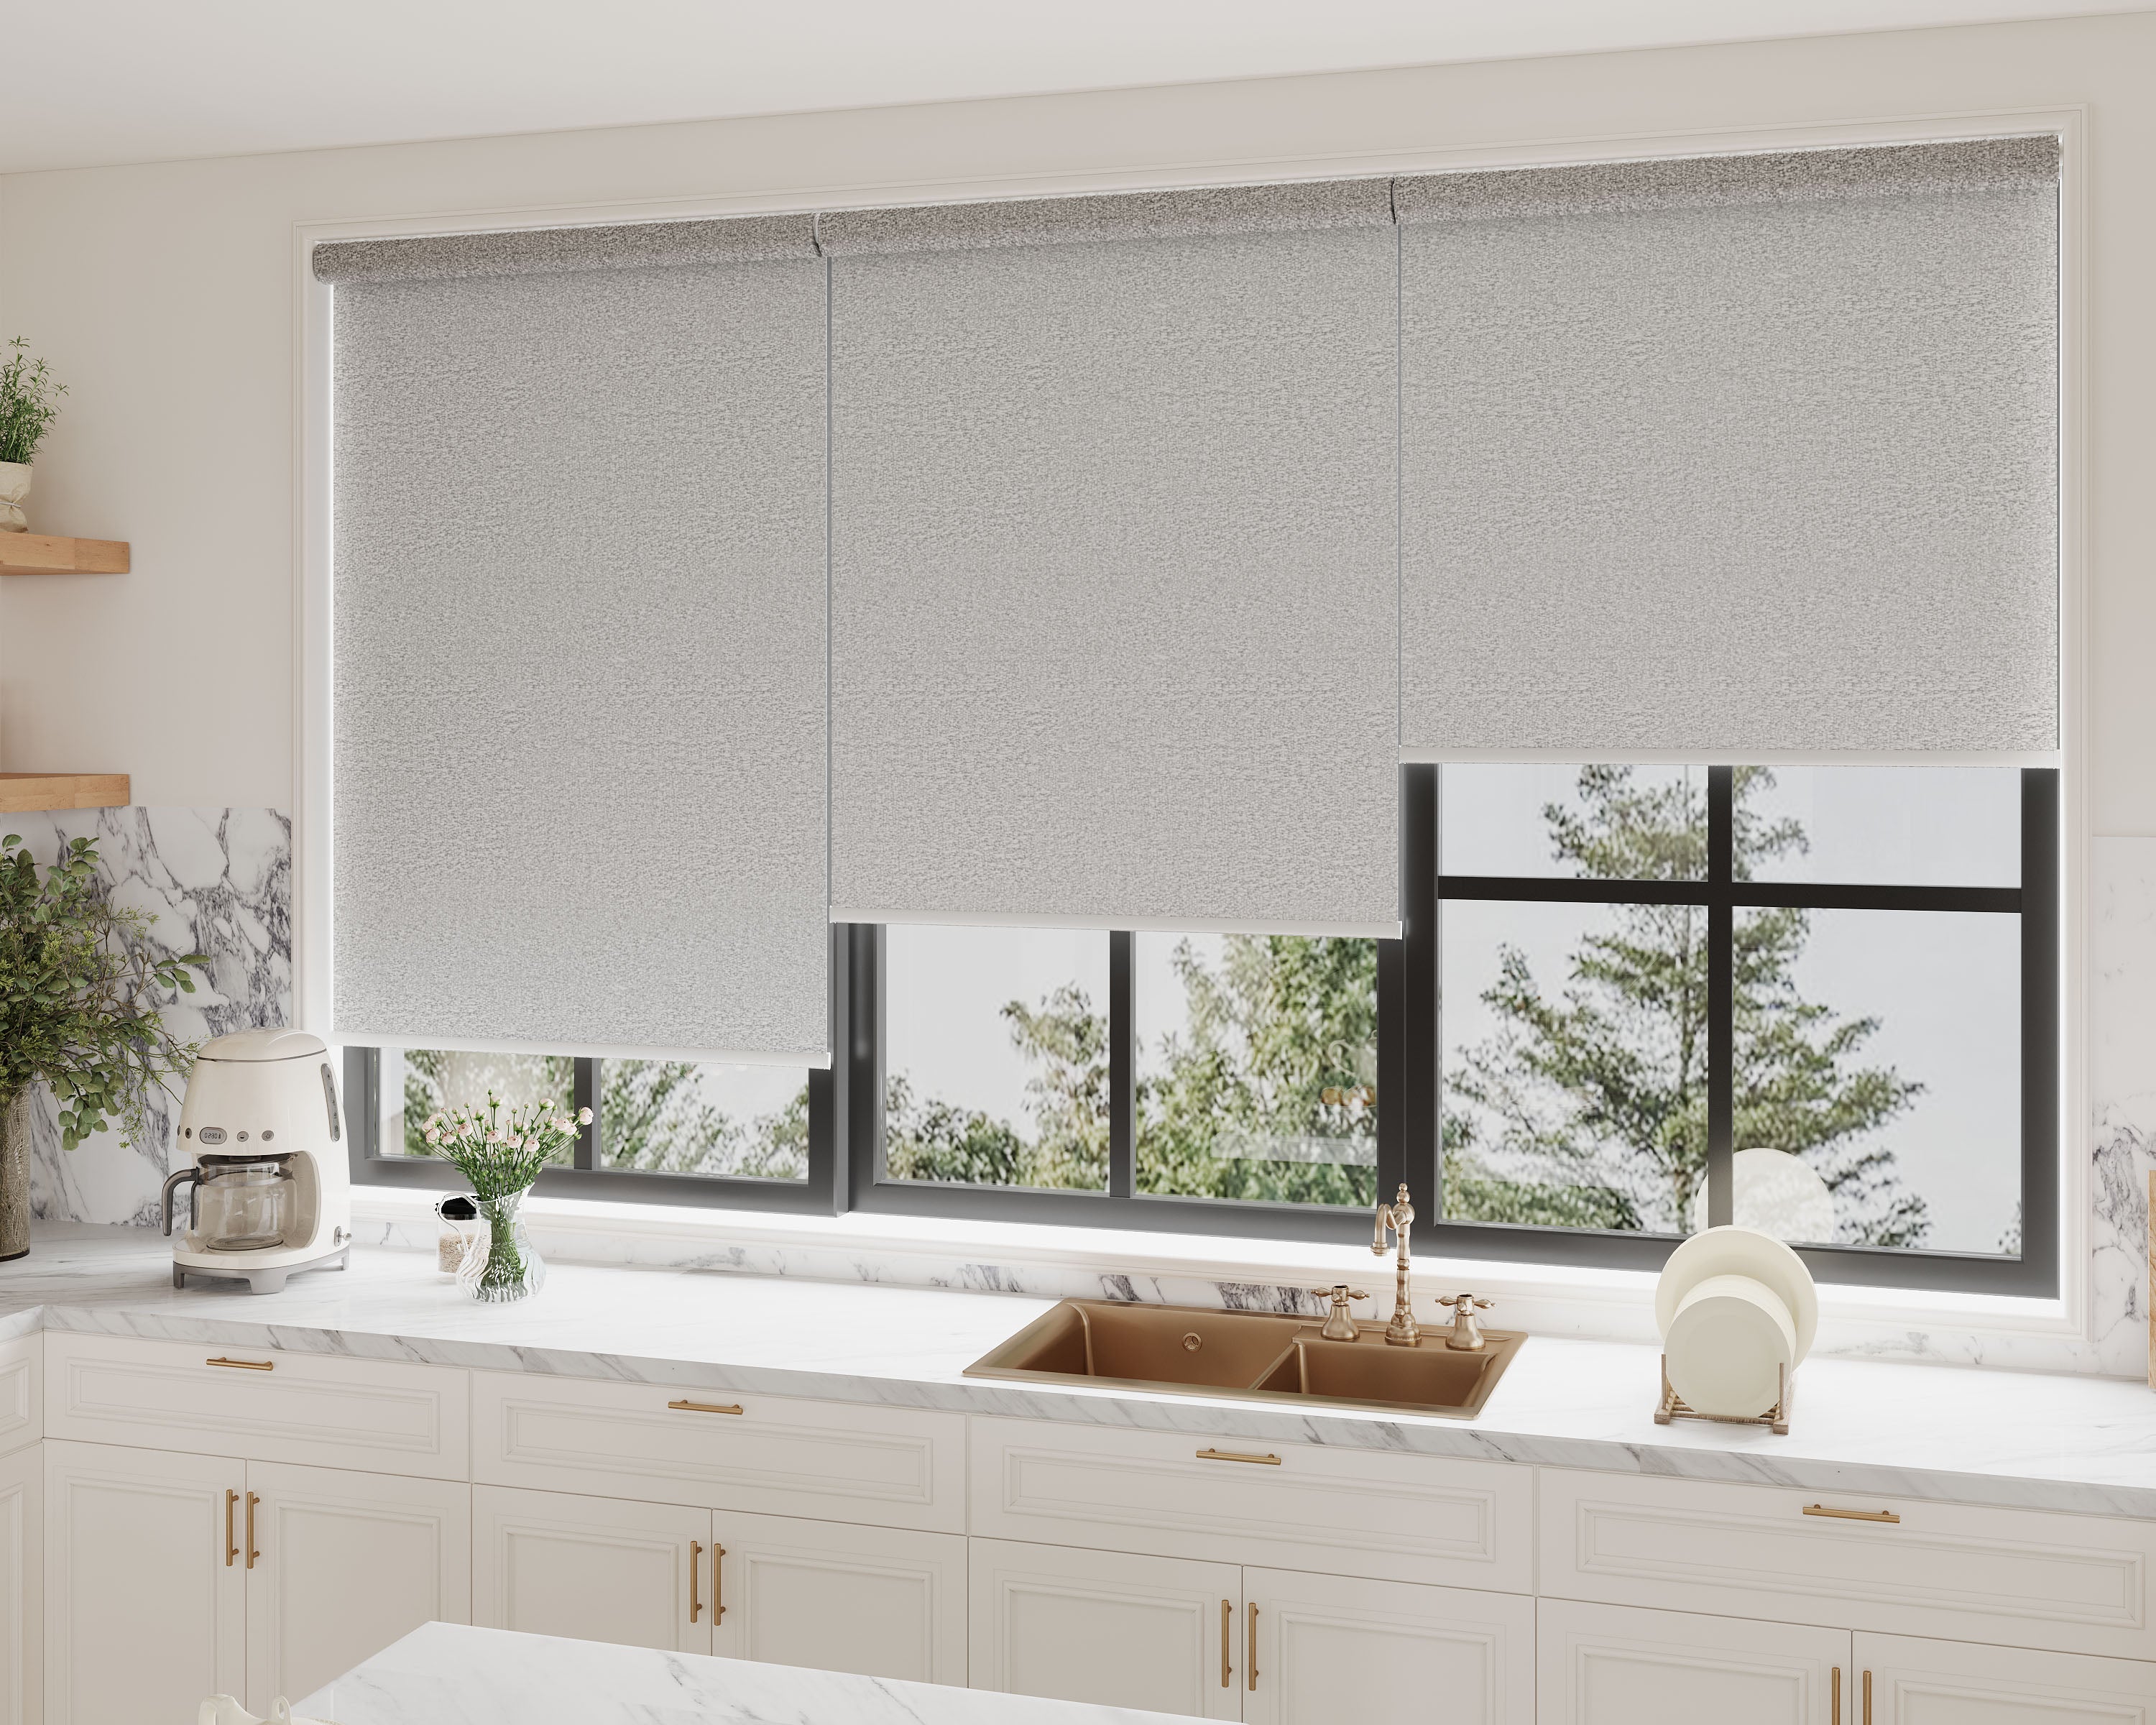
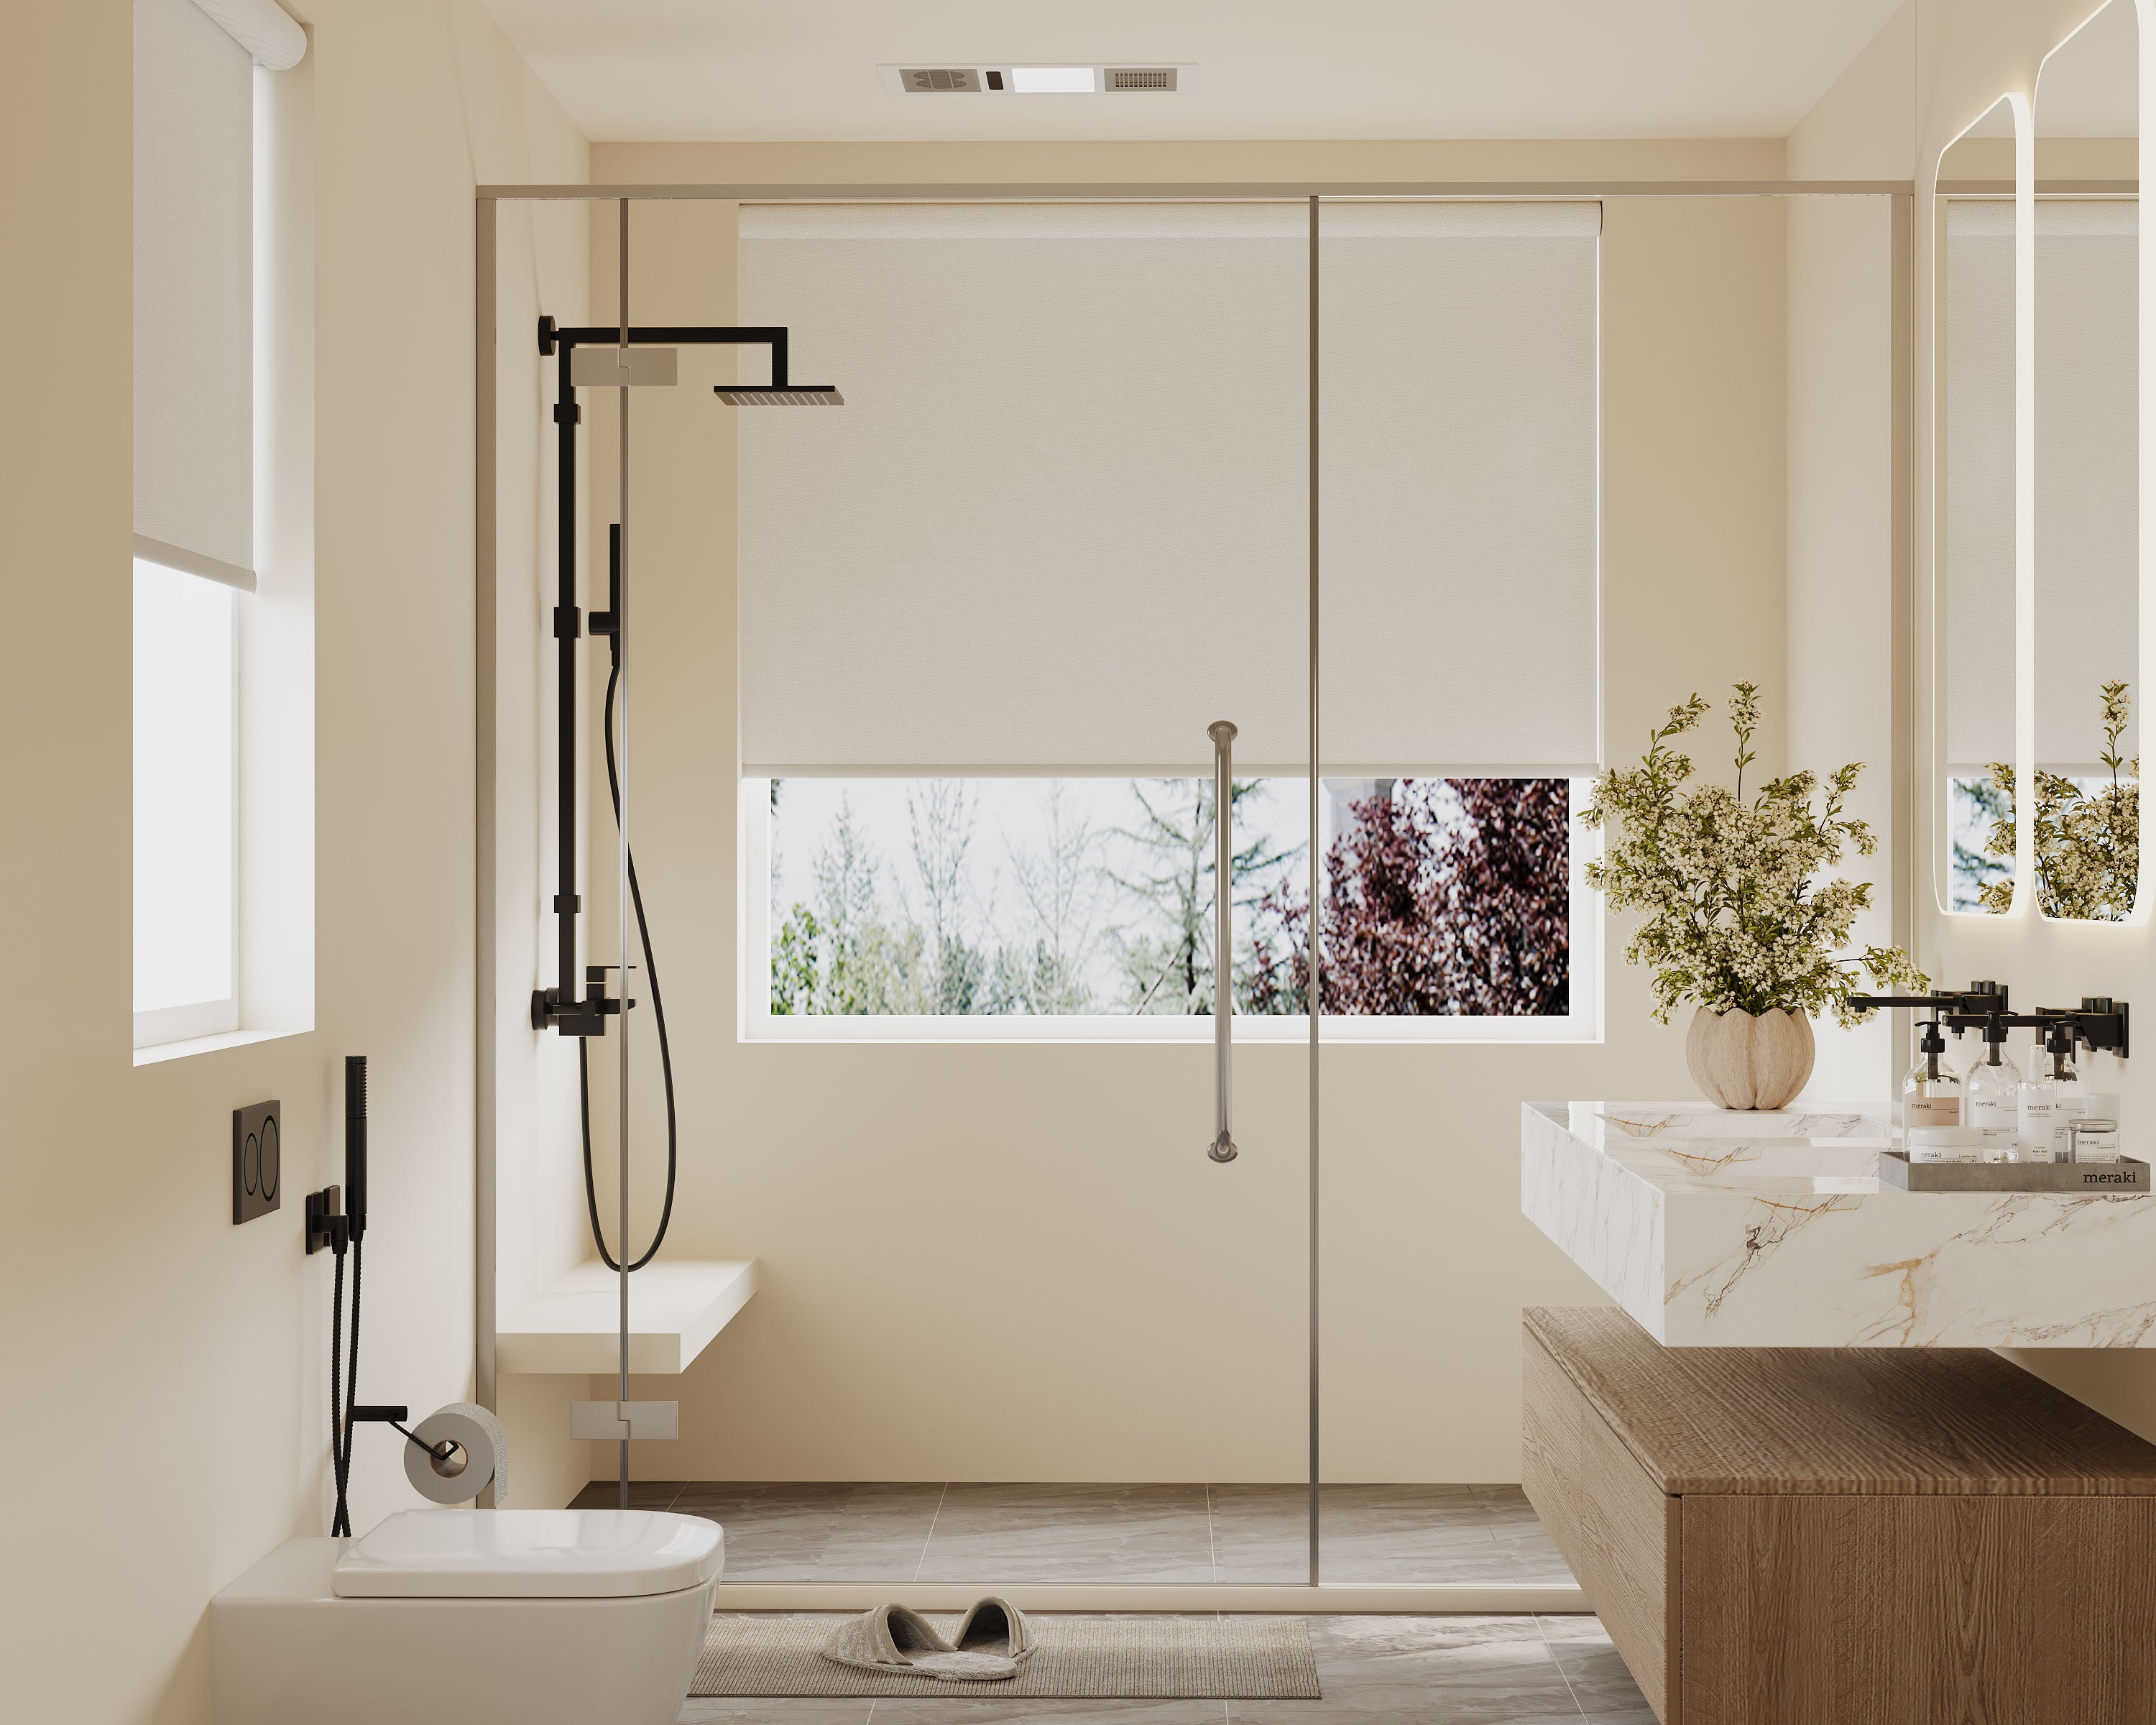
Explore our top collections, including Roller Shades, Zebra Shades, and Blackout Shades.
Securing loose cords around the house makes a real difference for both safety and appearance. Installing straightforward devices like cleats, tensioners, and breakaway clips helps protect our loved ones and keeps our living spaces looking a lot tidier. These tools don’t cost much, they’re easy to put in, and they fit with most home styles.
Most of us don’t give cords much thought, but unsecured cords can be a real hazard, especially with kids and pets around. With a bit of effort, we can fix a common annoyance and add a layer of safety that’s honestly worth it.
Key Takeaways
- The right cord hardware keeps homes safer and neater.
- Matching solutions to cords is simple with a few steps.
- Quick maintenance helps cords stay secure long-term.
Understanding Cord Safety
Securing window blind and shade cords is an important part of making our homes safer and more put together. Knowing the risks of loose cords and following up-to-date safety standards helps us prevent accidents and keeps things looking neat.
Why Securing Cords Matters
Loose cords aren’t just unattractive—they’re genuinely dangerous, especially in homes with kids or pets. Children are curious, and cords hanging down at their level are almost always tempting.
The big reason to secure cords is to prevent accidental entanglement. Even a second of distraction can lead to a close call. Pets sometimes swat or chew cords, which causes damage and can create new hazards.
From a style perspective, tidy cords give a more streamlined look. It’s not just about safety; it’s also about making our spaces feel intentionally pulled together.
Common Hazards of Dangling Cords
Dangling cords bring several risks. The most serious is strangulation, which has led to preventable accidents among young children. According to the U.S. Consumer Product Safety Commission (CPSC), dozens of incidents happen every year involving window blind cords.
Pets can get tangled, leading to injury or damage. In busy areas, cords might snag on bags or clothing, causing people to trip or even pull blinds off the wall.
So, unsecured cords are just asking for trouble. A quick look at recent stats shows why prevention matters:
- Strangulation hazard: Especially risky for kids under 6.
- Entrapment: Pets are often affected as they explore windows.
- Trips and falls: Happen most with cords near doorways or walkways.
Safety Standards and Recommendations
We don’t have to figure out cord safety alone. Groups like the CPSC, the Window Covering Safety Council, and ASTM International have set out clear standards for corded window coverings.
Some key safety steps:
- Install cord cleats or tensioners for looped cords.
- Use breakaway clips that separate under pressure.
- Go cordless with blinds or shades when possible.
- Arrange furniture so kids and pets can’t reach cords.
| Standard | Recommendation |
|---|---|
| CPSC Safety Guidelines | Secure or replace accessible cords |
| ASTM F2057 Requirement | Breakaway devices on cords |
| WCMA Recommendations | Use cordless or inaccessible cord products |
Following these safety tips cuts down on risks and helps create a safer environment wherever cords are around.
Evaluating Existing Cord Setups
Before adding new safety devices, it’s smart to see where cords actually create risks and how people use each space. A little attention here can help us avoid accidents and keep things looking sharp.
Inspecting for Risks
Start by checking every cord in the house—window blinds, shades, even lamps. Look for cords dangling freely or within easy reach of kids or pets. Those are the biggest red flags.
Quick checklist:
- Is the cord within reach of a child?
- Is the cord frayed, too long, or looped?
- Are there knots, tangles, or spots caught on furniture?
Frayed or long cords aren’t just ugly. They make trips, strangulation, or electrical problems more likely. If a cord forms a loop, especially one that could slip over a head, fix it ASAP. Even metal or beaded cords can be risky if they have loose ends or loops.
Identifying High-Traffic Areas
Take a walk through the space and think about who passes through and where. Entryways, hallways, playrooms, and living rooms usually get the most action. Cords in these spots are more likely to get bumped, tugged, or snagged.
Let’s lay it out:
| Area | Risk Level | Notes |
|---|---|---|
| Kitchen | Low | Few window cords present |
| Living Room | High | Kids and guests |
| Hallway | Medium | Frequent passing, few cords |
| Bedroom | Varies | Depends on window setup |
If cords cross walkways or hang near play areas, they need attention right away. Kids and pets hardly ever avoid a swinging cord, so mark these as priorities. Noting which rooms see the most activity helps us decide where to start.
Choosing the Right Hardware
To secure cords safely and stylishly, we need the right hardware. Let’s talk about what each piece does, how to pick one, and why certain options might be better for our spaces.
Types of Cleats and Their Uses
Cleats come in different shapes, materials, and mounting options. Metal cleats like aluminum and steel look modern and hold up well in busy rooms. Plastic cleats are affordable, easy to install, and work fine for lightweight cords in bedrooms or offices.
When picking a spot for the cleat, choose somewhere out of reach of kids and pets. Wall-mounting is the usual choice, about 5 feet from the floor for safety and convenience. If our window trim is wide, a surface mount could work too. Most cleats fit standard cords, but double-check sizes if you’ve got thick or unusual cords.
Quick reference:
| Cleat Type | Best For | Material | Mounting Position |
|---|---|---|---|
| Metal | Heavy cords, main rooms | Aluminum, Steel | Wall or trim |
| Plastic | Light cords, low use | ABS, Nylon | Wall only |
Choosing a style that fits the room helps upgrades blend in instead of sticking out.
Selecting Cord Tensioners
Cord tensioners keep cords tight and cut down on loops, which helps prevent accidents. They’re especially good for long, low-hanging cords or homes with kids, since tensioners keep everything close to the wall.
Most tensioners are spring-loaded or fixed. Spring-loaded ones adjust to changes in cord length—handy if you open and close shades a lot. Fixed tensioners work for windows where the cord length doesn’t change. Installation is usually simple, with just a drill and level.
When choosing a tensioner, check your cord’s thickness and where you’ll mount it. Some are rated for outdoor use, which is handy for patios or sunrooms. White or clear tensioners blend into light walls, while brushed metal looks nice in modern spaces.
When to Use Breakaway Clips
Breakaway clips are all about safety. They're little connectors for looped cords that release if pulled hard—this lowers the risk of strangulation. Homes with kids, babysitters, or anyone at risk should always use them. In some places, they're even required by law for new blinds.
Not all clips are the same. For shades with several cords, go for multi-cord breakaway systems. You can retrofit older blinds with new clips, so there’s no need to replace the whole setup—just swap in a certified clip. If a breakaway clip pops open, you can usually snap it back together by hand.
Most install tool-free and only take a minute. It’s smart to keep a couple extras in a drawer—those little plastic parts have a way of vanishing when you need them.
Step-By-Step: Installing Cord Cleats
Cord cleats help us keep window blind cords safely out of the way, cutting down on tangles or accidents and giving the space a neater look. A solid install comes down to having the right tools, mounting securely, and keeping things tidy.
Essential Tools and Materials
Here’s what we’ll need:
- Cord cleats: Usually plastic or metal. Pick a finish that matches your trim.
- Screws: Most cleats include them, but check for the right type and length.
- Drill or screwdriver: Cordless drills are quicker, but a screwdriver works for softer wood.
- Measuring tape and pencil: For marking even spots.
- Stud finder (optional): Lets us screw into a stud and skip anchors if possible.
Gathering the tools before starting saves time and helps the job go smoother.
Mounting Techniques for Durability
A strong hold is key. Install cord cleats at least five feet above the floor for child safety. Use the measuring tape to mark the spot on the window frame or wall.
Attach the cleat with the screws provided. If you’re in drywall and miss a stud, wall anchors are a must so the cleat doesn’t pull out later. Drill pilot holes to avoid splitting the trim.
After mounting, wrap the cord around the cleat a few times and give it a tug. If it wobbles, check that the screws are tight.
Tips for Discreet Installation
We want the window area to look clean. Choose cleats that blend in—clear, white, or wood tones usually fade into the trim.
For a more hidden look, mount the cleat on the side of the window that’s less visible from the main room. Tuck extra cord behind a curtain or blind if you can.
If you’re feeling a little crafty, paint plastic cleats to match the wall. Use painter’s tape to protect the trim, and let the paint dry before wrapping the cord.
Guide to Using Cord Tensioners
Cord tensioners keep cords secure and lower risks, especially in homes with kids or pets. Placement and adjustment make a big difference for smooth operation and safety.
Proper Placement for Maximum Effect
We want tensioners installed close to the window frame or wall. This keeps cords tight and out of the way, and honestly, it just looks better. Mounting height matters: Put the tensioner low enough for adults to reach but high enough that kids and pets can’t get to it.
Quick checklist:
- Right next to the window frame
- On a solid surface (not loose trim)
- Keep cords straight
- Avoid mounting near obstacles (like furniture or handles)
Most tensioners use a screw or adhesive mount. If we’re using screws, make sure they’re tight so the device doesn’t wiggle loose.
Adjusting Tension Safely
Once the tensioner’s up, it’s time to adjust the cord. If it’s too tight, cords might wear out or snap. Too loose, and you lose the safety benefits.
Gently pull the cord through and check the feel. It should move smoothly but stay snug against the window or wall. If it’s hard to pull, loosen it a bit. If it sags, tighten up.
Quick tip: Test by raising and lowering the blind—if it sticks or droops, adjust again. Don’t use tools to force it—hand adjustment is best so you don’t break anything.
Implementing Breakaway Clips
Breakaway clips add an extra layer of safety to window blind cords. They're simple to install and help prevent dangerous cord entanglements—especially if you've got kids or pets running around.
How Breakaway Clips Work
Breakaway clips are these small gadgets that snap right onto the cord or chain of window blinds. Their job? If too much pressure gets applied, the clip pops apart, breaking the loop and cutting the risk of strangulation.
You’ll find most breakaway clips fit common cord or bead chain styles. No fancy tools needed—just snap them on where the instructions say. Some even come in different colors or finishes so they don’t stick out like a sore thumb.
For bead chains, you just snap the breakaway connector over the beads. With corded blinds, thread the cords through both halves and click it shut. After installing, pull firmly to test—if it comes apart, you’re good. Always double-check the clip fits your particular cords before buying; not all are universal.
Best Practices for Child Safety
When it comes to blinds and kids, a few habits really help. Always install breakaway clips at the height the manufacturer suggests—usually high up, out of reach.
It’s a good idea to test each clip now and then. Give it a tug to see if it separates as intended. If it doesn’t, or if it’s cracked, swap it out. Don’t tie cords together or mess with the clip in ways that might defeat its safety feature.
If your blinds have more than one cord, put a breakaway clip on each loop. Pairing these with tensioners and cleats just ups your safety game. And if you care about looks (who doesn’t?), there are clips that match your cords or blinds, so you don’t have to sacrifice style.
Blending Hardware with Home Decor
Securing cords shouldn’t mean wrecking the vibe of your space. With a little thought, you can keep things safe and still have a room that feels put together.
Matching Finishes and Fixtures
When installing cleats, tensioners, or breakaway clips, matching the hardware to what you already have makes a difference. Brushed nickel cleats look great with stainless handles, while matte black or bronze can disappear against dark curtain rods.
One trick: snap a photo of your room or bring a cabinet pull to the store. It helps with matching. There are even wood-finish and painted cord control parts that fit right in with furniture or window frames.
Here's a quick guide:
| Hardware Finish | Best Room Accent |
|---|---|
| Chrome | Modern, bright kitchens |
| Bronze | Rustic, vintage spaces |
| White | Minimalist, light rooms |
| Woodgrain | Traditional, cozy rooms |
Mixing too many finishes gets chaotic fast. Sticking with one or two keeps things looking intentional. Sometimes just switching to clear clips or painting a cleat to match makes everything feel more cohesive.
Creative Ways to Hide Cords
Cords can be an eyesore. Decorative covers help hide them along baseboards or trim—paint them to match the wall for a seamless look. Fabric cord wraps or rope covers add texture, and in kids’ rooms, they make things a little more fun.
You can run cords behind curtains or tuck them into the folds. Some people use adhesive hooks behind window frames or furniture to make cords and hardware nearly invisible.
DIY types sometimes use hollowed-out molding or slim battens attached to the wall, which double as design accents. The main thing: keep cords organized and tight so nothing droops and draws attention. Most tensioners and cleats can be painted, so you can go bold or make them disappear—totally up to you.
Maintaining Secured Cords Over Time
Keeping cords safe and tidy isn’t just a one-and-done deal. If you’re aiming for a safer, good-looking space, regular checks and the occasional update are part of the process.
Regular Safety Checks
It’s worth inspecting all your cord hardware—cleats, tensioners, breakaway clips—at least twice a year. A quick look can catch frayed cords, loose screws, or tired-looking plastic.
Give each cord and fixture a gentle pull to see if it’s still solid. If anything feels wobbly, tighten it up or add fresh tape or anchors.
Look for chipped paint, cracked plastic, or metal that’s starting to bend. Spotting these early means you can fix things before they’re a problem. A checklist makes it easier to remember:
| Task | Frequency |
|---|---|
| Visual inspection | Every 6 months |
| Test tension/anchoring | Every 6 months |
| Clean cord and hardware | As needed |
A little attention here and there pays off.
Updating or Replacing Components
Nothing lasts forever—not even your hardware. If you find a damaged clip or a sagging tensioner, don’t wait to replace it.
Most hardware stores have universal replacement parts in different materials and styles, so updating old or worn-out pieces is usually pretty simple. Try to match replacements to your existing setup and make sure they meet current safety standards, especially if you have kids or pets.
Sometimes there are recalls or new models with better safety features, too. Swapping in updated parts keeps everything looking sharp and working the way it should.
Troubleshooting Common Installation Issues
Things don’t always go as planned. If your cleat or tensioner feels wobbly, check if you used the right screws and anchored them into something solid. Wall anchors help if you’re working with drywall.
Cords bunching up or refusing to stay tight? Try repositioning the tensioner or cleat and rerouting the cord. Sometimes a lighter touch does the trick.
If breakaway clips won’t snap together:
- Line up both ends carefully
- Make sure there’s no dust or gunk inside
- Use gentle pressure—don’t force it
Quick problem-solver chart:
| Problem | Likely Cause | Quick Fix |
|---|---|---|
| Cleat slips | Wrong screw/anchor | Switch hardware |
| Cord tangled | Incorrect routing | Reroute cord gently |
| Tensioner sags | Loose mount | Tighten screws/anchors |
| Breakaway won’t click | Misalignment | Re-seat and retry |
Sometimes instructions are confusing or parts all look the same. Glancing at the manufacturer’s diagram or a quick YouTube search usually clears things up.
Keep a basic toolkit handy—a screwdriver, pliers, and a bit of patience go a long way for most cord hardware hiccups. And honestly, asking a friend for help? That’s just smart, not cheating.
Frequently Asked Questions
Securing cords isn’t just about looks—it’s a real safety thing, especially for families with kids and pets. From tensioners and breakaway clips to cord cleats, there are plenty of ways to make your home safer and still keep it stylish.
How do we safely secure blind cords to keep our home child-friendly?
Mount cord cleats high on the wall or window frame to keep cords out of reach. Wrap any extra cord neatly around the cleat so nothing dangles where little hands or paws can grab it.
Tensioners are another option—they hold cords tight and keep them from hanging loose, cutting down on entanglement risks.
What are the best practices for installing tensioners for our window treatments?
Mount tensioners to a solid surface like wood or drywall with the right screws. Make sure the cord stays taut.
A level or guide helps keep things straight, which looks better and works better.
Can we get some insight on the use of breakaway clips for corded blinds?
Breakaway clips snap open if someone gets caught in the cord loop, lowering the risk of strangulation. You usually just clip them onto the cords where loops form.
They’re a small add-on, but they make a big difference for safety. Some come in different colors to blend in with your blinds, so you don’t have to compromise on style.
Is it difficult to retrofit our existing blinds with cord cleats, and how do we do it?
It’s easier than you might think. Find a sturdy spot out of reach of kids, screw the cleat in, and wrap the cord around it in a figure-eight. You’ll just need a screwdriver and a few screws.
What should we look out for when choosing cord safety devices for our home?
Pick devices that fit your window coverings’ style and color, and check for safety certifications like those from the Consumer Product Safety Commission (CPSC). Good products come with clear instructions and feel sturdy.
It’s also worth making sure they’re easy to install—no one wants a DIY headache.
Are there any DIY tips for ensuring corded window coverings are safe and stylish?
Try using cord cleats painted to match your trim or wall—honestly, it helps them disappear into the background so your safety tweaks don’t scream for attention. Just remember to measure first; you want that hardware high enough to actually do its job.
If you’re up for it, why not hunt for hardware that fits your vibe? Little decorative touches or finishes can keep things looking sharp, all while keeping cords safely tucked away. It’s totally possible to mix safety and style—sometimes you just have to get a bit creative.

