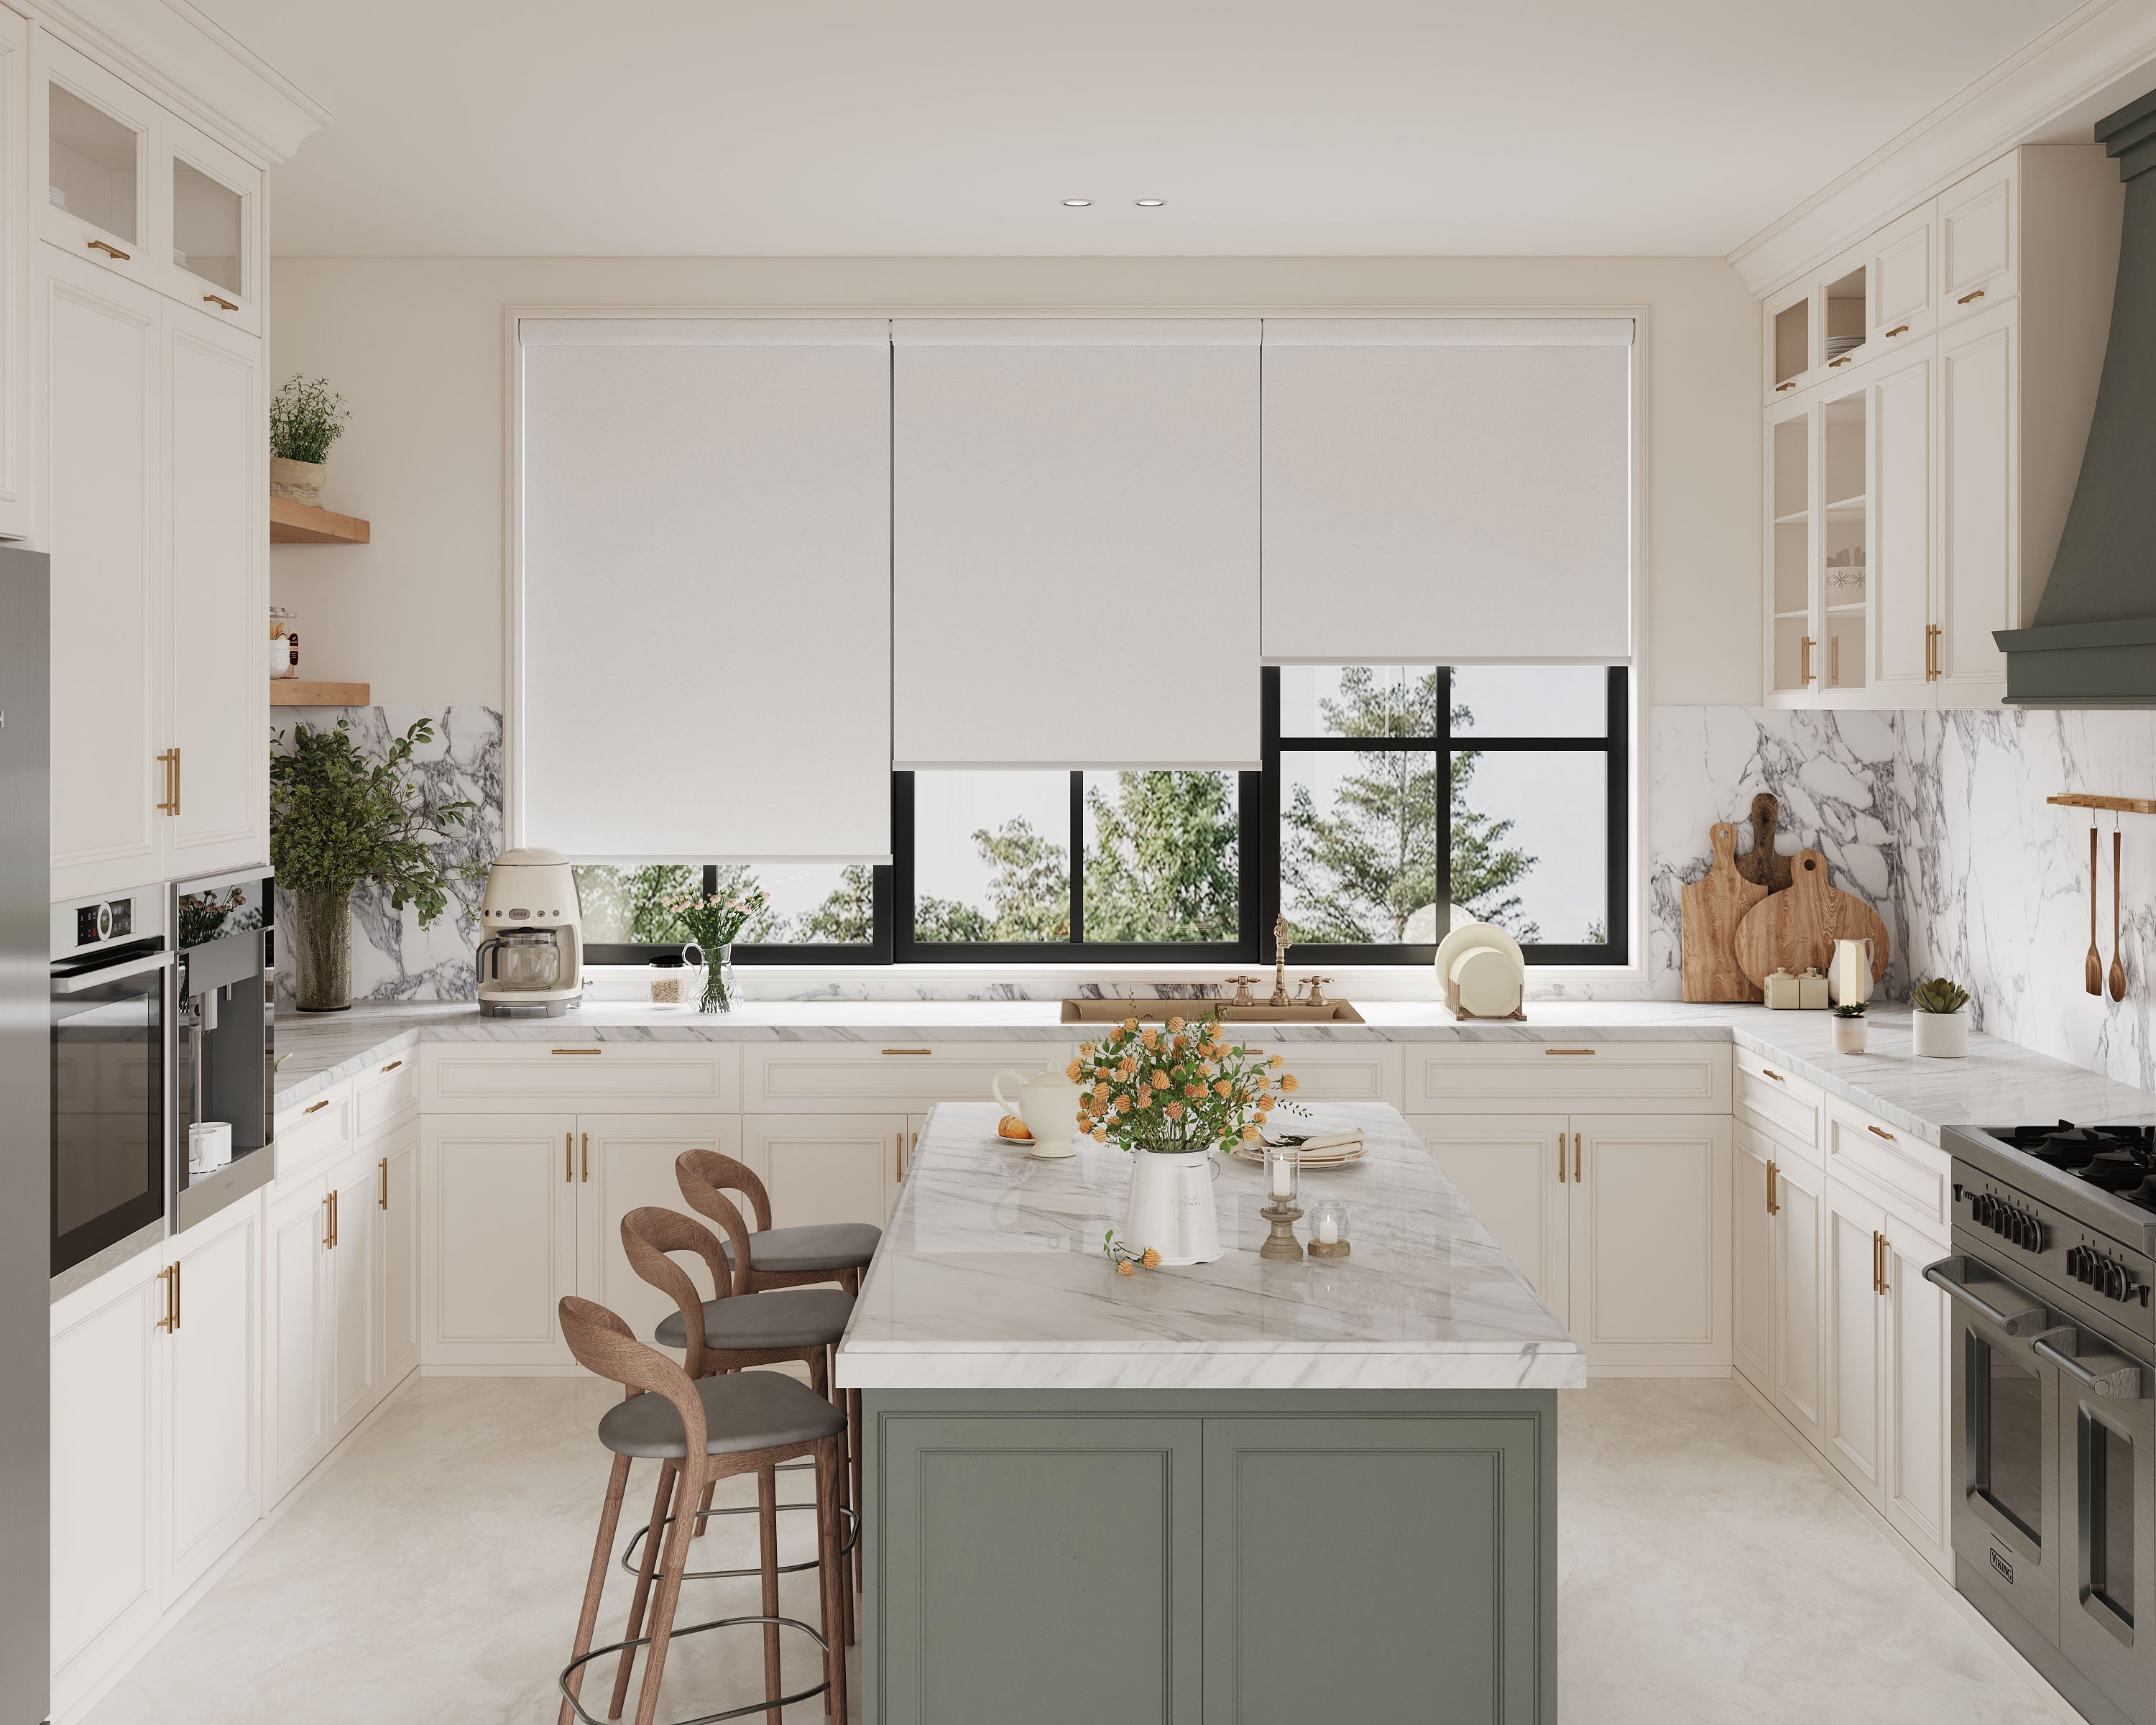
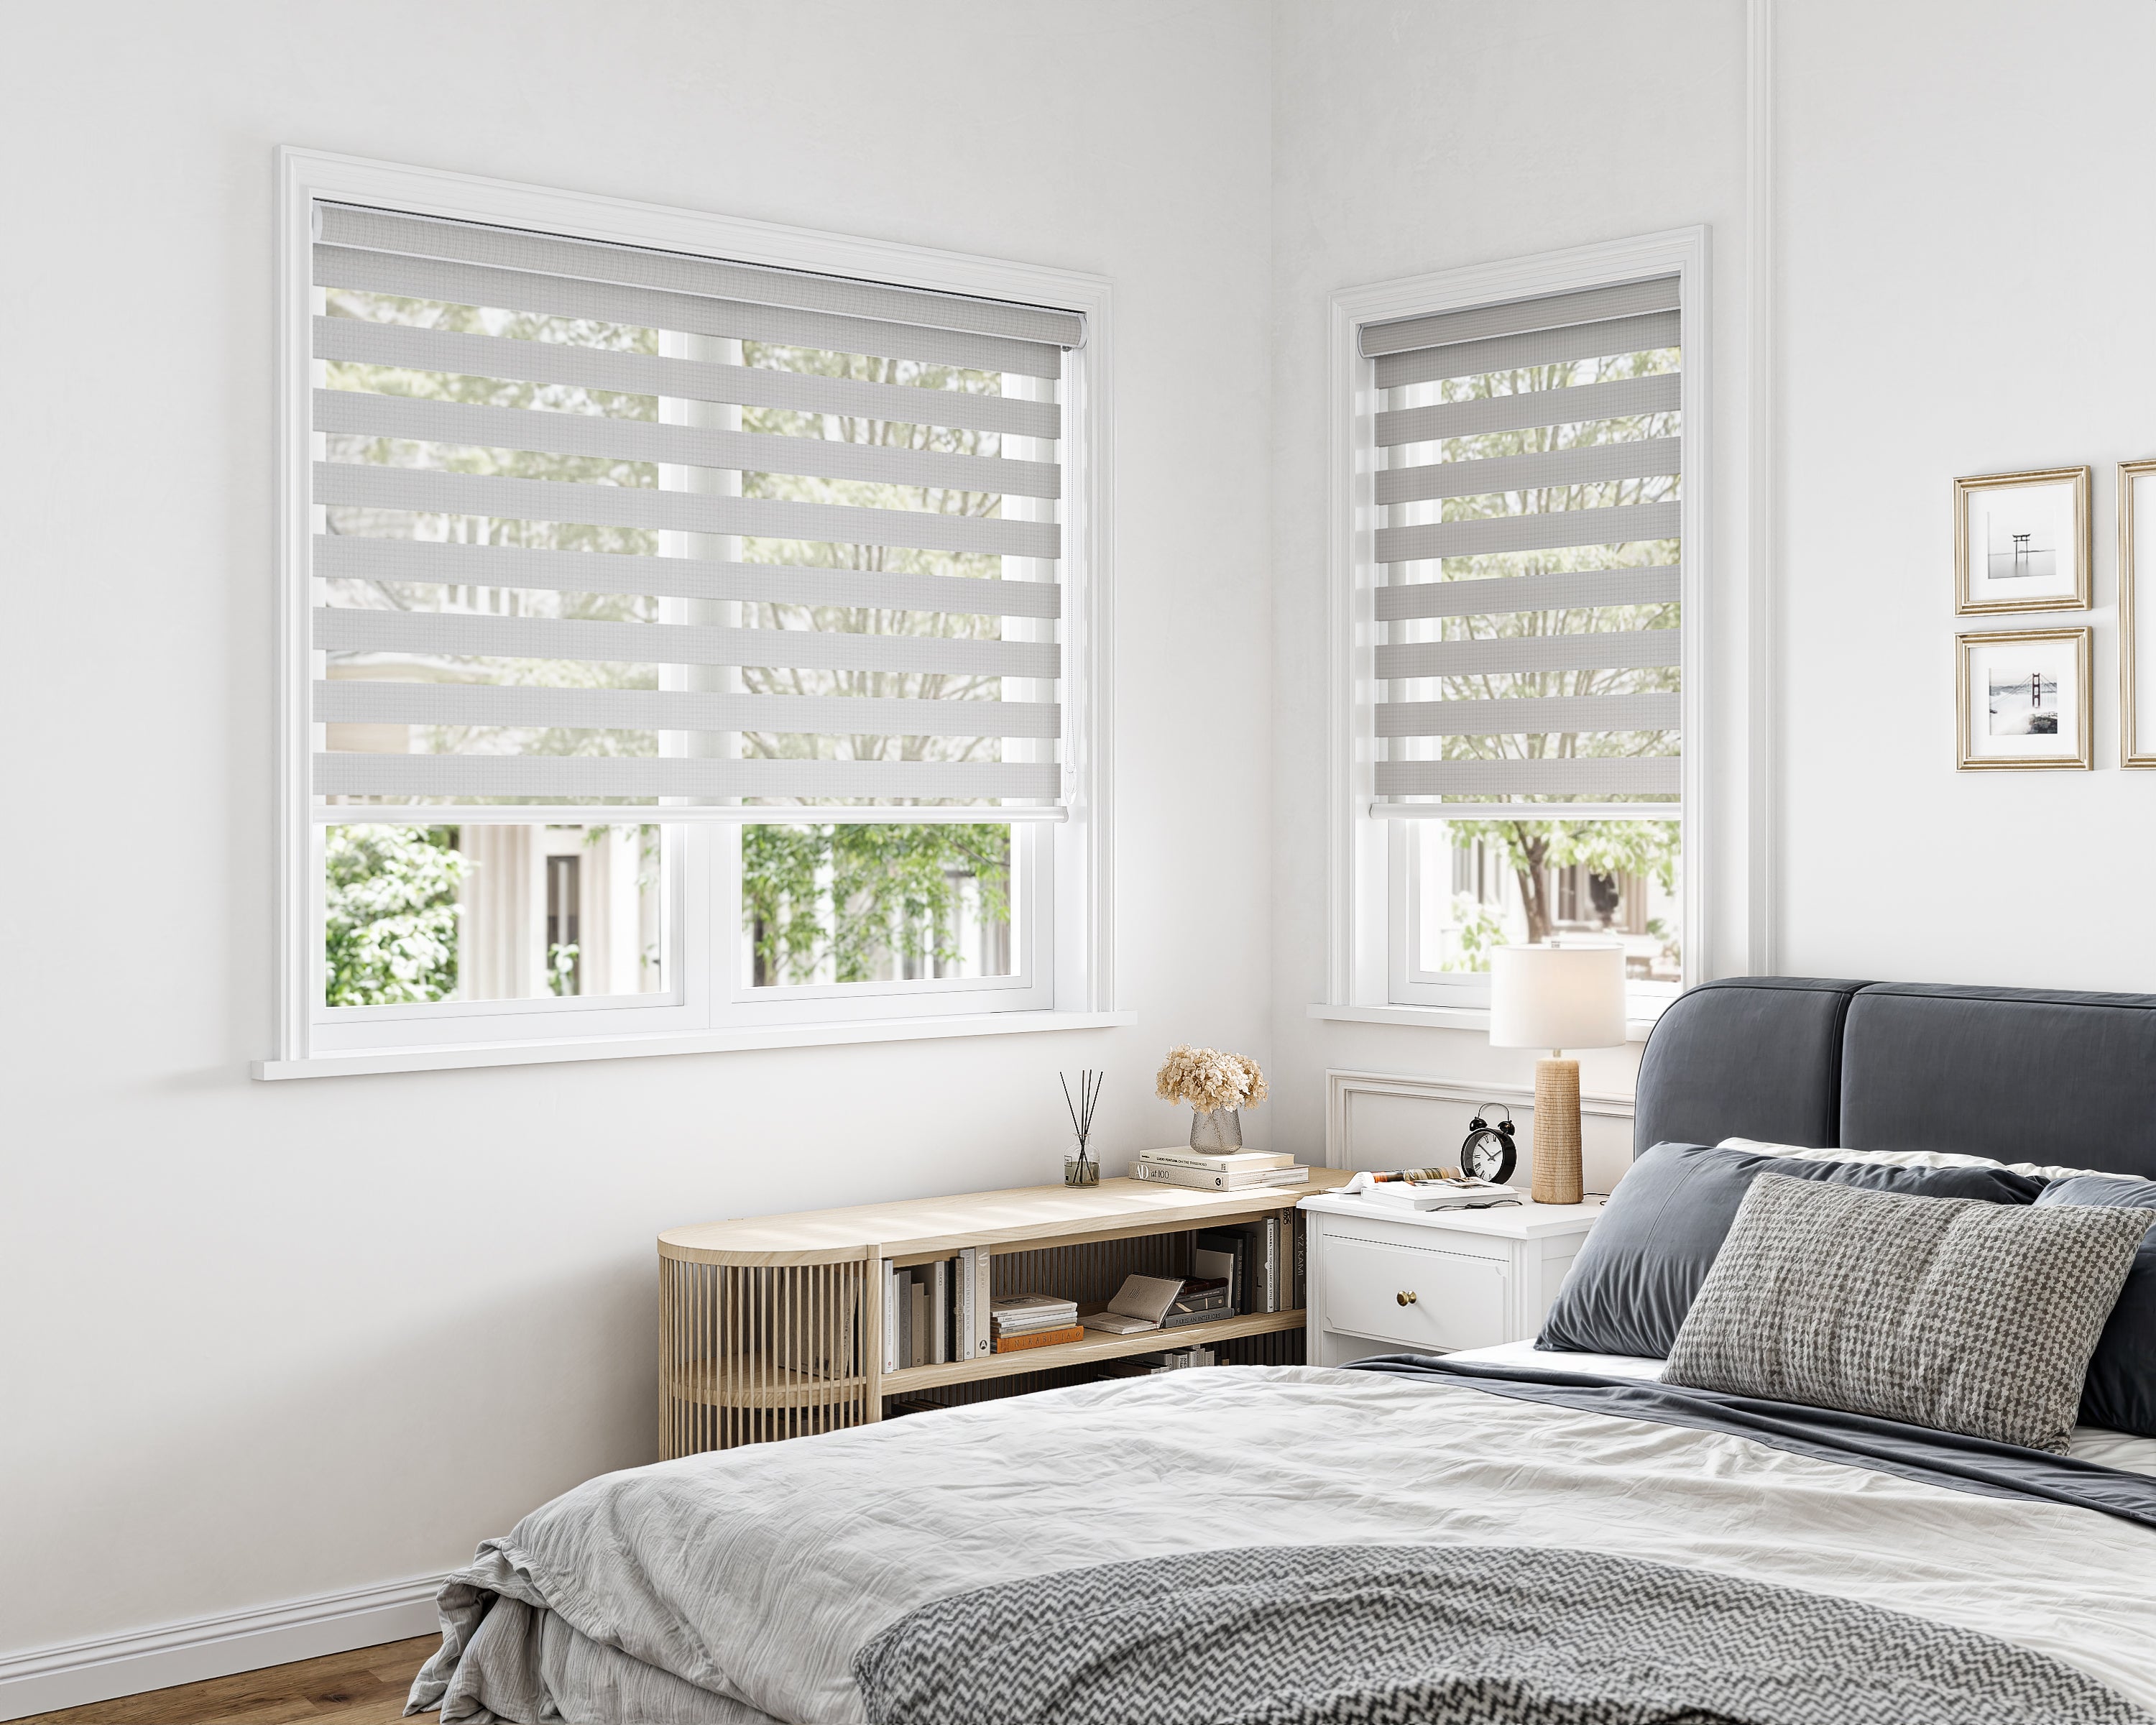
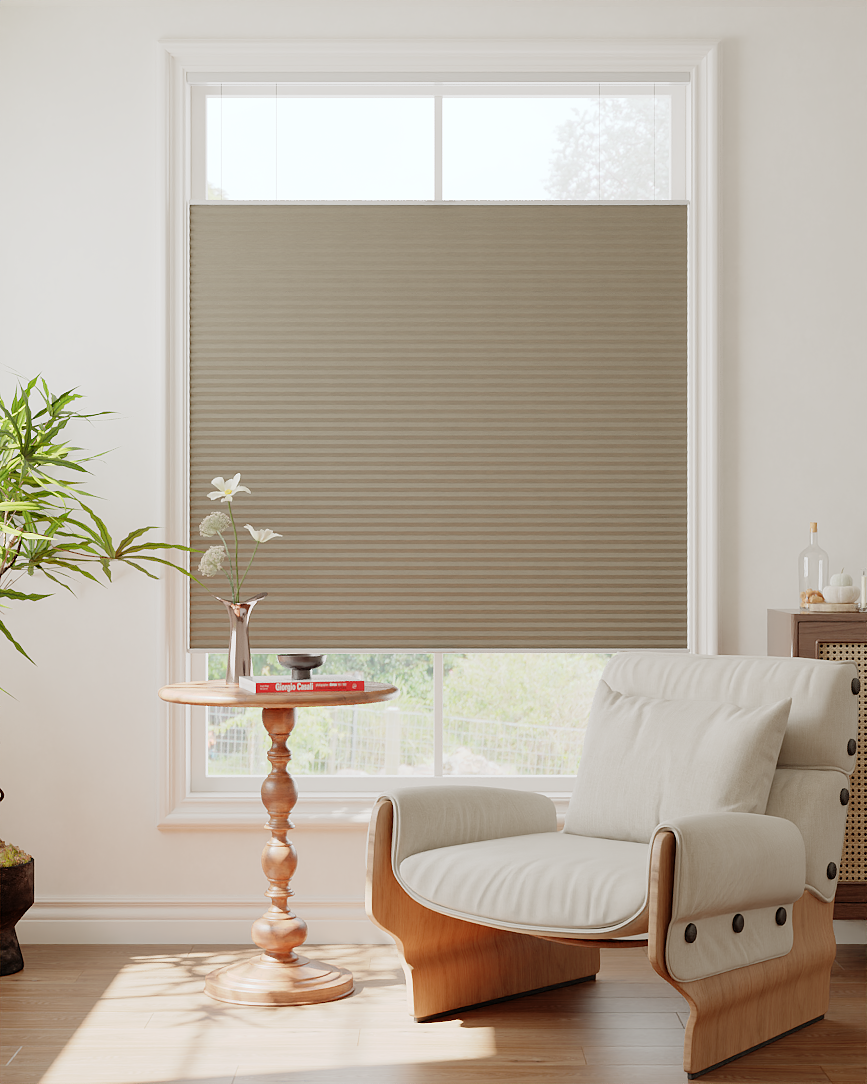
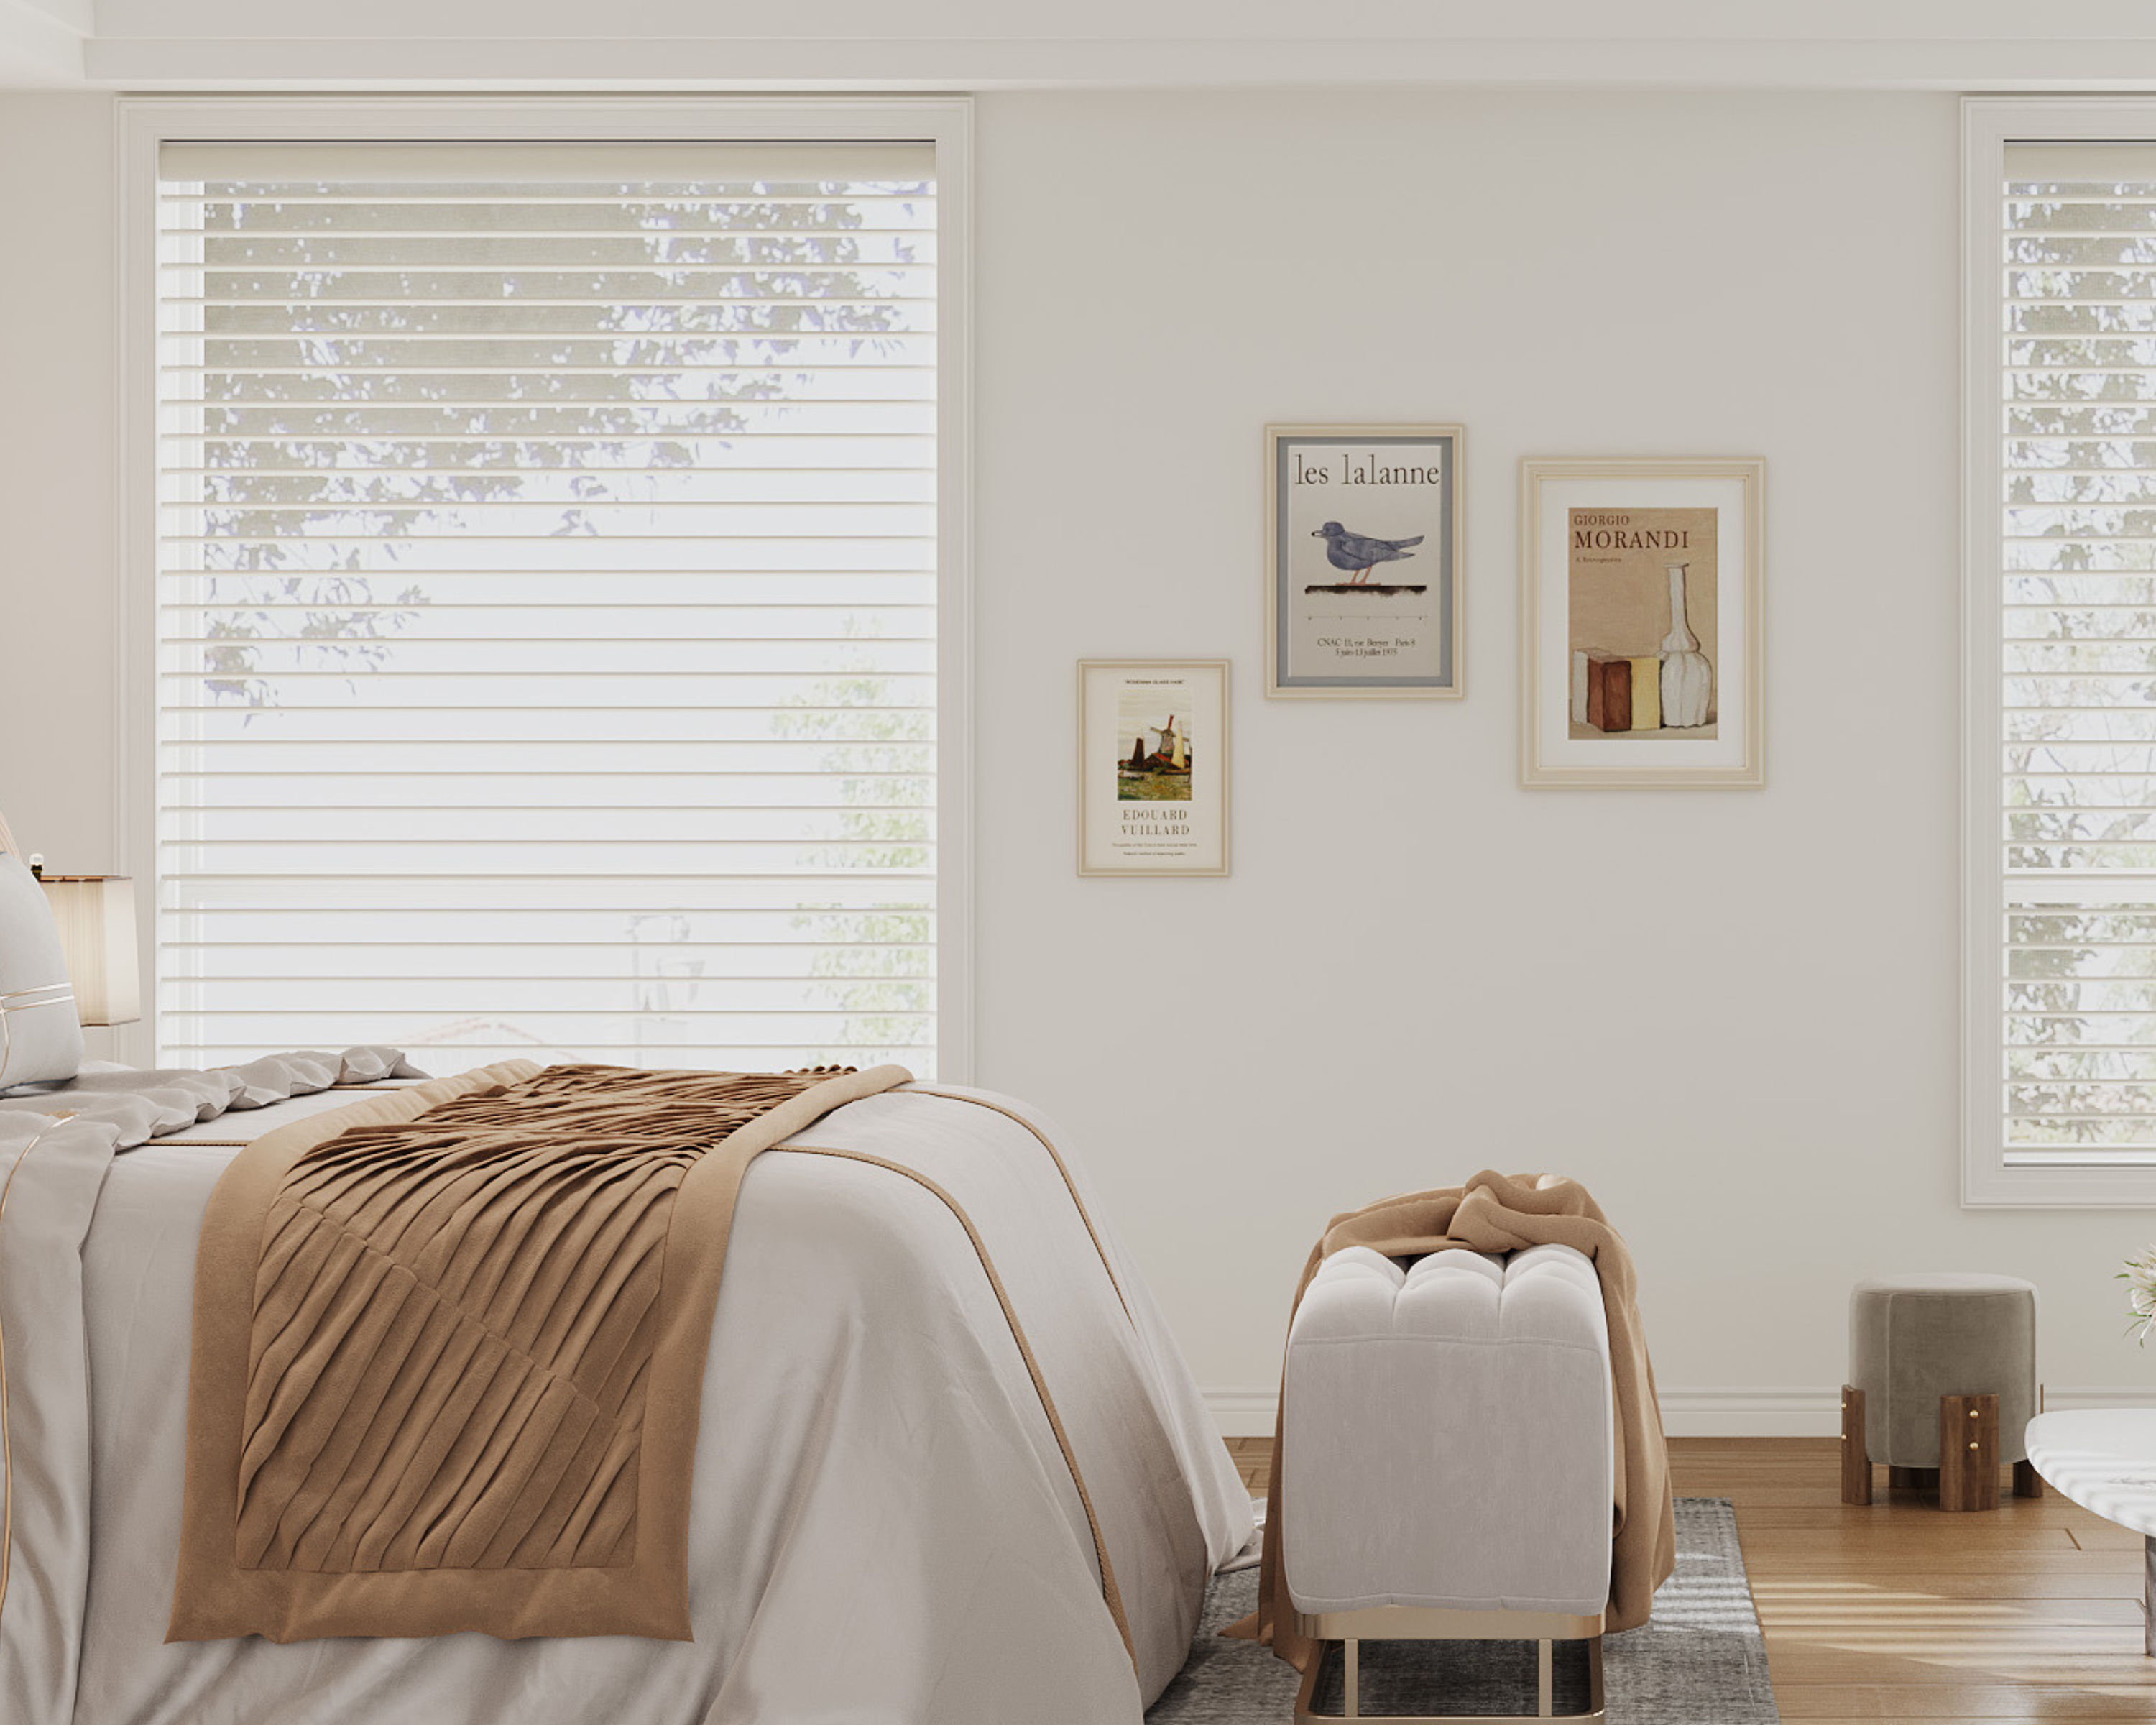
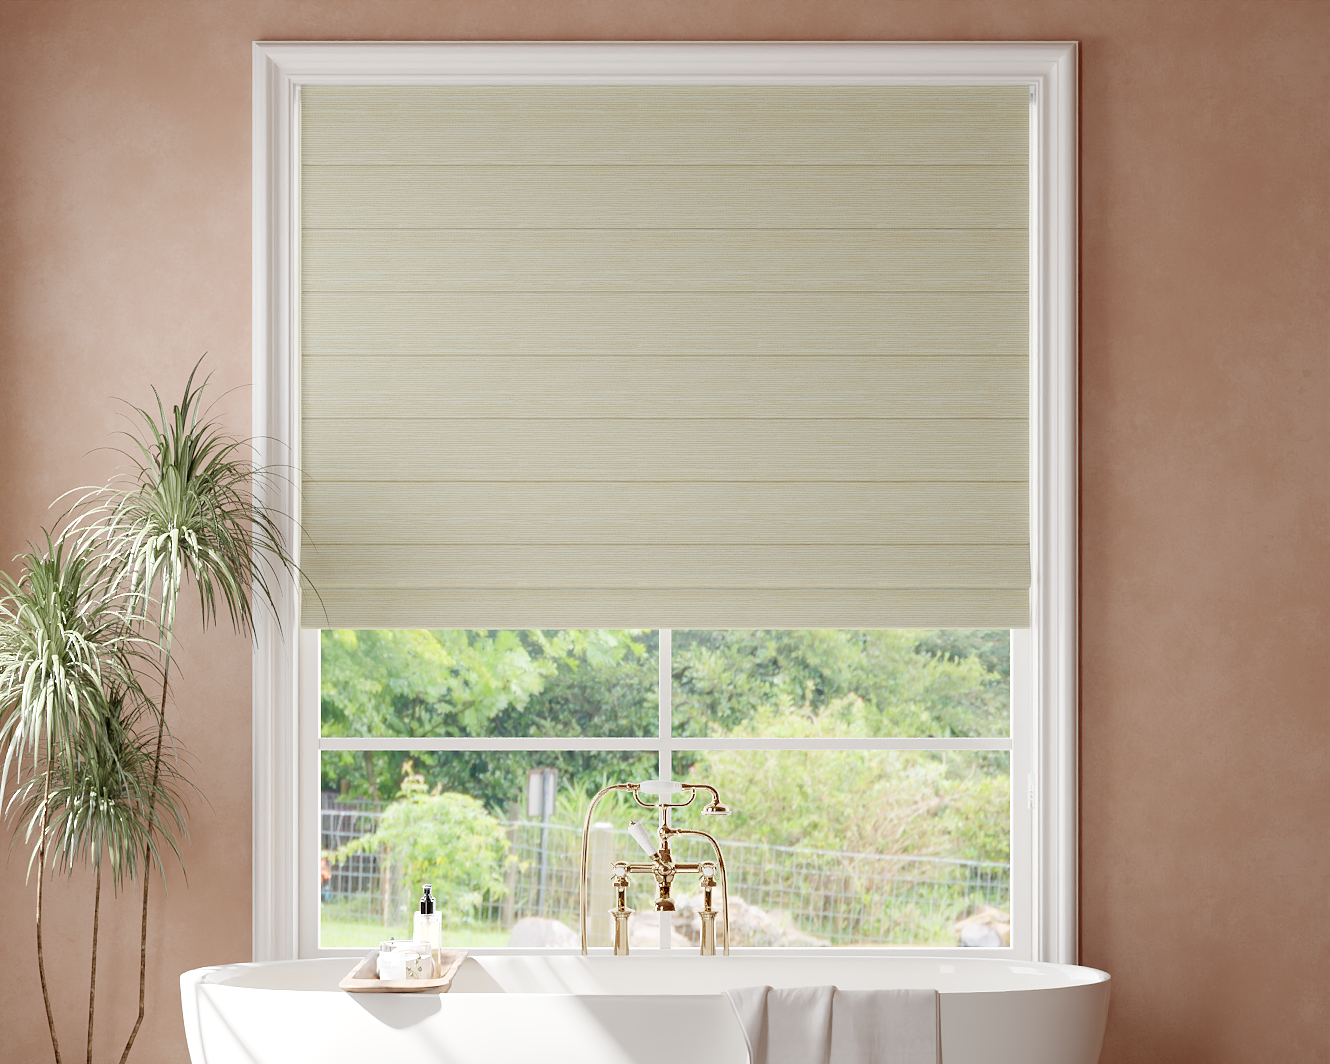
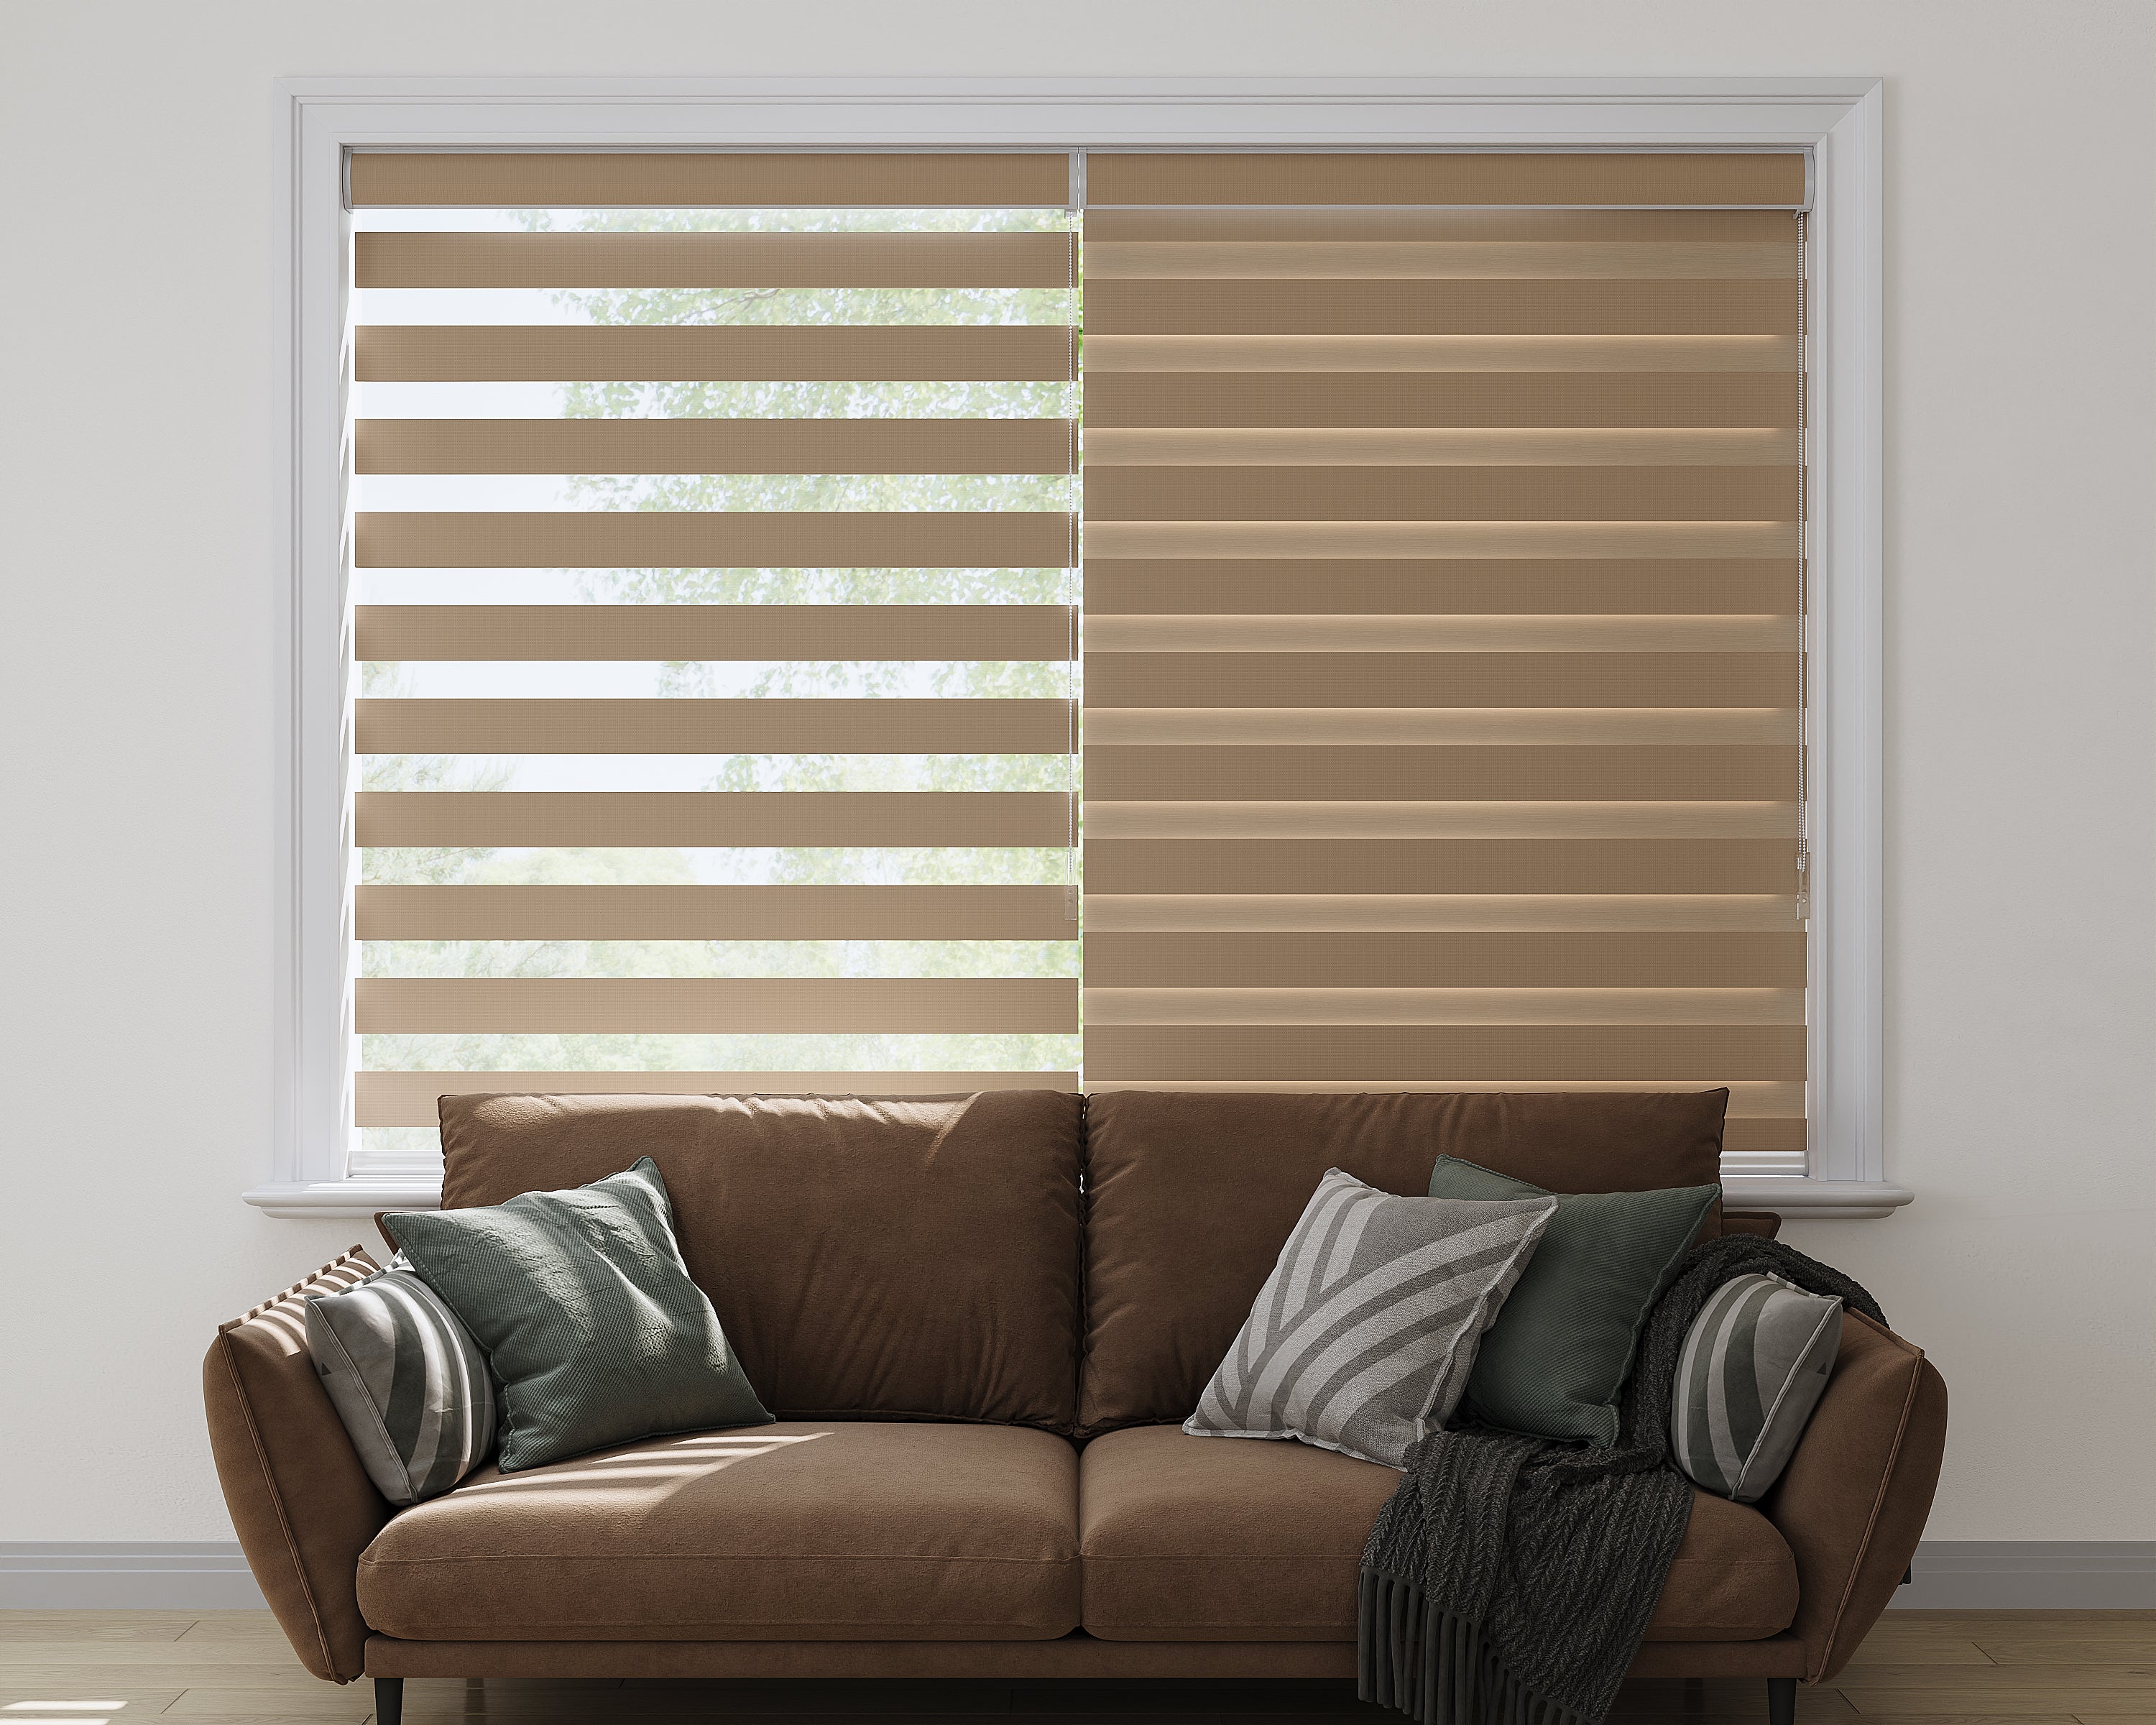
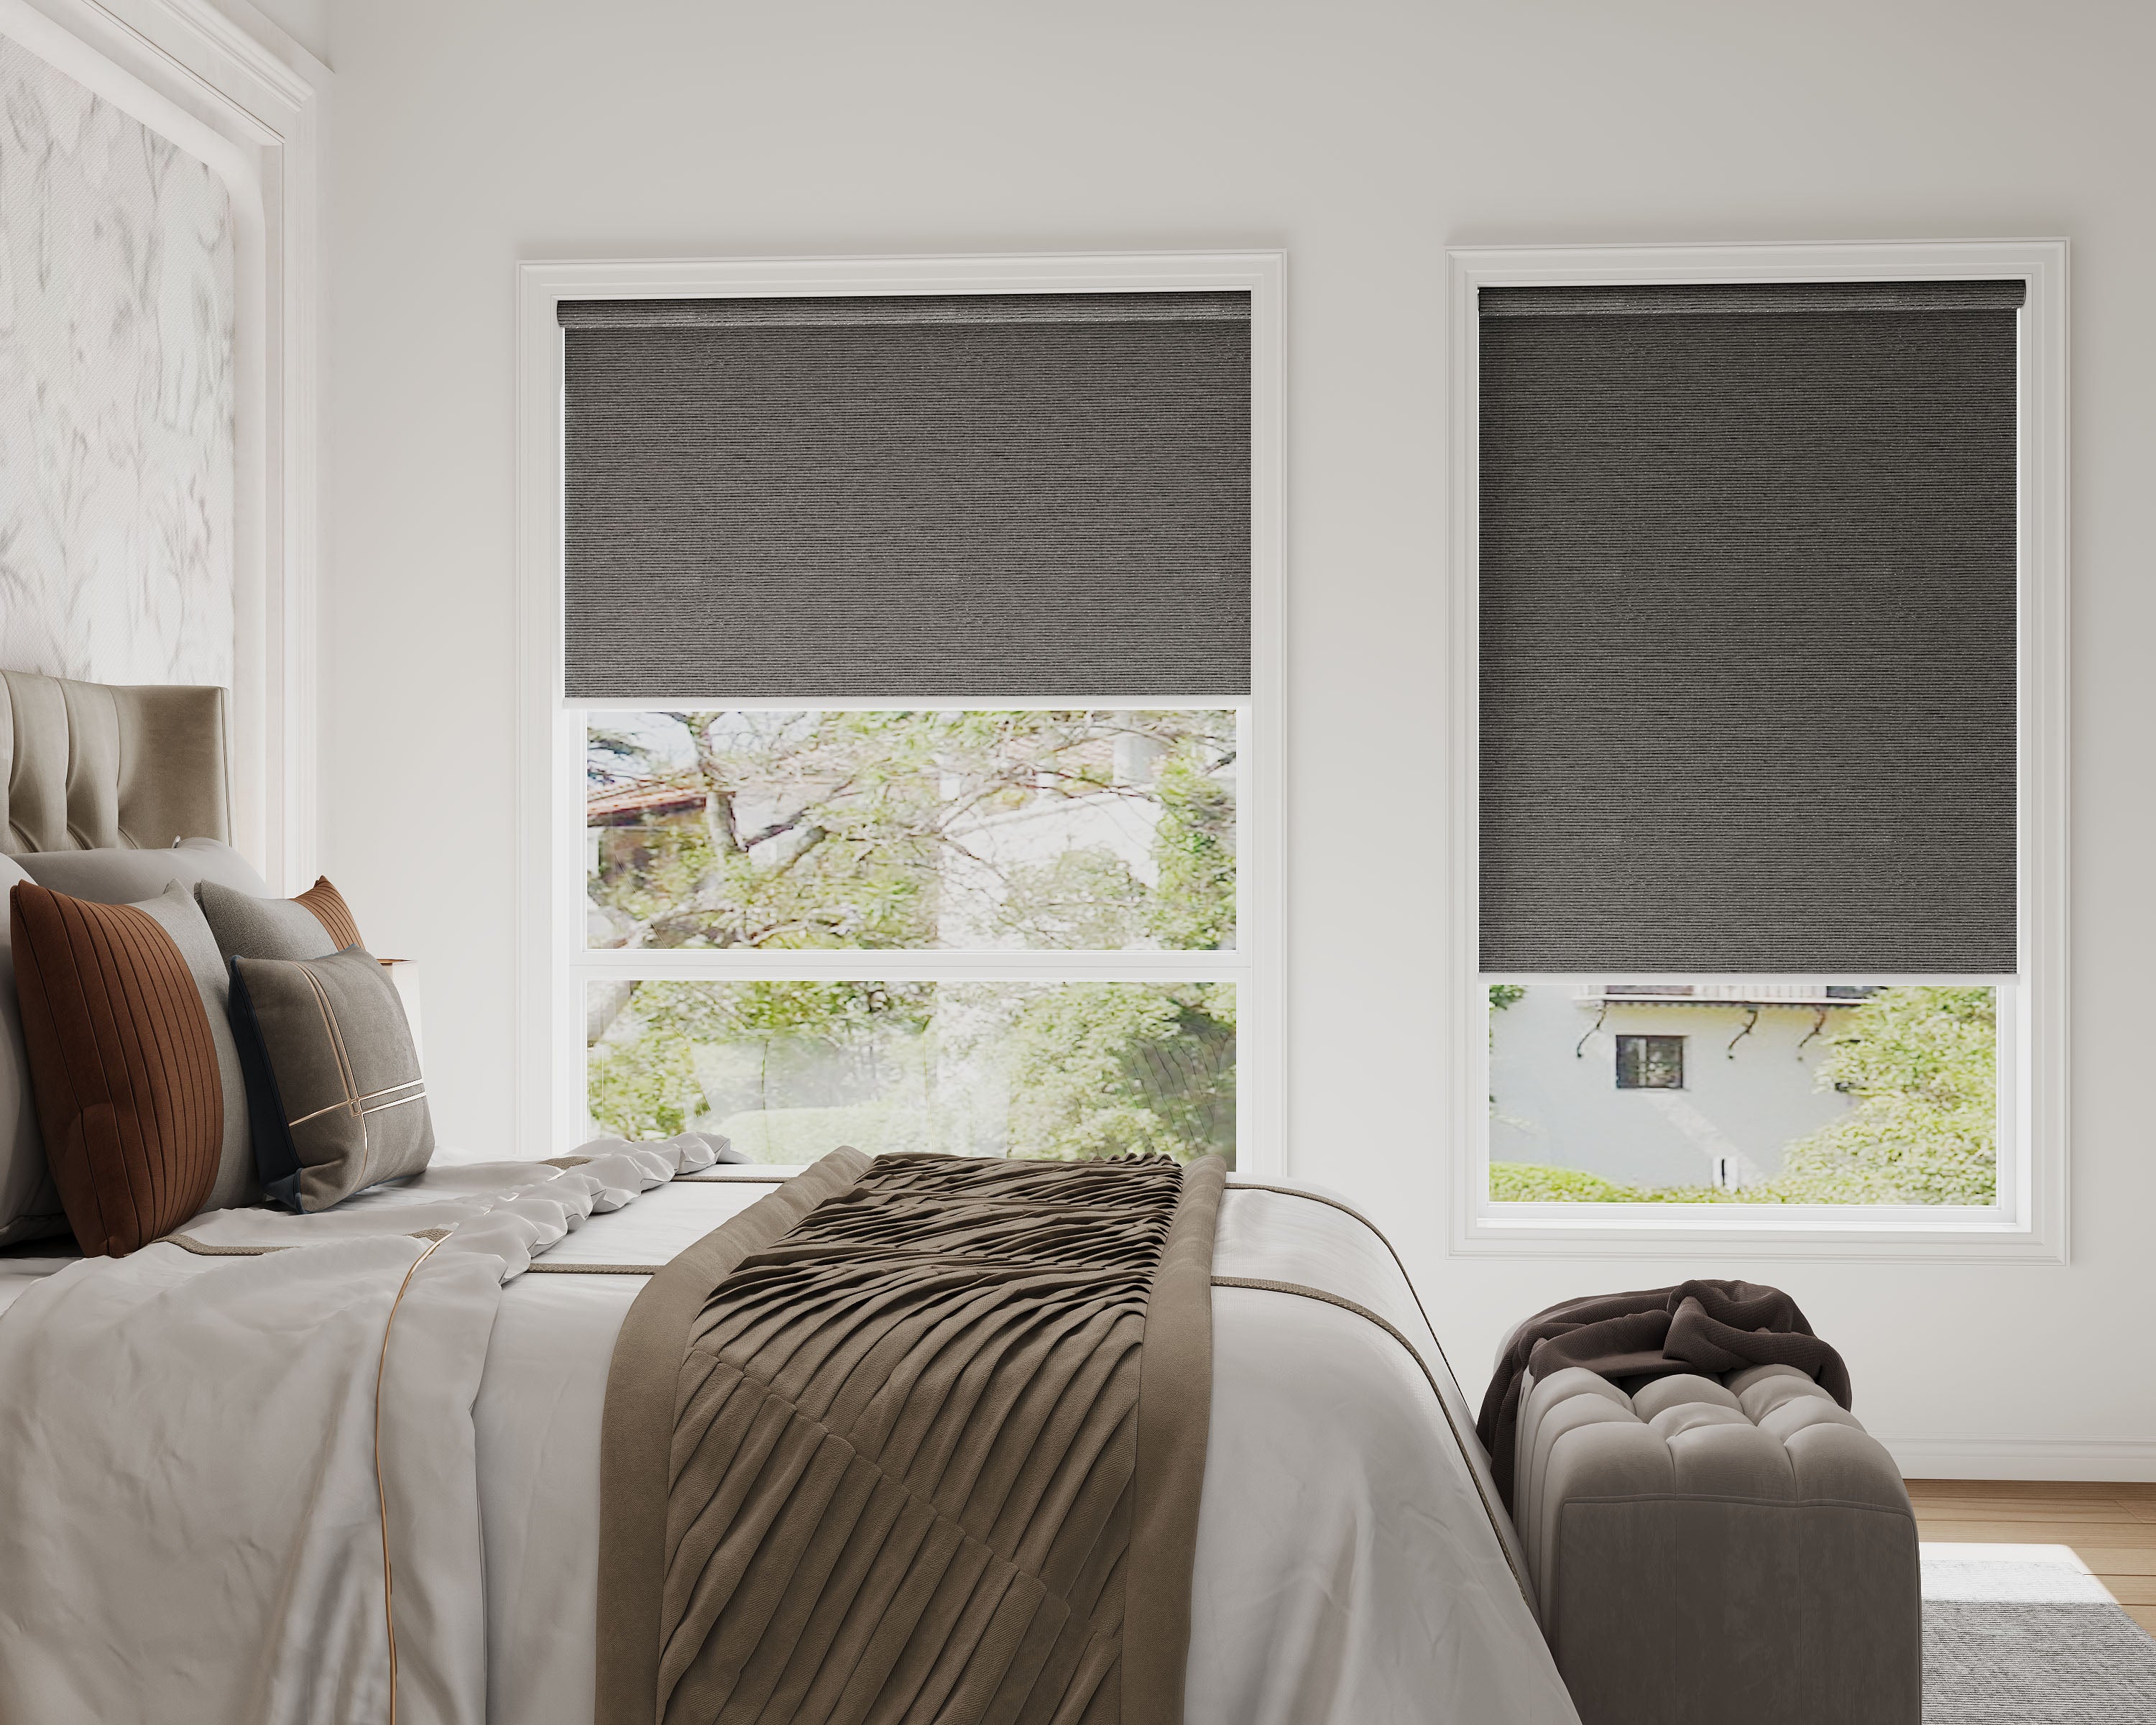
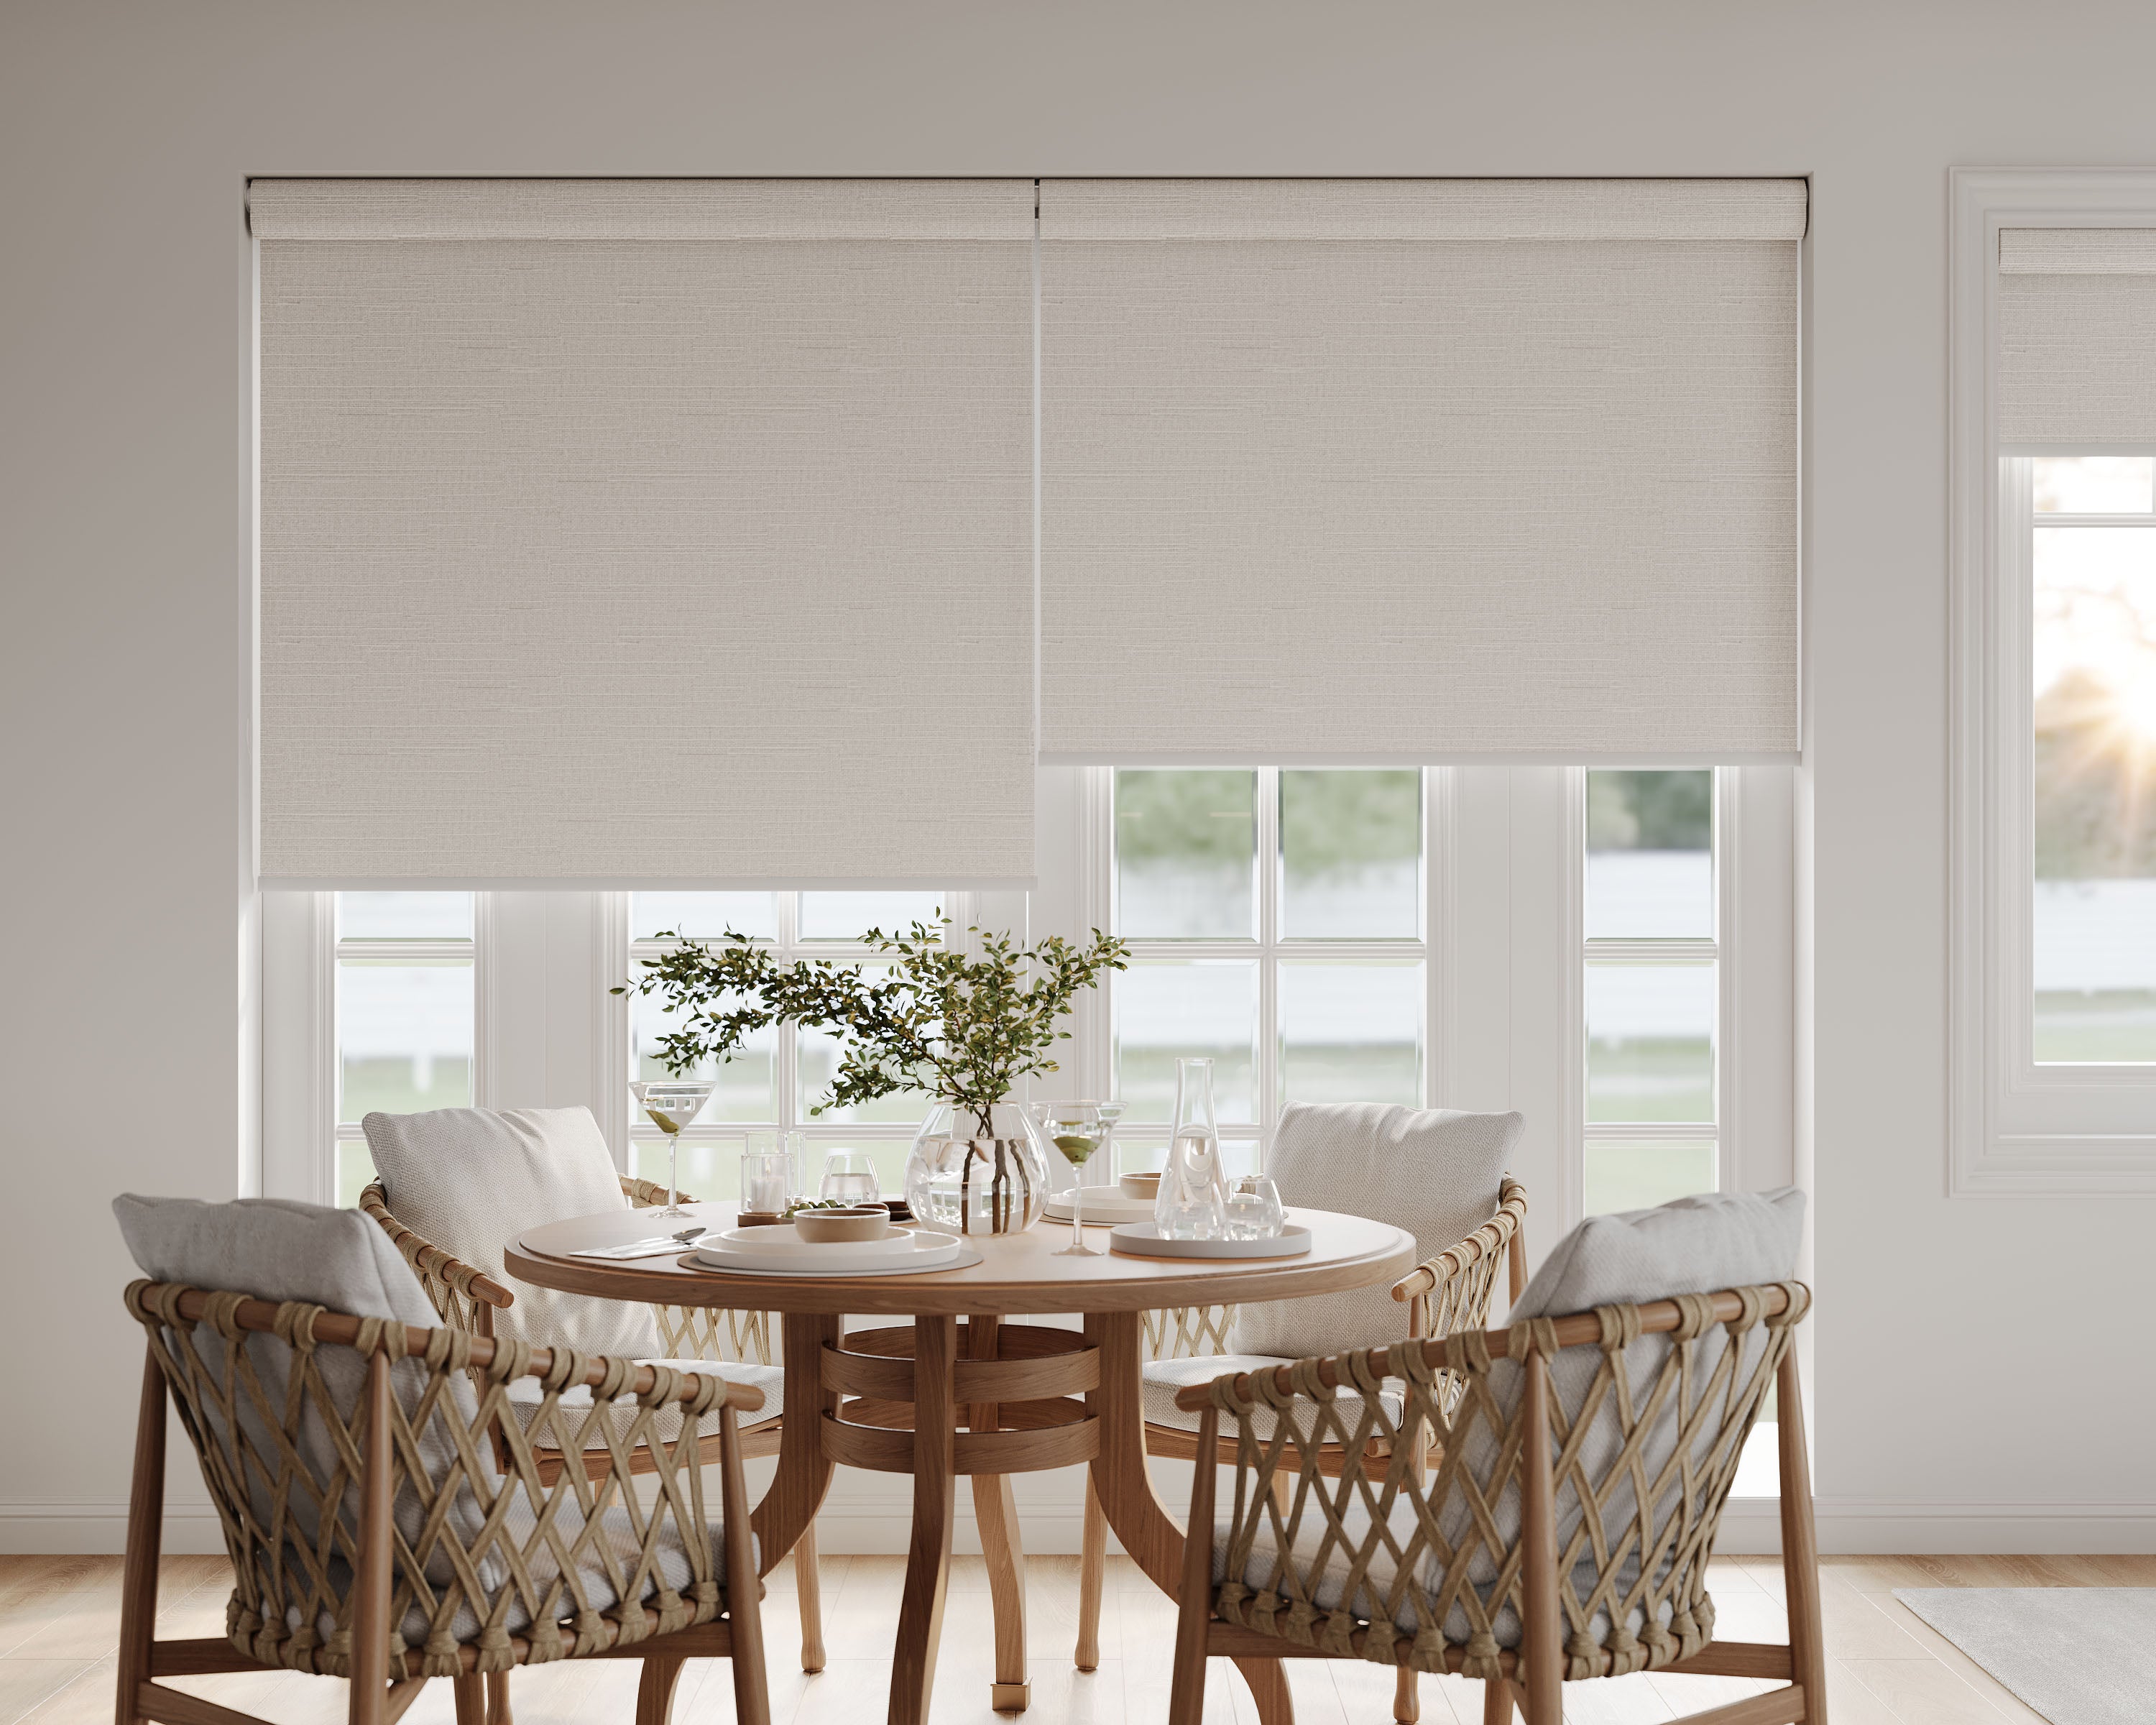
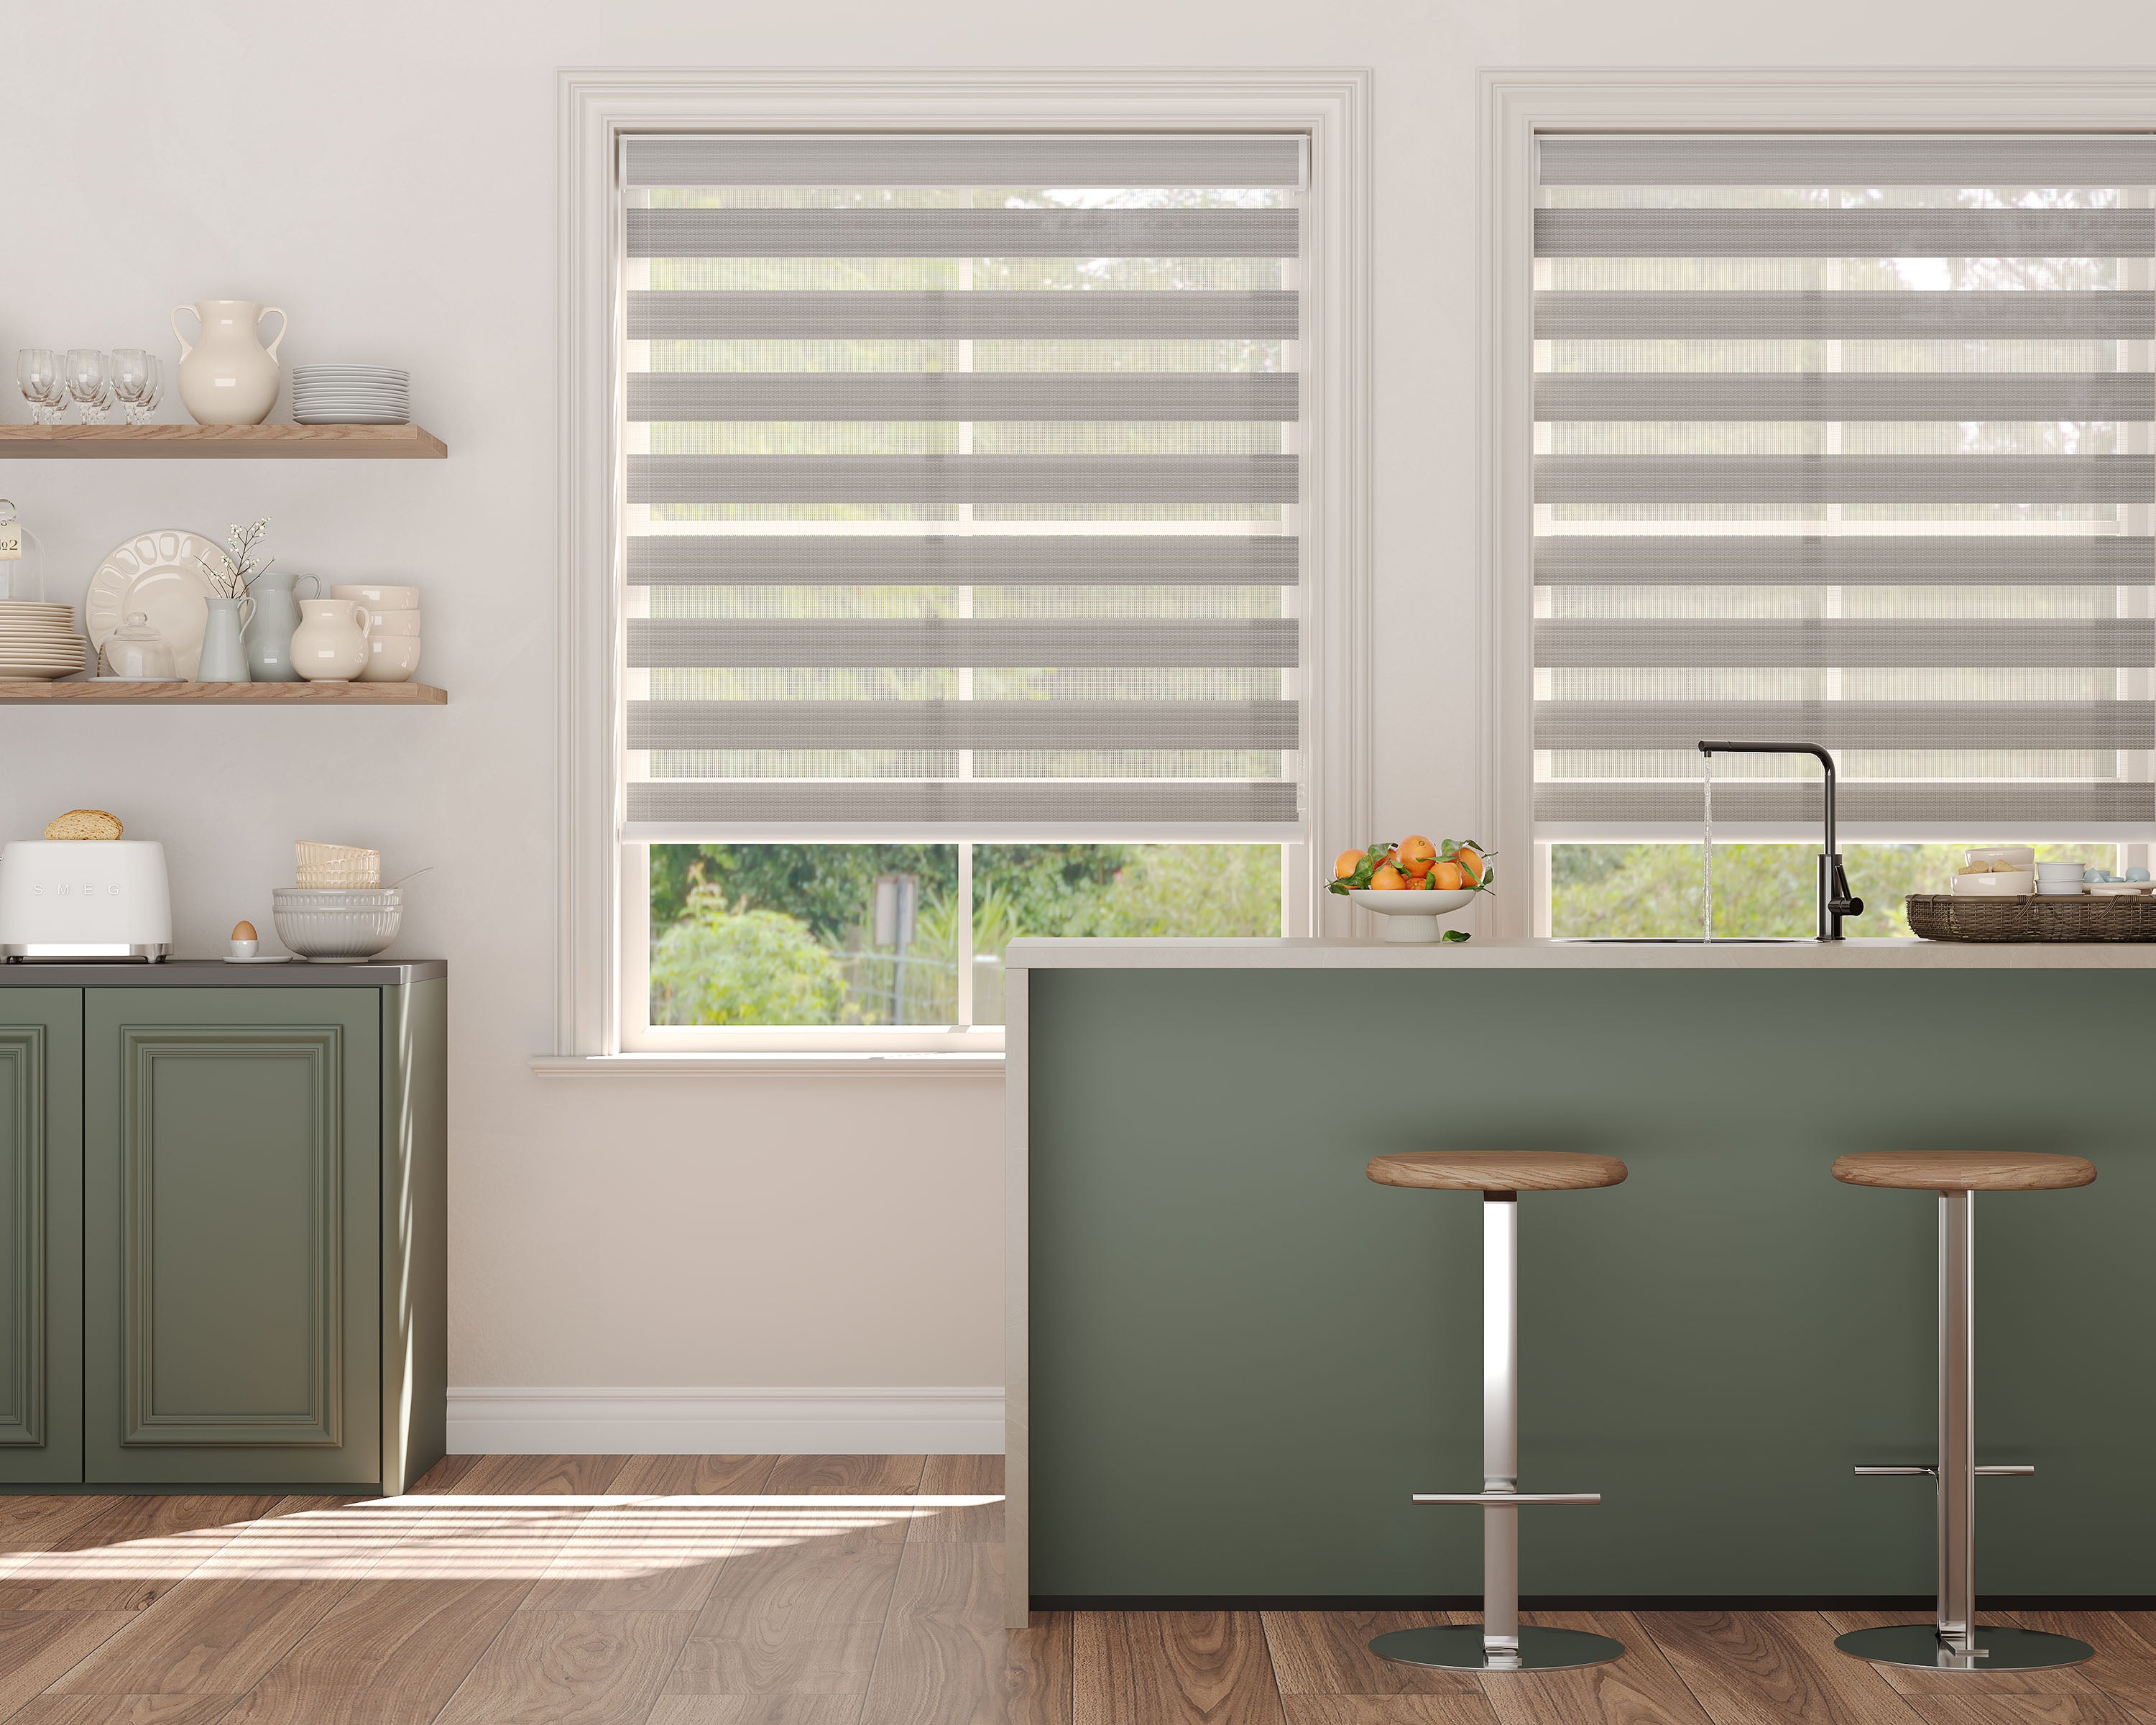
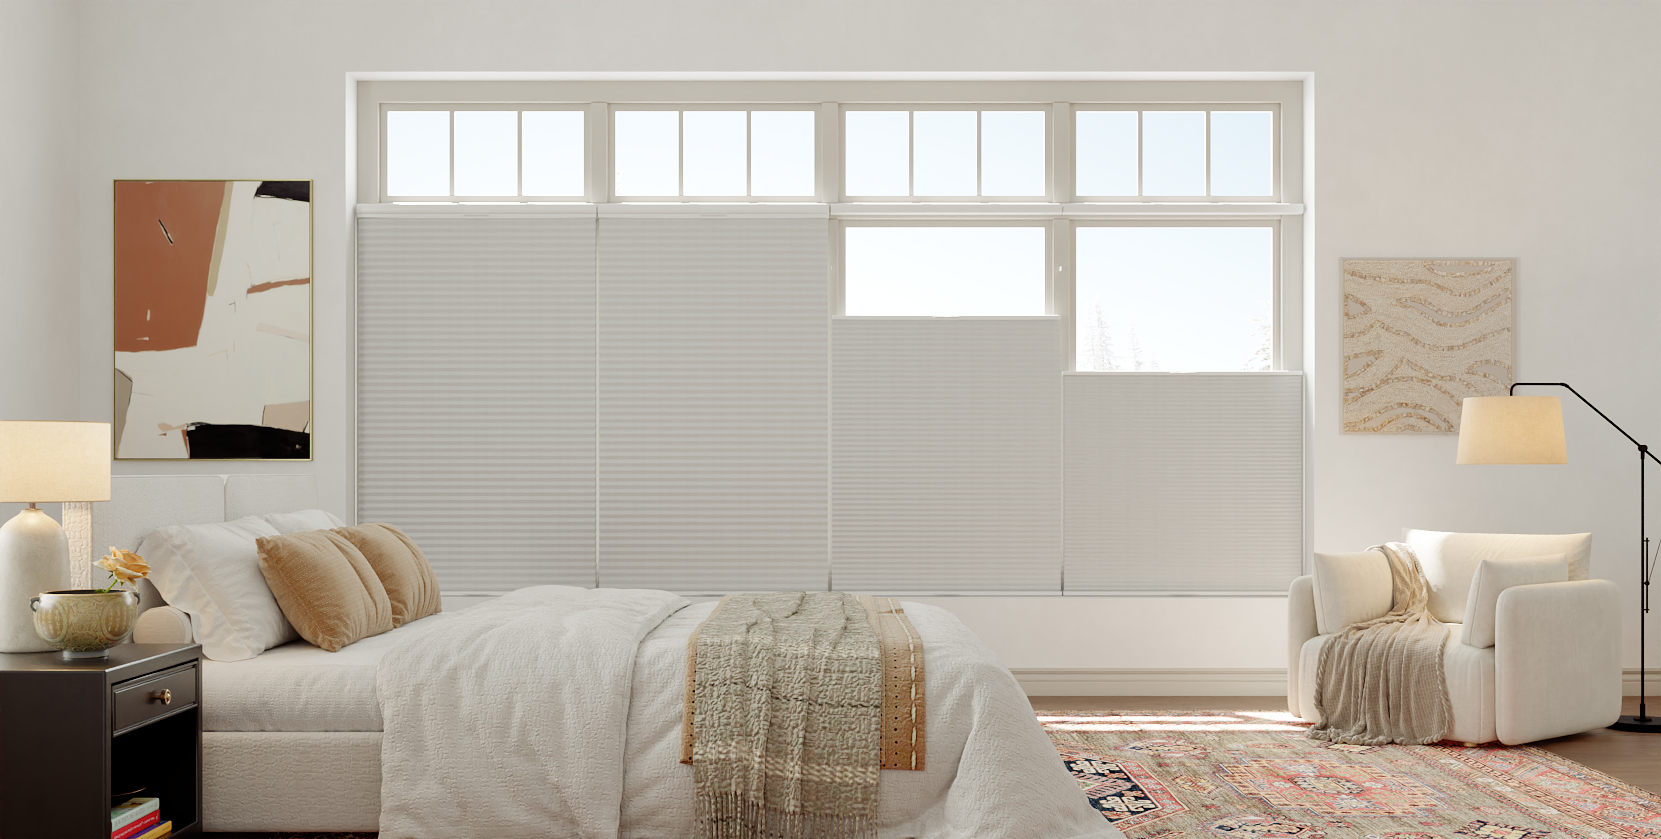
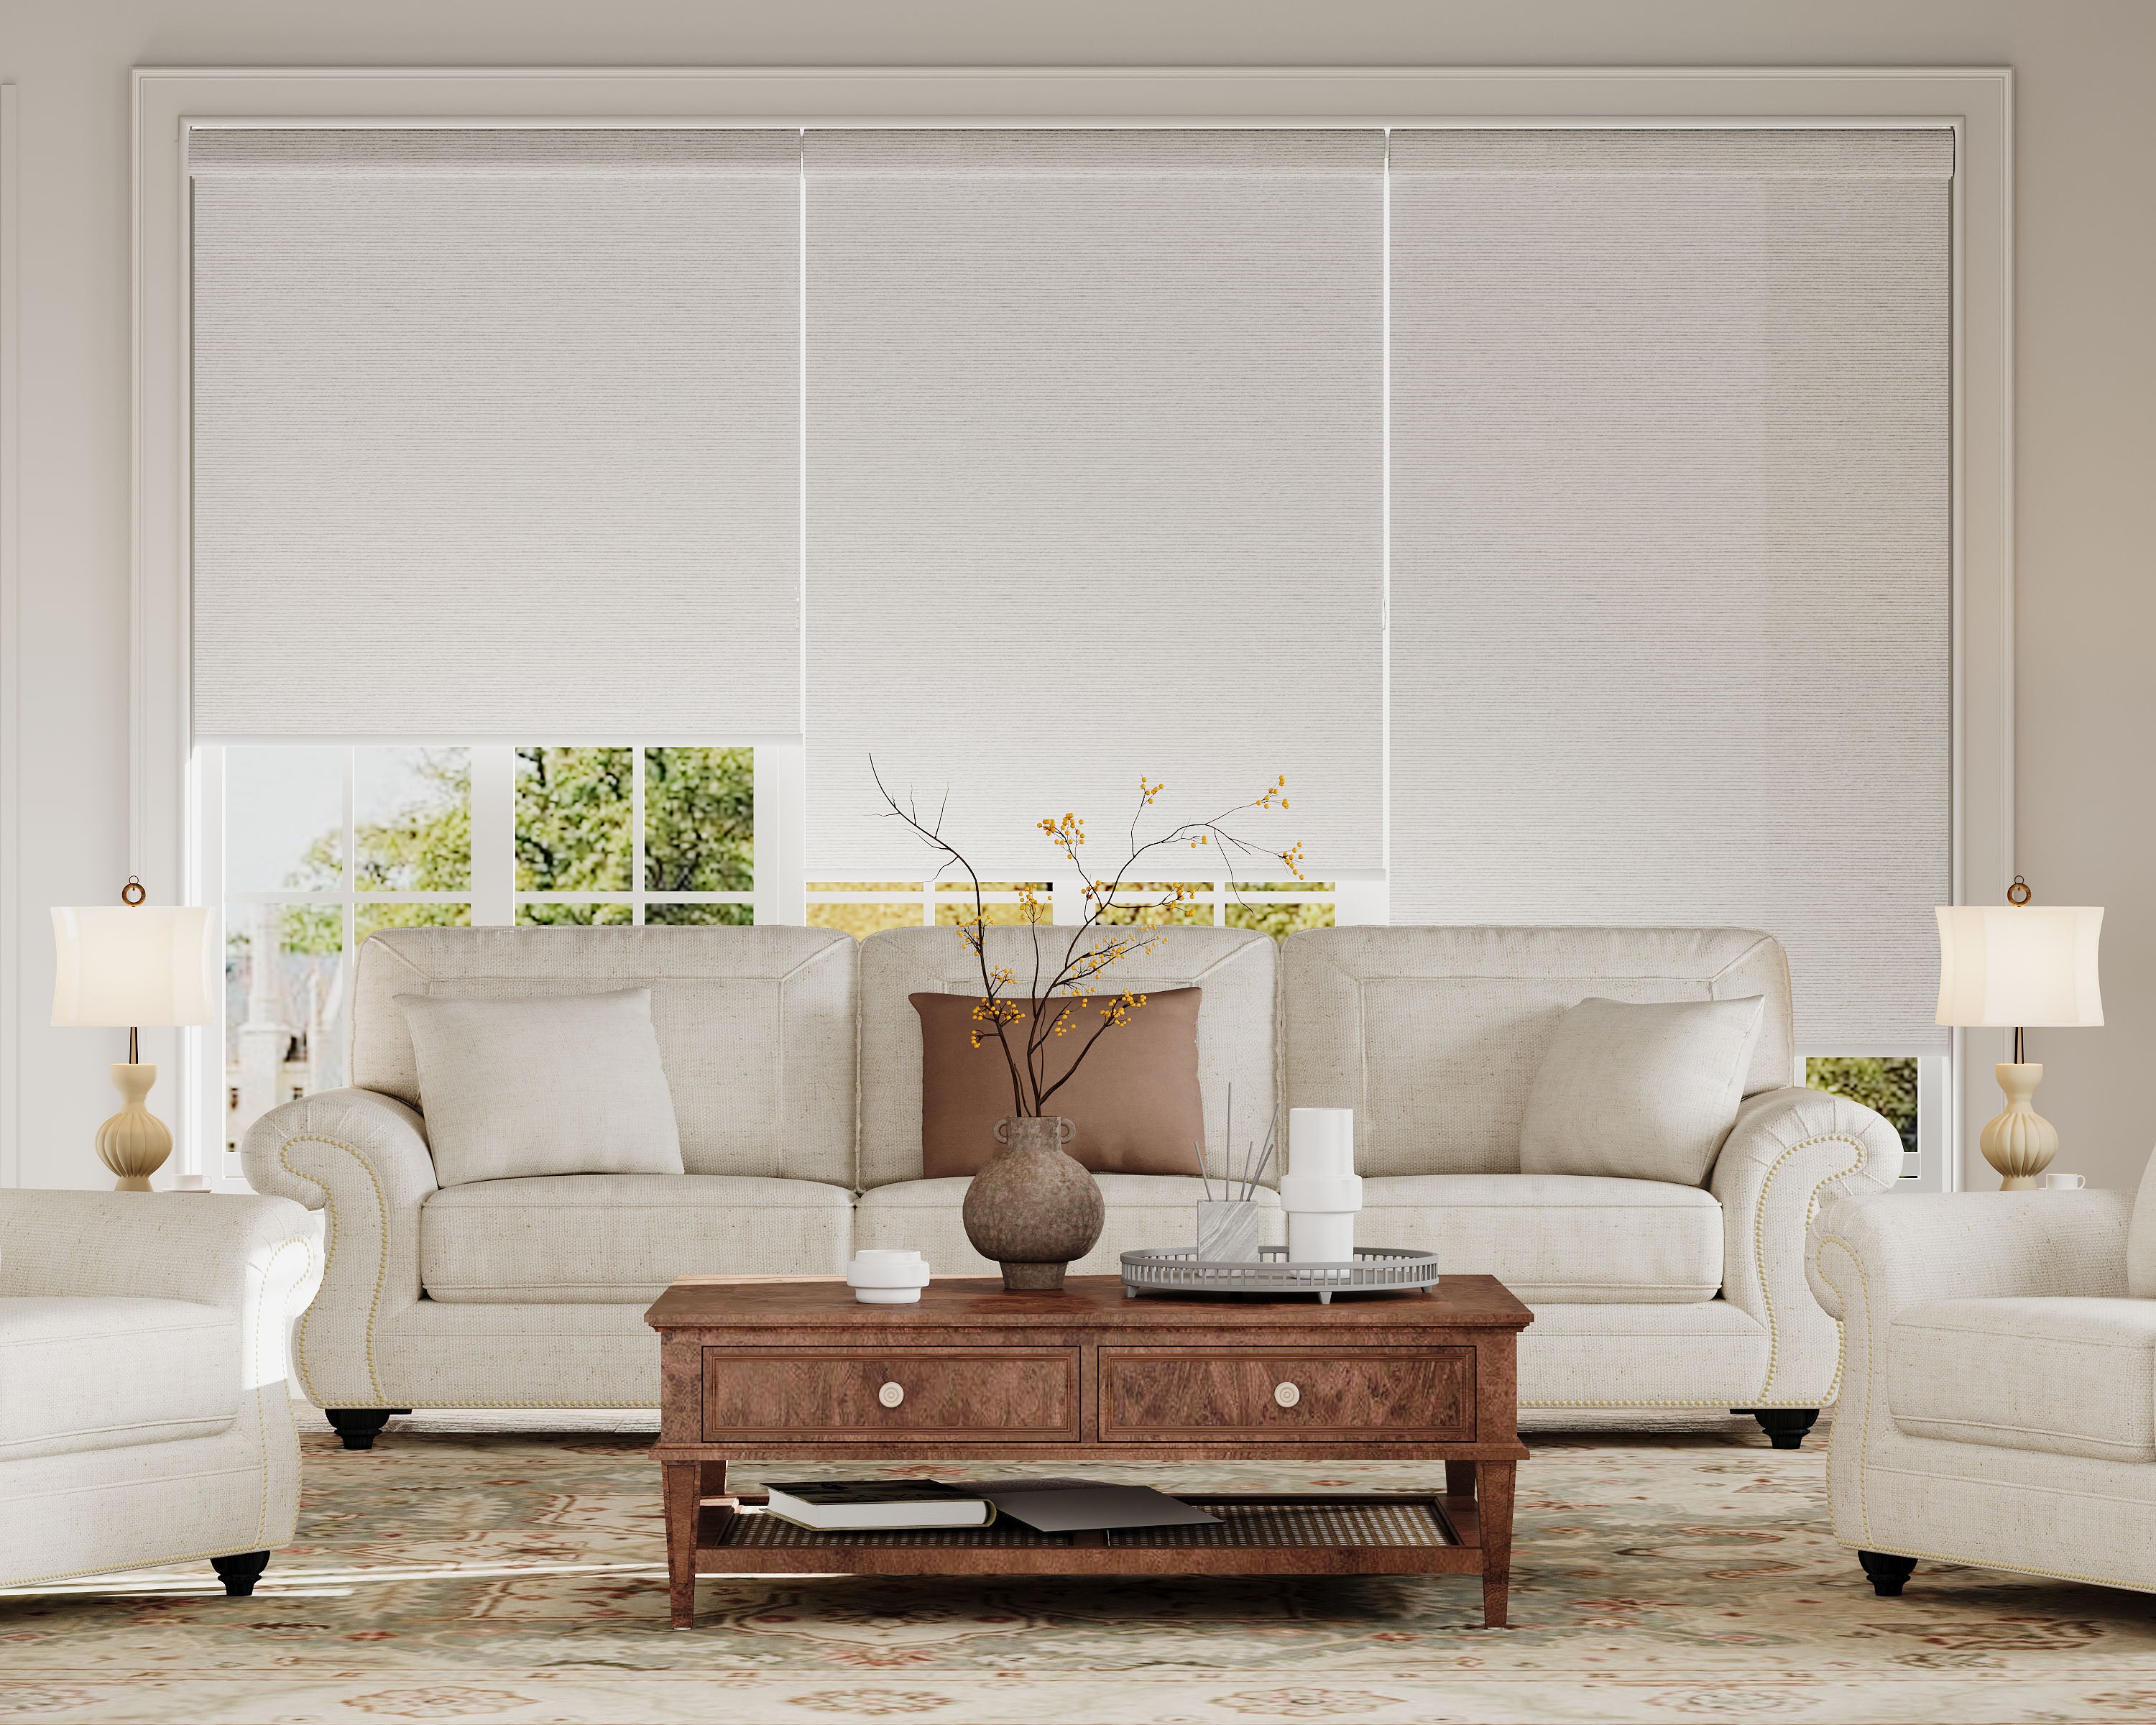
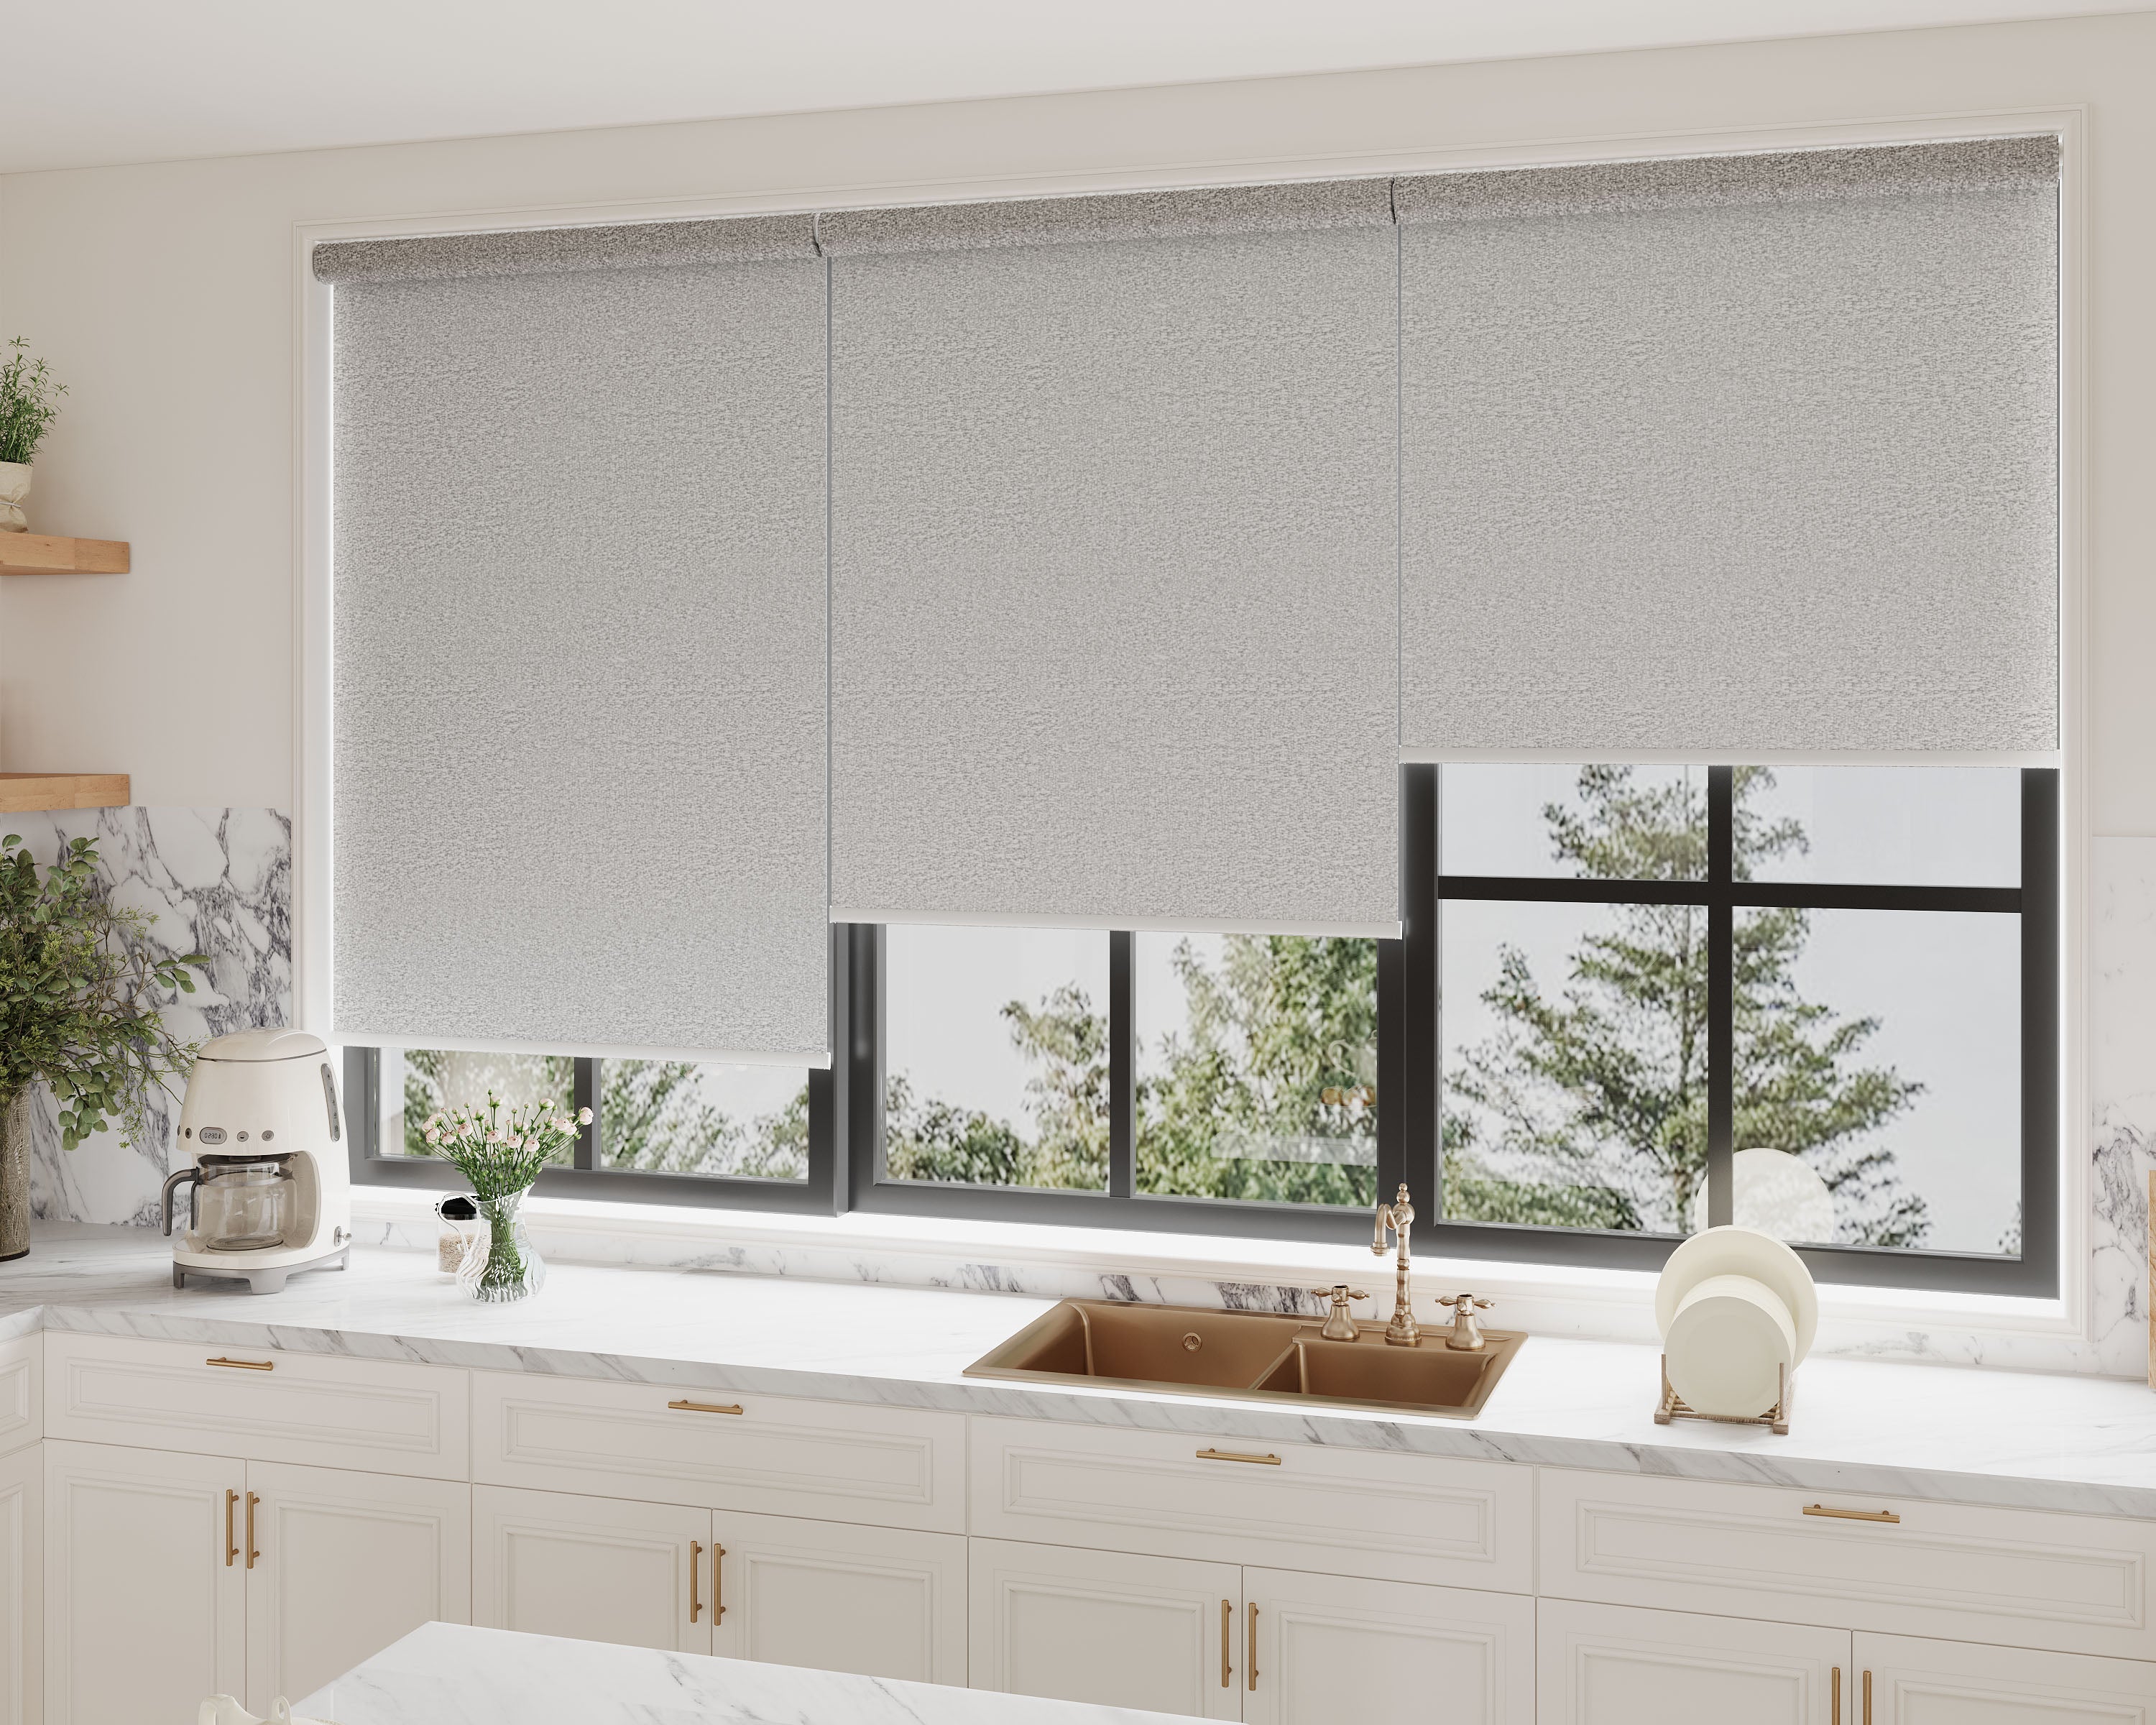
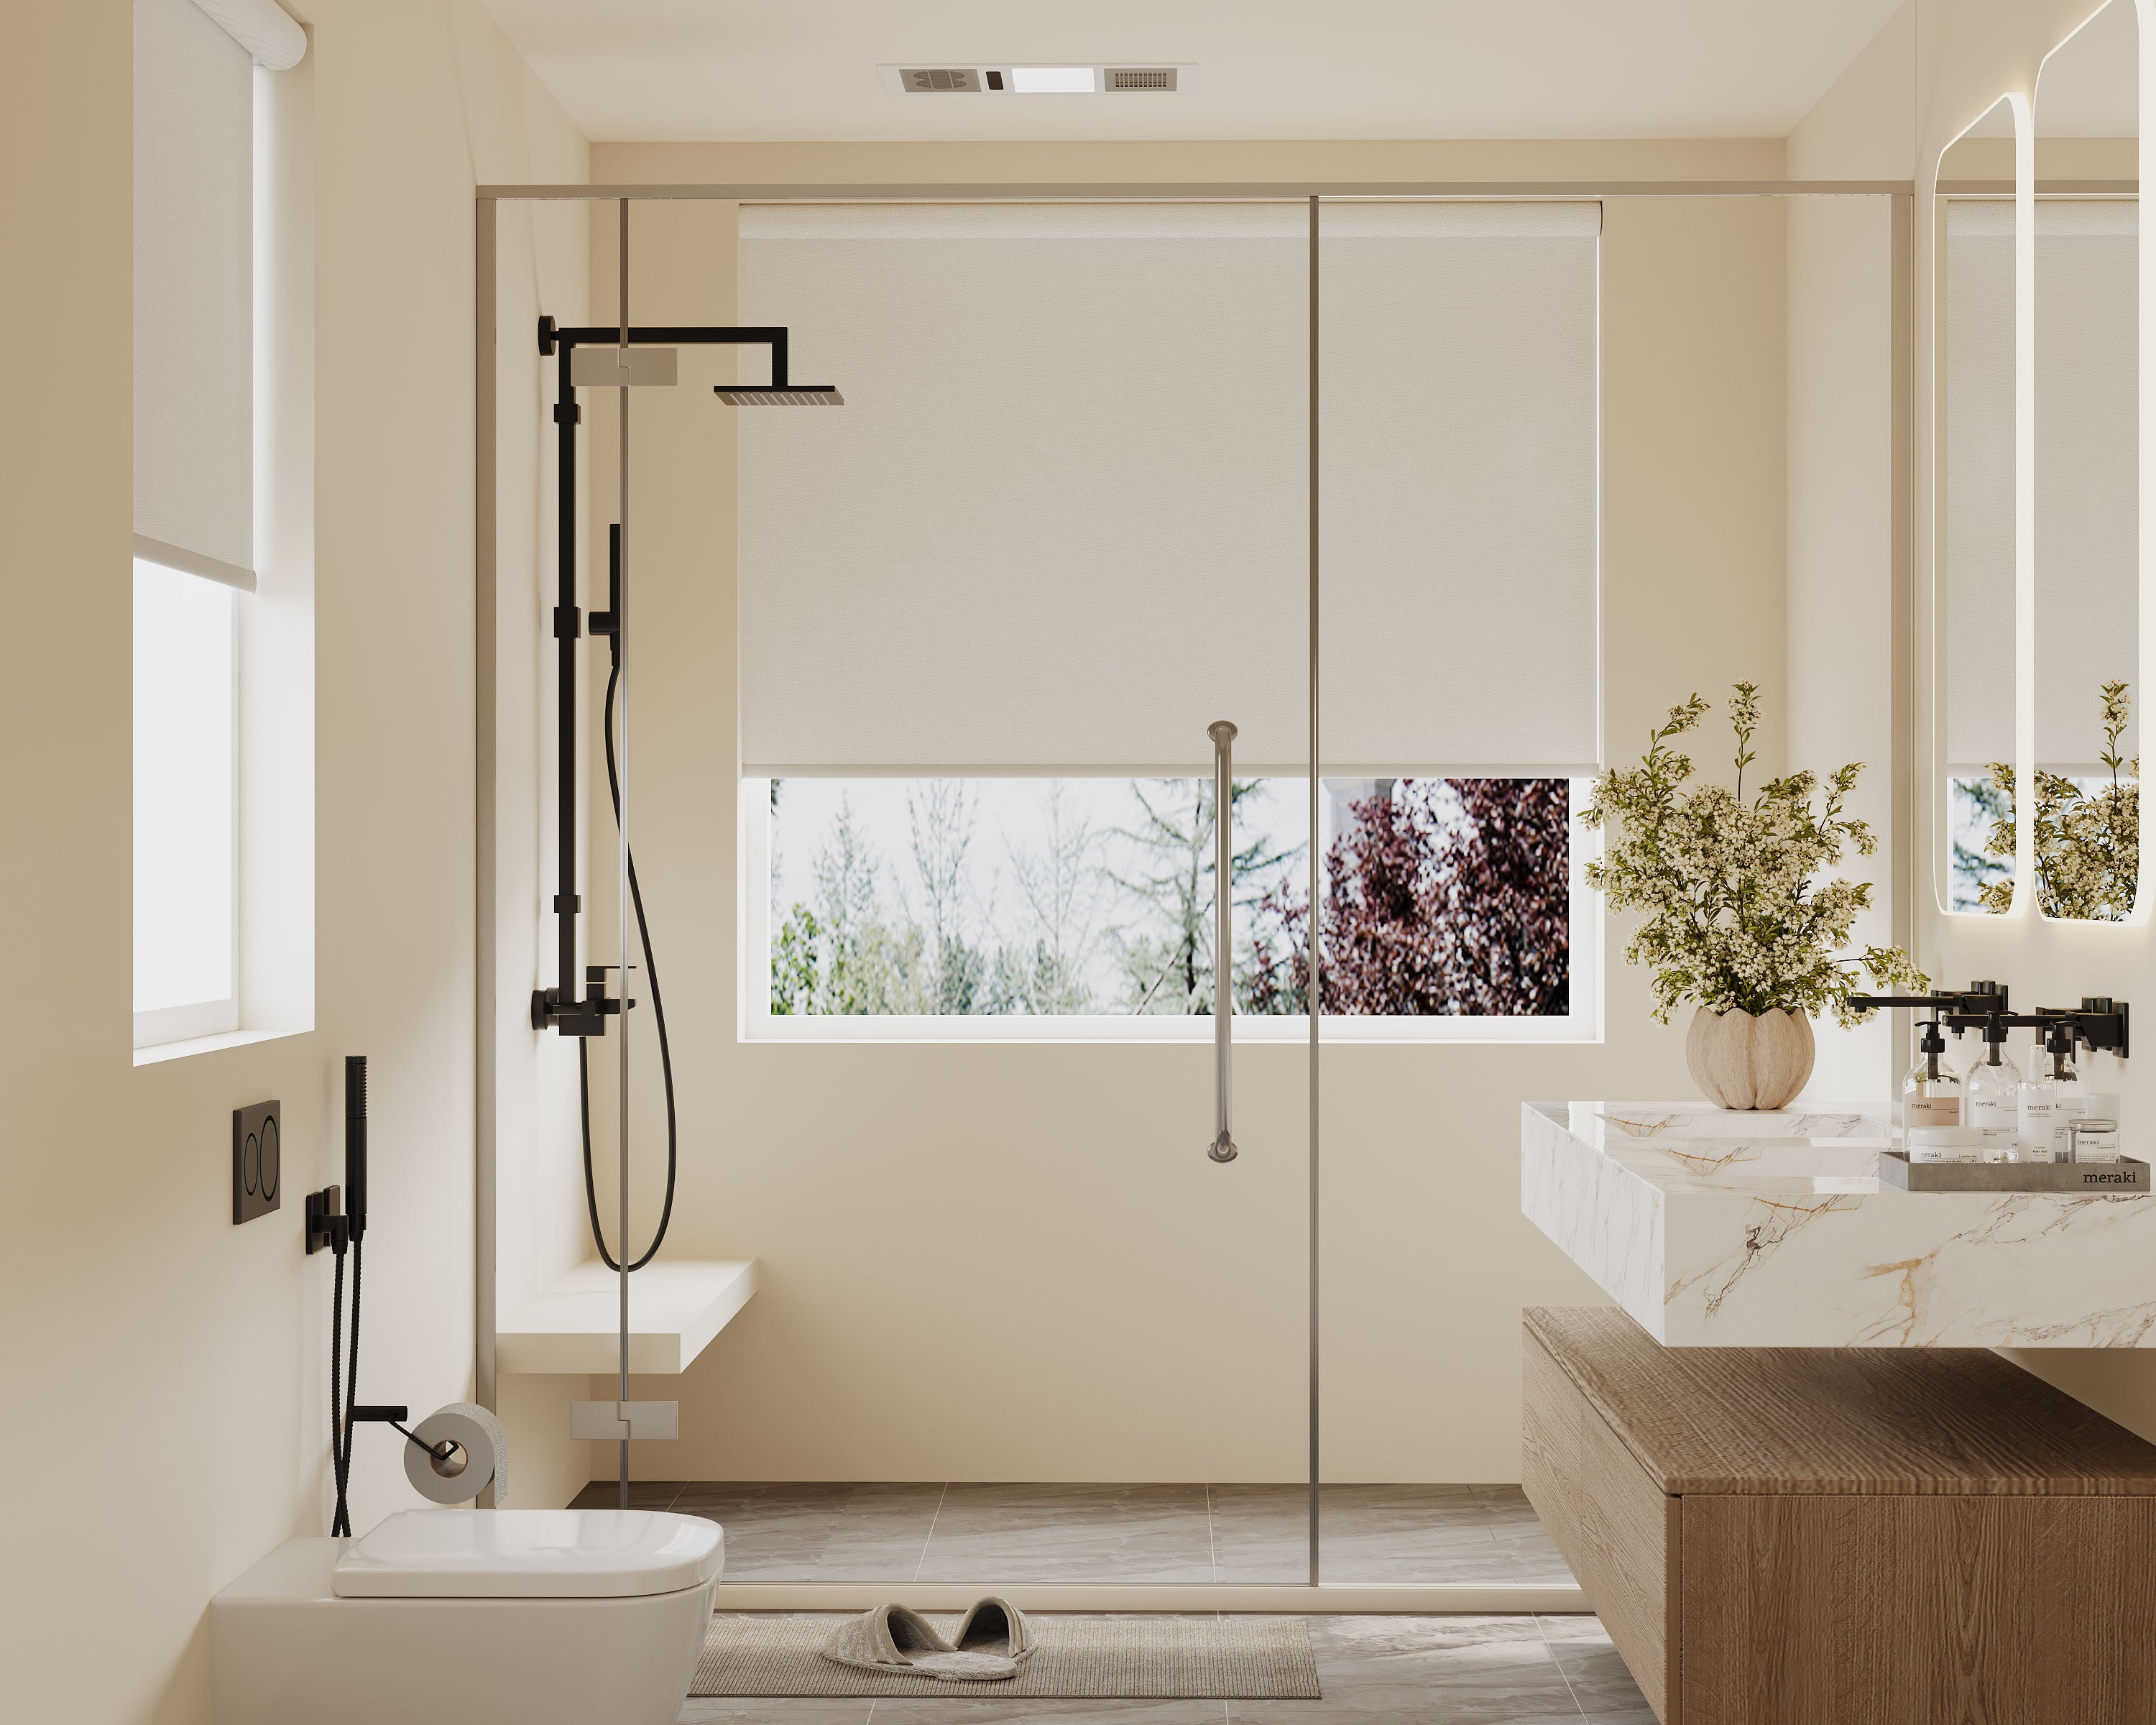
Explore our top collections, including Roller Shades, Zebra Shades, and Blackout Shades.
Ever look at those old corded window shades and wonder how they’ll fit into the new safety standards? You’re not the only one. We can actually bring our classic shades up to code without tossing every window treatment in the house. Whether you’re thinking about family safety or just want your space to feel fresh (and compliant), there are practical fixes that won’t empty your wallet.
Let’s dig into what the 2025 shade safety rules mean for our homes and how to upgrade corded shades to meet the new requirements. We’ll get hands-on, from quick fixes to stylish updates, so our homes stay safer without losing their vibe.
Key Takeaways
- 2025 standards mean older corded shades need upgrades.
- You can go DIY or hire pros to get compliant.
- Safe upgrades don’t have to kill your style or your budget.
Understanding 2025 Window Shade Safety Standards
2025 is shaking up how window shades get designed and installed, especially if they use cords. The new rules are all about safety—mostly for kids and pets—but they’re changing things for everyone, from homeowners to designers.
Key Requirements for Corded Shades
The 2025 standards lay down some pretty strict rules about cords. They want cords shorter, loops gone, and any loose bits anchored down tight.
Here’s a quick breakdown of the most notable requirements:
| Requirement | Description |
|---|---|
| Maximum Cord Length | Cords must be 8 inches or less when accessible. |
| Loop Elimination | No accessible loops longer than 4 inches. |
| Tension Devices | Cord guides and anchors mandatory. |
| Warning Labels | Clearly visible safety labels on products. |
You can’t just cover the cords or snip off a few inches; you’ve got to make cords tamper-resistant and securely anchored. Most shades made before 2025 will need some kind of retrofit to hit these marks.
Risks of Non-Compliant Window Coverings
Ignoring these standards isn’t just about breaking the rules. Loose cords have caused strangulation accidents, mostly with kids and pets.
Common risks:
- Cord loops around necks or limbs
- Cords as climbing hazards near furniture
- Loose parts breaking off or detaching
Those old hanging loops? They’re history, and for good reason. Leaving cords out in the open is just asking for trouble. Even pets can get tangled up in a second, and nobody wants an emergency over a window shade.
Mandates Impacting Homeowners and Designers
Starting in 2025, every window covering sold or installed in the US has to meet these updated safety standards. That means retrofits in existing homes, not just new builds.
Designers have to double-check every shade. Real estate agents and landlords? They’re on the hook too—compliance is required before renting or selling.
It’s not just about new shades. Any corded window covering in your home now needs to get upgraded or replaced. Non-compliance can mean fines or worse, so these aren’t just friendly suggestions. We’ve got to balance safety, looks, and the law—so it’s time to take these standards seriously.
Assessing Your Existing Corded Shades
Before you start a retrofit, take a good look at what you already have. Spotting which window coverings need an upgrade means checking details like cord type, shade age, and whether they’re holding up or begging for retirement.
Identifying Shade Types and Cord Mechanisms
First, figure out what you’re working with. There’s a bunch of corded shades out there: Roman, roller, cellular, Venetian—you name it. Each has its own cord setup, whether it’s a loop, single pull, or tilt wand.
A quick checklist:
- Shade style: Flat (Roman), slatted (Venetian), folded (cellular), or rolled (roller)?
- Cord type: Continuous loop, single cord, or double cord?
- How does it work? Pull up, pull down, or tilt?
Most cords run along the side, but some hide inside or loop around pulleys. If you spot a loop or a cord that wraps, it’s probably time for a safety upgrade. Anyone who’s lived with kids or pets knows exposed cords are a headache waiting to happen.
Evaluating Age and Condition of Window Coverings
Age matters. Fabrics fade, mechanisms get sticky, and cords fray. If your shades have been up since the last decade (or longer), give them a closer look.
Check for:
- Discoloration or worn-out fabric
- Thinning or snapped cords
- Loose or rattling hardware
- Faded labels (these can tell you model and year)
Older shades—especially those over 10 years old—probably don’t meet today’s safety standards. If you keep fixing the same shade or it never hangs level, it’s probably time for a retrofit or just a full replacement.
Deciding Which Shades Need Upgrading
Not every shade needs the same attention. High-traffic areas where kids or pets hang out should top your upgrade list. If a cord is anywhere near a crib or a curious cat, upgrade it ASAP.
Think about:
- Shades with cords within 64 inches of the floor don’t pass 2025 standards.
- If a mechanism jams or cords knot up easily, add it to your list.
- Any shade missing cord safety devices (like tensioners) needs a retrofit.
Making a checklist or spreadsheet of windows needing upgrades keeps you organized. Prioritizing for safety lets you spend your time and budget where it actually matters.
Retro-Compliant Upgrade Options
Bringing old corded shades up to 2025 standards isn’t as tough as it sounds. There are a few solid ways to get safe, compliant, and still keep your home looking good.
Cordless Conversion Kits
Cordless conversion kits let you keep your favorite shades but ditch the dangerous cords. Most kits come with a spring-loaded or clutch mechanism and all the hardware you’ll need.
Here’s a quick look:
| Kit Type | Fits Most Shades | DIY Friendly | Estimated Cost (per window) |
|---|---|---|---|
| Spring Retrofit Kit | Yes | Yes | $40-75 |
| Clutch Conversion | Most | Moderate | $50-100 |
Installation’s usually straightforward—maybe 20 minutes, just a screwdriver and a measuring tape. You might have to tweak the shade width or fabric, but you rarely need a full replacement. The best part? You get instant compliance and peace of mind, especially if you’ve got little ones or pets.
Tension and Motorization Systems
Tension and motorized systems give your shades a techy upgrade. Tension kits use an internal spring or similar part, so you just lift or lower the shade to where you want it.
Motorized upgrades run on batteries or plug in, and you control them with a remote or your phone. If you’re into gadgets or need extra accessibility, this is a great pick. Many are “cut-to-size” and fit most windows, but very old hardware can be tricky.
Tension kits start at about $50. Motorized packages can run from $100 to $250 per window, sometimes with extras like timers or smart home features. If you want to wow guests or just make mornings easier, this is a fun upgrade.
Professional Upgrade Services
Not a DIY person? Or maybe your shades are custom? Let a pro handle it. Certified installers can check out your shades, recommend the best upgrade, and get it done fast.
You’ll usually get a site inspection, product suggestions, and installation. Prices vary, but labor is often half the cost. For a standard window, expect $125-200 including parts.
Hiring a pro means less guesswork and you’ll be up to code from the start. Some companies even toss in warranties or post-install support, which is a relief if anything goes wrong later.
DIY Shade Conversion: Tools and Materials
Upgrading old corded shades for 2025 is doable—but only if you’ve got the right tools and materials. Skimping here just leads to headaches.
Essential Tools for Safe Installation
Here’s what you’ll want on hand before you start:
- Cordless shade conversion kit (brackets, adapters, new cords or springs)
- Flathead and Phillips screwdrivers
- Measuring tape for width and drop
- Power drill with bits (handy if you need new holes)
- Safety gloves and goggles
- Ladder or step stool
Check your tools before you start. Worn-out screwdrivers strip screws and slow you down. A vacuum or brush helps tidy up after drilling or removing old brackets.
Sourcing Retrofit Materials
For retrofit materials, try local hardware stores or trusted online shops. Most big shade brands now offer retrofit kits for older models. These usually include cordless lift systems, tensioners, child safety bits, and mounting hardware.
Make sure the kit fits your shade’s brand and size before you buy. Look for anything marked “2025 compliant” or that calls out the latest safety rules.
Got custom-size windows? Some kits are adjustable or can be trimmed. Check the box or call customer service if you’re not sure. Having all the right parts before you start saves a lot of frustration.
Step-by-Step Guide to Upgrading Corded Shades
Focus on getting rid of old cords, installing modern cordless controls, and making sure everything works right. Doing it well means peace of mind and compliance with the latest safety standards.
Removing Old Cords Safely
Start by grabbing scissors, a screwdriver, and safety gloves. Raise the shade so cords aren’t under tension. If you can, take the shade off its brackets for better access.
Cut the cord close to where it enters the headrail, holding both ends so it doesn’t snap back. Remove tassels or covers, then gently pull cords out of any guides or holes. Make sure you don’t leave any little cord bits behind—they’re still a hazard.
Once the cords are out, wipe down the shade and hardware. If anything looks worn or busted, swap it out now before adding new controls.
Installing Cordless Controls
Pick a retrofit kit that fits your shade type—most big brands have universal options. Each kit usually includes a spring mechanism or lift bar. Read those instructions, since steps can vary by shade.
Usually, you’ll attach the new lift mechanism to the headrail and secure brackets as shown. For spring-lift systems, work the spring by lifting and lowering the shade a few times before reinstalling. With bar lifts, center the bar and check it moves freely.
If your shades have side channels or guides, make sure the new system doesn’t mess with them. Give everything a good wiggle and test. All parts should snap or lock into place—don’t force anything.
Testing for Safety and Functionality
Let’s see if all that effort paid off. Start by moving the shade up and down, making sure it glides without sticking or tilting weirdly. The lift mechanism should keep the shade steady wherever you stop it.
Give everything a gentle tug in both directions. Nothing should feel loose or look like it might come off. Dangling parts? That’s a no-go, especially with kids or pets around.
If you’ve got little ones or furry troublemakers, it’s worth running through a quick Safety Checklist:
- No exposed cords?
- Controls easy to reach and use?
- Shade stays put at any height?
Spot an issue, like rough movement or wobbly mounting? Fix it now, not later.
Style Upgrades: Blending Compliance with Home Decor
Switching out old corded shades isn’t just about ticking off a safety box—it’s also about keeping your space looking sharp. Retrofit options today play surprisingly well with just about any decor. You don’t need to sacrifice style for compliance.
Maintaining Aesthetic Appeal Post-Conversion
When we update our shades to meet new safety rules, we still want the room to look like us. A lot of cordless mechanisms hide inside the original headrail, so your favorite fabric or wood slats stay visible. Got a valance or some trim you love? Most retrofit kits let you keep those, too.
Some quick style tips:
- Pick low-profile cordless kits.
- Reuse the original mounting brackets if they still work.
- Choose controls that actually fit your vibe.
Take your time installing—nobody wants scuffed trim or crooked shades. The right tools and a little patience go a long way.
Matching Retrofit Options to Interior Styles
Cordless retrofit kits aren’t all the same. There are finishes like satin nickel, white, or wood grain to fit whatever you’ve got going on—modern, classic, rustic, you name it. Some brands even let you pick pulls or handles so the shades look intentional, not just “fixed.”
Here’s a quick look at common finishes:
| Room Style | Cordless Kit Finish | Best Pull Options |
|---|---|---|
| Modern | Satin Nickel, White | Minimalist Tabs |
| Traditional | Wood Grain, Brass | Fabric Loops, Tassels |
| Coastal/Nautical | White, Light Wood | Rope Cord Loops |
Swapping out pulls or adding a matching fabric tape can really tie things together. Little details matter.
Budgeting for Your 2025 Shade Upgrades
Worried about the cost? Upgrading for 2025 compliance doesn’t have to wreck your budget. Planning ahead and comparing options helps, especially if you’ve got a bunch of windows to handle.
Cost Comparisons: DIY vs. Professional Retrofits
Let’s be honest—DIY is usually the cheapest way. Basic retrofit kits start around $25-$50 per window. You’ll need simple tools, a free afternoon, and maybe a YouTube video or two.
If you’d rather pay someone else, pros typically charge $60 and up for installation, plus the parts. That puts you at $100 to $200 per window. They’ll handle tricky windows or huge shades, and their work usually comes with a guarantee.
| Option | Cost Per Window | Time Required | Skill Level |
|---|---|---|---|
| DIY Retrofit | $25-$50 | 1-2 hours | Moderate |
| Professional | $100-$200 | 30-60 min | None (for us) |
If you value your weekends or have complicated windows, hiring out makes sense. Otherwise, DIY keeps things affordable.
Saving Money with Multi-Window Solutions
Got a whole house to update? Buying in bulk usually drops the per-window price by 10–20 percent. Lots of retailers offer multi-pack kits or discounts for bigger orders.
For homes with ten or more windows, some companies bundle kits and installation, with prices closer to $75–$150 per window. Scheduling all your windows at once keeps labor costs down and might score you extra discounts.
Don’t forget to ask about promos, package deals, or seasonal sales. If you’ve got friendly neighbors, maybe team up for a group rate—sometimes it pays to go in together.
Sourcing Certified Retro-Compliant Products
Finding the right certified retrofit products matters a lot when you’re updating old shades for 2025. Sticking with trusted brands and knowing what certification marks to look for makes the process way less stressful.
Trusted Brands and Retailers
No need to roll the dice on mystery brands. Well-known names like Hunter Douglas, Levolor, and Bali now offer retro-compliant kits and cordless systems. They keep up with new rules and include clear instructions.
Big-box stores—Home Depot, Lowe’s, ABC Blind & Drapery—carry certified options both online and in-store. Most have charts or labels to help you spot what’s compliant.
A few things to check for:
- Packaging that actually mentions 2025 compliance
- Customer support from the manufacturer
- Manuals and guides available online
Finding Products with 2025 Certification Badges
Certification badges aren’t too hard to spot once you know what you’re after. Real 2025-compliant products show badges like “2025 Cord Safety Certified” or “Child-Safe Retrofit Approved” on the box or in the product images online.
Here’s a quick badge guide:
| Icon/Badge Example | What It Means |
|---|---|
| 2025 Cord Safety Certified | Meets new national safety standards |
| Child-Safe Retrofit Approved | Specifically designed for upgrades |
| Certified Retrofit Kit | Qualified for existing shades |
Still not sure? Scan the QR codes on the packaging with your phone. That usually brings up the official certification details. If you don’t see a badge for the right year, skip it—older certifications might not cut it anymore.
Long-Term Maintenance Tips for Converted Shades
Checking in on your shades every few months is just smart. Look over clips, tensioners, and cord covers to make sure they’re still doing their jobs.
Dust collects fast, so wipe the shades with a microfiber cloth once in a while. Even the fanciest shades end up looking tired if you let them get grimy.
If the lift feels sluggish, a little silicone spray on the moving bits (but not the fabric!) usually perks things up. Squeaky pulleys? A drop or two of lube helps there, too.
Here’s the maintenance checklist we actually use:
- Check for frayed cords or loose stitching
- Test cordless lifts for smooth action
- Tighten mounting brackets or screws if needed
- Make sure child safety devices are still snug
| Task | How Often |
|---|---|
| Dust surfaces | Monthly |
| Check fasteners | Every 3 months |
| Lubricate mechanisms | Twice a year |
| Test safety features | Every season |
Stash a few spare parts if you can—an extra tensioner or cord stop can be a lifesaver. And if you get stuck, local shade shops often do repairs. Sometimes it’s just easier to let someone else wrangle that stubborn bracket.
Frequently Asked Questions
We all want our homes to be safe, but keeping up with the latest rules? Not always easy. Here’s a quick rundown on common questions about upgrading old corded shades.
What year did the ban on corded blinds come into effect?
The big federal ban on most corded window blinds in the U.S. kicked in June 2024. Some provinces in Canada and a few U.S. states had earlier deadlines, but by 2025 the new standards are basically everywhere.
How can I update my old corded blinds to comply with 2025 safety regulations?
Swap out old cords for retrofit kits that make your shades cordless. Sometimes it’s just a matter of changing the mechanism to a wand or a tensioned loop.
If the shade can’t be retrofitted, replacing it with a new cordless model is usually your best bet.
Where can you still purchase corded blinds, if at all?
By 2025, you won’t find new corded blinds at big retailers in North America. A few specialty shops might have leftover stock, but they’re not supposed to sell it for homes.
Online, you might spot used corded blinds, but buying them for residential use is risky and often against the law.
What are the specific safety upgrades required for corded window shades in 2025?
The rules say you need to get rid of accessible cords that could trap kids or pets. Use cordless systems or secured, tensioned loops that can’t form a hazard.
If there are any exposed inner cords, they need breakaway features or should be out of reach for children.
Is it possible to retrofit corded blinds with a cordless system?
Yep—most horizontal blinds and some shades can be upgraded with cordless kits. You can usually find these online or at hardware stores, and installation is a doable DIY project with basic tools.
Just double-check that your old shade is compatible before you buy. Not every model plays nice with the new kits.
What are the legal implications of continuing to use corded blinds in areas where they are banned?
If you keep using corded blinds where they're banned—like in homes, schools, or daycare centers—you could face fines, and if something goes wrong, you might be held liable. Landlords and building owners really have to watch out here; sticking with old window coverings puts them at extra risk.
And here's the kicker: insurance companies might deny claims if an incident involves blinds that don't meet the rules. So, honestly, keeping things up to code just makes sense.

