


Explore our top collections, including Roller Shades, Zebra Shades, and Blackout Shades.
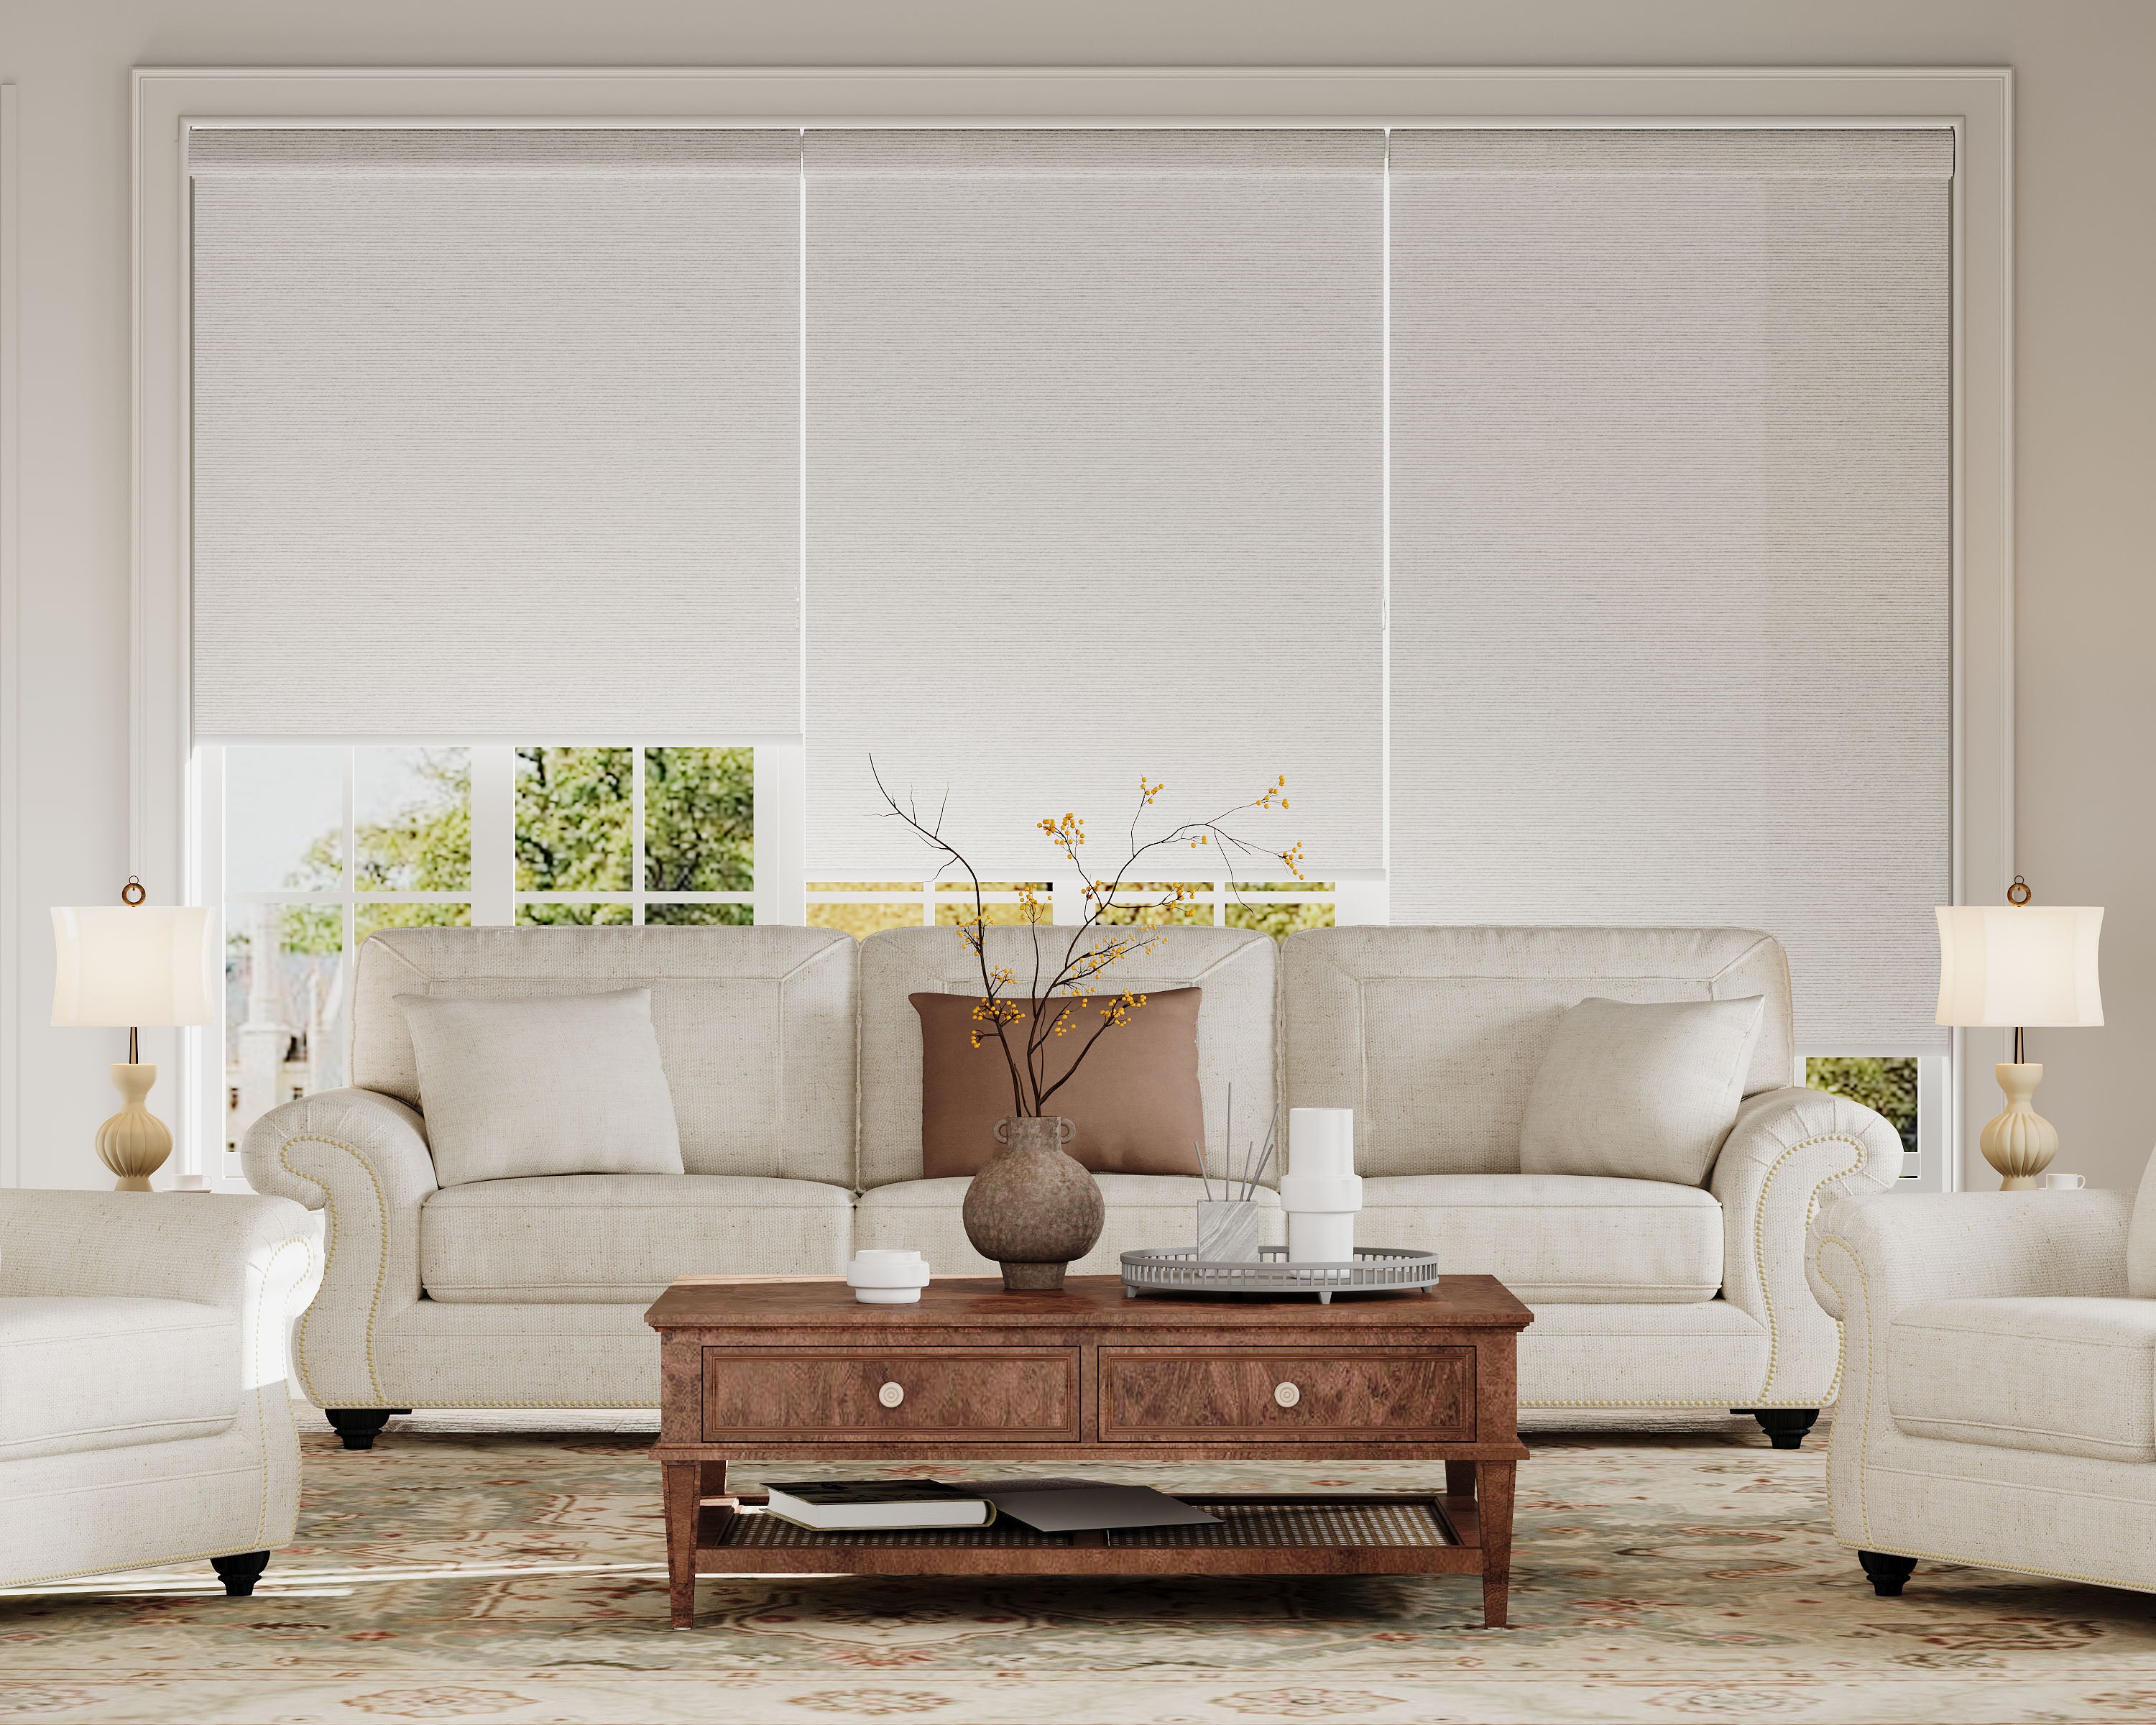
When we’re designing picture windows, the debate often lands on whether to use one continuous header rail or three separate ones. Most of the time, a continuous header rail gives a cleaner look, sturdier support, and makes installation less of a hassle. But sometimes, splitting things up with separate rails just fits our style or the quirks of our space better.
Our choice isn’t just about strength—it changes how light pours into the room, how we’ll clean or maintain things, and even how we hang curtains or decorate nearby. Let’s dig into the differences and figure out which option lines up with what we want.
Key Takeaways
- Continuous rails give strength and a simple, streamlined look.
- Separate rails let you customize and adjust more easily.
- Think about upkeep, looks, and how your decor will play along before picking.
Defining Header Rails for Picture Windows
Header rails sit at the top of picture windows, giving support and a neat finish. Deciding between one long rail or several shorter ones changes the window’s strength, how it looks, and how you’ll put it in.
What Is a Header Rail?
A header rail is that horizontal piece running along the very top of the window frame. Its job? Carry the weight from above (roof, wall, whatever’s up there) and spread it out around the window.
In picture windows, the header rail keeps things sturdy and adds to the look. Usually, you’ll see these made from wood, steel, or engineered lumber.
Headers need to be strong, especially if you’ve got a big window without a center mullion. So yeah, picking the right type really matters.
Types of Header Rail Configurations
For picture windows, we’re usually picking between a single, continuous header rail or multiple separate header rails (often three). The continuous header is just one big piece across the whole opening, while the three-rail style splits things up above each section.
You’ll see the three-rail setup more when windows are divided by mullions or broken into sections. Each gets its own little header, held up by posts or the frames in between.
Here’s a quick side-by-side:
| Configuration | Typical Use | Pros | Cons |
|---|---|---|---|
| Continuous Header Rail | Wide, unobstructed picture windows | Seamless look, stronger span | Heavier, may need custom work |
| Three Separate Rails | Divided or multi-pane windows | Easier to handle/install | More joints, less seamless |
Matching the rail style to your window design just makes sense for looks and how well it all works.
When Are Multiple Header Rails Used?
We go with multiple header rails when the window opening is split by mullions or supports. That’s common if you want several joined windows, not one giant pane.
Breaking up the header into three shorter spans can make installation simpler, especially if the wall framing can’t handle a long, single piece. Sometimes, building codes or odd loads above the window make this the only option.
Three separate rails can also help with costs, especially if you can’t get long pieces of lumber easily. Of course, you lose that super-clean, wide-open look of a single header. If you’re after a modern, uninterrupted view, the continuous header usually wins.
One Continuous Header Rail: Features and Benefits
Going with a single, seamless header rail for picture windows affects structure, looks, and how you’ll actually get it installed. It’s about keeping things simple, tidy, and honestly, saving some headaches.
Structural Simplicity
A continuous header means fewer parts—no need to fuss over lots of joints or connections. That cuts down on weak spots where problems might show up later. It spreads weight across the whole window, supporting the glass evenly.
Since it’s just one piece, keeping everything lined up is easier. That means the window stays strong and isn’t as likely to shift or leak over time. For big windows, that kind of stability is pretty comforting.
If you want something that’ll last and doesn’t need much attention, a single rail is less to check up on. You spend more time enjoying the view, less time poking at the frame.
Aesthetic Cohesion
That one continuous header just looks tidy. No seams or breaks at the top, so you get this clean, modern line that lets the view shine.
It’s a real difference-maker in minimalist or contemporary rooms. The uninterrupted header frames the outdoors without drawing your eye to the window itself.
It’s also easier to get the finish right—one color or material, no weird transitions. If you’re a fan of a seamless look, this is the way to go.
Ease of Installation
Dealing with one header instead of three? Fewer cuts, fewer fasteners, and less measuring. It just makes the process smoother, with less room for error at the joints.
Pros can get it done quicker, so your project moves along without as many holdups. That’s a real bonus in renovations or when you’re on a tight timeline. No fiddling to get multiple pieces lined up just right.
Installation tip: Since you’re not matching up multiple sections, mistakes are less likely, and fixing any issues is usually much simpler. Less work up front and after—it’s hard to argue with that.
Three Separate Header Rails: Advantages and Drawbacks
Using three header rails for picture windows brings some real upsides, but also a few things to watch out for. Structure, maintenance, and lining everything up—all of that comes into play.
Individual Window Framing
With separate headers, each window stands on its own. If you ever want to swap out just one, fix a sash, or upgrade the glass, you can do it without touching the others.
This setup is forgiving if your wall isn’t perfectly flat. The extra framing gives you wiggle room for adjustments. Each window gets its own support, which can be helpful, especially for wide spans.
You might get a bit better sound and temperature control, since the frame breaks things up. The trade-off? More framing means a little less glass, so if you want the biggest view possible, that’s something to consider.
Flexibility in Replacement
If one pane fogs up or breaks, you only have to replace that section. No need to rip out the whole window.
You’re not stuck waiting on custom sizes or special orders. Each panel is independent, so repairs are less of a headache. Even dealing with insurance is easier since you’re not handling one giant unit.
Of course, the mullions between windows add lines to your view. For some, that’s a dealbreaker. But in terms of convenience, it’s hard to beat.
Potential for Misalignment
Three separate rails make alignment trickier. If you (or your installer) rush or use cheap materials, the windows can end up a bit crooked.
That shows up as uneven lines or gaps that are tough to ignore, especially with sunlight pouring in. Over time, you might see cracks or windows that stick.
Watch for:
- Cracks at corners
- Uneven spaces between frames
- Windows that stick or let in drafts
Older homes with settling are especially prone to this. Double-checking measurements and hiring someone who knows what they’re doing really helps. Getting it right matters—otherwise, your picture windows look slapped together.
Key Factors in Making Your Choice
Picking the right header rail style for your picture windows comes down to your space, your budget, and what your house can handle. Here’s what’s worth thinking about before you start measuring or calling in pros.
Window Size and Span
The size of your picture window is a big deal. Huge, wide views (think over ten feet) usually need a single beefy rail to avoid sagging. Breaking things up with three windows and posts lets you use shorter, lighter pieces.
If you want a wide-open view with no breaks, a continuous rail is the usual pick. For smaller or segmented setups, three rails might make life easier and save some money. Either way, start by measuring what you’ve got.
Support and Load Considerations
Headers have to carry the weight above them. Big picture windows—especially on the ground floor of two-story houses—often need a single, strong beam so nothing bends. The more weight, the bigger and stronger the header has to be.
Three separate headers with posts can spread the load and let you use lighter materials. The trade-off? You get those posts and the visual breaks they bring. Know how much weight you’re dealing with—roof, upper floors, snow, whatever—so you don’t risk anything.
Cost and Materials
Budget always sneaks into the conversation. Here’s a quick rundown:
| Option | Pros | Cons |
|---|---|---|
| One Continuous Header | Sleek, unbroken views; fewer joints | Usually costs more; can be tricky to install; needs heavy-duty materials |
| Three Separate Headers | Easier install; possible savings | Adds lines to your view; needs posts between windows |
Materials run from basic lumber to engineered wood or even steel. Long, continuous headers cost more and can be a pain to transport. Breaking up the span means you can use shorter, cheaper pieces, but you’ll need extra framing. Balancing looks and price is always the game.
Design Aesthetics and Visual Impact
Choosing between one continuous header rail or three separate ones for picture windows really changes the vibe of a room. Here’s how each option shifts what you see and how the space feels.
Seamless Sightlines
A single header rail runs above all the panes with no breaks, giving you a long, clean line at the top. The wall of glass feels unified, and there’s nothing to distract your eye. The view outside becomes the star—great if you want that wide, uninterrupted frame.
With three headers, each window feels more like its own picture. The scenery is split into sections, which could work for traditional or defined styles, but it does break up the view and adds gridlines you’ll notice.
Continuous rails let light flow in and boost the feeling of openness, especially in modern or minimalist spaces. That uninterrupted top edge ties the outdoors and indoors together. Multiple rails add some visual stops, giving things a more classic, structured feel.
Framing Styles
The three-rail approach naturally supports bold or decorative frames around each section. That helps the windows stand out as individual features and lets us mix materials or pick custom trim for each pane. If you want to echo classic architecture or match detailed millwork, separate frames give you loads of design freedom.
A continuous header rail fits best with slim, minimal frames. This style tries to hide the structure, focusing attention on the view instead of the window itself. It works well in modern homes or open-concept spaces, especially with finishes like matte black or brushed aluminum.
Here’s a quick breakdown:
| Option | Best For | Typical Finish |
|---|---|---|
| One Continuous Header | Modern, Minimal | Thin, Low-profile |
| Three Separate Headers | Traditional, Decorative | Custom, Ornate |
Choosing the rail and frame style that matches our taste lets us set the mood of the room, whether we care more about sleek lines or detailed craftsmanship.
Installation and Long-Term Maintenance
When we’re picking between a single continuous header rail and three separate ones for picture windows, installation and future upkeep really stand out. Each approach affects our time, budget, and how much effort we’ll put in down the road.
Complexity of Construction
Installing a continuous header rail demands more precision. We need a straight, sturdy support that stretches across the full width of our window group. That means fewer joints but more pressure on framing and anchoring. Wrestling a long beam into place isn’t exactly a breeze.
With three separate headers, the job breaks into smaller parts. Each opening gets its own frame, which can make handling easier. Fewer heavy lifts, but more measuring and alignment. More pieces mean more chances for tiny mistakes and more time spent making sure everything lines up.
In older homes, a continuous header sometimes hides wall imperfections. Multiple separate headers, though, offer flexibility if the walls are uneven or settling—a common headache in vintage houses.
Durability Over Time
A single continuous header rail usually gives better structural integrity. The long, unbroken piece spreads out the load, which helps prevent sagging or bowing—especially with heavy glass or wide spans. Fewer seams mean fewer weak spots that might cause trouble as years go by.
Three separate headers are easier to replace or repair individually if one gets damaged. If water or rot hits a single window, we don’t have to disturb the rest. That’s handy for spot repairs.
But each separate header adds extra seams and joints. If we don’t seal and maintain them well, air or moisture can sneak in. Regular inspections can catch issues before they become big problems. And since headers affect insulation, gaps between them might need extra weatherstripping or sealant.
Compatibility With Window Treatments and Decor
Choosing between a single continuous header rail or three separate ones changes how we can dress up our picture windows. Each method brings its own quirks when it comes to blinds, shades, trim, or molding.
Mounting Blinds or Shades
With a continuous header rail, it’s usually easiest to install a single wide blind or shade. No fiddling with alignment, just one big roller shade, cellular shade, or drapery panel for a simple, unified look.
If we go with three separate header rails, we’re looking at three blinds or shades—one for each section. That gives us more control over light, since each part can open or close on its own. But getting all three lined up and dealing with extra cords can be a bit of a hassle.
A quick comparison:
| Style | Blinds/Shades Needed | Light Control | Ease of Installation |
|---|---|---|---|
| One Header Rail | 1 | Less flexible | Easier |
| Three Separate Rails | 3 | Highly flexible | More time-consuming |
Integrating Trim and Molding
A single header rail makes it simple to run one continuous piece of casing or crown above the window. That clean line works well for a modern or minimalist look. No awkward gaps or seams between window units.
With three separate header rails, we have to measure and cut molding for each section. That means more joints, more alignment headaches, and more caulking. On the bright side, we can highlight each window segment if we want to play with colors or profiles.
It’s smart to plan ahead—picking window treatment hardware that works with our preferred trim or molding thickness saves us from last-minute headaches. Even windows can have their own wardrobe malfunctions.
Frequently Asked Questions
When we’re planning window layouts, we face choices about structure, looks, and practicality. It’s all about finding the right balance between clean sightlines and solid support, especially if you’re chasing that panoramic view.
How can I frame multiple windows together for a sleek design?
We usually get a modern, unified look by running a continuous header across all the window openings. That works great for picture windows and allows for slim framing or mull posts between panes.
By grouping windows tightly under one support beam, we make it look like one big glass panel, with fewer interruptions in the view.
What are the structural considerations when installing a bay or picture window?
Bay or picture windows need a sturdy support system since they often span wider than typical windows. That might mean using beefier headers or even engineered beams.
We also have to distribute the load above the window properly, especially if the wall is load-bearing. Sometimes, local rules require inspections or permits—always worth checking.
What's the best approach for framing windows if I want a continuous view?
To maximize the view, we frame the openings so the window frames or mullions stay as slim as building codes and engineering allow. Using a continuous header helps cut down on vertical obstructions.
We should set the windows close together and line them up carefully, so the glass areas flow together and the lines look crisp.
Are there benefits to choosing separate headers over a single one for window installations?
Separate headers for each window give us flexibility if we’re dealing with odd wall studs or want to stagger window heights. Sometimes, it’s just easier to install, especially in tricky remodels.
If one section ever gets damaged, repairs are simpler since each header supports only its own window.
What are key differences in framing techniques for stacked versus side-by-side windows?
Stacked windows (one above another) need special attention for vertical load transfer from the upper header to the lower one. We usually use intermediate supports—jack studs or posts—in between.
Side-by-side windows with a continuous header just need king studs at the ends, plus closely spaced cripple studs or short posts in between for support and to meet code.
How do I ensure proper support when framing for large window areas?
You’ll want to size your headers right for the width of your window opening—sometimes, that means going with engineered lumber or even steel beams if things get really wide. I’d honestly reach out to a structural engineer if you’re unsure; it’s just not worth the guesswork.
Remember to add jack studs so the header’s weight actually makes it all the way down to the foundation. And give everything a firm check to be sure it’s anchored well to the rest of the framing—better to catch a loose connection now than later.